
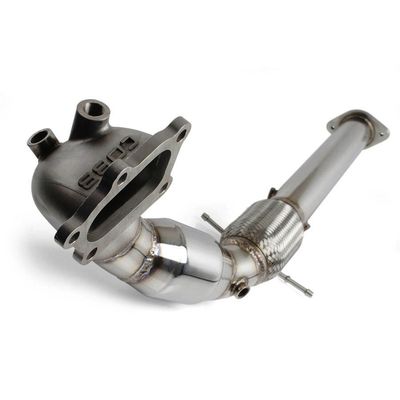
571202 - Mazdaspeed3 SS 3" Downpipe
Mazda MPS 2007-2012
Mazdaspeed Axela 2007-2012
Mazdaspeed3 2007-2013
Congratulations on your purchase of the COBB Tuning Mazdaspeed3 Downpipe! The following instructions will assist you through the installation process. Please read them BEFORE beginning the install to familiarize yourself with the steps and tools needed. If you feel you cannot properly perform this installation, we HIGHLY recommend you take the vehicle to a qualified and experienced automotive technician.
IMPORTANT! Installing this kit will require custom tuning or utilizing an appropriate Stage Power Package map if you have a matching mechanical configuration. Please consult with COBB or an authorized ProTuner in your area if you have any questions!
Table of Contents
| Table of Contents |
|---|
Parts List
- Downpipe
- O2 Sensor Bung (Pre-Installed)
Tools Needed
Sockets
3/8"
10mm socket 12mm socket 14mm deep socket deep 12" extension3/8" 6" extension1/2"
Hand Tools
Misc.
Wrenches
Removal of Stock Downpipe
- Start out by parking your car in a flat level area and making sure it's completely cooled off before starting. Sometimes things can go faster on older cars if you go through and spray penetrating oil on all the nuts and bolts the night before you start doing the job.
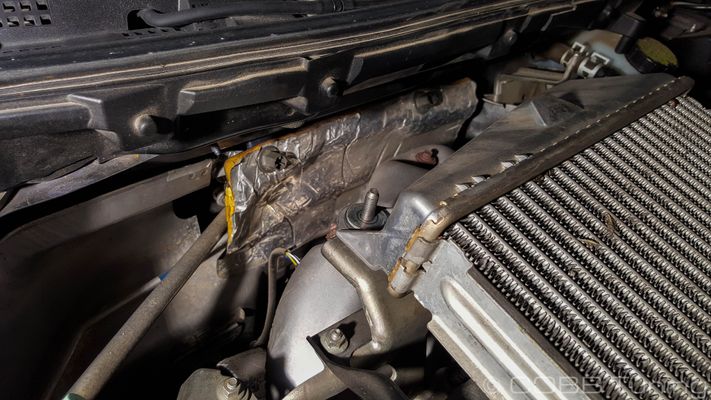
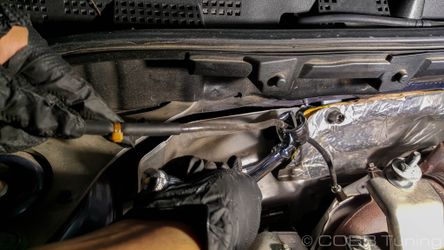
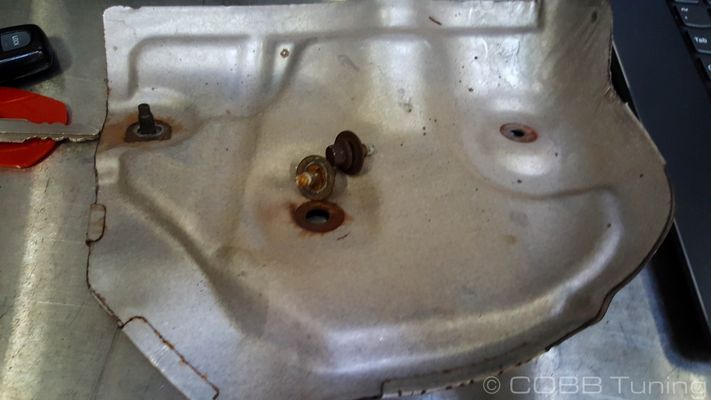
- Now remove the two 10mm bolts that hold on the intercooler/engine cover. With the bolts removed lift the front corner of the cover up and slide it back to release it from the retaining bracket or the rear of the cover.

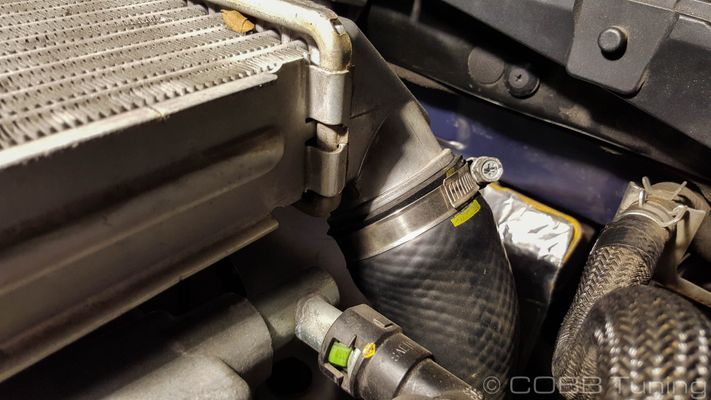
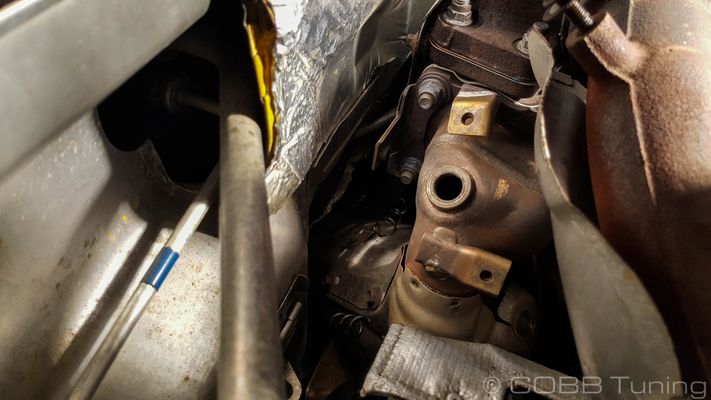
With the cover removed you can now remove the factory intercooler by removing the three 12mm nuts that secure the intercooler to the top of the motor. Set one of these aside as it will be reused on the upper intercooler pipe bracket. You will also need to loosen the 10mm hose clamp on the turbo out let and the 10mm hose clamp securing the rubber hose to the cast intercooler outlet. Using a pair of needle nose pliers, remove the clamp on the vacuum line that goes to the top of the bypass valve and clamp that secures the bypass valve return hose. With the vacuum line and bypass hose removed you should be able to lift the factory intercooler up and out.
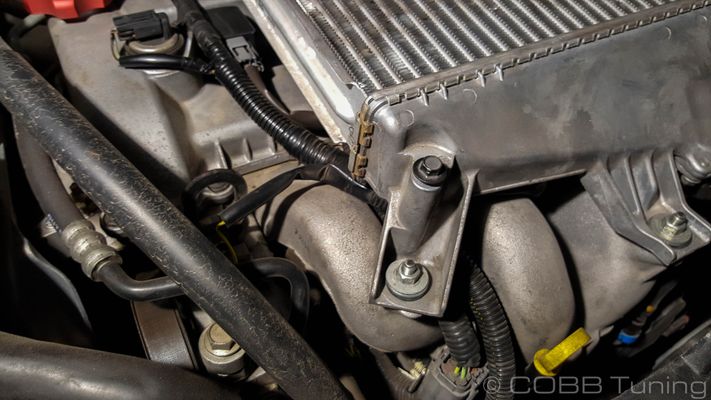
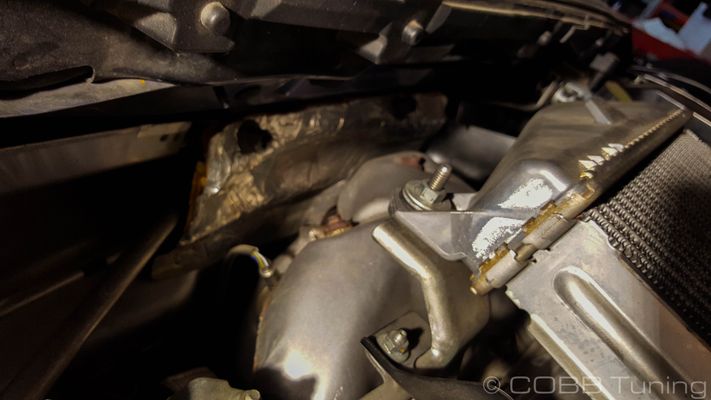
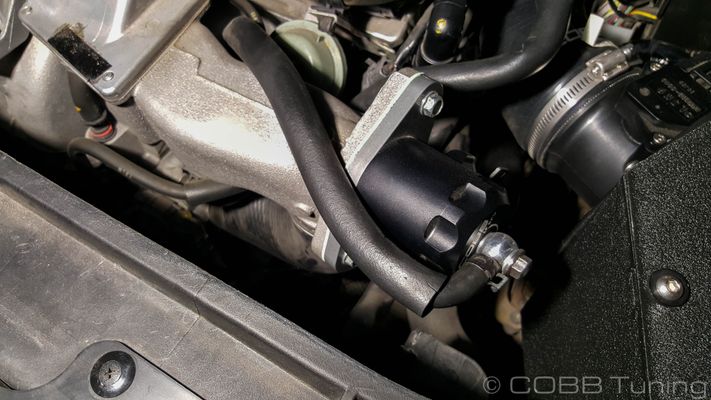
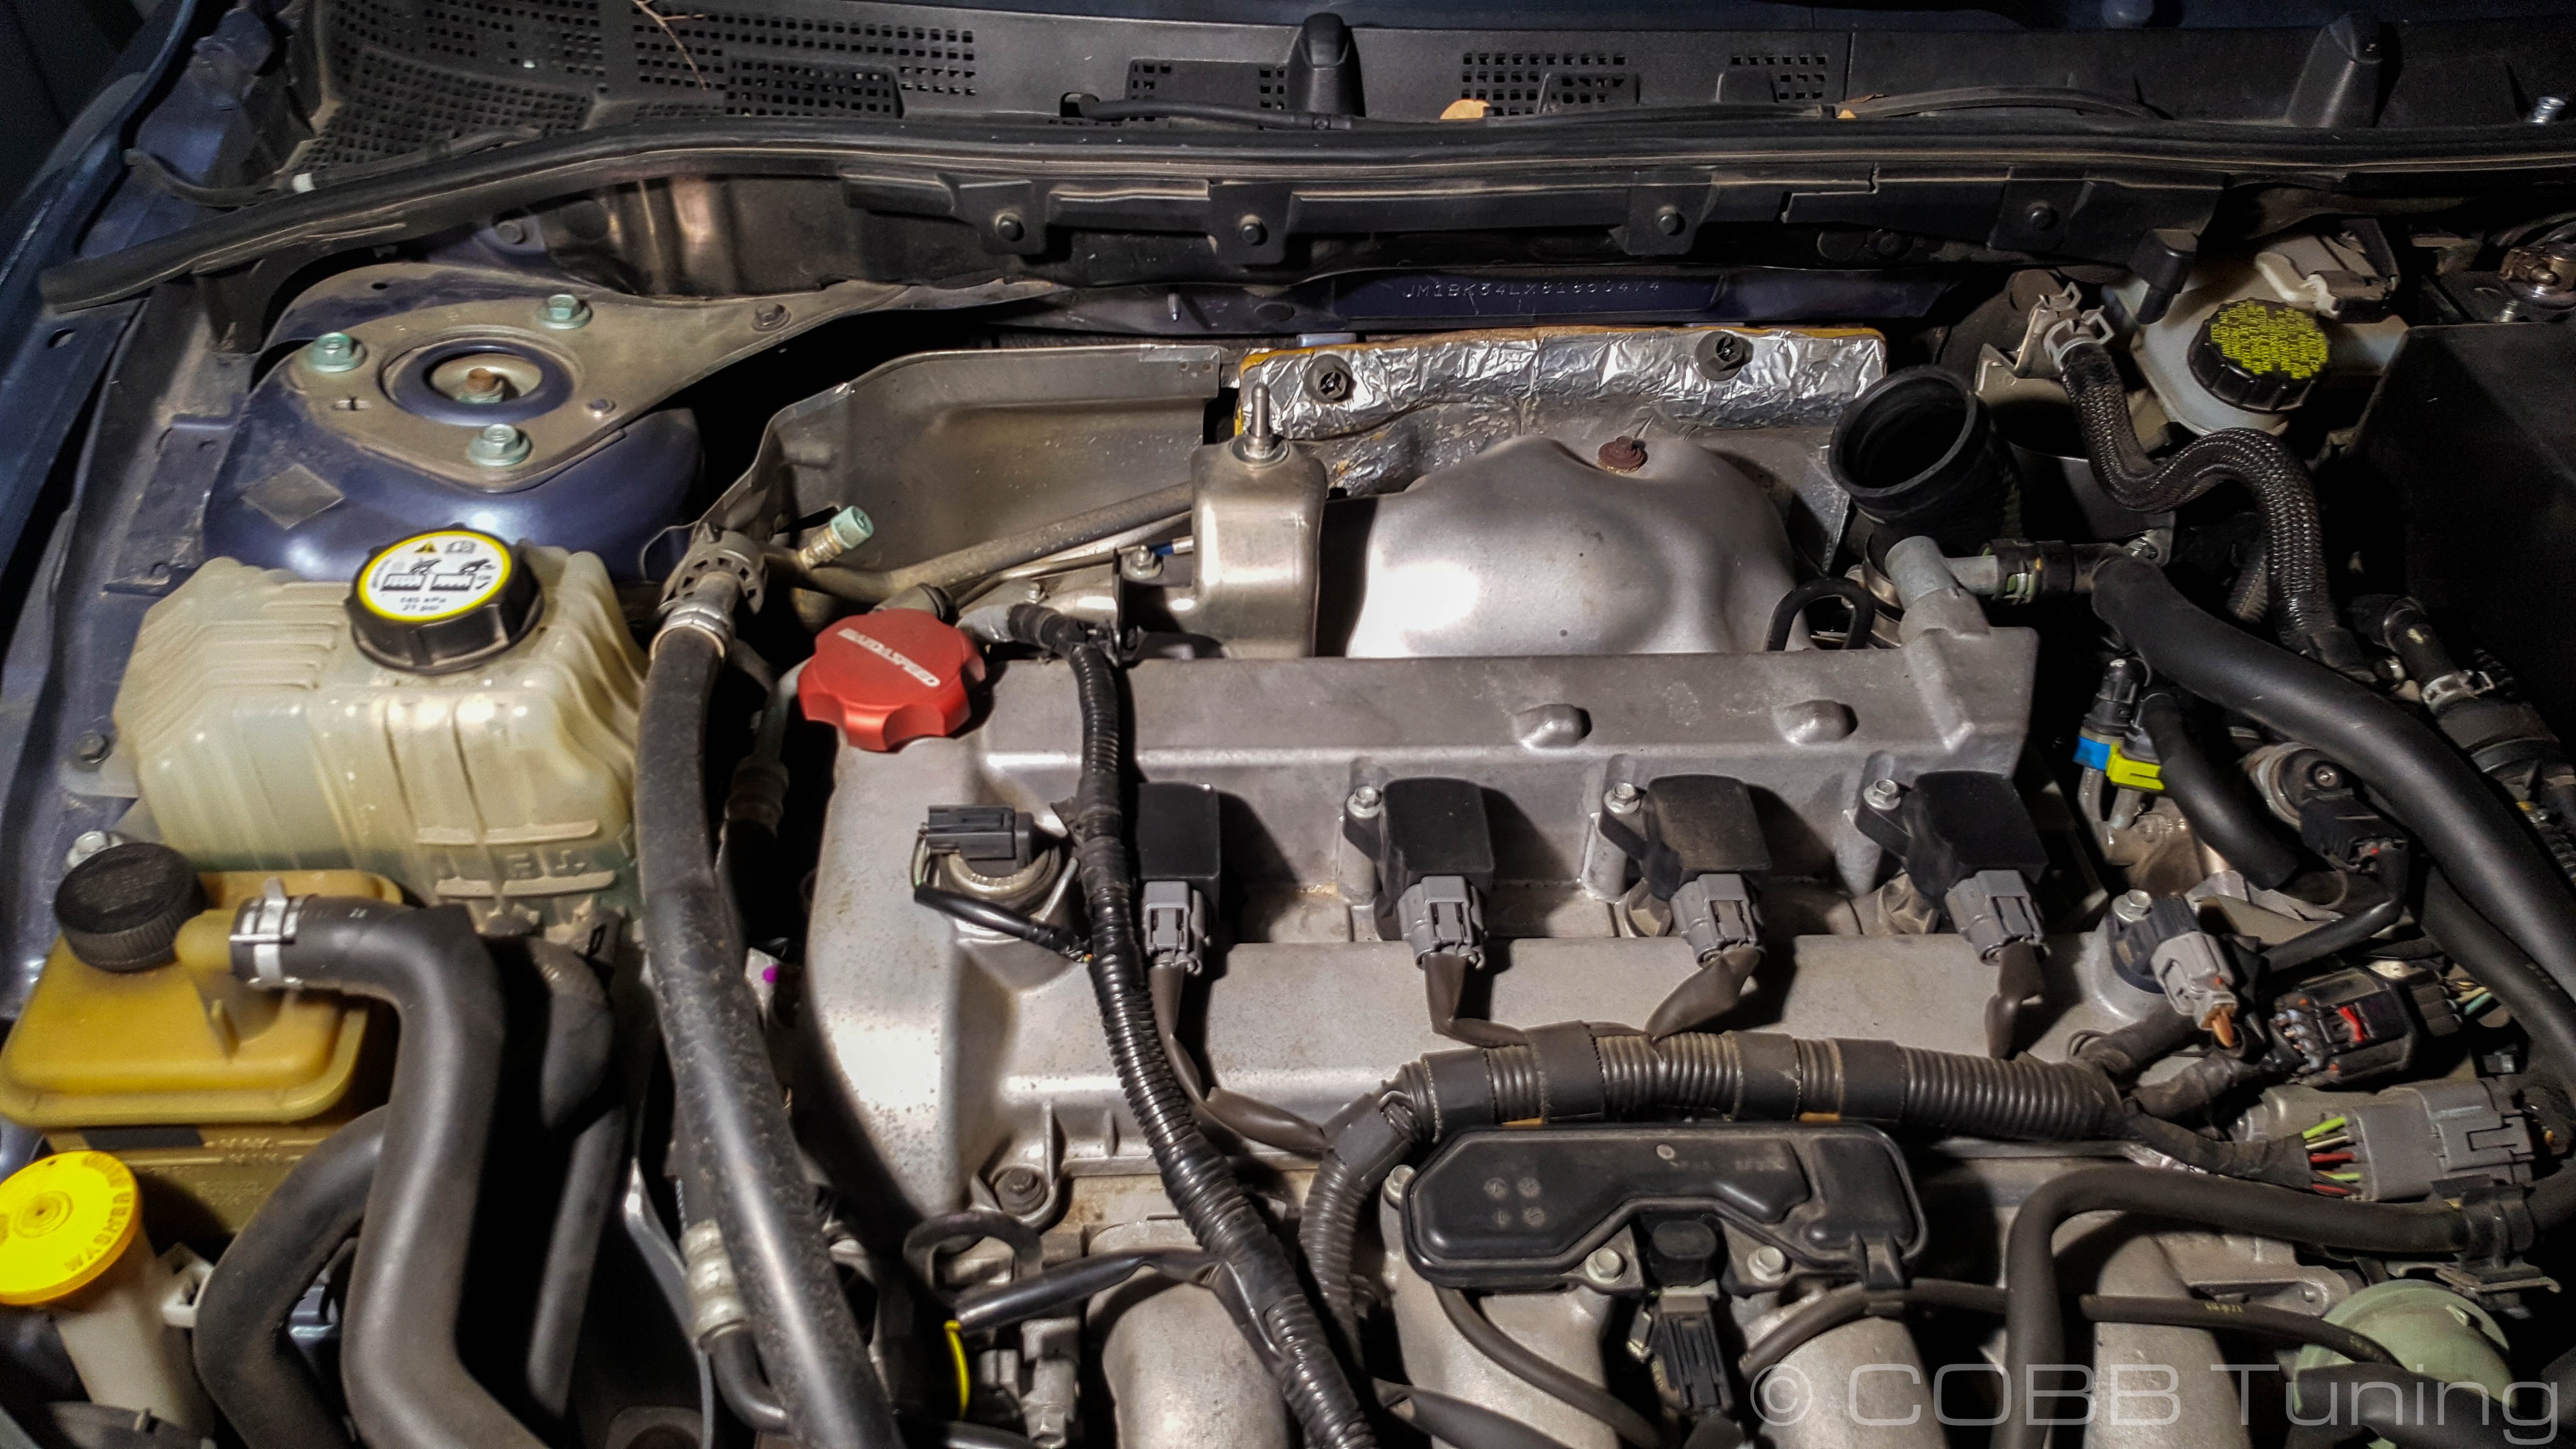
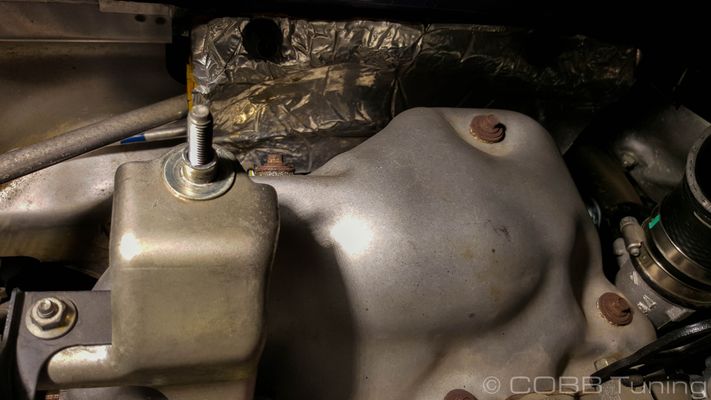
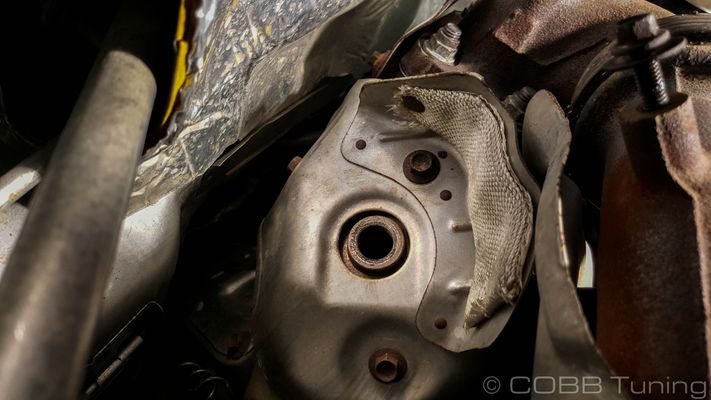
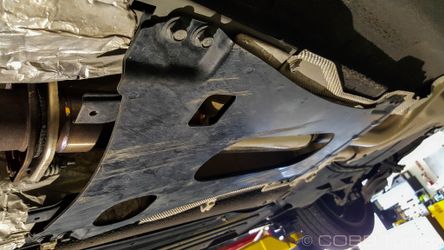
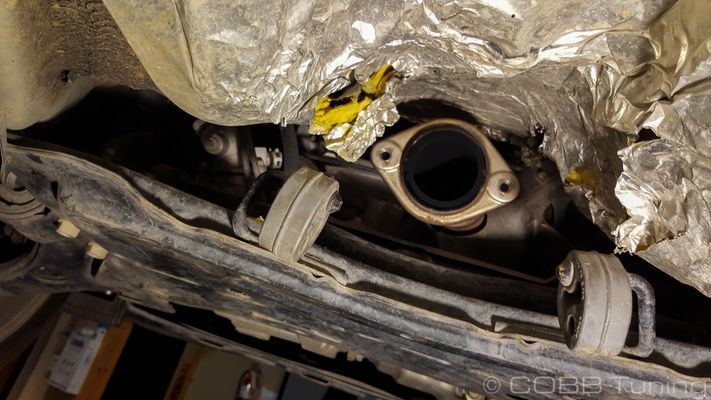
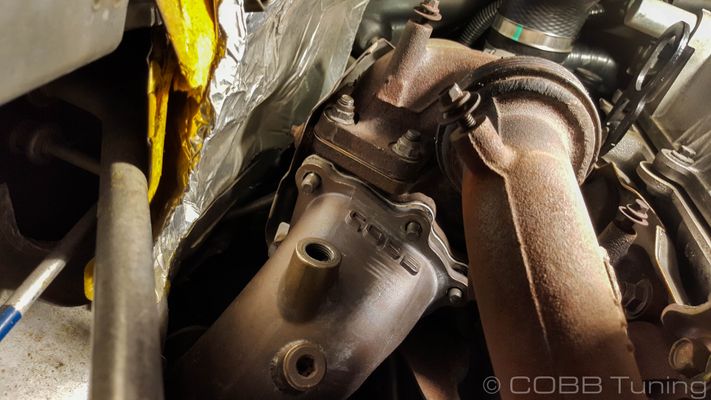
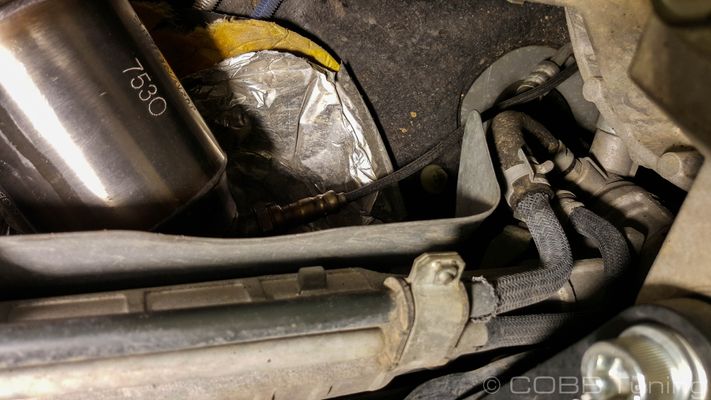
From the engine bay remove the five 9mm bolts that hold the heat shield on to the exhaust manifold and maneuver the heat shield out.
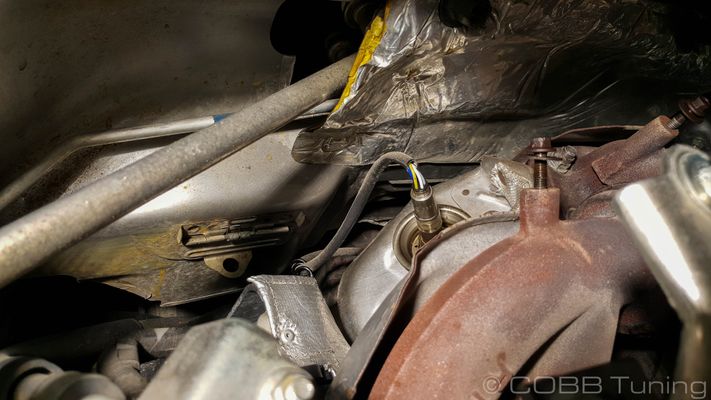
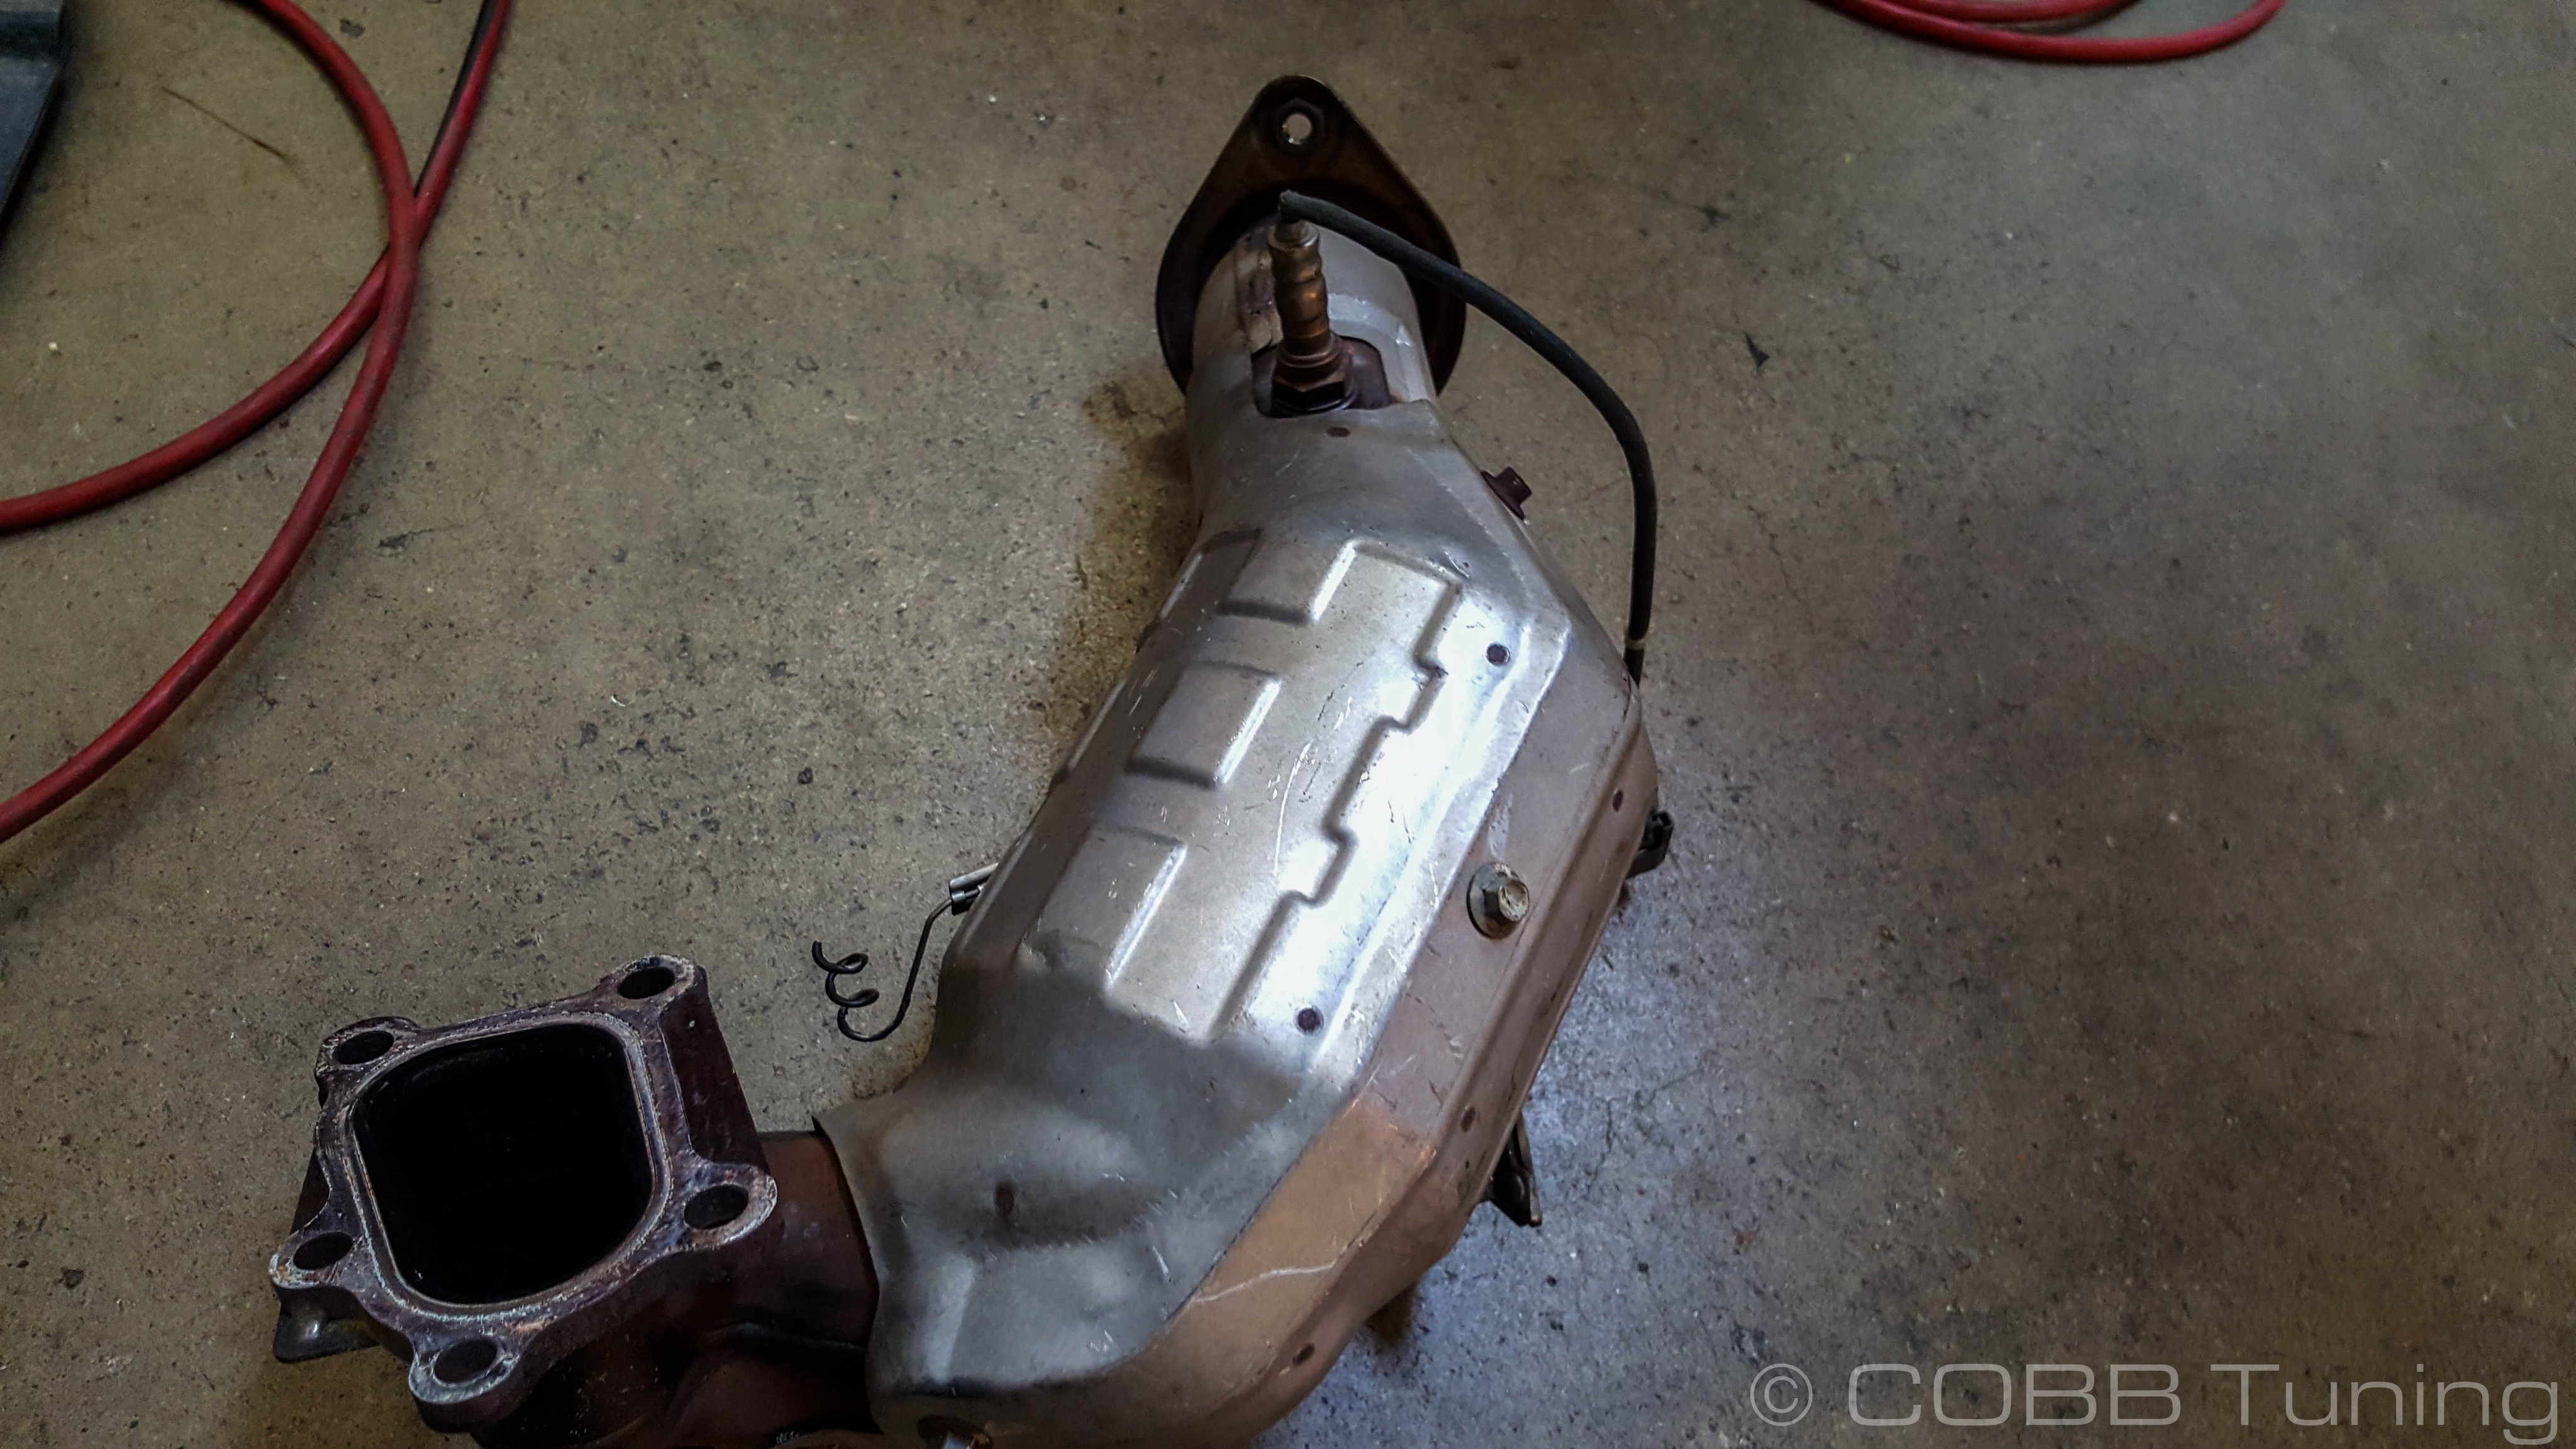
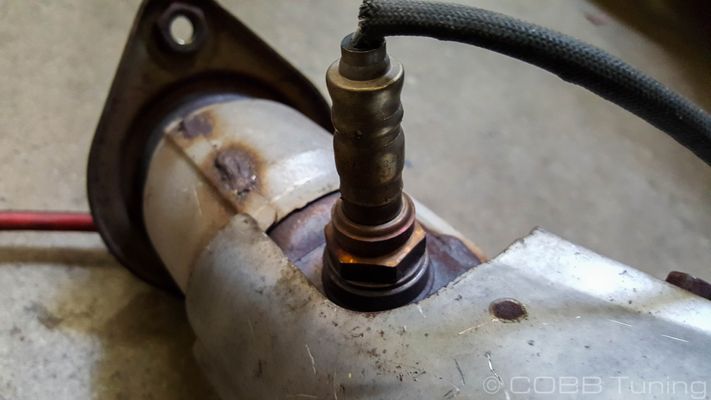
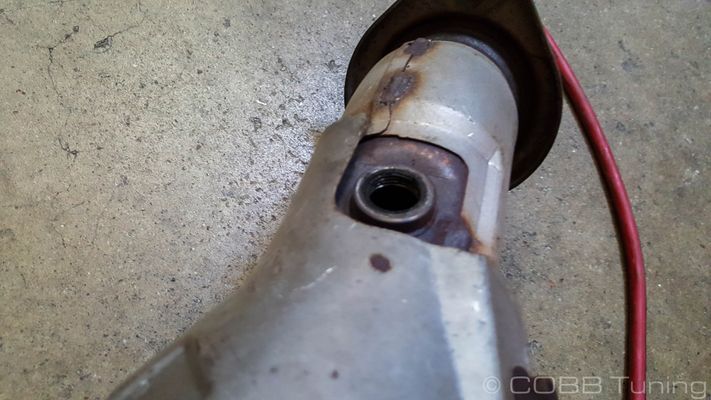
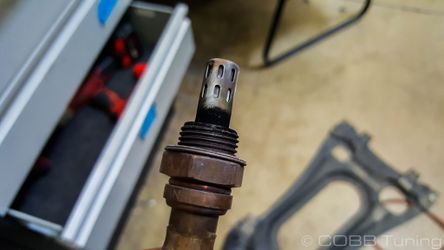
Un-clip the primary o2 sensor from the wiring harness and remove the o2 sensor using an o2 sensor specific socket. (It may be easier to access the harness clip from under the car)
The O2 sensors are prone to stripping the threads during removal form the stock downpipe. Please take this into account before starting the installation as you may need to replace a sensor if the threads are damaged during or after removal. A good penetrating oil will make this a lot easier, as will a good quality socket or wrench, as the walls of the socket will flex less than on a poor quality tool.
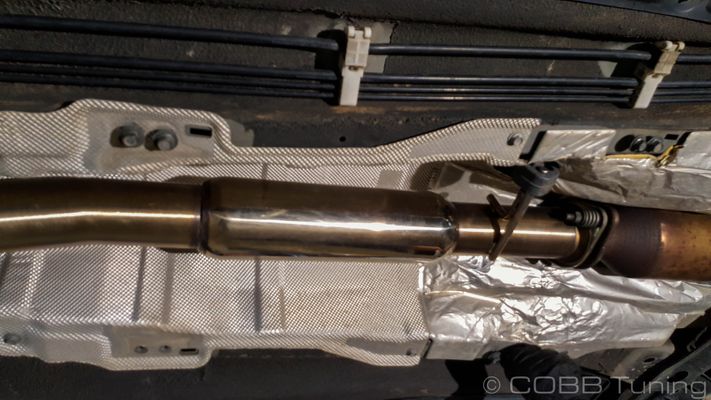
Remove the three 10mm bolts attaching the second heat shield to the first cat (Downpipe) section and remove the heat shield. - Remove the first 5 nuts holding the downpipe section to the turbo.
The nuts are a locking nut and can be pretty difficult to remove. Additionally the stud is prone to coming out along with it, some penetrating oil can go a long way to making this easier and to avoid stripping a thread. Raise the car and support it properly at this time either using a lift or jack and stands.
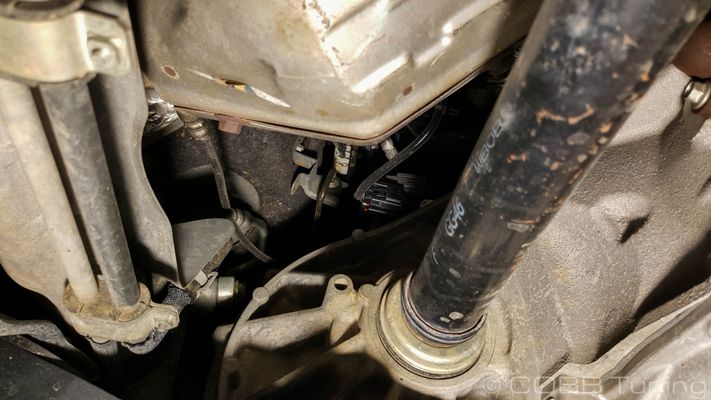
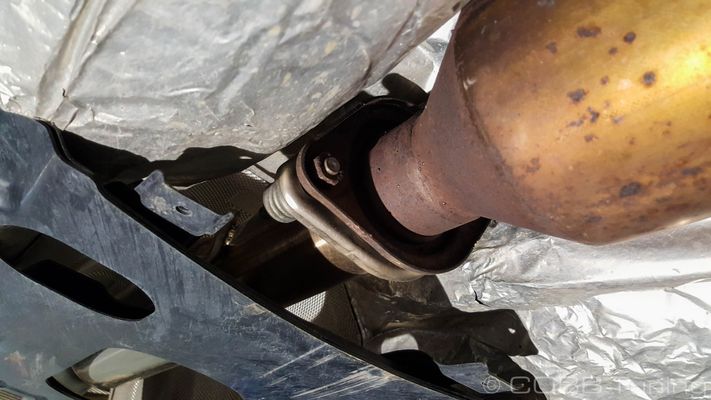
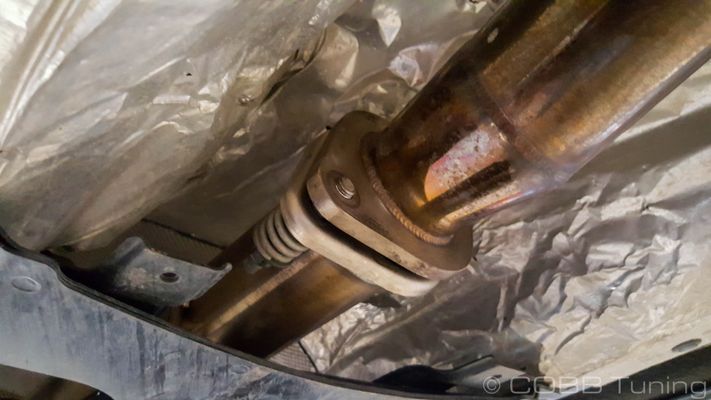
From underneath the car, remove the two 14mm nuts and springs that secure the rear of the downpipe to the cat-back.
Remove the bolts holding the rear catted section to the downpipe.
Slide the downpipe hangers out of the rubber hangers and remove the second cat section.
Carefully remove the rear o2 sensor from the first cat section paying attention to the warnings given in the first cat removal step.
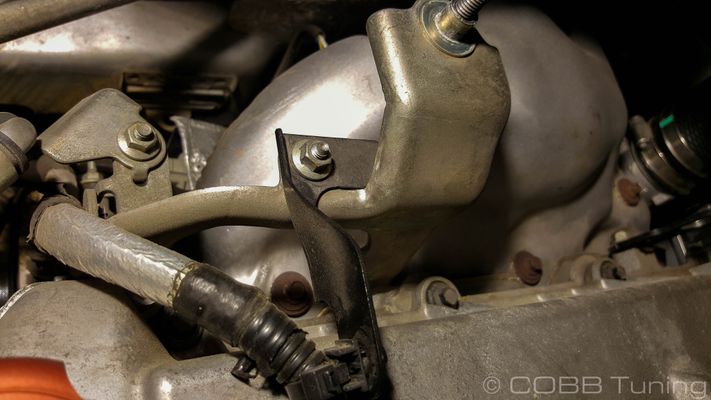
Remove the two 12mm bolts holding the downpipe brace to the downpipe, the two 14mm bolts attaching the brace to the engine, and remove the downpipe from the car, twisting as you go to get it to clear everything.
COBB Downpipe Installation
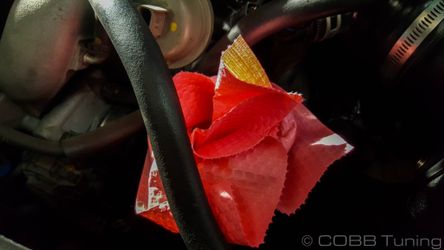
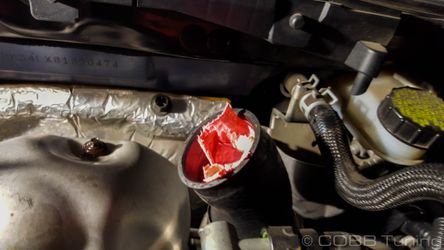
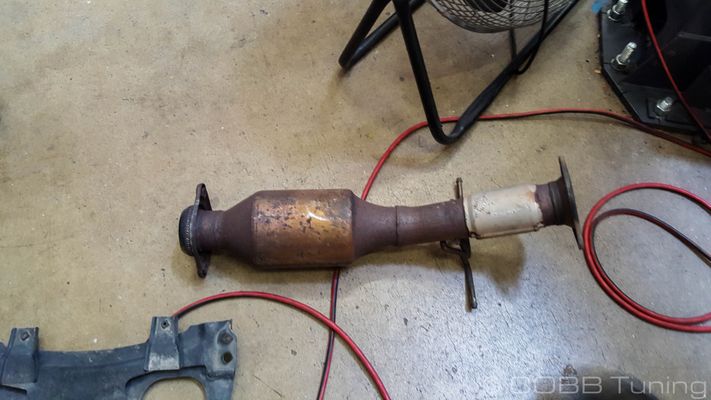
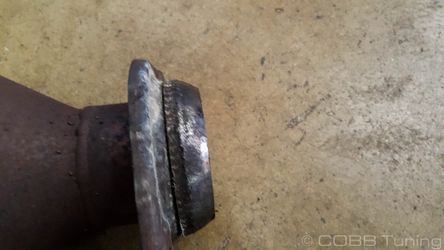
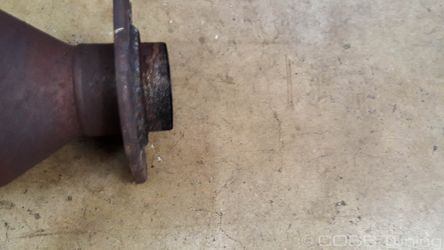
Remove the donut gasket from the rear of the stock downpipe (if it's in bad shape you can use the other one or it may be a good time to pick up a replacement from your dealer). It is often easiest to use a flathead screwdriver and carefully prying it a little bit at a time all the way around.
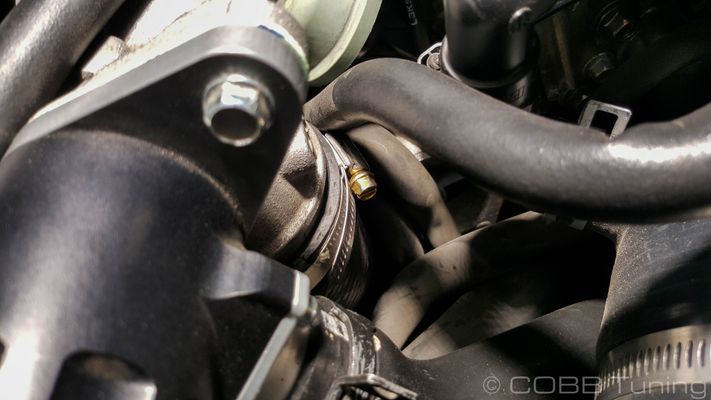
Make sure the factory gasket for the downpipe to turbo connection is in place and move the COBB downpipe up onto the turbo. Twisting and maneuvering may be required to get it up into position and on all the studs on the outlet of the turbo.
Slide the hanger rods onto the rubber hangers.
Reinstall the 5 nuts that attach the downpipe to the turbo and torque them to 38-51 ft/lbs.
Make sure to coat the threads with anti-seize prior to tightening them down.
Use the two spring bolts and springs from the original exhaust in order to connect it to the cat-back.
Coating the threads of the o2 sensor with high-temp anti-seize reinstall the front and rear-o2 sensors and reattach the wiring.
Reinstall the first heat shield and tighten to 70-95 ft/lbs/
Reinstall the intercooler rin the reverse order of removal.
You're all done! Flash an appropriate map and go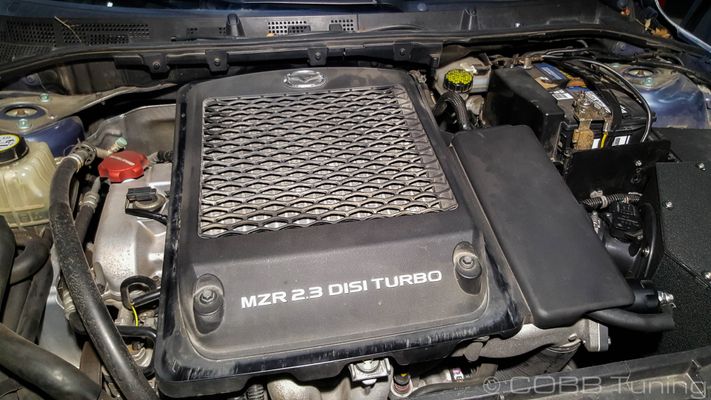
- Next up we're going to start the removal of the top mount intercooler. To do so you'll want to undo the 3 12mm nuts holding it in place, make sure to remove the washers that are on top as well to avoid them falling into the depths of the engine bay.
- Now remove the spring clamps holding the two hoses on to the BPV using your pliers.
- Finally undo the hose clamps from the turbo and throttle body couplers.
- Lift the top mount free from the car and set it somewhere safe. Be careful as there are metal inserts in the rubber grommets for the intercooler mounting bolts, make sure they don't pop out and end up somewhere inconvenient.
- Stuff something into the tubes to avoid dropping something into your turbo or engine.
- Moving to the back of the engine spray some penetrating oil on the heat shield bolts and allow it to sit so you can get them out easily. After waiting a bit remove all 5 using your 8mm socket.
- To avoid causing damage, it's a good idea to remove your O2 sensor at this time. Lift and support your car safely and undo the two plugs connecting the o2 sensor to the engine harness. Then work the harness out of the spiral holders and remove the o2 sensor with your oxygen sensor wrench or socket.
- Now remove the 3 10mm bolts holding the heat shield in place for the downpipe section.
- It can help get you a better visual and a little more space if you remove the heatshield for the manifold as well at this point. It's an easy 3 10mm bolts as well.
- Using your 14mm socket and various length extensions and universal joints remove the 5 bolts holding the downpipe to the turbo. They are locking nuts so it will take a little bit of effort to back them out the entire way. Be patient! This is probably one of the most difficult spots to get to on the car.
- Pop back under the car, using a 14mm remove the bolts where the rear flange goes to the catback. Undoing the 8 12mm bolts to remove the tunnel brace can help get you a little bit better access to the bolts.
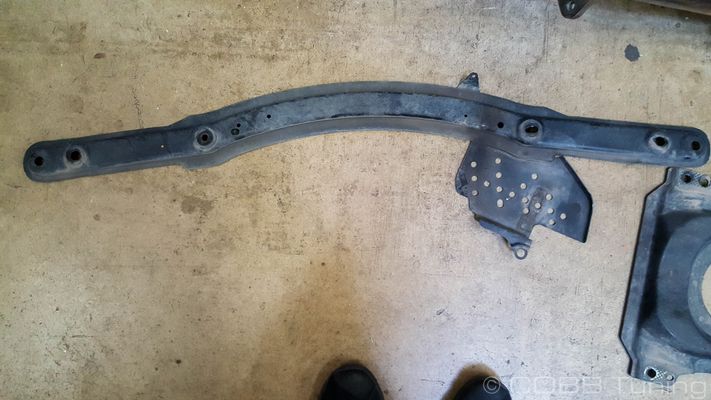
- Remove the front lateral brace using your 14mm socket on the 4 large bolts and a 12m on the single smaller bolt for the line cover.
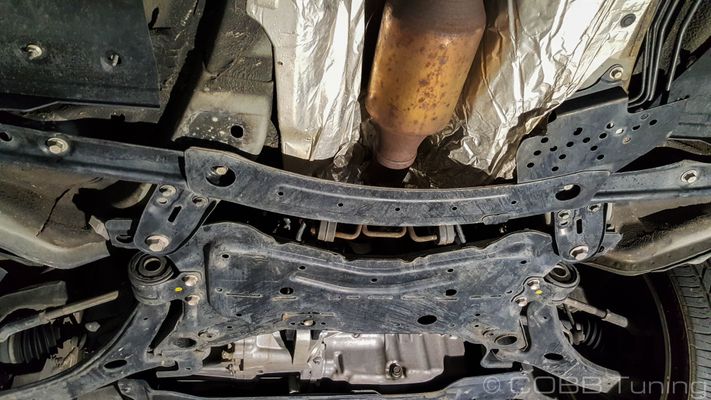
- With straight access, remove the rear downpipe section from the car by removing the 2 14mm spring bolts and pulling it out of the rubber hangers..
- Unplug your rear o2 sensor connector.
- Unbolt the two 14mm bolts from the support bracket for the downpipe.

- Carefully twist and turn the upper downpipe section out of the car being careful not to hit the oxygen sensor on anything.
- Using your oxygen sensor socket remove the rear o2 sensor and set it in a safe place, making sure to remember which o2 sensor goes where.
COBB Downpipe Installation
| Note |
|---|
If your car is older it may be a good time to replace your oxygen sensors with new factory units. Over time they may read innaccurately and a good air fuel reading is critical to engine health. |
- Transfer the rear most downpipe donut gasket over to the new COBB downpipe by carefully prying it outward a little at a time with a flat screwdriver or purchase a new one from the dealership.
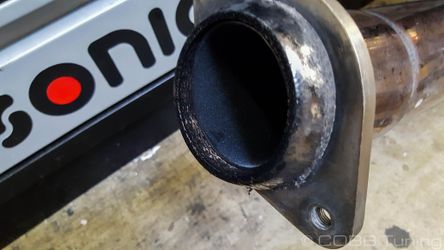
- Make sure your turbo to downpipe flange asket is still in place and snake the new COBB Downpipe in place, using the rubber hangers to hold it up.

- Using your favorite extensions again to rebolt the 5 14mm nuts in place, adding anti-seize to the threads first can help make them easier to service next time and prevent snapping or stripping the studs.
- Add anti-seize to the threads of the up-stream oxygen sensor and then add it in to the higher-up bung on the downpipe. Route the wiring down towards the connector away from as many heat sources as you can.
- re-install the manifold heat shield and upper large heatshield using anti-seize on the bolts to prevent seizing.
- Moving back under the car, apply anti-seize to the rear o2 sensor and install.
- Plug in both oxygen sensors to the appropriate locations.
- Bolt the COBB Downpipe to the catback using the stock spring bolts from the same location. The bolt should have a shoulder which will bottom out against the downpipe so make sure it doesn't get caught on the catback flange when you're installing it in place.
- Reinstall the under car braces, intercooler and engine cover.
- Flash the appropriate map for the modifications you have on the vehicle
- Go out and enjoy!
Links
Widget Connector url https://www.youtube.com/watch?v=hM_Ax8WFOFg&feature=youtu.be
Mazda Installation Instructions
Main Installation Instruction Repository for Mazda Parts
Link to Mazda Map Notes to see what map you should be on given the parts you've added
| Insert excerpt | ||||||
|---|---|---|---|---|---|---|
|