Raptor Stock Intercooler Removal
Table of Contents
| Table of Contents |
|---|
Tools Needed
Sockets
3/8"
- 3/8" 10mm deep socket
- 3/8" 15mm deep socket
Hand Tools
- Phillips head screwdriver
- Flathead screwdriver
- Trim Trim removal tool
- Razor Knife
- Air Saw or Dremel
Misc.
- Marking device similar to a paint pen or sharpie
Wrenches
Ford P/N FL3Z-8475-F
| Insert excerpt | ||||||
|---|---|---|---|---|---|---|
|
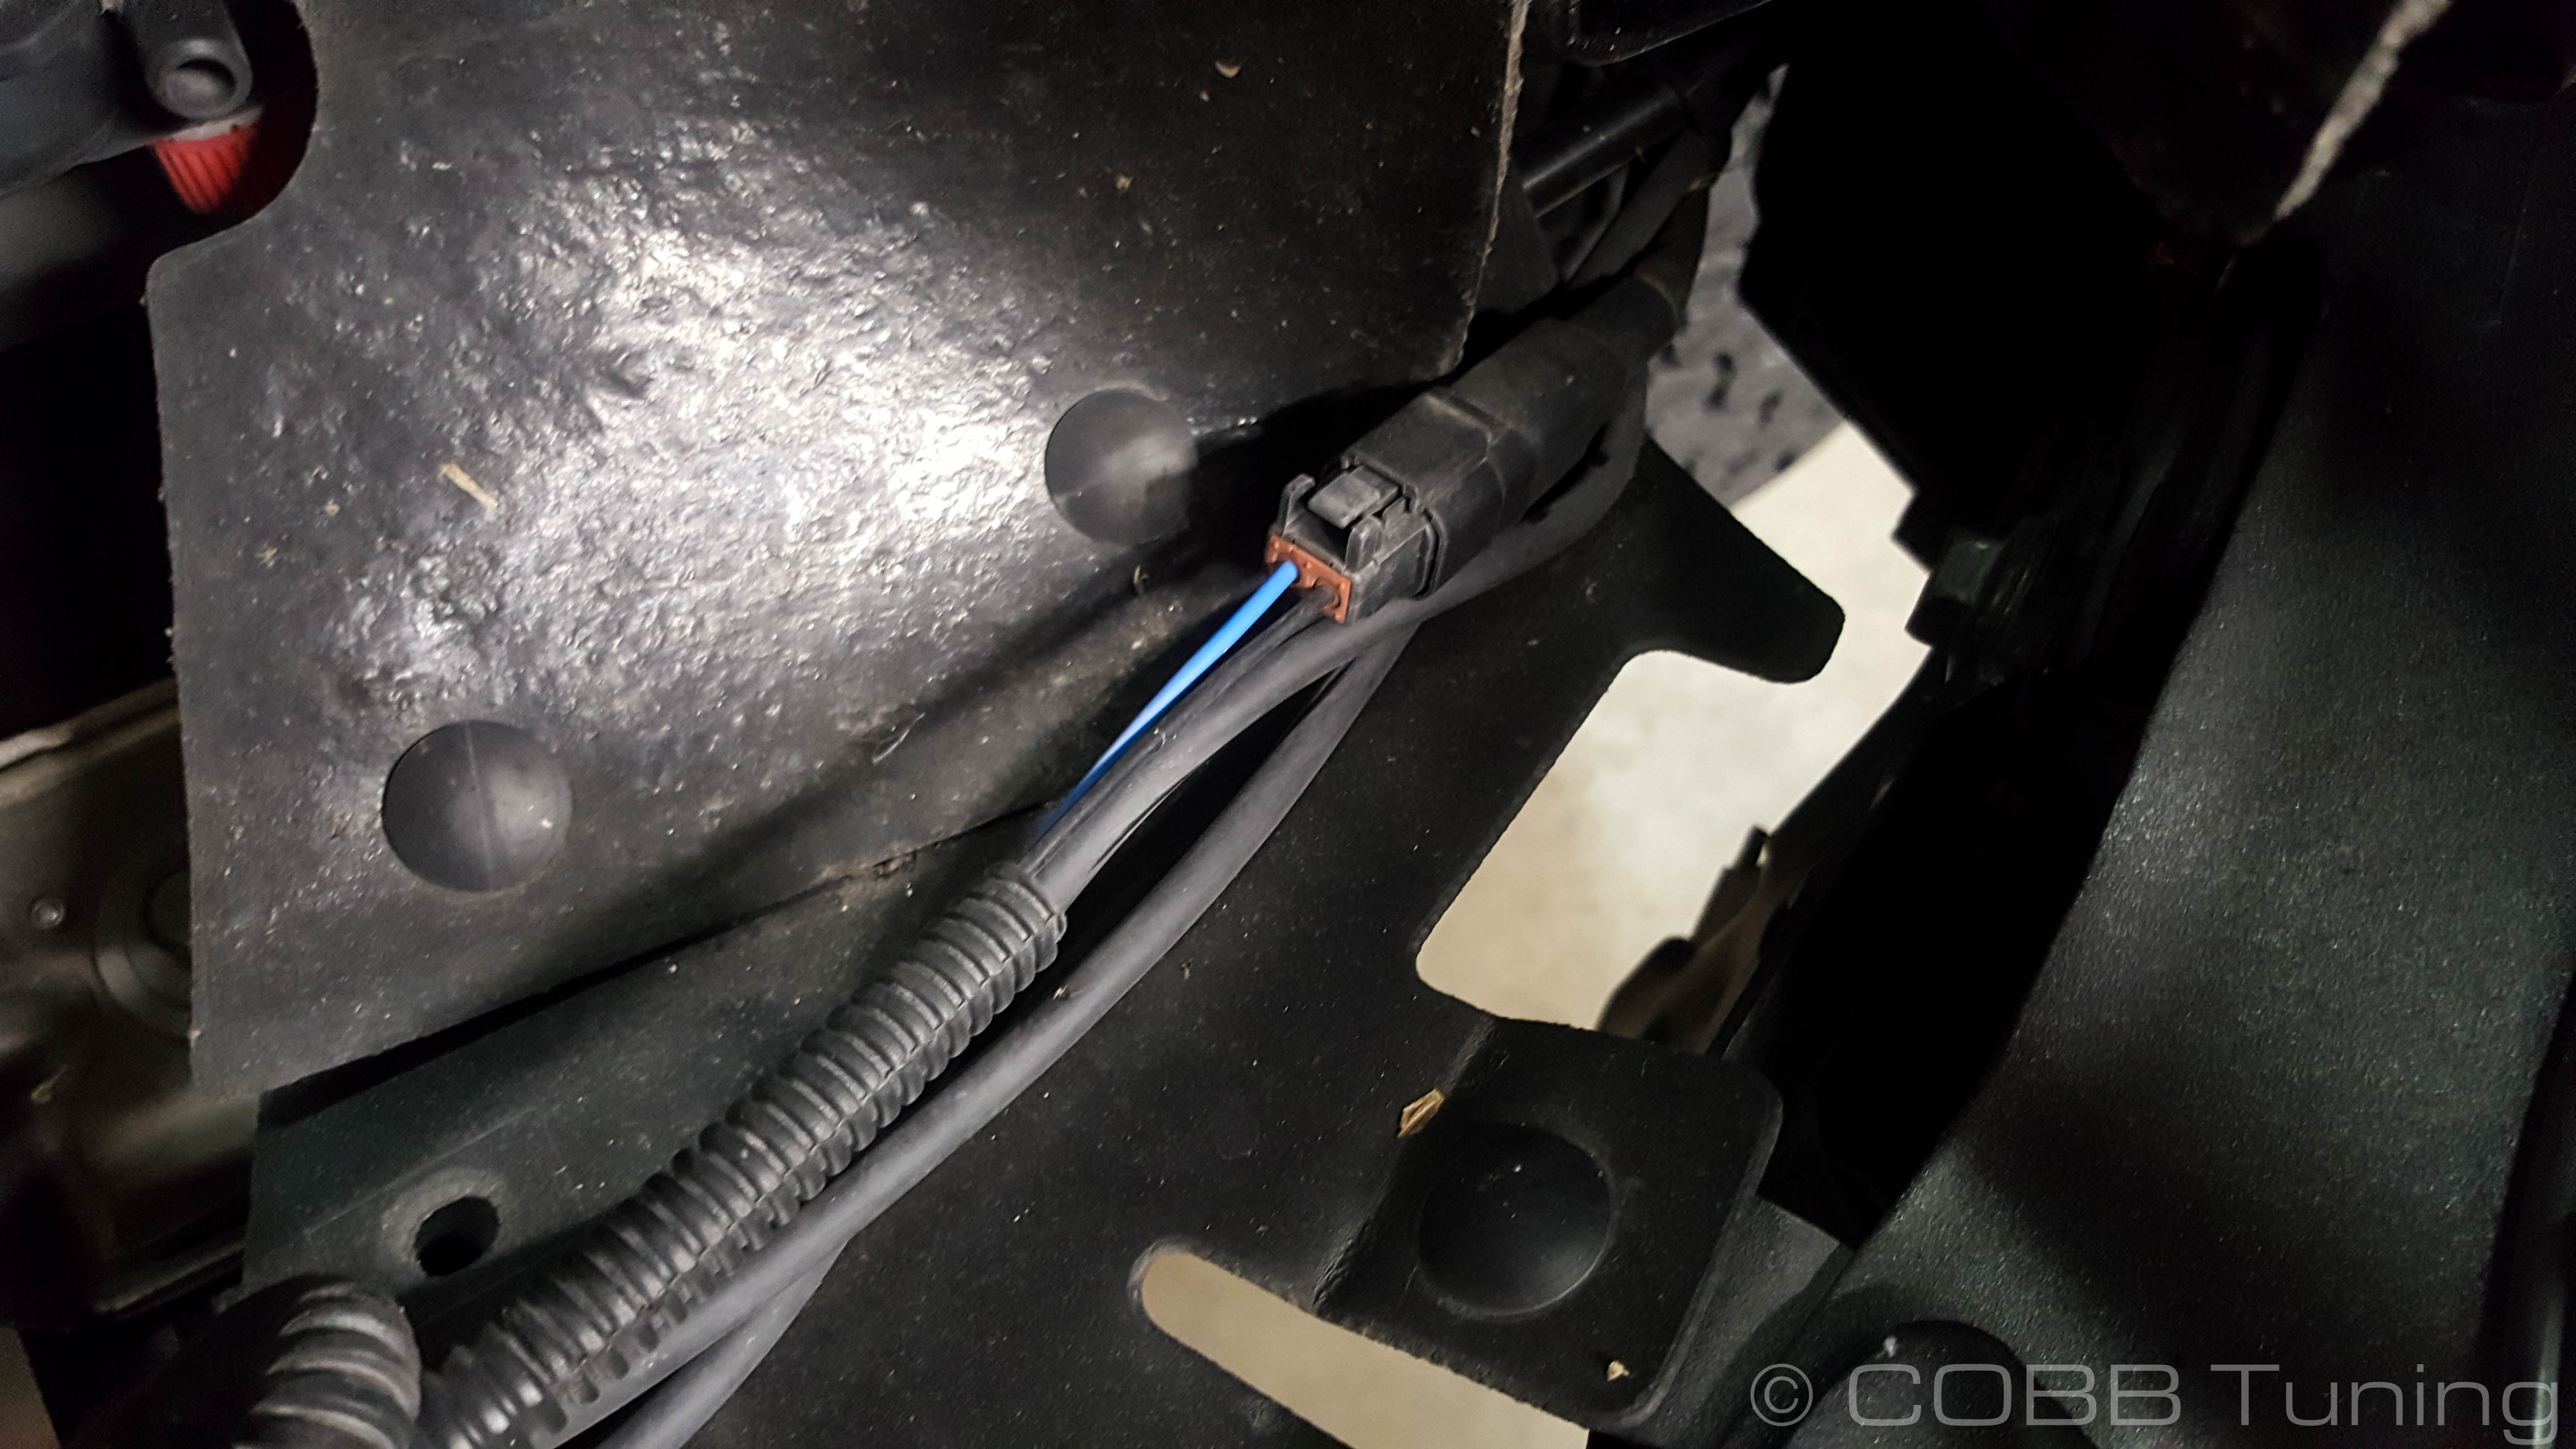
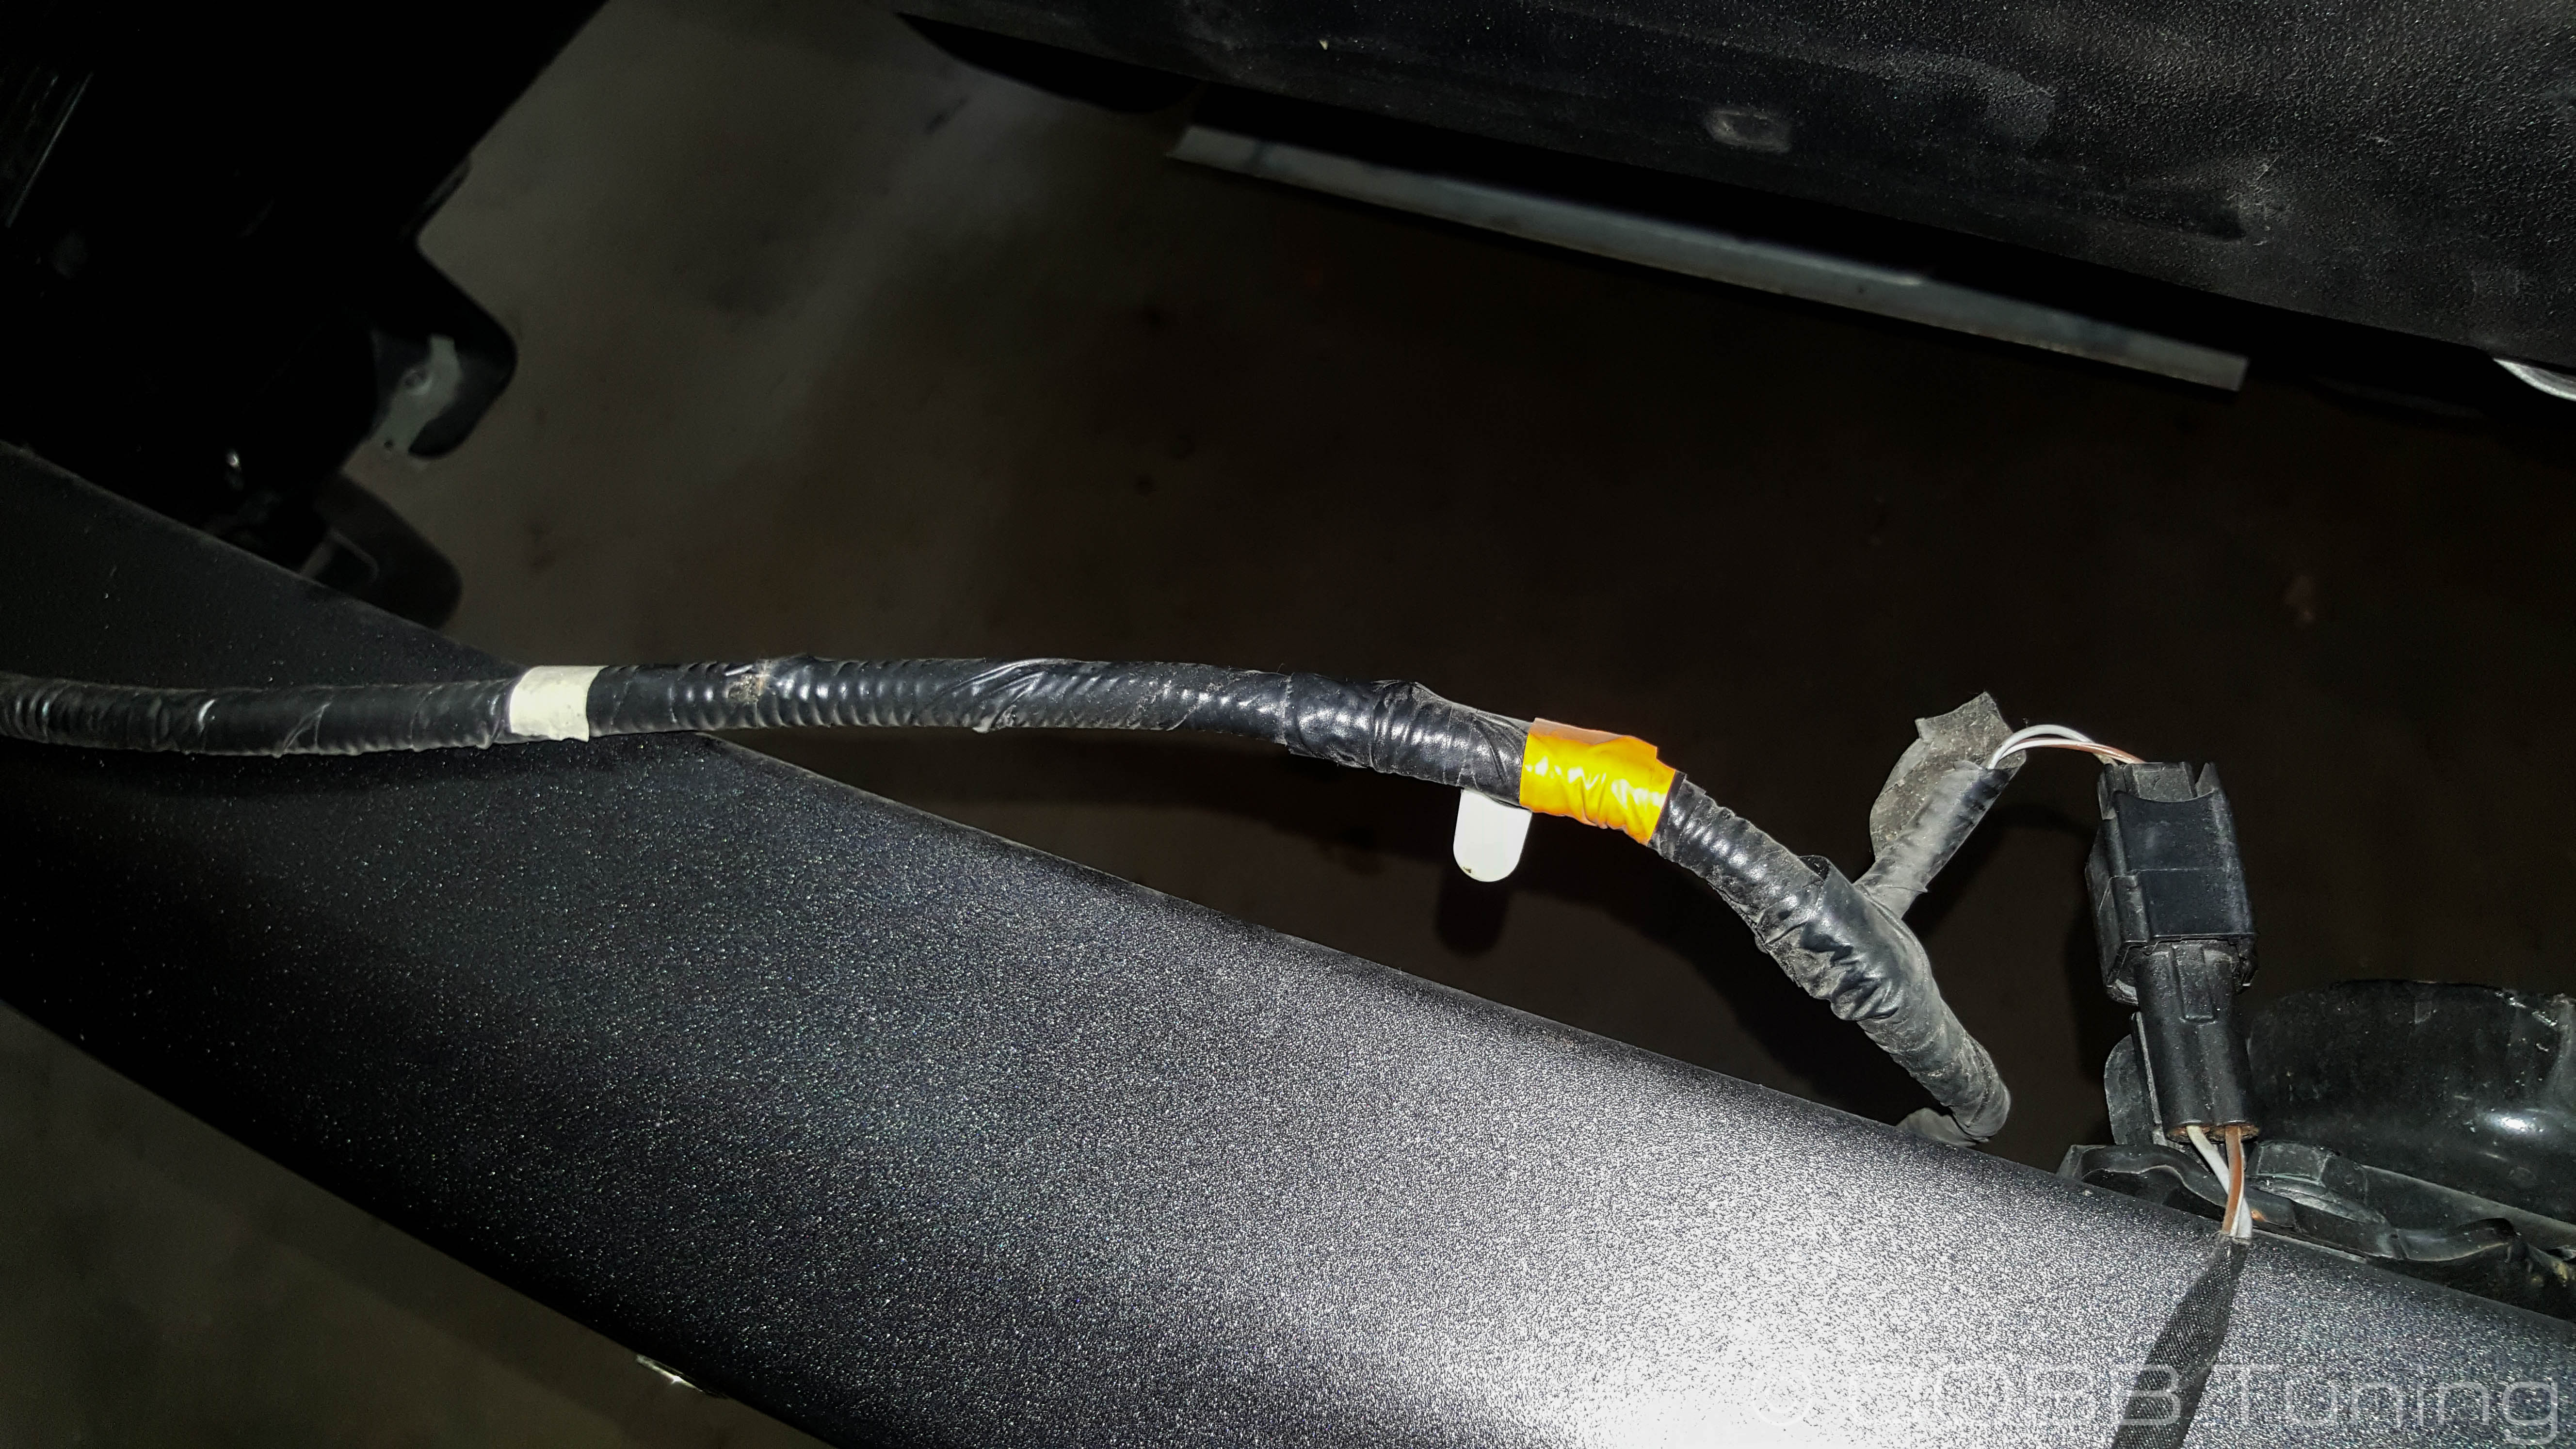
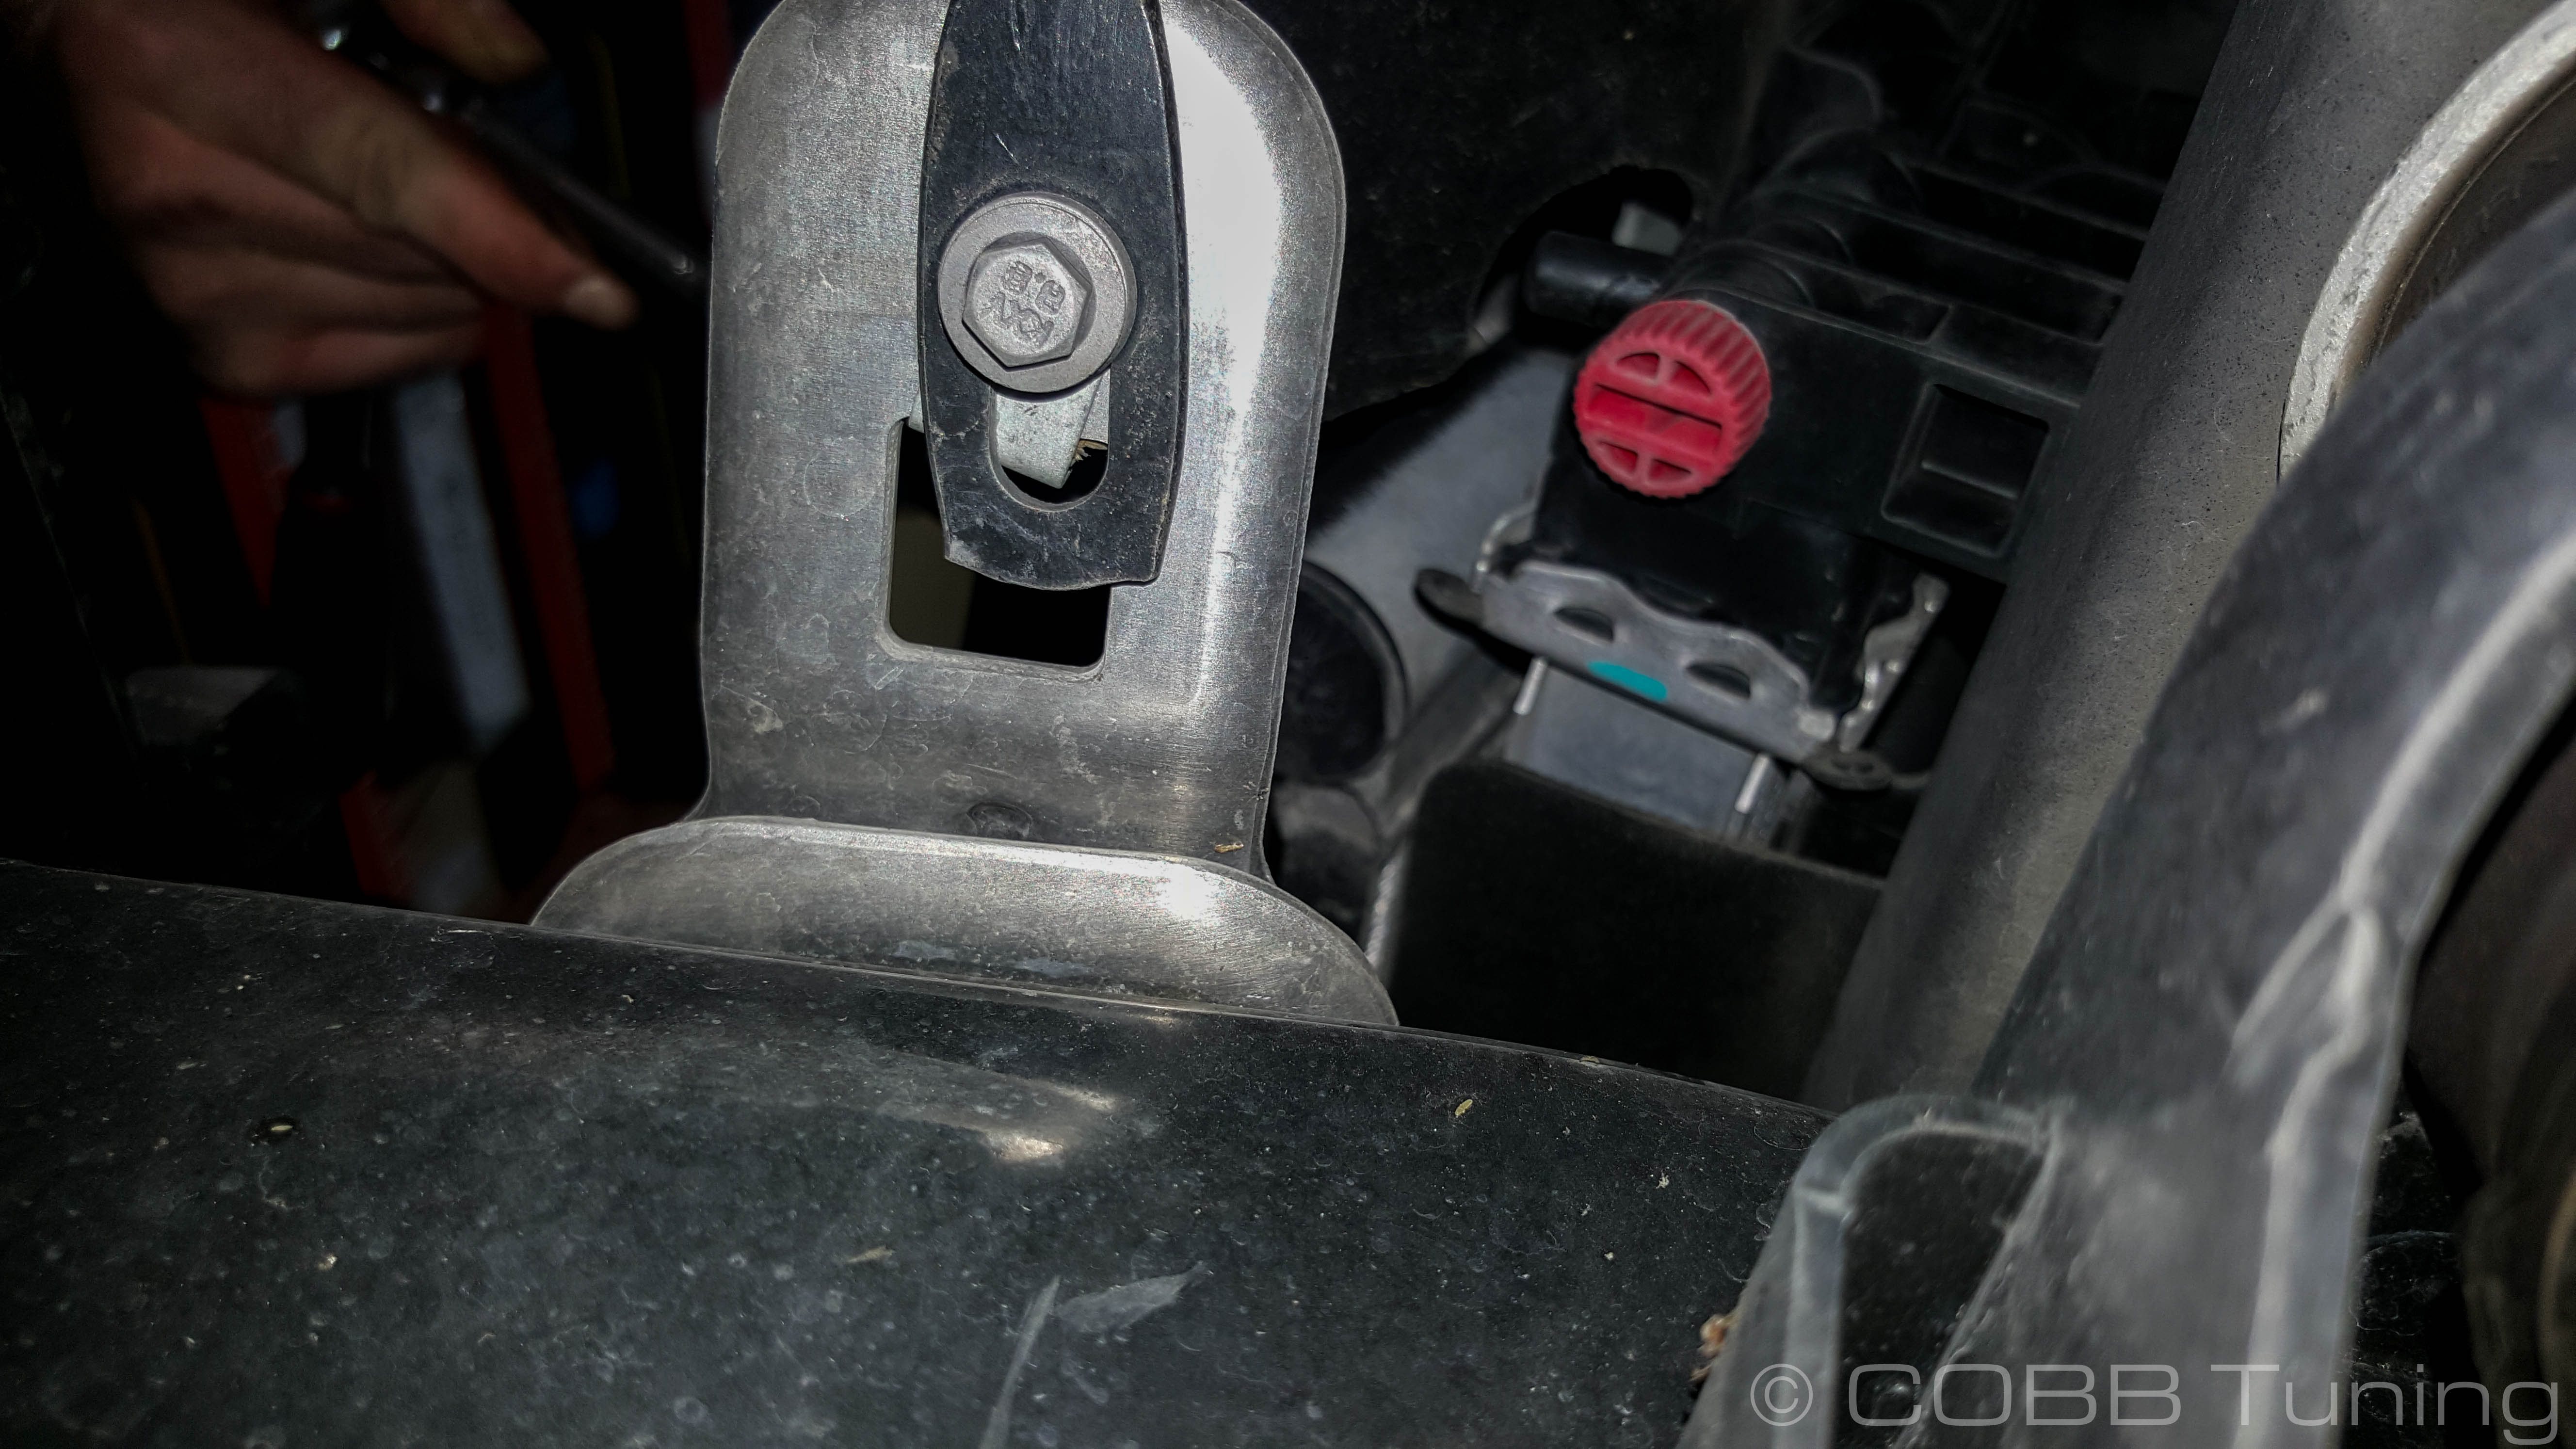
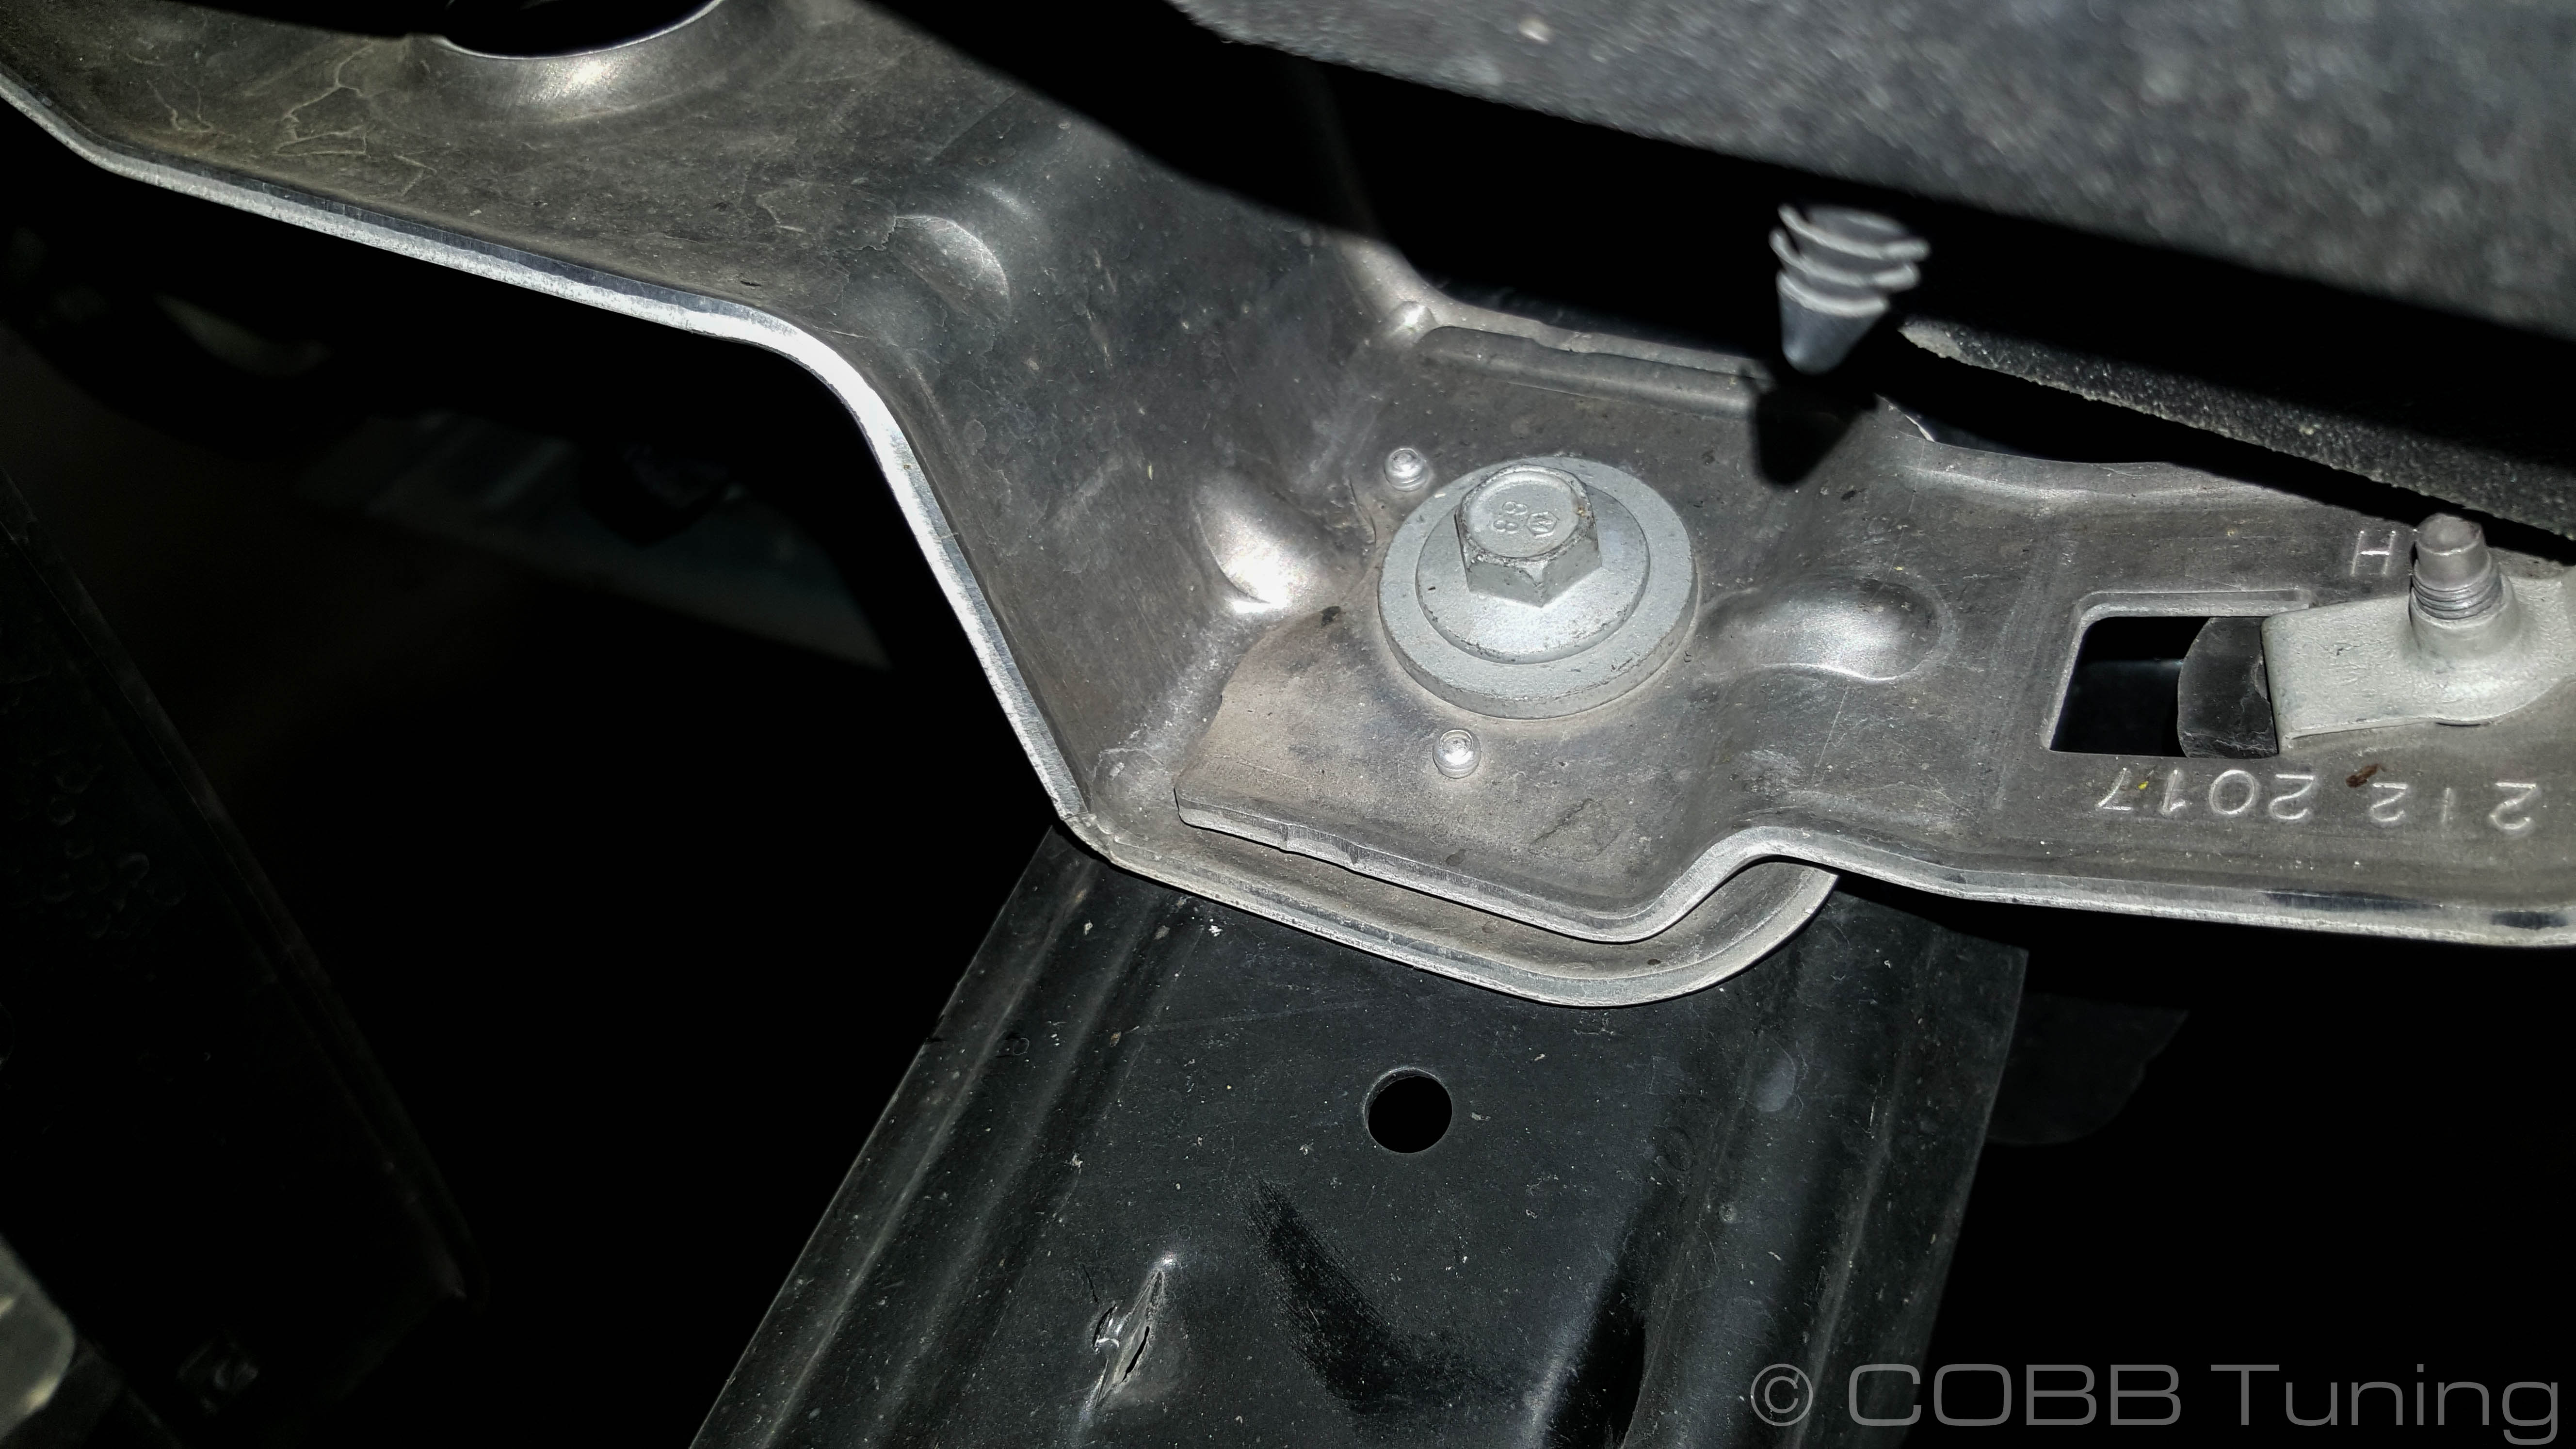
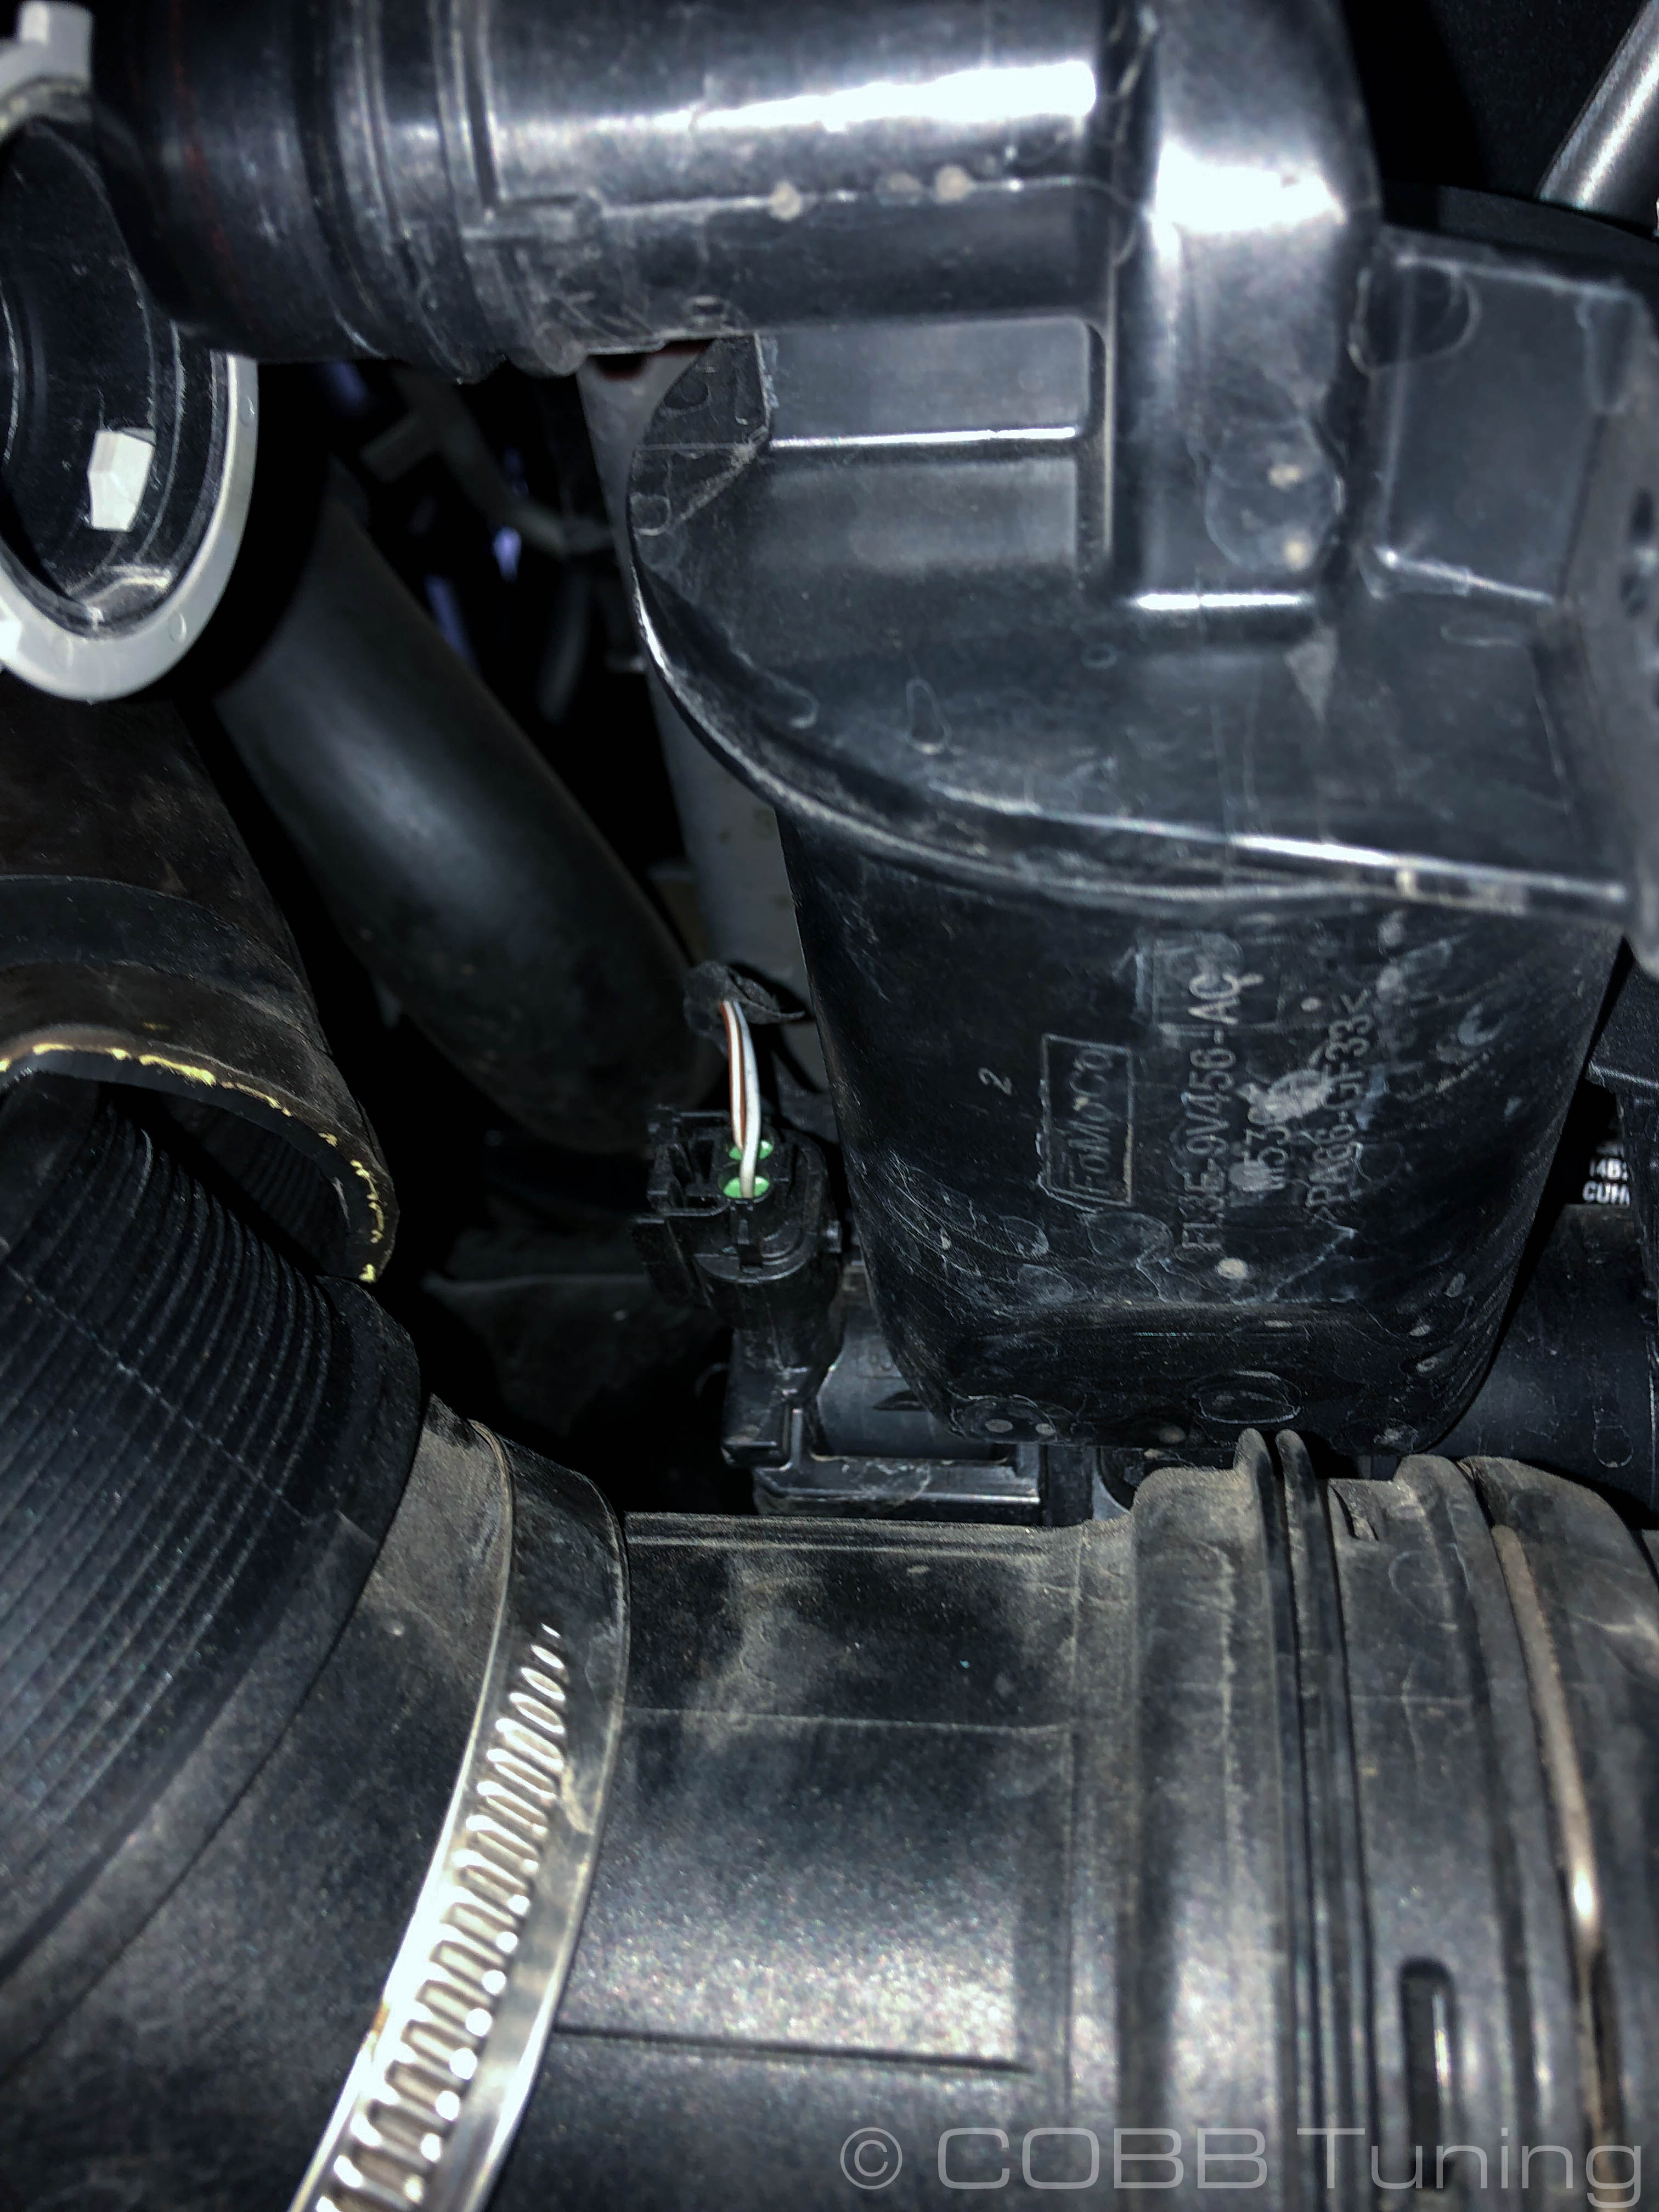
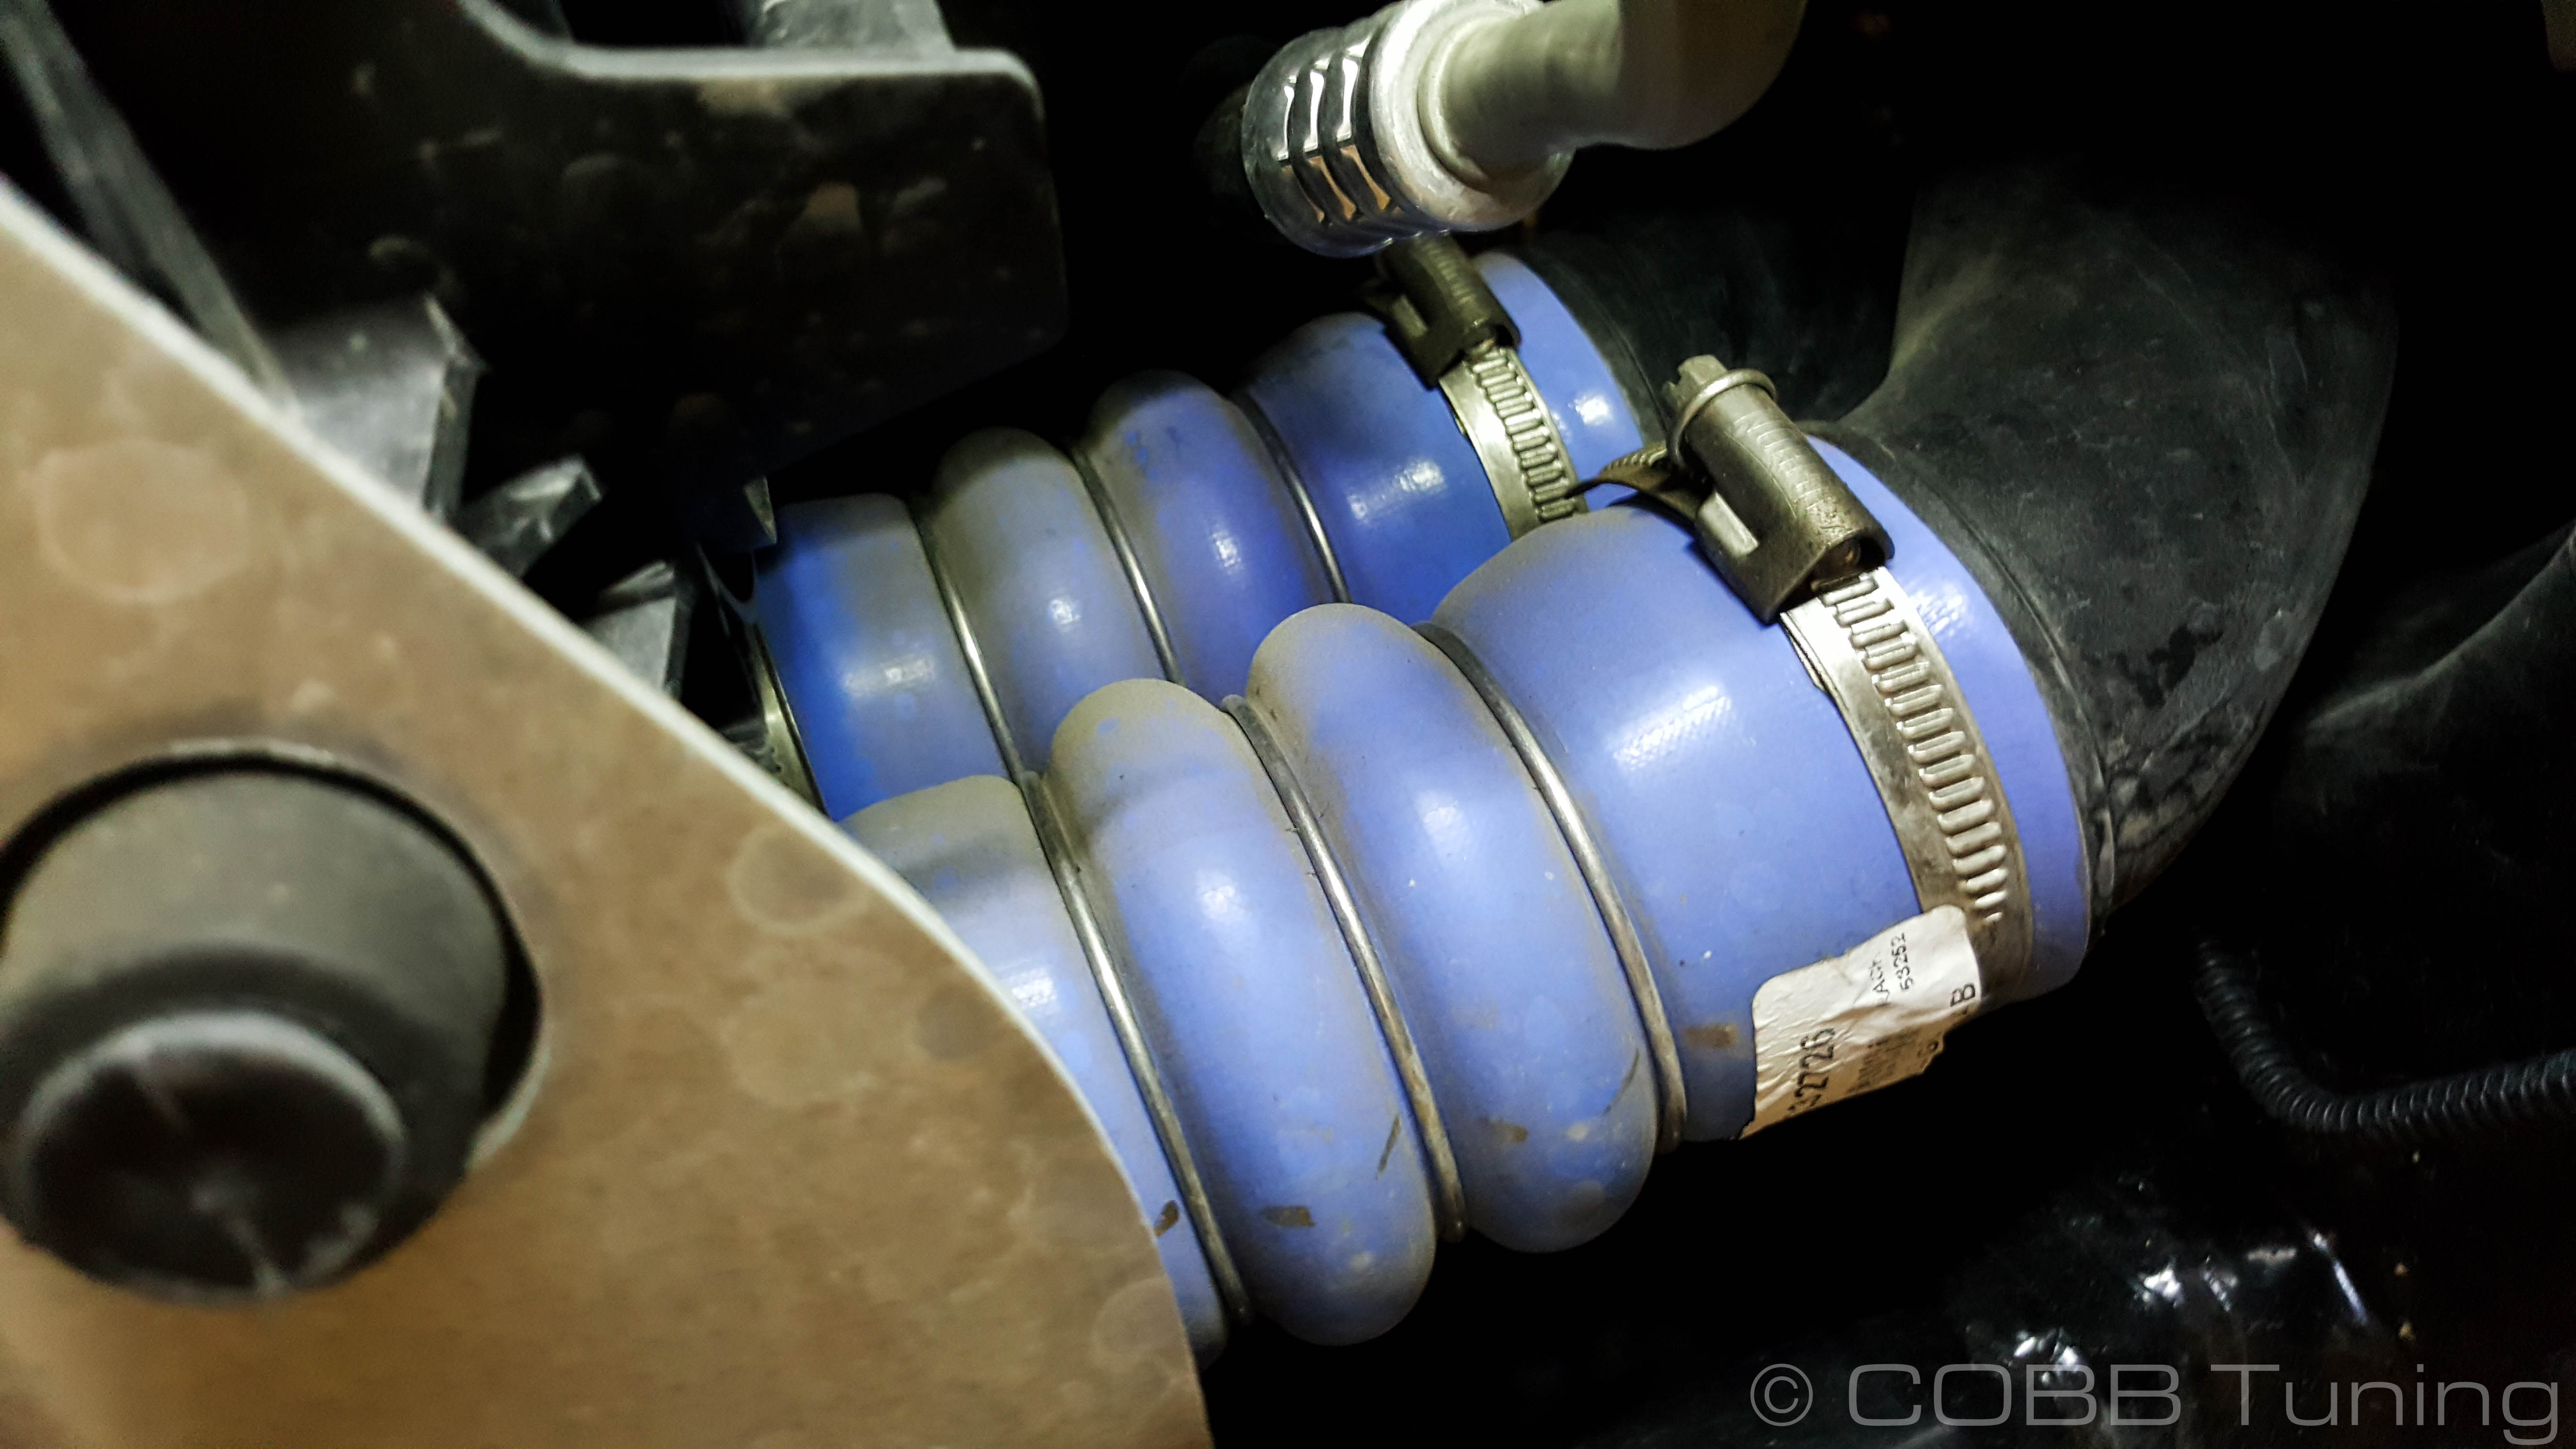
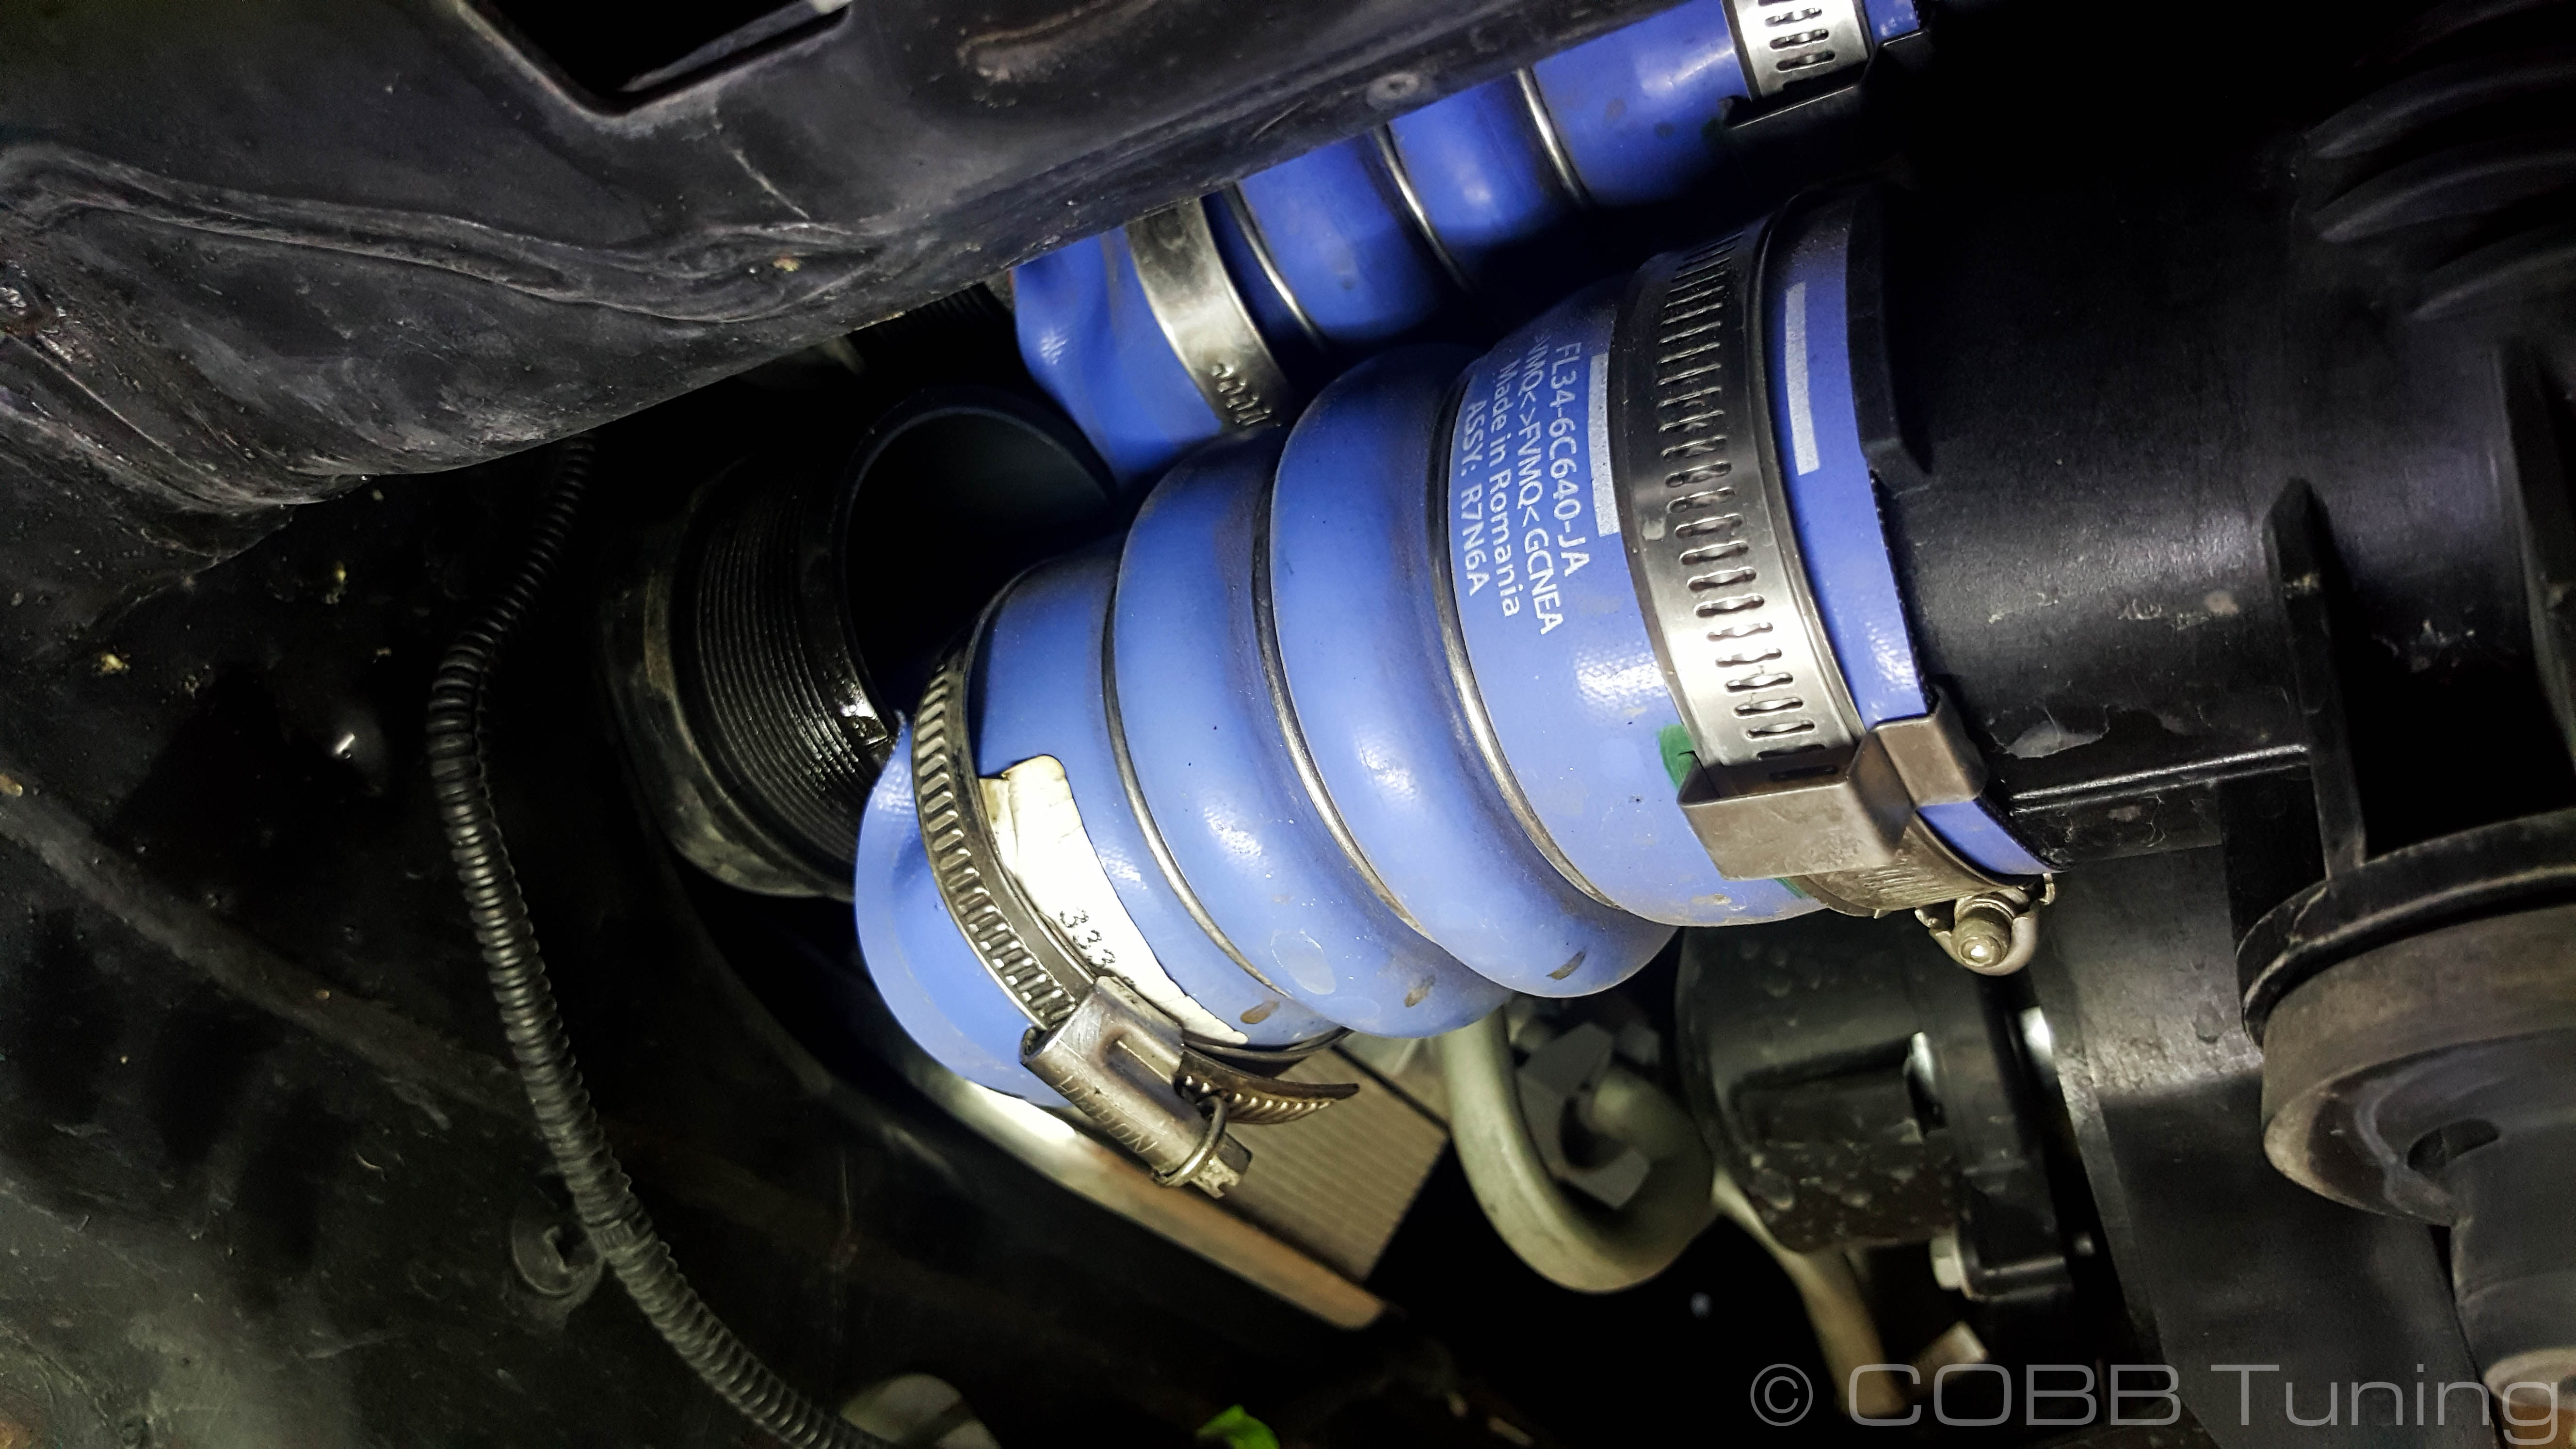
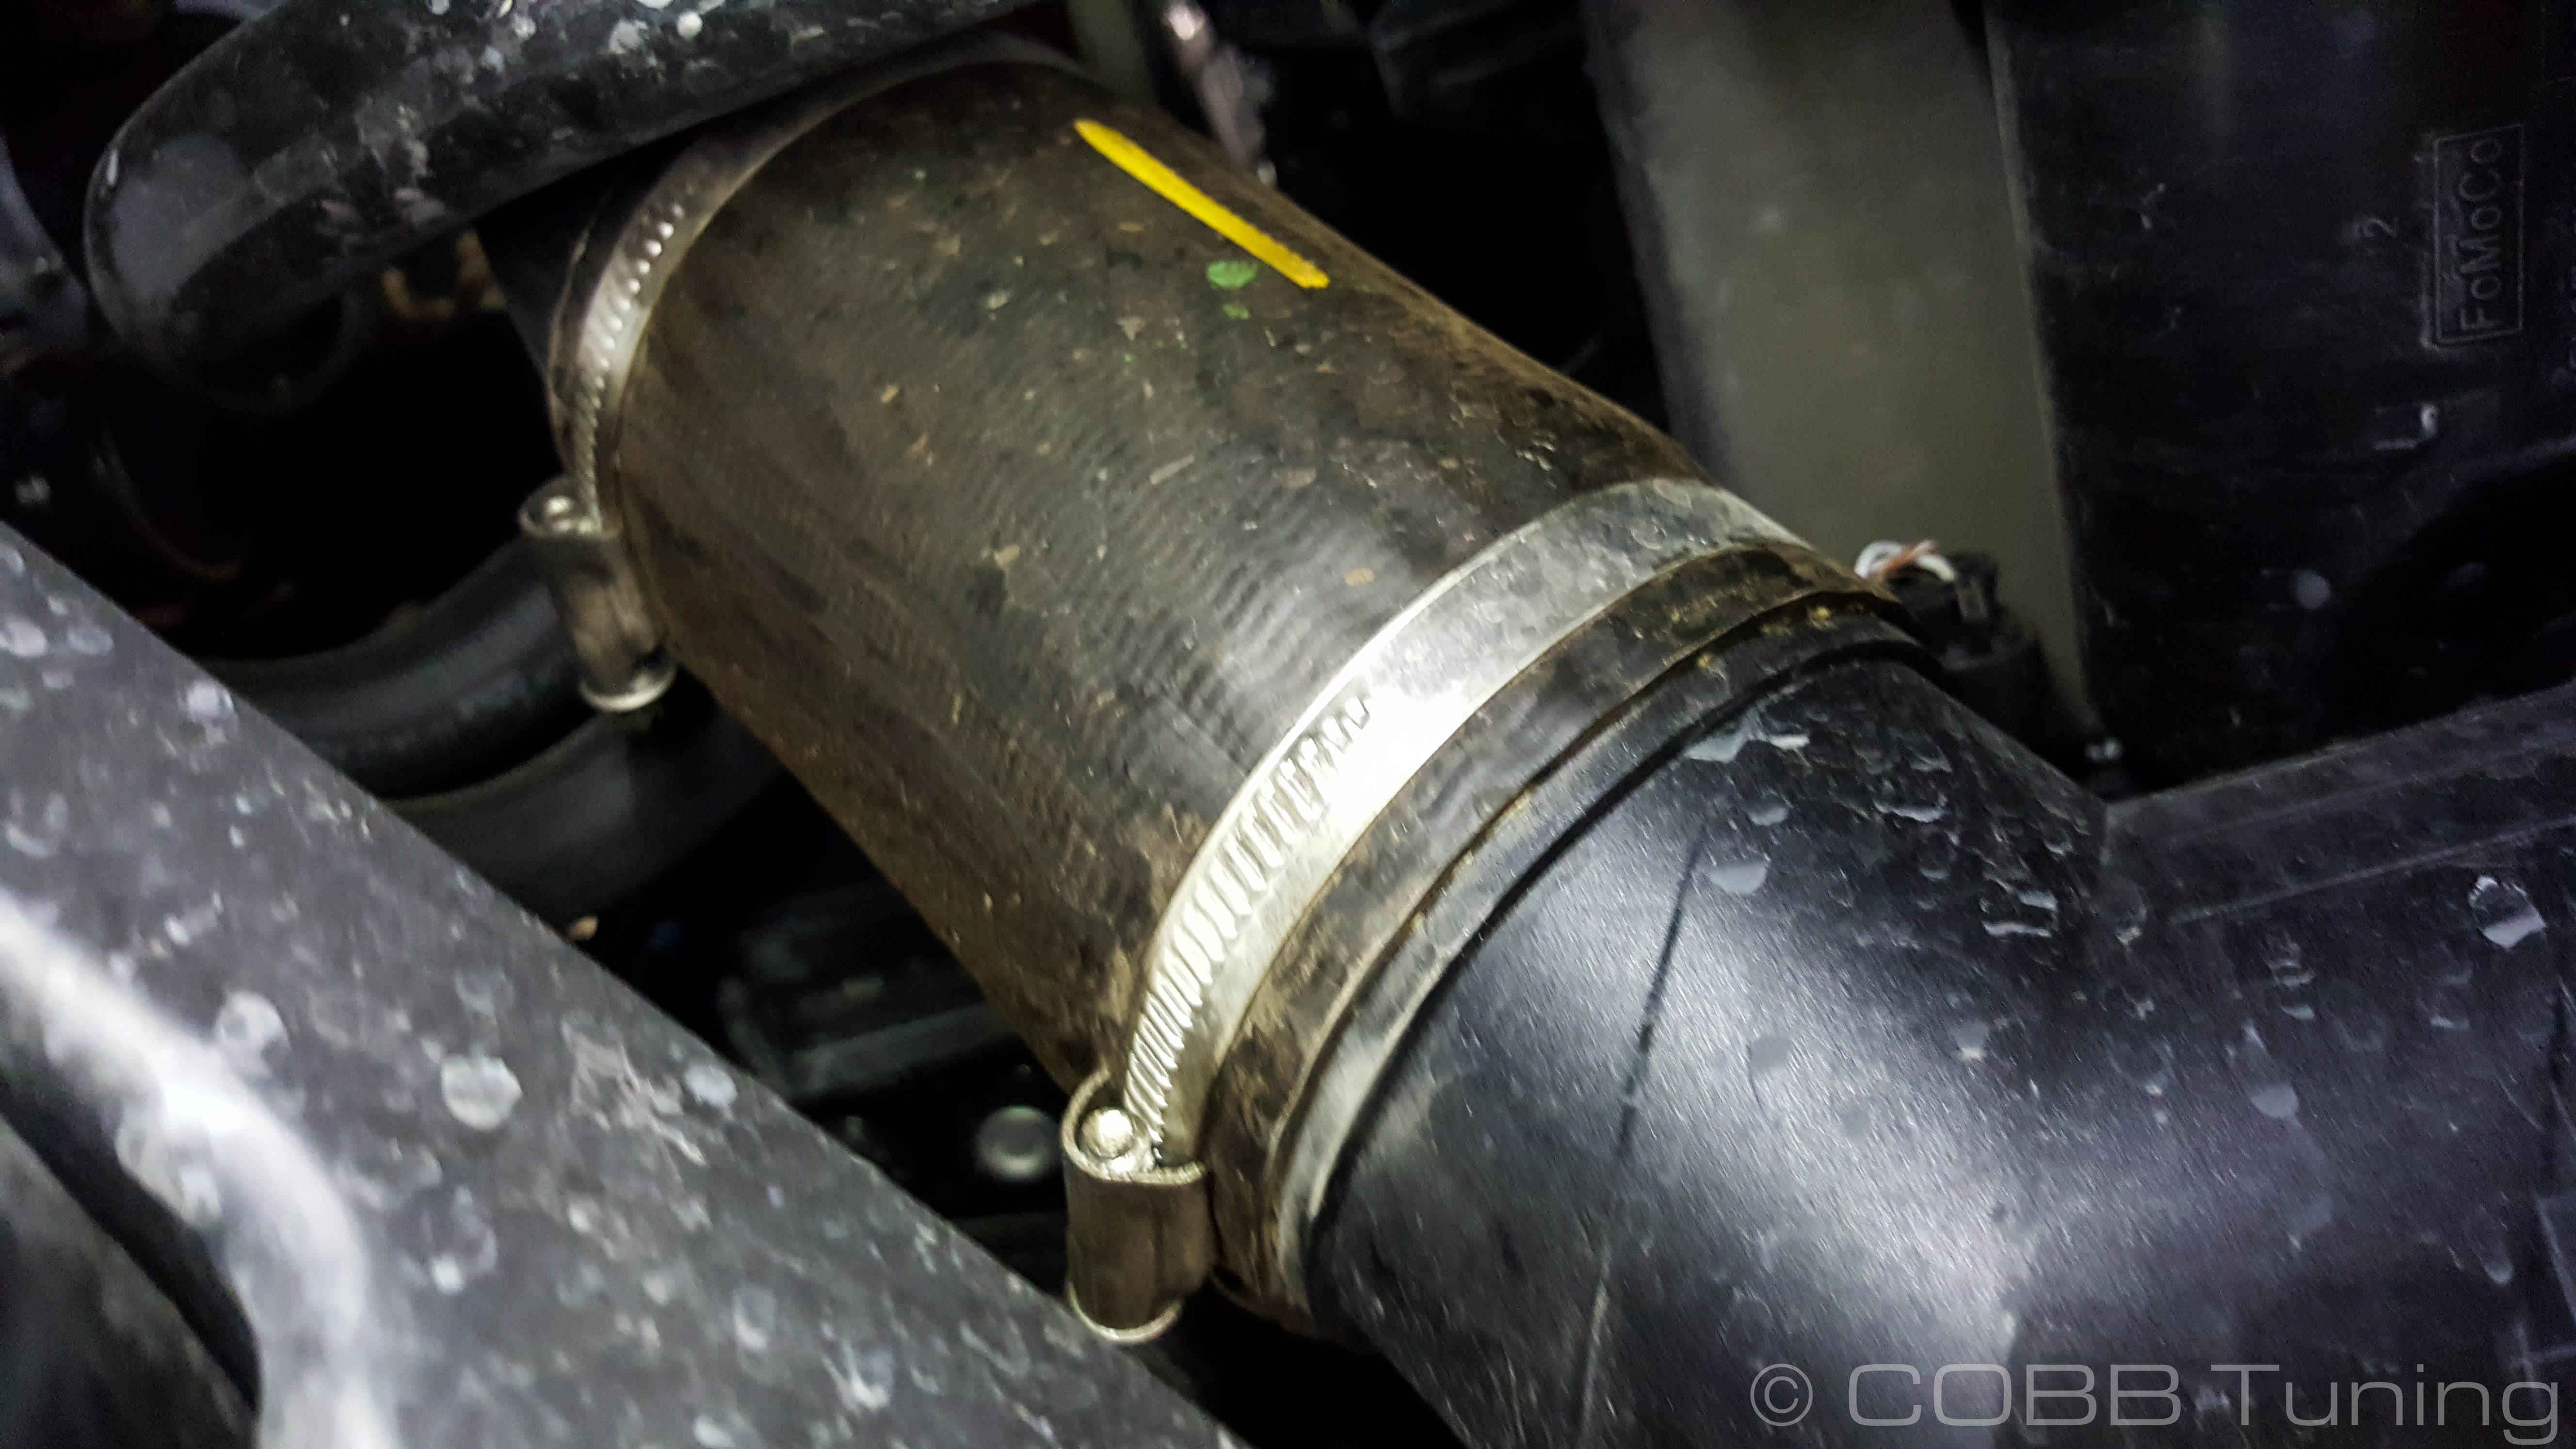
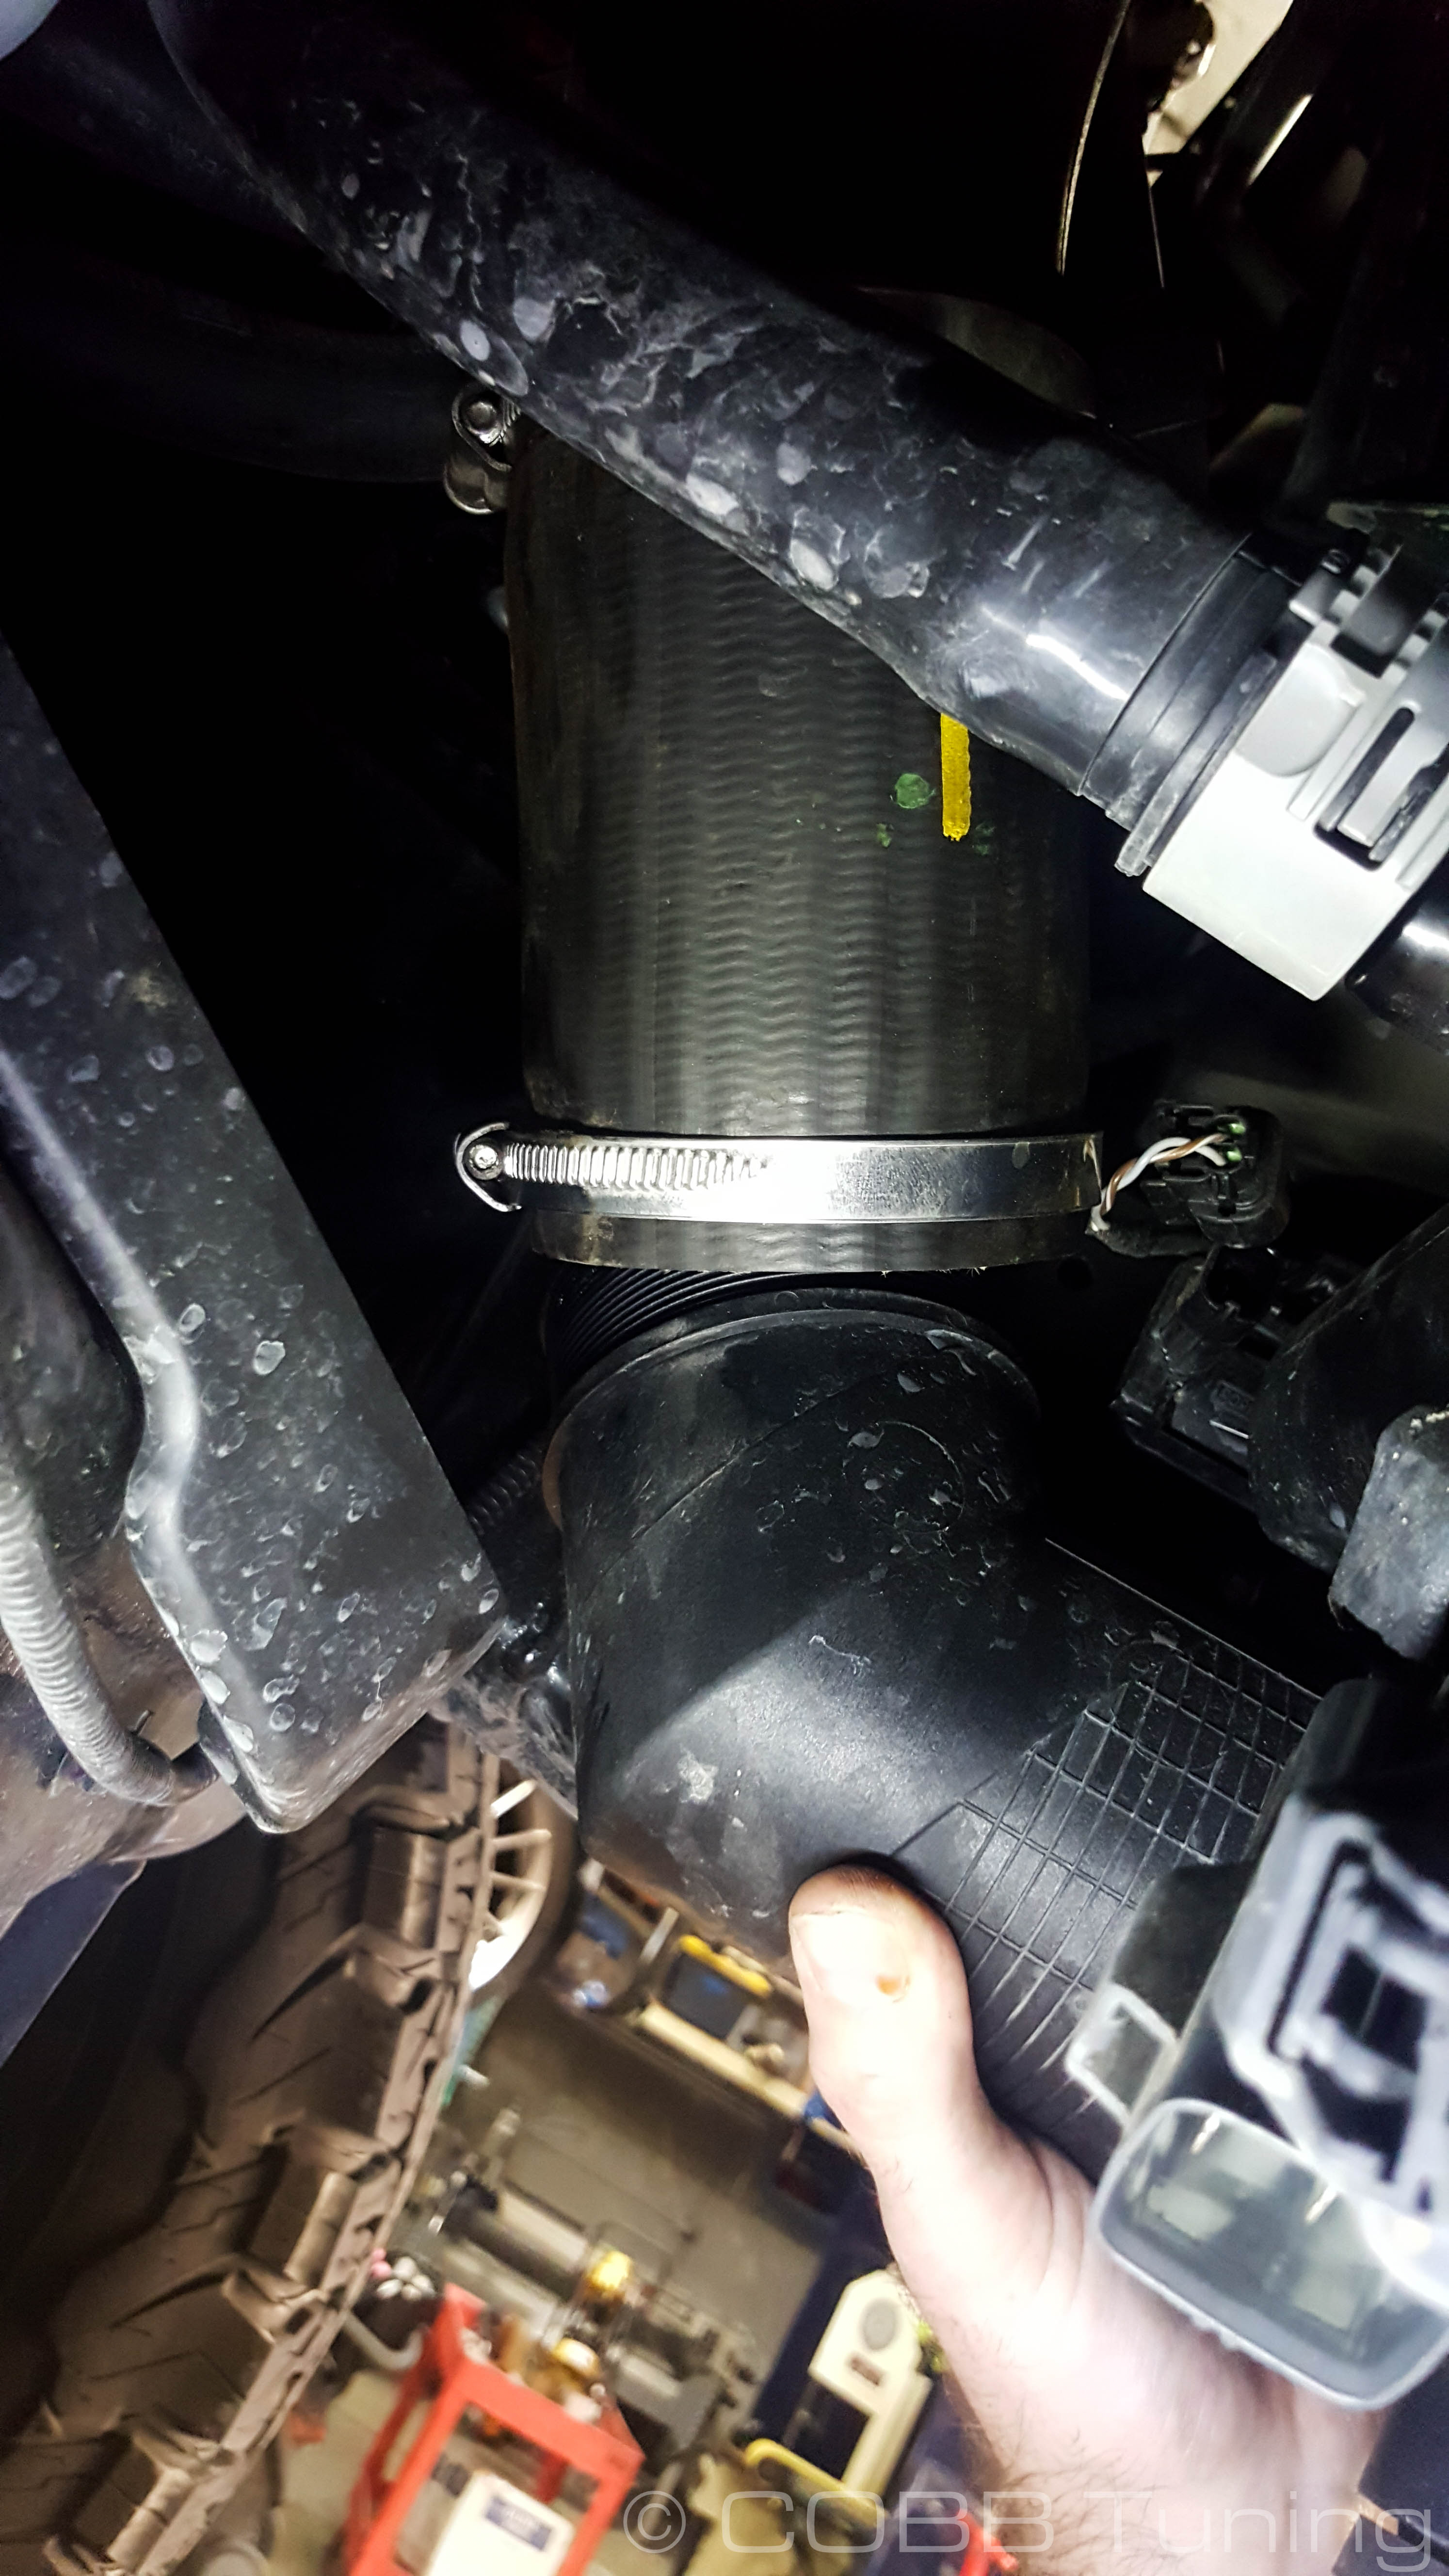
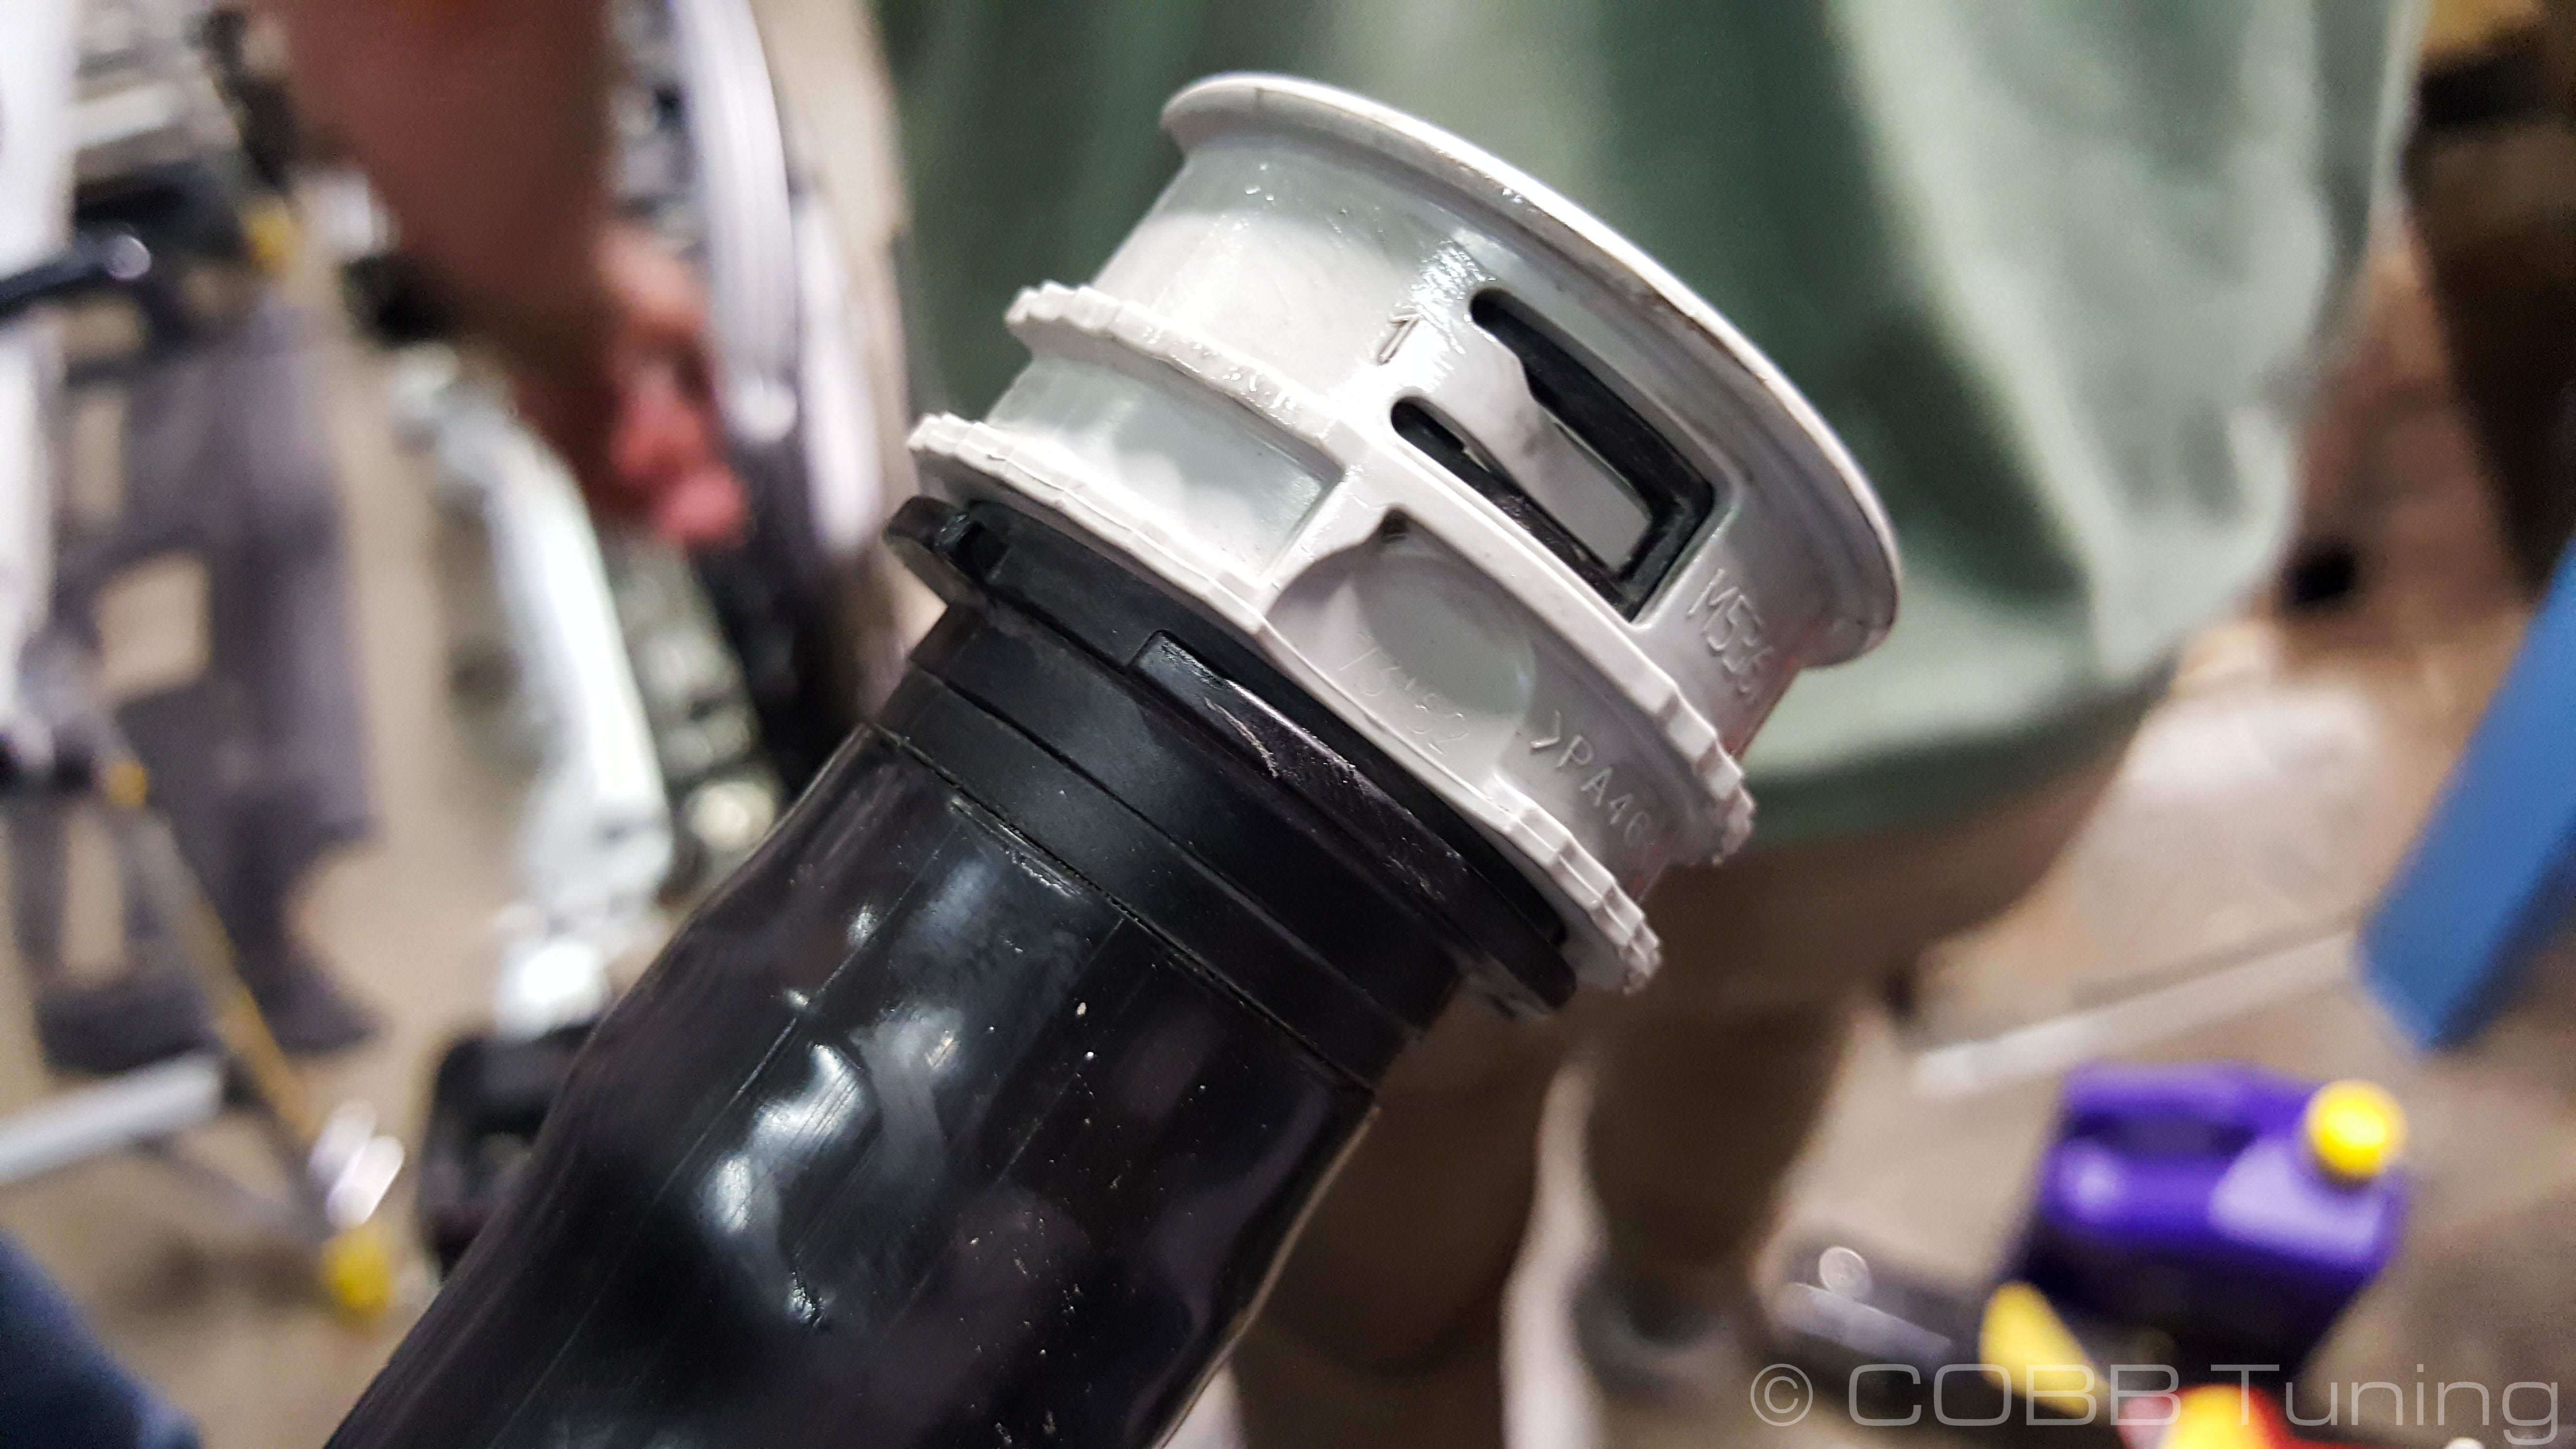
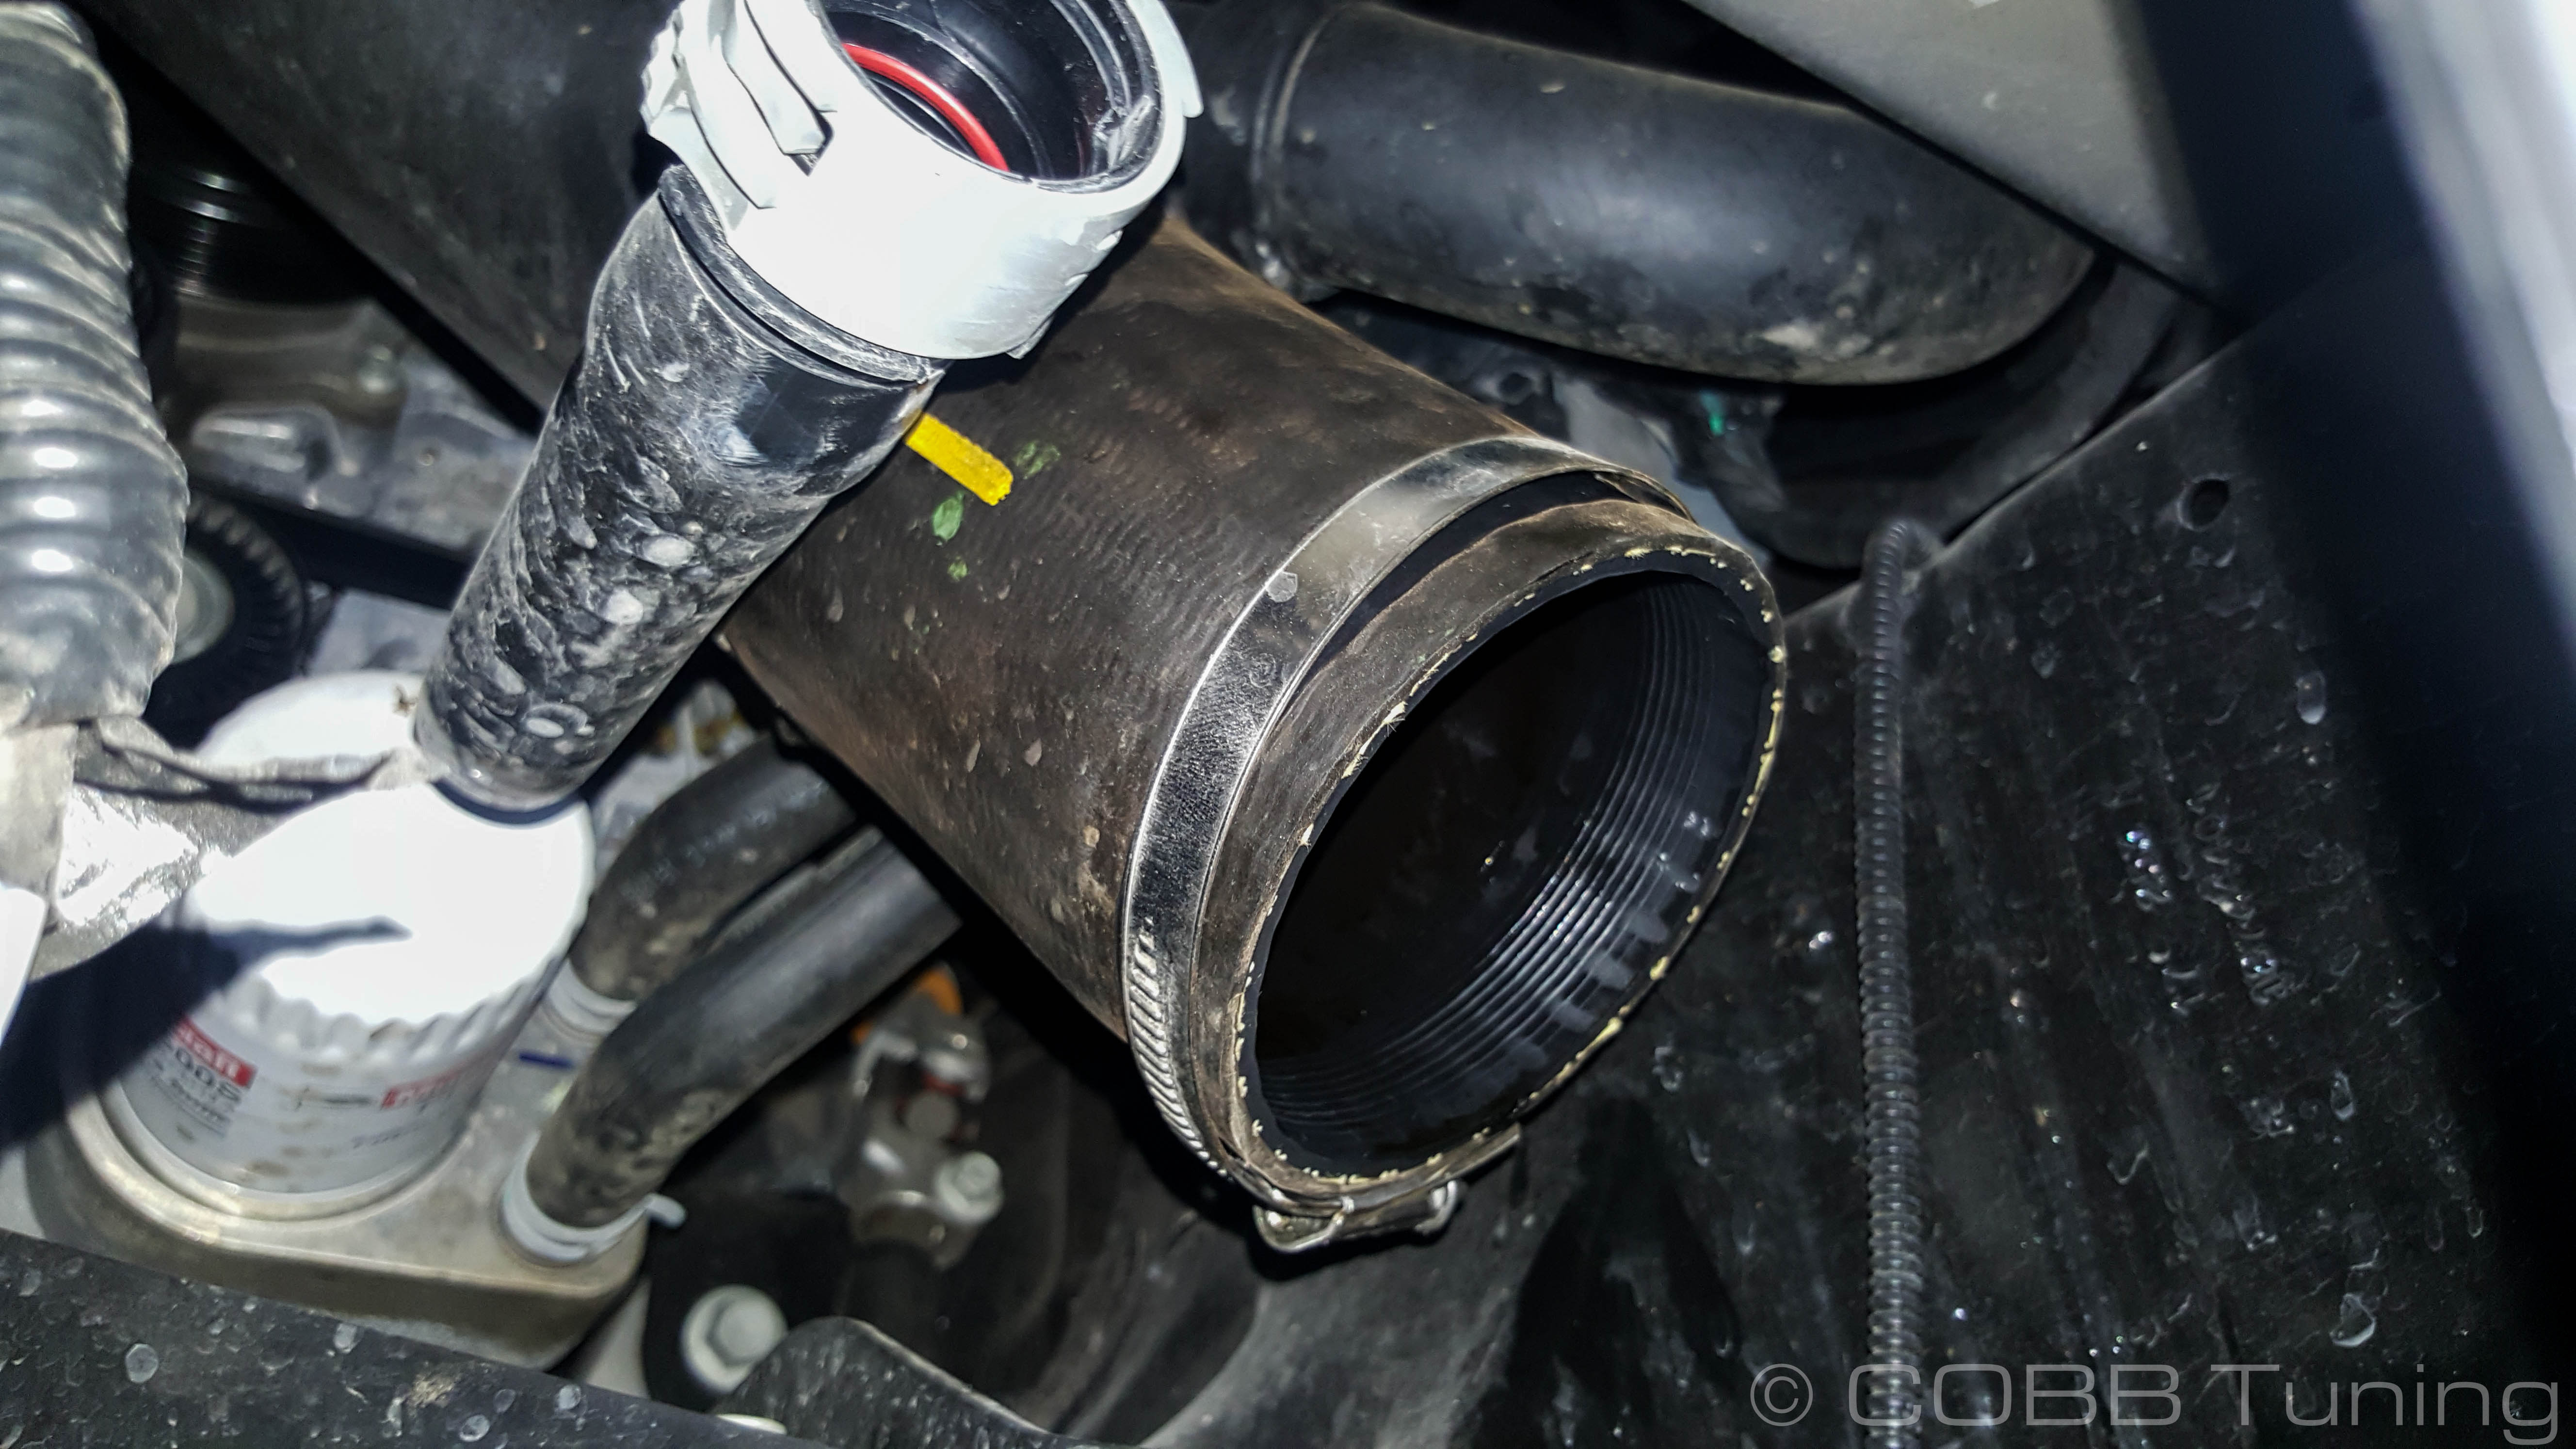
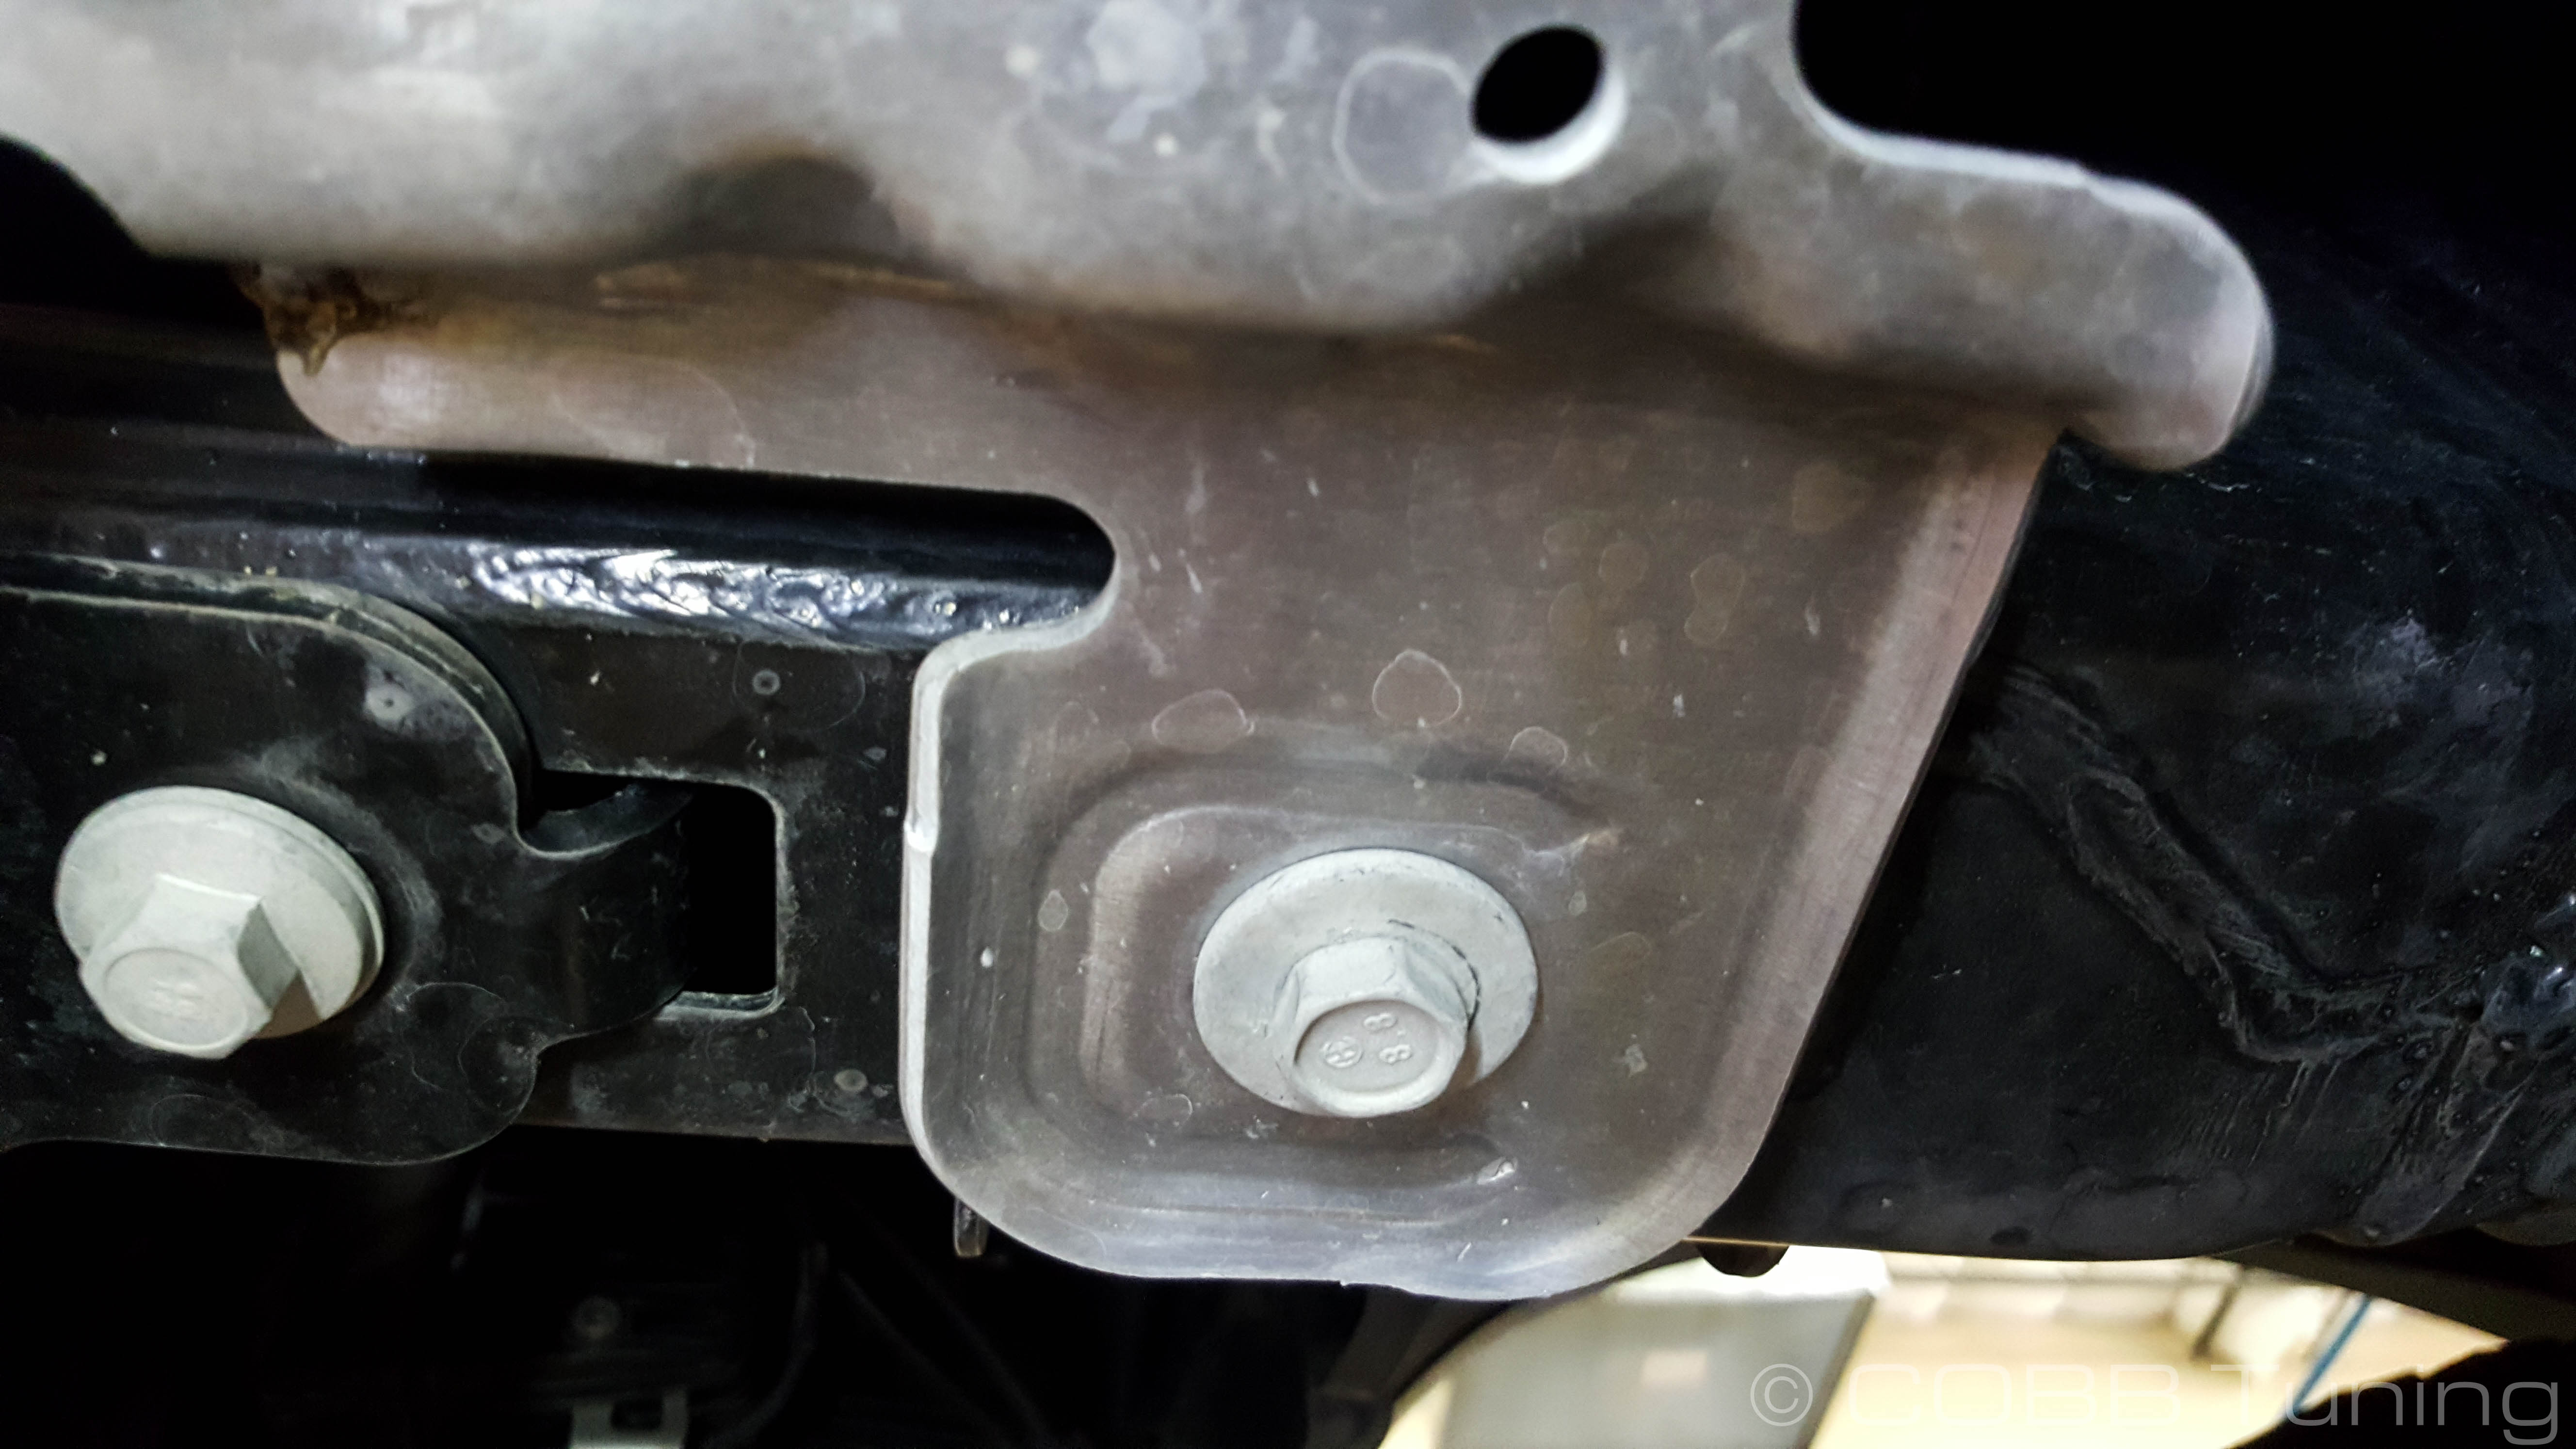
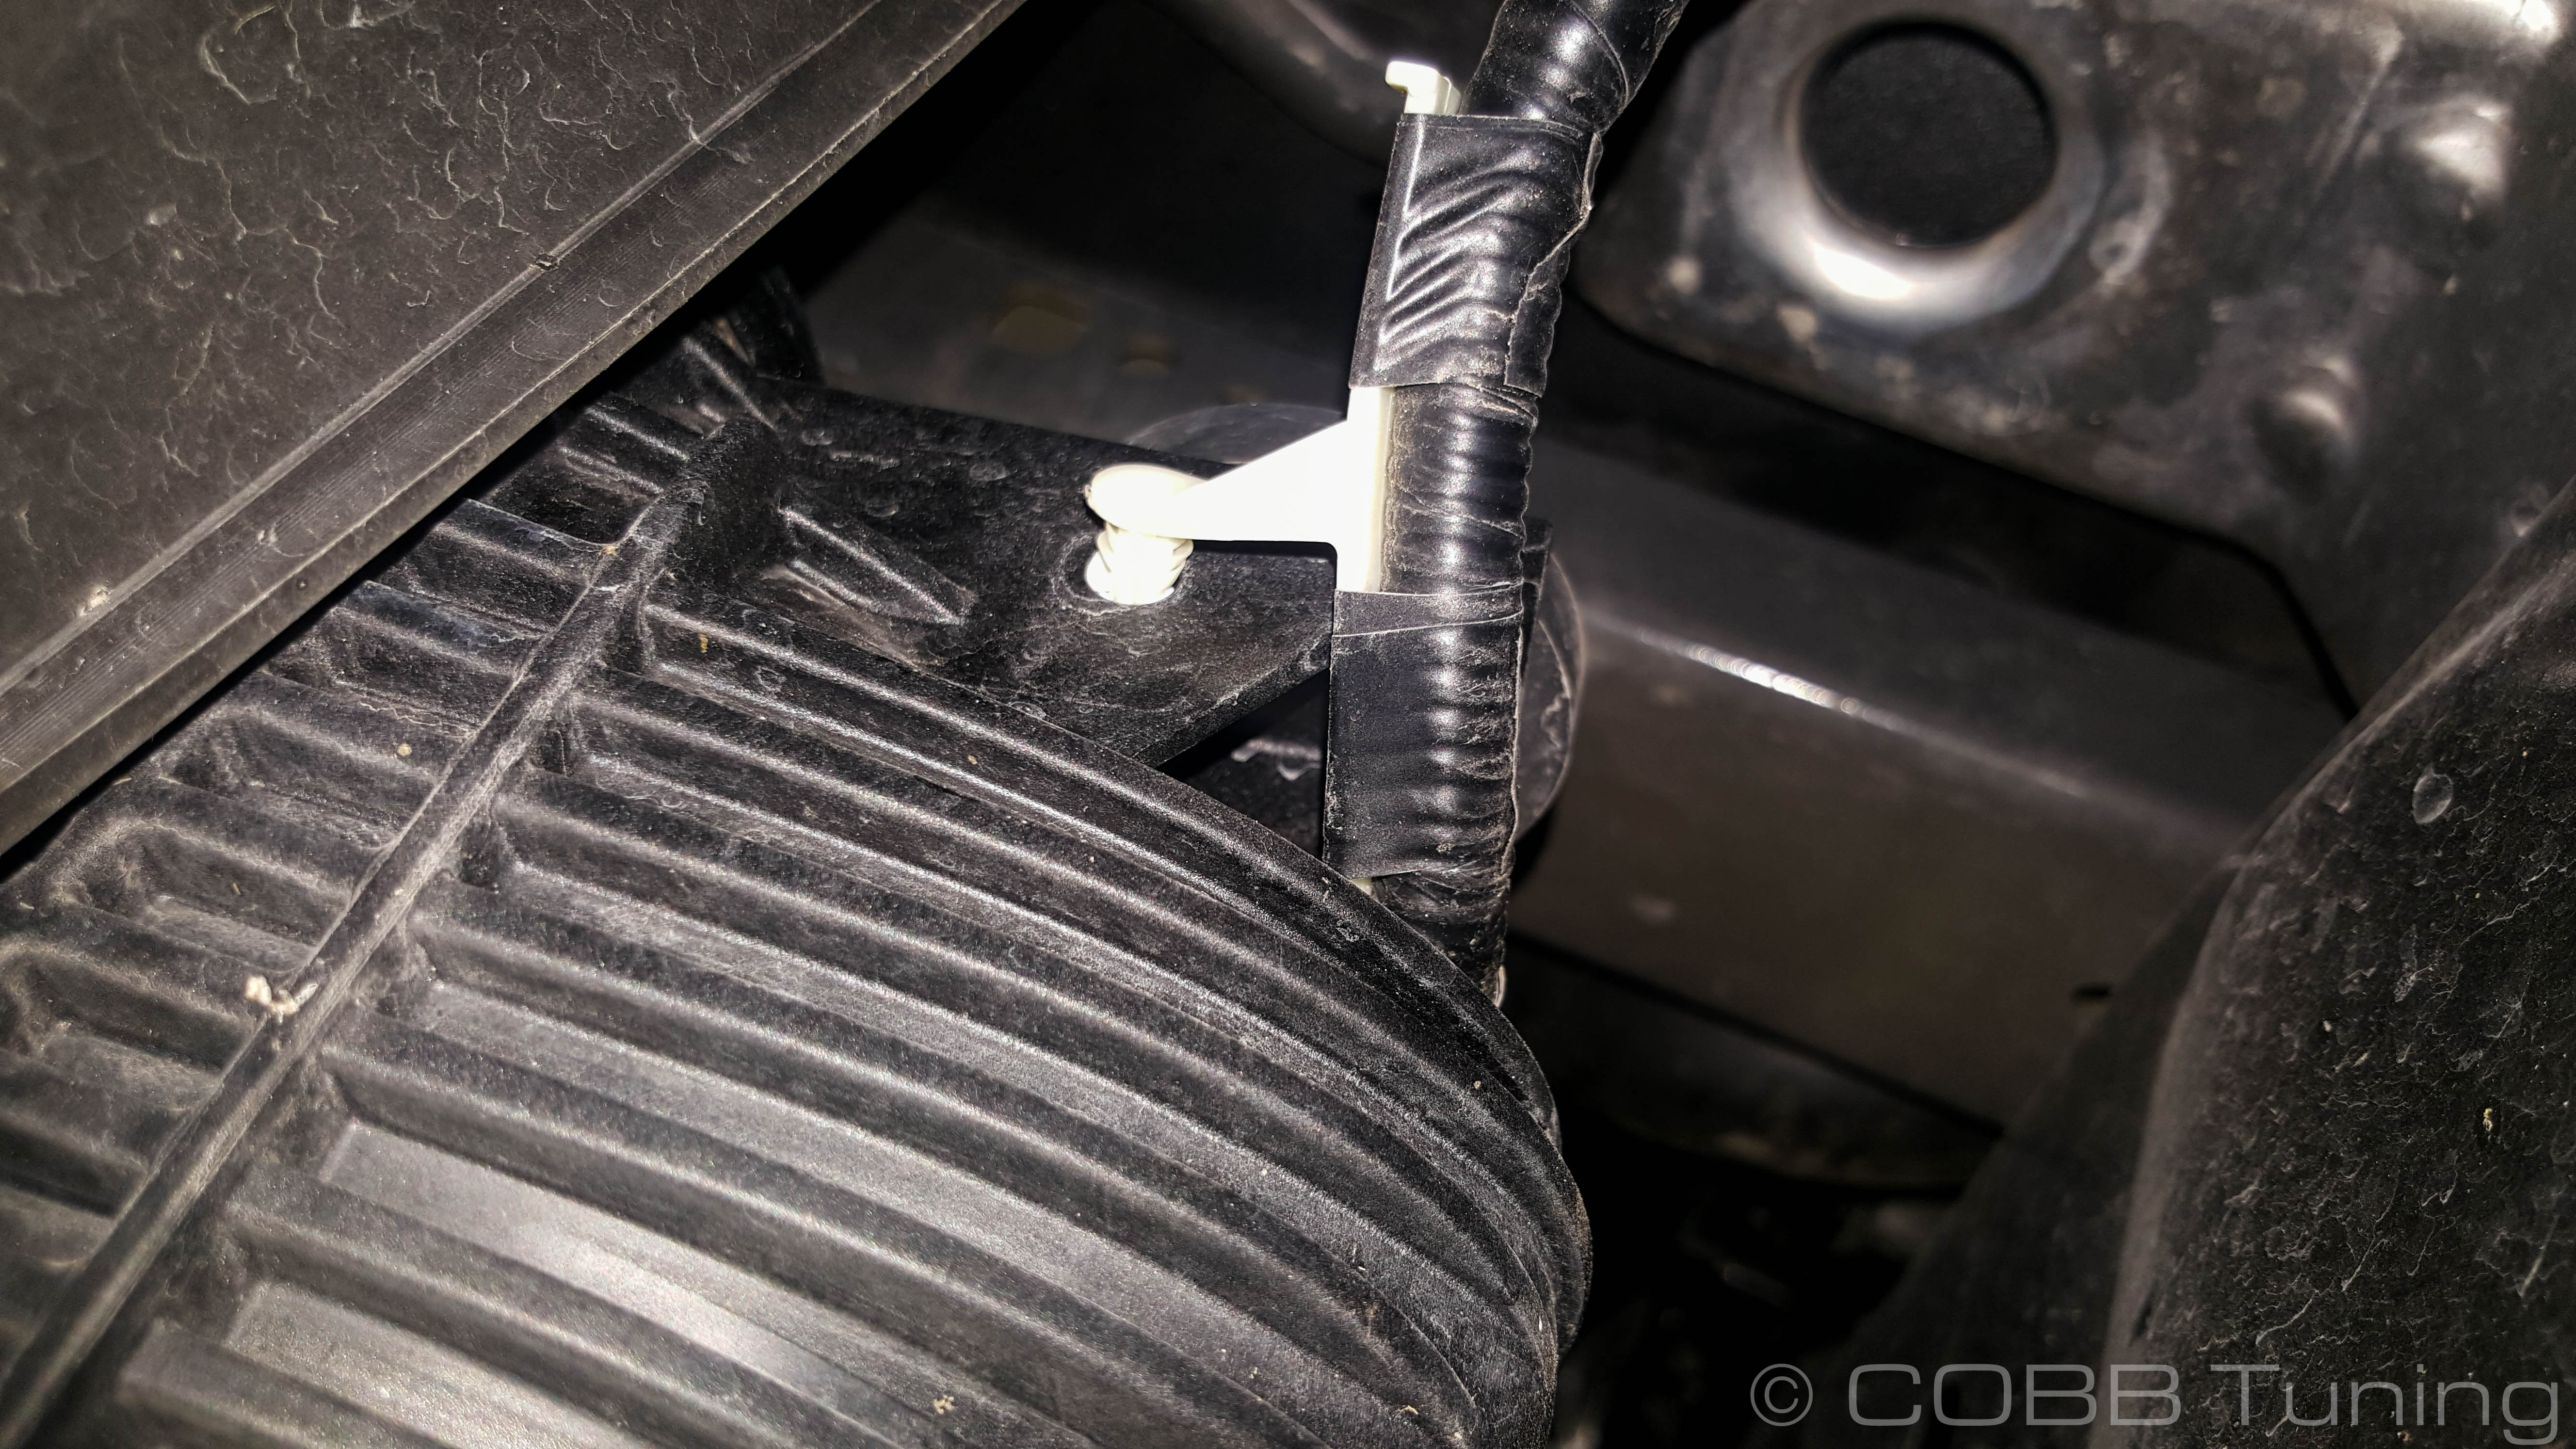
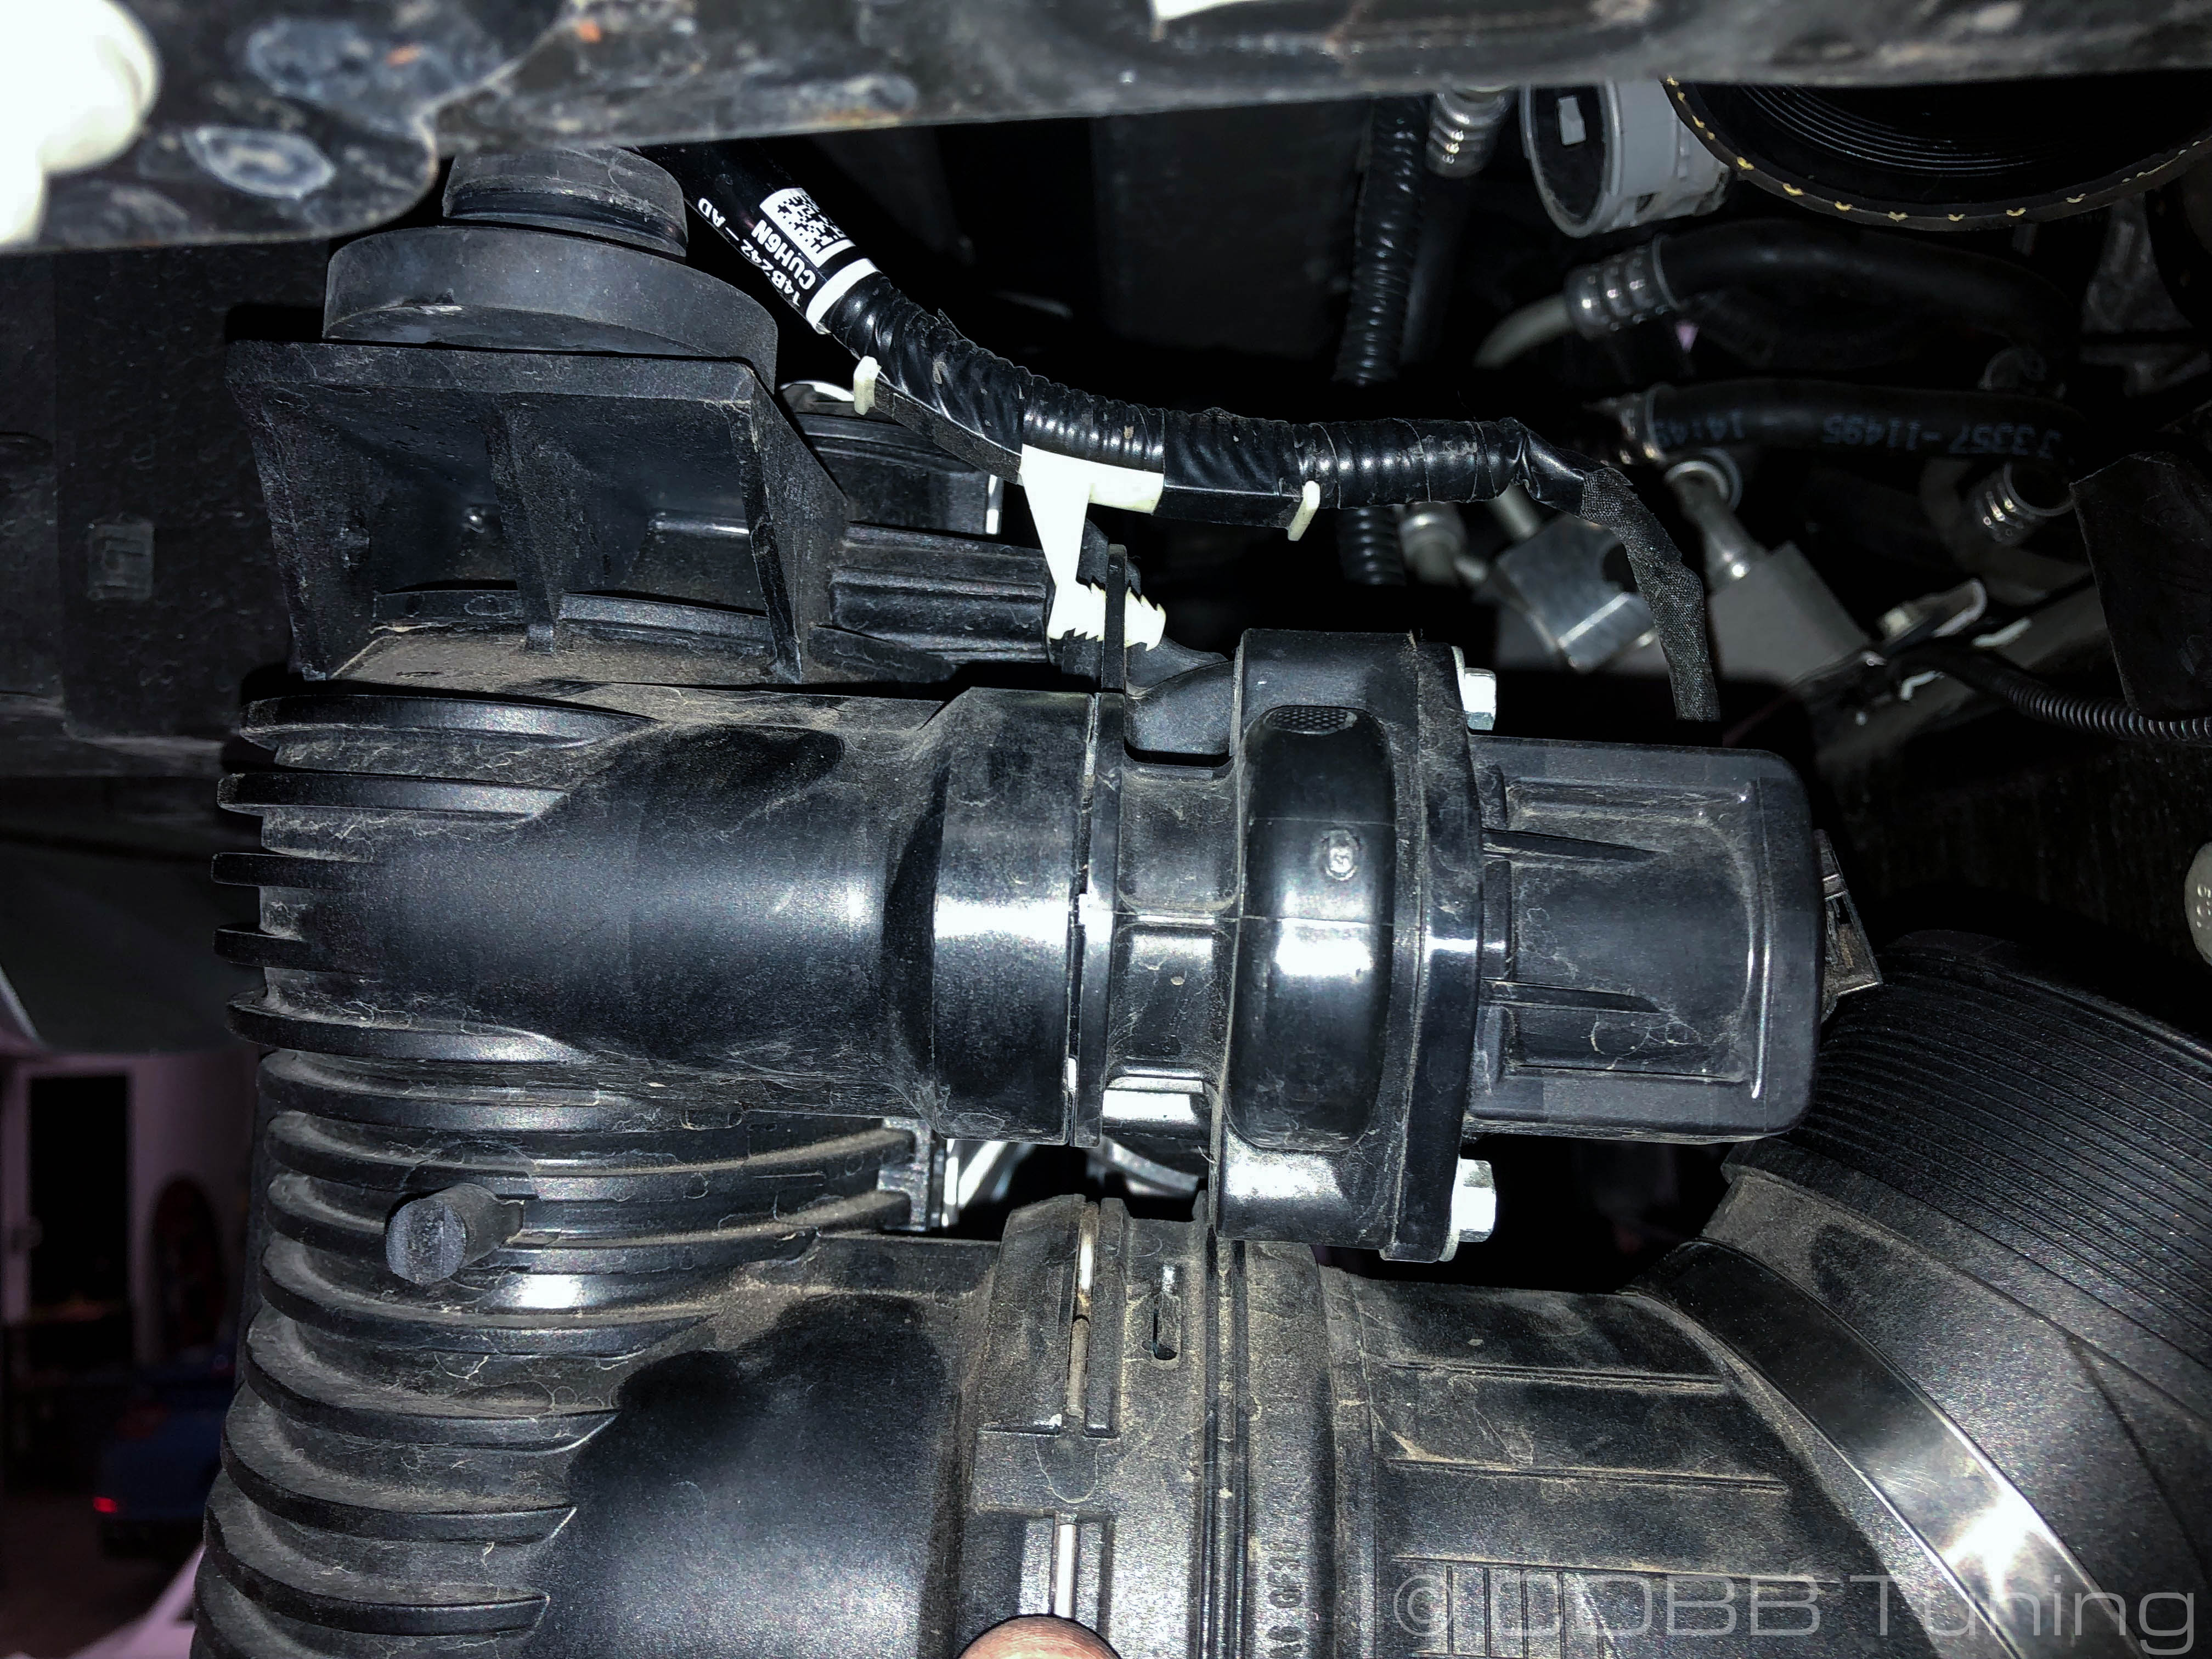
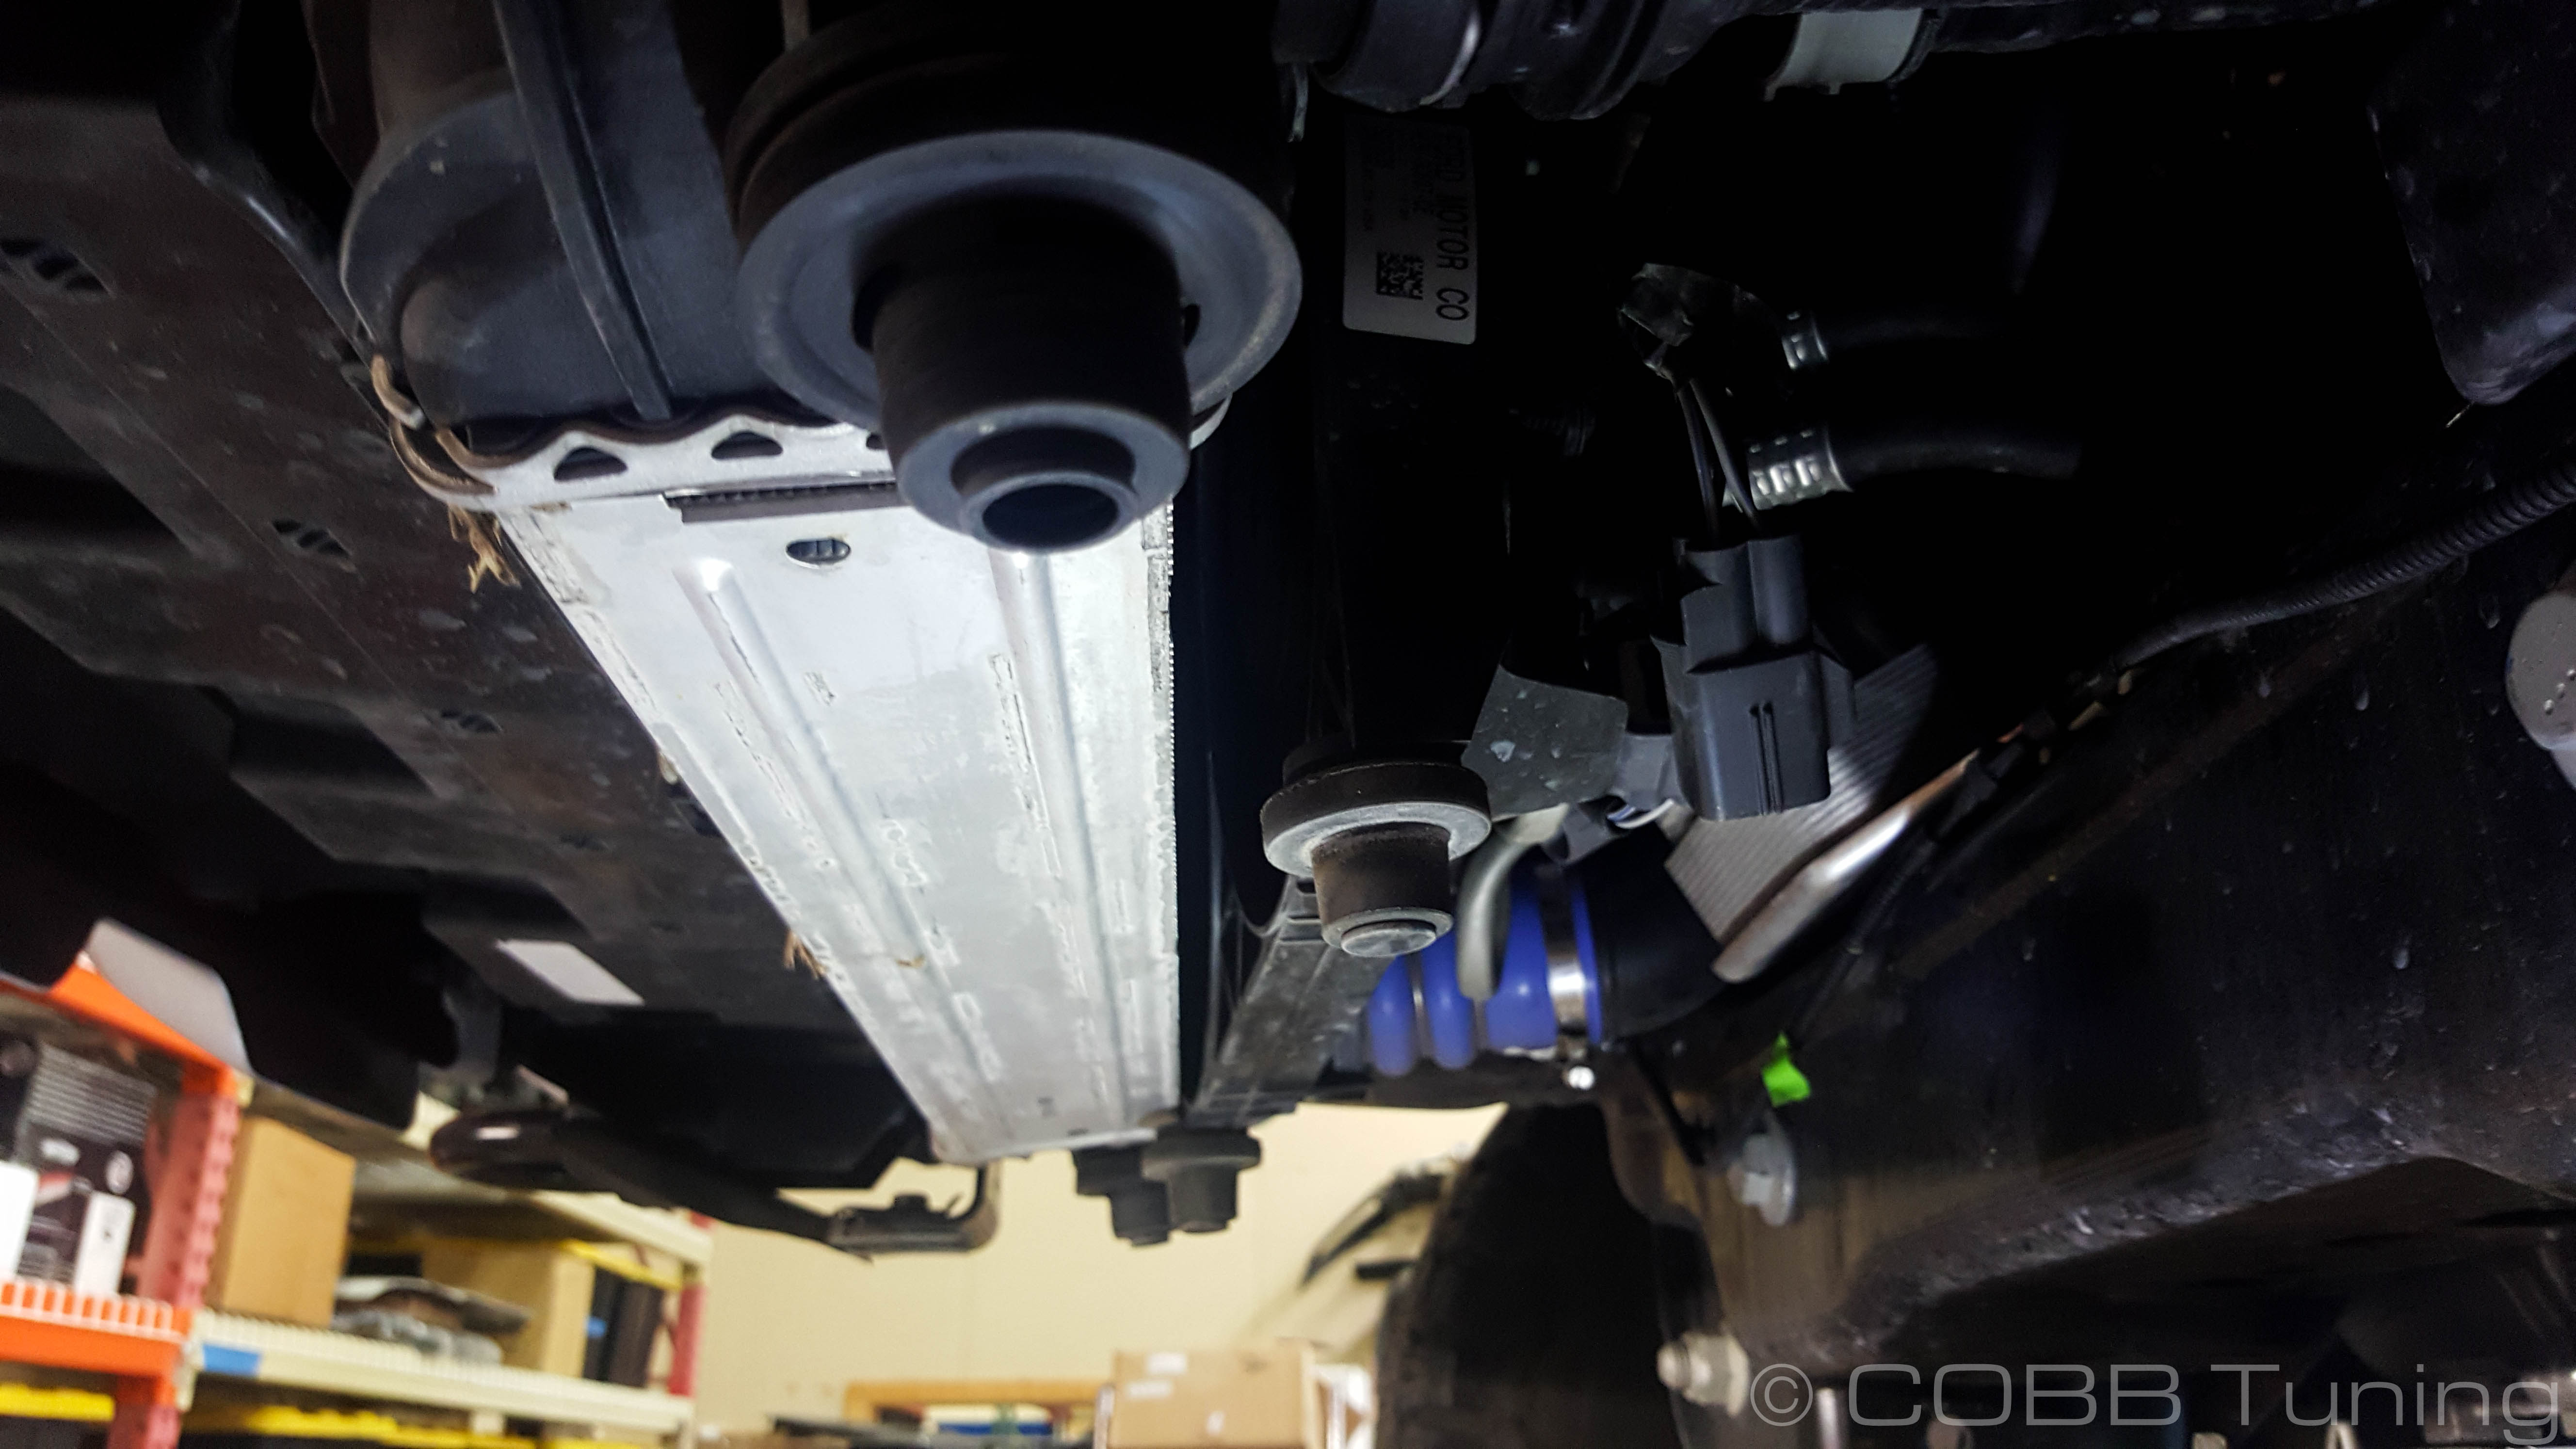
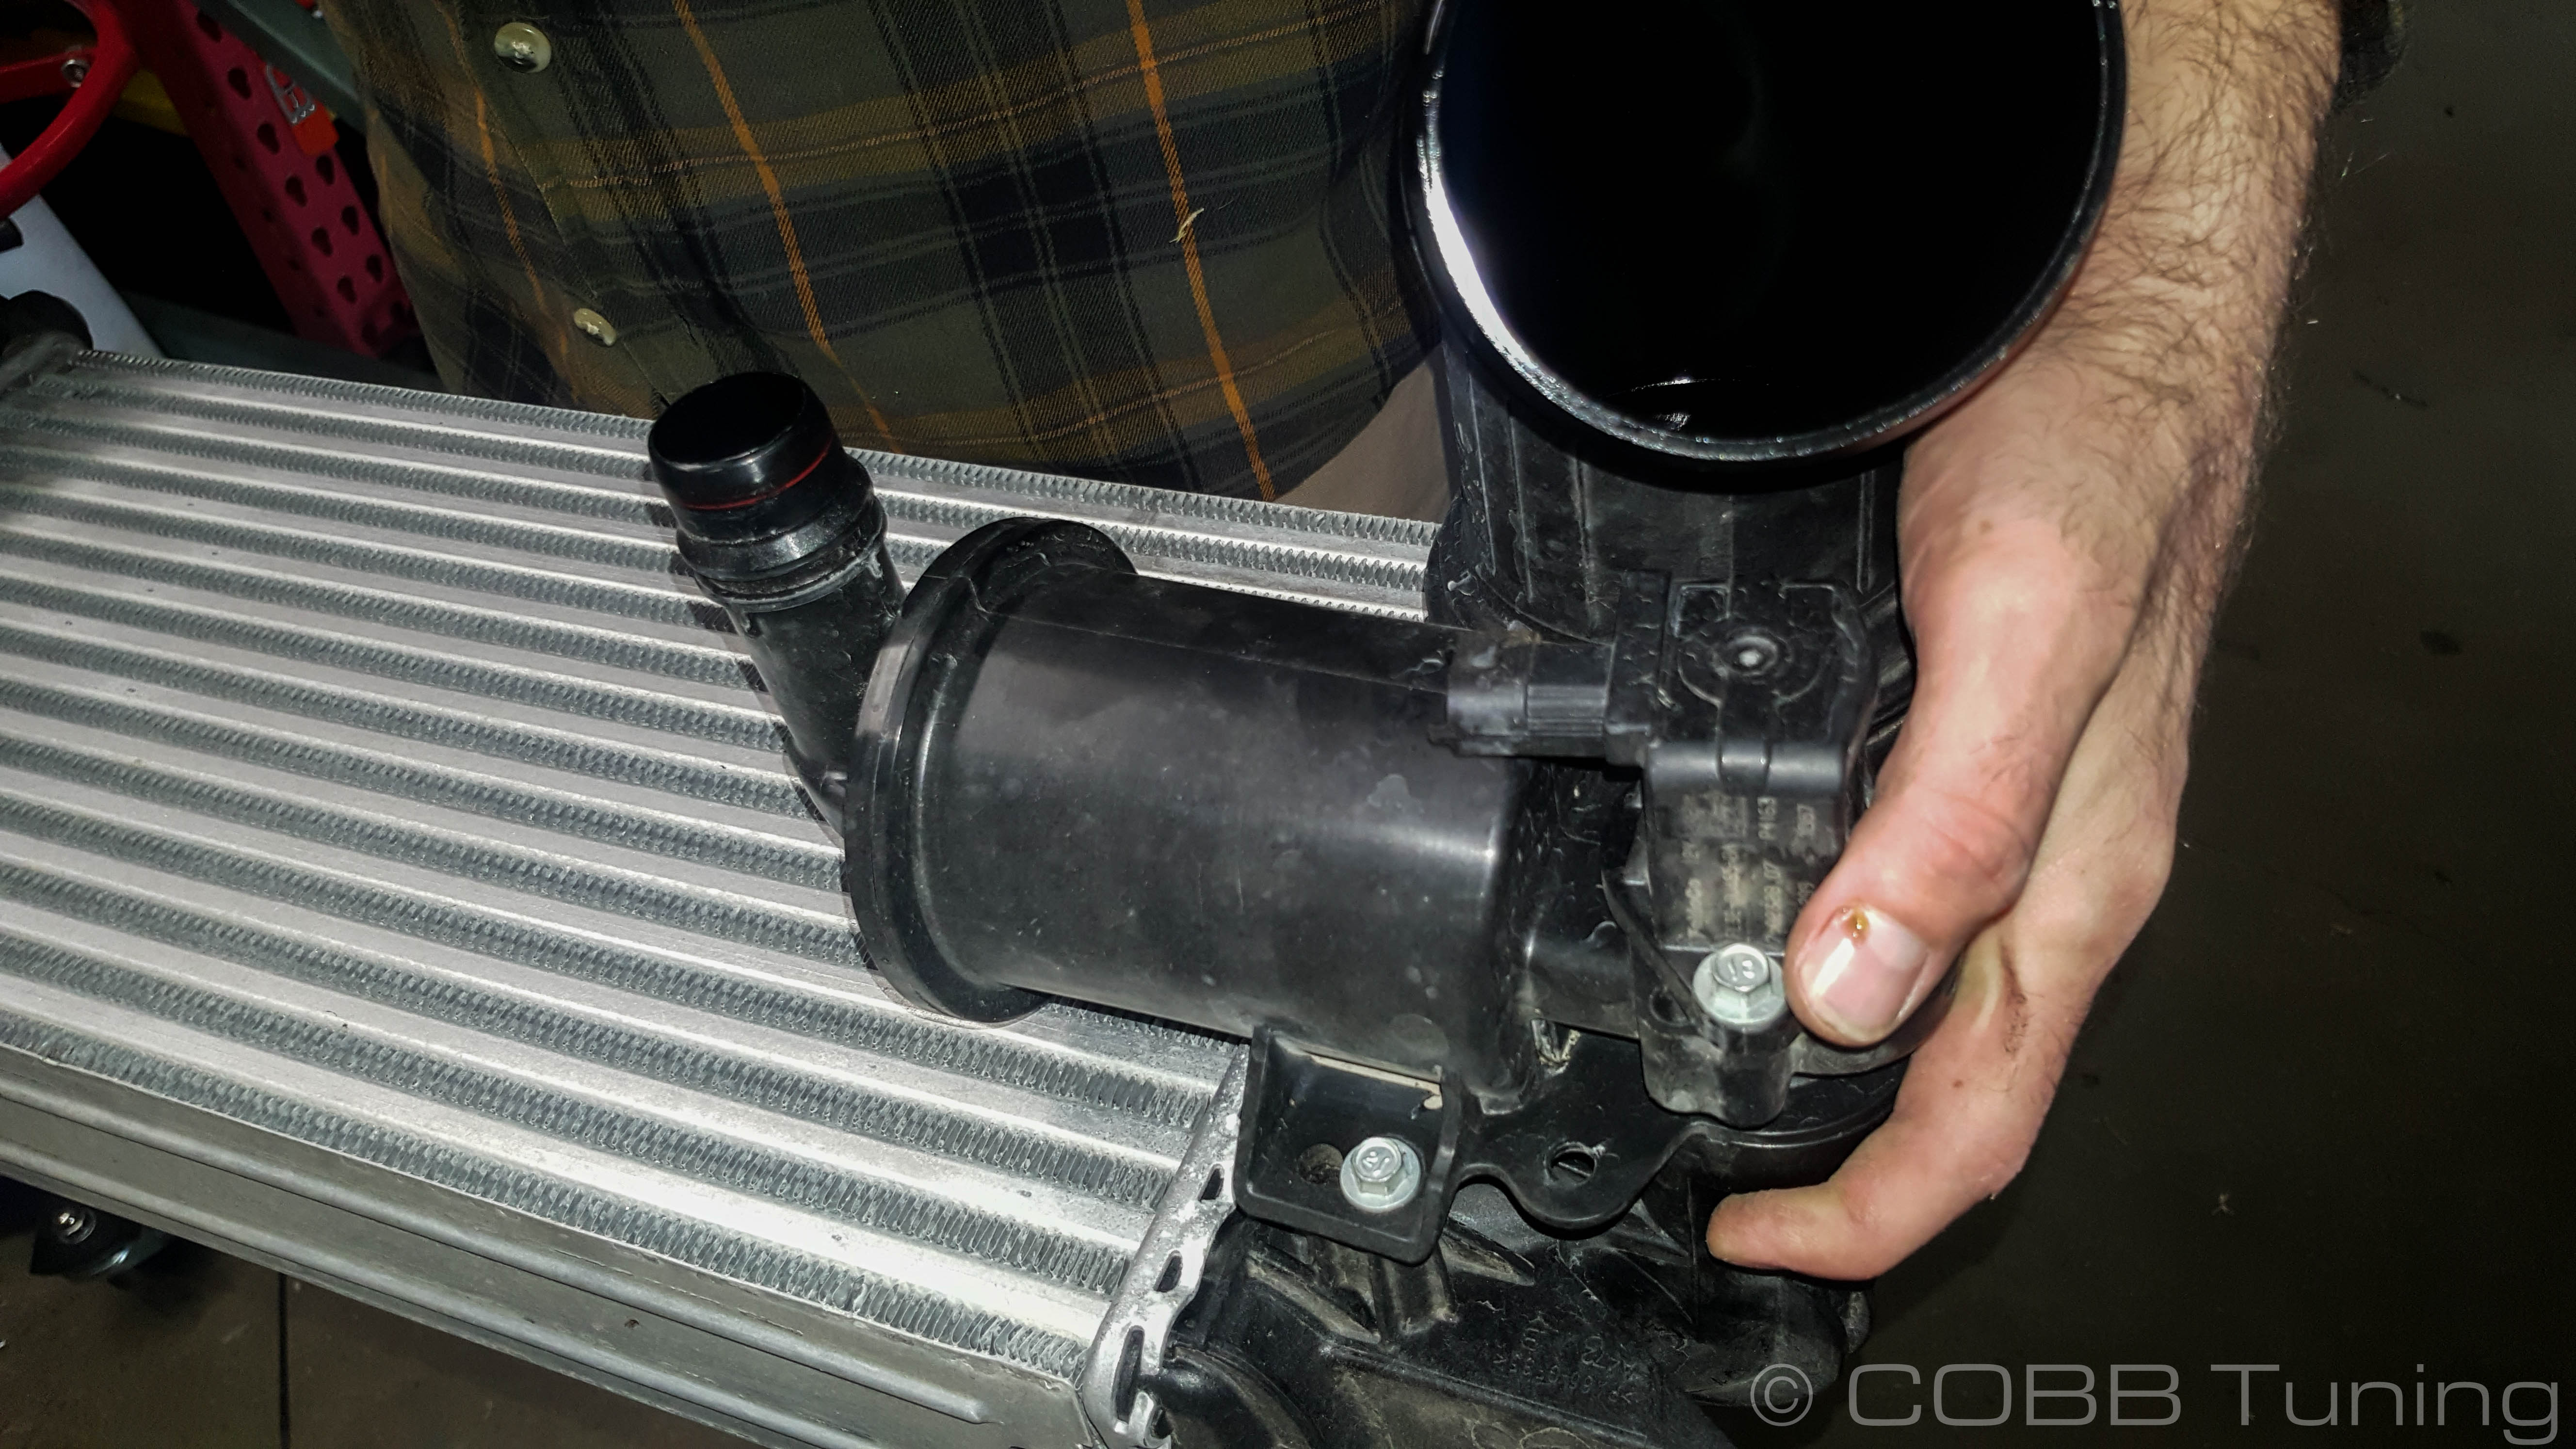
Intercooler Removal
| Excerpt | ||
|---|---|---|
|
|
|