
Part Number – Part Name
Vehicle Coverage
[placeholder]Congratulations on your purchase of the COBB Tuning xxxxxxxxxxxxx! The following instructions will assist you through the installation process. Please read them BEFORE beginning the install to familiarize yourself with the steps and tools needed. If you feel you cannot properly perform this installation, we HIGHLY recommend you take the vehicle to a qualified and experienced automotive technician.
IMPORTANT! Installing this kit will require custom tuning or utilizing an appropriate Stage Power Package map if you have a matching mechanical configuration. Please consult with COBB or an authorized ProTuner in your area if you have any questions!
Table of Contents
| Table of Contents |
|---|
Parts List
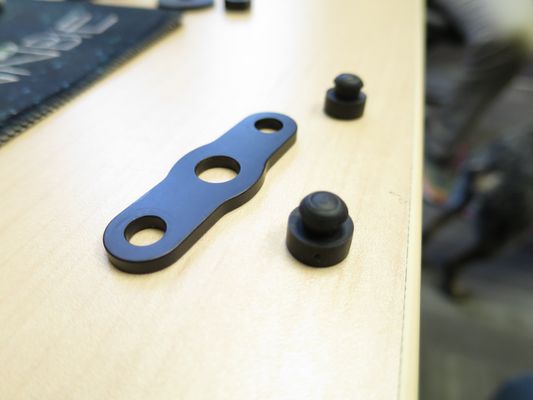
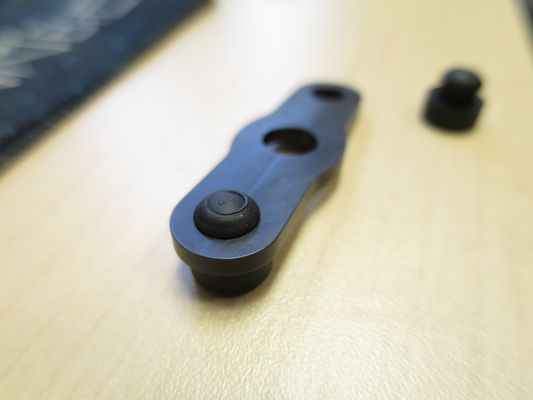
- Wiper Delete Top
- Wiper Delete Backing
- O-ring seal
- M8 x 1.25 nylon nut
- (2) Push in Bumpers
- (3) 4" Zip Ties
- (3) 6" Zip Ties
- Set of 3 different sized Rubber Washers
Tools Needed
- Phillips head screwdriver
- Flathead screwdriver
- 3/8" 7mm socket
- 3/8" 16mm socket
- 3/8" 17mm socket
- 3/8" 18mm socket
- 3/8" 21mm socket
- 3/8" 14mm deep socket
- 3/8" T50 Torx Bit
- 3/8" E10 inverted Torx
- 3/8" E12 inverted Torx
- 3/8" E14 inverted Torx
- 3/8" E18 inverted Torx
- 1/2" breaker bar*
- 1/2" 16" extension*
- 1/2" 14mm socket*
- 14mm offset wrench
- Oxygen Sensor Wrench
- 7mm Hex Driver
- M3 Allen Key
- M4 Allen Key
- 8mm Ratcheting combination wrench
- 10mm combination wrench
- 11mm combination wrench
- 12mm combination wrench
- 13mm combination wrench
- 14mm combination wrench
- 15mm combination wrench
- 16mm combination wrench
- 17mm combination wrench
- 18mm combination wrench
- 19mm combination wrench
- 21mm combination wrench
- Torque Wrench
- Torque Wrench
- Trim removal tool
- Hose cutter
- Drain pan
Section 1
Section 2
Section 3
Section 4
Section 5
Links
MAP Notes
Helps to figure out which map you should be on given the parts installed to your car
Links for related partsStock Wiper Removal
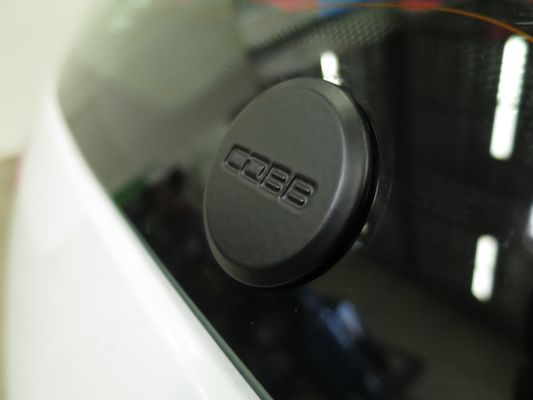
- Remove the cap covering the wiper attachment
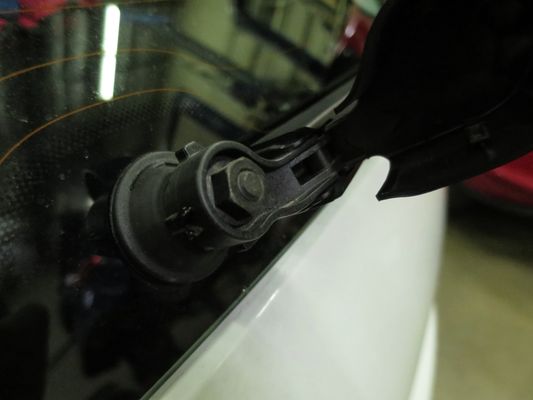
- Using a 13mm socket remove the nut retaining the wiper arm.
Note: now is a good time to mark the position of the spindle and wiper arm to make re-installation easier in the future. - Remove the wiper arm, sometimes on older vehicles a small puller can be a big help.
Note: Be very careful that you don't break the windshield prying against the glass or letting the arm snap down quickly. The one used in the picture is a Lisle Tool 54150 Battery Terminal/Wiper Arm puller
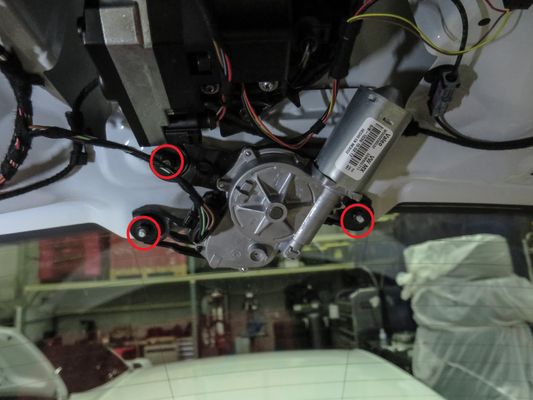
- Remove the strings holding the rear package shelf up.

- Half turn the tool hatch and remove the two T20 Torx screws found underneath.
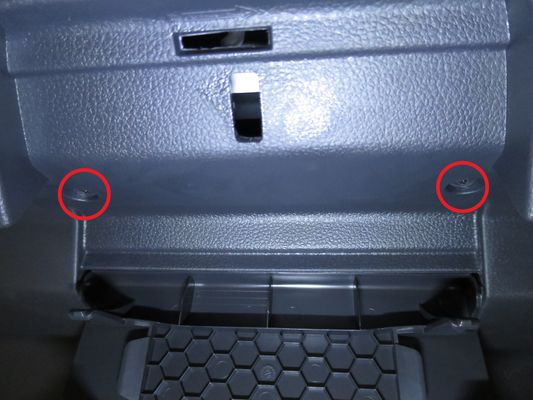
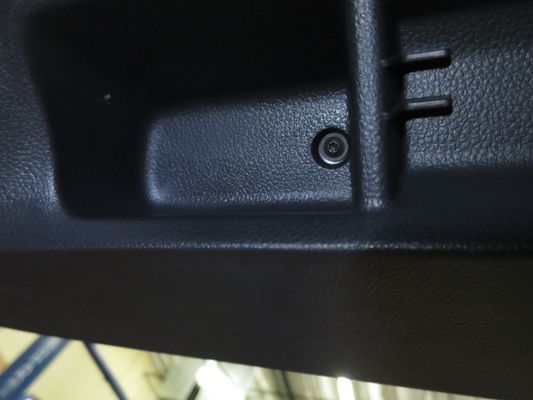
- Remove the other 2 T20 screws hidden in the depressions on either side.
- Unhook the wiring from the motor by pressing down on the tab to release the connector.
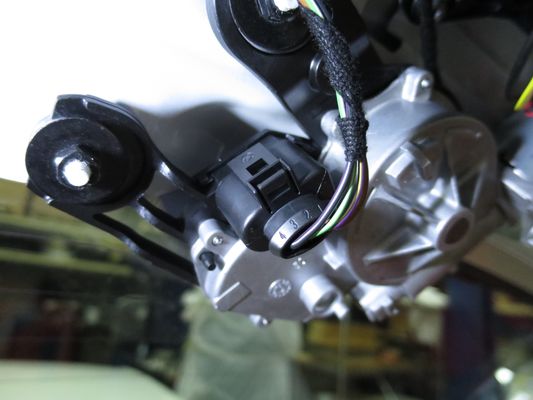
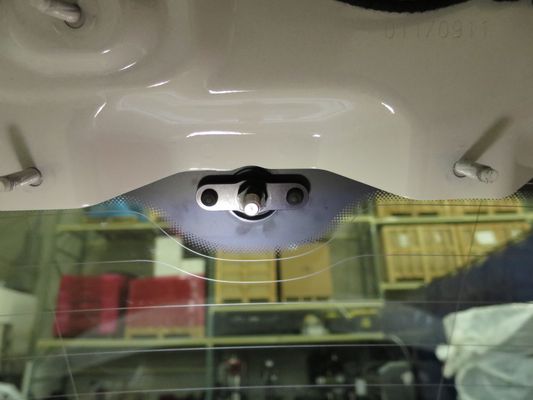
- Using a 10mm socket unbolt the motor from your rear hatch and remove it from the car.
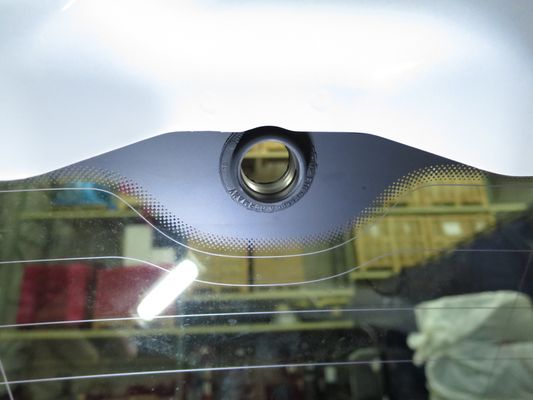
- Using your fingers push out the grommet from the inside.
Installing the COBB Rear Wiper Delete
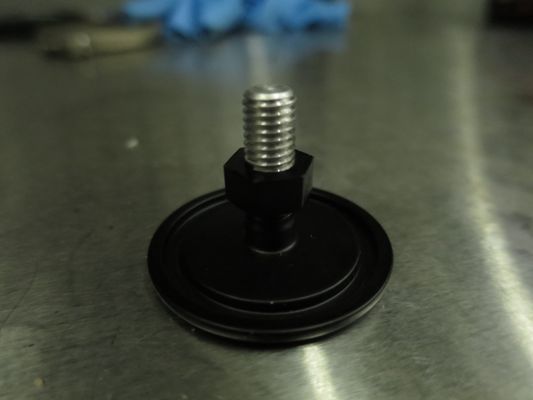
- Using a 13mm socket run the plastic nut down the threads on the delete and then remove, this is to loosen the threads a little bit to make getting it started by hand a little bit easier.
- Clean the rear glass on the outside to improve the quality of the seal.
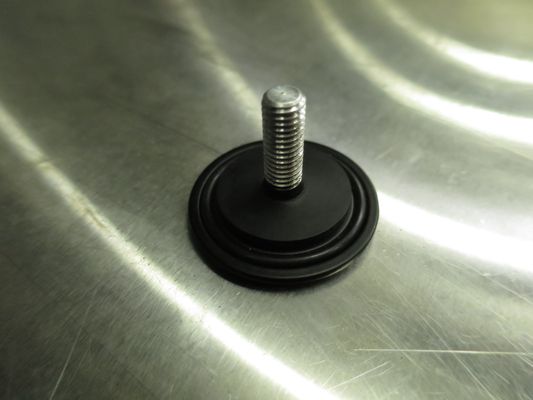
- Install the o-ring into the wiper delete (a small amount of silicone lubricant on the o-ring can ensure a tighter seal later.
- Install the small end of the rubber bumpers into the hold down bar.
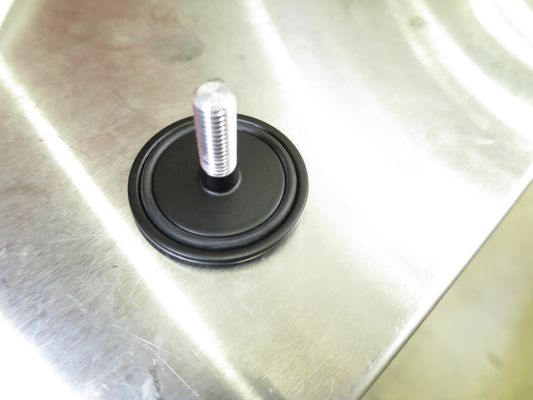
- Next up you'll slide the appropriate rubber washer on to the threads. This helps eat up the space between the delete and the glass and makes it easier to keep centered. For the MK7 you'll use the medium sized one.
- Holding the delete in place with one hand, get the bar on the back with the flat side of the bumpers towards the glass, and start slowly tightening the nut.
- Once it's close to tight, get the logo angled to your liking and tighten it down. Tightening more can make it look more flush but be careful not to over-tighten or it can shatter the glass.
- Once you're happy with the angle and it's tight, you can zip tie up the wiring so it doesn't rattle.
- After trimming the excess off the zip tie you can reinstall the interior in the reverse order of removal.
- You're all done! Go out and enjoy!
Customer Support
Phone support available 9am to 6pm Monday-Thursday. 9am to 4pm Friday (CST)
866.922.3059