Versions Compared

Key

  • This line was added.
  • This line was removed.
  • Formatting was changed.

846665 - Subaru Redline Fuse Box Cover VB WRX

2022 - 2024 WRX


Image RemovedImage Added    

Congratulations on your purchase of the COBB Tuning Subaru Redline Fuse Box Cover! The following instructions will assist you through the installation process. Please read them BEFORE beginning the install to familiarize yourself with the steps and tools needed. If you feel you cannot properly perform this installation, we HIGHLY recommend you take the vehicle to a qualified and experienced automotive technician.


Table of Contents


Table of Contents


Parts List

Expand
titleRedline Fuse Cover Driver Side


Expand
titleRedline Fuse Cover Passenger Side


Expand
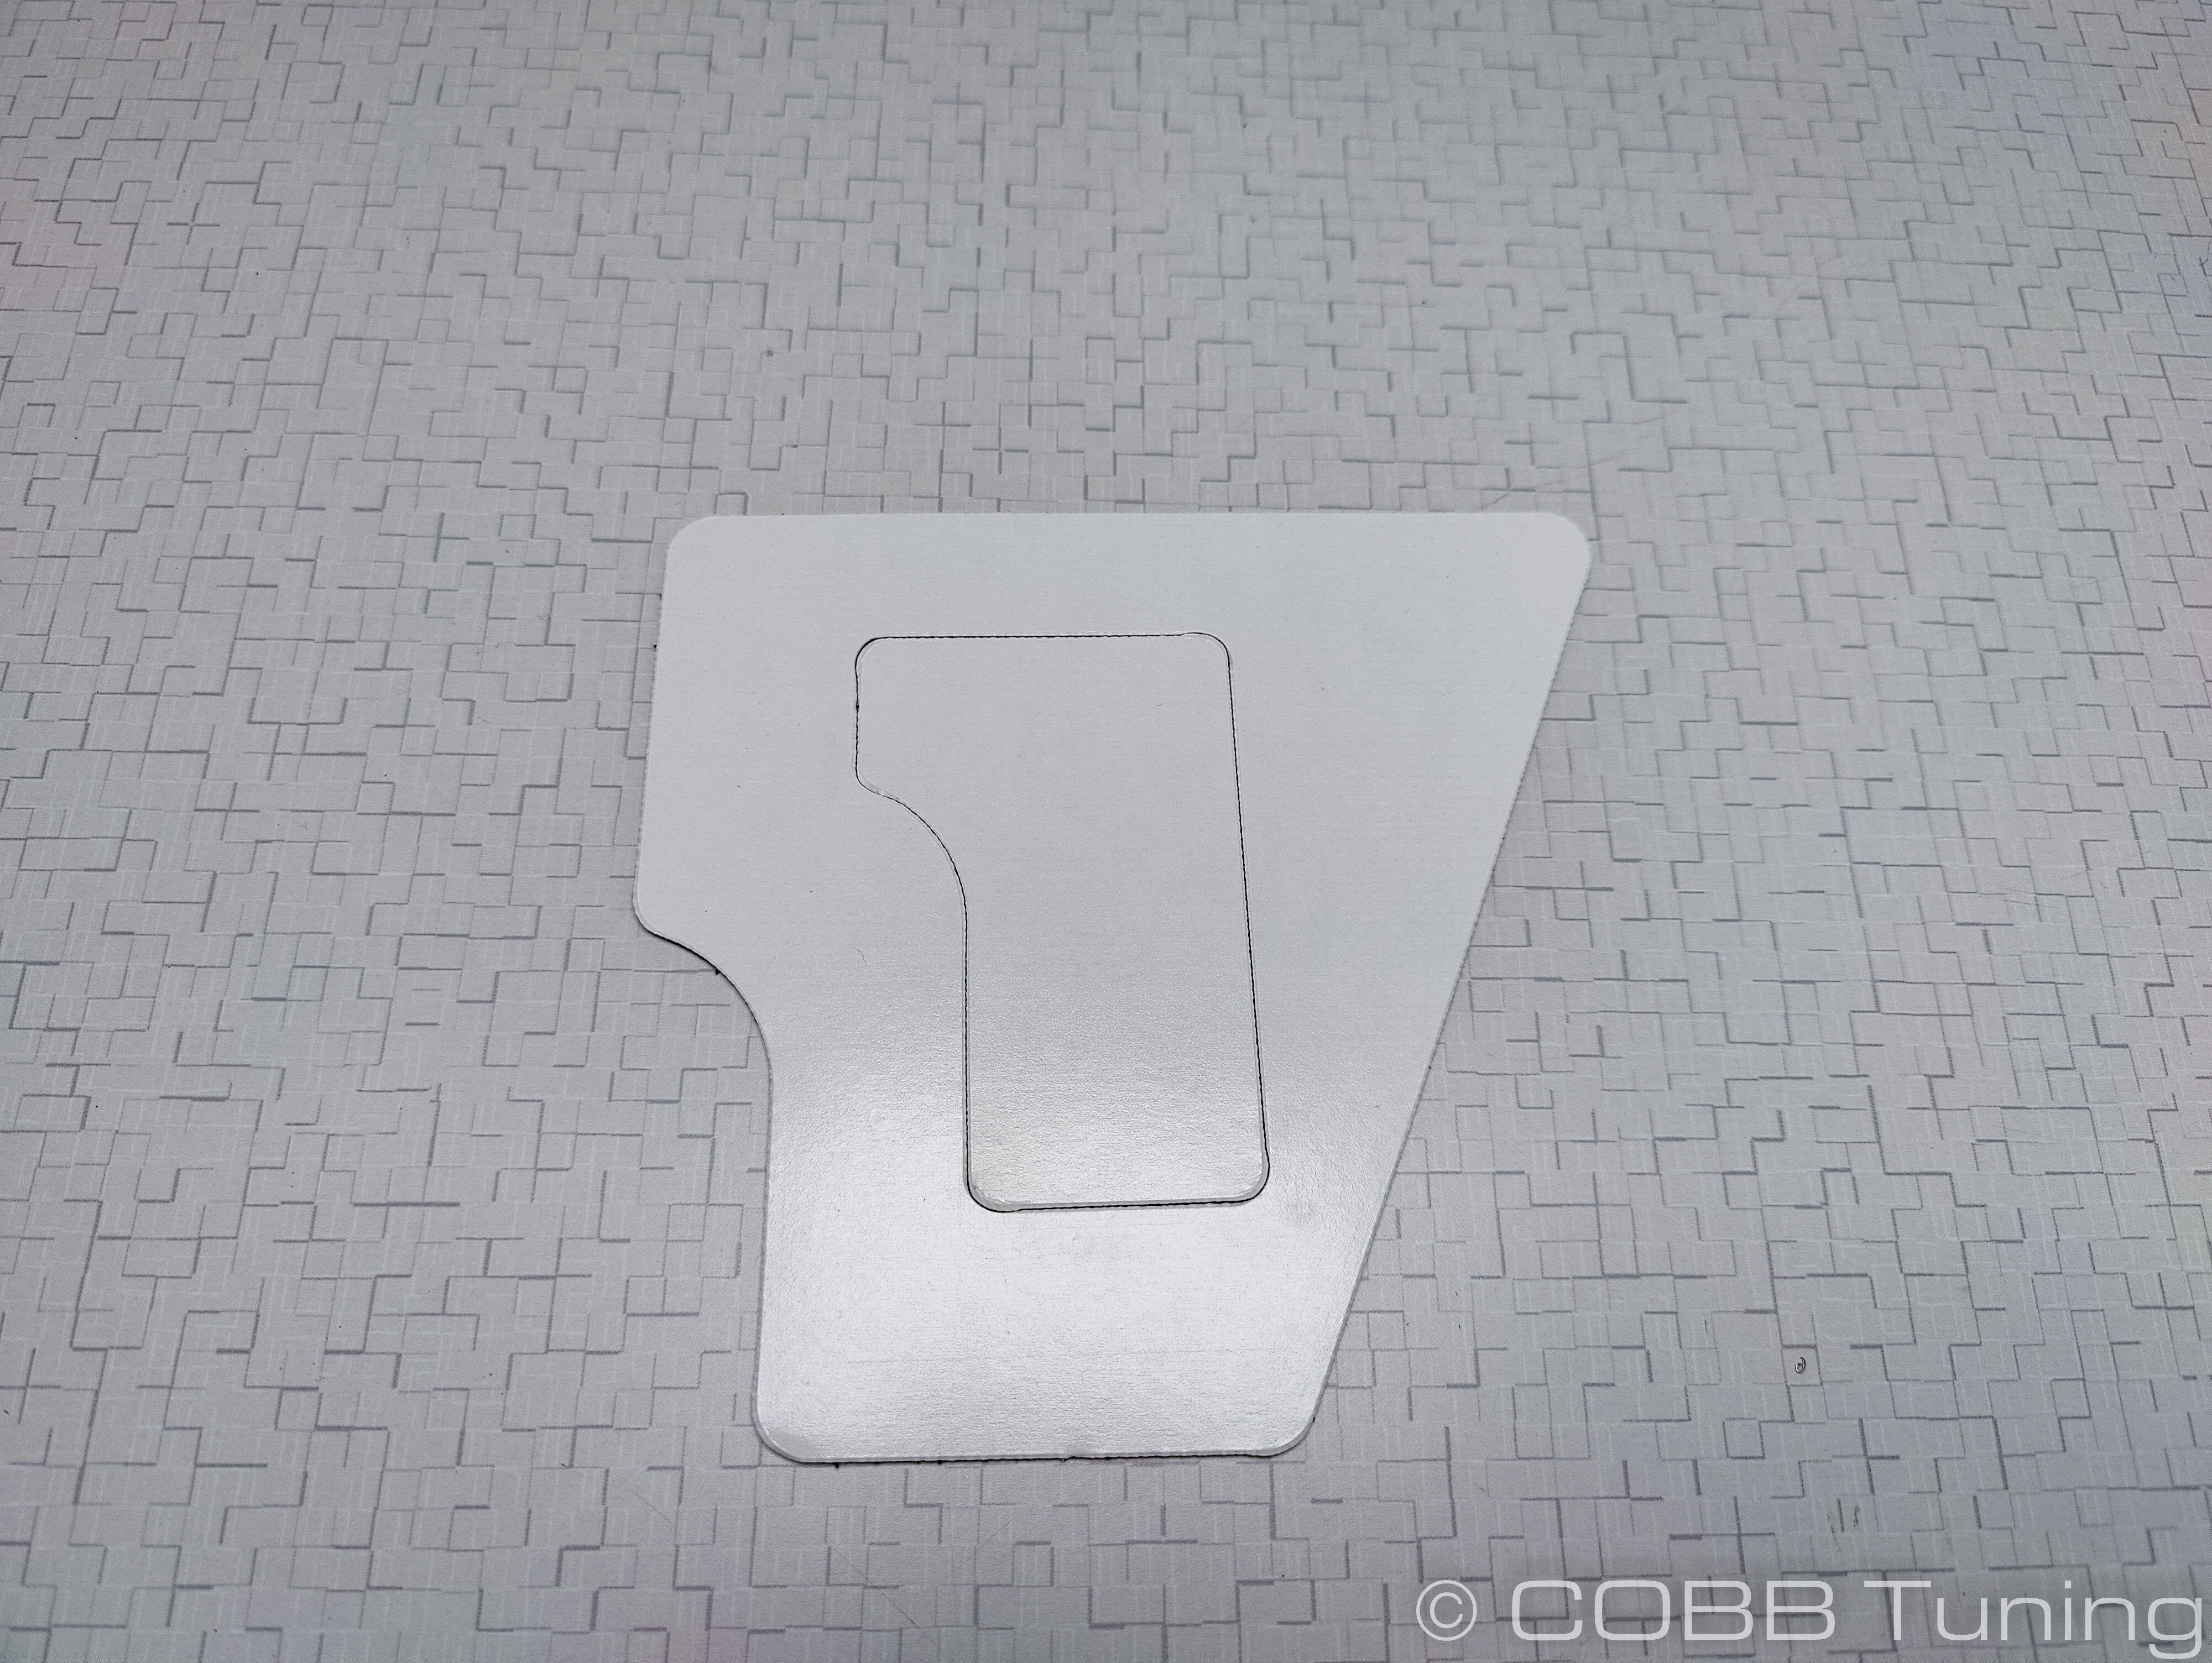
titlePre-Cut Adhesive Sheet


Tools Needed

Misc.

  • Hands
  • Soap
  • Water
  • Towel


Installation

  1. Park your car in a flat, level area and allow it to cool down properly.

  2. Locate your fuse boxes in the engine bay.

    Image Modified

    Image Modified


  3. If they're dirty (Like ours) take it off of the car by depressing the clips and lifting.  Then wash it thoroughly with soap and water, making sure to get all the soap residue off of the cover, and allow it to dry completely before proceeding

    Image Modified


  4. Remove the cover from the foam it came in and flip it upside down, setting it on top of the foam.

    Image Modified    Image Modified


  5. Pop the center out of the adhesive sheet

    Image Modified


  6. The larger gasket will go on the big cover, while the smaller inner part of the gasket will match up with the smaller cover.  Line it up with the indentation on the lids to make sure of the orientation.  Armed with the knowledge, remove the backing from the side that will go towards the cover and stick it down in place.

    Image Modified    Image Modified


  7. Remove the side of the adhesive that is towards the cover and attach it to the cover pressing down firmly.

    Image Modified


  8. Remove the top layer covering the adhesive to expose the sticky side

    Image Modified

  9. Drop the factory covers down into the carbon piece and gently press in the area where the adhesive is.

    Image Modified


  10. You're all done!  Go out and enjoy

    Image Modified    Image Modified

    Image Modified    Image Modified


Insert excerpt
PRS:Contact Us:
PRS:Contact Us:
nopaneltrue