
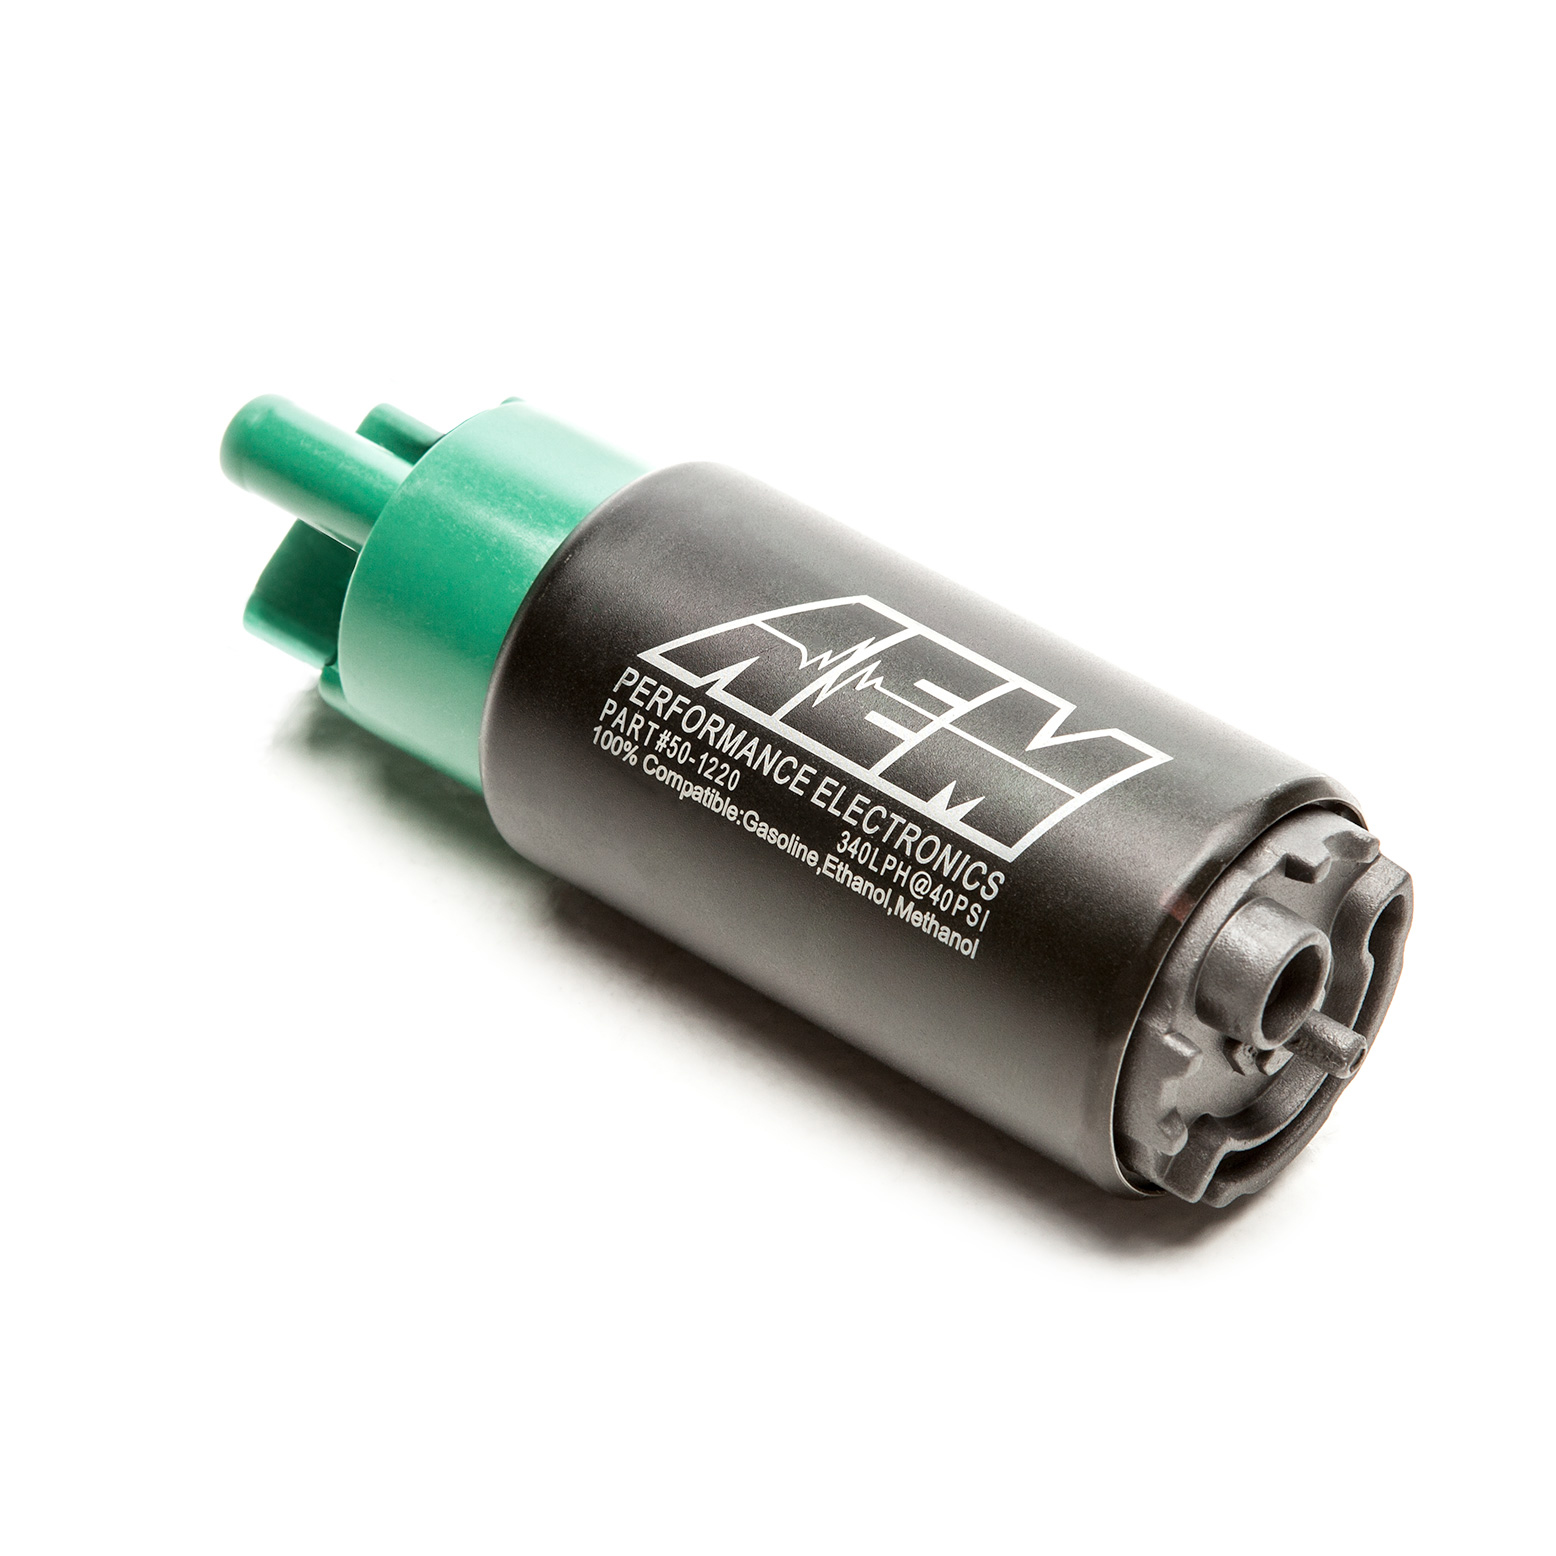
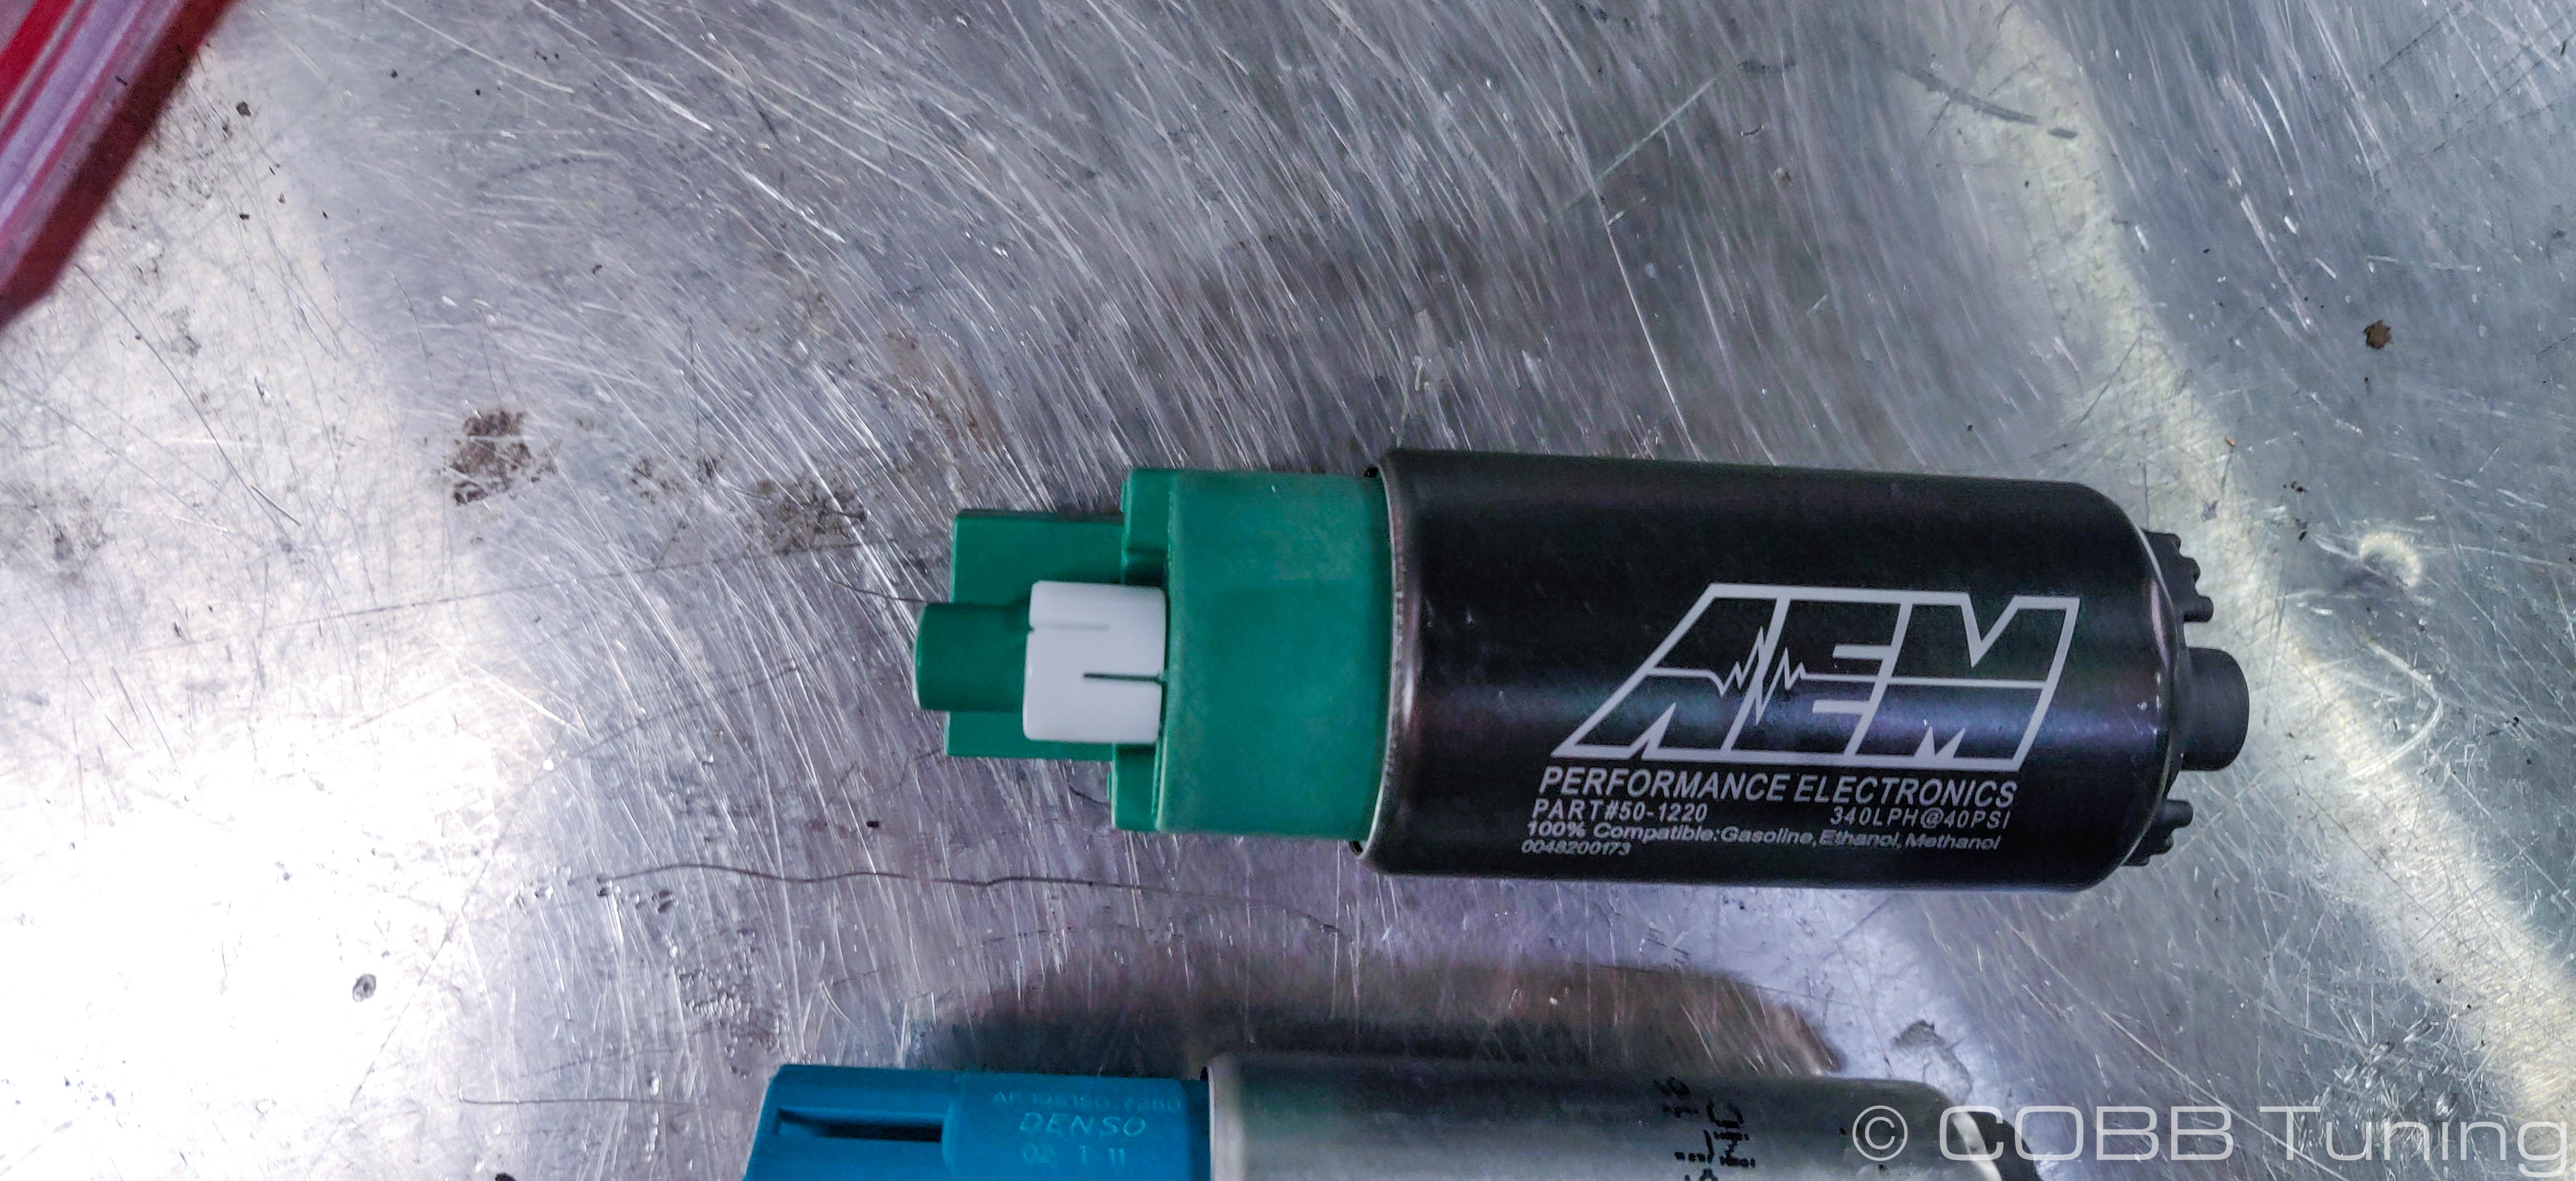
315450 - Subaru AEM Fuel Pump
Subaru Legacy GT 2005 - 2009
Subaru Impreza WRX 2008 - 2014
Subaru WRX STI 2015-2021
Congratulations on your purchase of the COBB Tuning Fuel Pump Holder! The following instructions will assist you through the installation process. Please read them BEFORE beginning the install to familiarize yourself with the steps and tools needed. If you feel you cannot properly perform this installation, we HIGHLY recommend you take the vehicle to a qualified and experienced automotive technician.
Table of Contents
| Table of Contents |
|---|
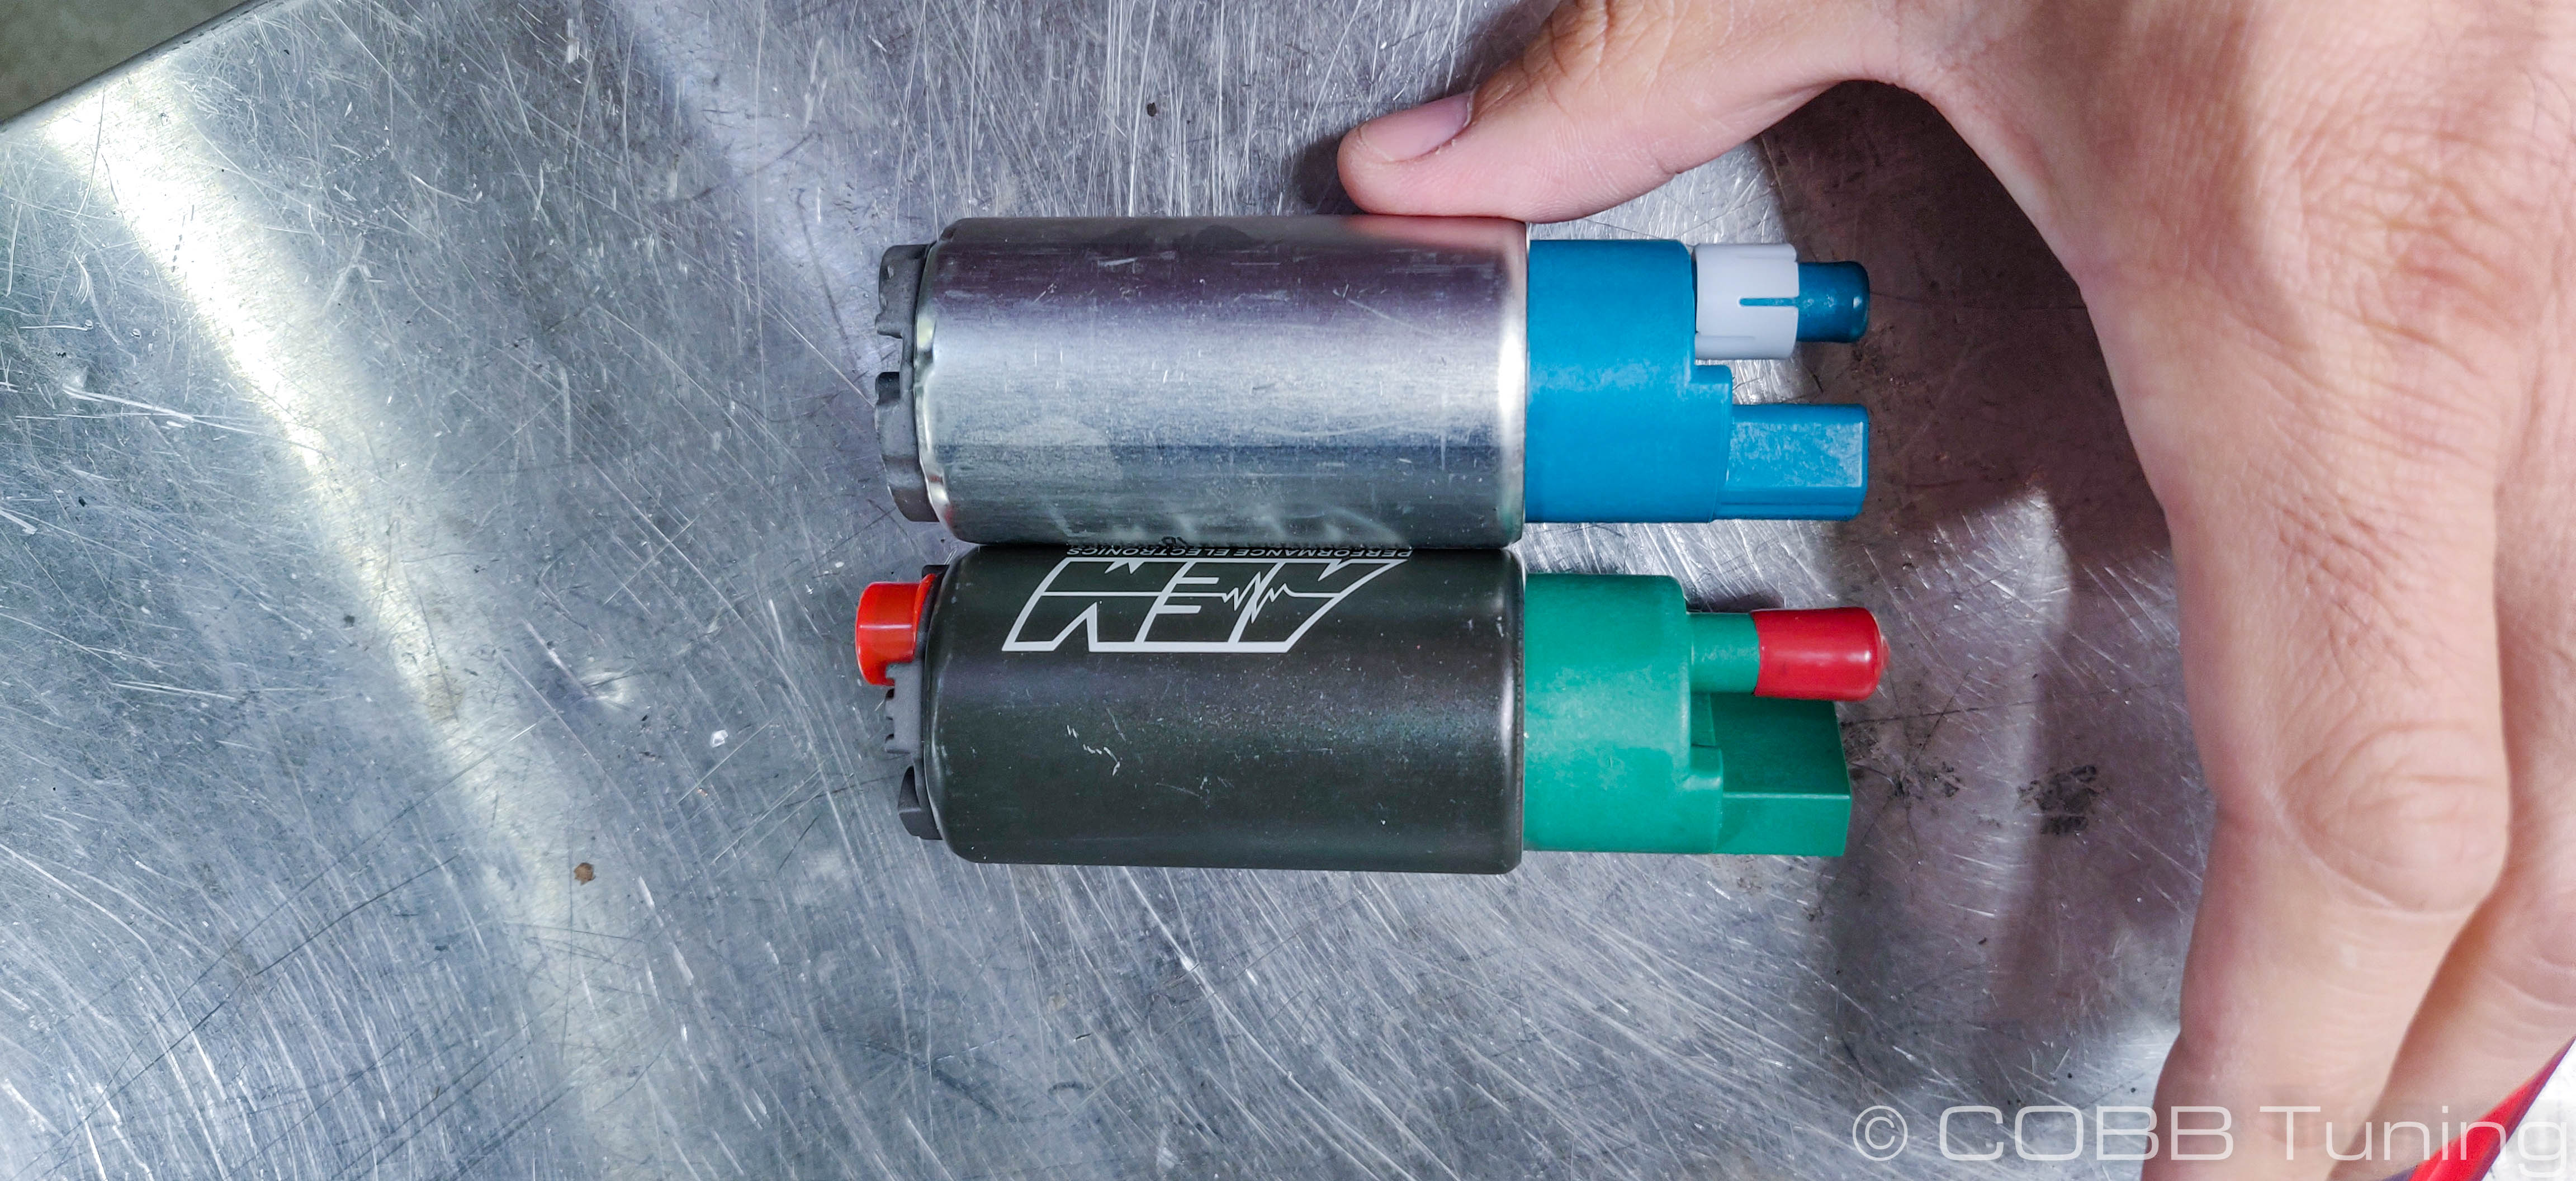
Parts List
- Fuel Pump
- Strainer
- (2) O-Rings
Tools Needed
Stock Fuel Pump Removal
- With a low (if not almost empty) tank of gas, park the car in a flat level area and allow it to cool down.
- Open up the back door of the car.
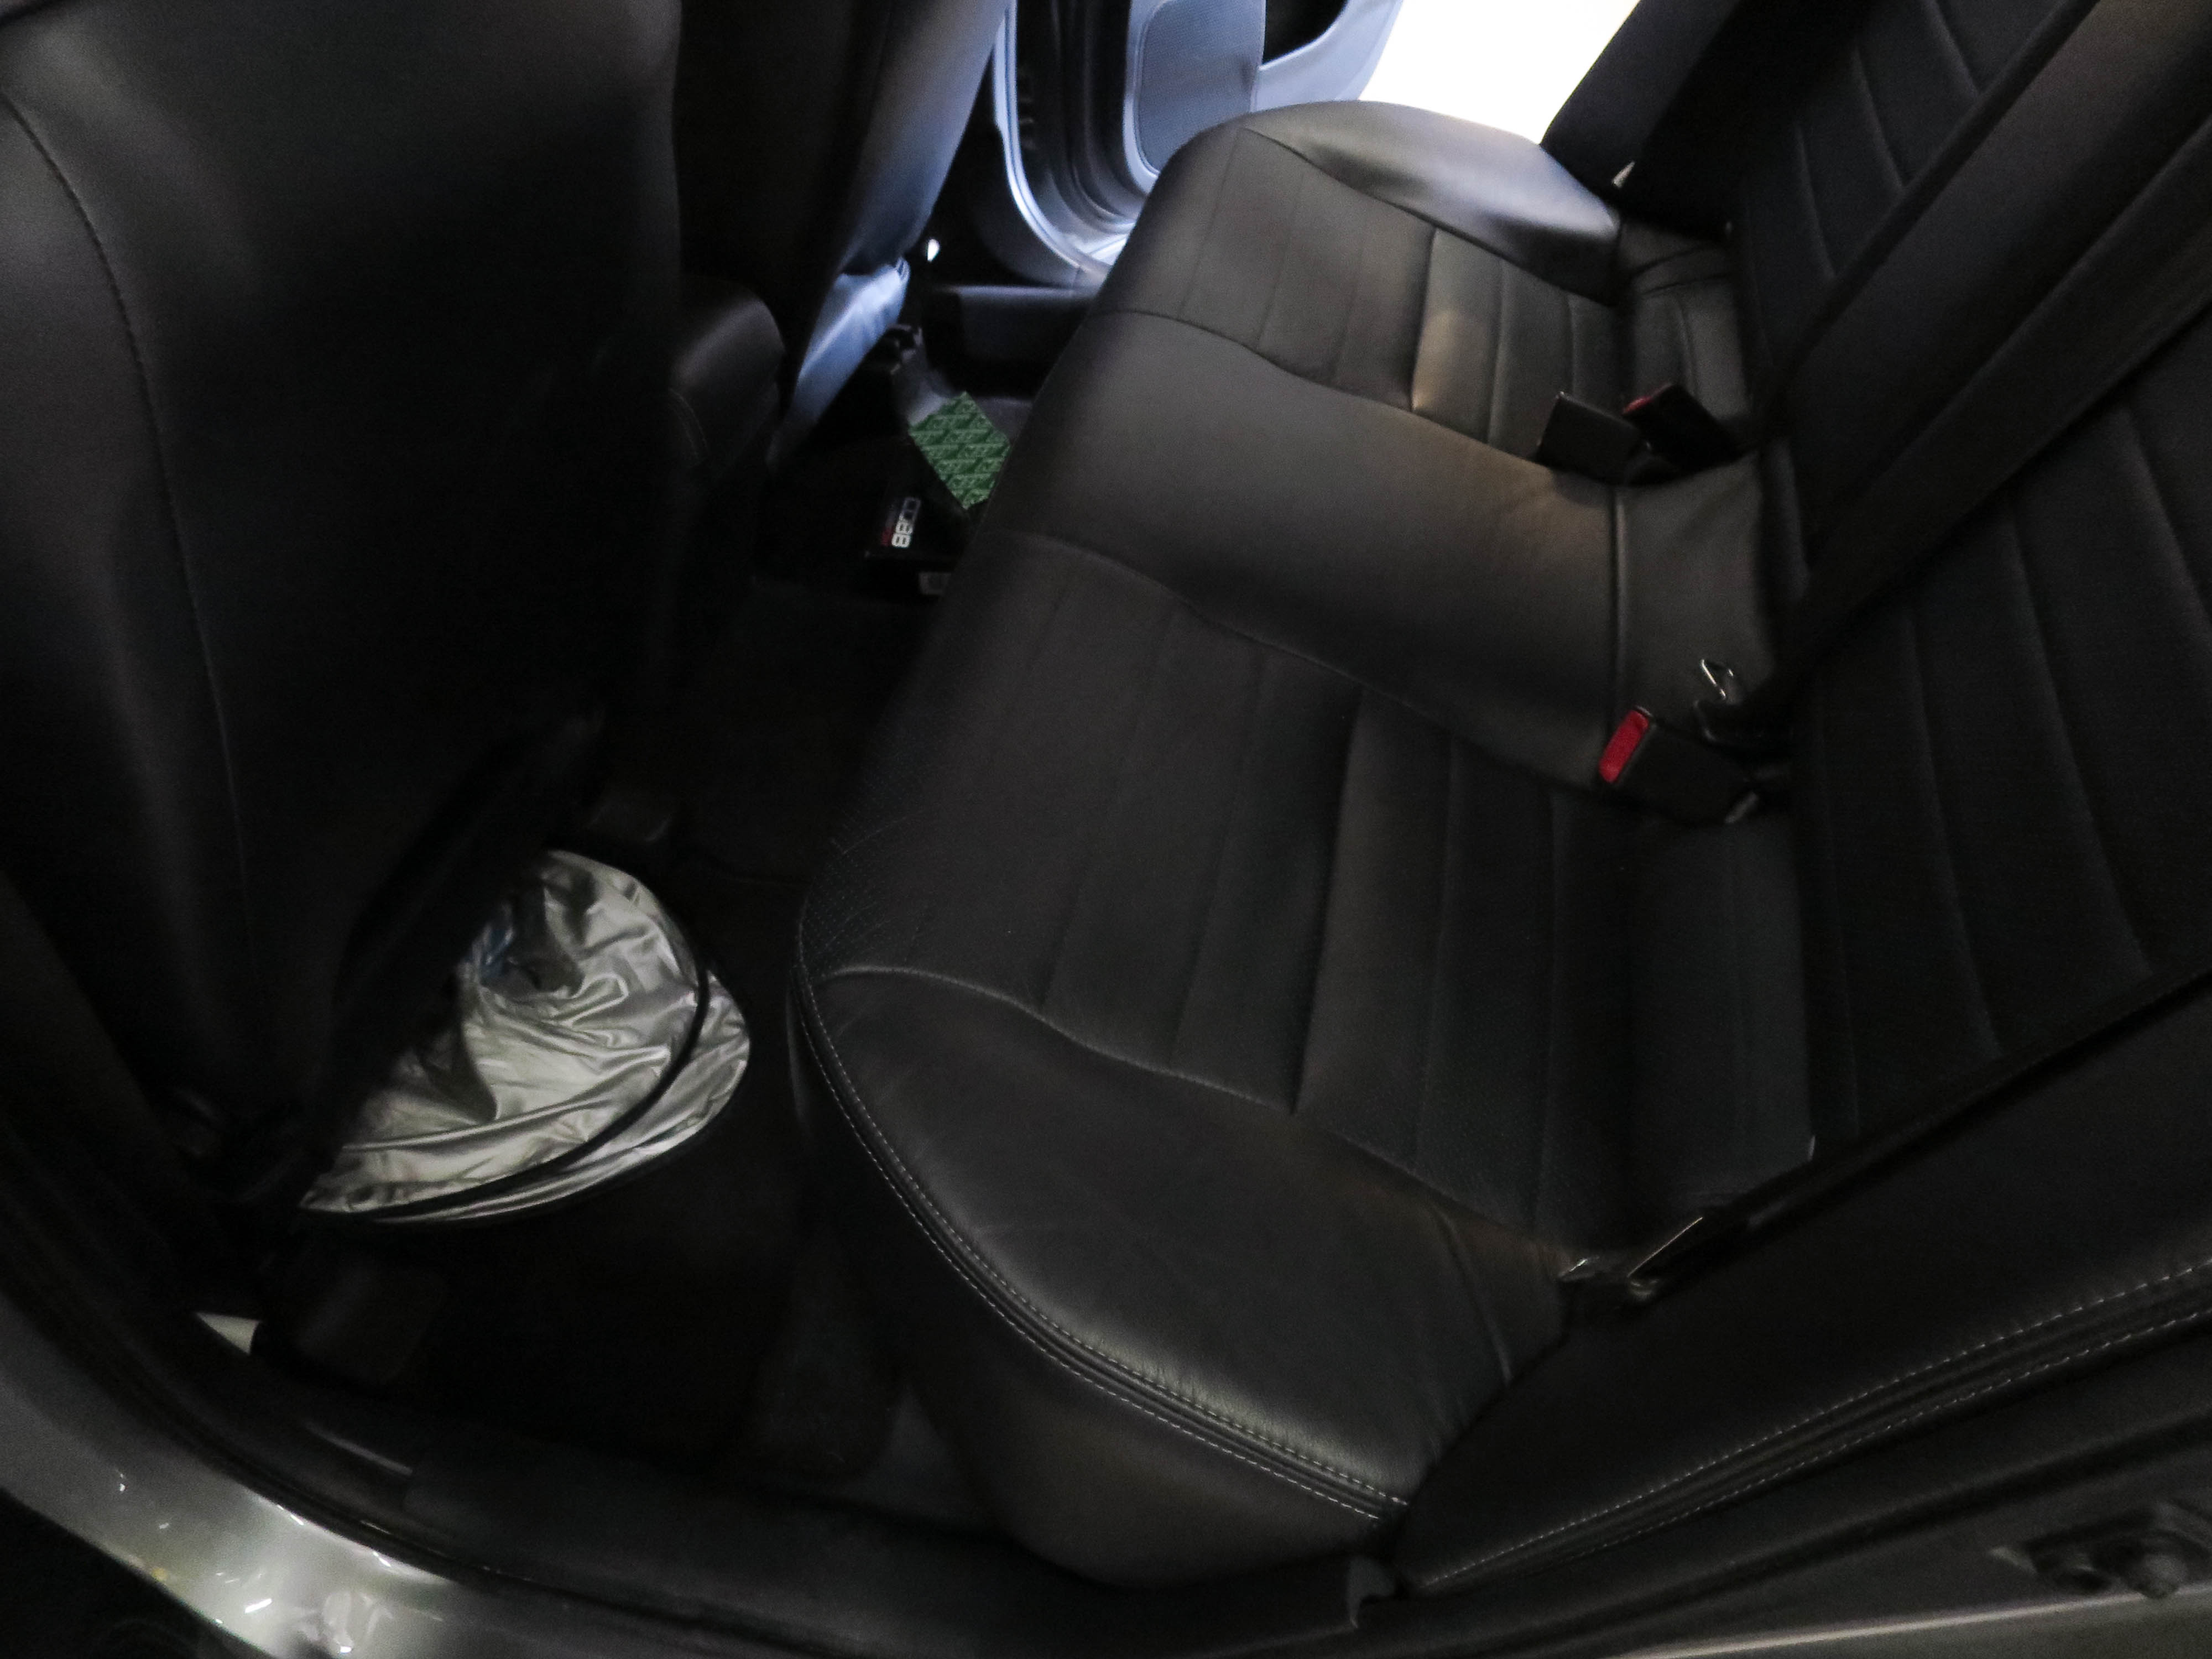
- Gently lift up on the front of the seat in the center of where one of the passengers would sit. You should feel an annoyingly sharp handle. Pull outwards on the handle, it may take a finger on each side of the handle to pull it. While pulling outward gently lift upward on the seat. It should pop free.
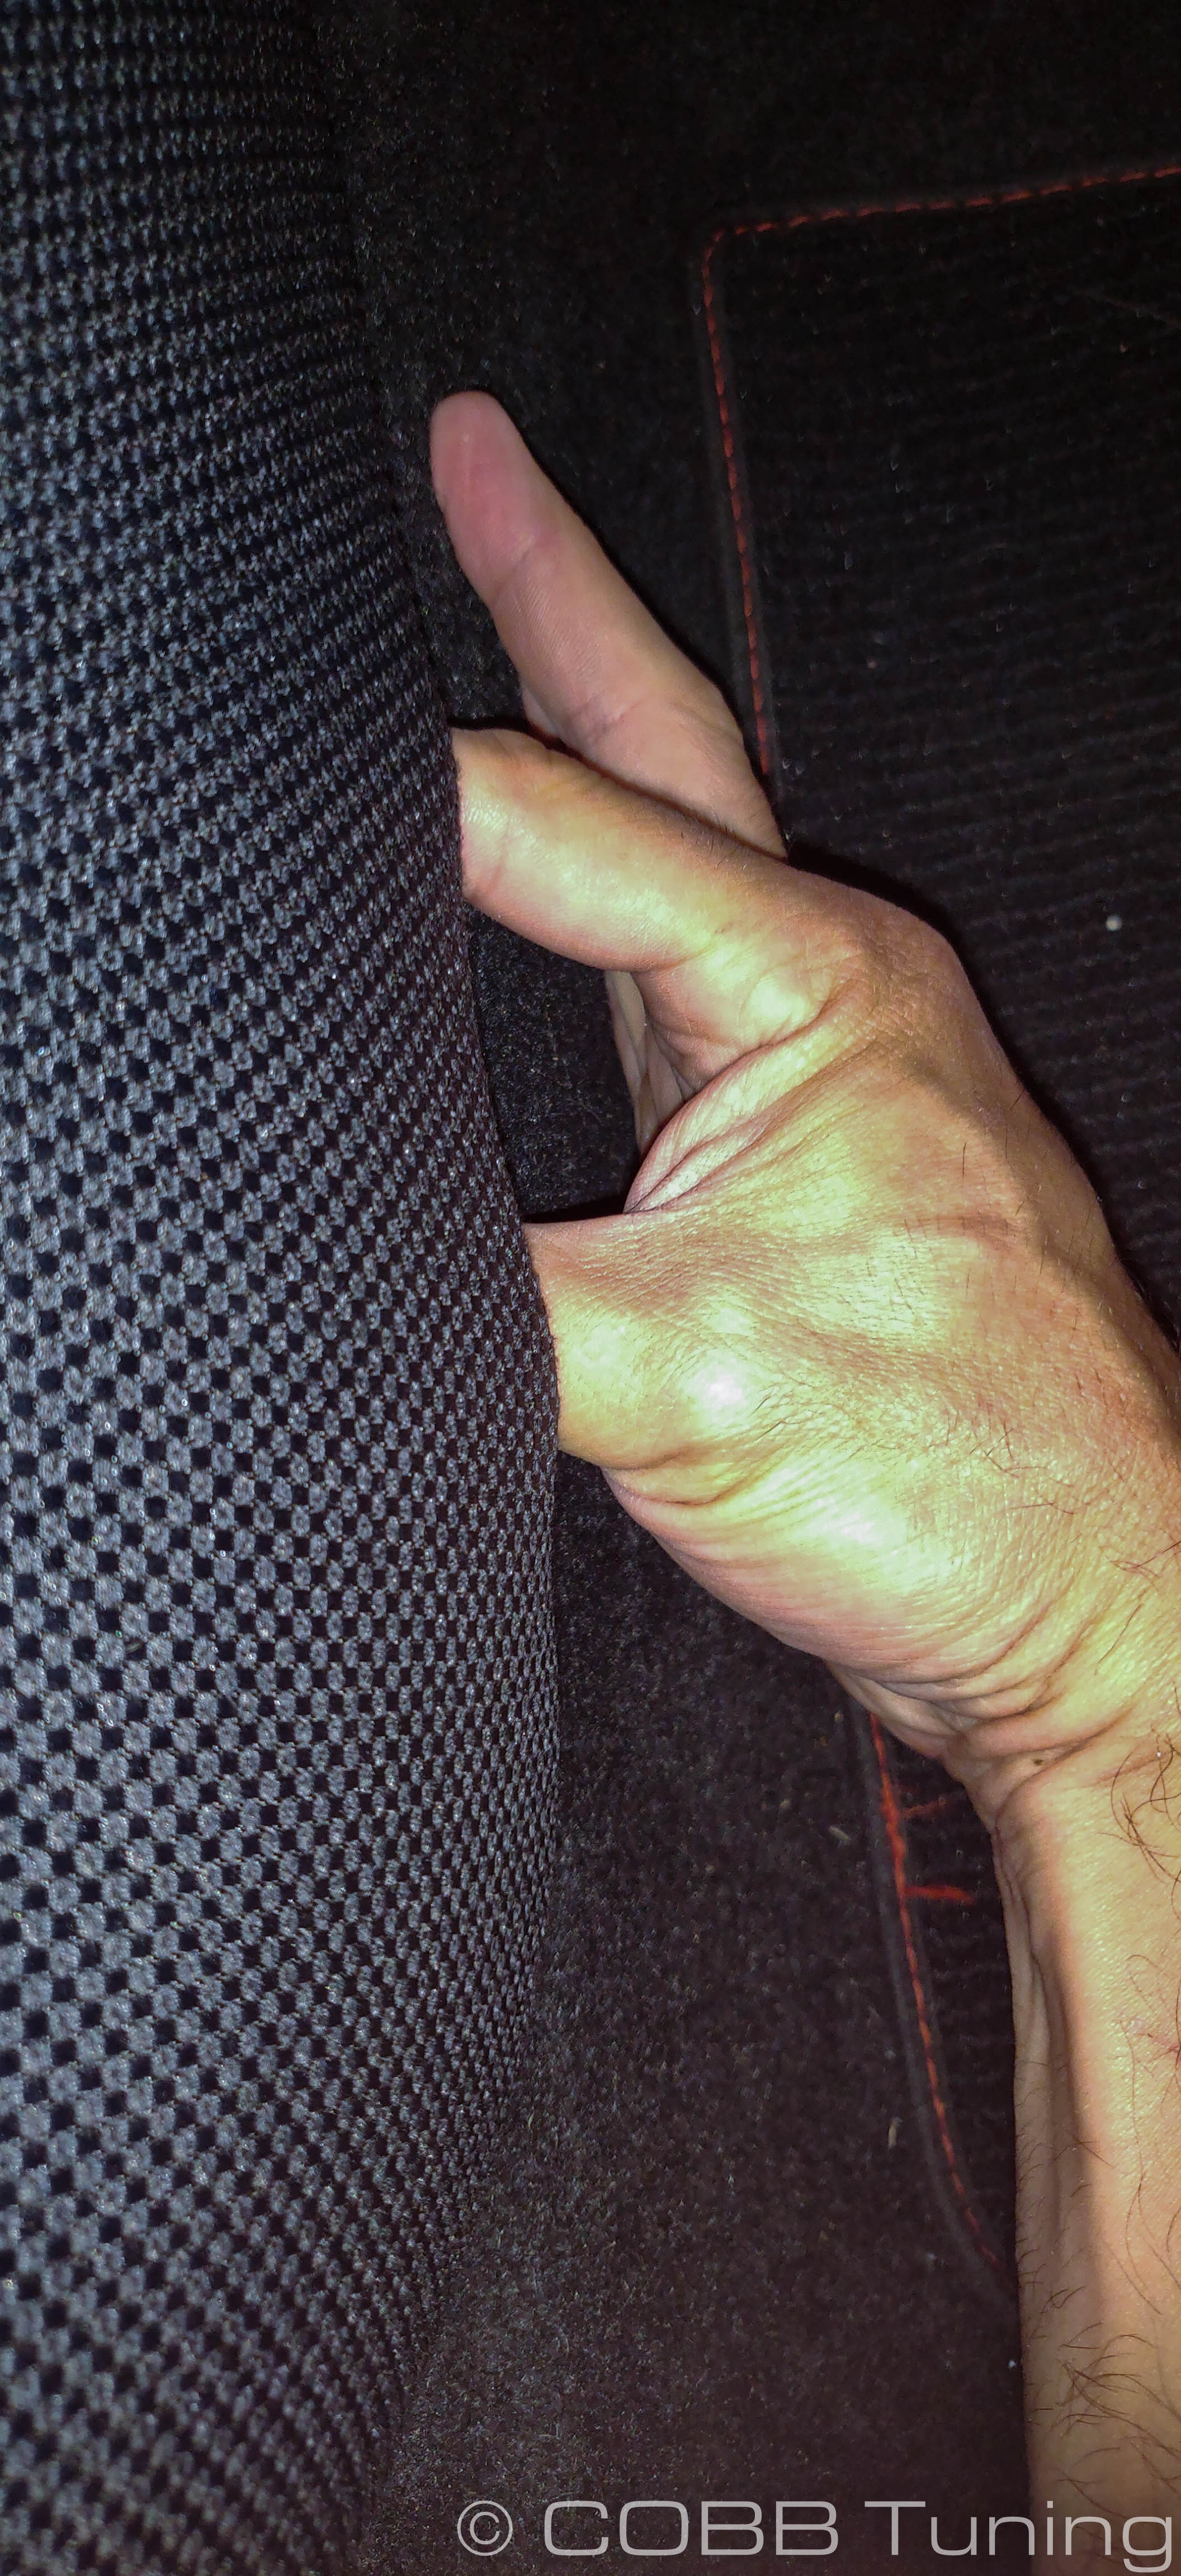
- With the front loose gently push down on the back side of the seat near the corner and pull toward the front of the car. The rear seat should come free
- Repeat this process on the other side.
- Using a Phillips screwdriver remove the four screws holding the pump cover in place.
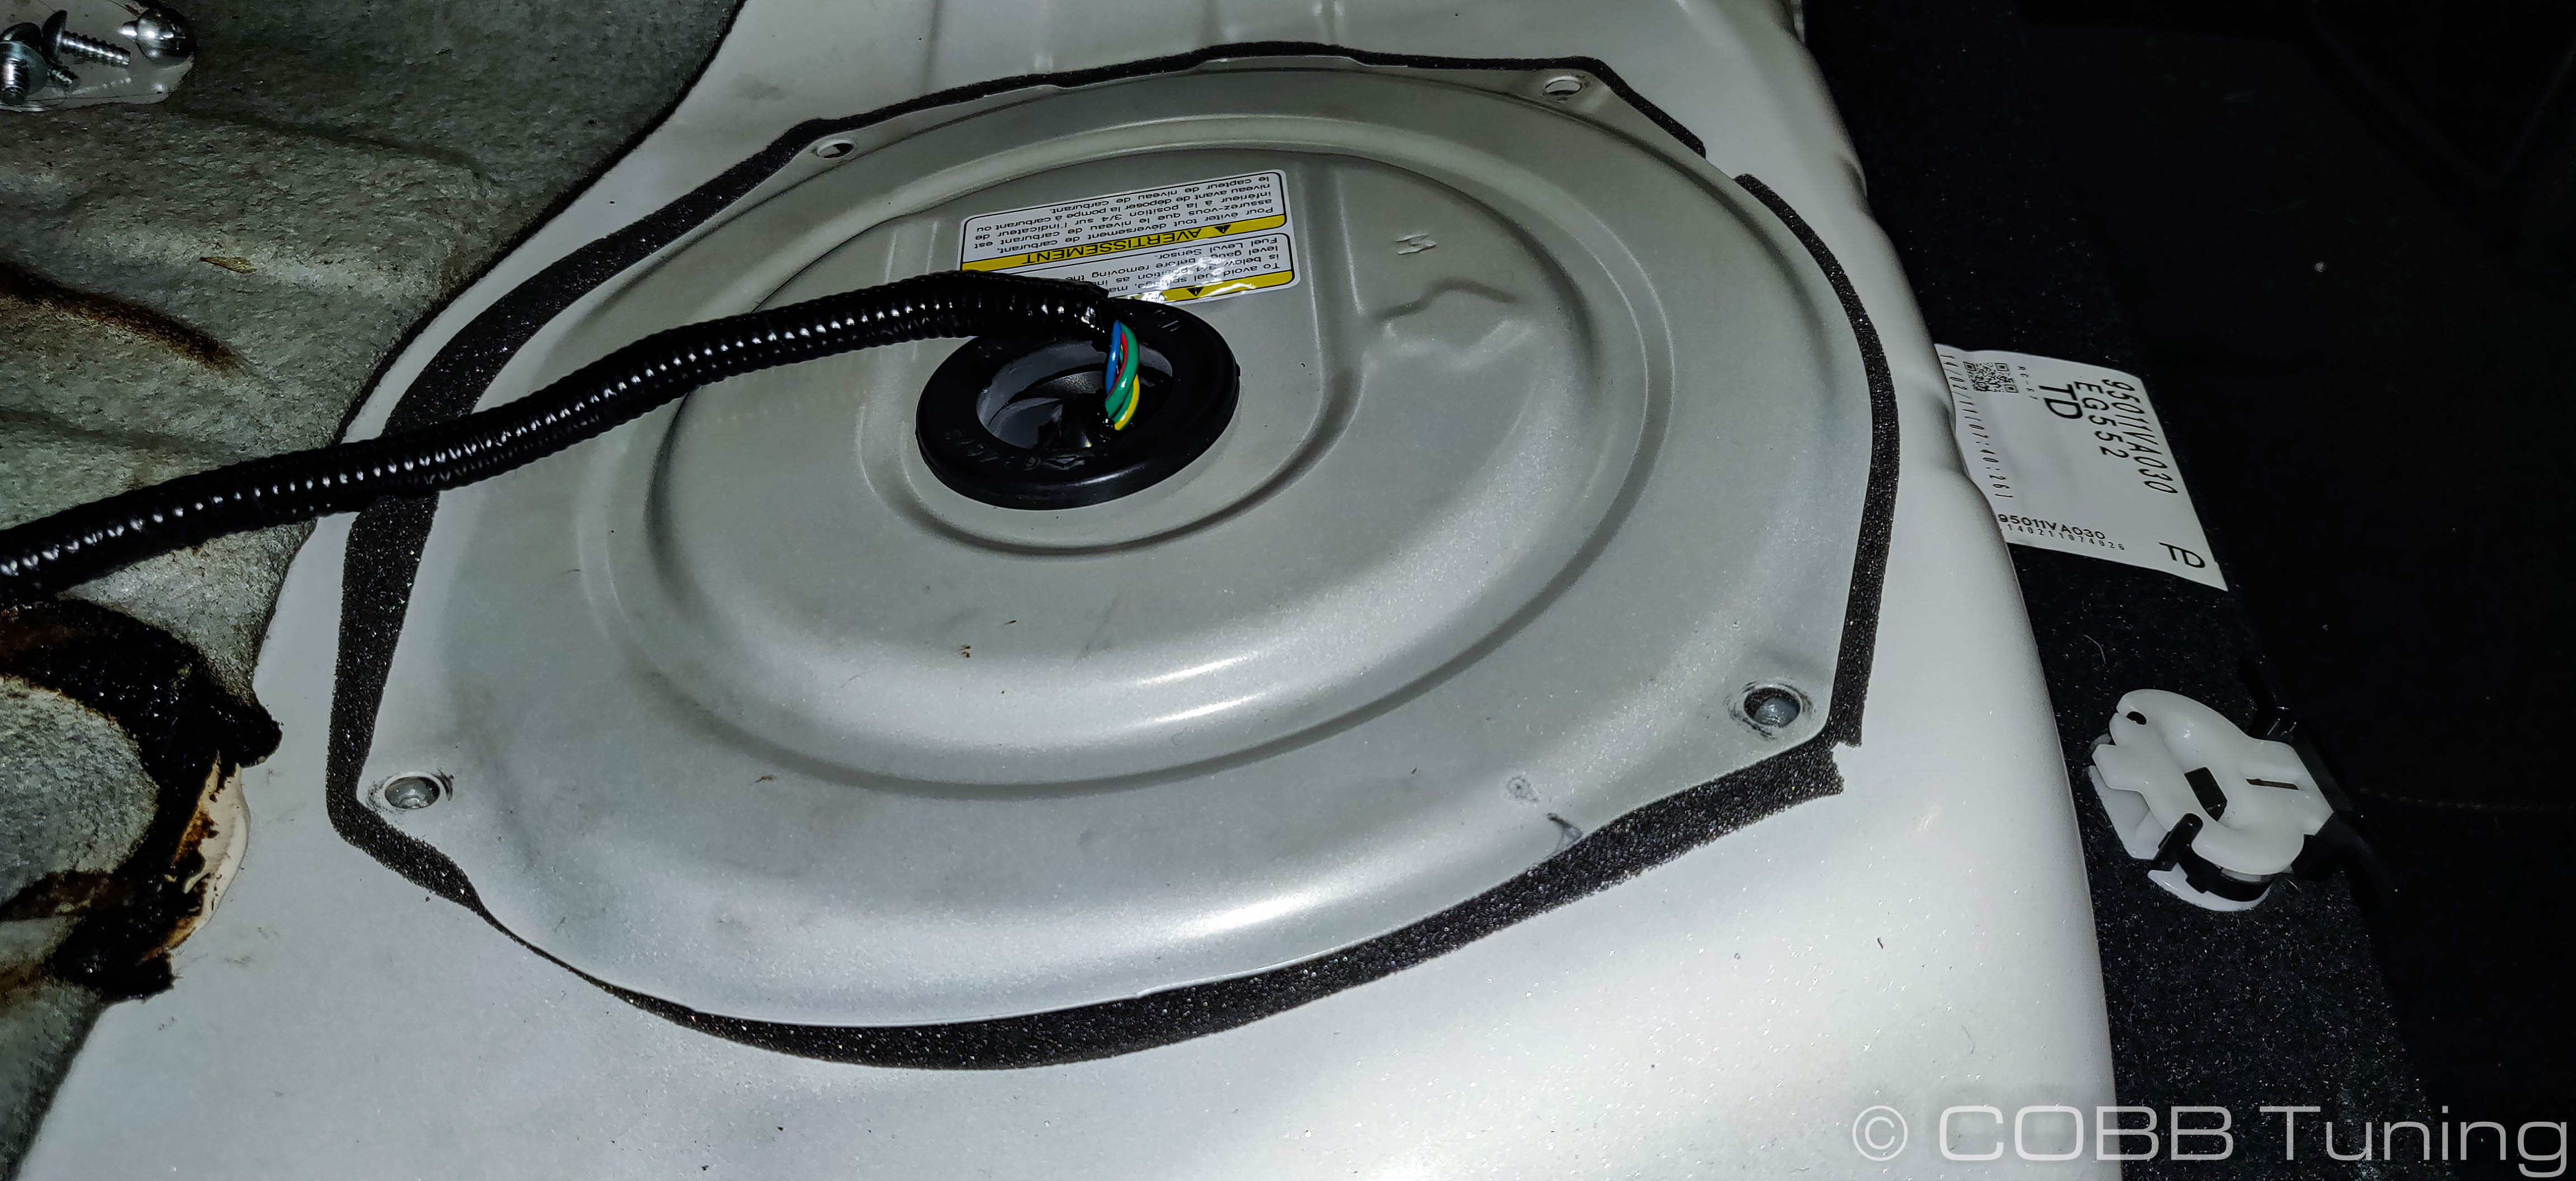
- Start the car up and allow it to idle.
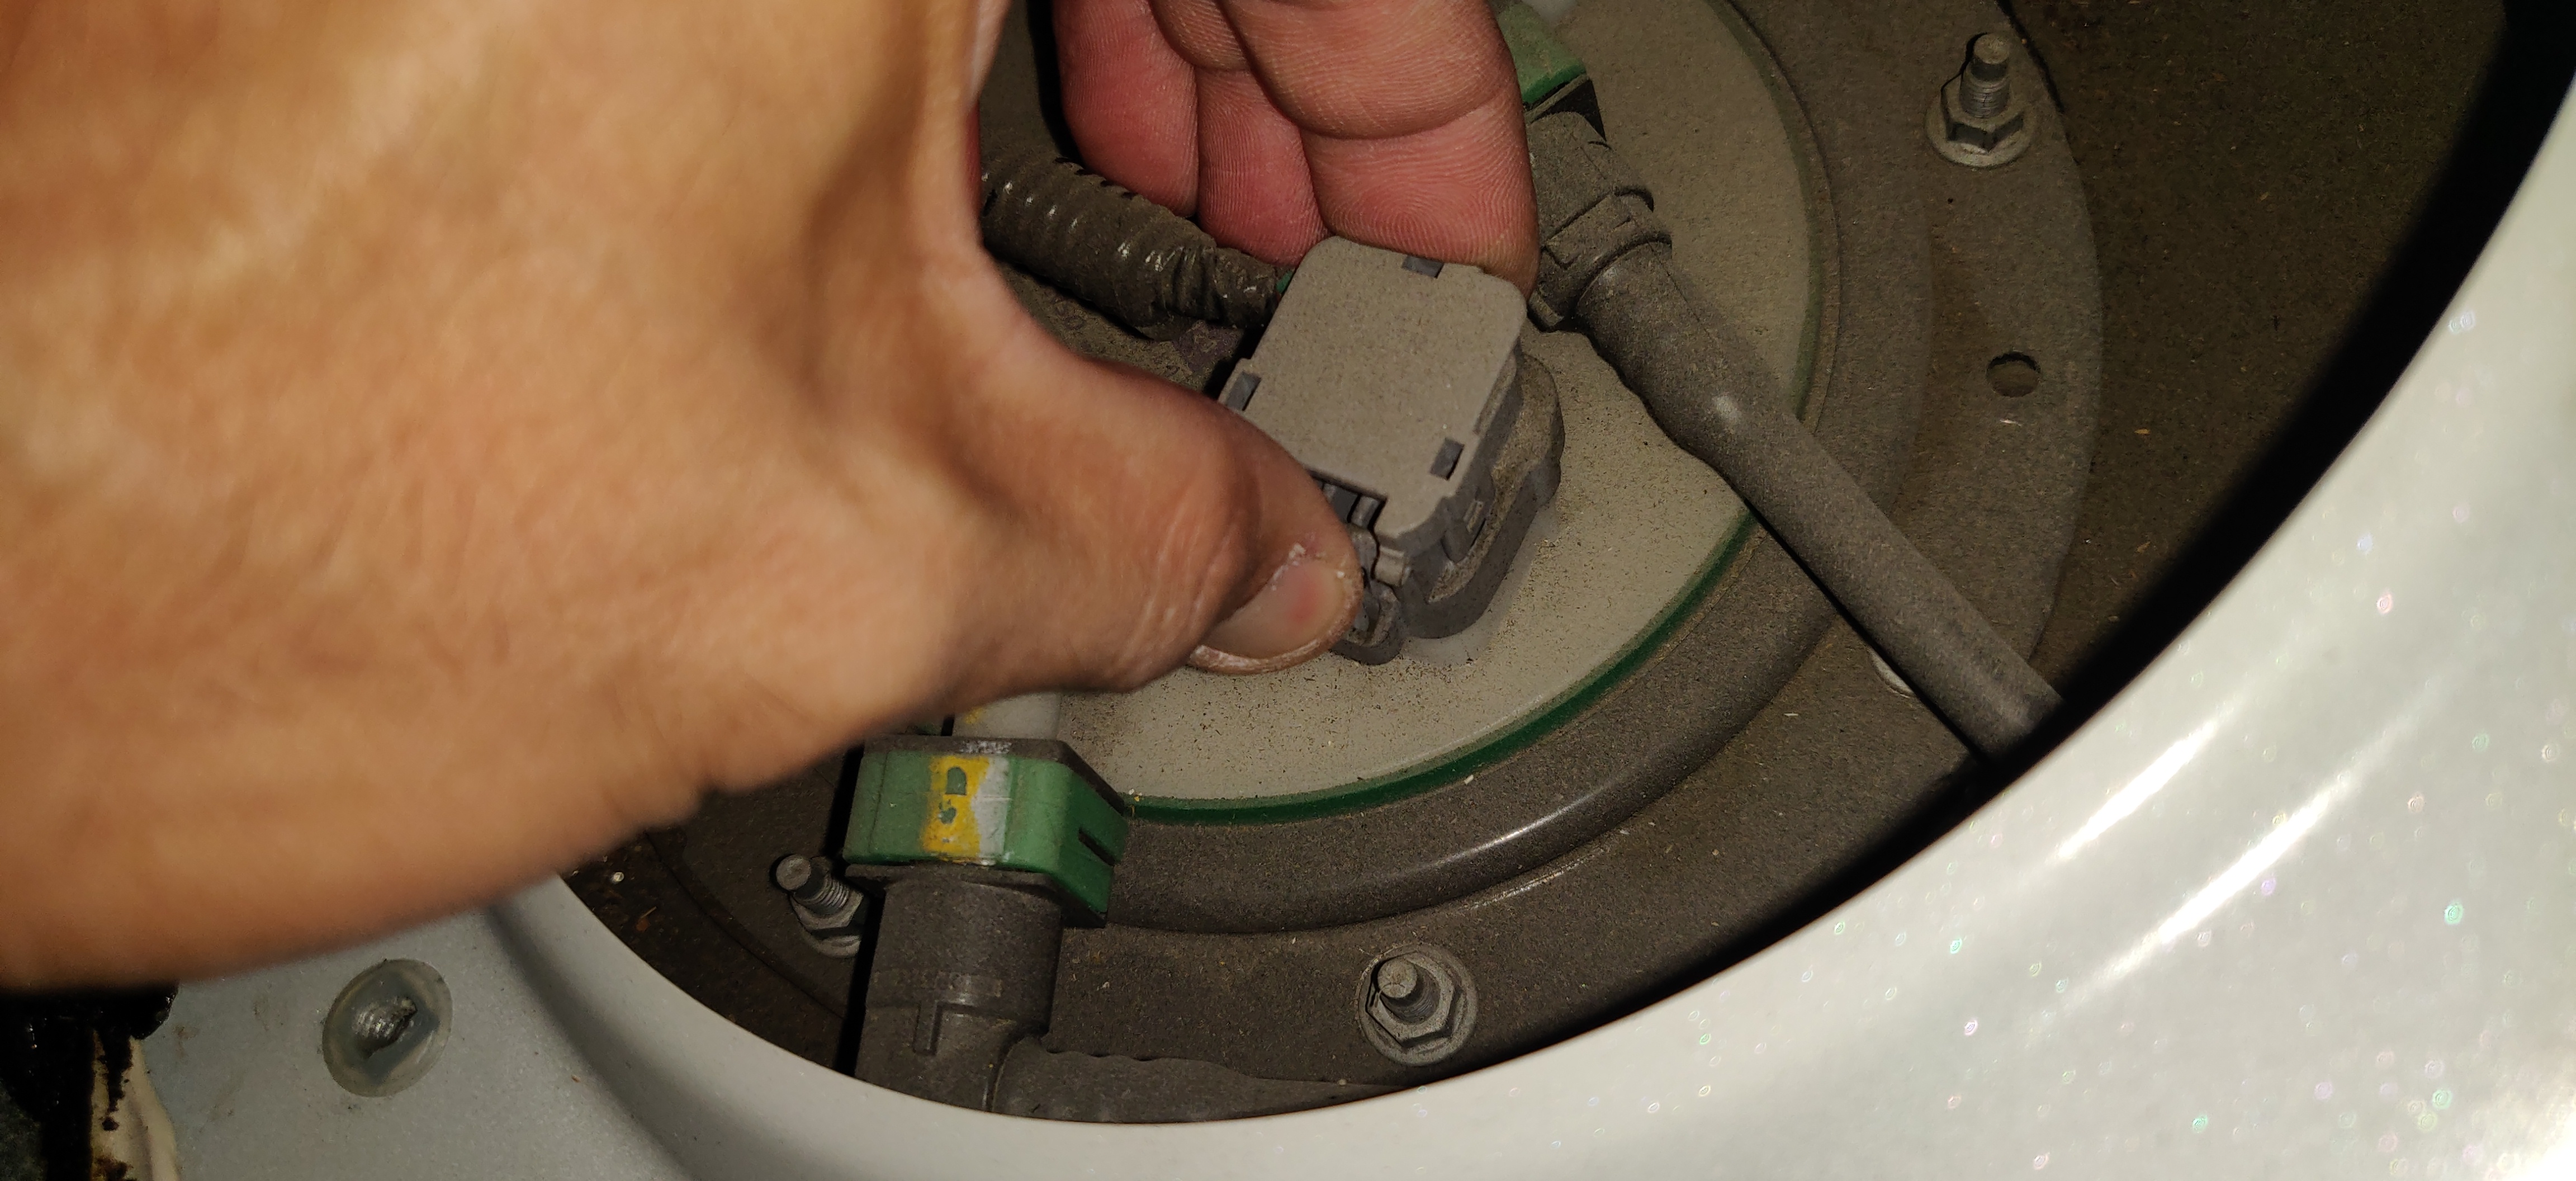
- Remove the electrical connector by gently squeezing the release tab.
- Once the car dies, turn it off, and remove the gas cap.
- Using a 10mm wrench, disconnect the battery cables.
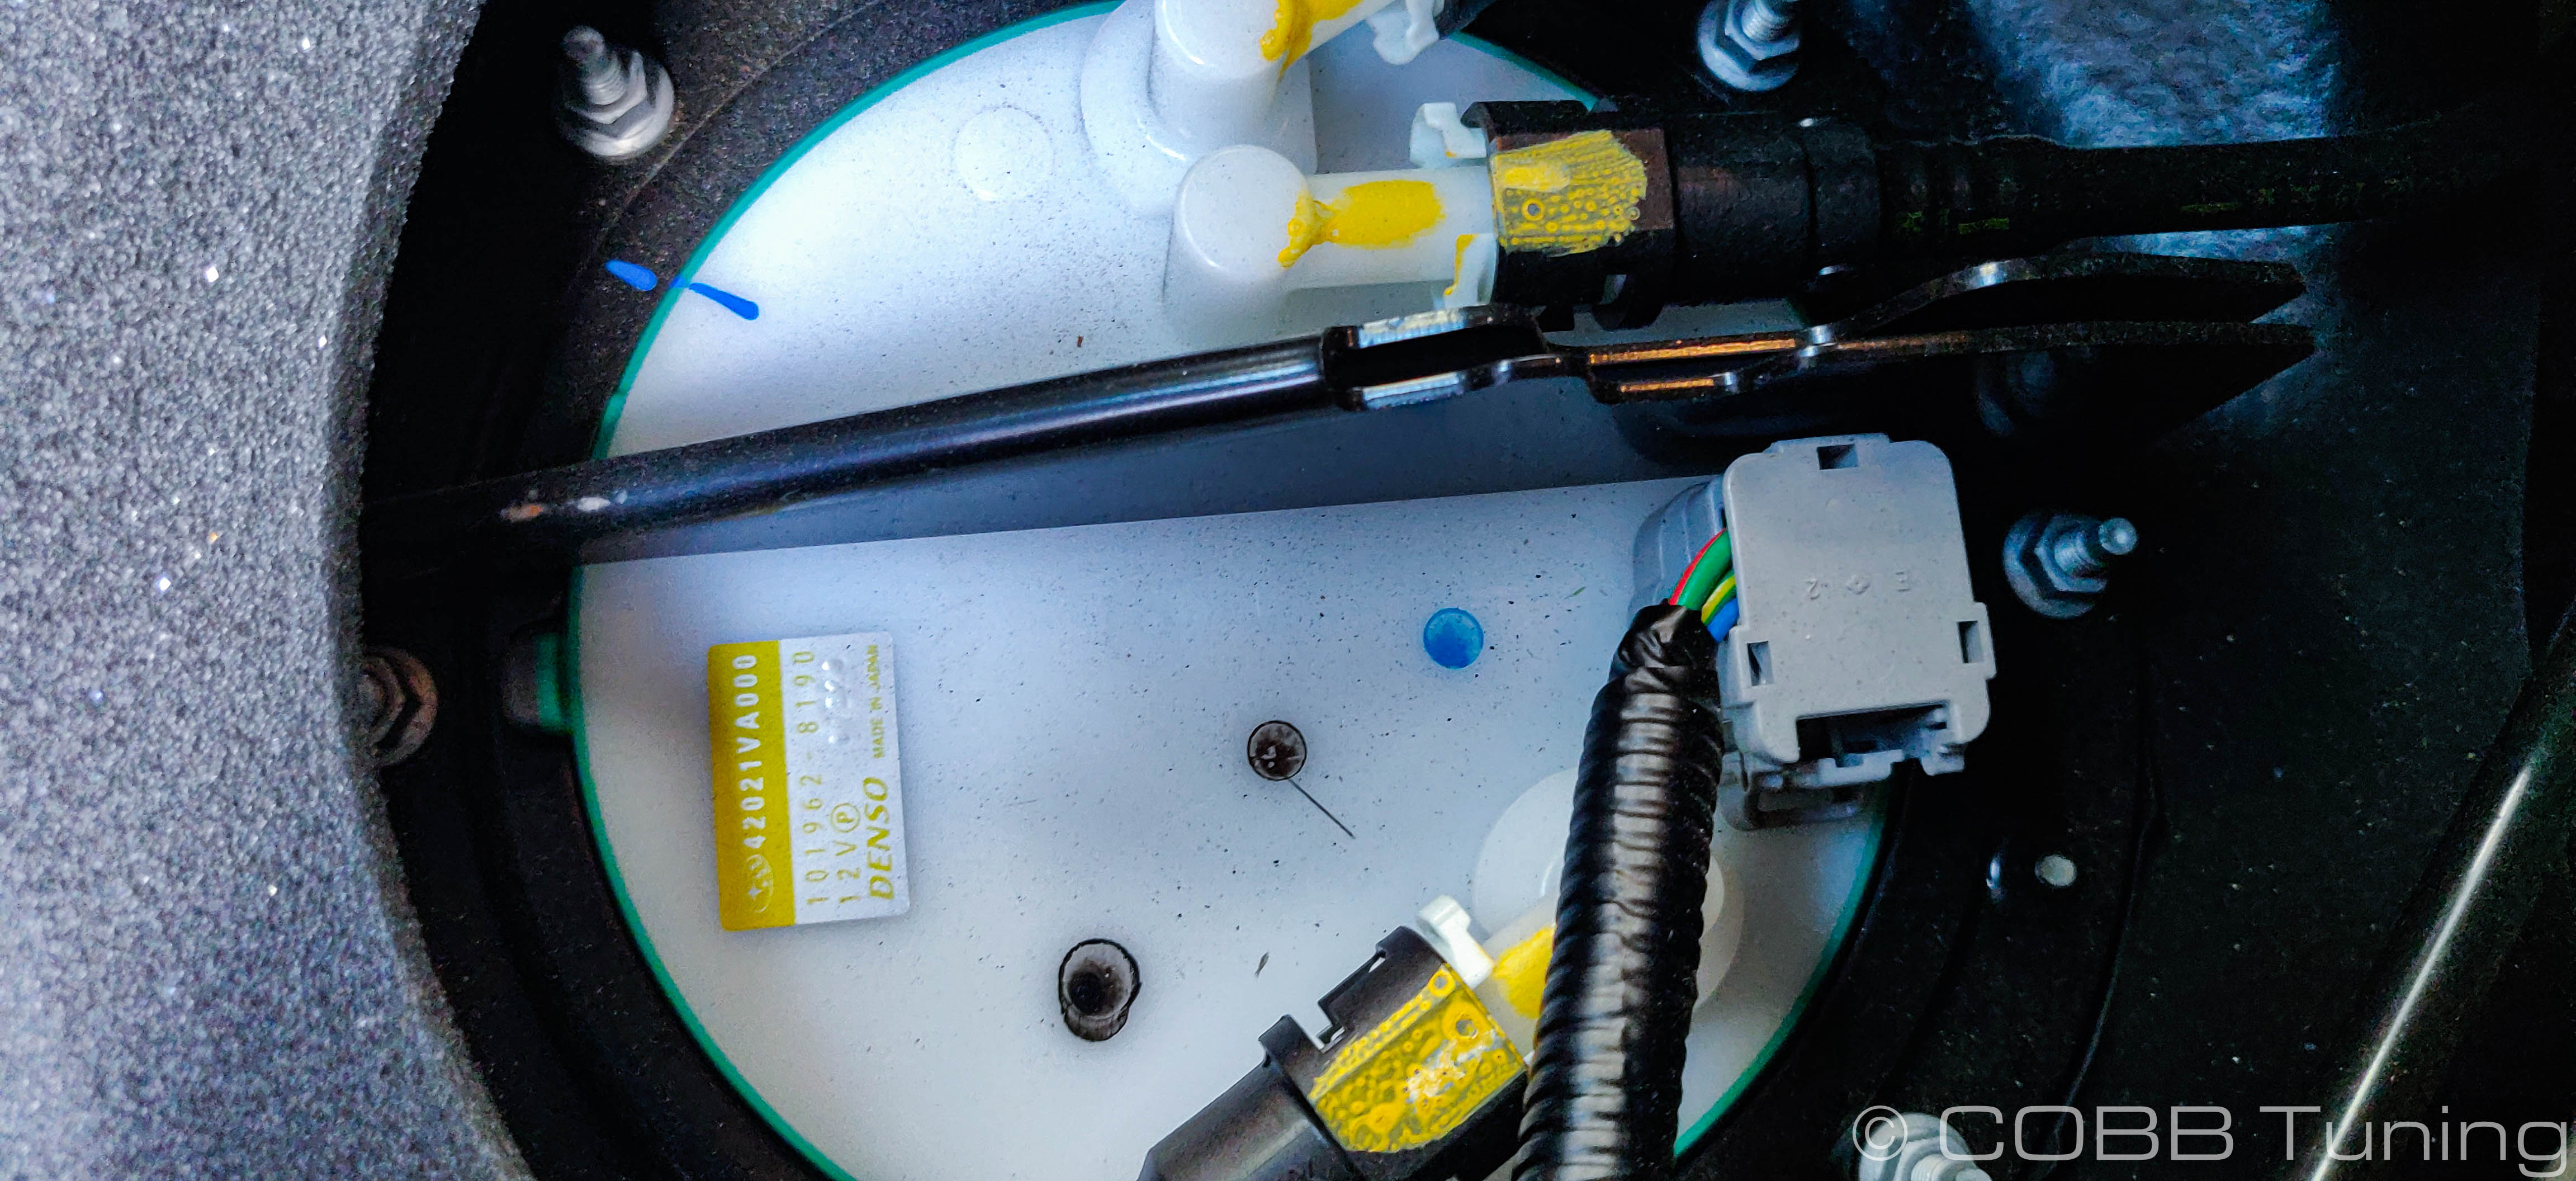
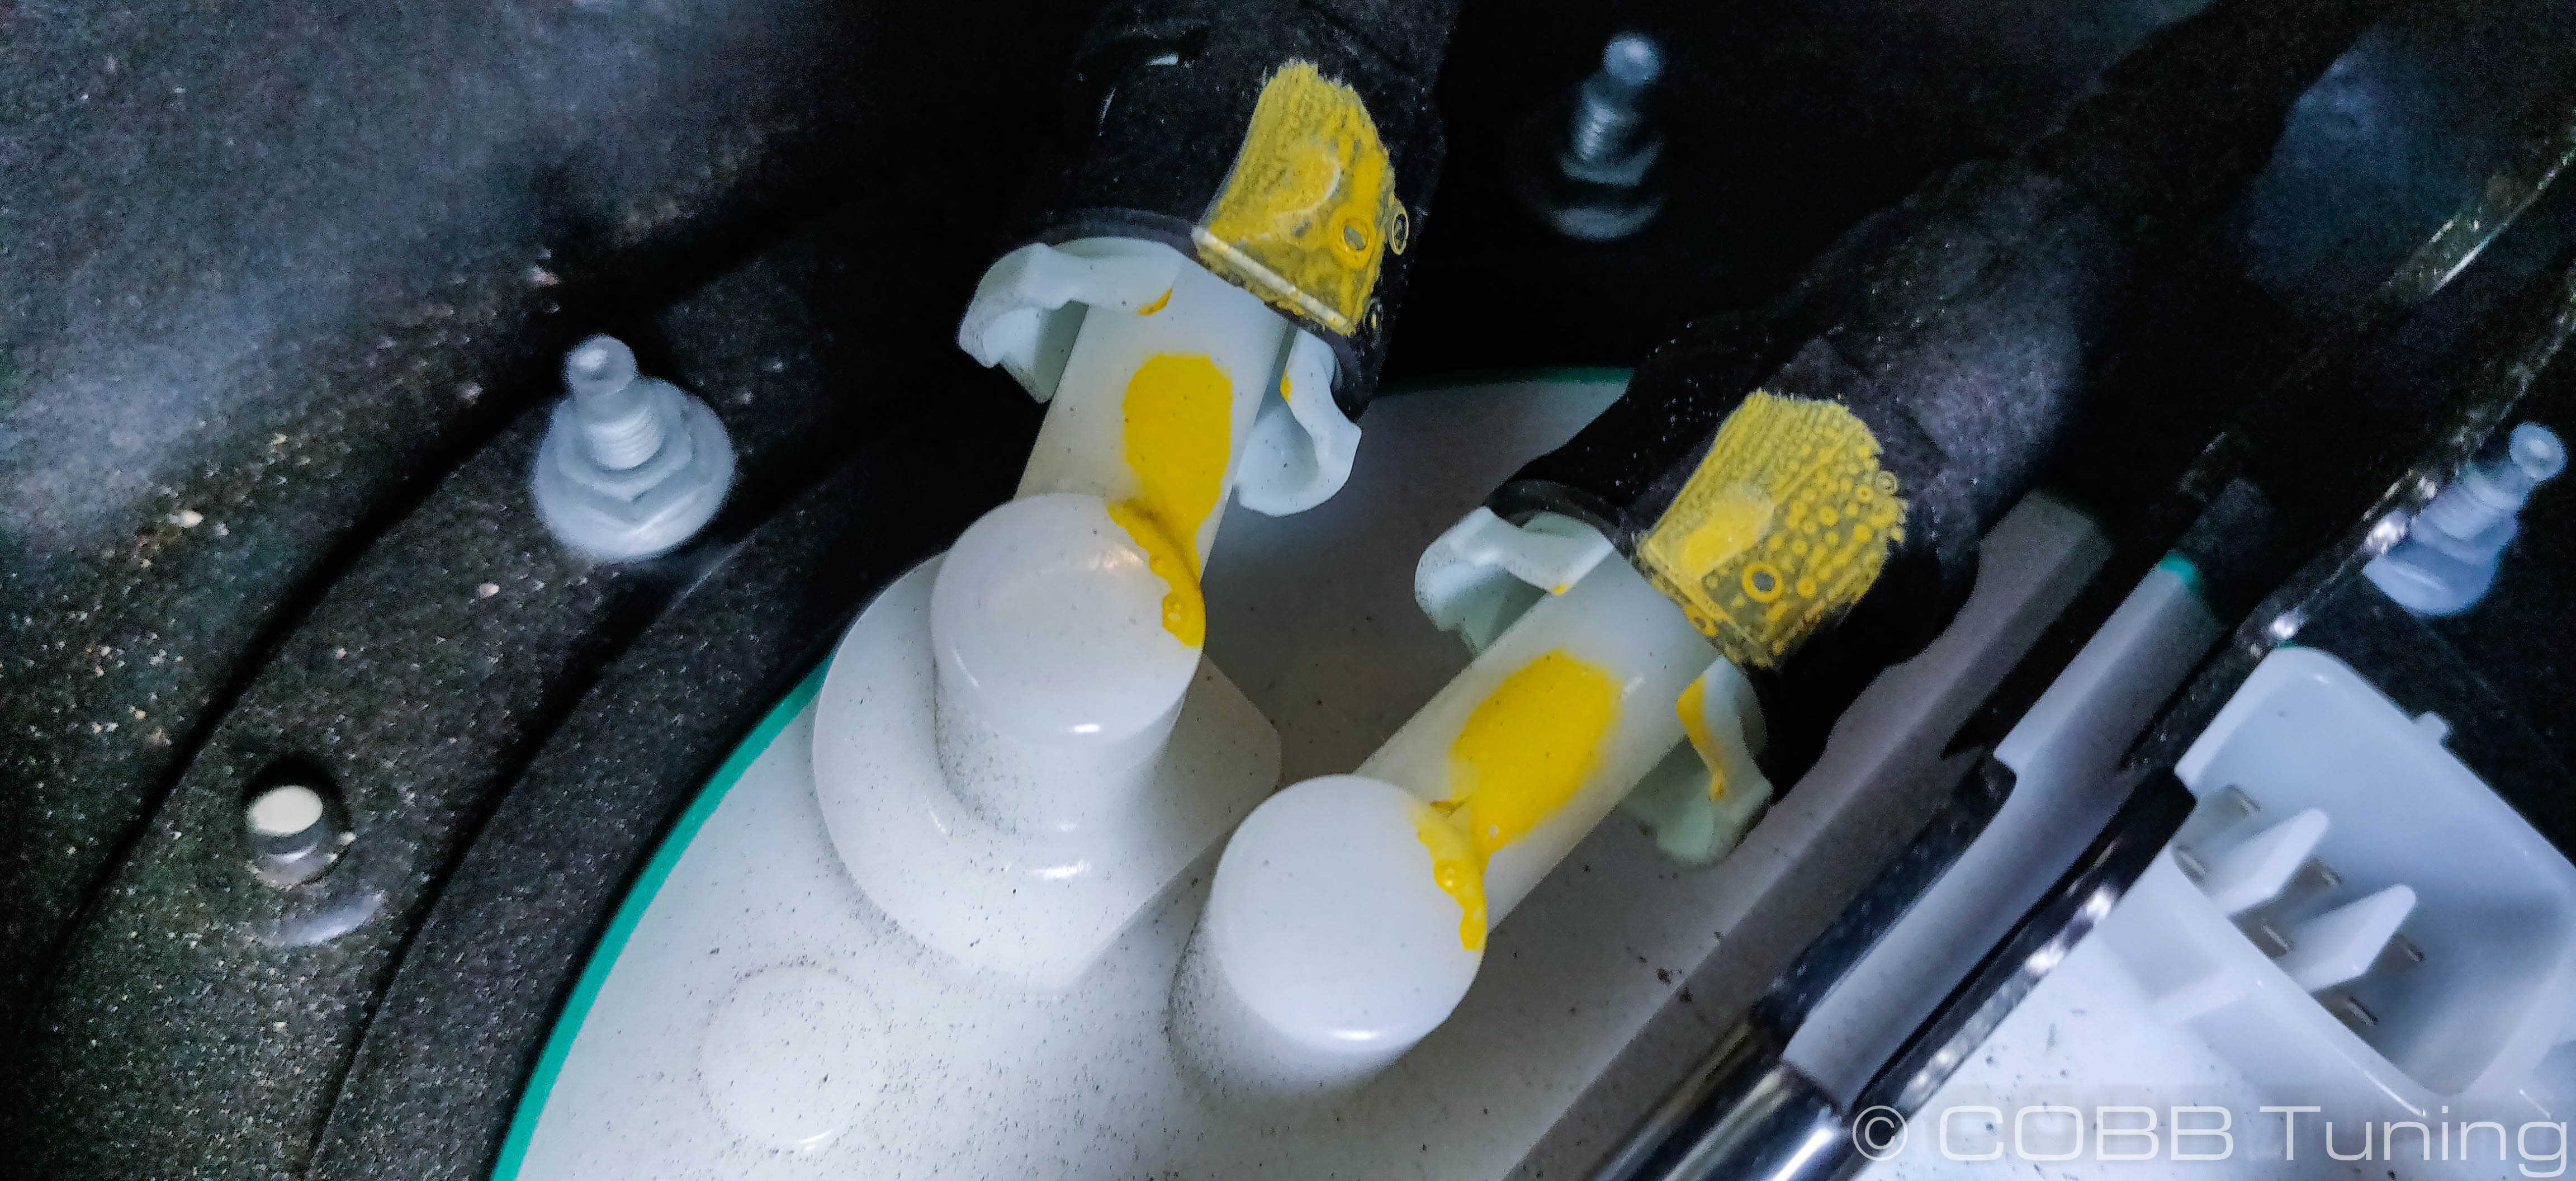
- At this point it may be helpful to mark the hoses so you know where they go back to.
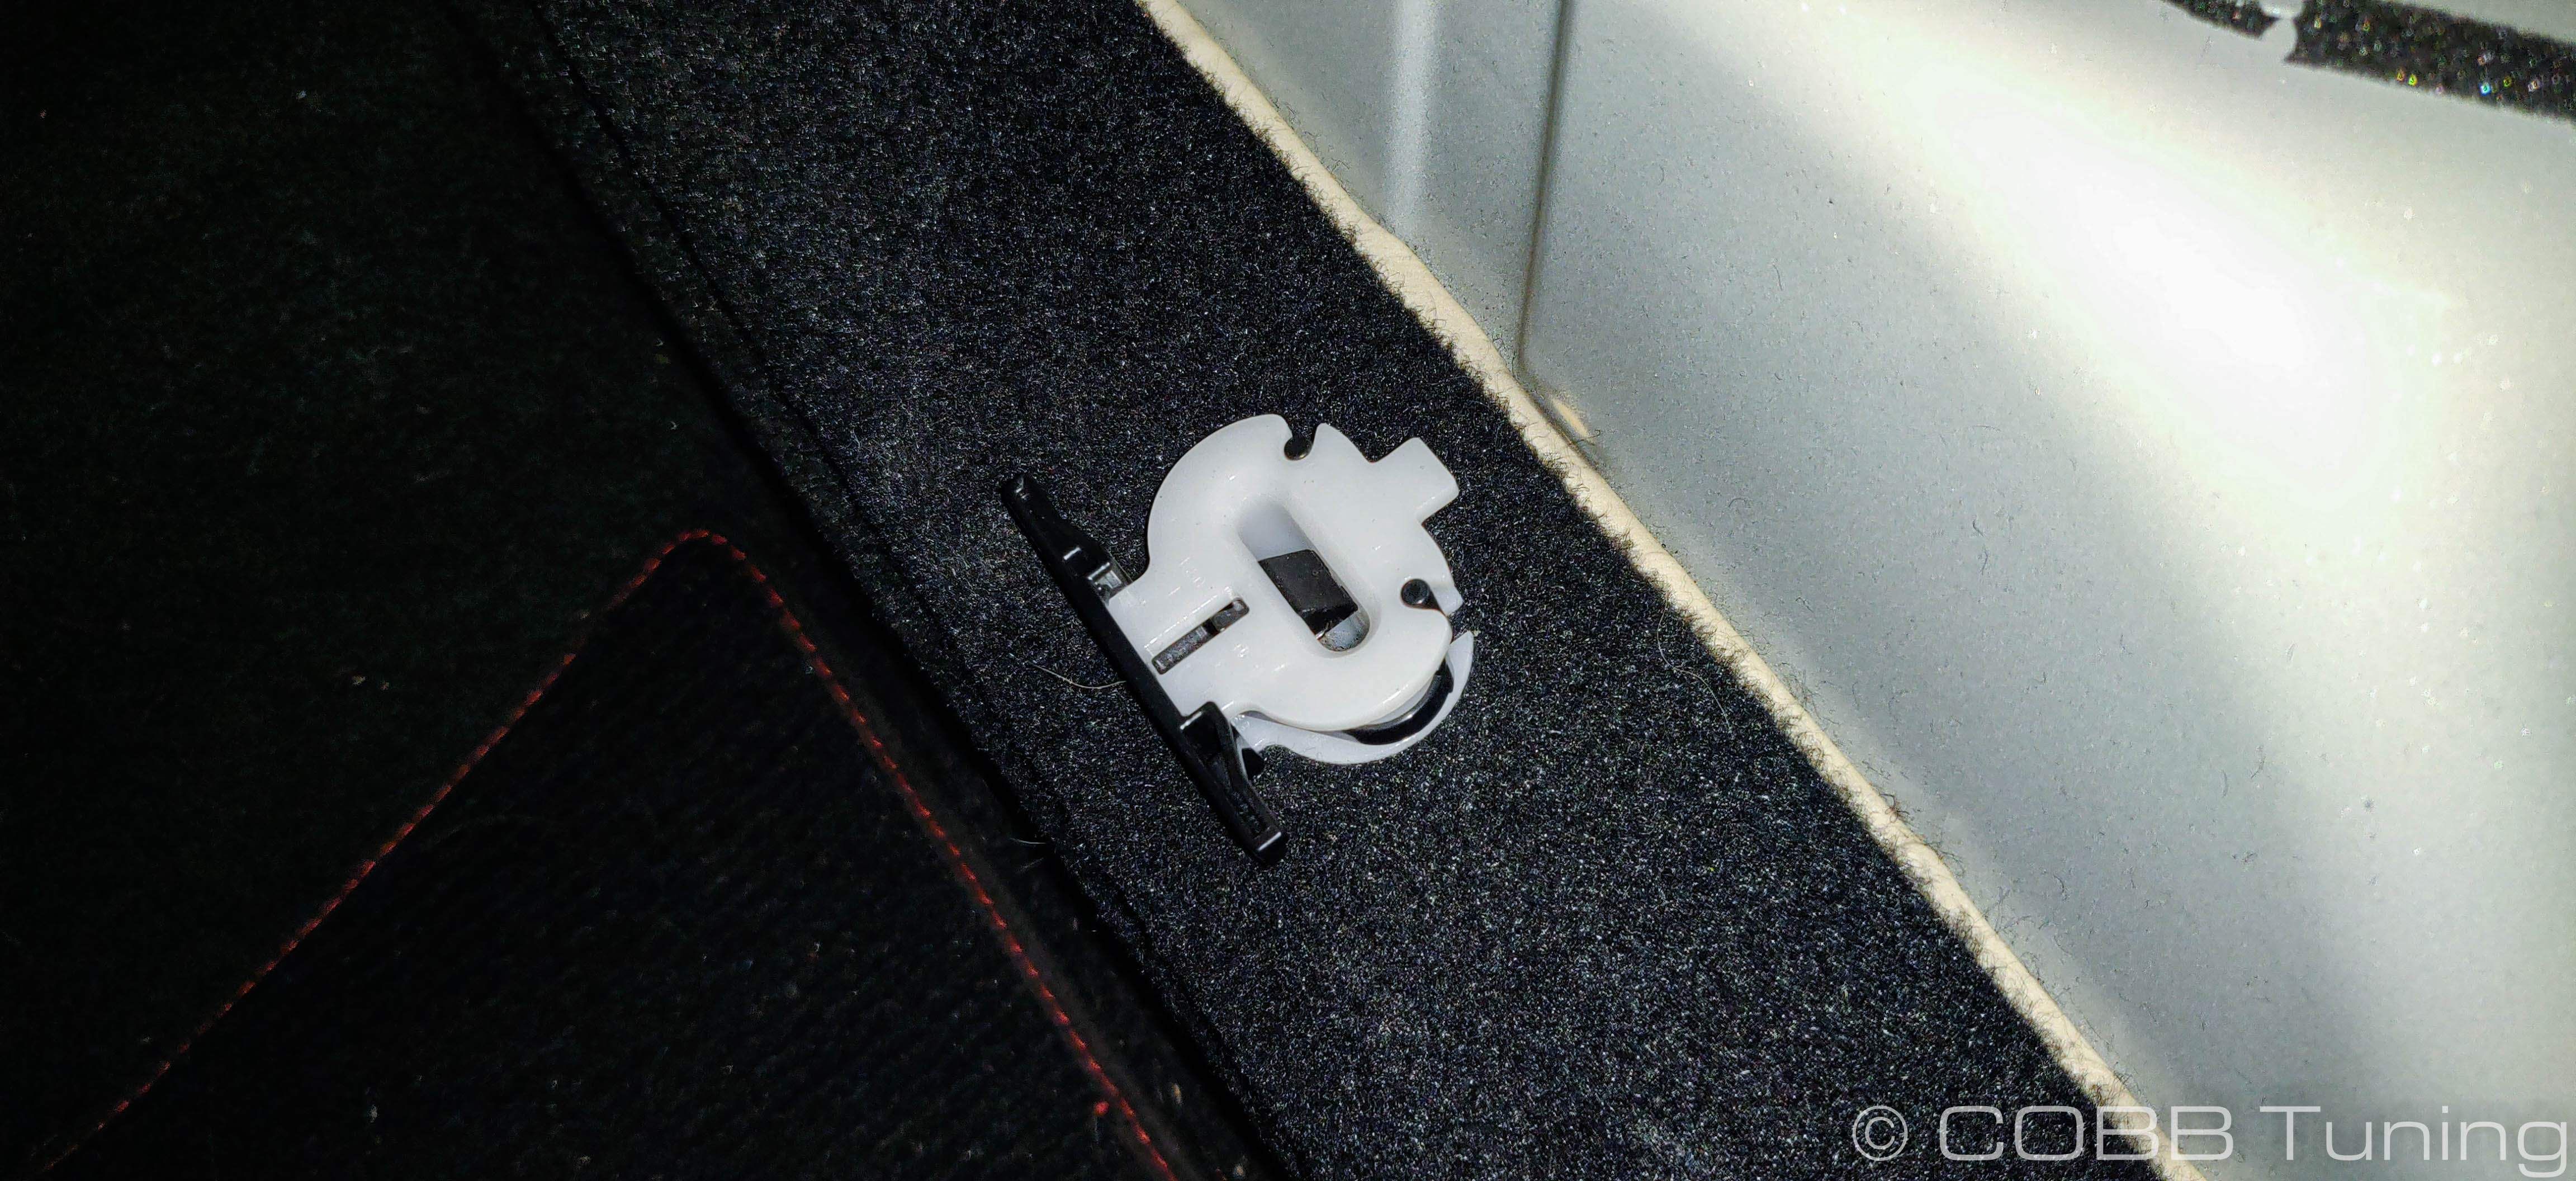
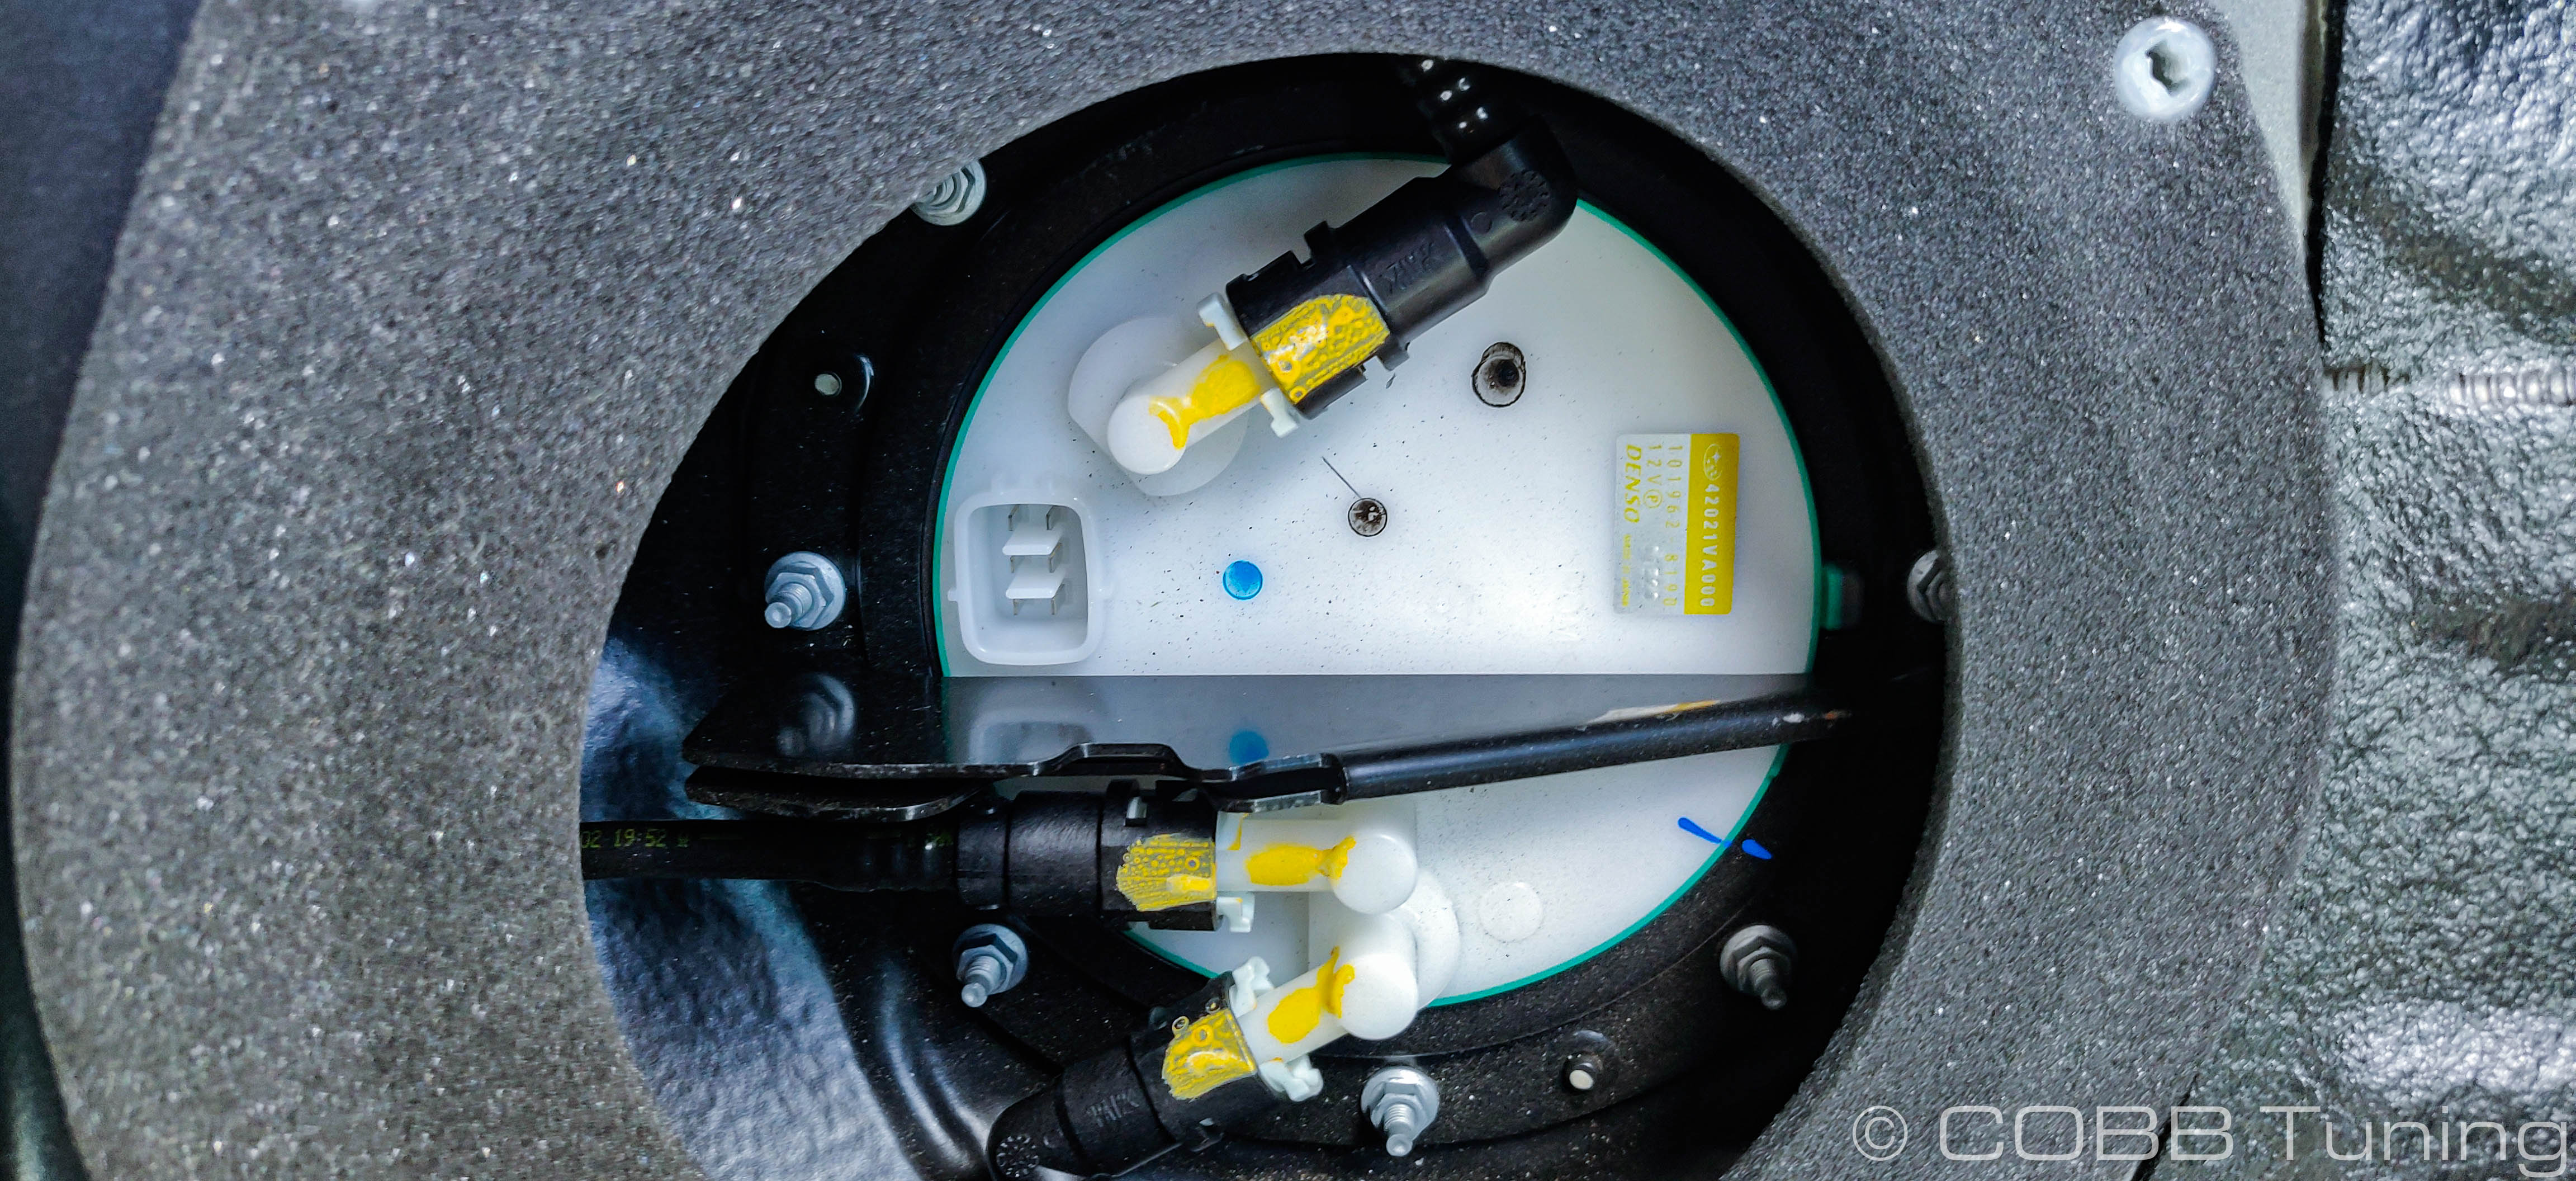
- Gently squeeze the white clips to remove all three hoses in turn.
- Now undo the six eight bolts holding down the tank ring using an 8mm socket.
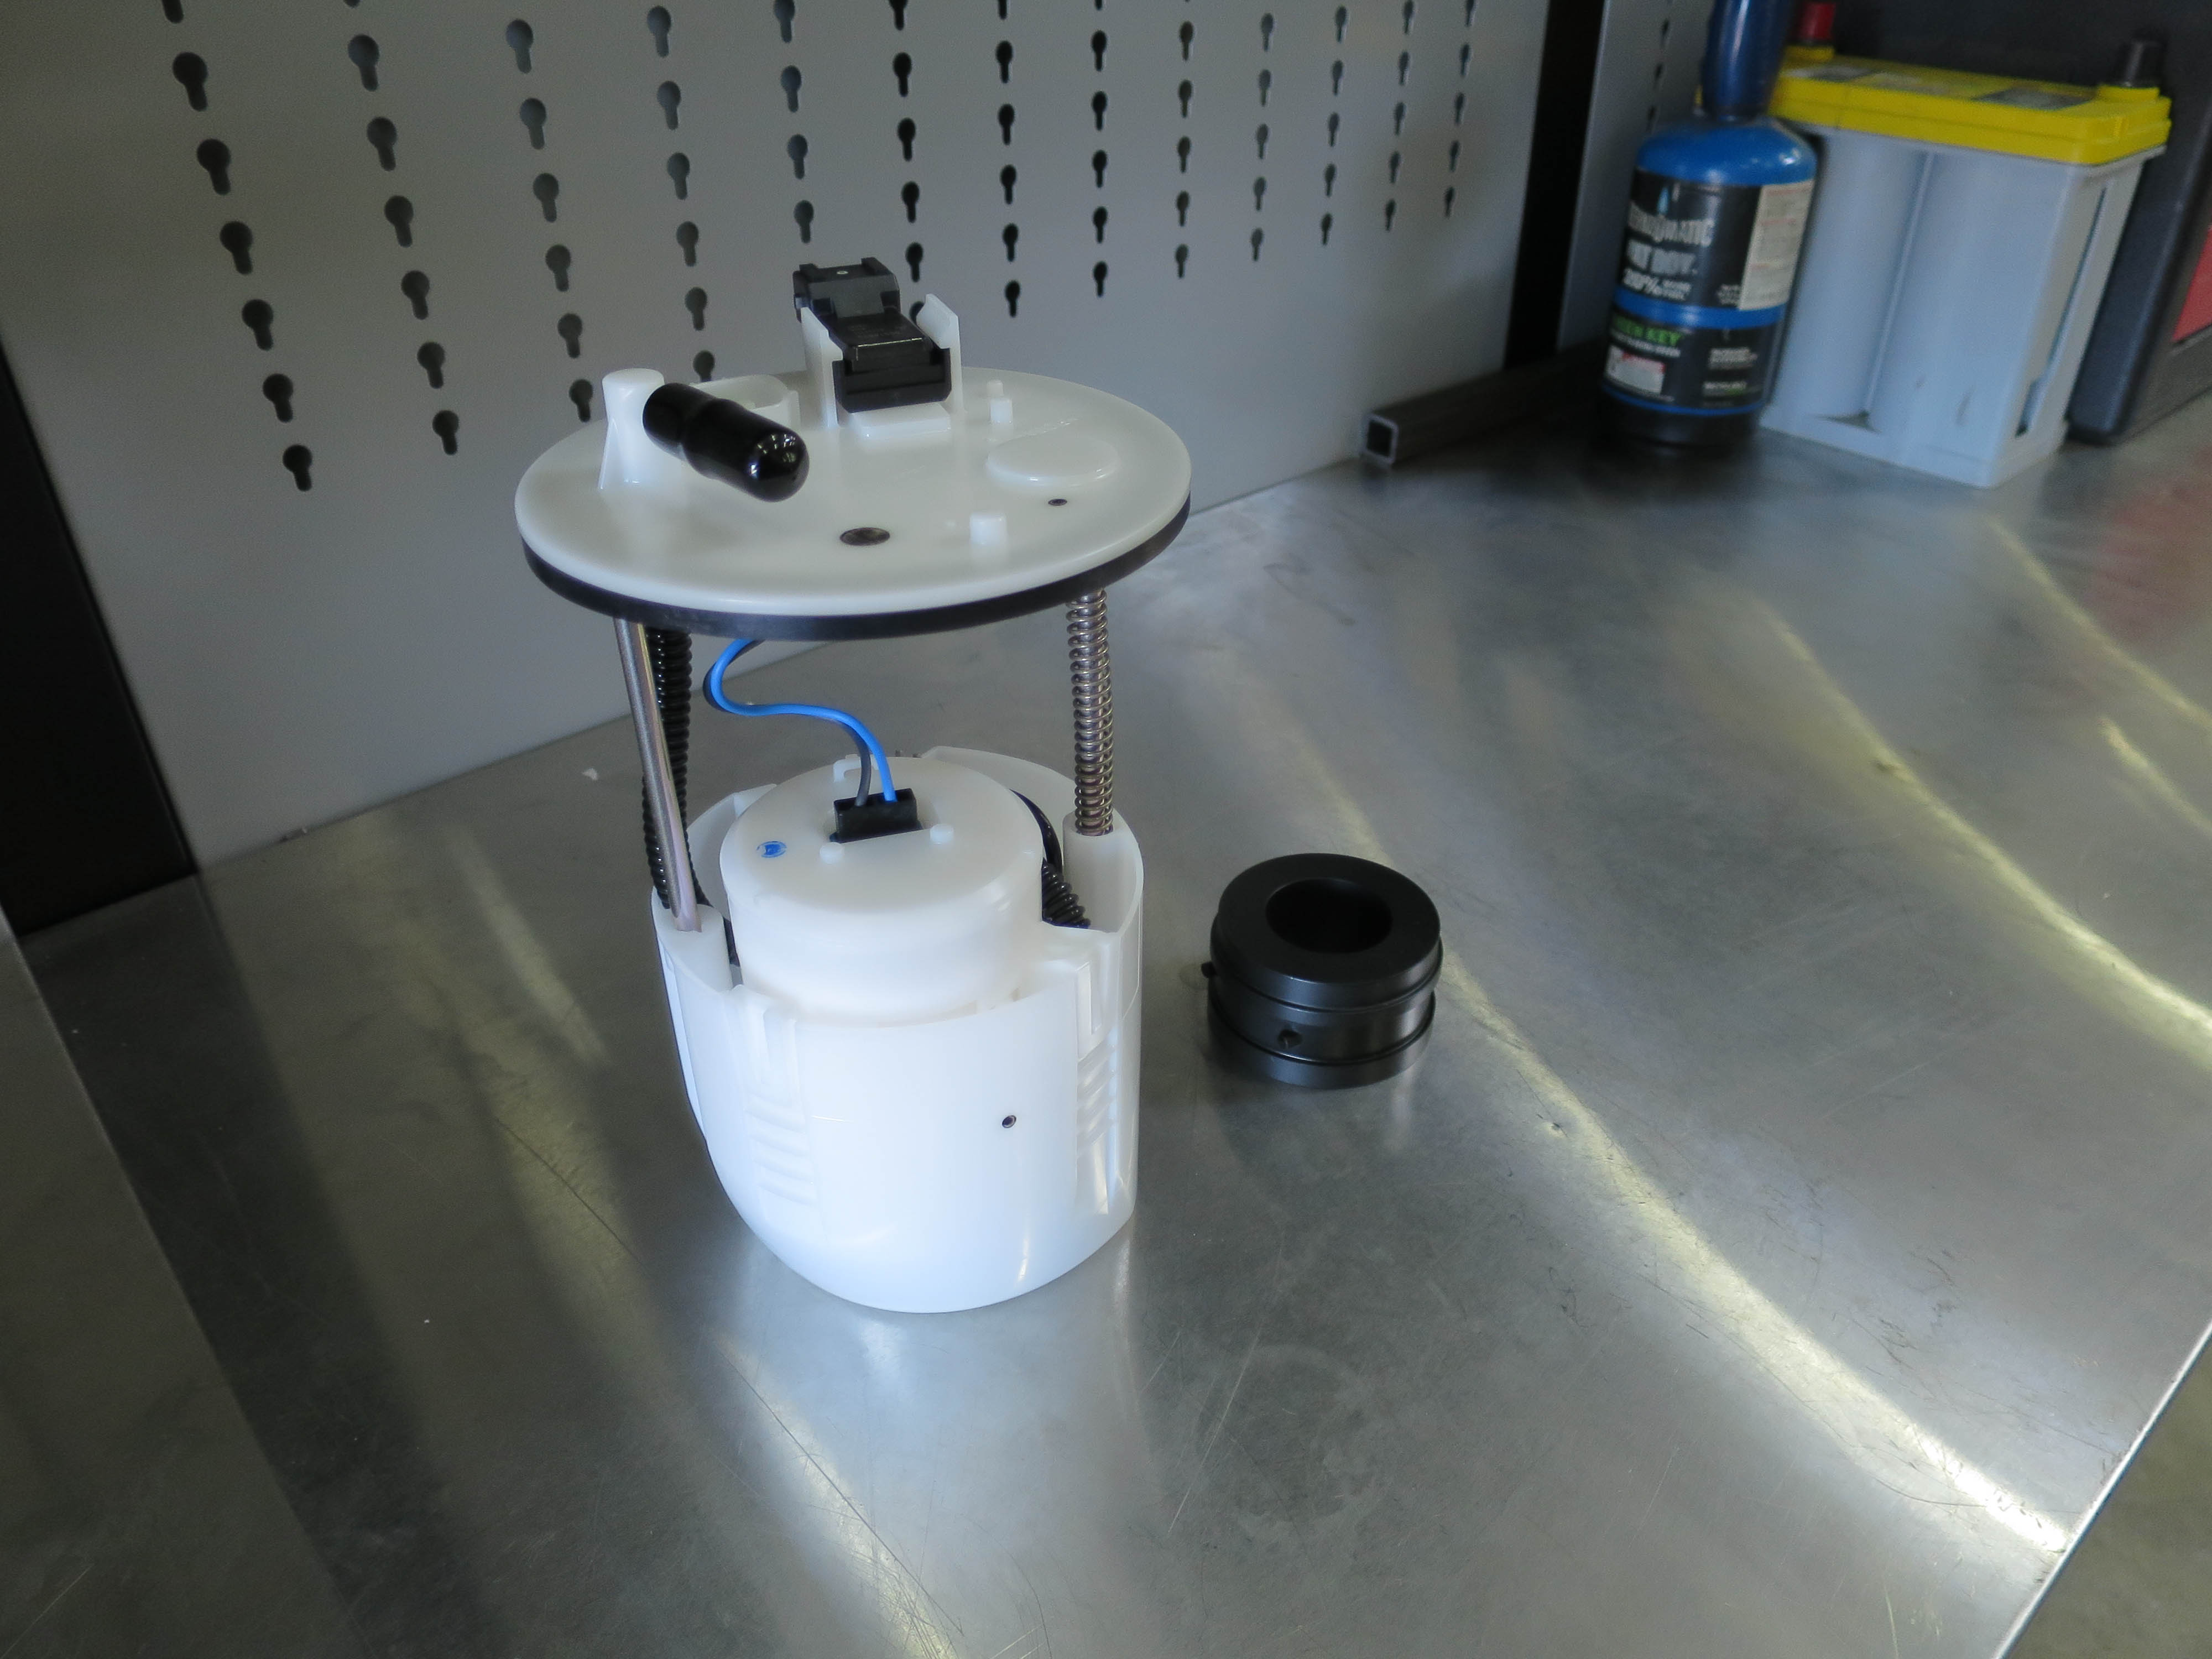
- Now go ahead and pull the pump free from the car.
Fuel Pump Disassembly
- Move the pump to a well ventilated work area that you aren't afraid to get gas on. Make sure to keep any possible sources of fire or electrical shocks away from the vicinity to avoid fires.
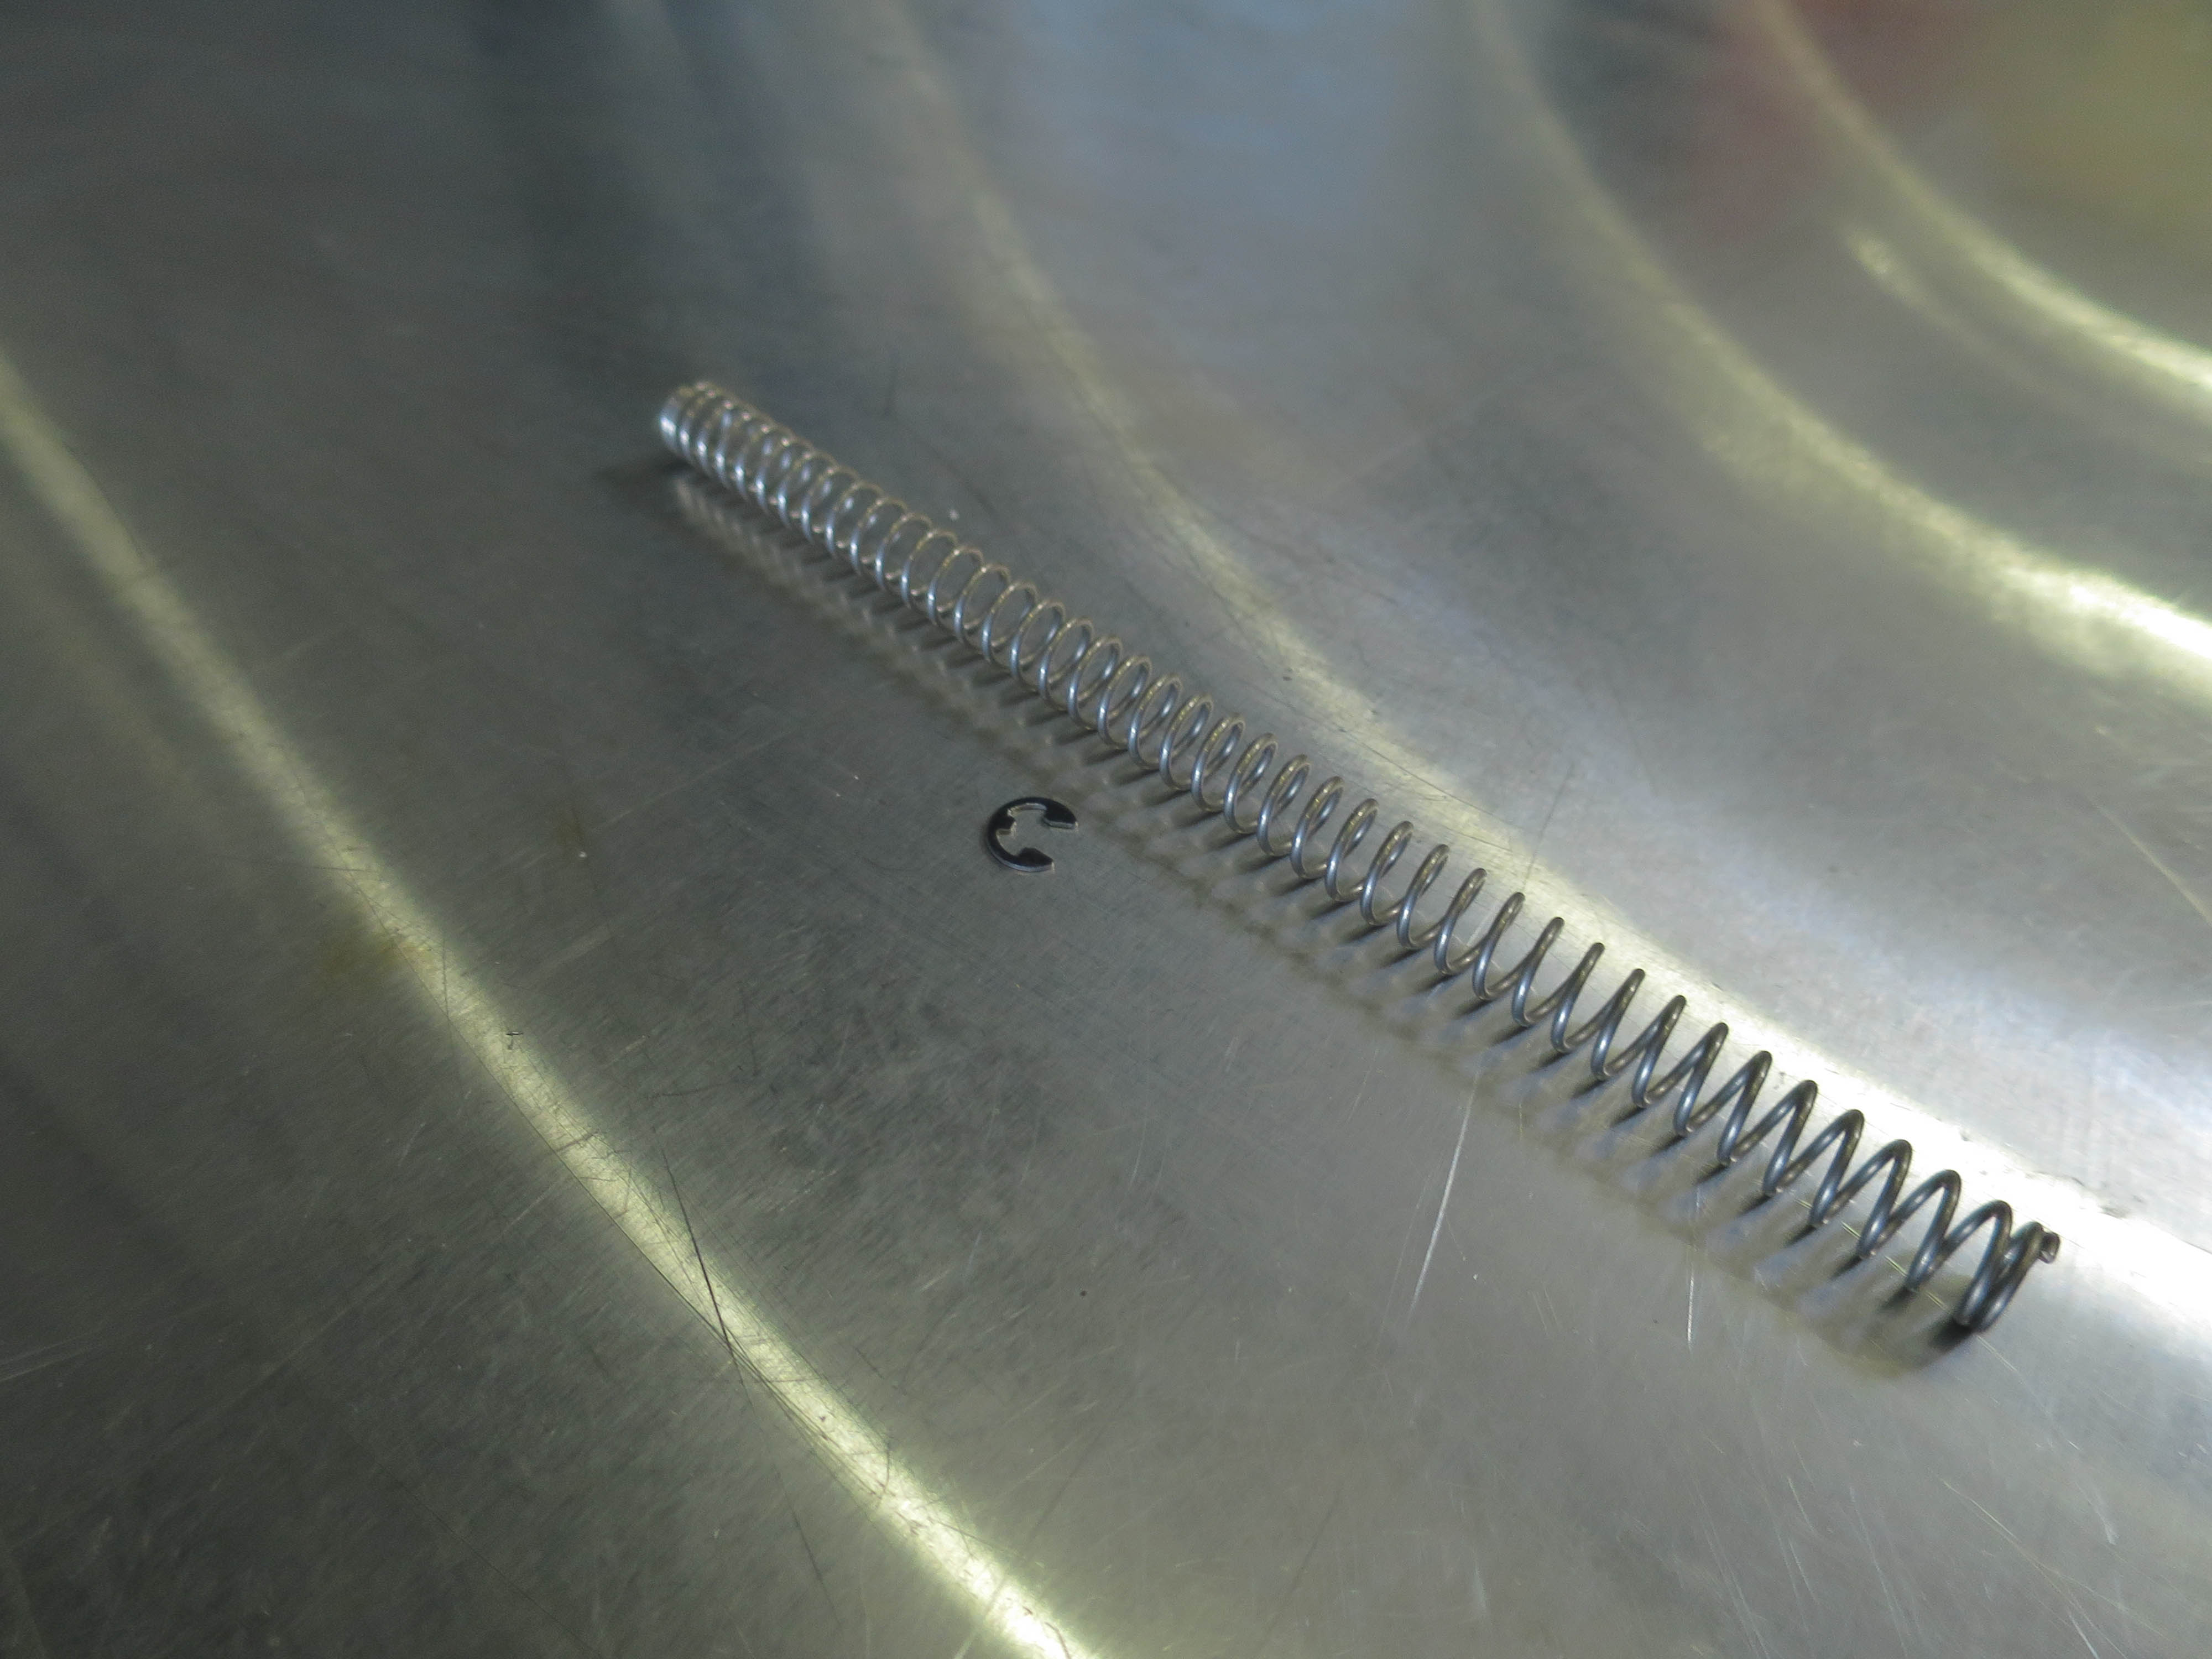
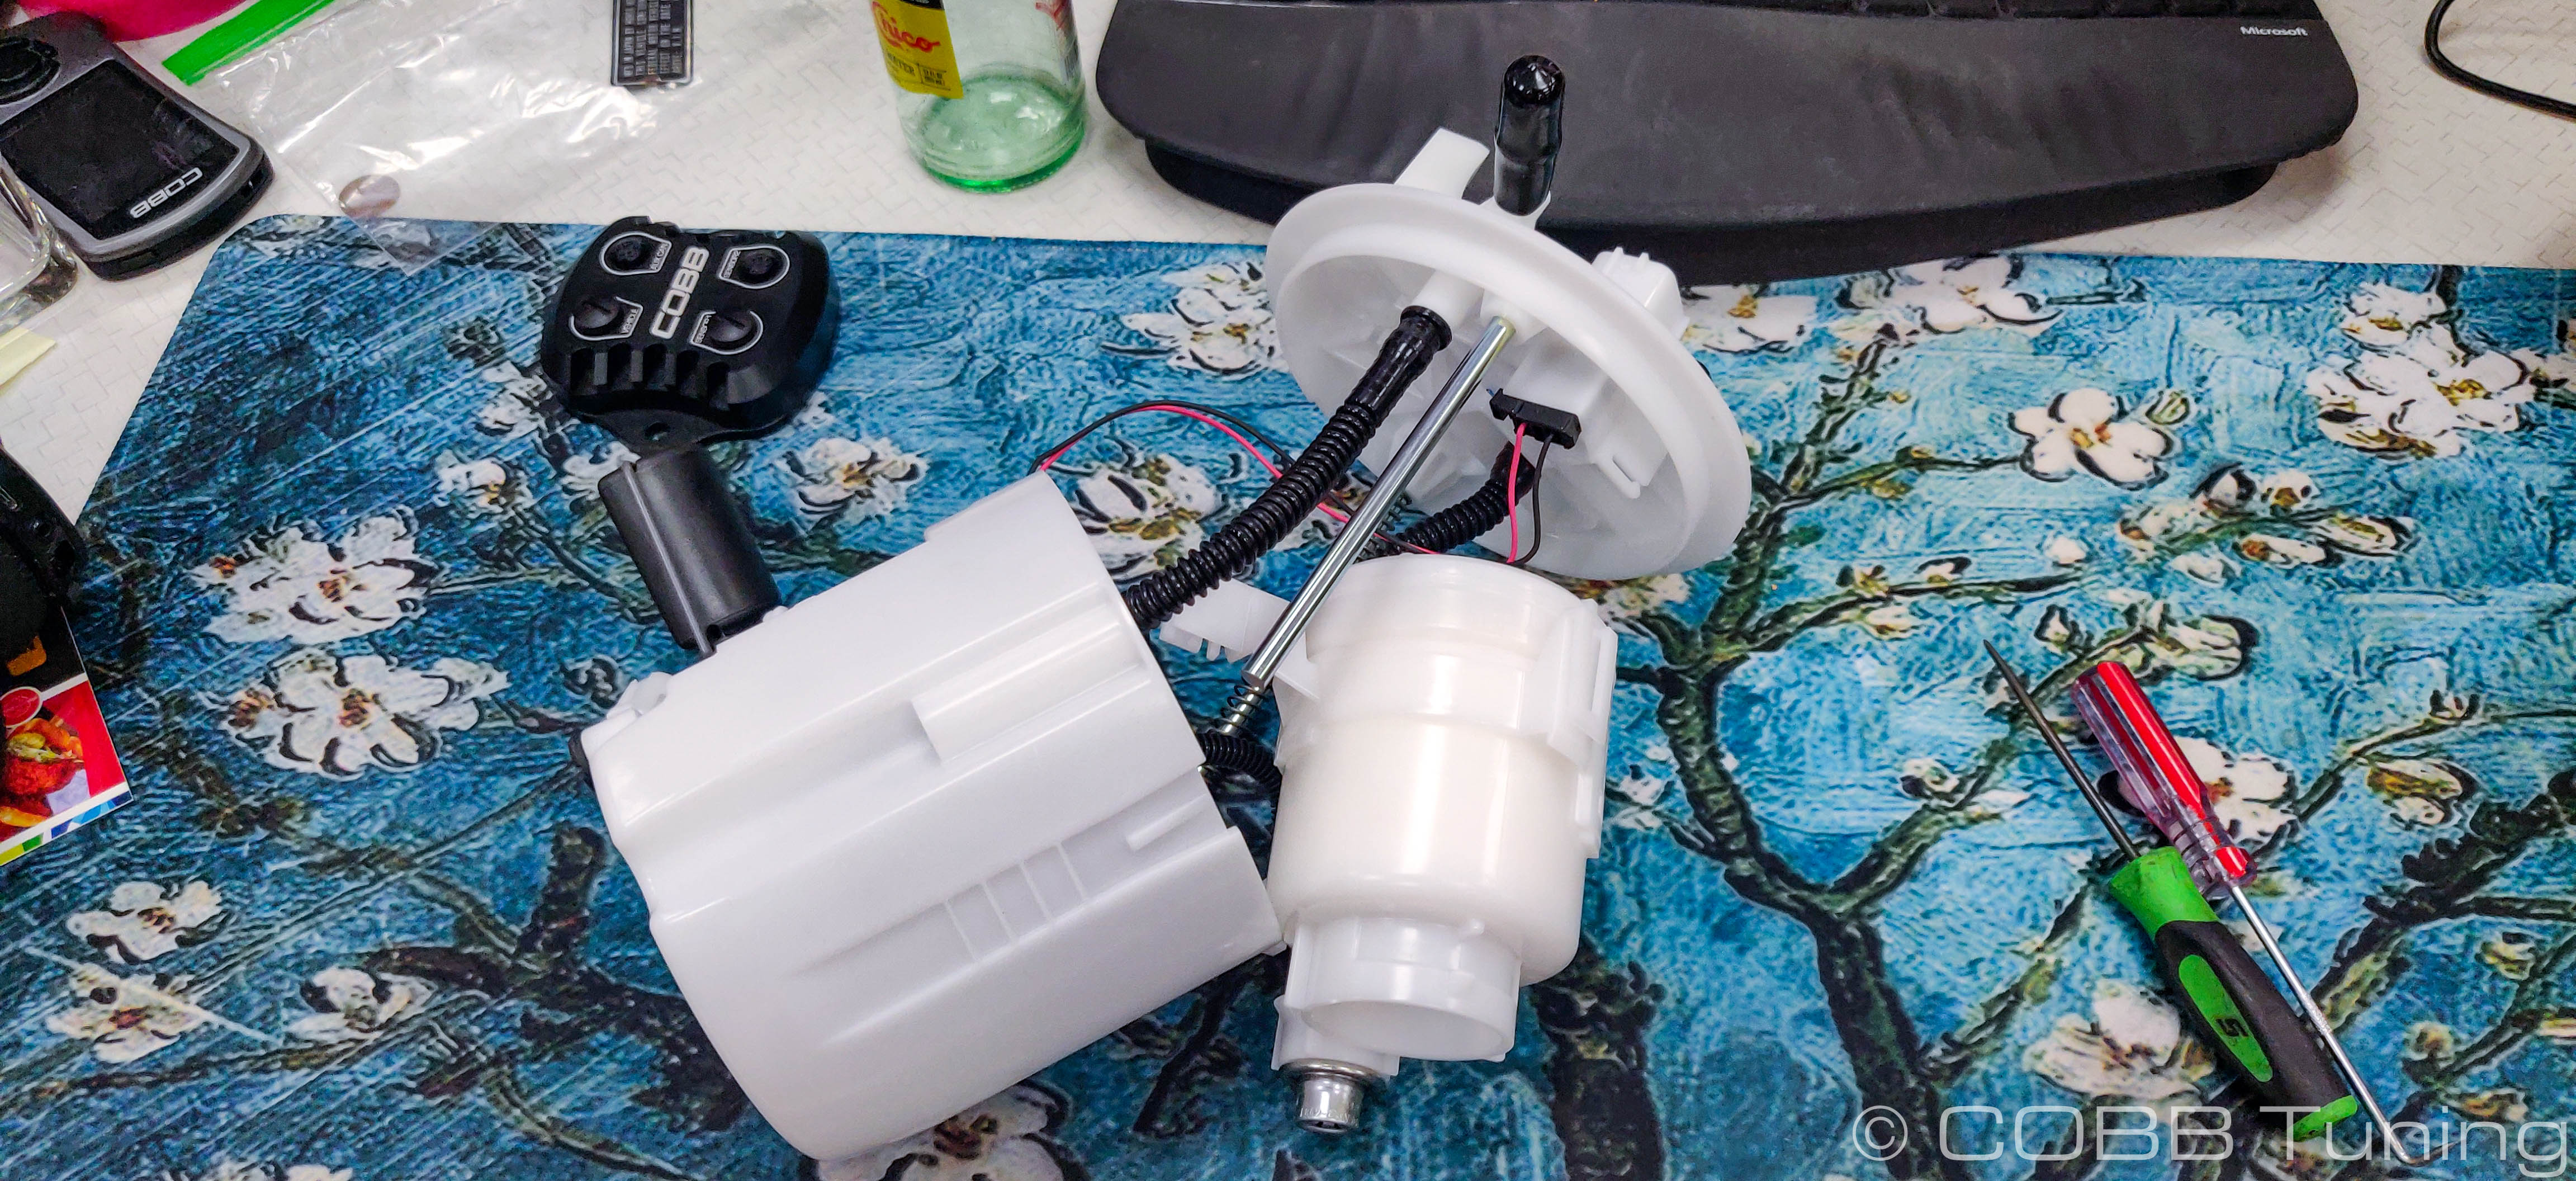
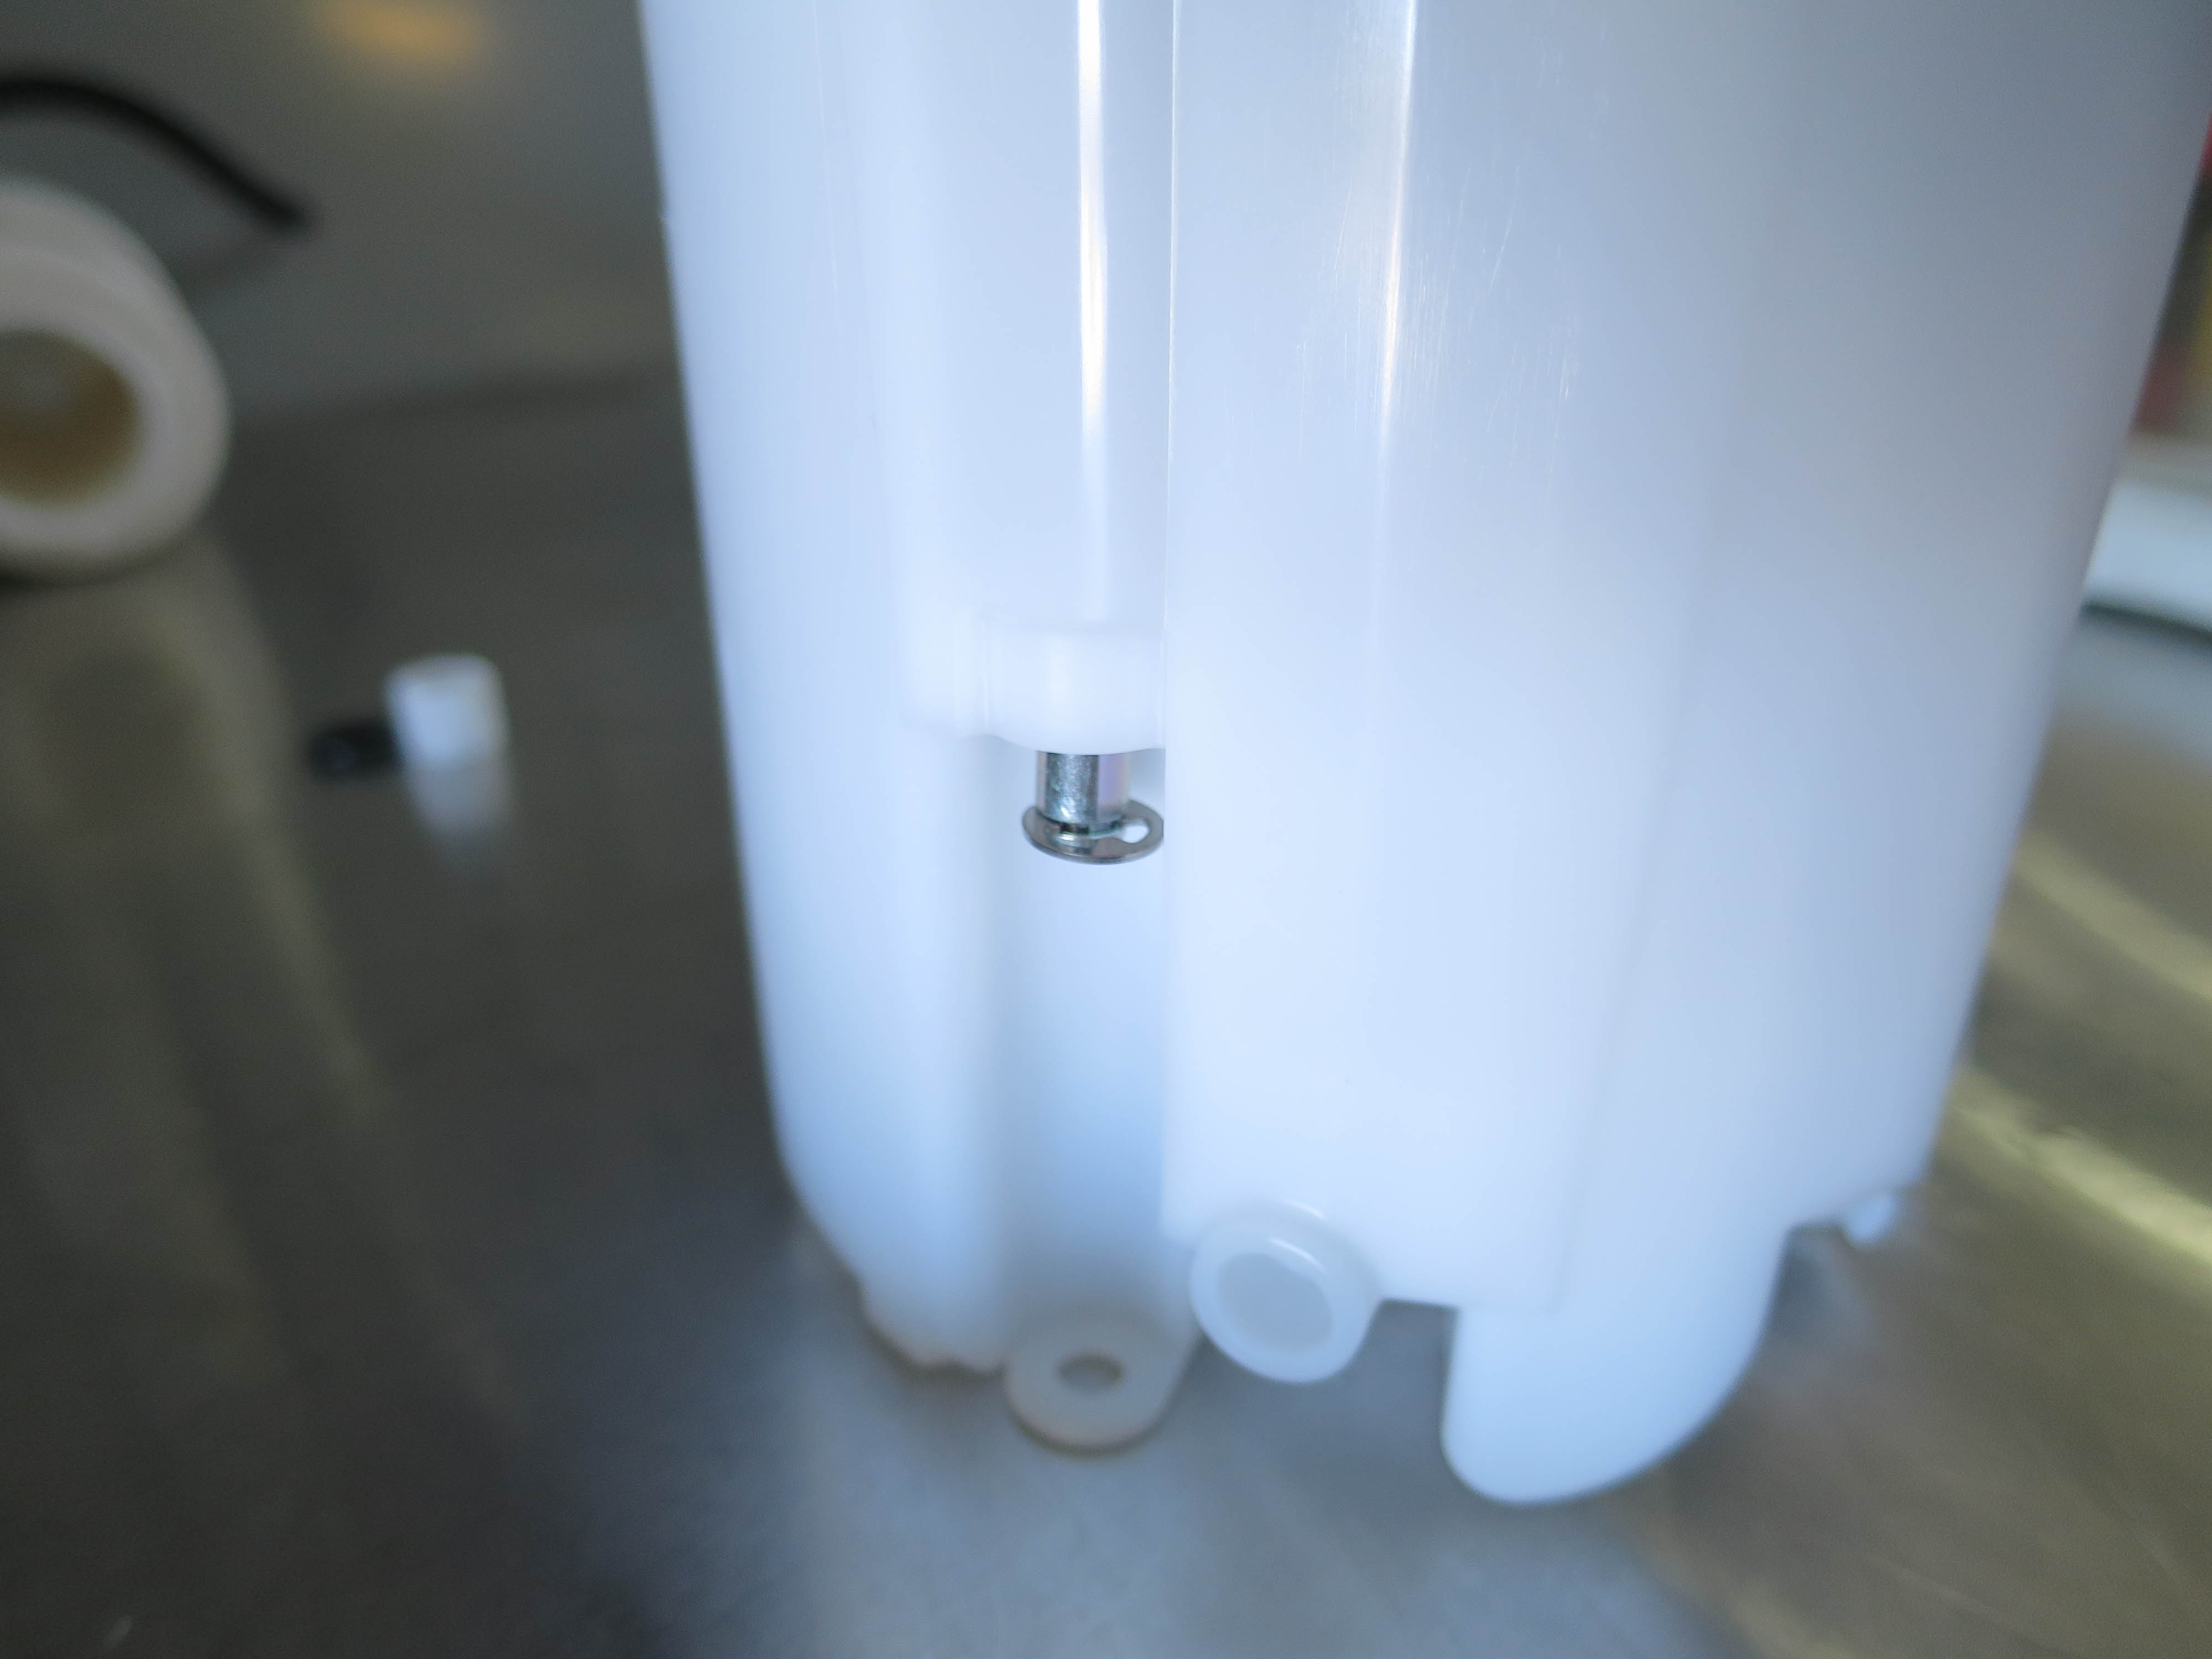
- Using a small flathead screwdriver or pick, remove the e-clip holding the fuel pump assembly together.
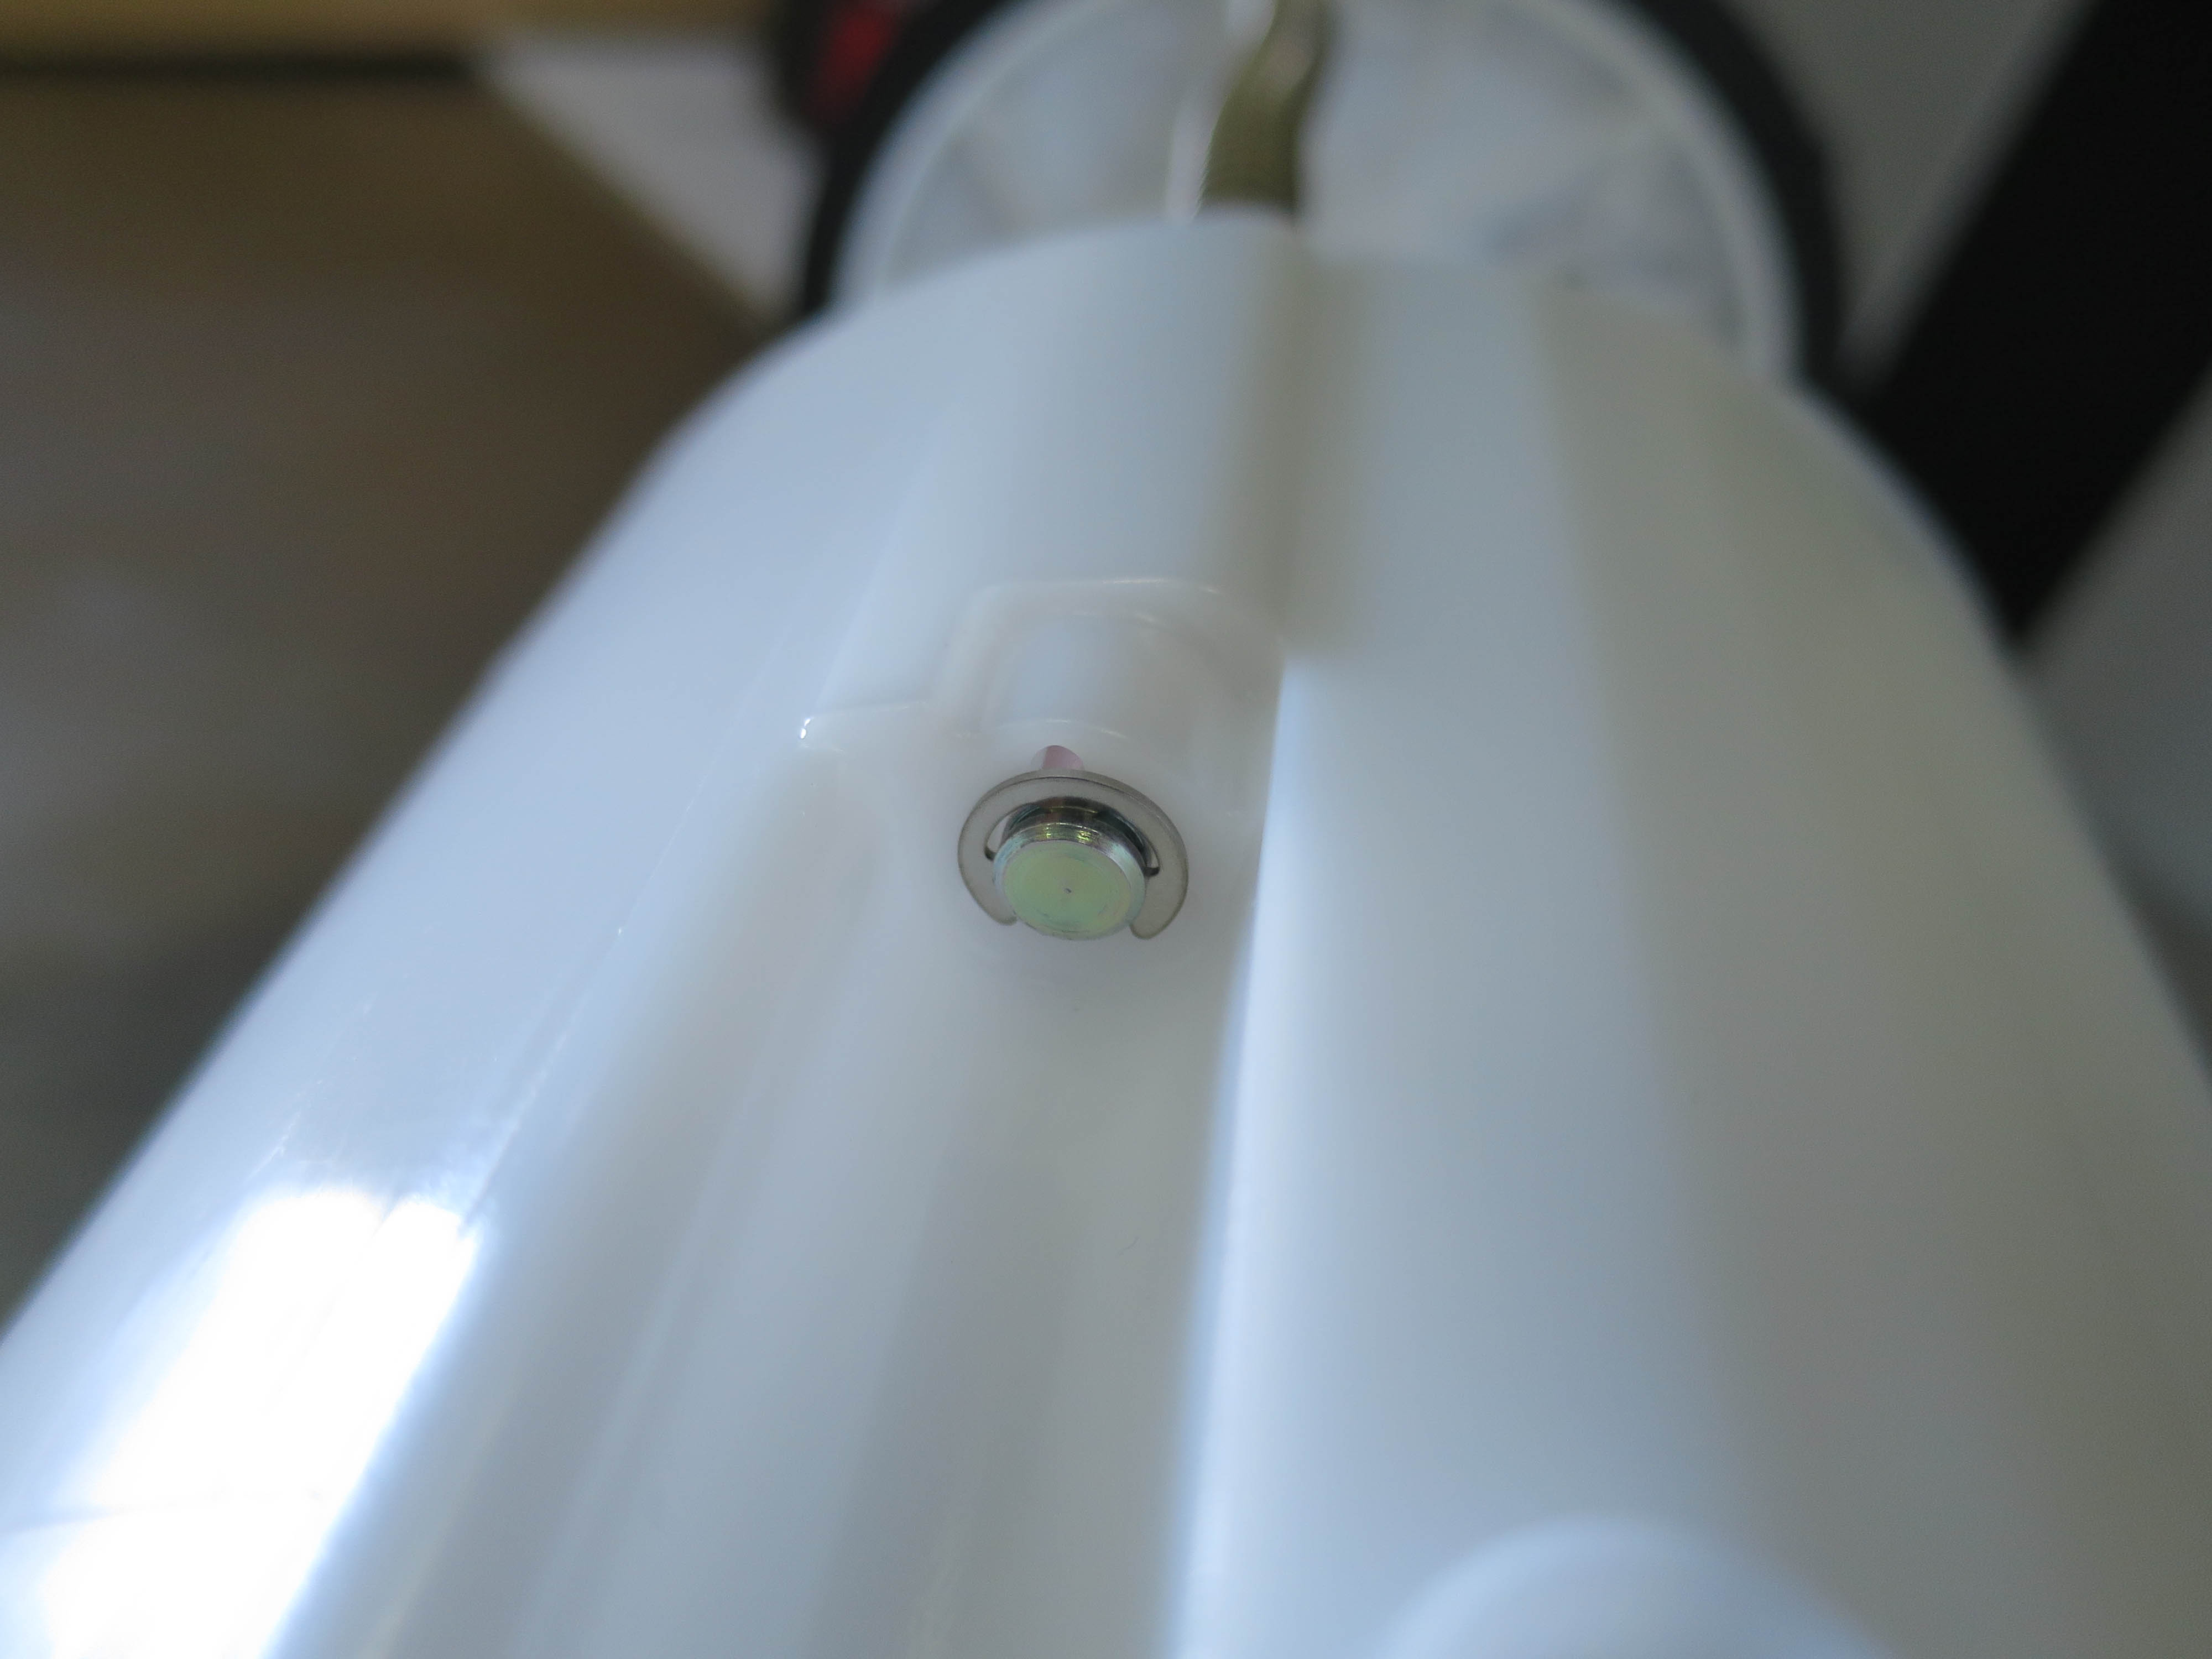
- Set the clip and spring aside in a safe spot as you'll use those later on reassembly.
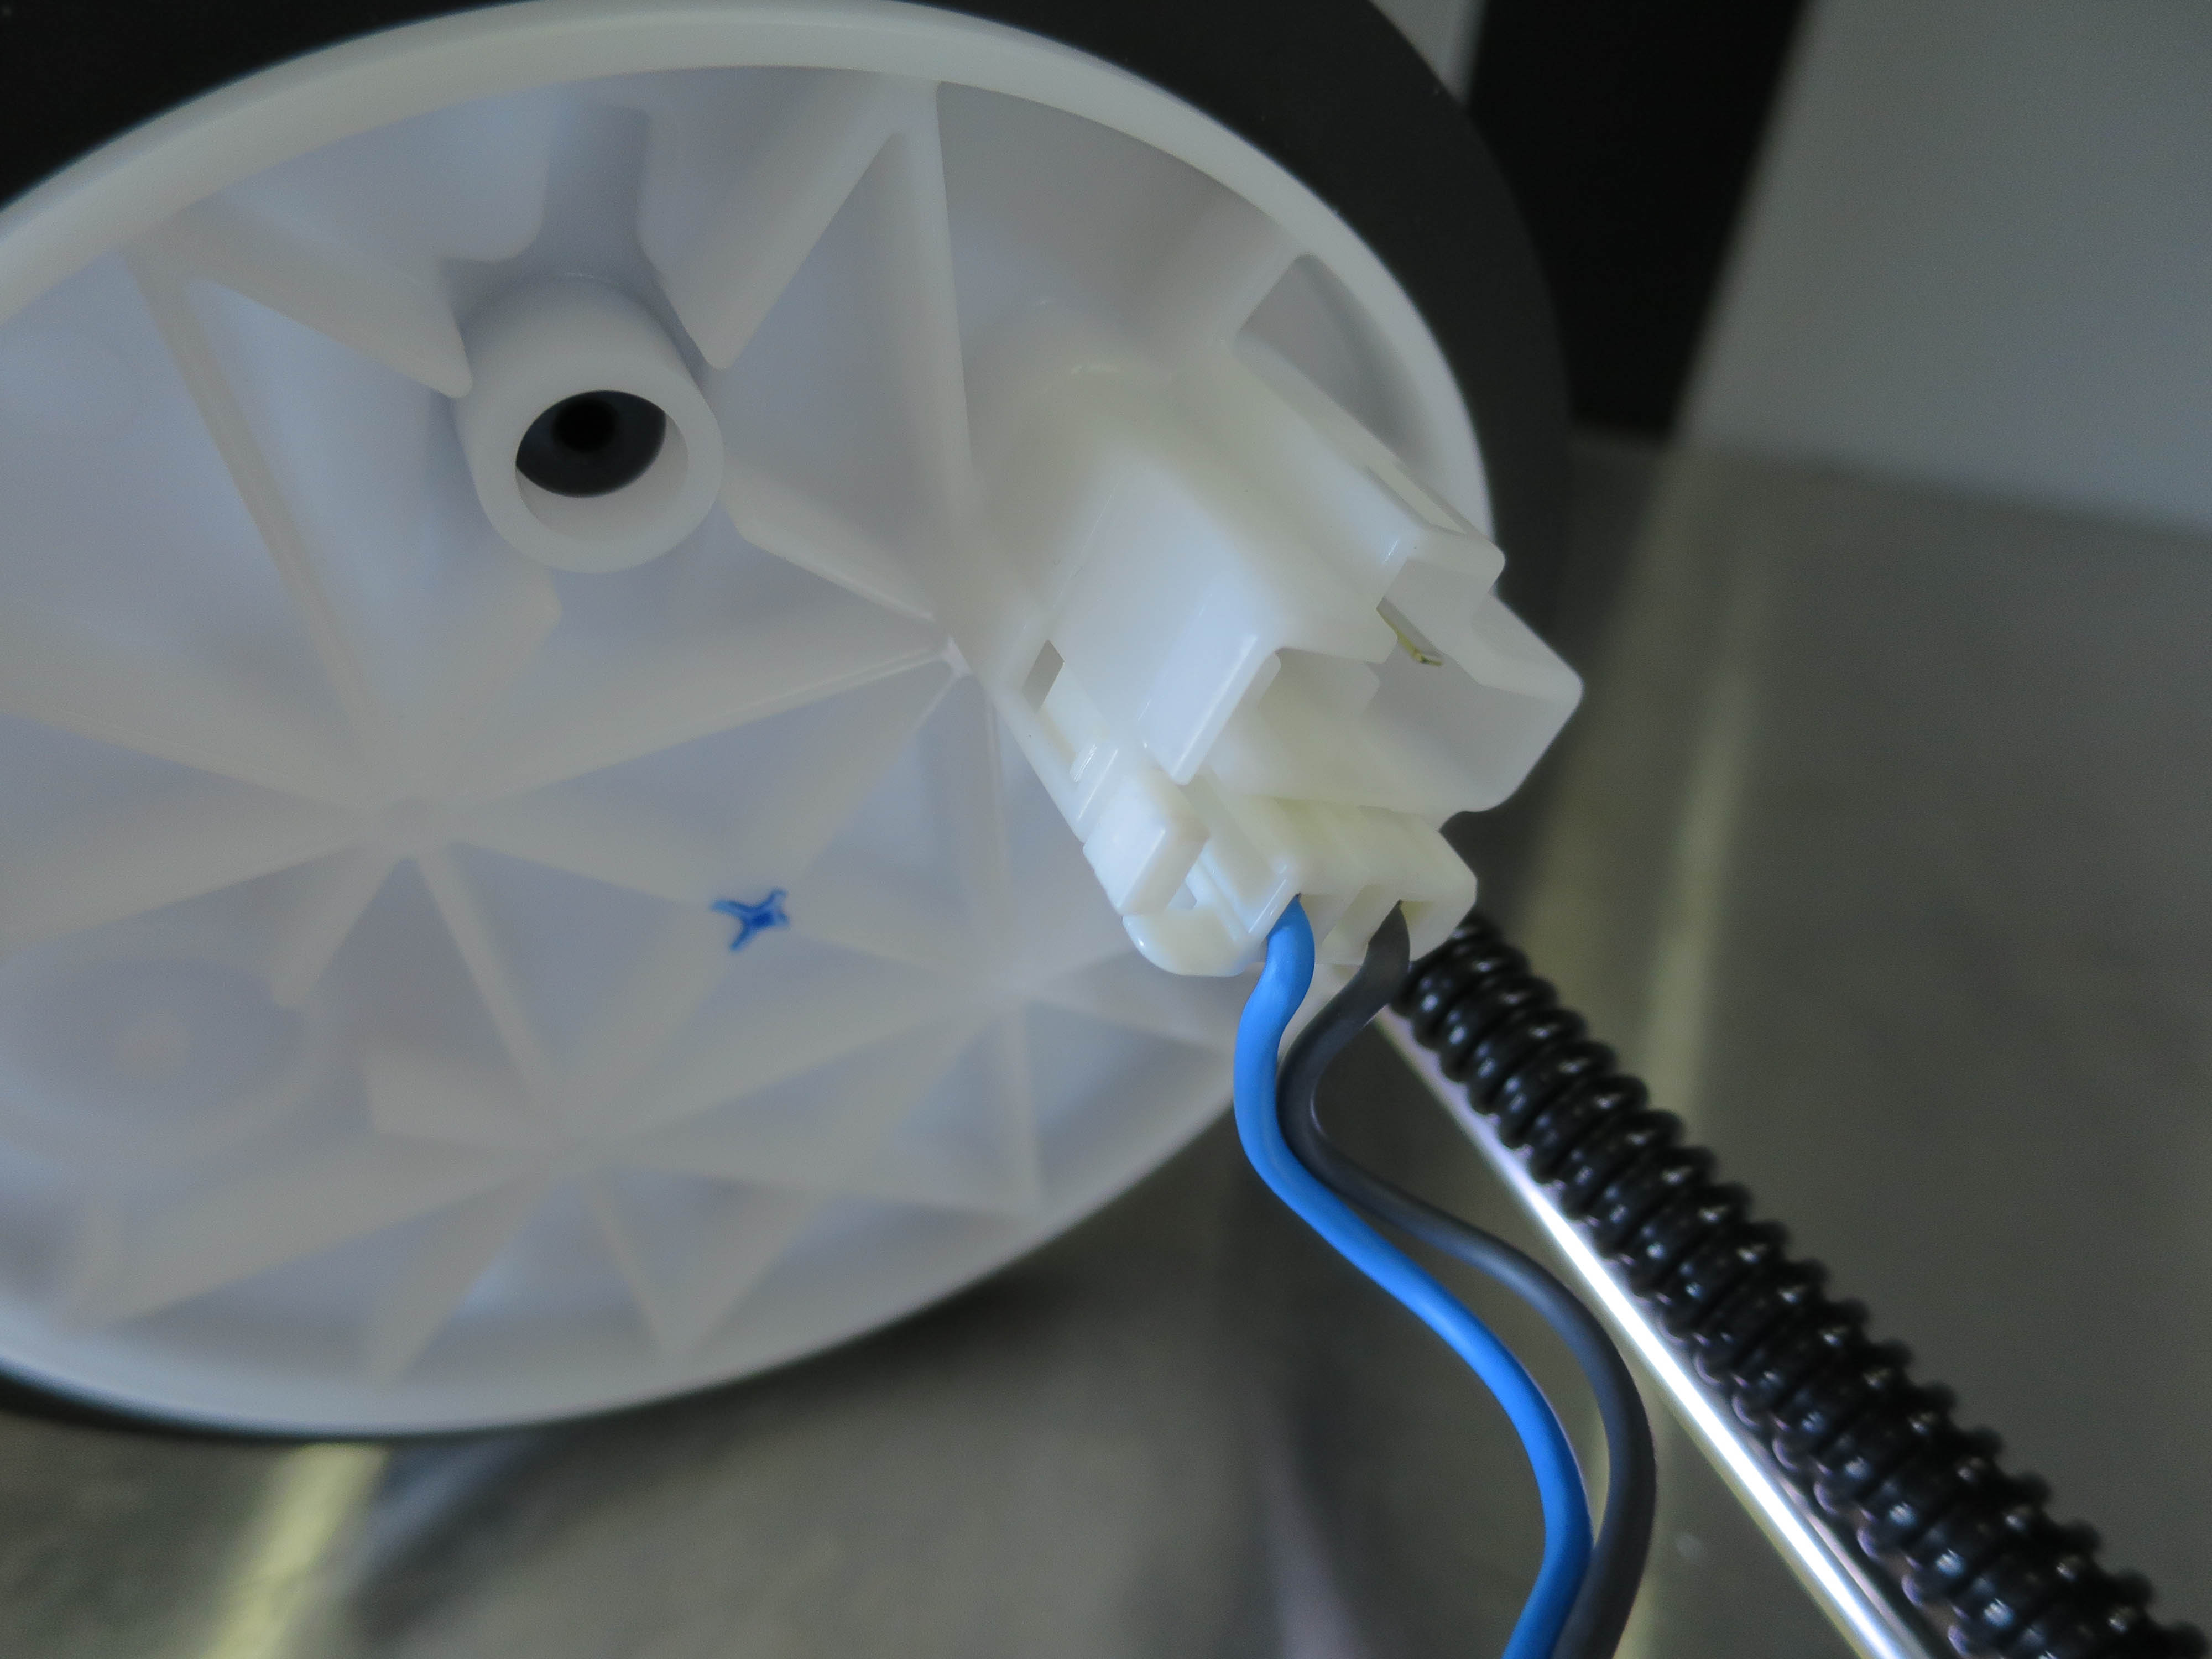
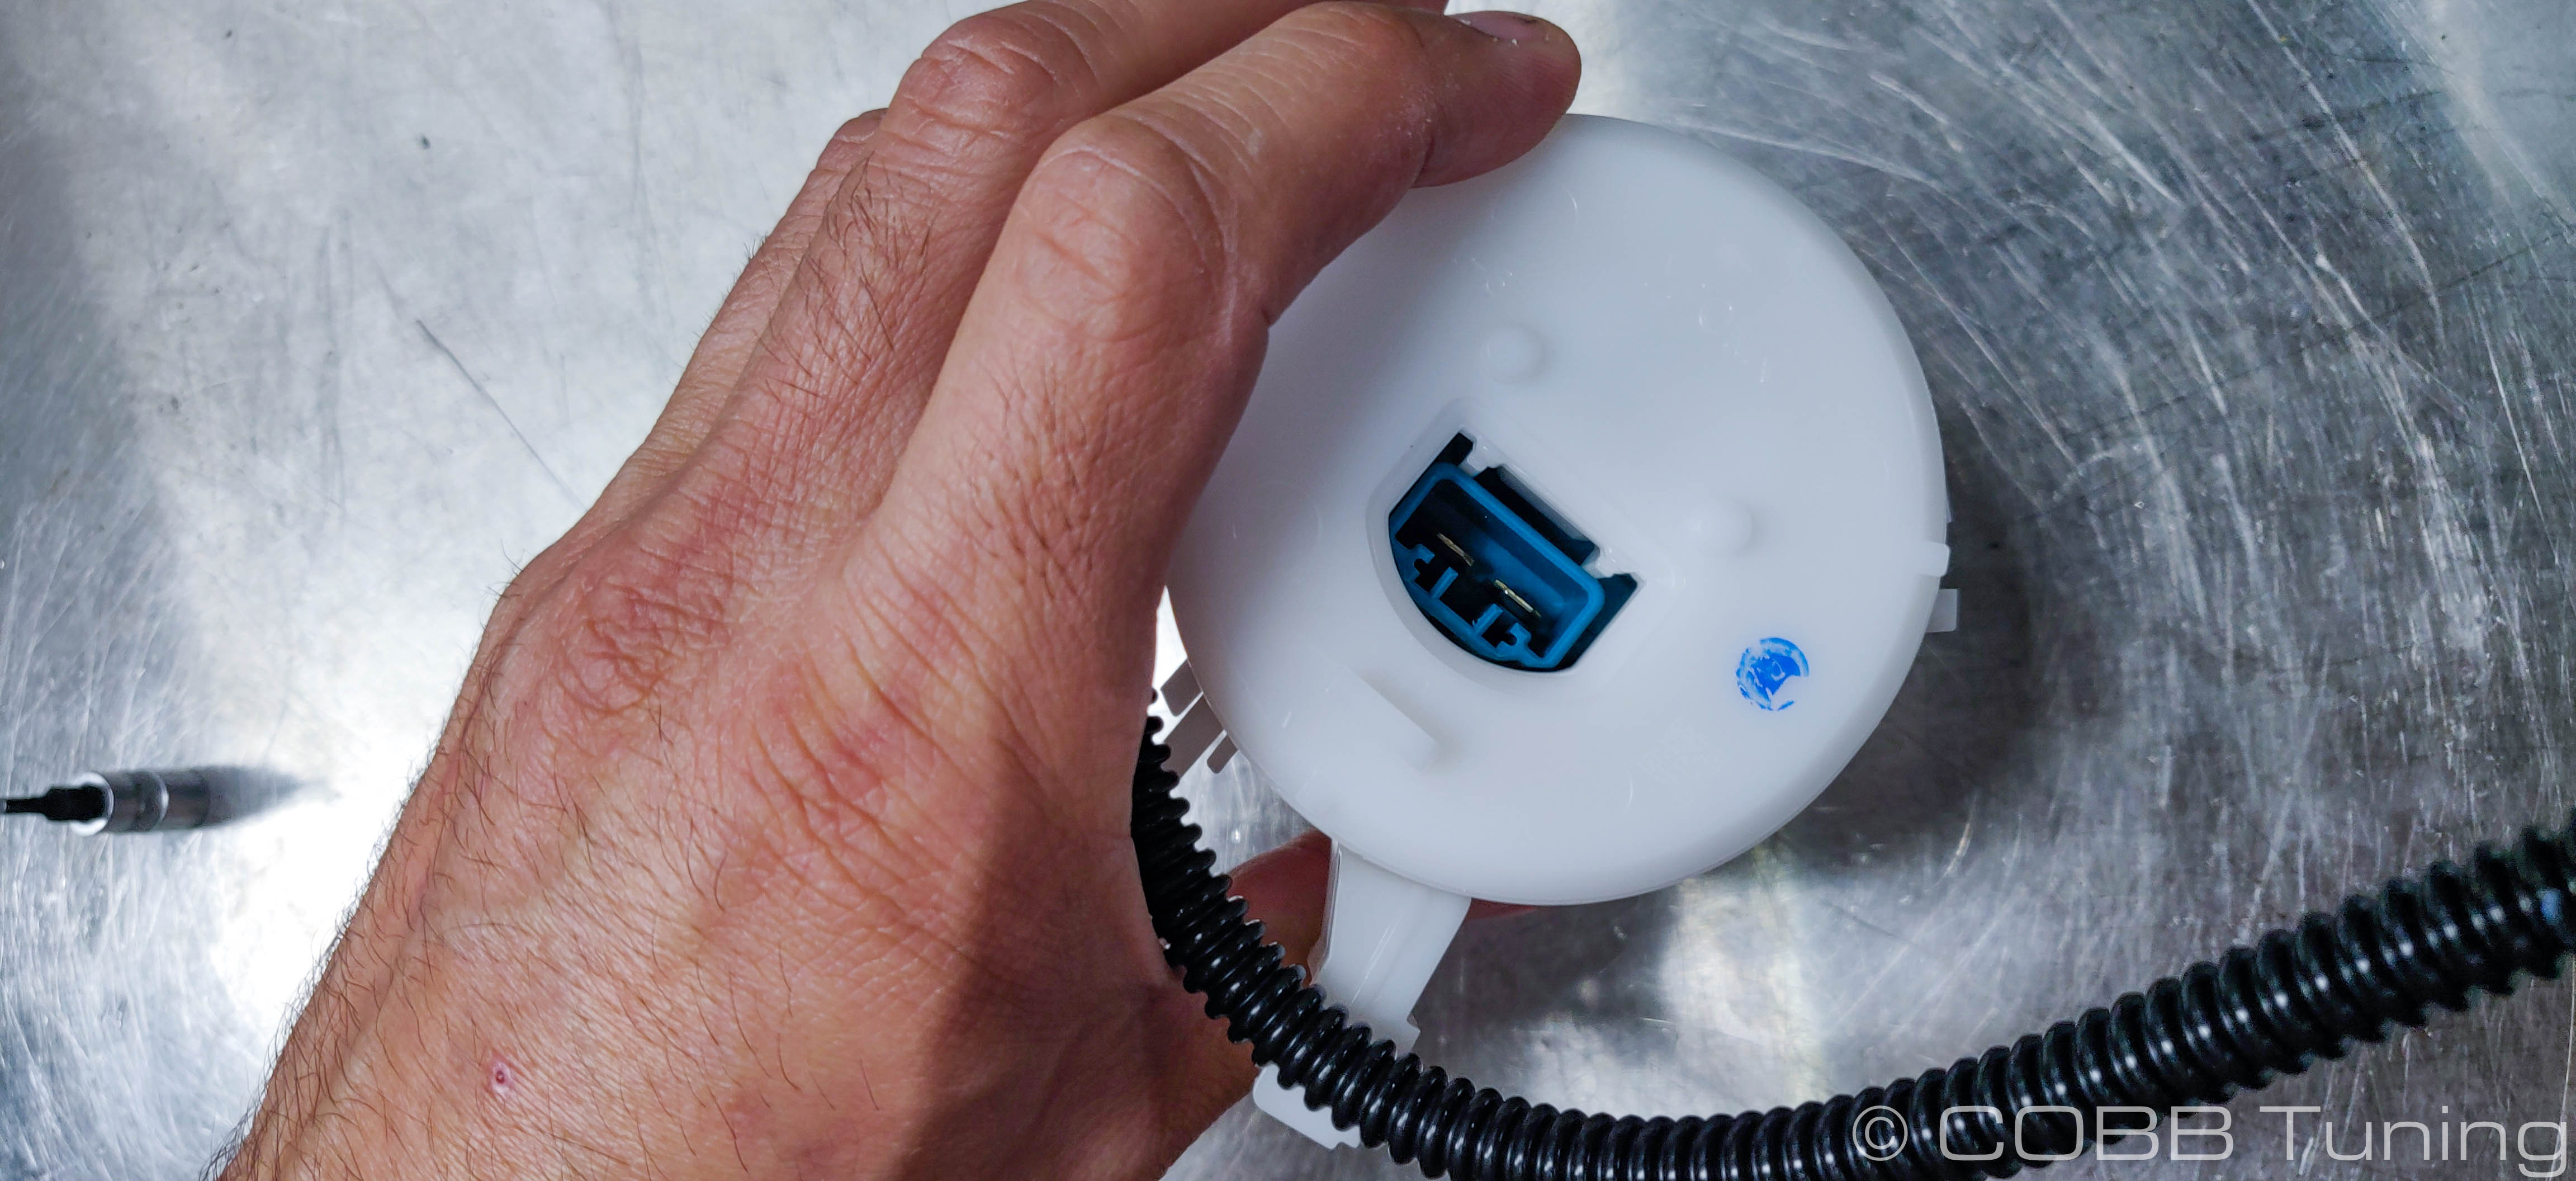
- Unplug the harness from the top of the pump housing.
- Using a razor, remove the corrugated tube from the top hat of the fuel pump.
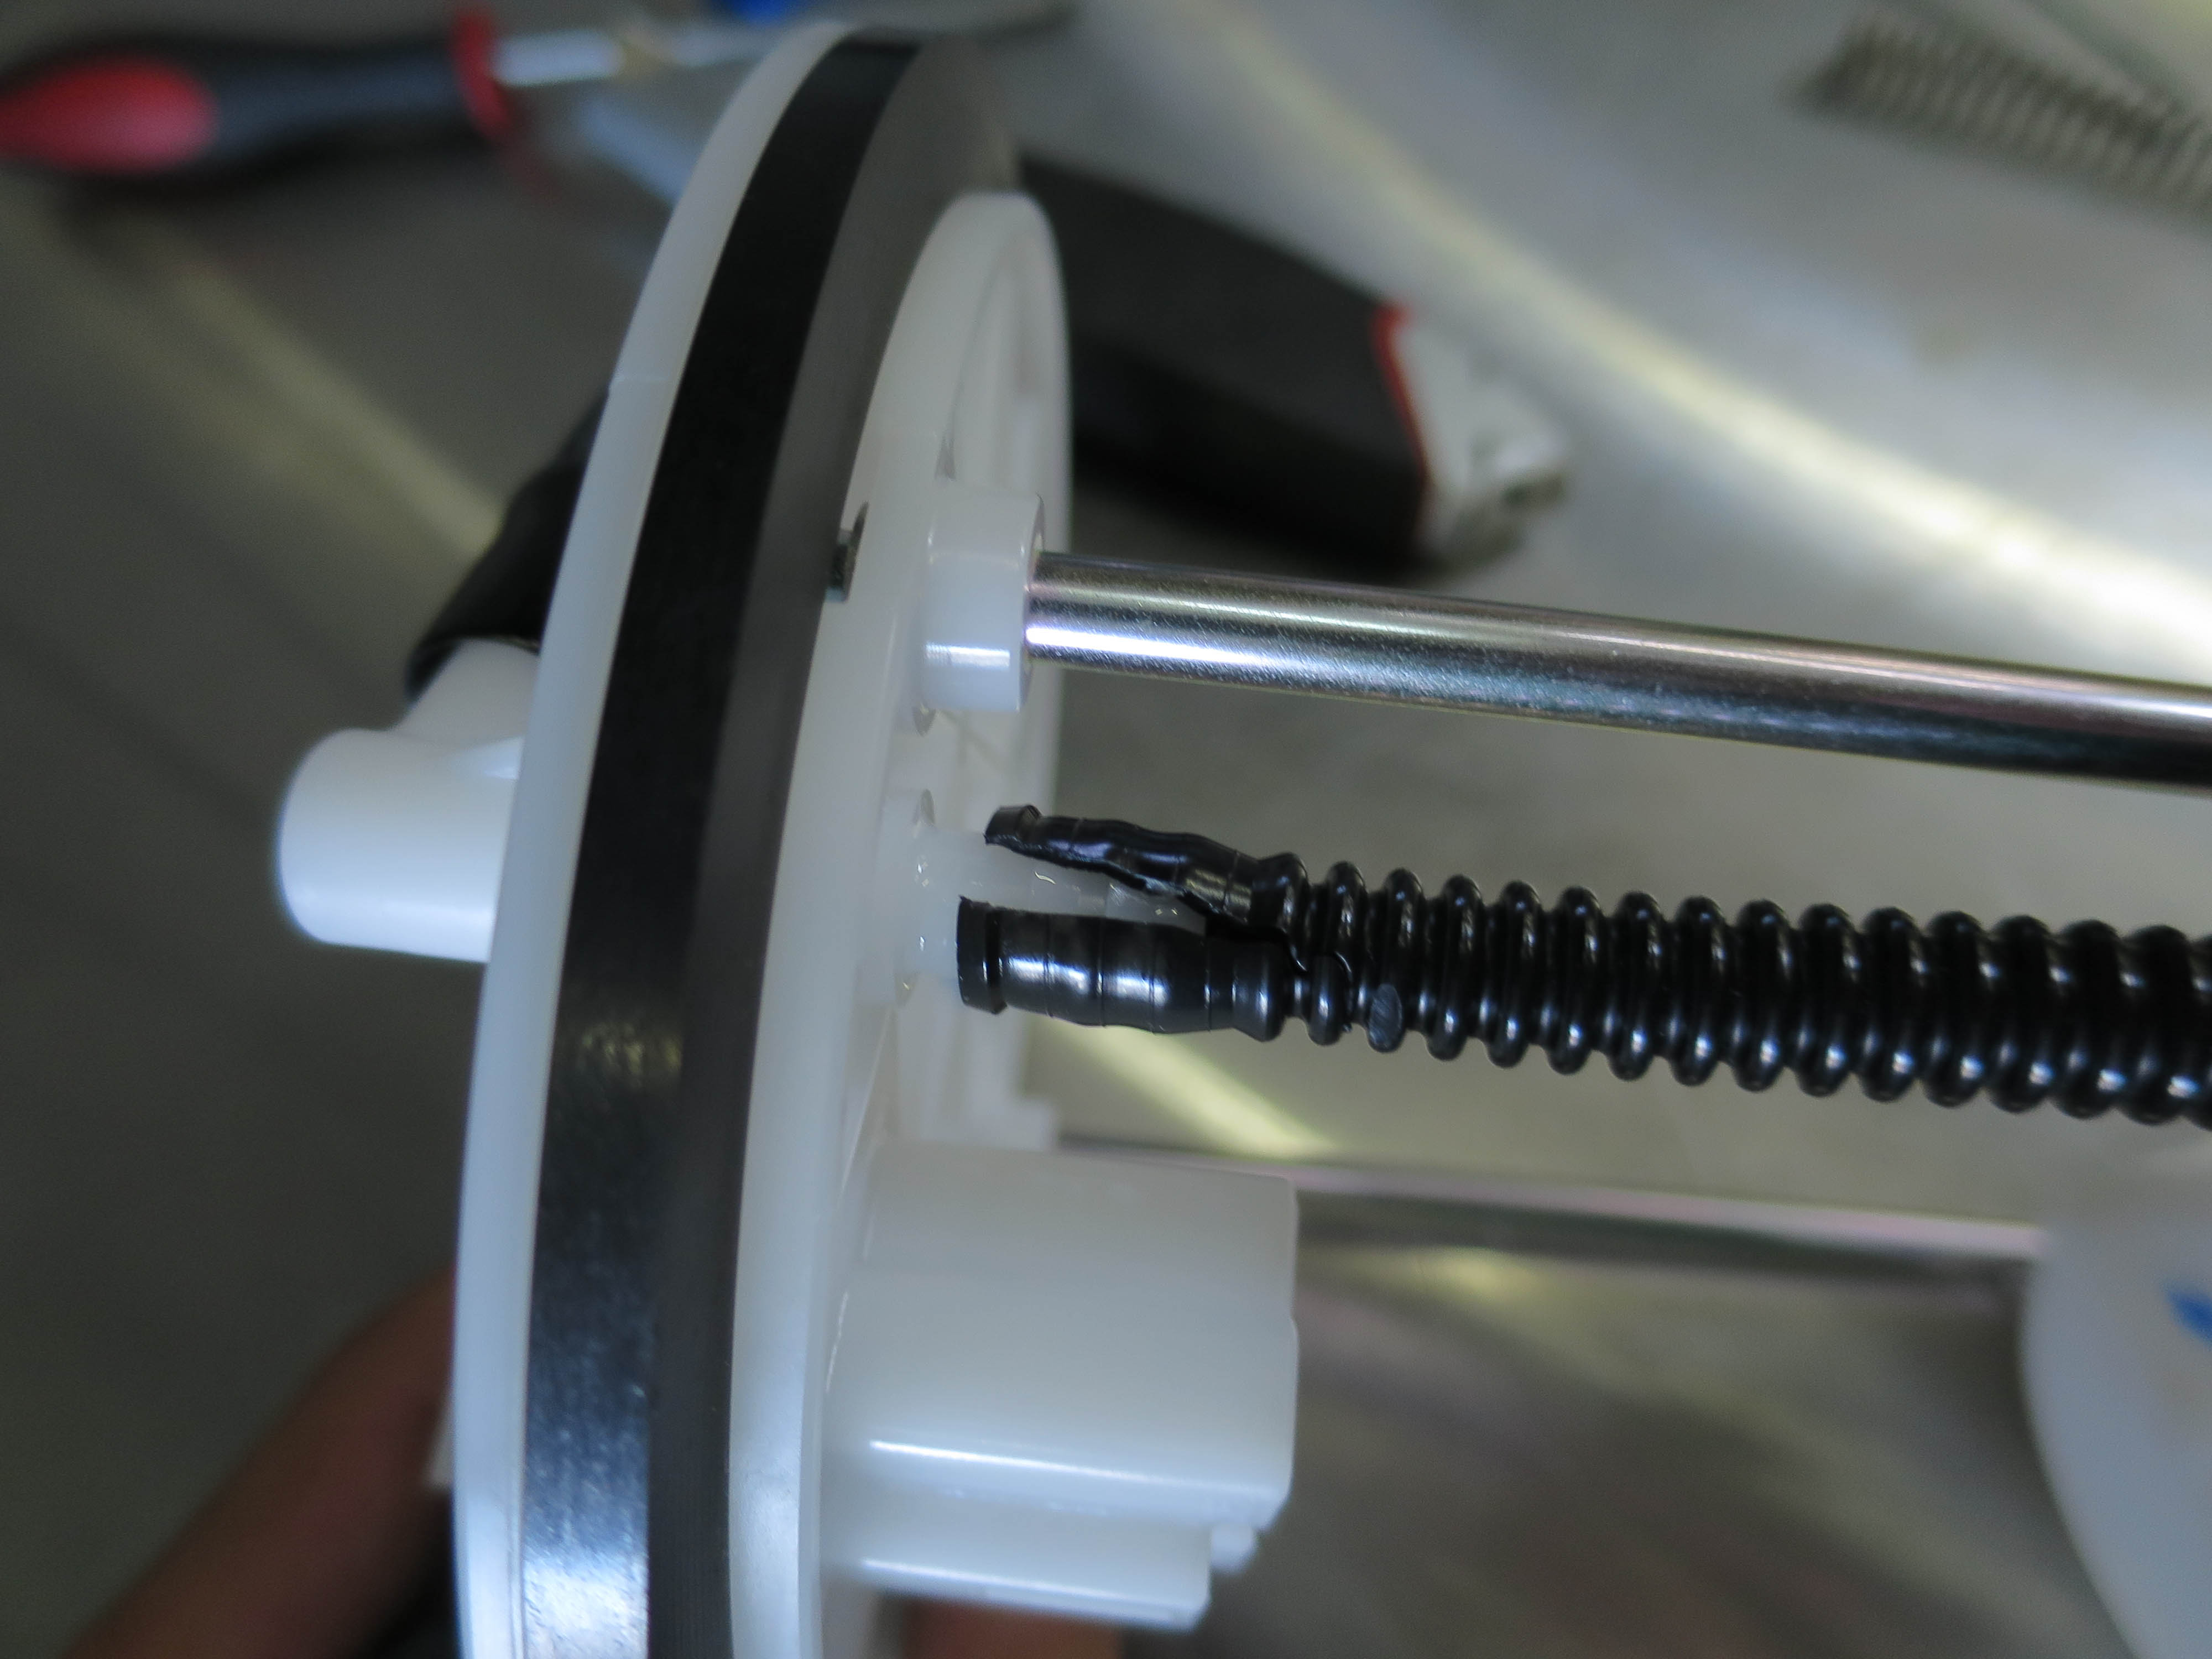
- Now remove the other small line from it's position on the side of the hanger by undoing the clip, and the grey retaining clip on the top edge of the pump basket.
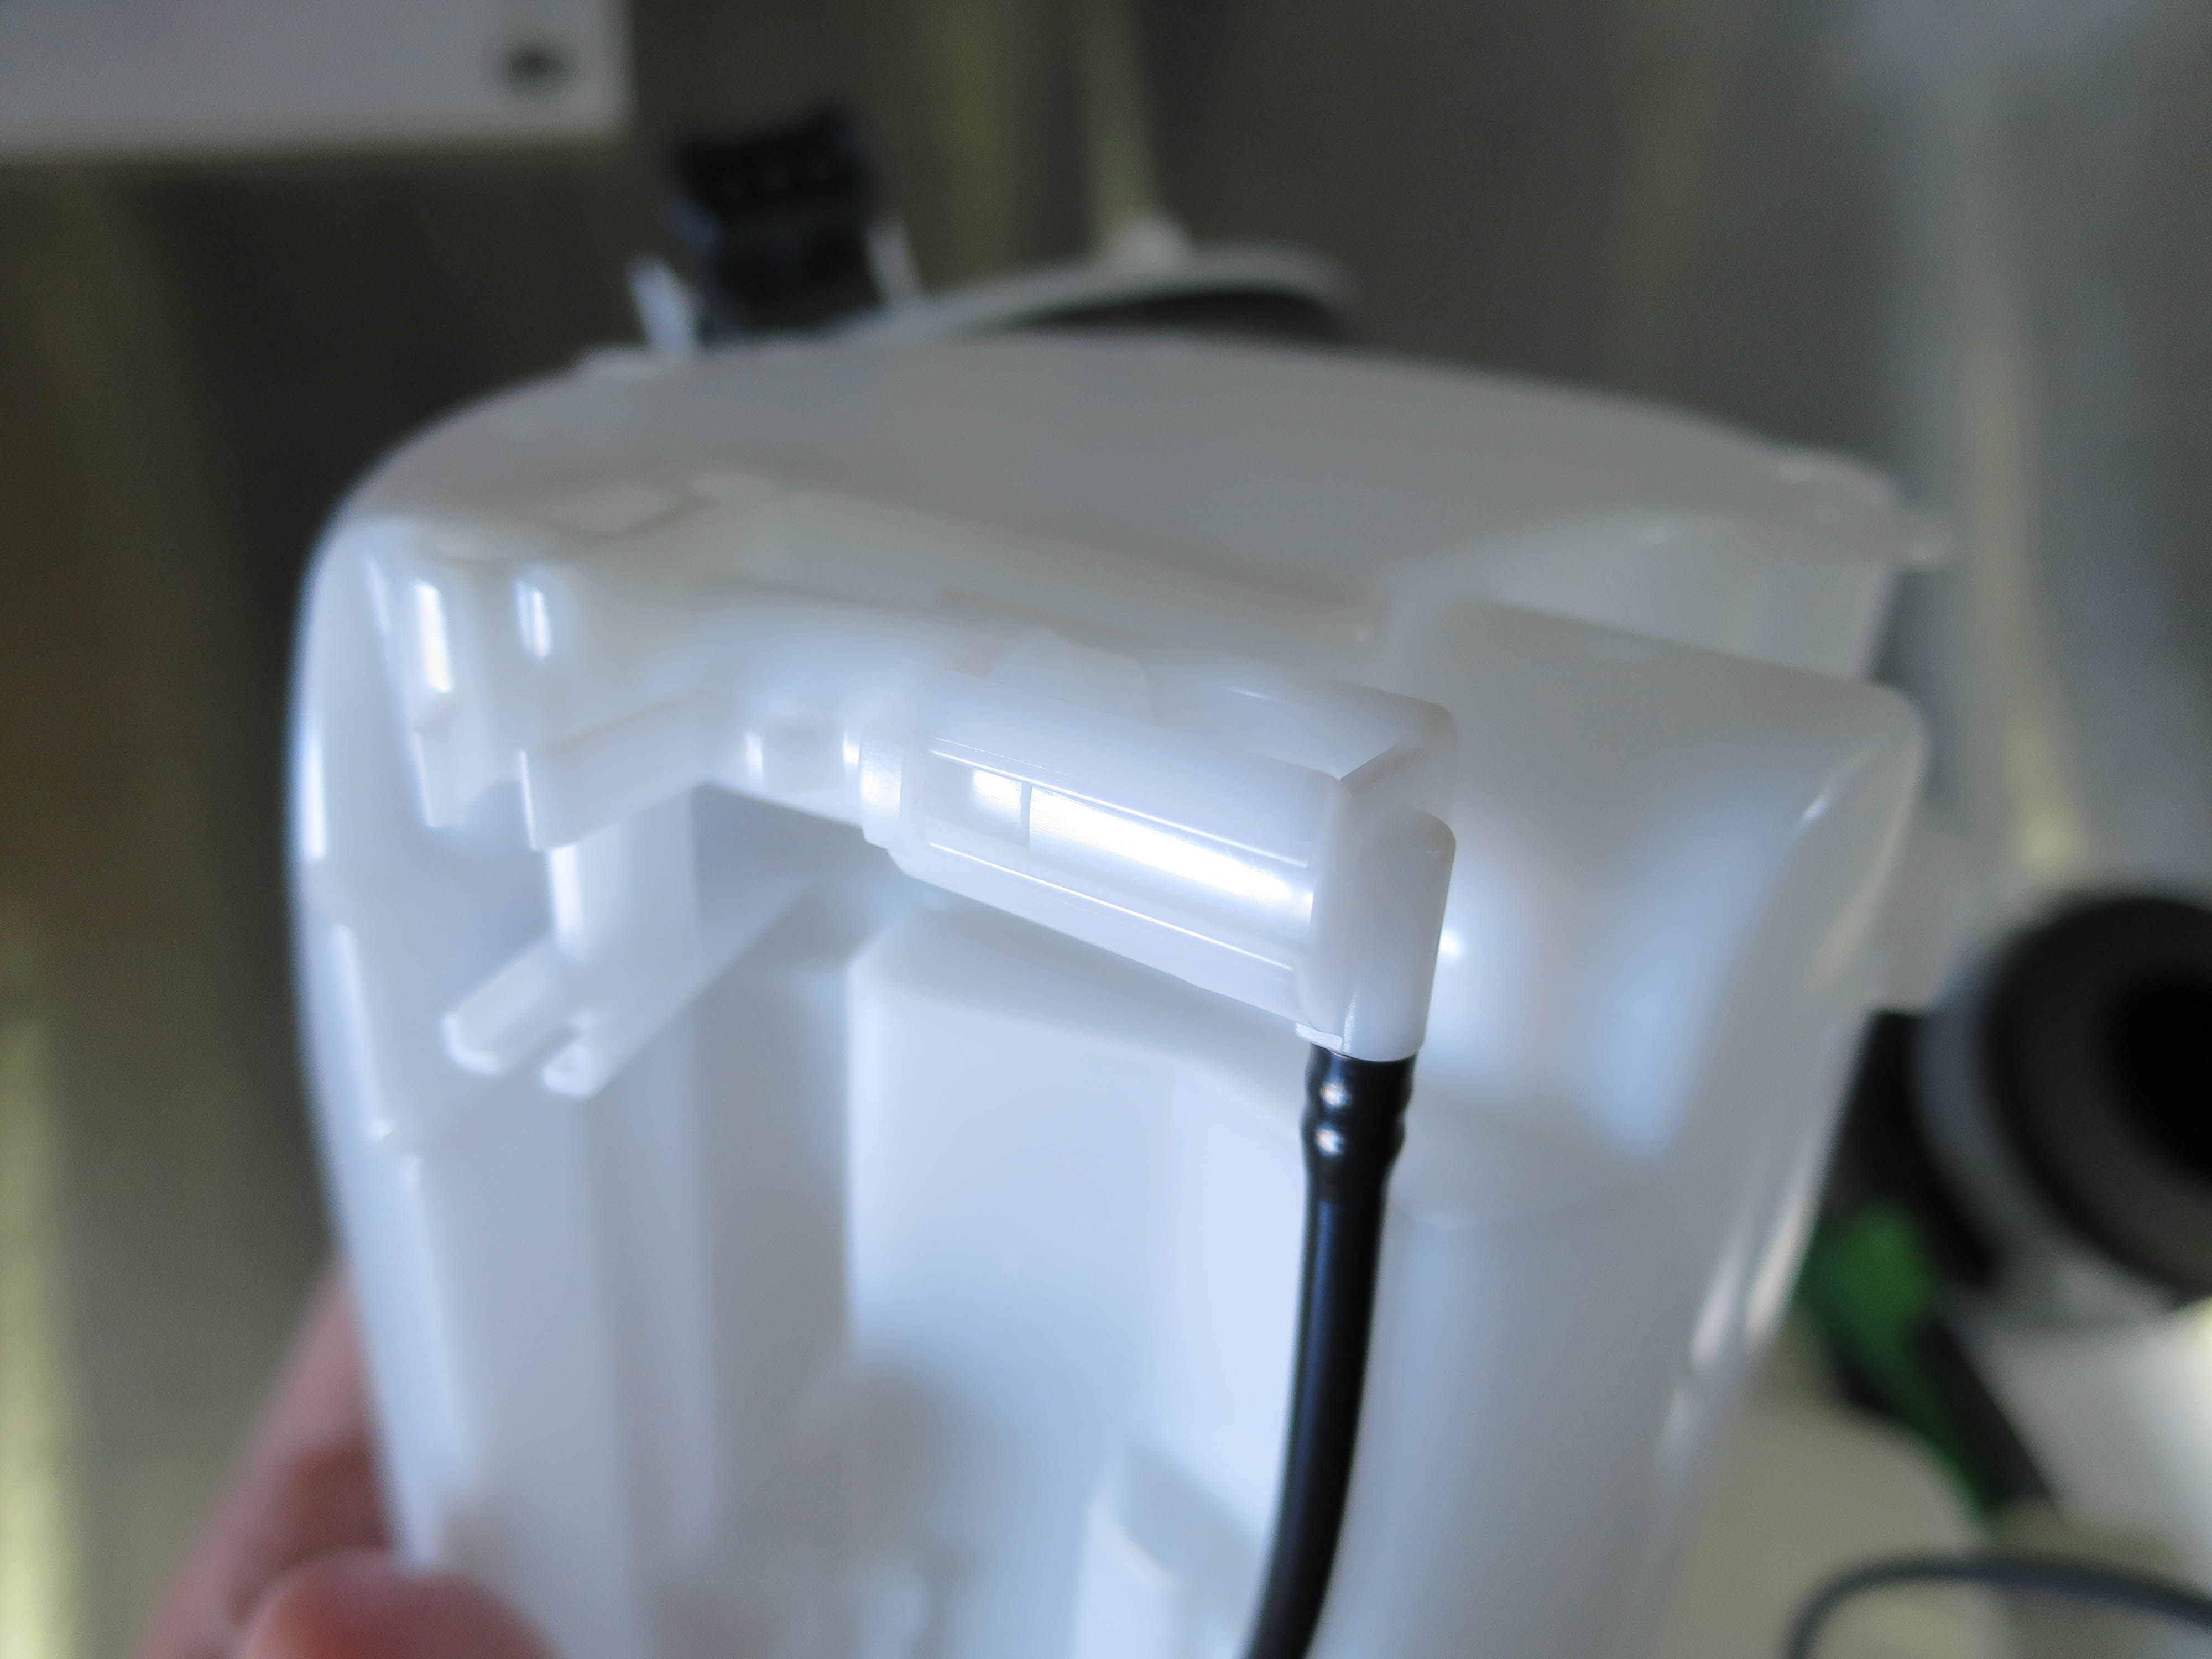
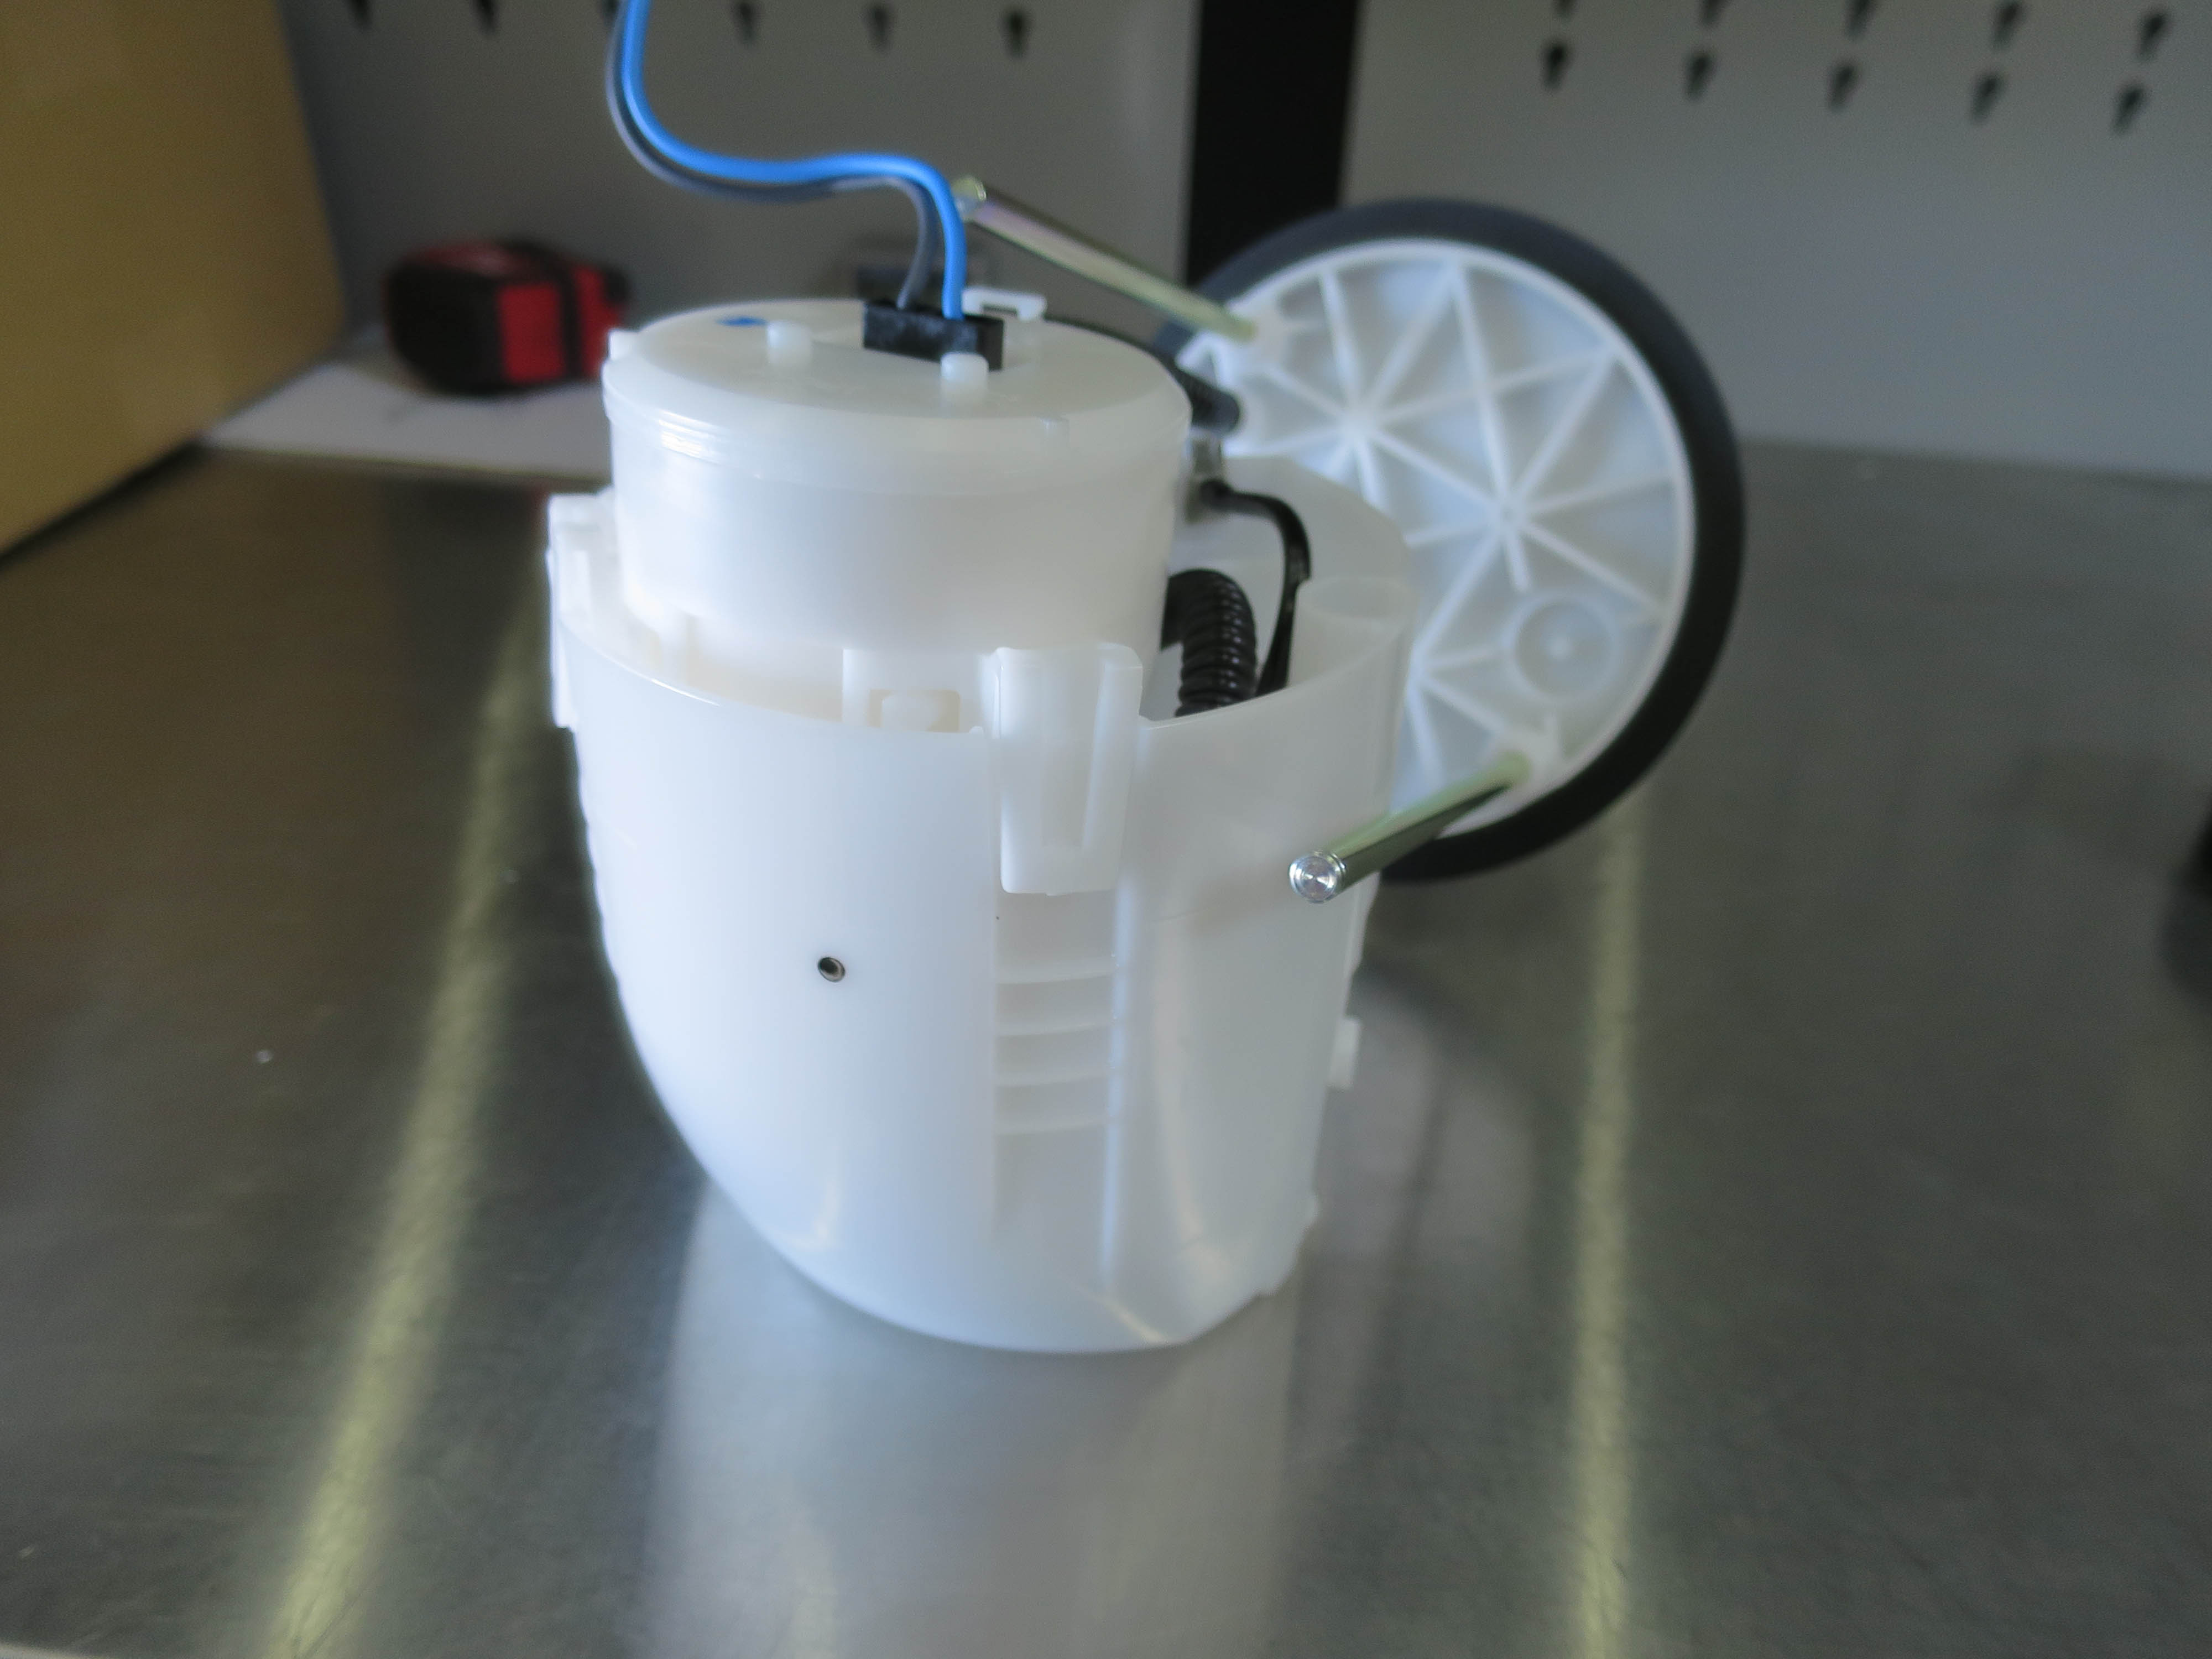
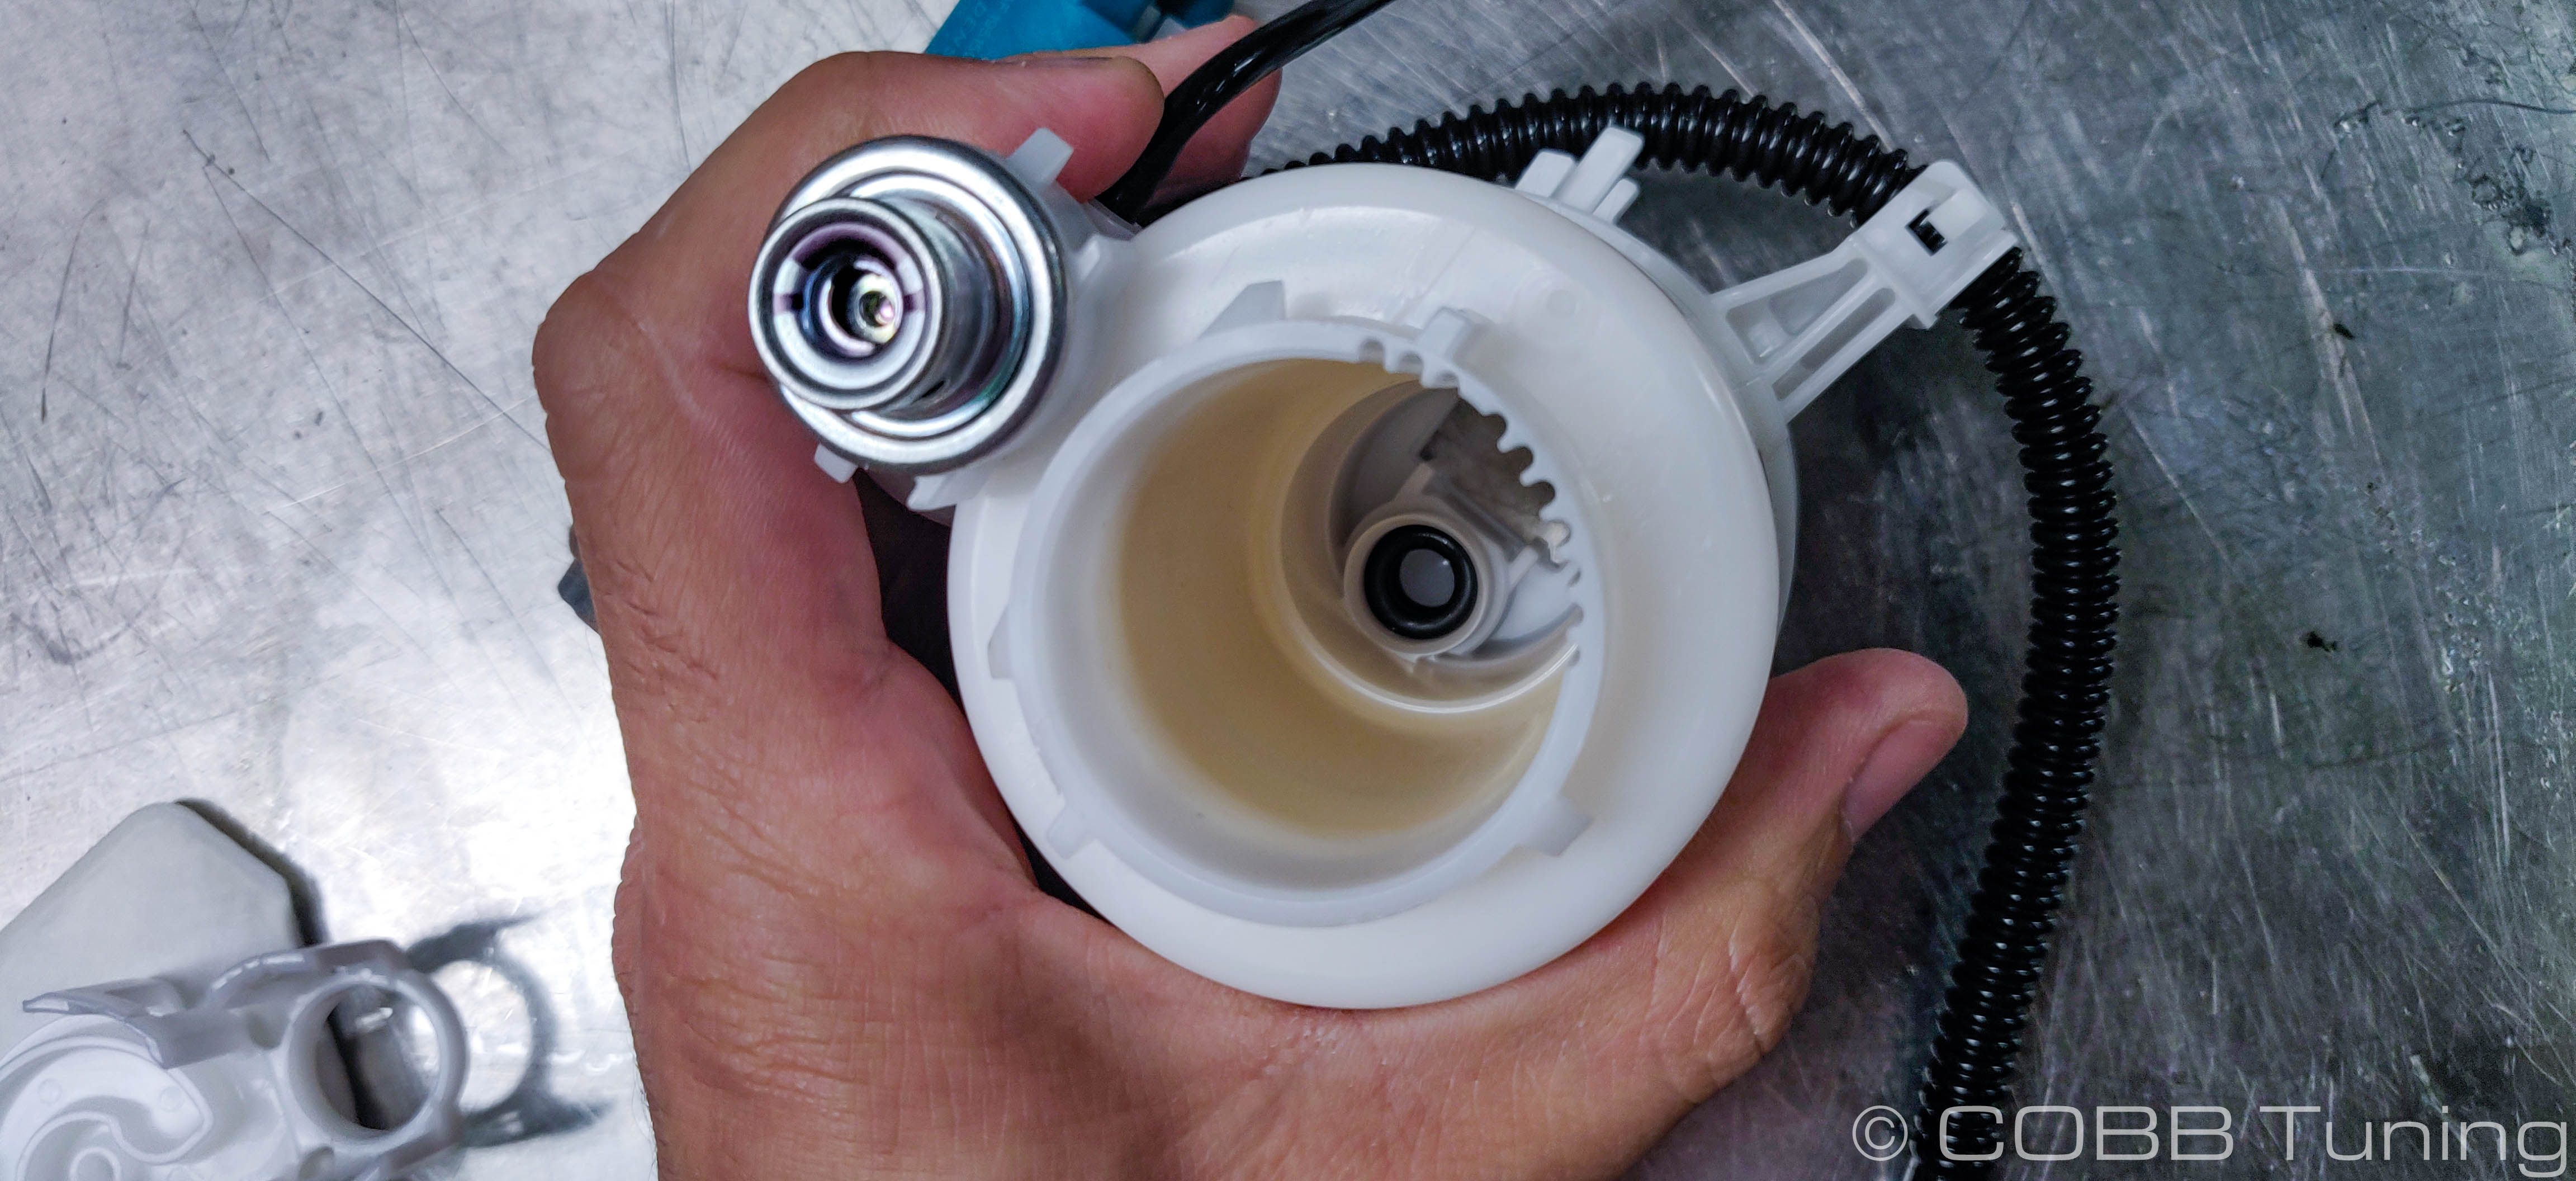
- Using a small pry tool or flat bladed screwdriver, gently pry on the three clips to release the fuel pump holder from the basket.

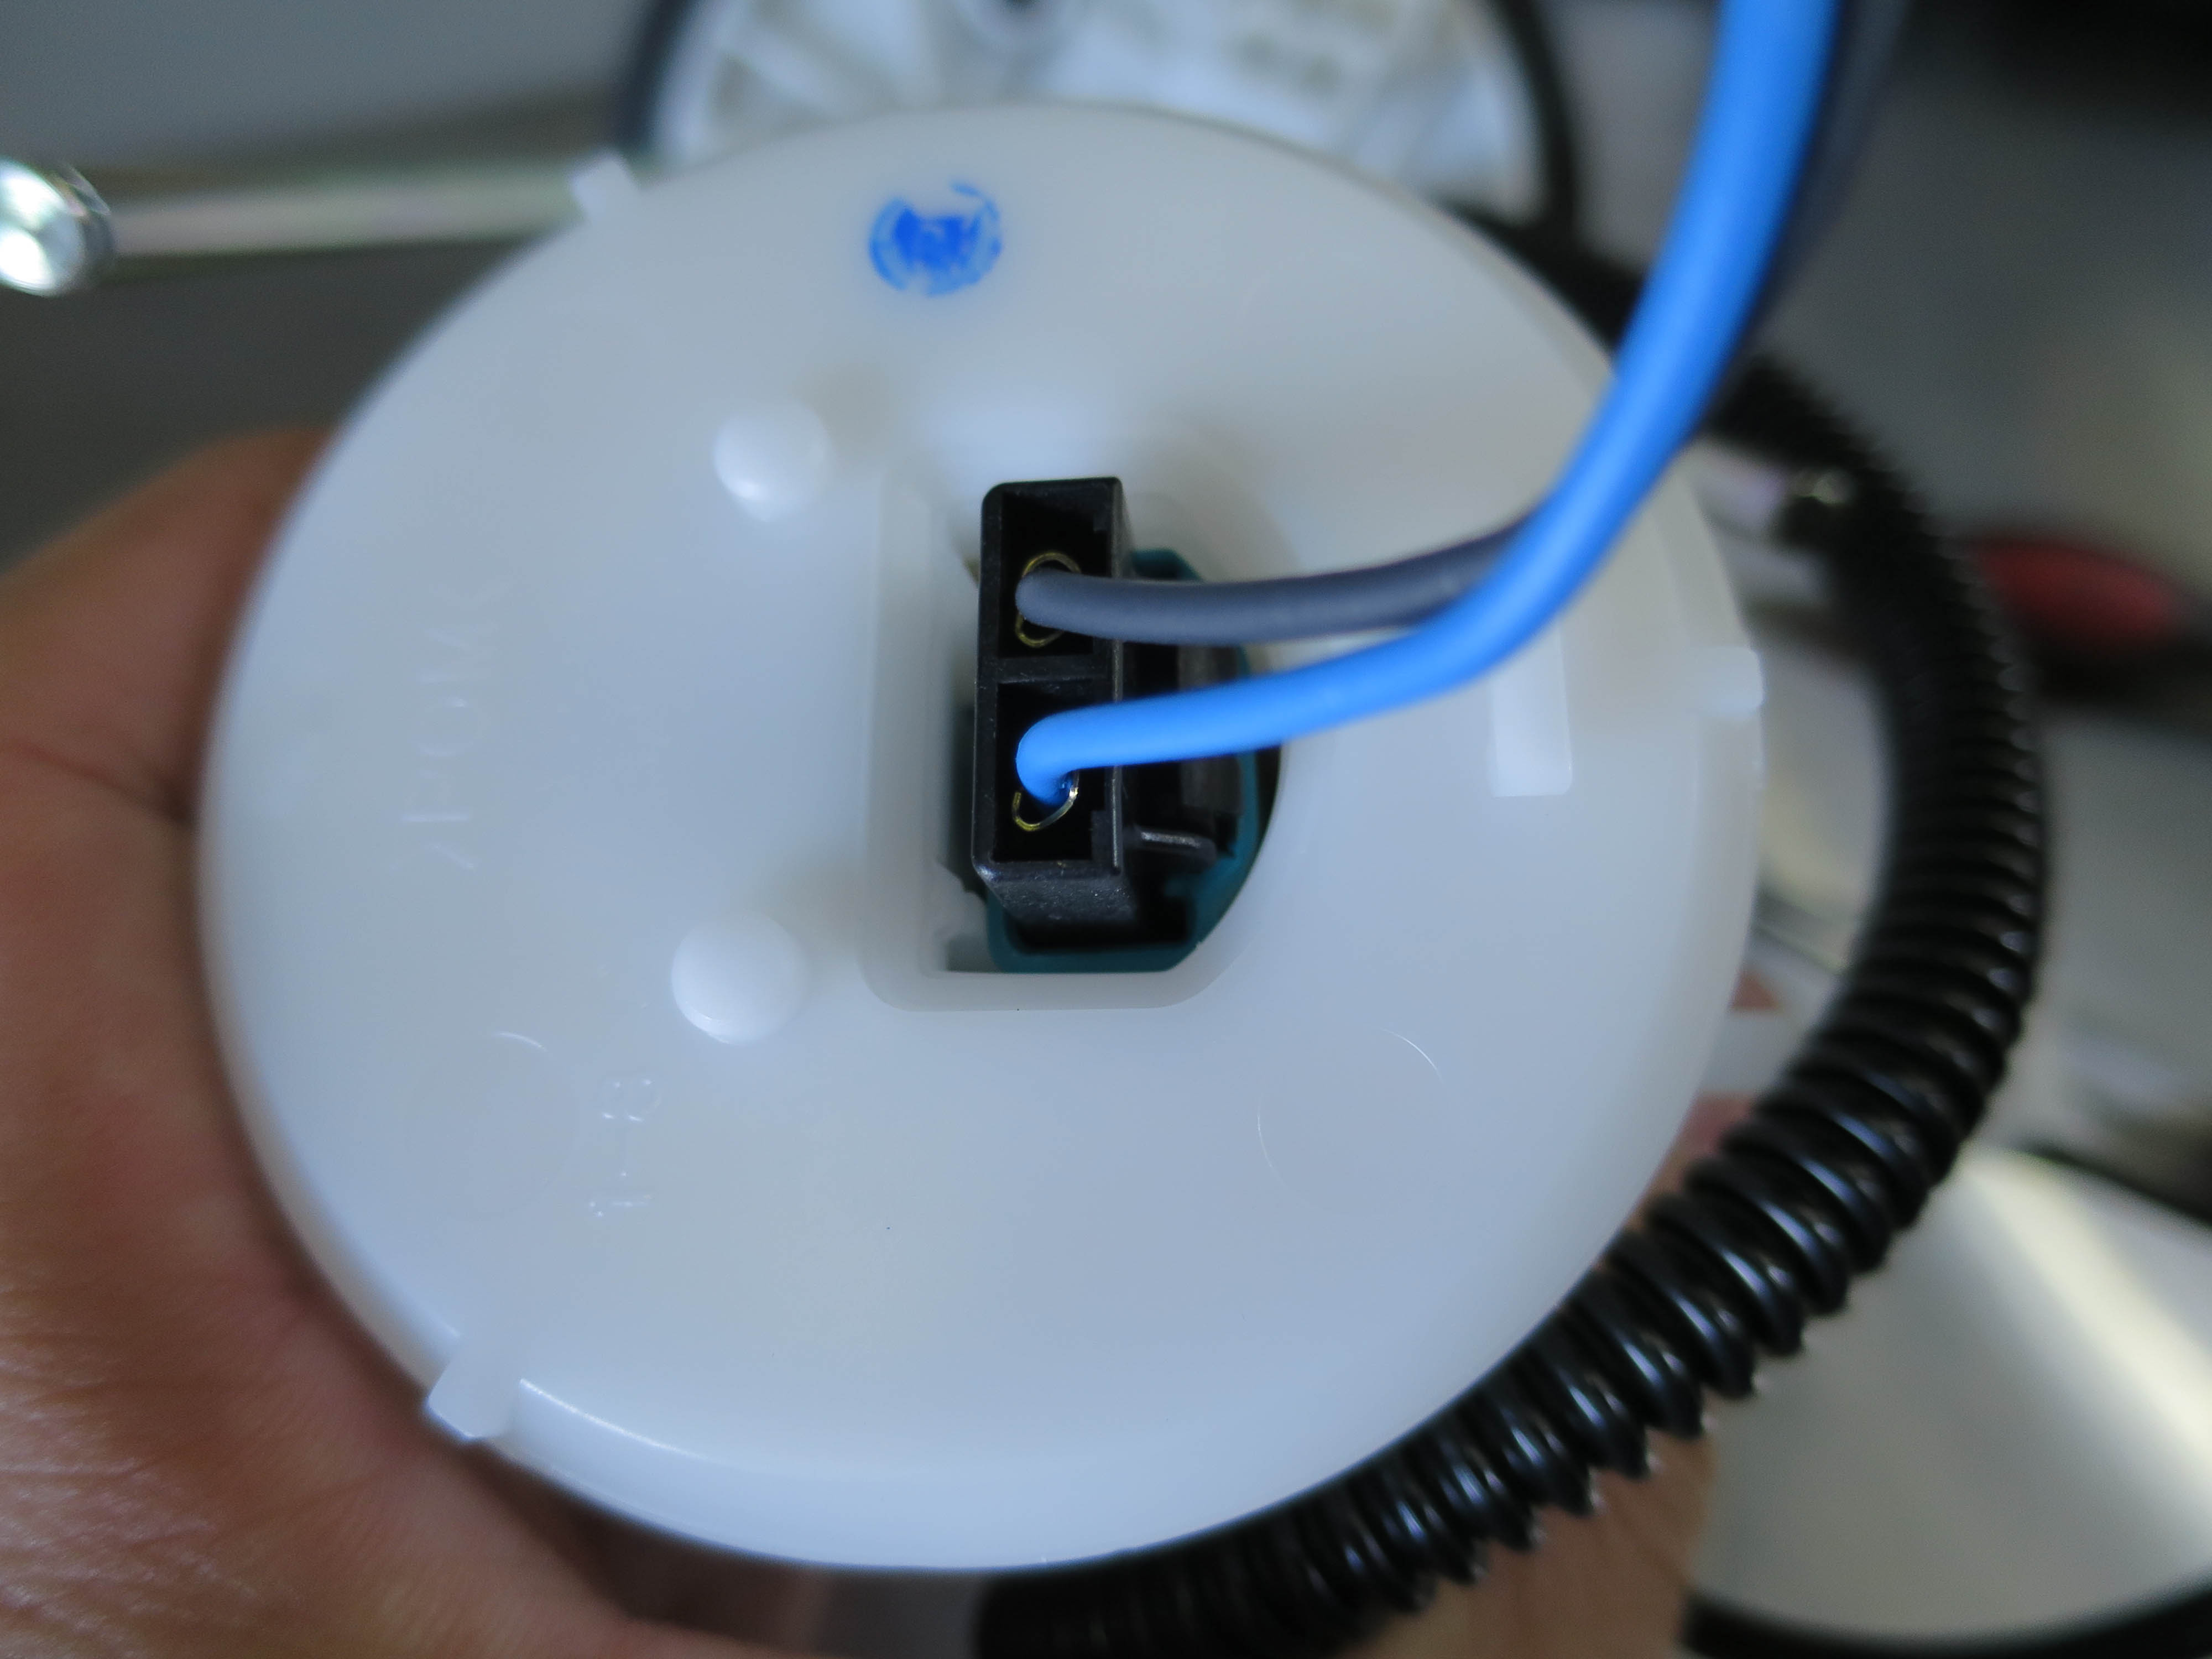
- With the basket out unplug the wiring harness using a small screwdriver or pick to hold the release.
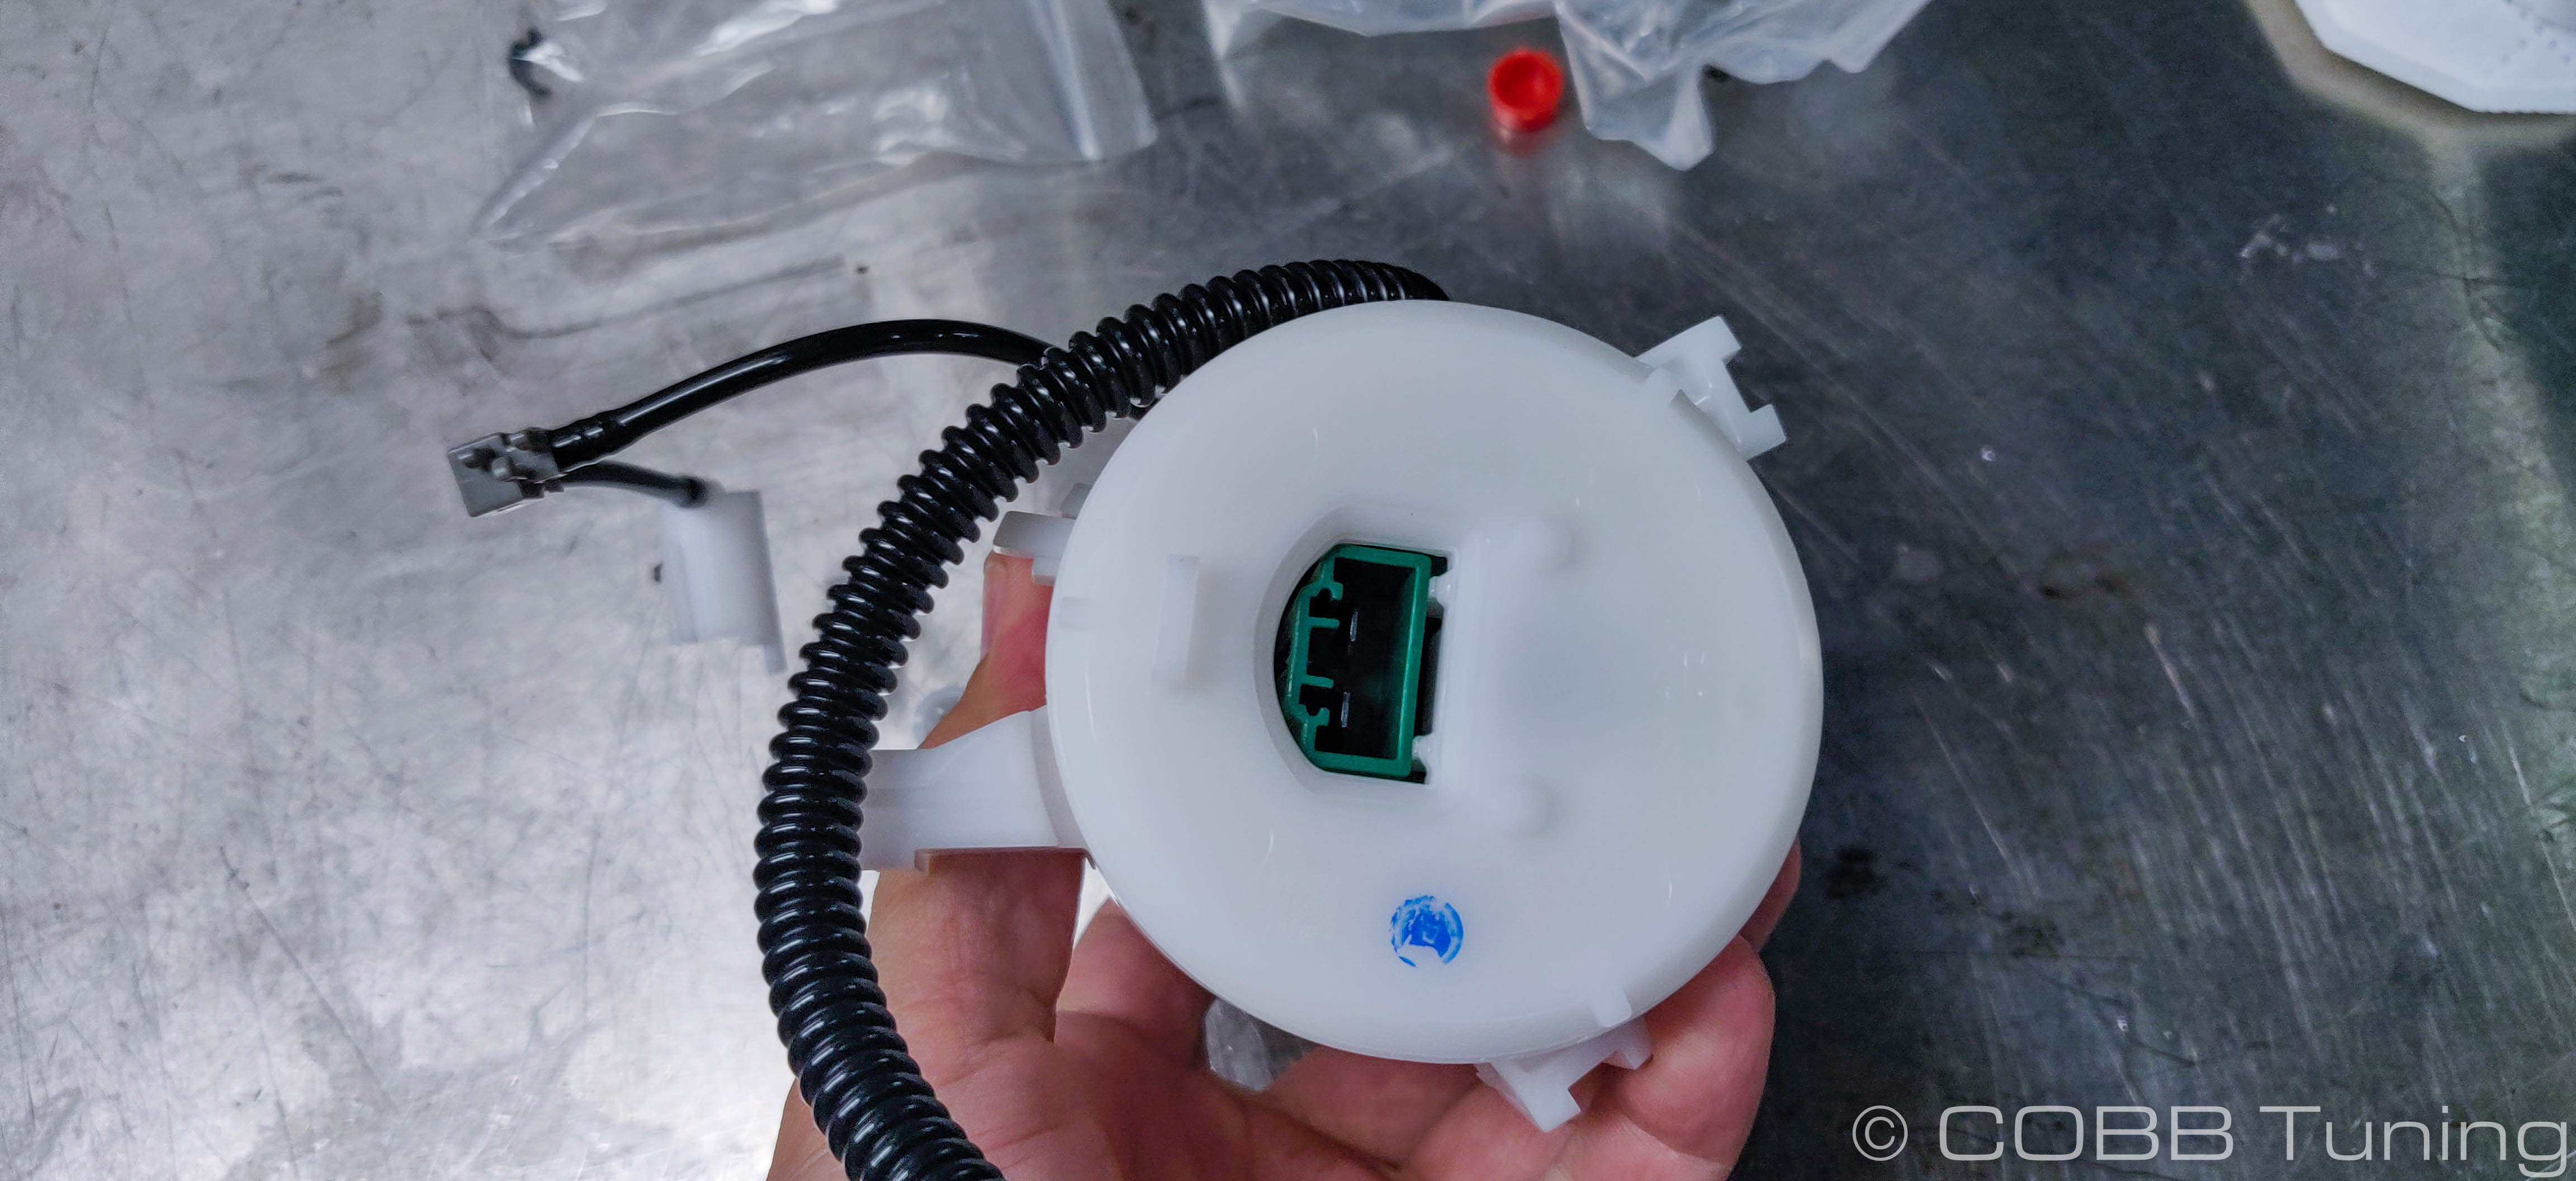
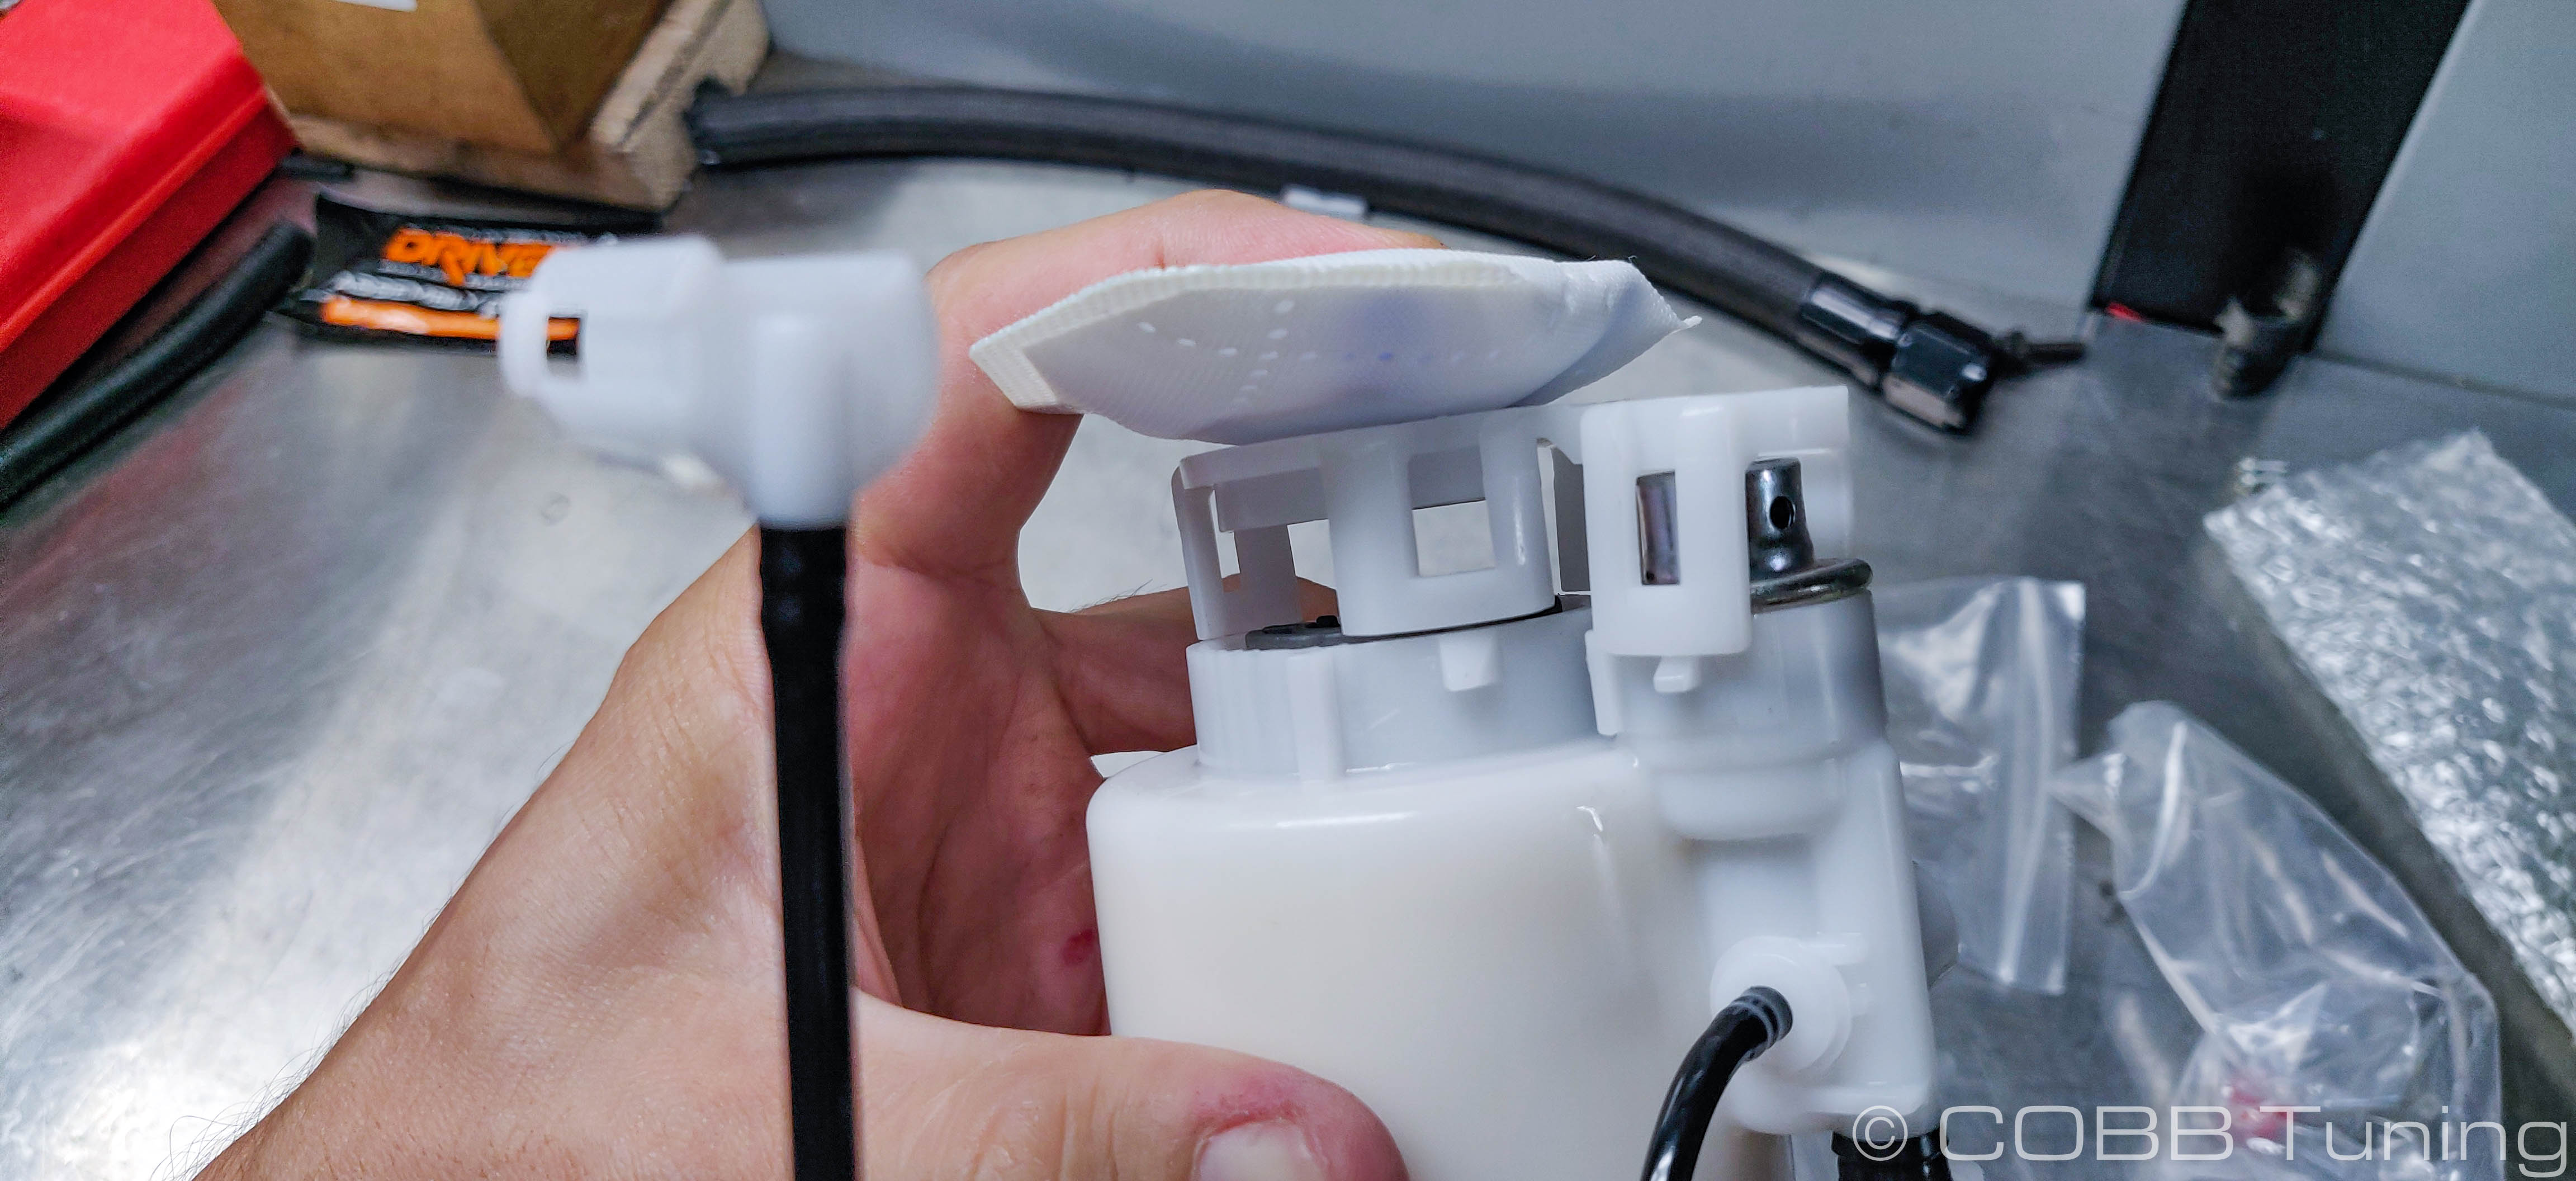
- Flip it over and remove the clips holding the fuel pump strainer to the pump basket. It typically helps if you have multiple screwdrivers or picks to hold open multiple clips at a time to get it removed. If it proves to be a massive pain you can also clip the strainer side of the clips to get it off. Do NOT cut the basket side as it will prevent the new strainer from fitting on properly.
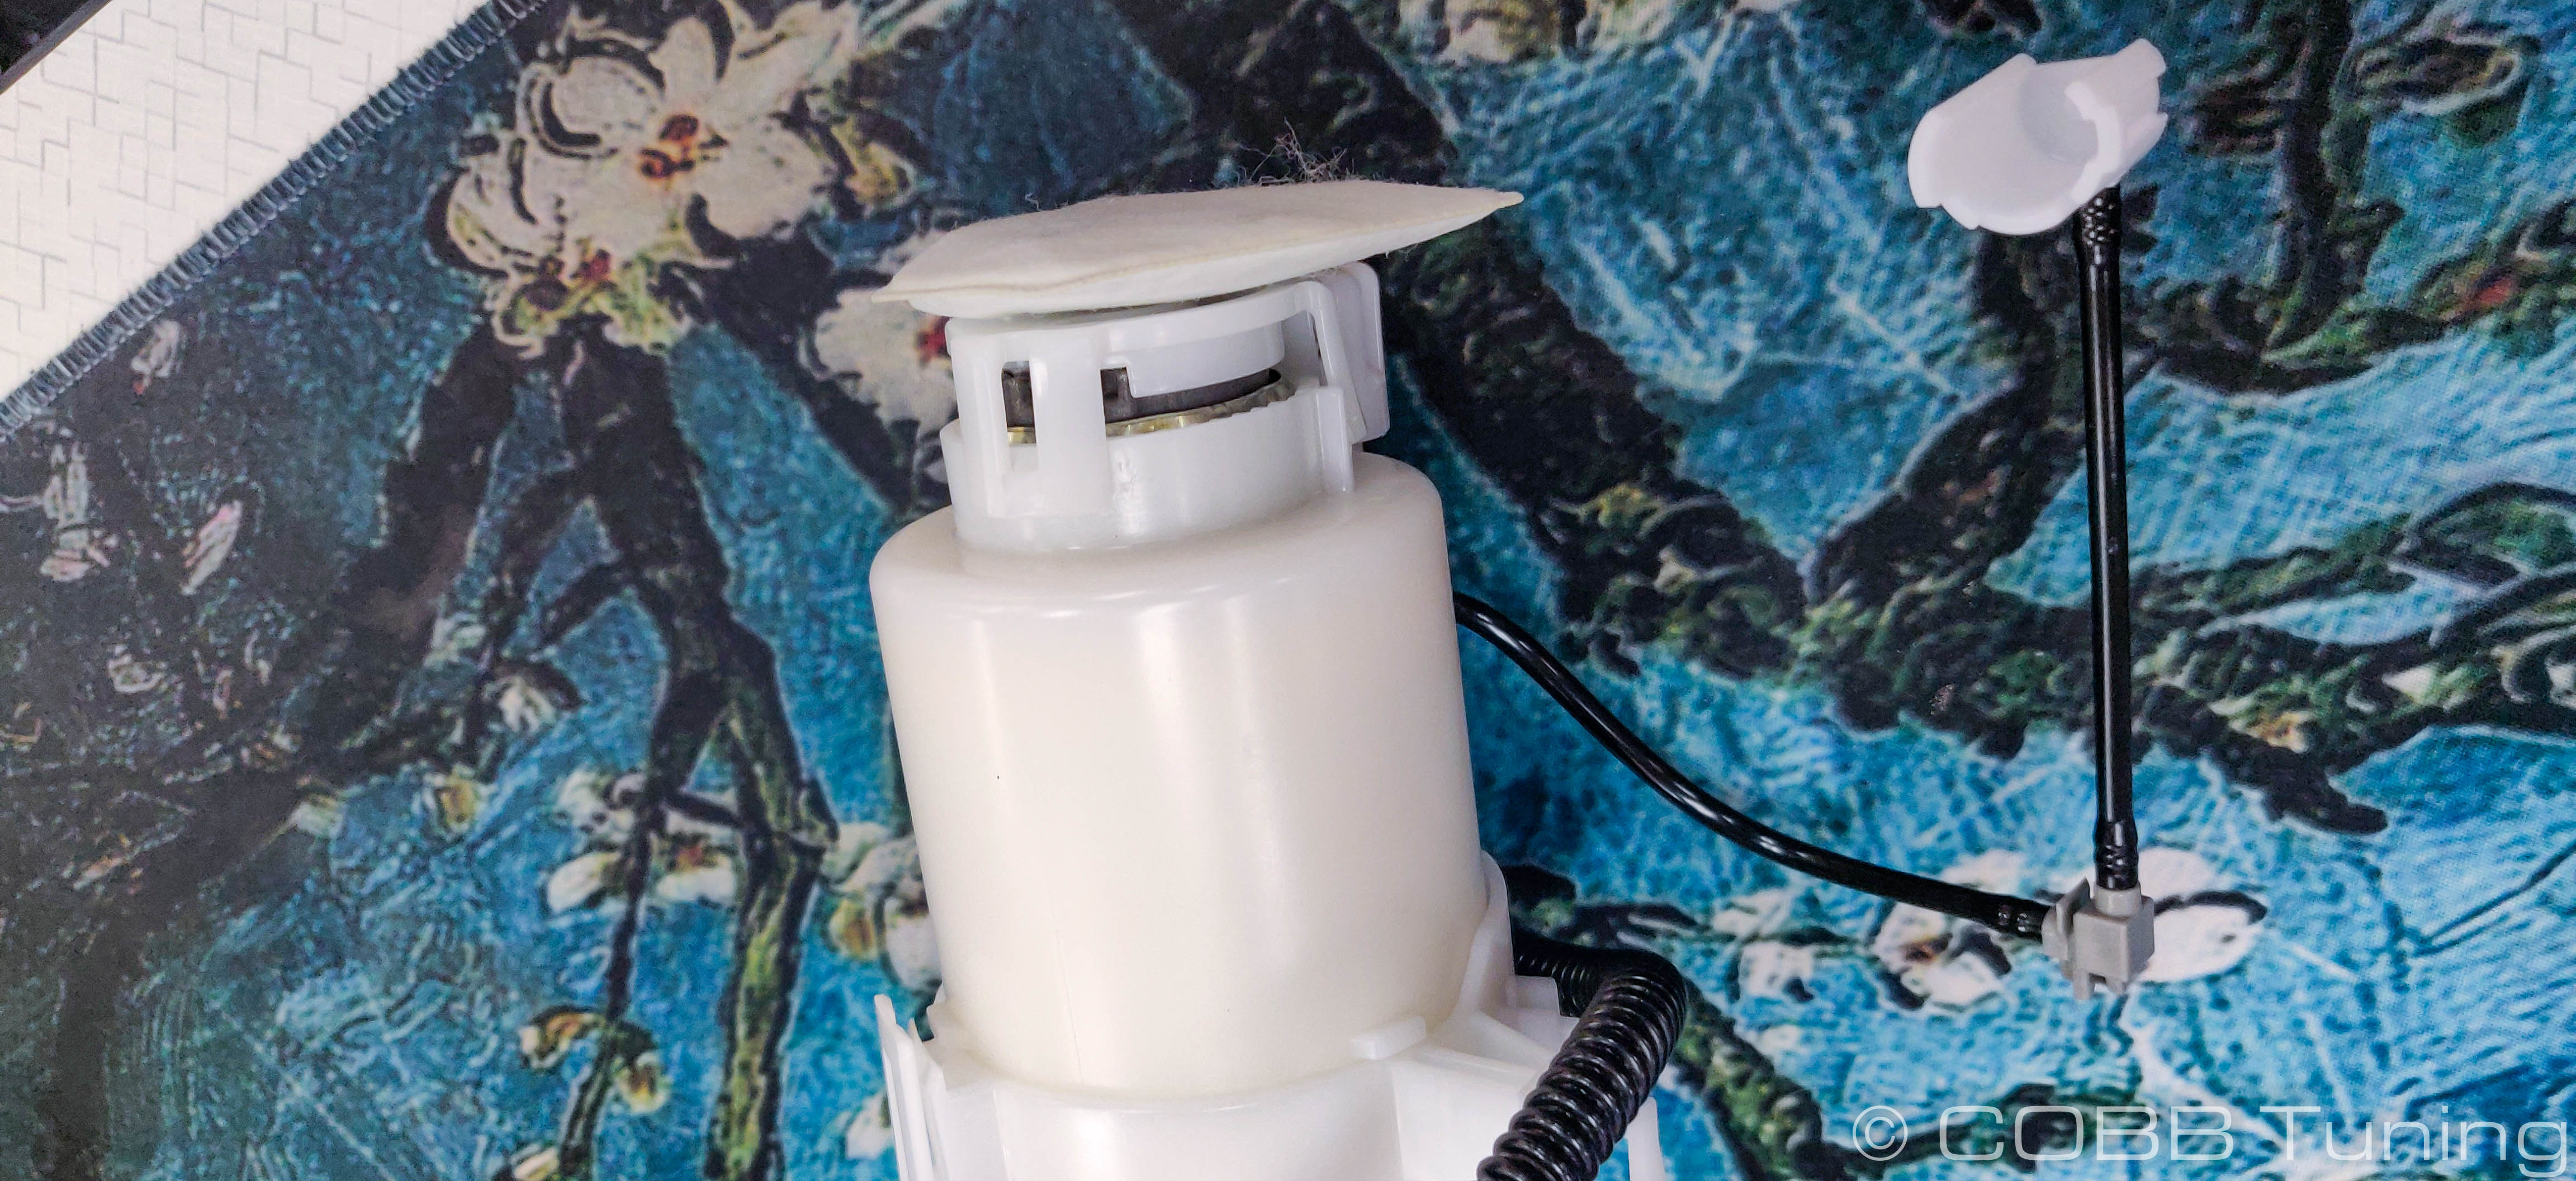
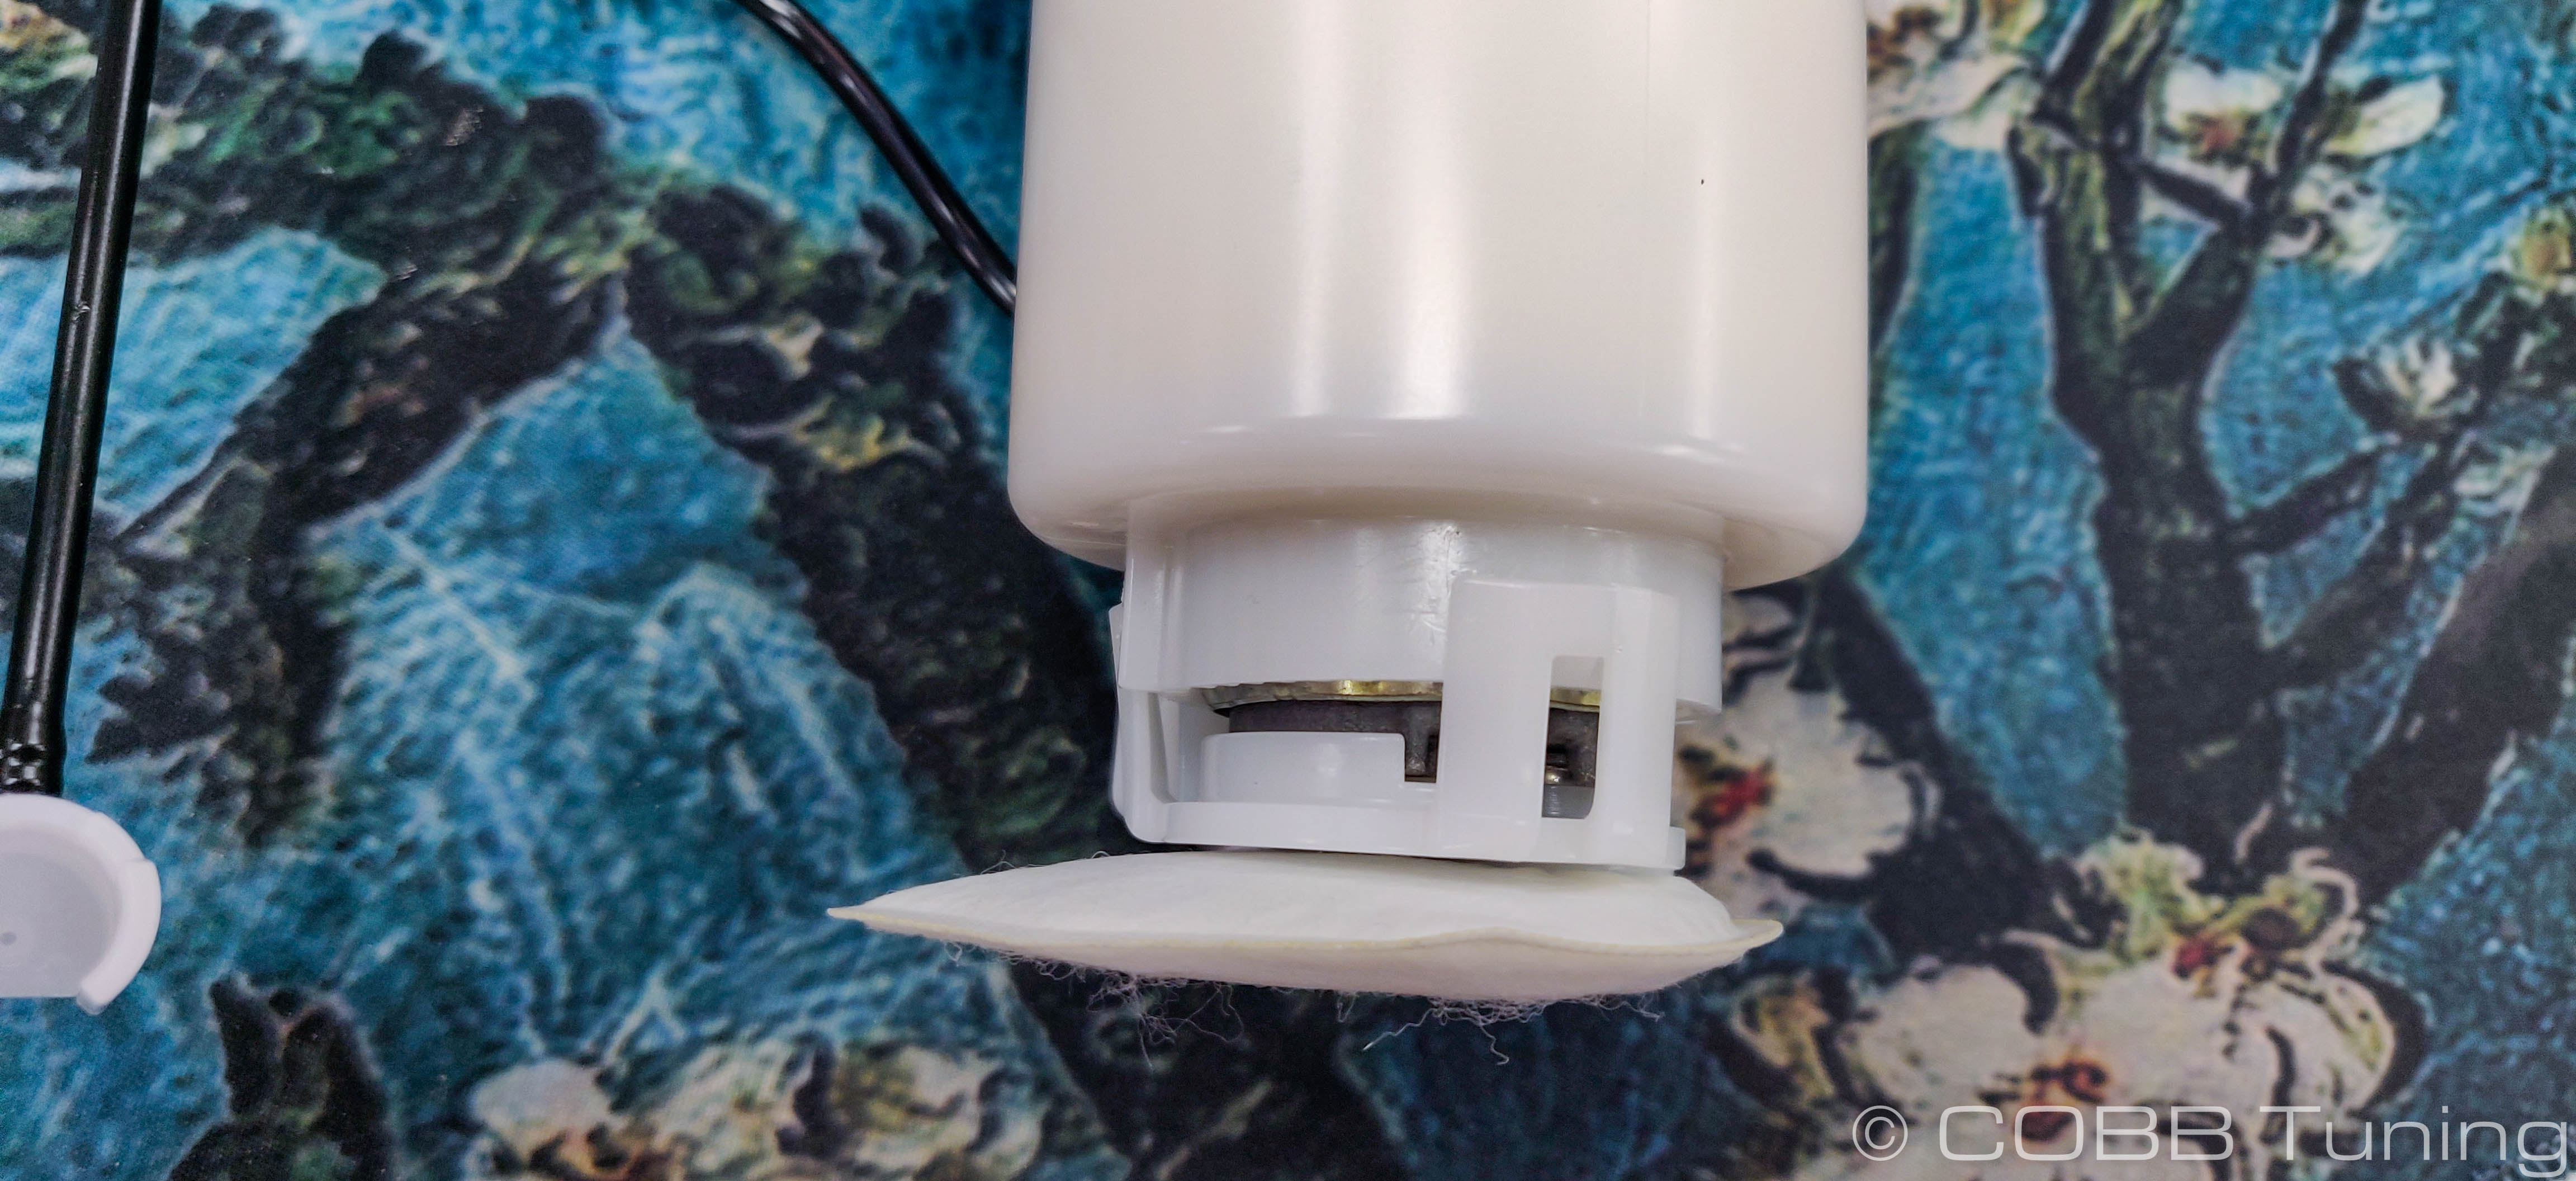
- Gently push on the top wiring connector of the pump to push the pump out of the bottom.
- Look inside and make sure all of the o-rings came out with the pump.
Fuel Pump Assembly
These next steps may vary slightly depending on the manufacturer of your pump, for appropriate specific instructions refer to the manufacturer of your pump.
- Move the plastic clip from the stock pump output to the new one.
- Add a little bit of lube to the two new o-rings and push them on to the new pump.
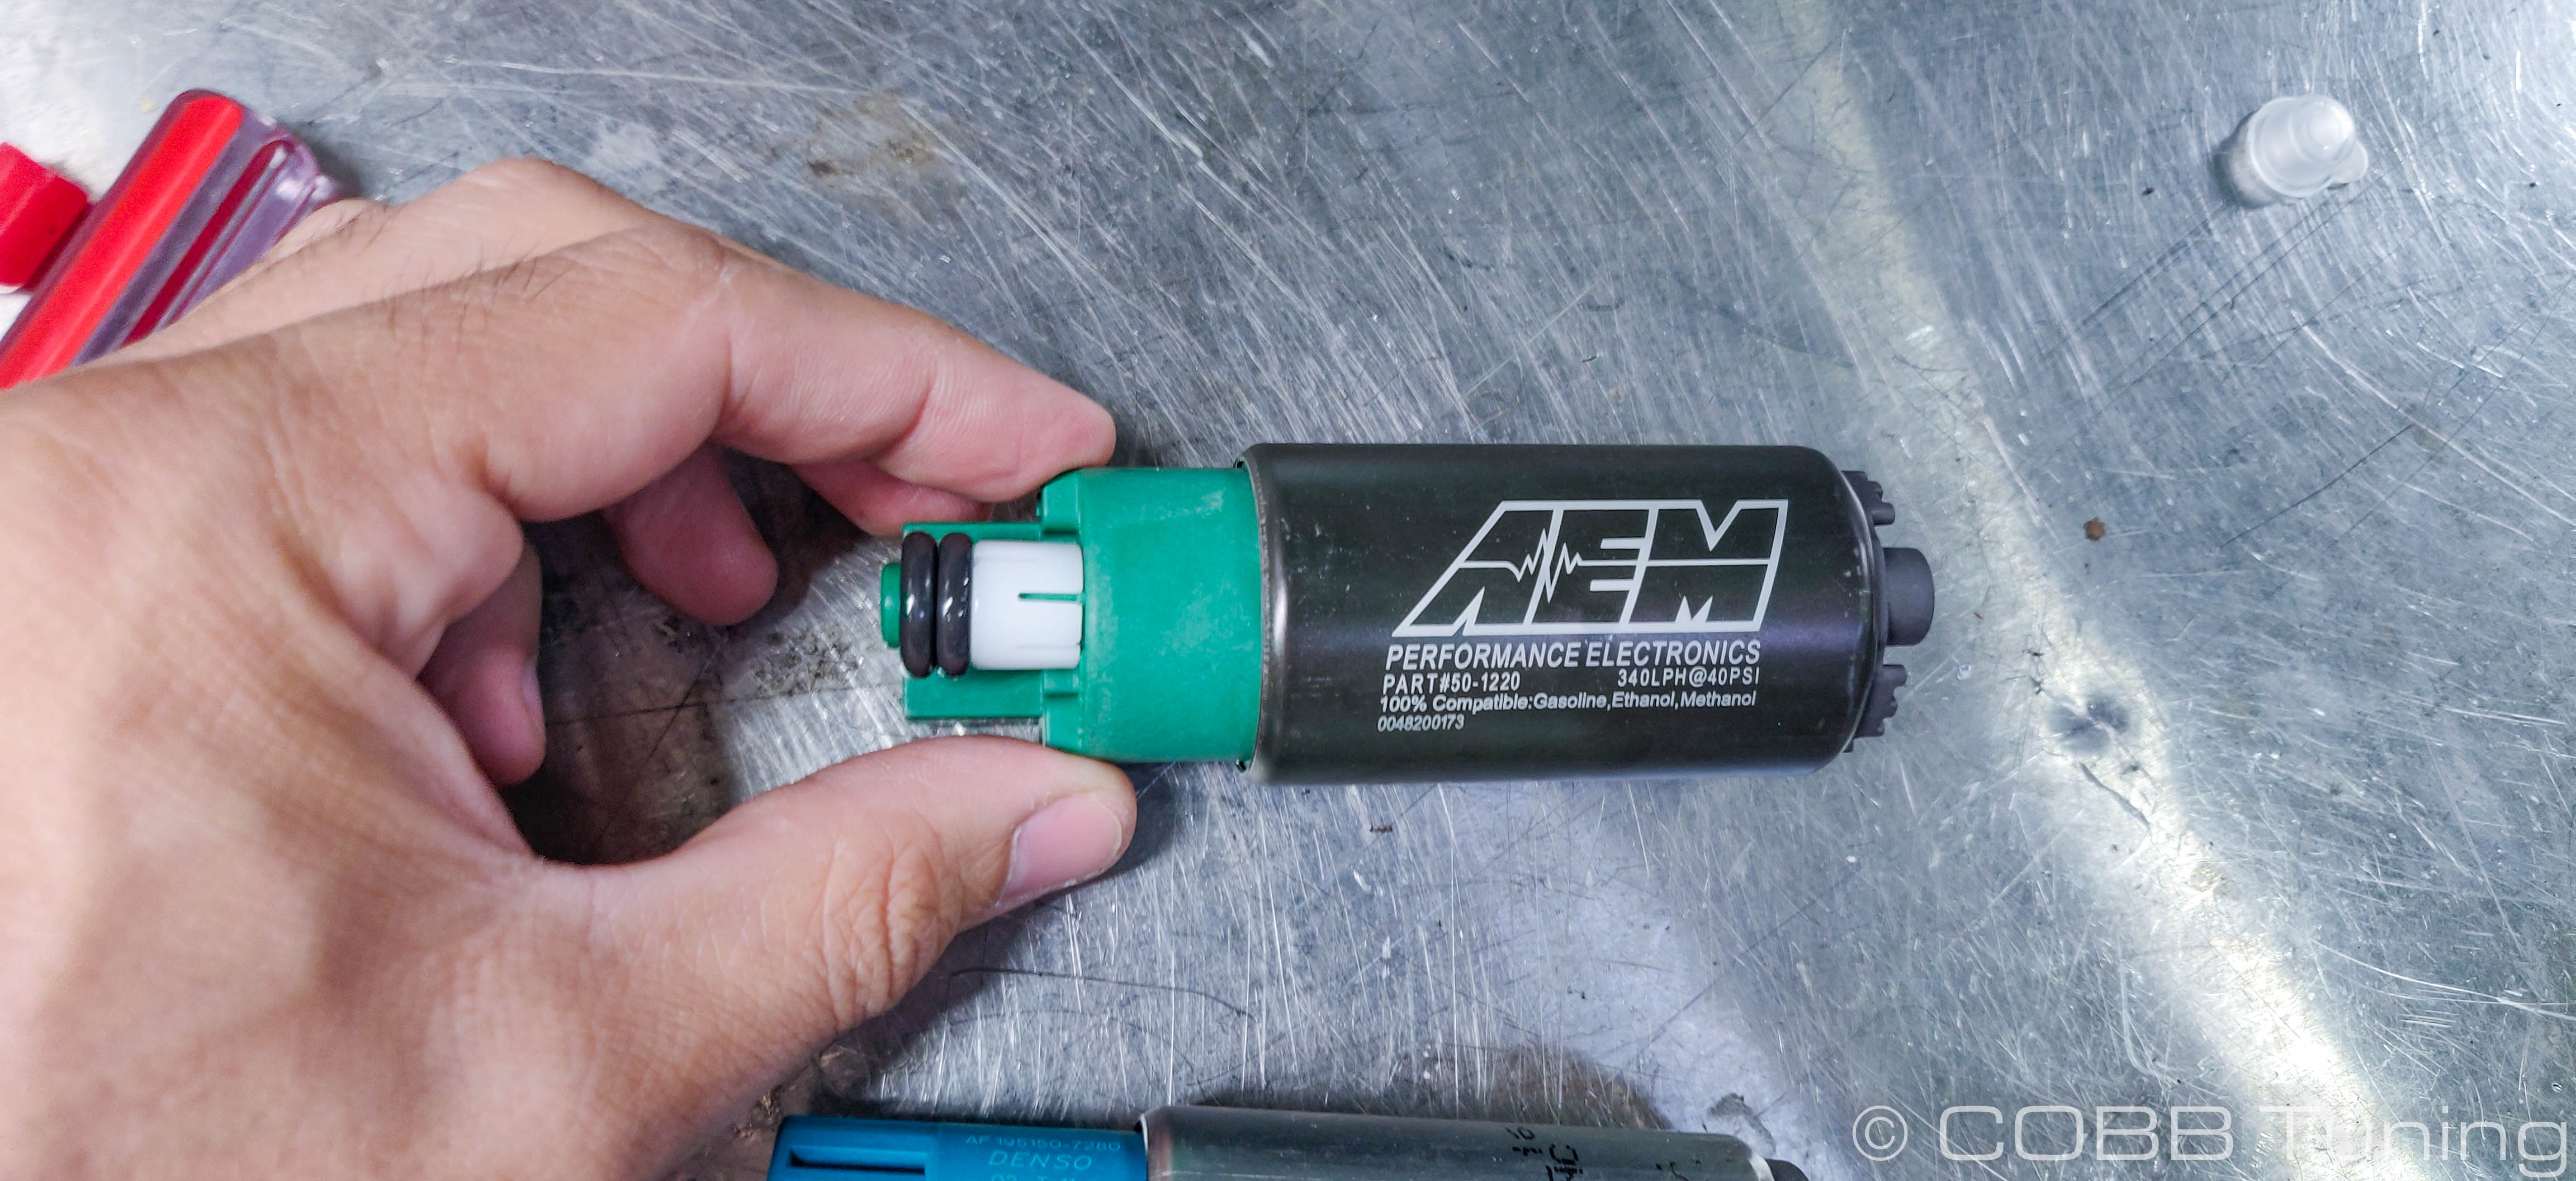
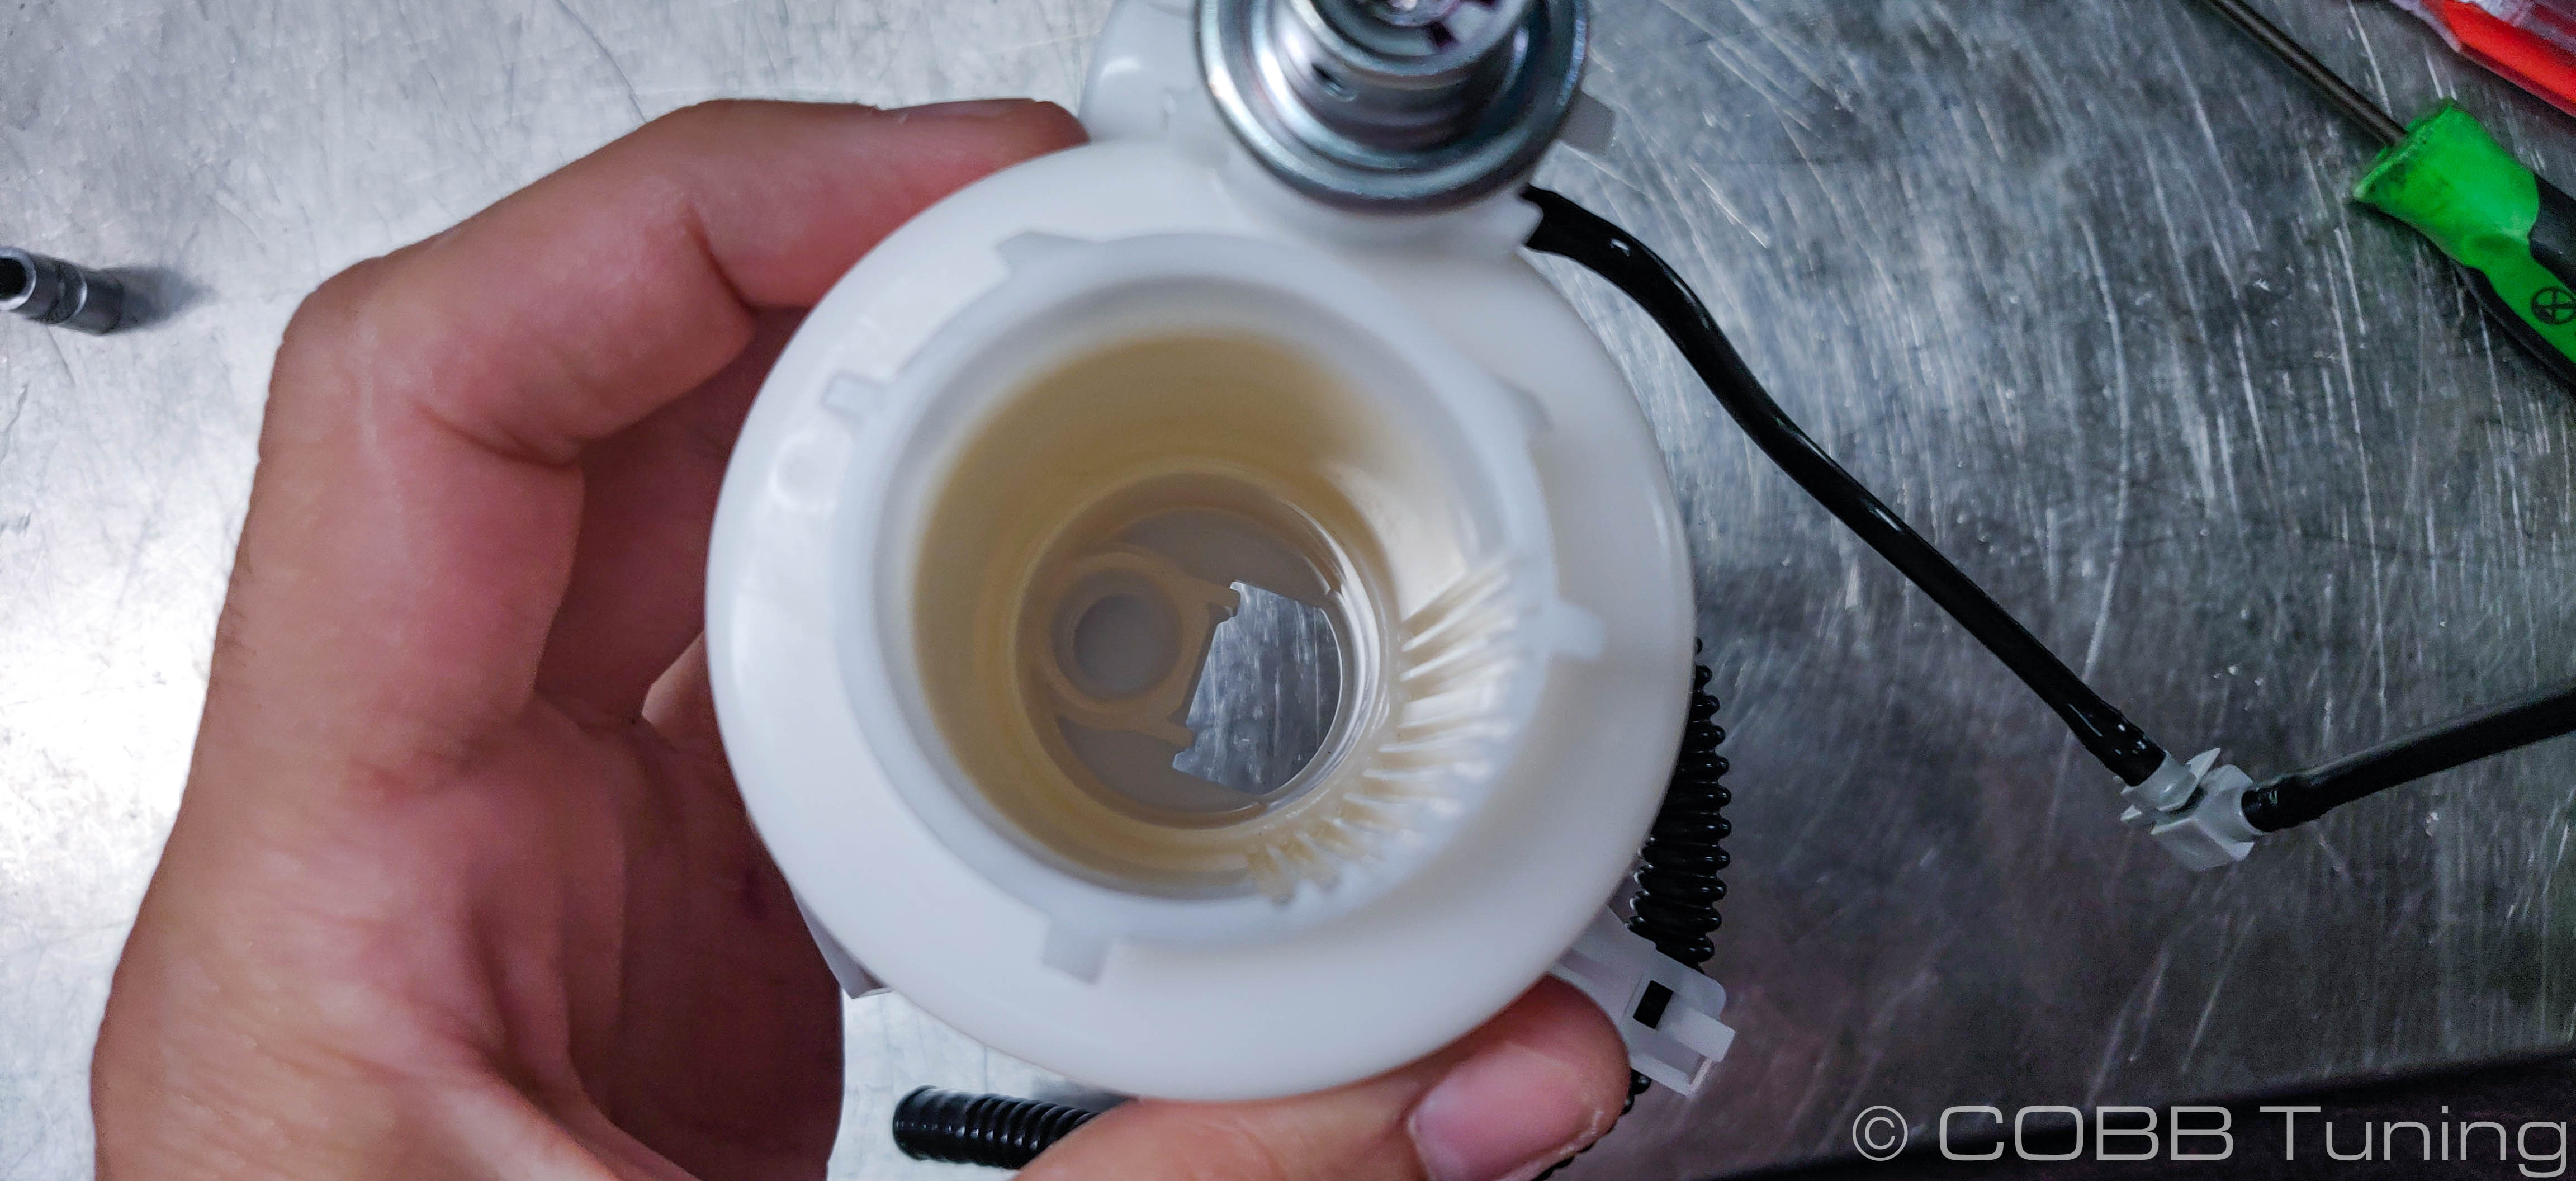
- Gently push the new pump in to the basket, it will take a little bit of force to get the pump inside but it's important to make sure the output and connector are lined up with the proper positions of the basket.
- Remove the plug from the new strainer
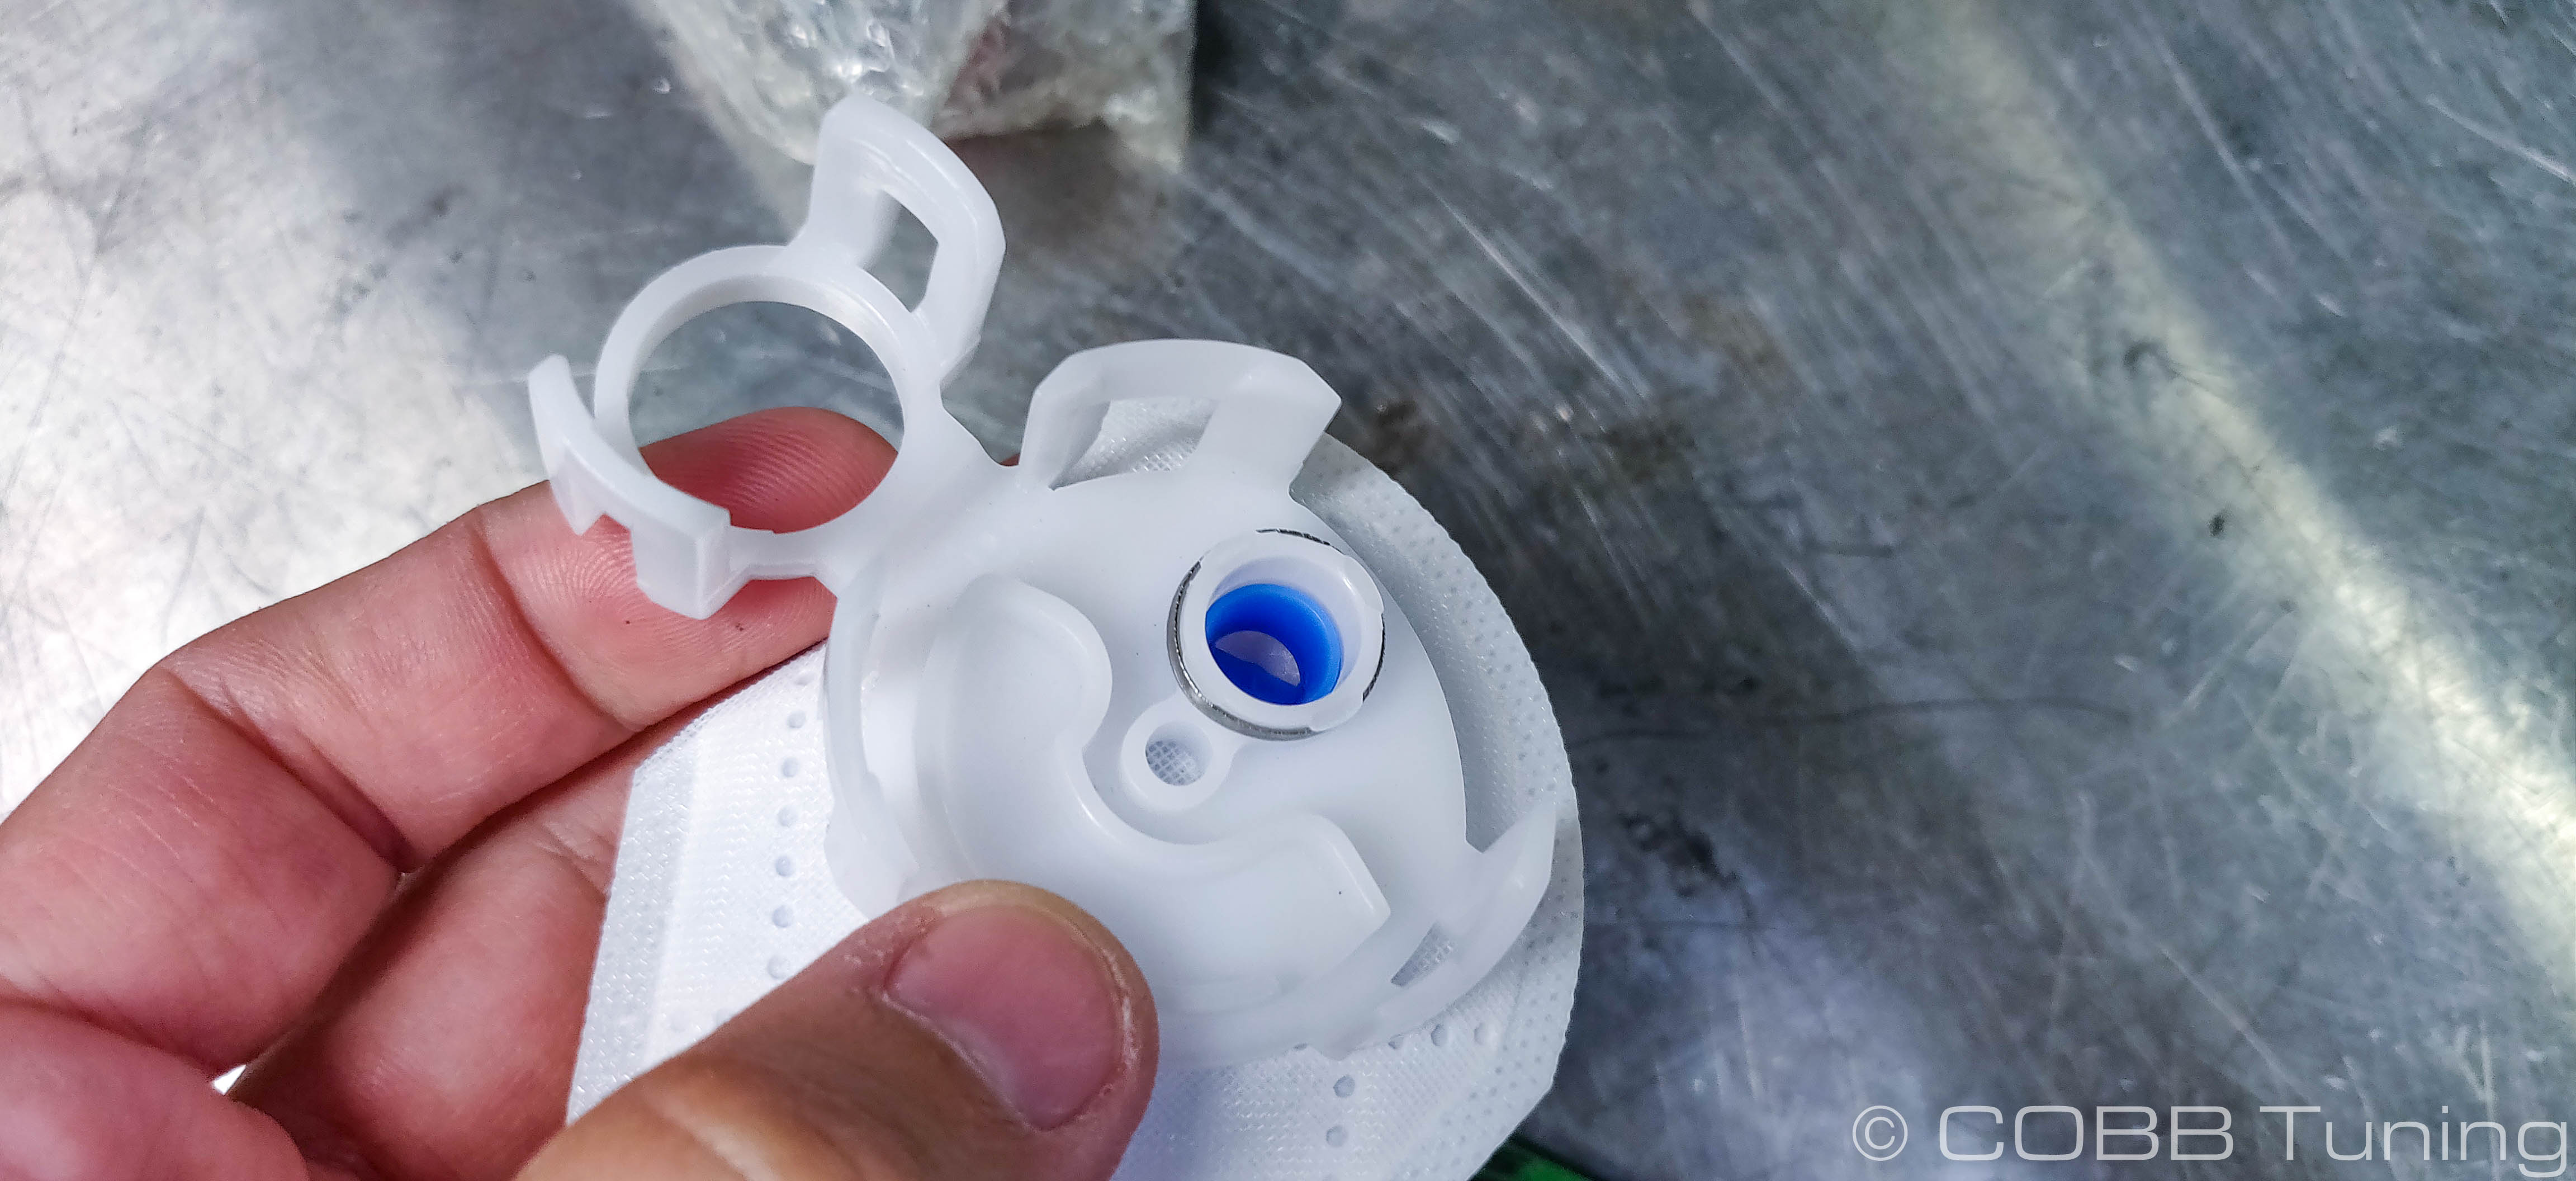
- Push the new strainer on to the pump and basket assembly.
- Pop the basket back into the sump making sure it's going back together in the correct orientation and with the small line going back outside of the hanger.
- Plug the electrical connection back into the fuel pump.
- Reassemble the hanger with the spring and e-clip to hold everything together.
- Softly push the hanger down on the spring to compress it, making sure the pump assembly doesn't bind anywhere. To prevent binding you may need to adjust the routing of the lines or wires.
- Once you're satisfied you can go to reinstall the pump back into the car.
- Reinstall the hanger, lines and seat in the reverse order of removal.
CARB Sticker Application
(Where Applicable)
- Apply the supplied CARB sticker in a clear, easy to find location. Typically underhood, or on the radiator core support.
| Insert excerpt | ||||||
|---|---|---|---|---|---|---|
|