

- Mazdaspeed Turbo Blanket
Mazda MPS 2007-2012
Mazdaspeed Axela 2007-2012
Mazdaspeed3 2007-2013

Congratulations on your purchase of the COBB Tuning Mazdaspeed Turbo Blanket! The following instructions will assist you through the installation process. Please read them BEFORE beginning the install to familiarize yourself with the steps and tools needed. If you feel you cannot properly perform this installation, we HIGHLY recommend you take the vehicle to a qualified and experienced automotive technician.
Table of Contents
| Table of Contents |
|---|
Parts List
- Turbo Blanket
- (2) Springs
- Steel Safety Wire
Tools Needed
Sockets
3/8"
Making Room
- Start out by parking your car in a flat level area and making sure it's completely cooled off before starting. Sometimes things can go faster on older cars if you go through and spray penetrating oil on all the nuts and bolts the night before you start doing the job.
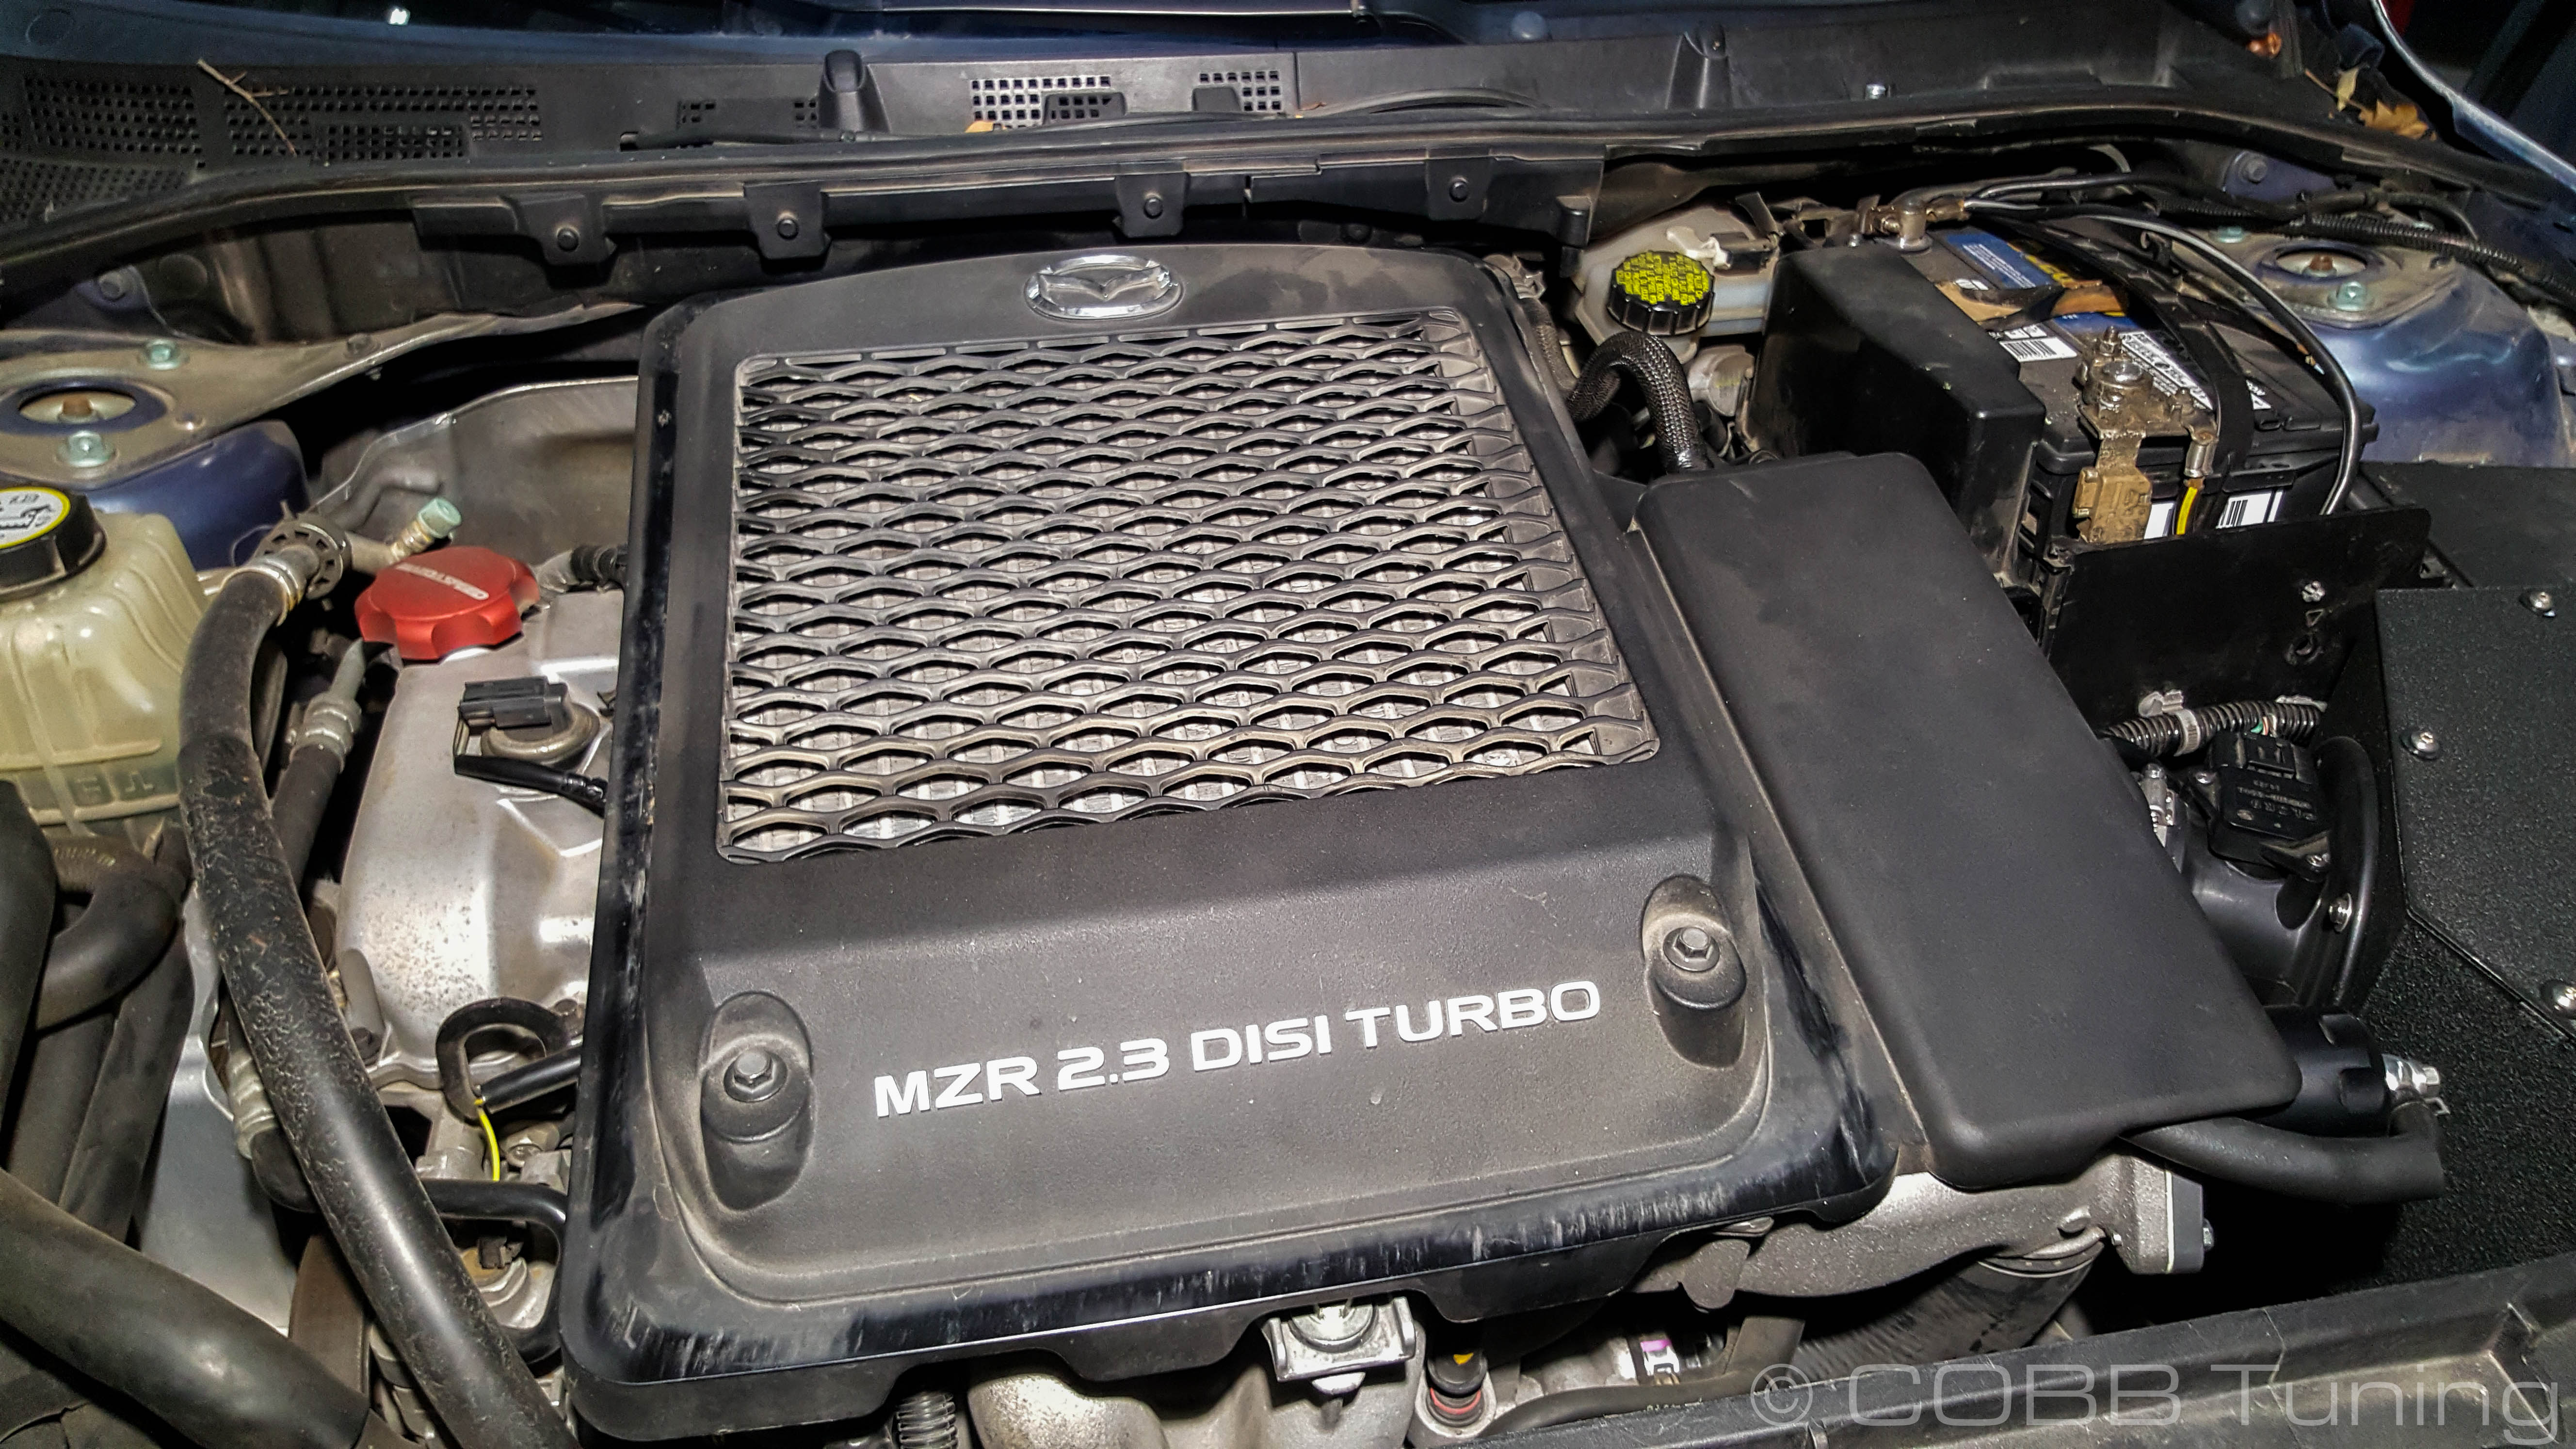
- Now remove the two 10mm bolts that hold on the intercooler/engine cover. With the bolts removed lift the front corner of the intercooler/engine cover up and slide it back to release it from the retaining bracket or the rear of the cover.

- Next up we're going to start the removal of the top mount intercooler. To do so you'll want to undo the 3 12mm nuts holding it in place, make sure to remove the washers that are on top as well to avoid them falling into the depths of the engine bay.

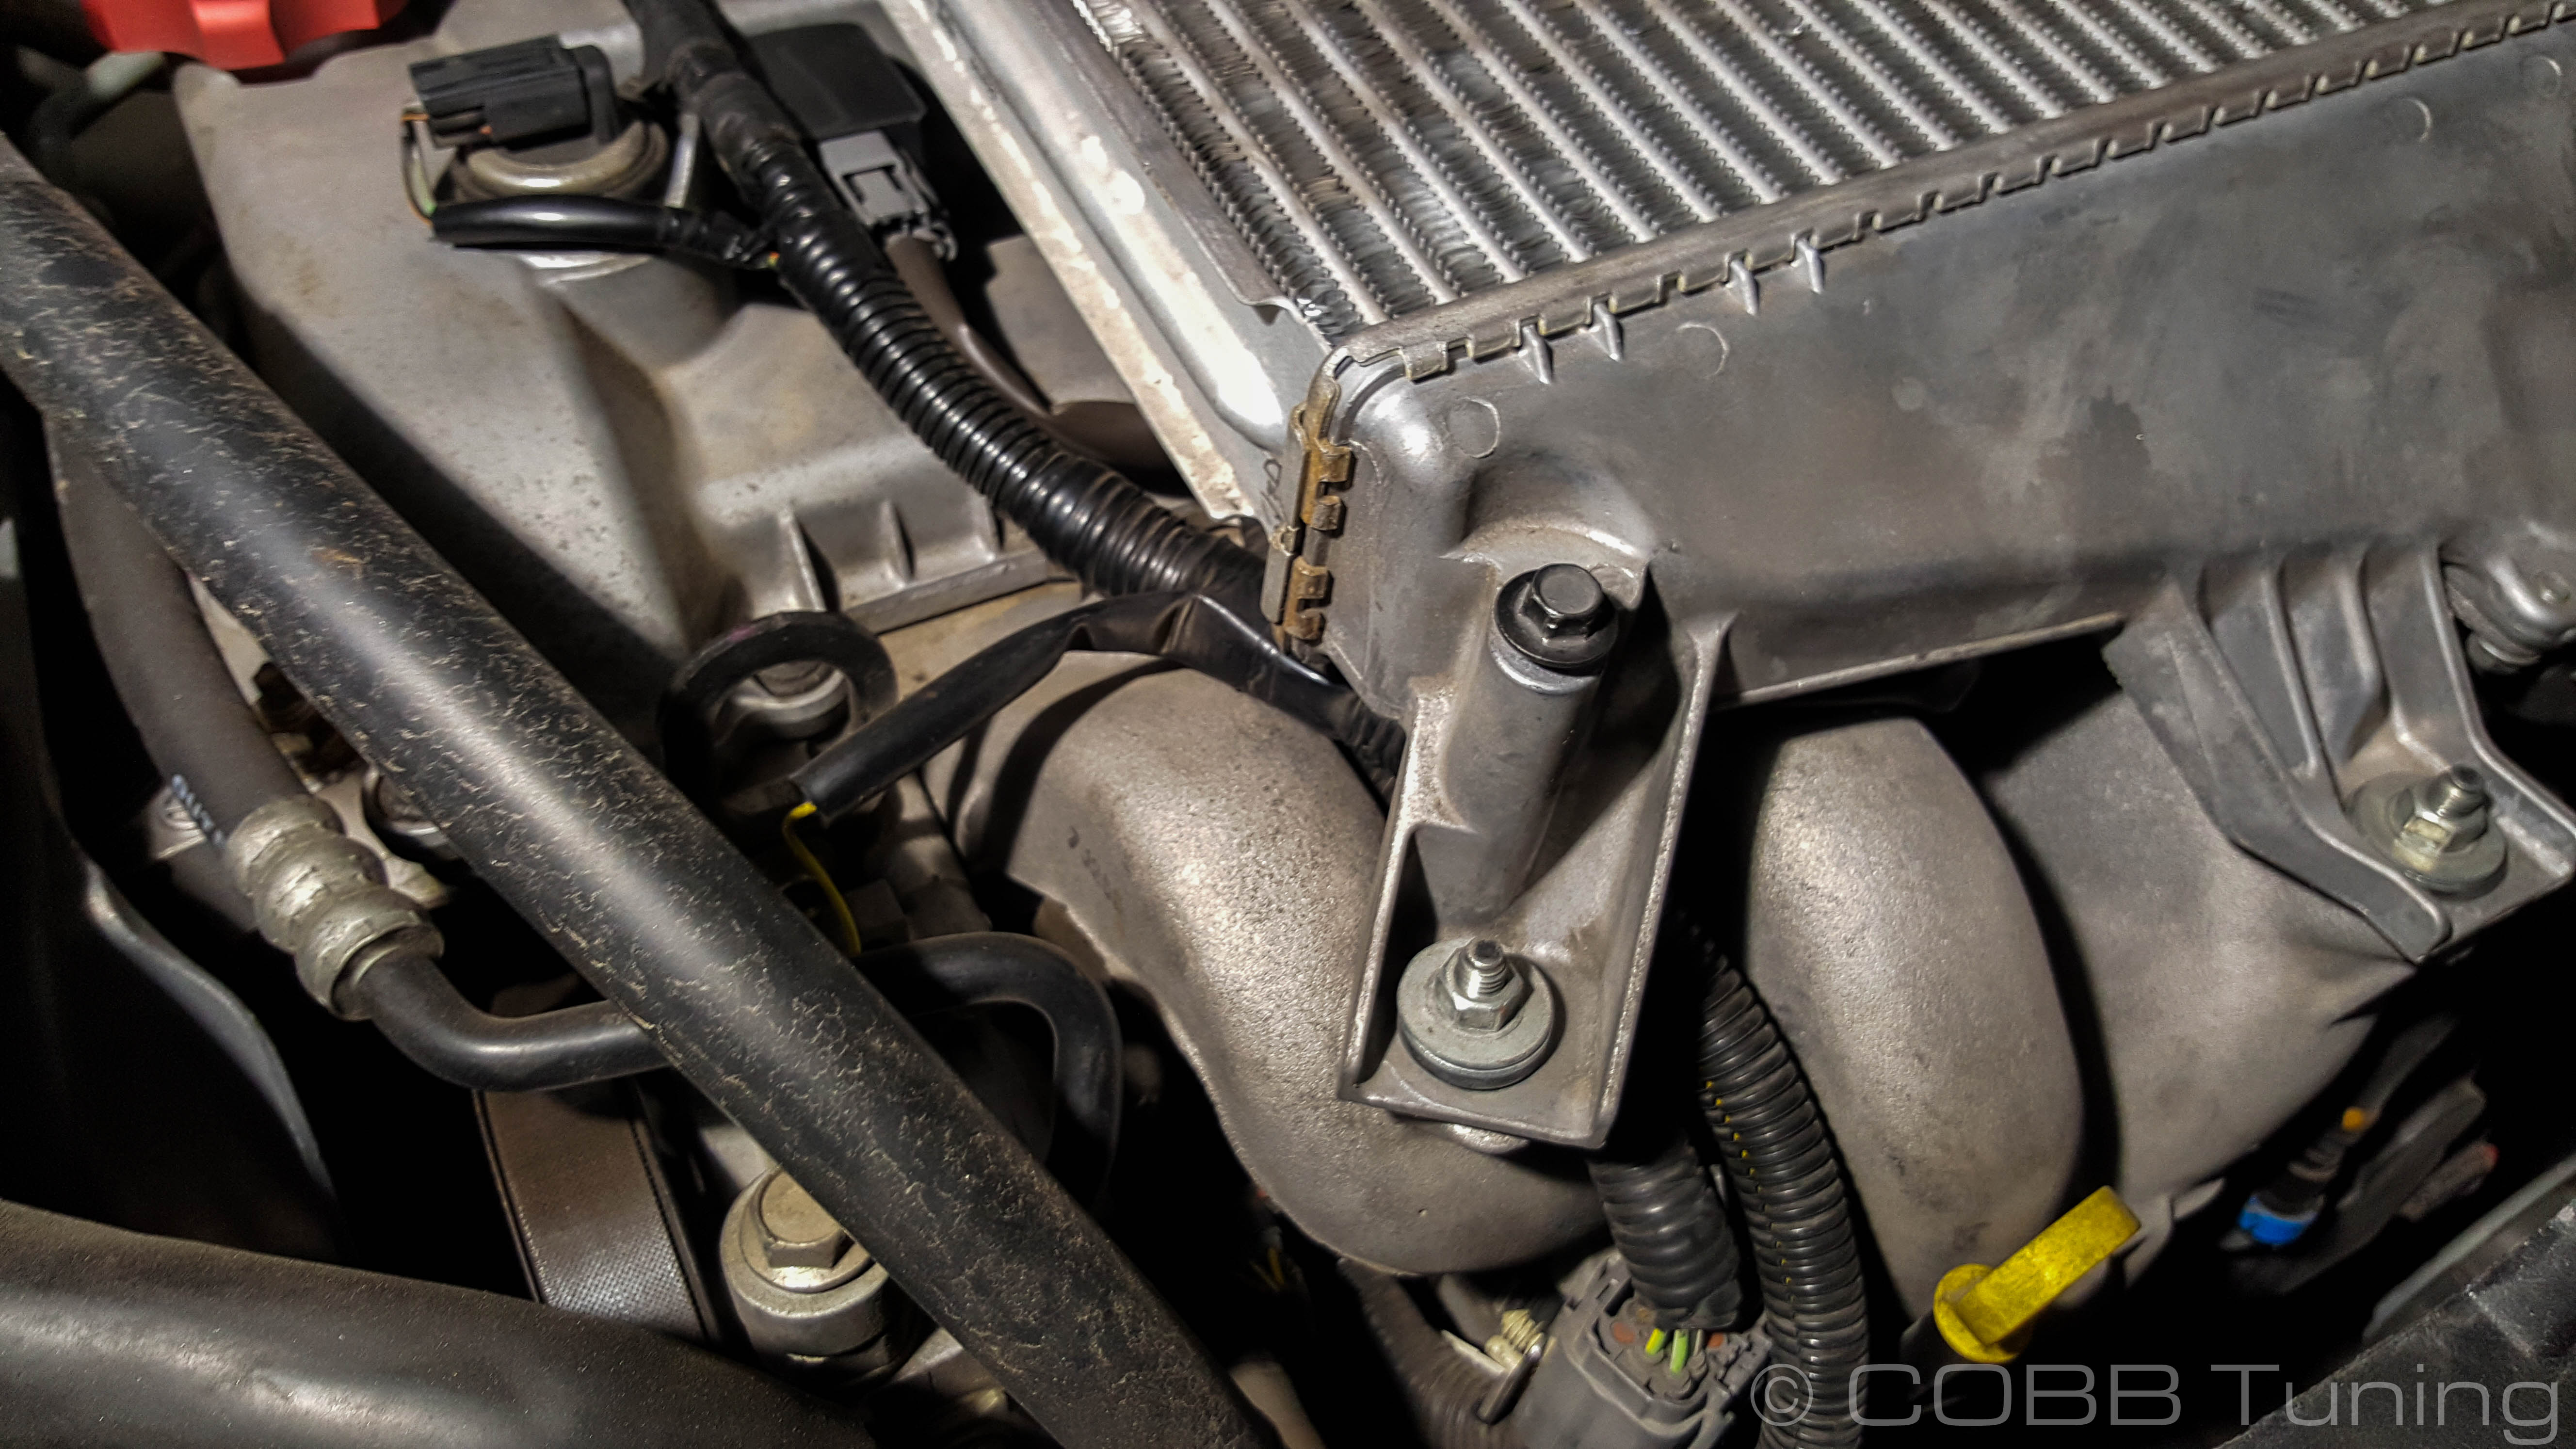

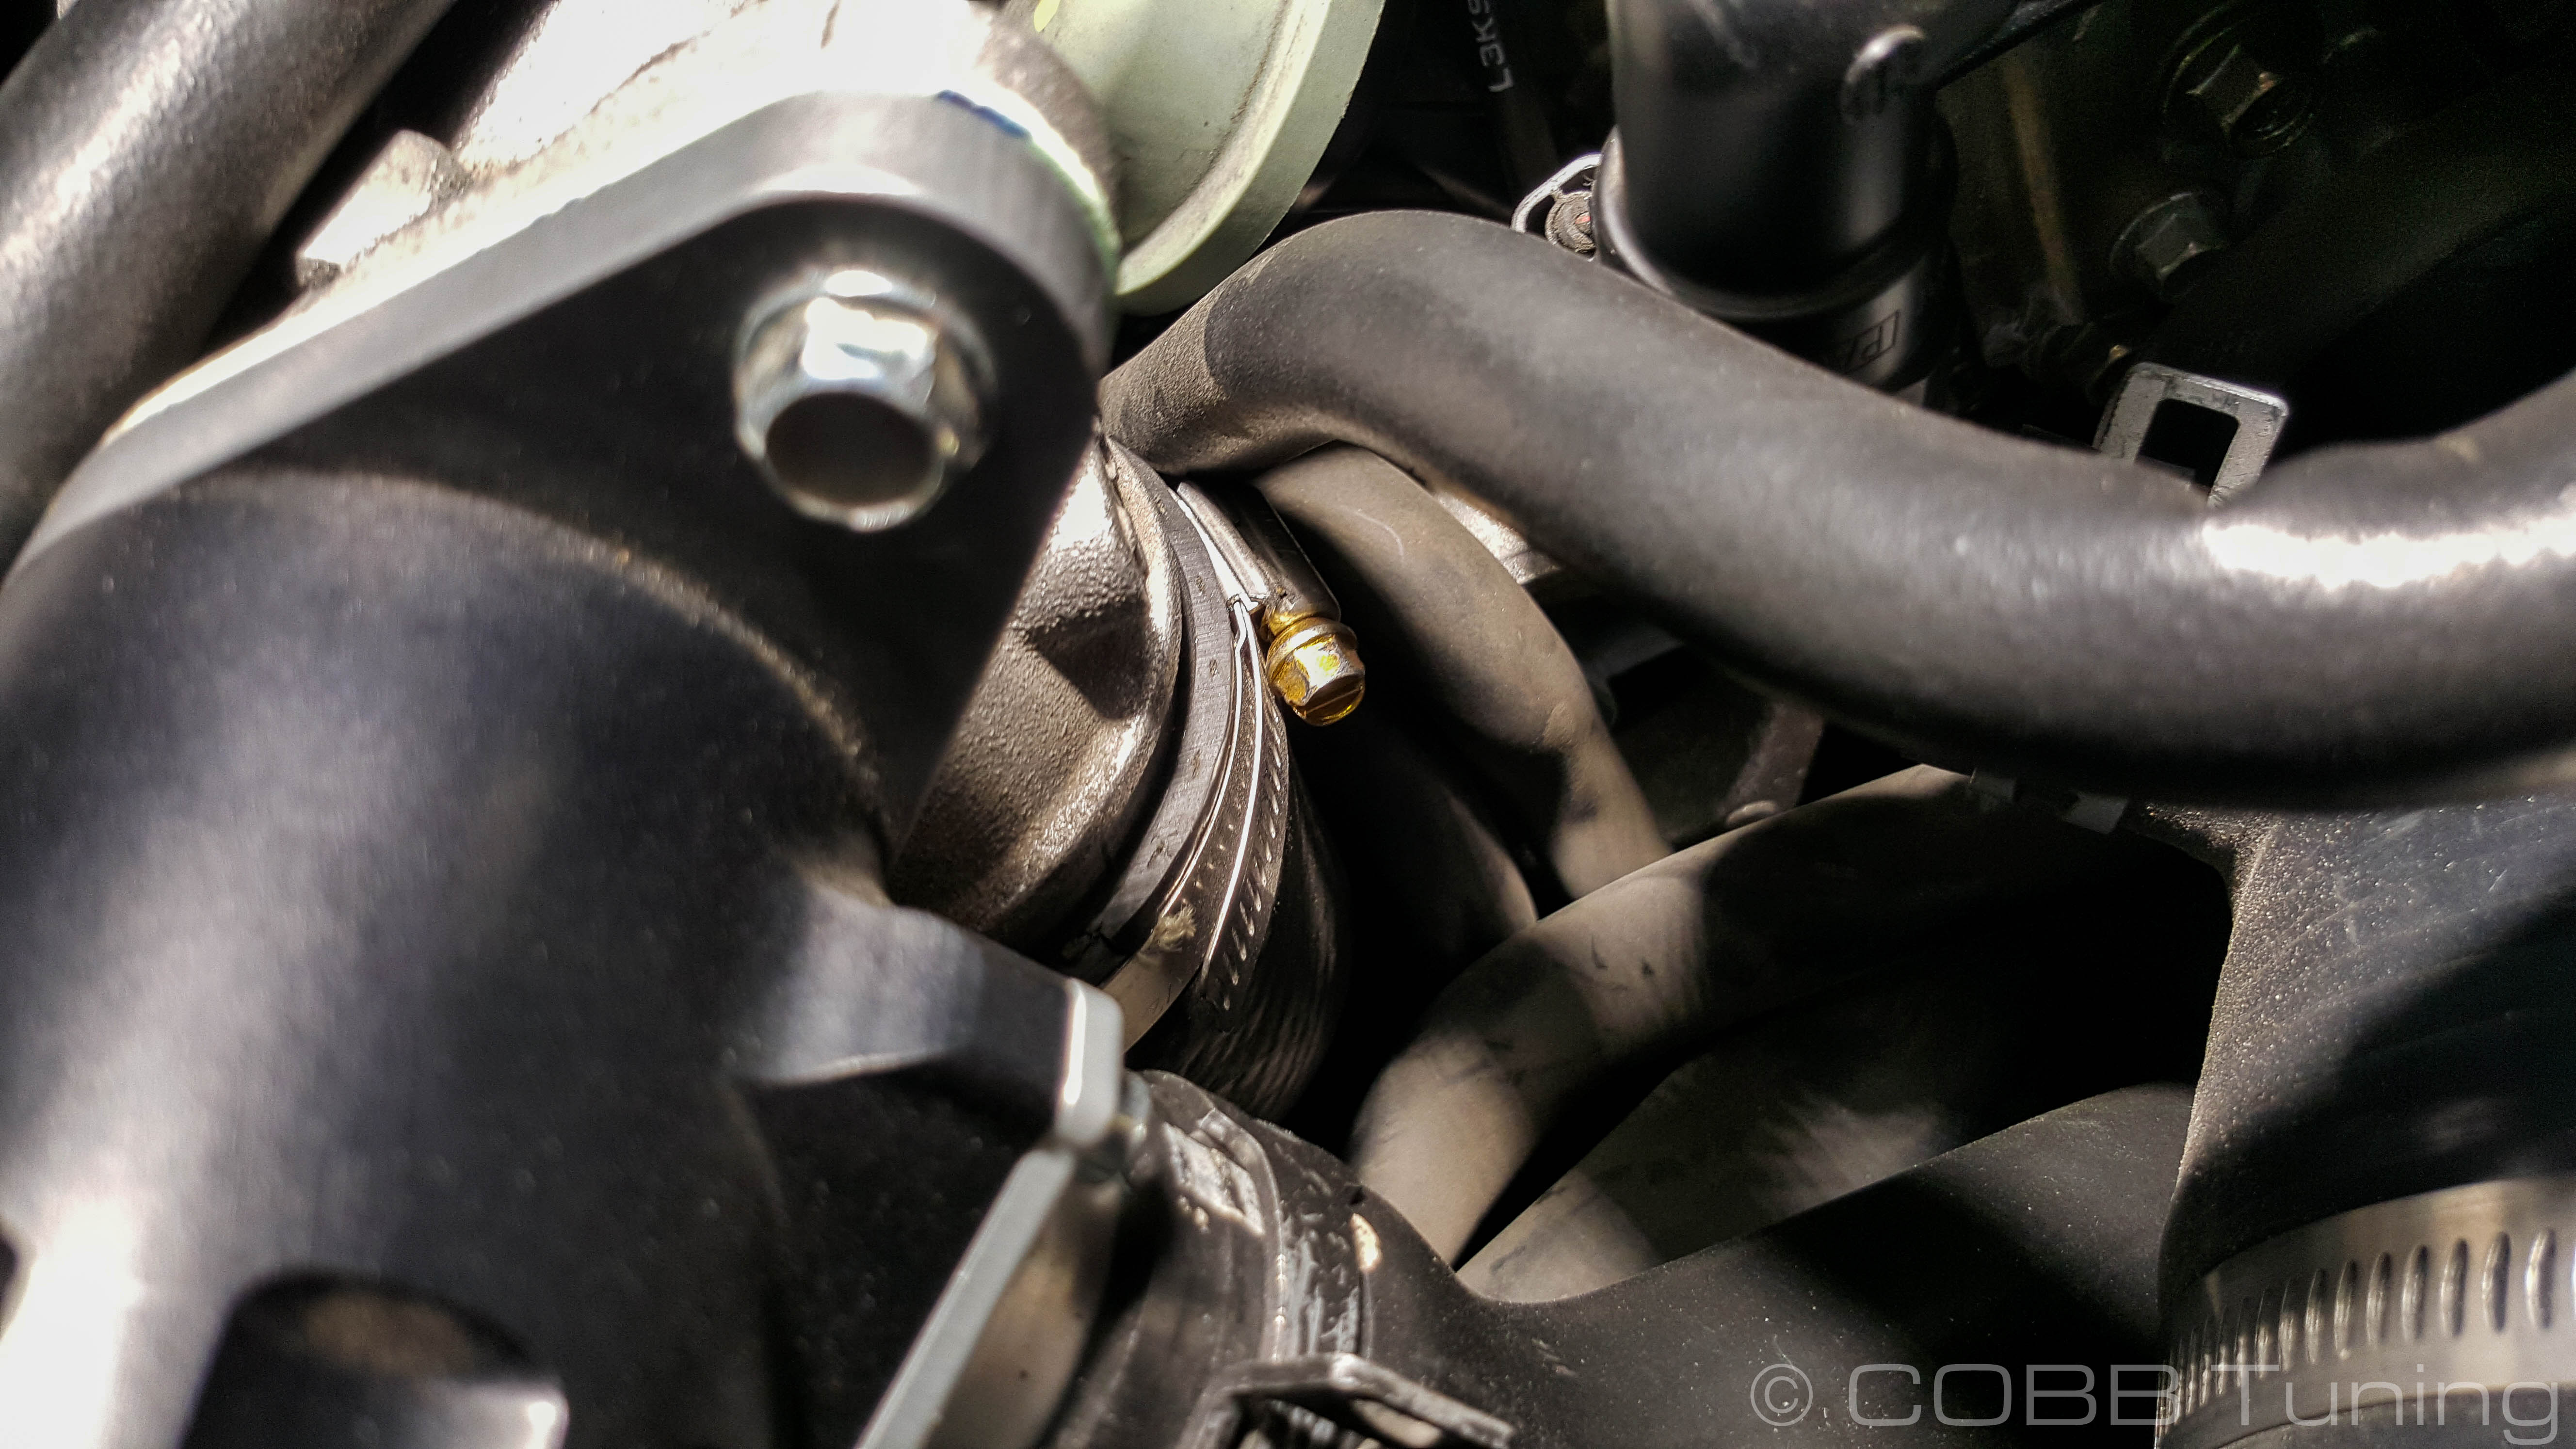
- Now remove the spring clamps holding the two hoses on to the BPV using your pliers.

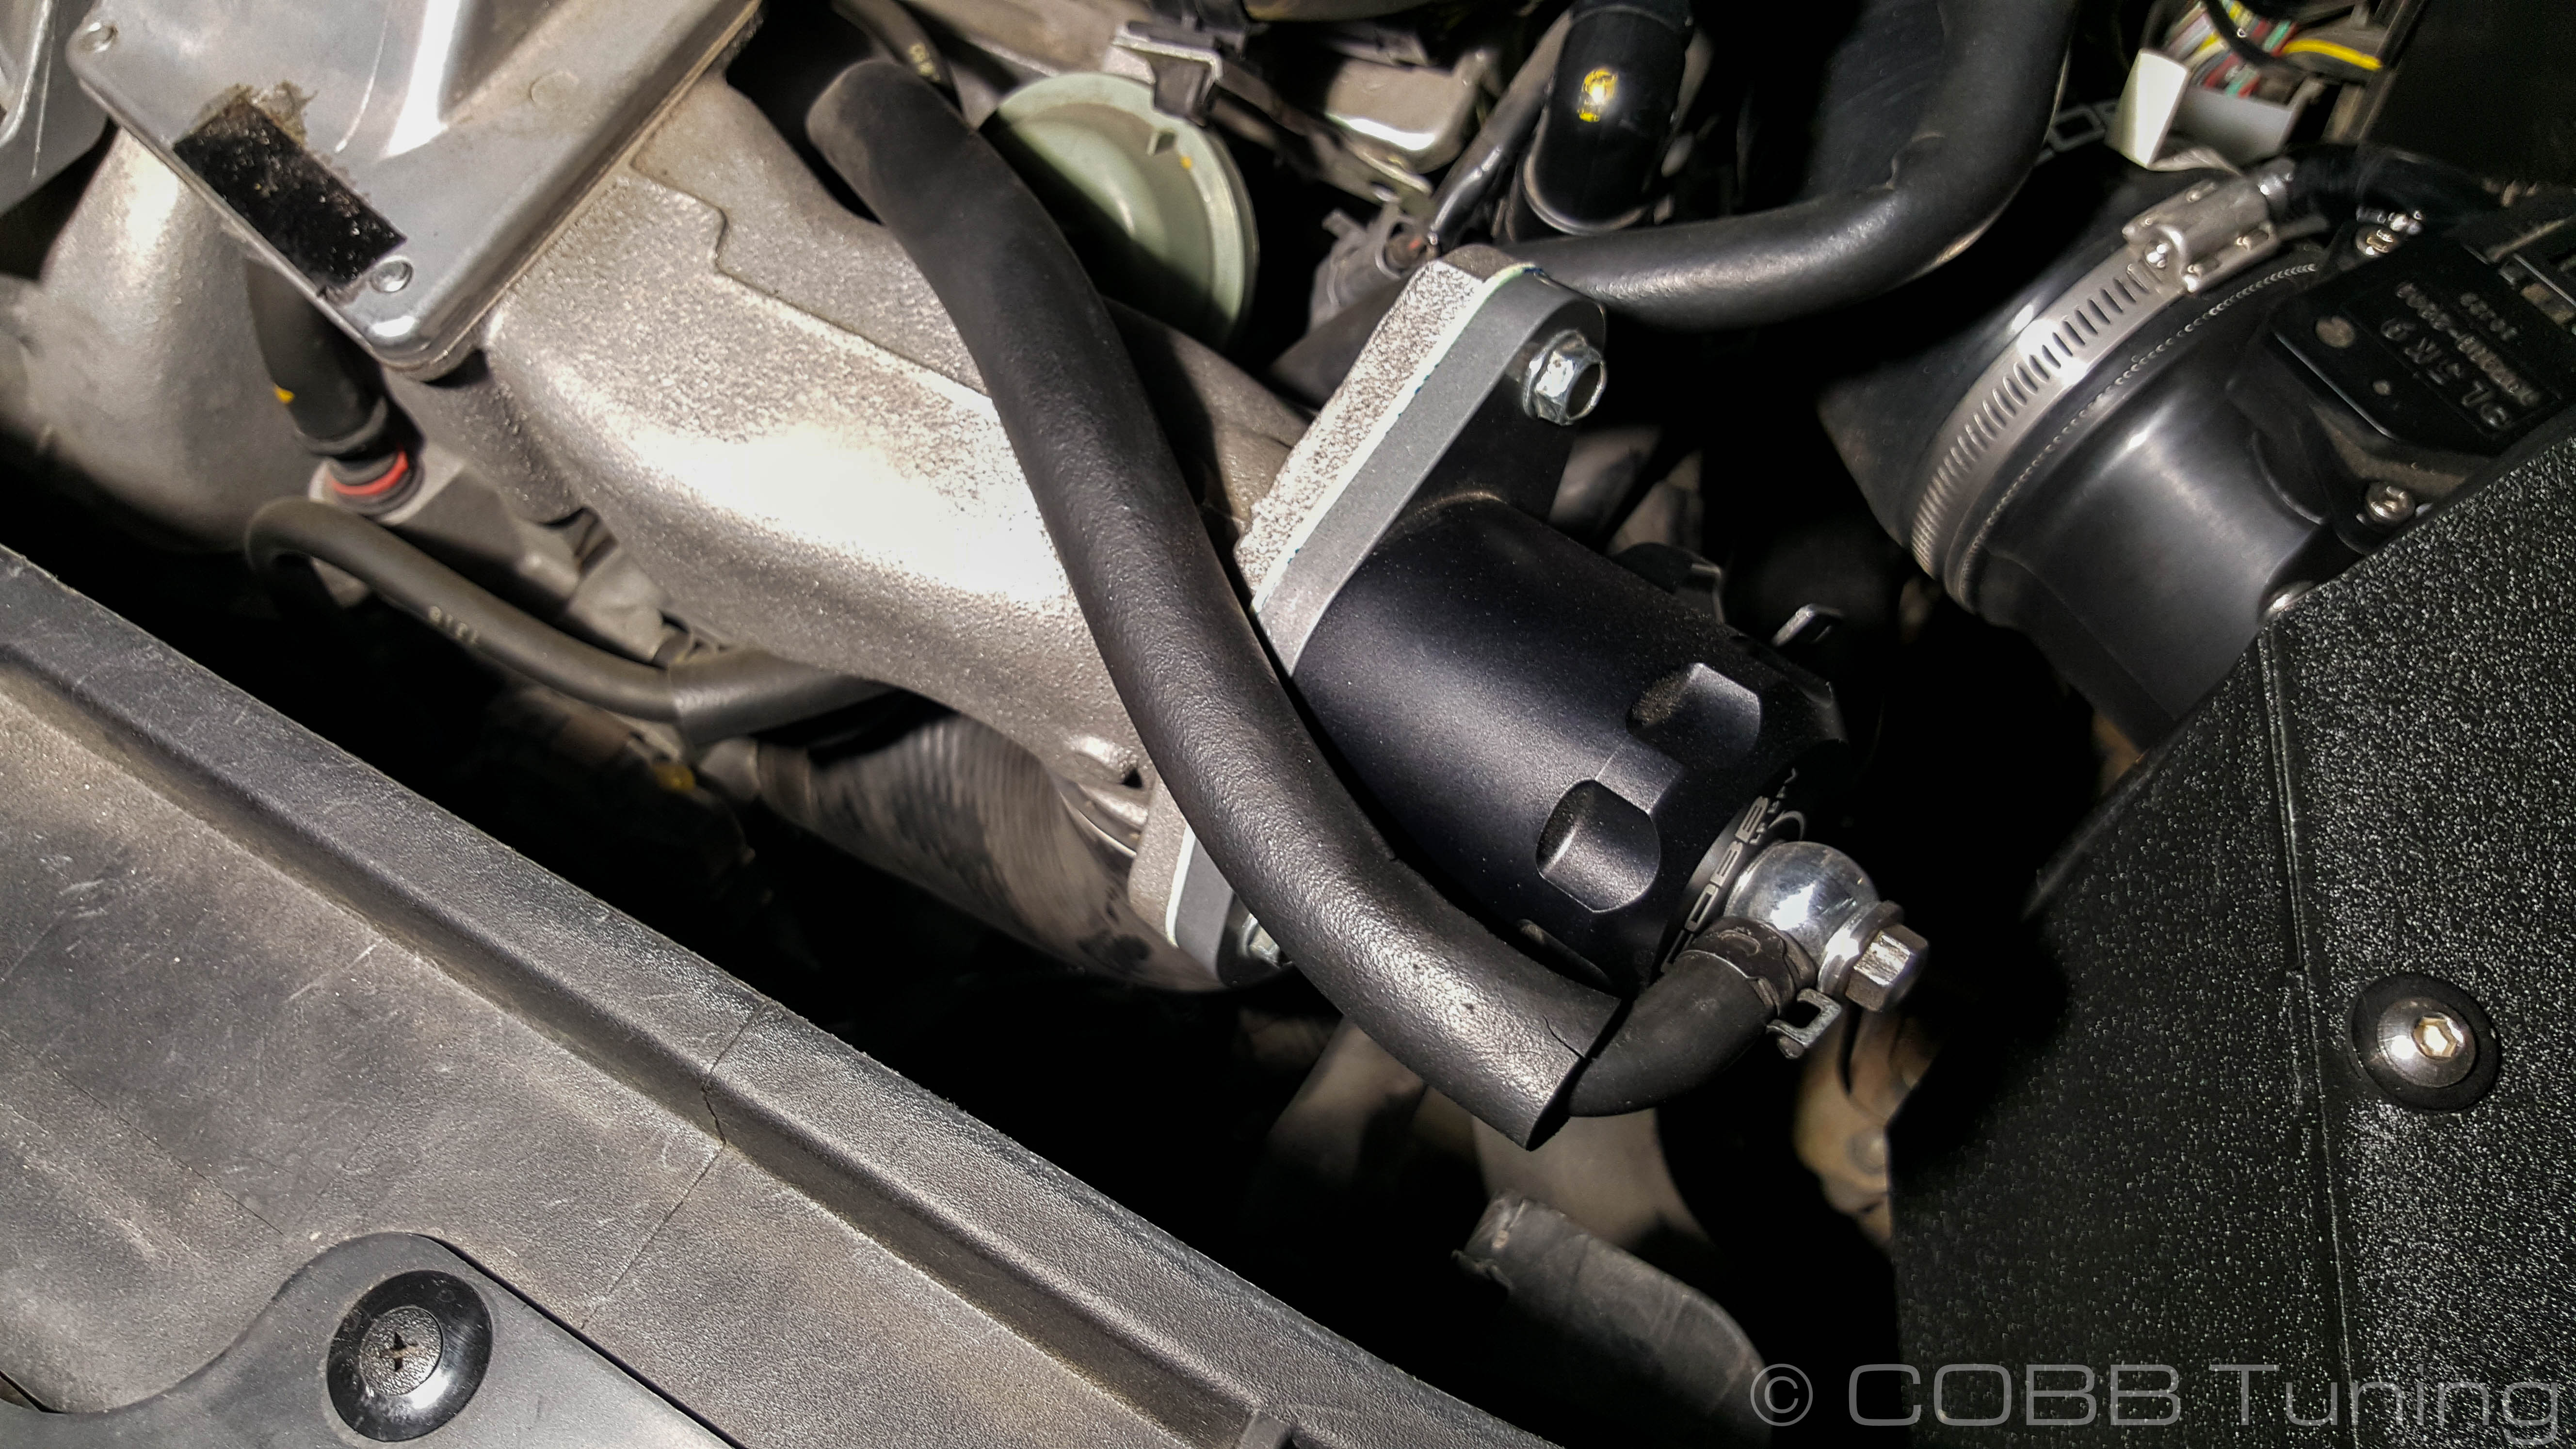
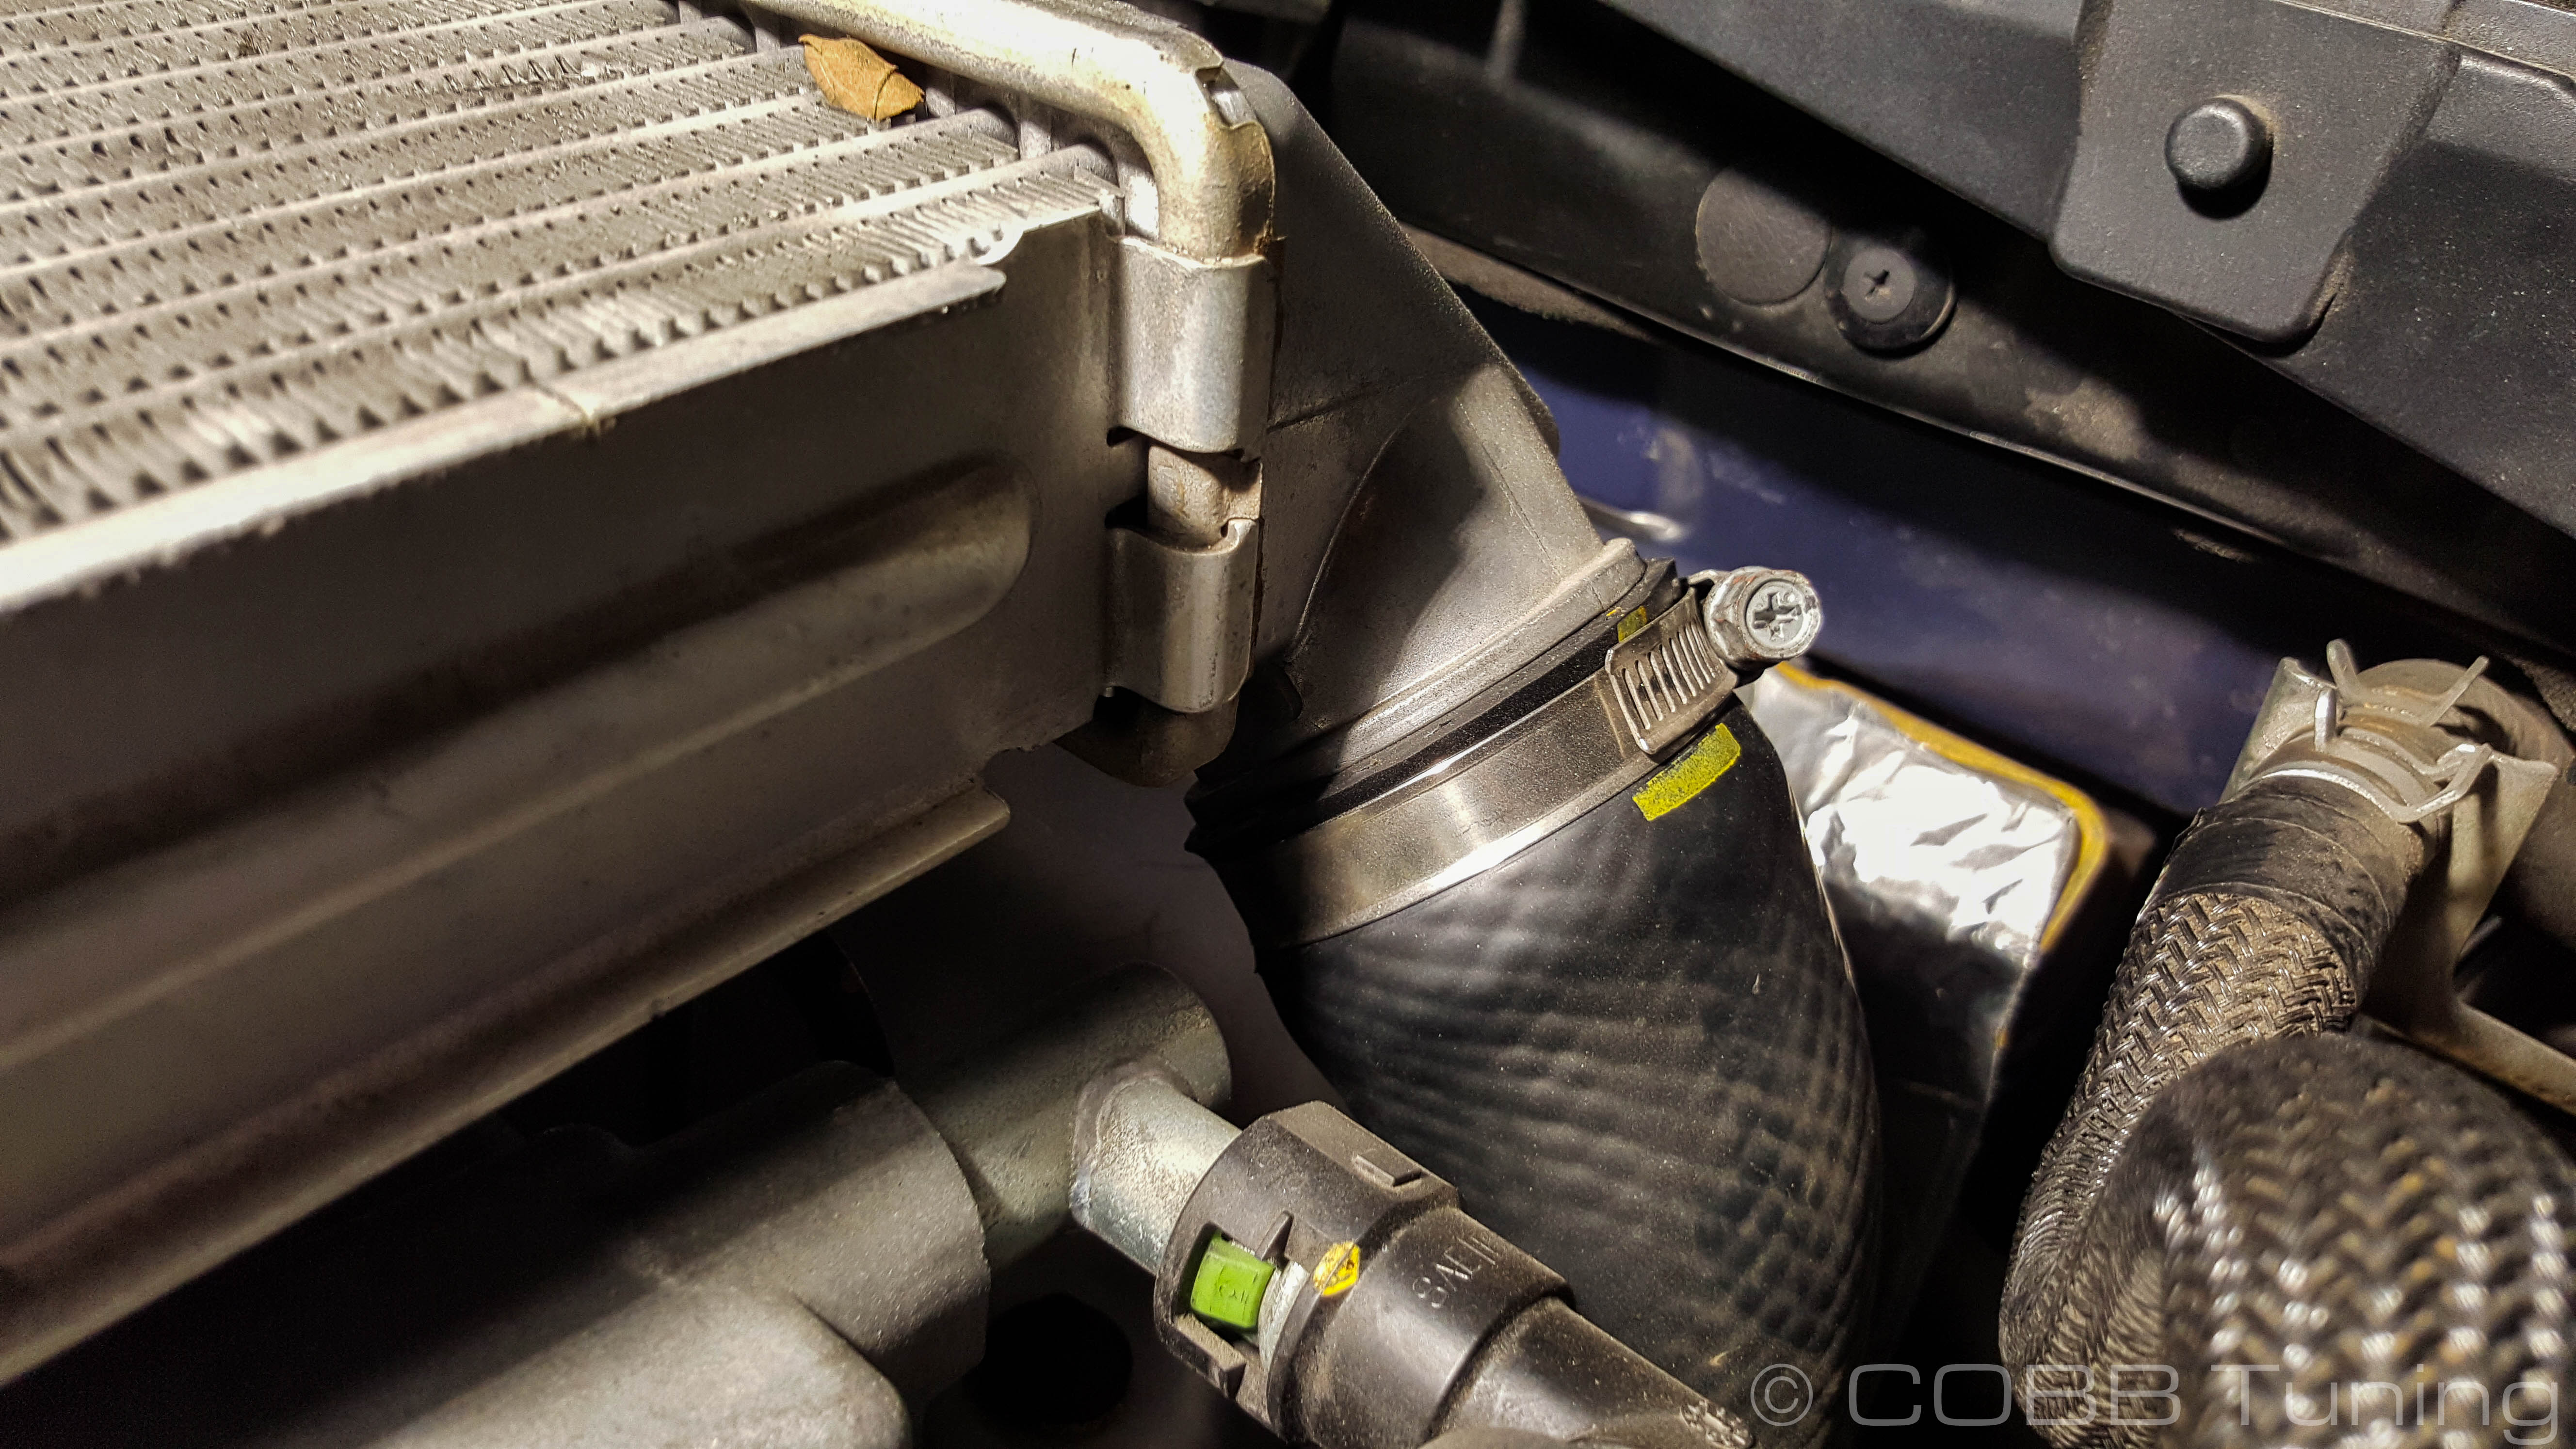
- Finally, undo the hose clamps from the turbo and throttle body couplers.


- Lift the top mount free from the car and set it somewhere safe. Be careful as there are metal inserts in the rubber grommets for the intercooler mounting bolts, make sure they don't pop out and end up somewhere inconvenient.


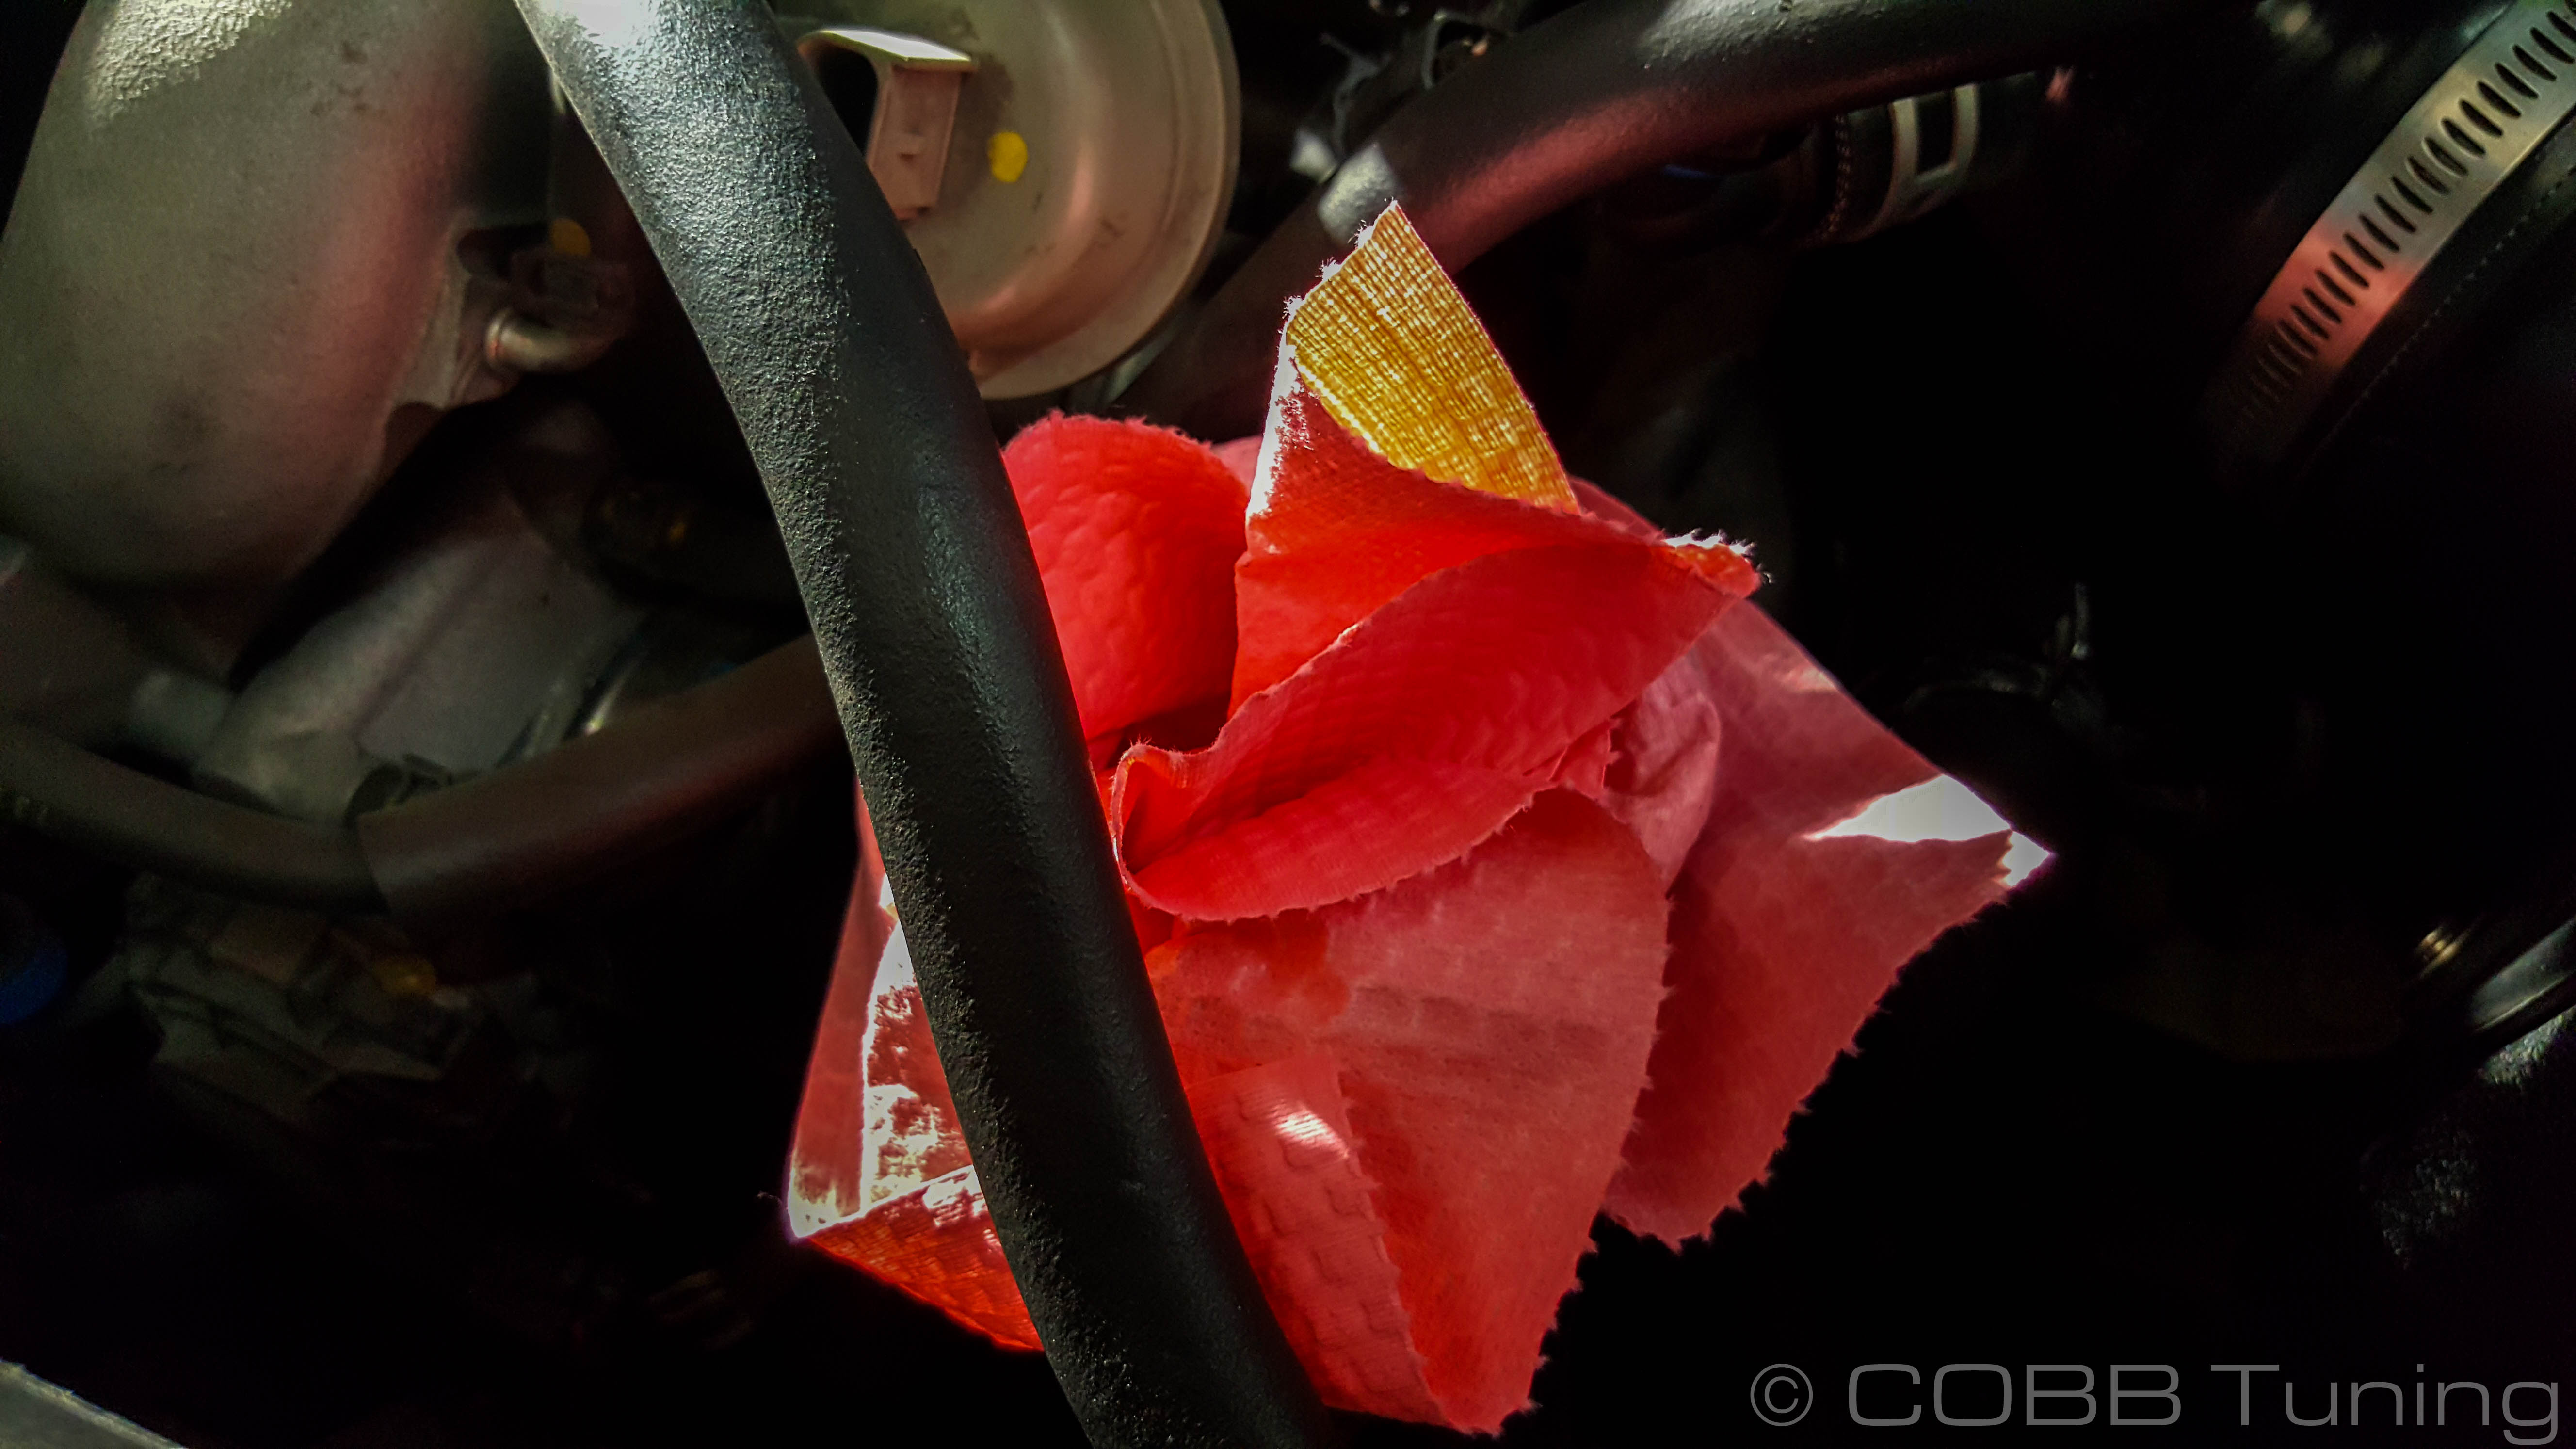
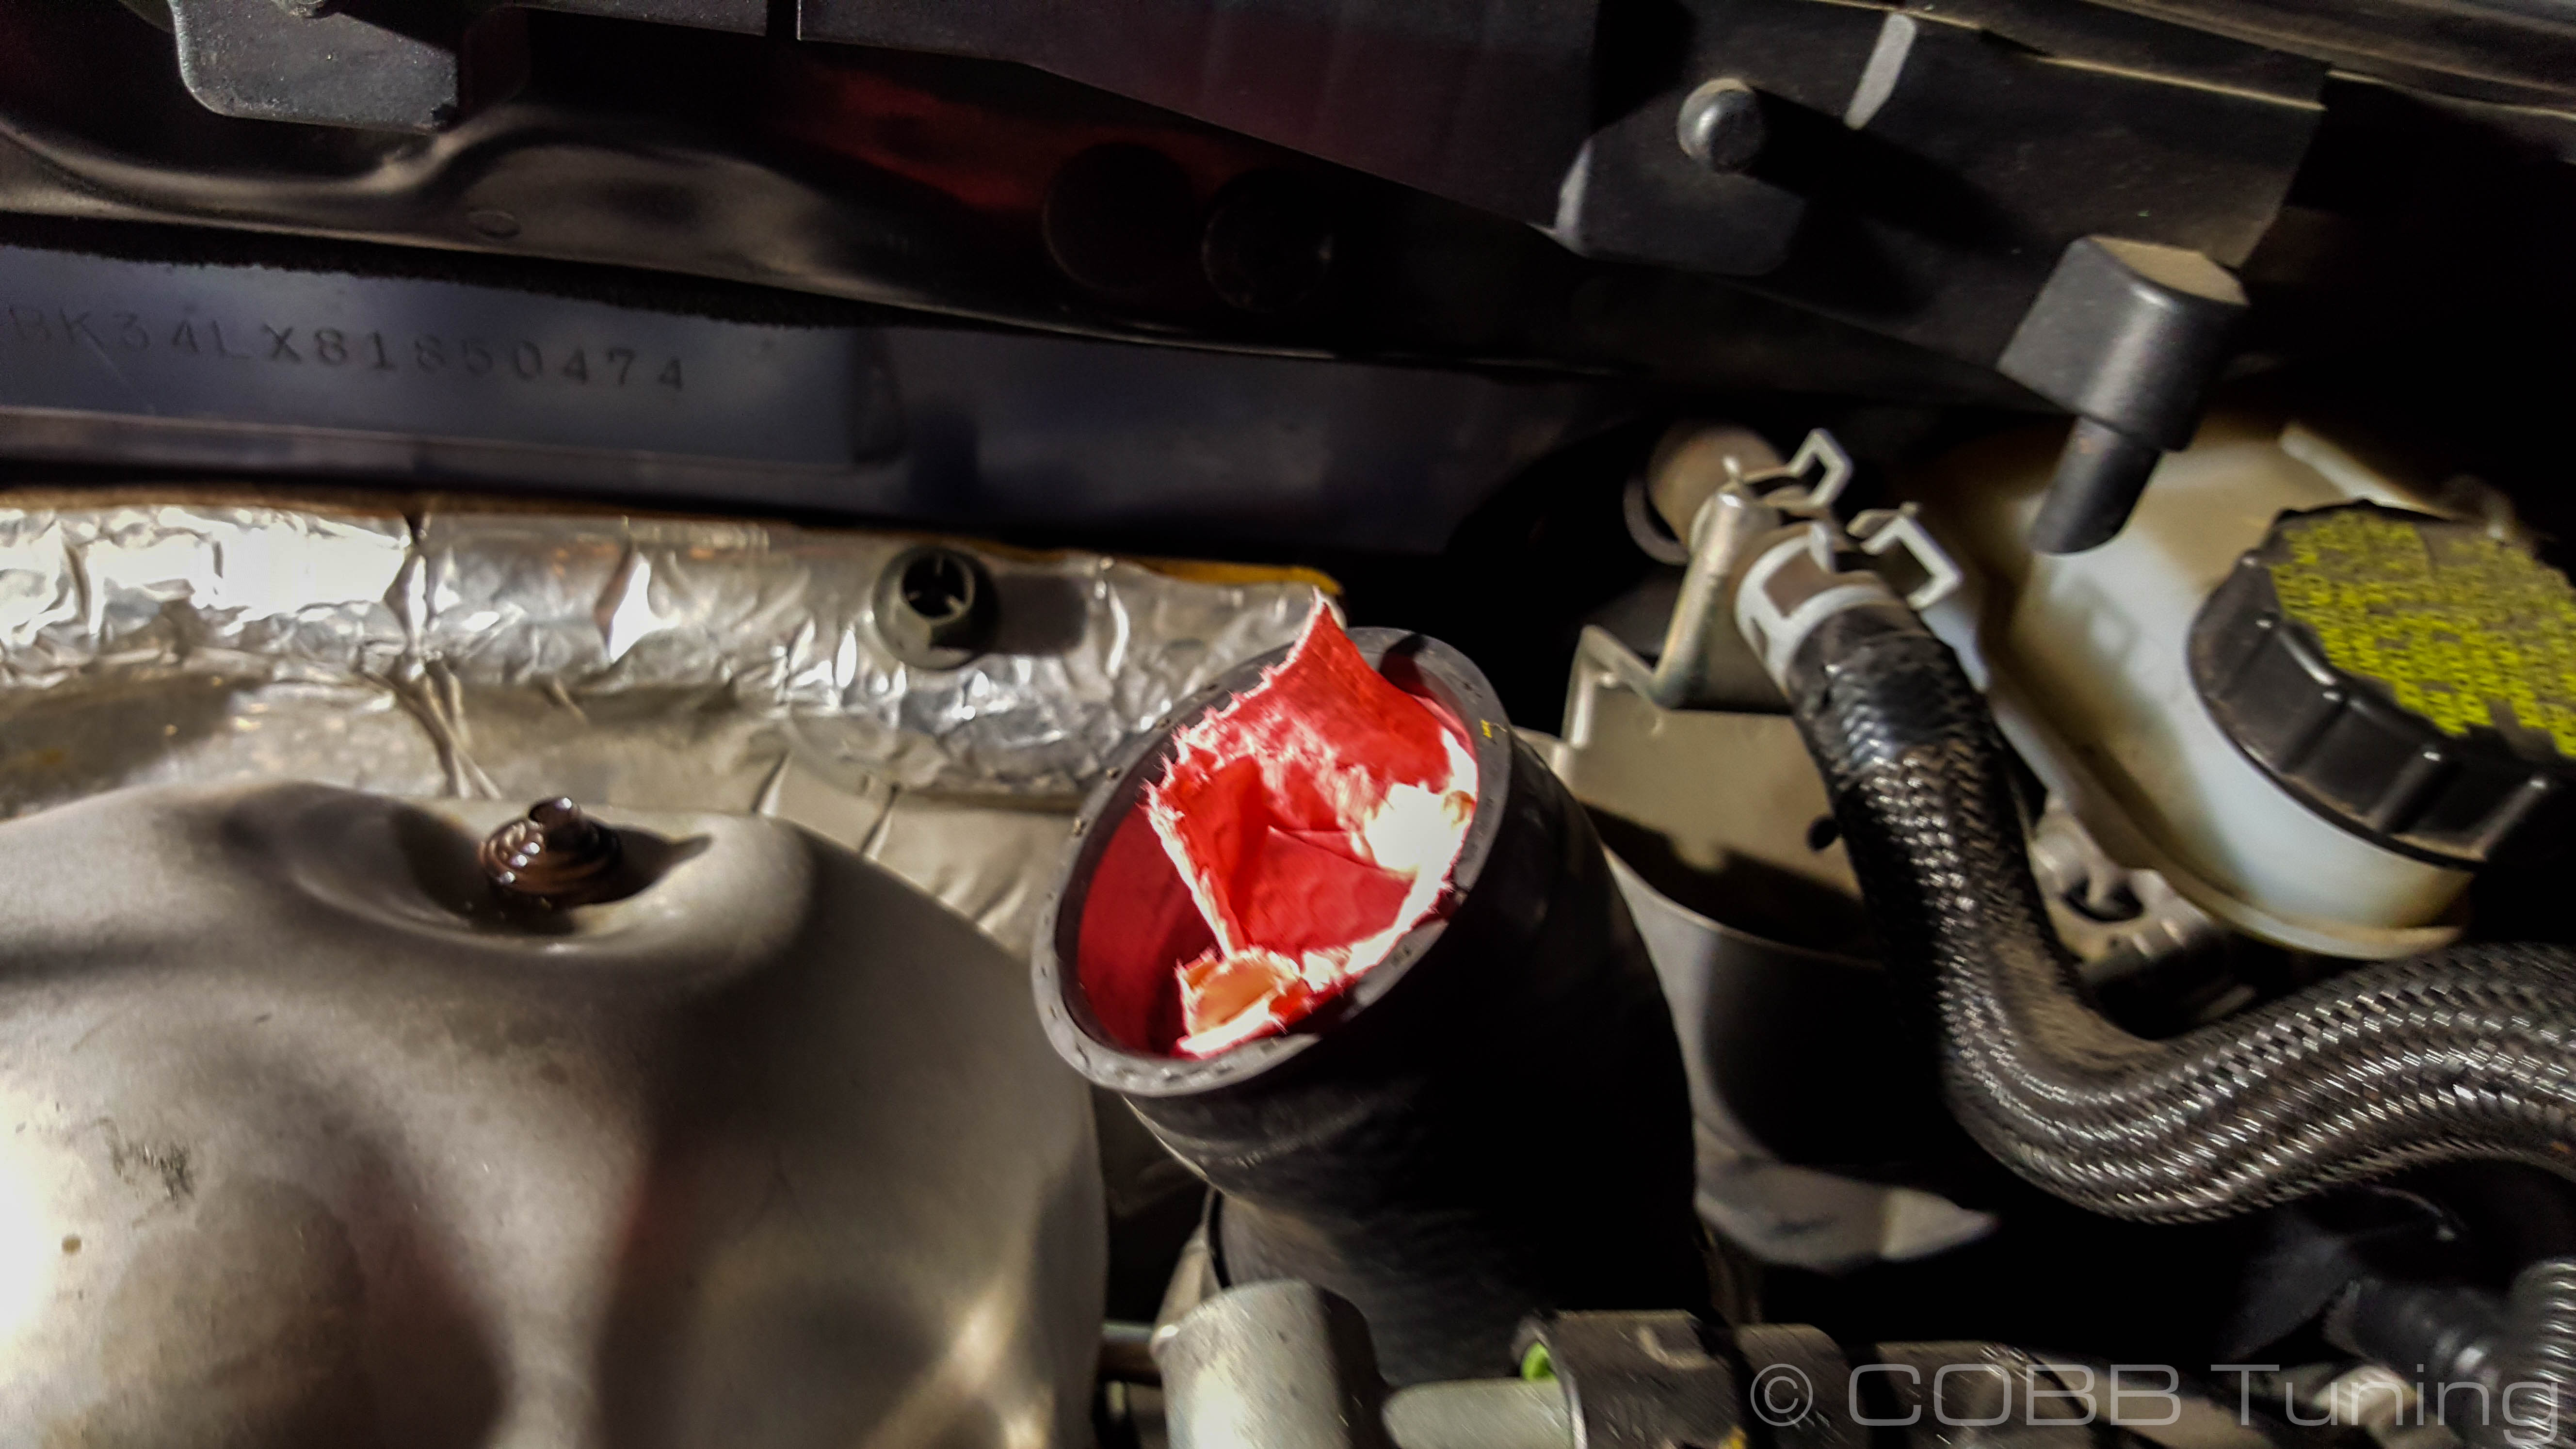
- Stuff something into the tubes to avoid dropping something into your turbo or engine.


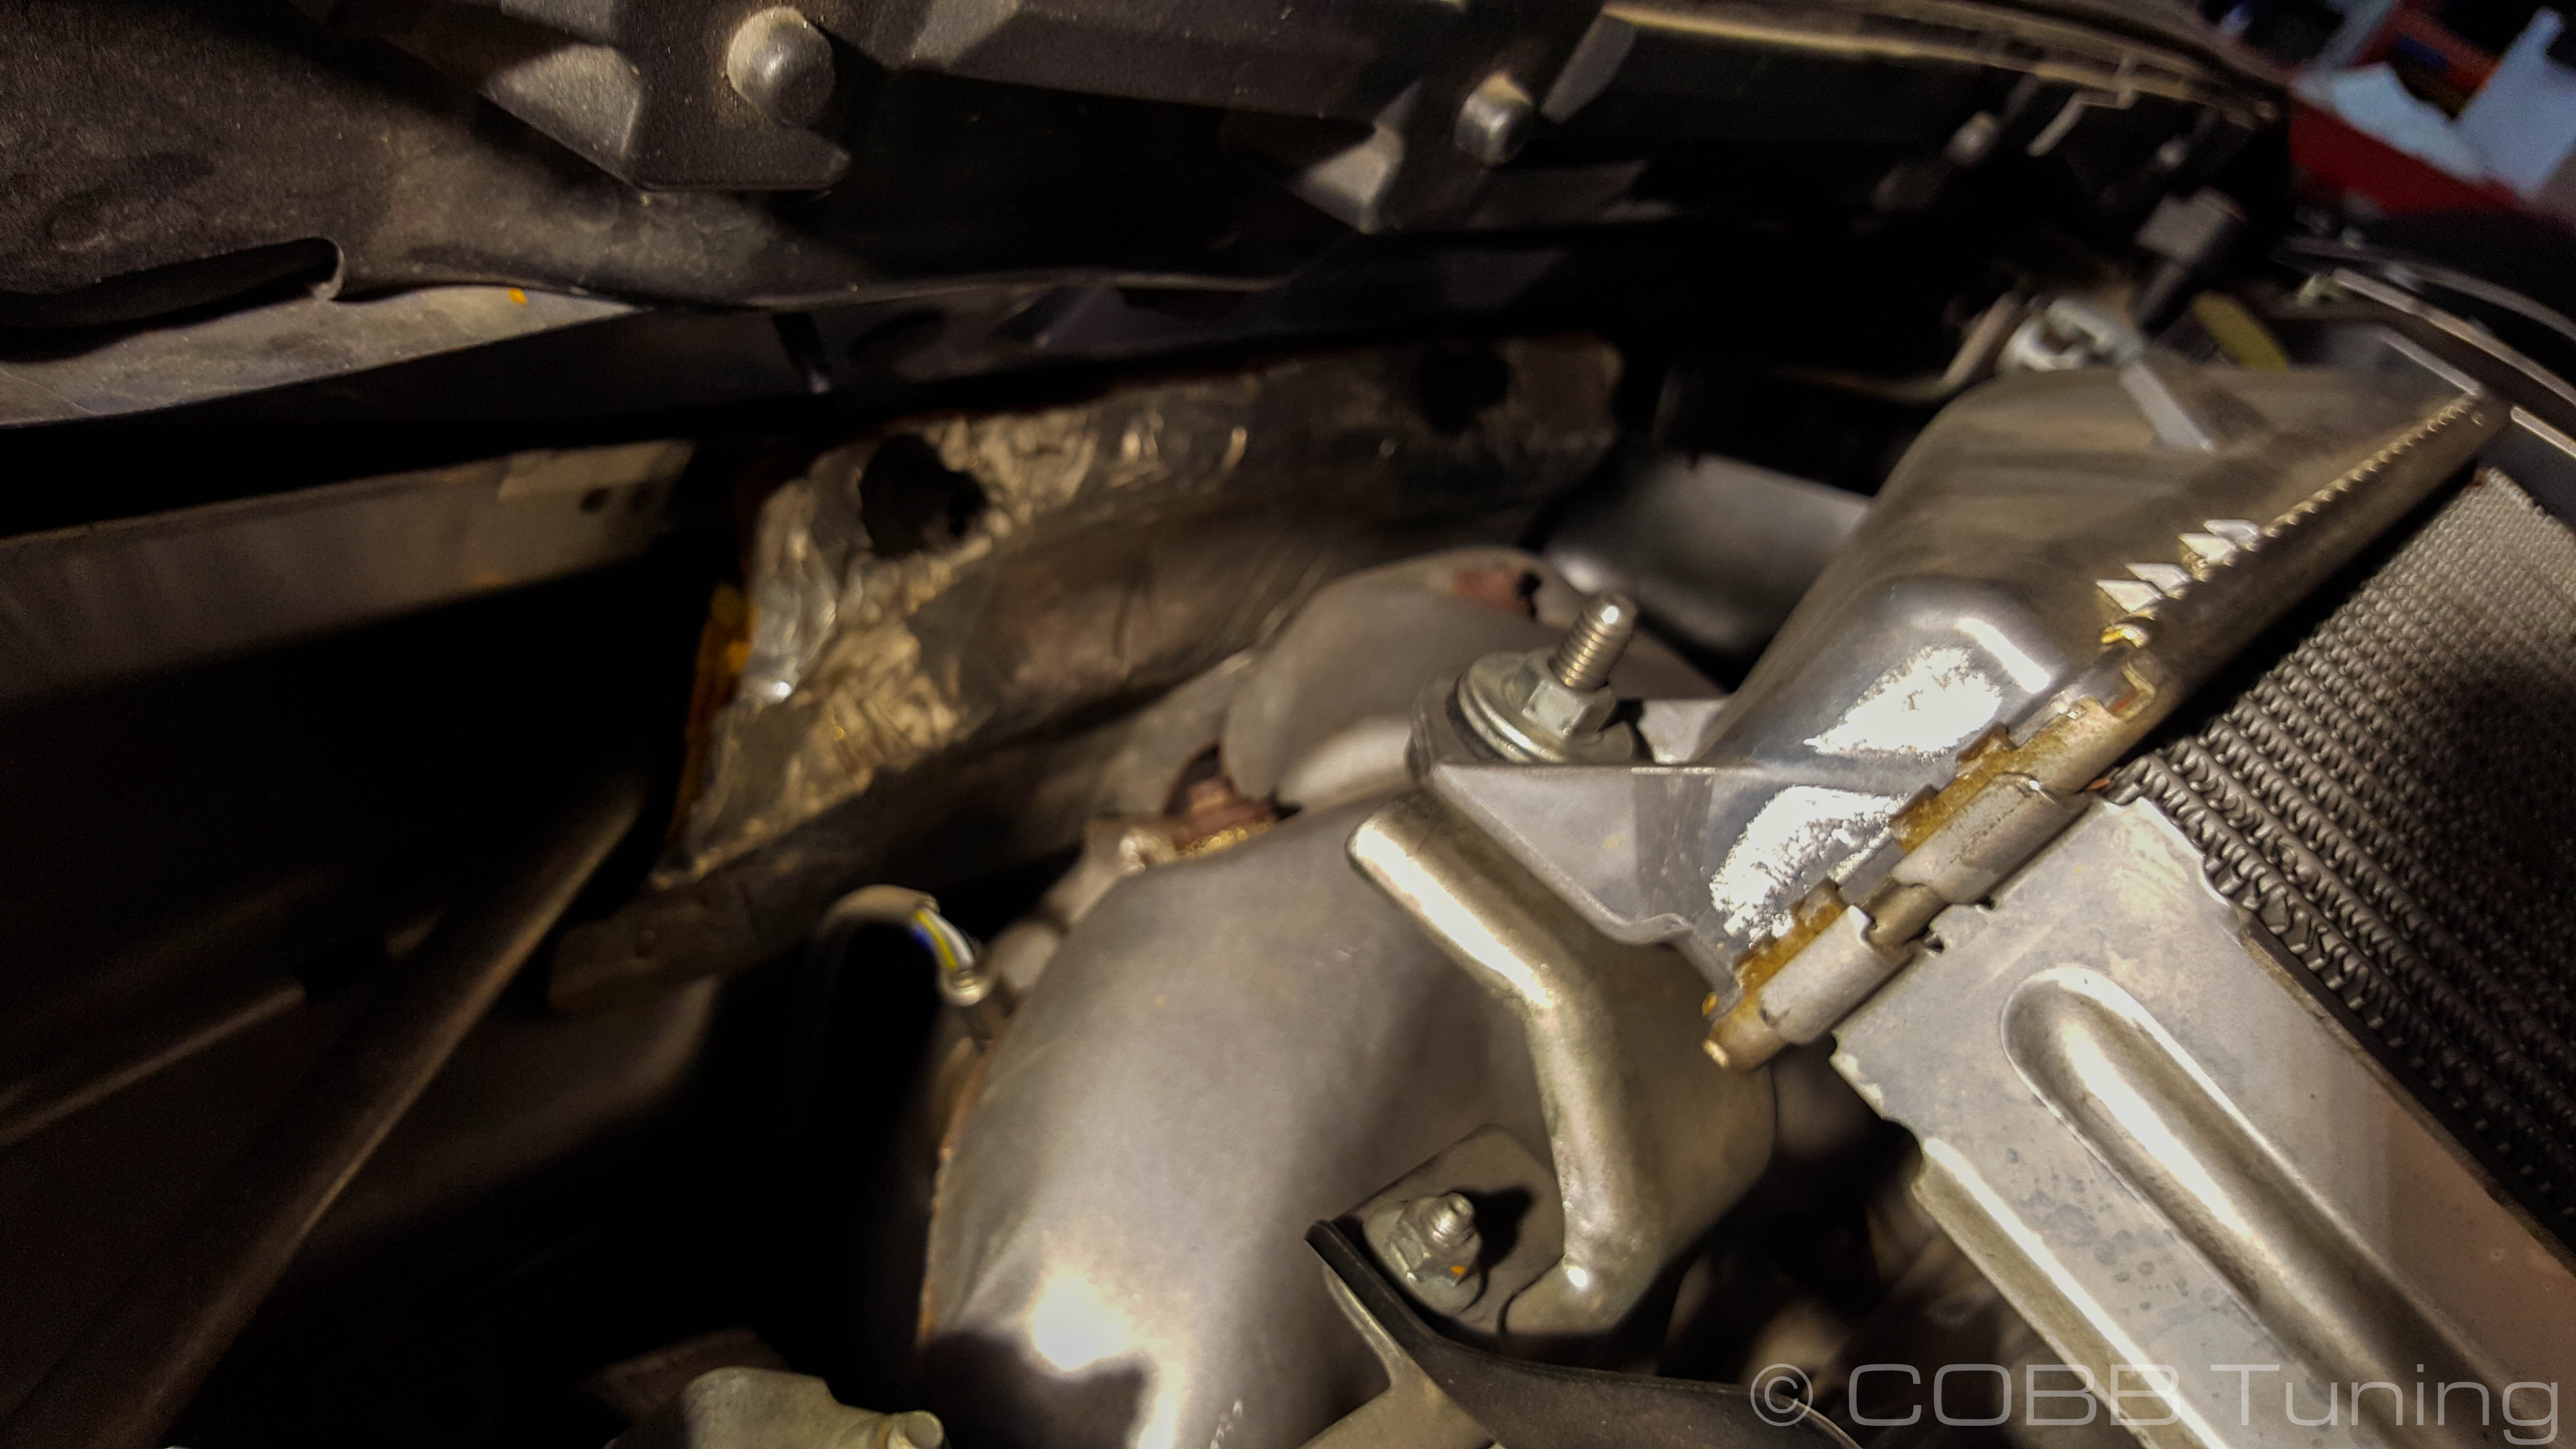
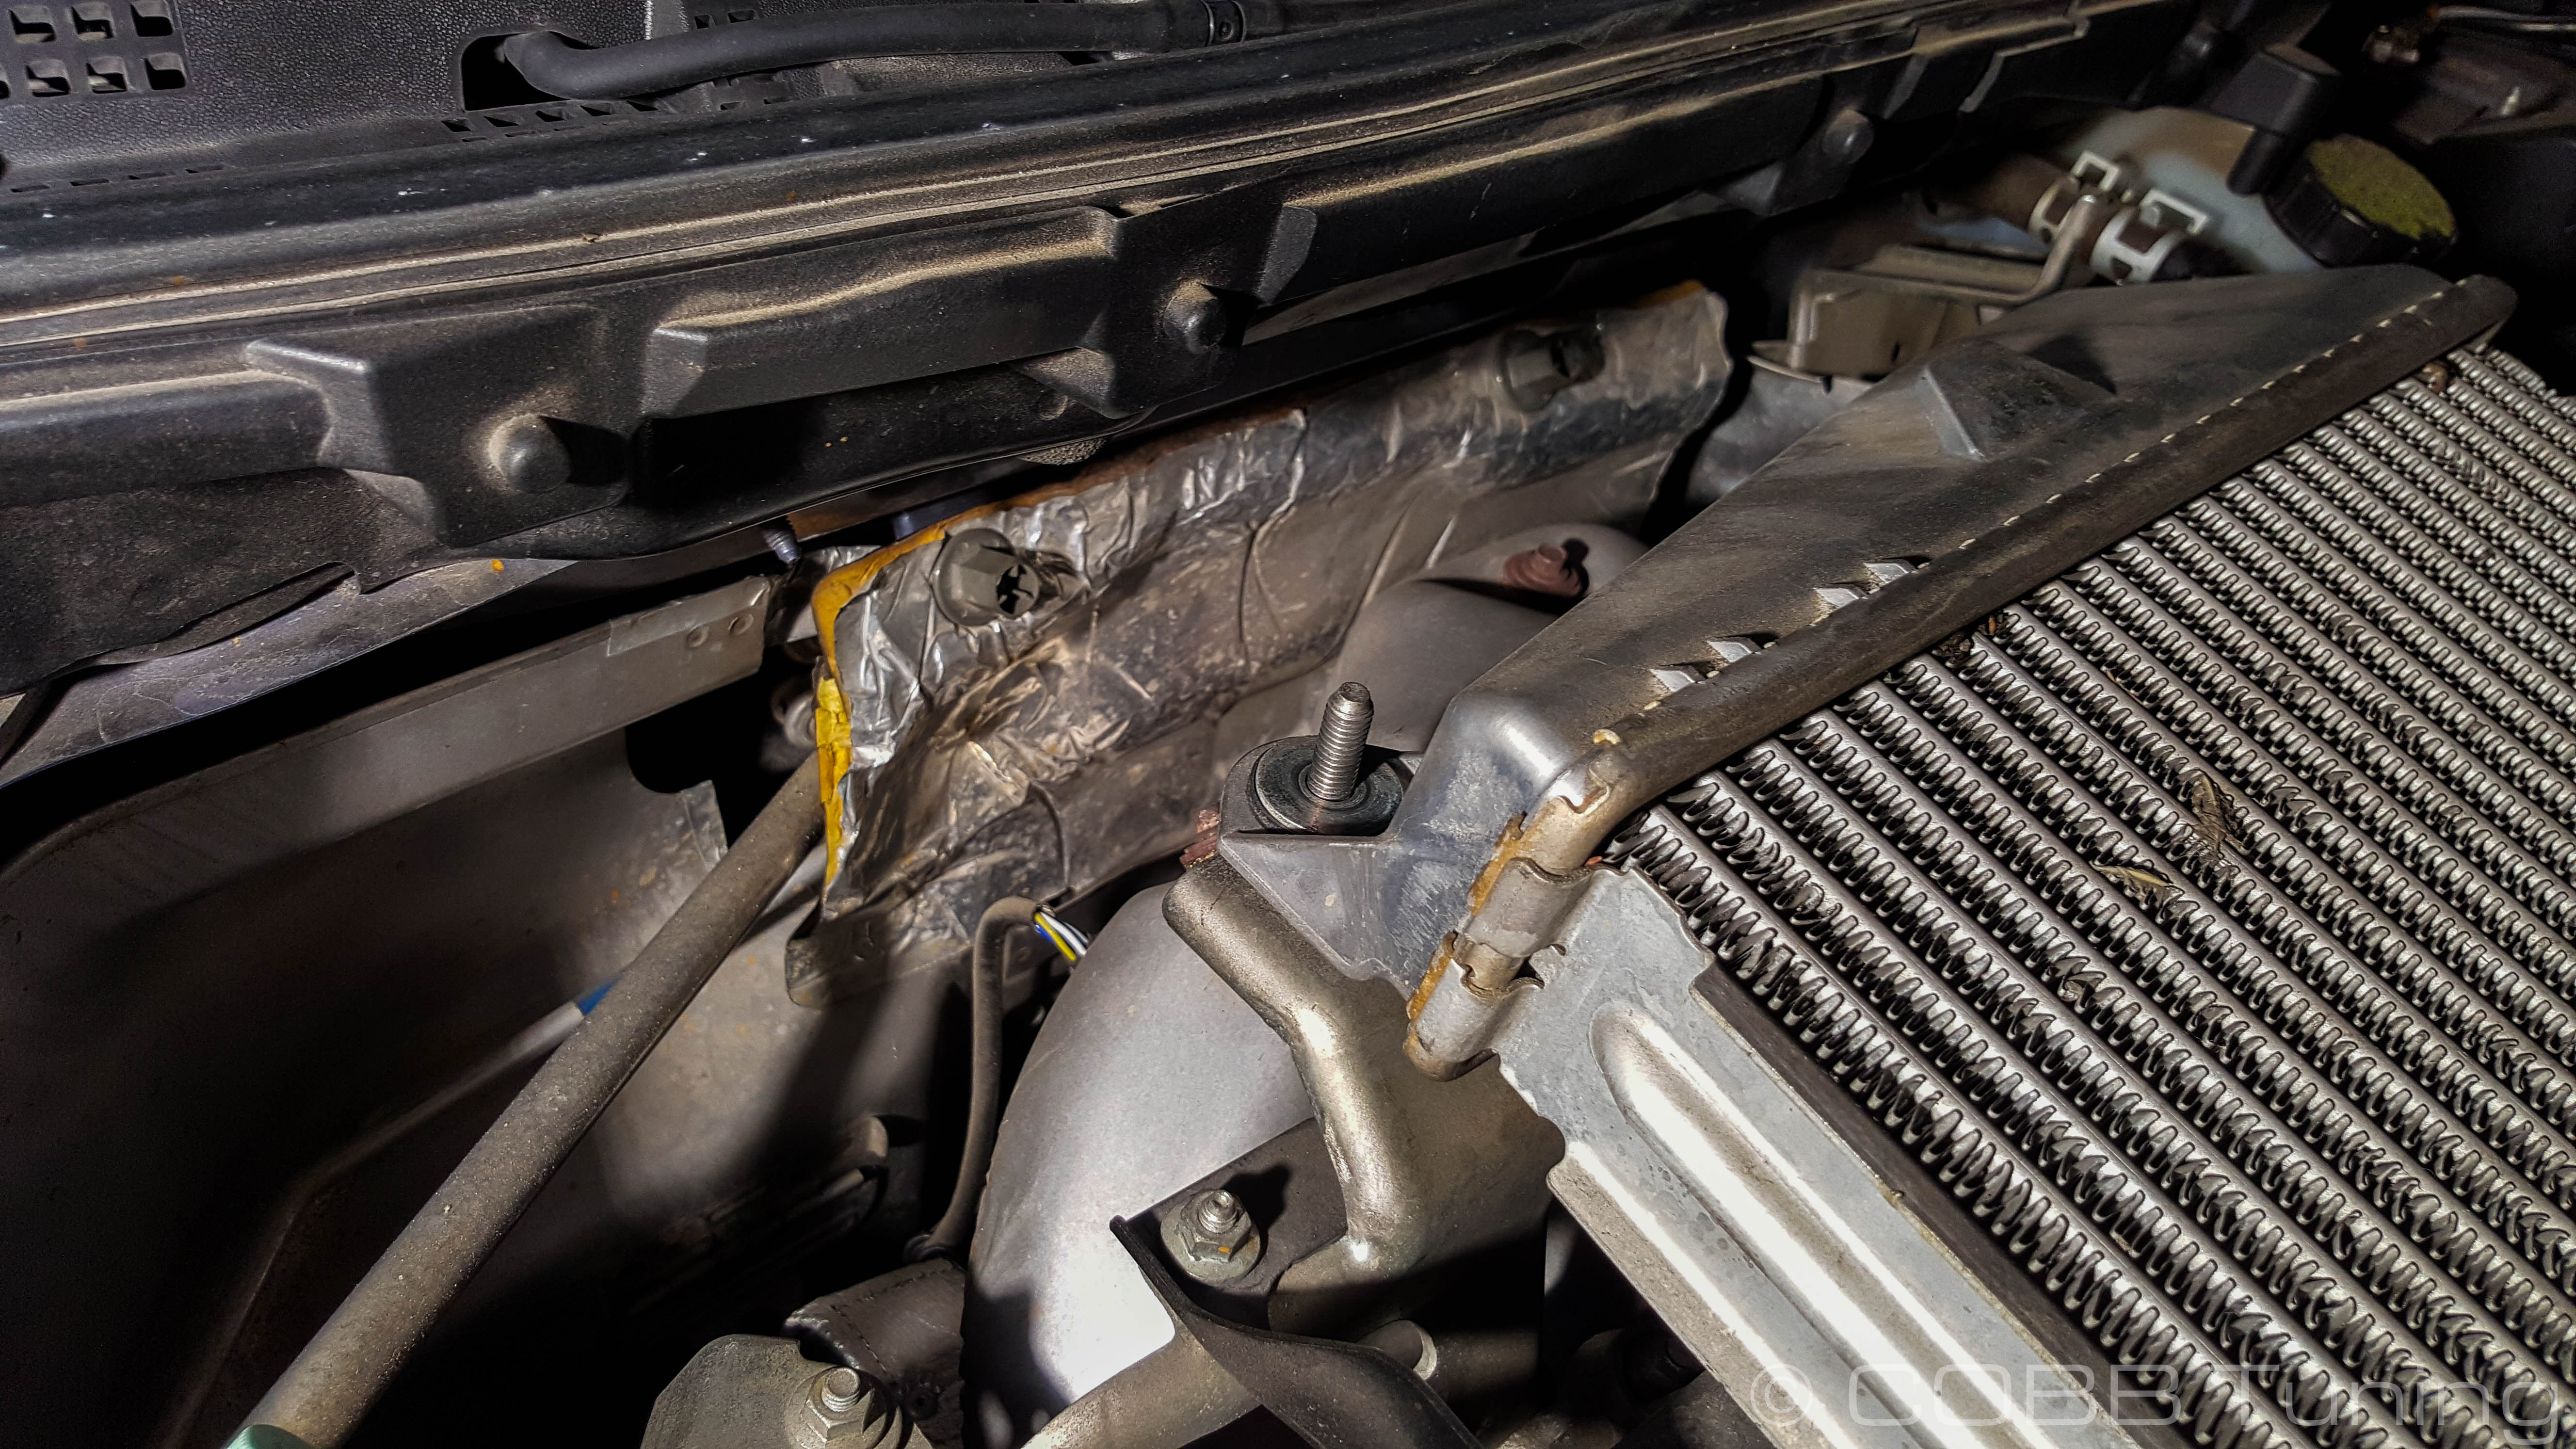
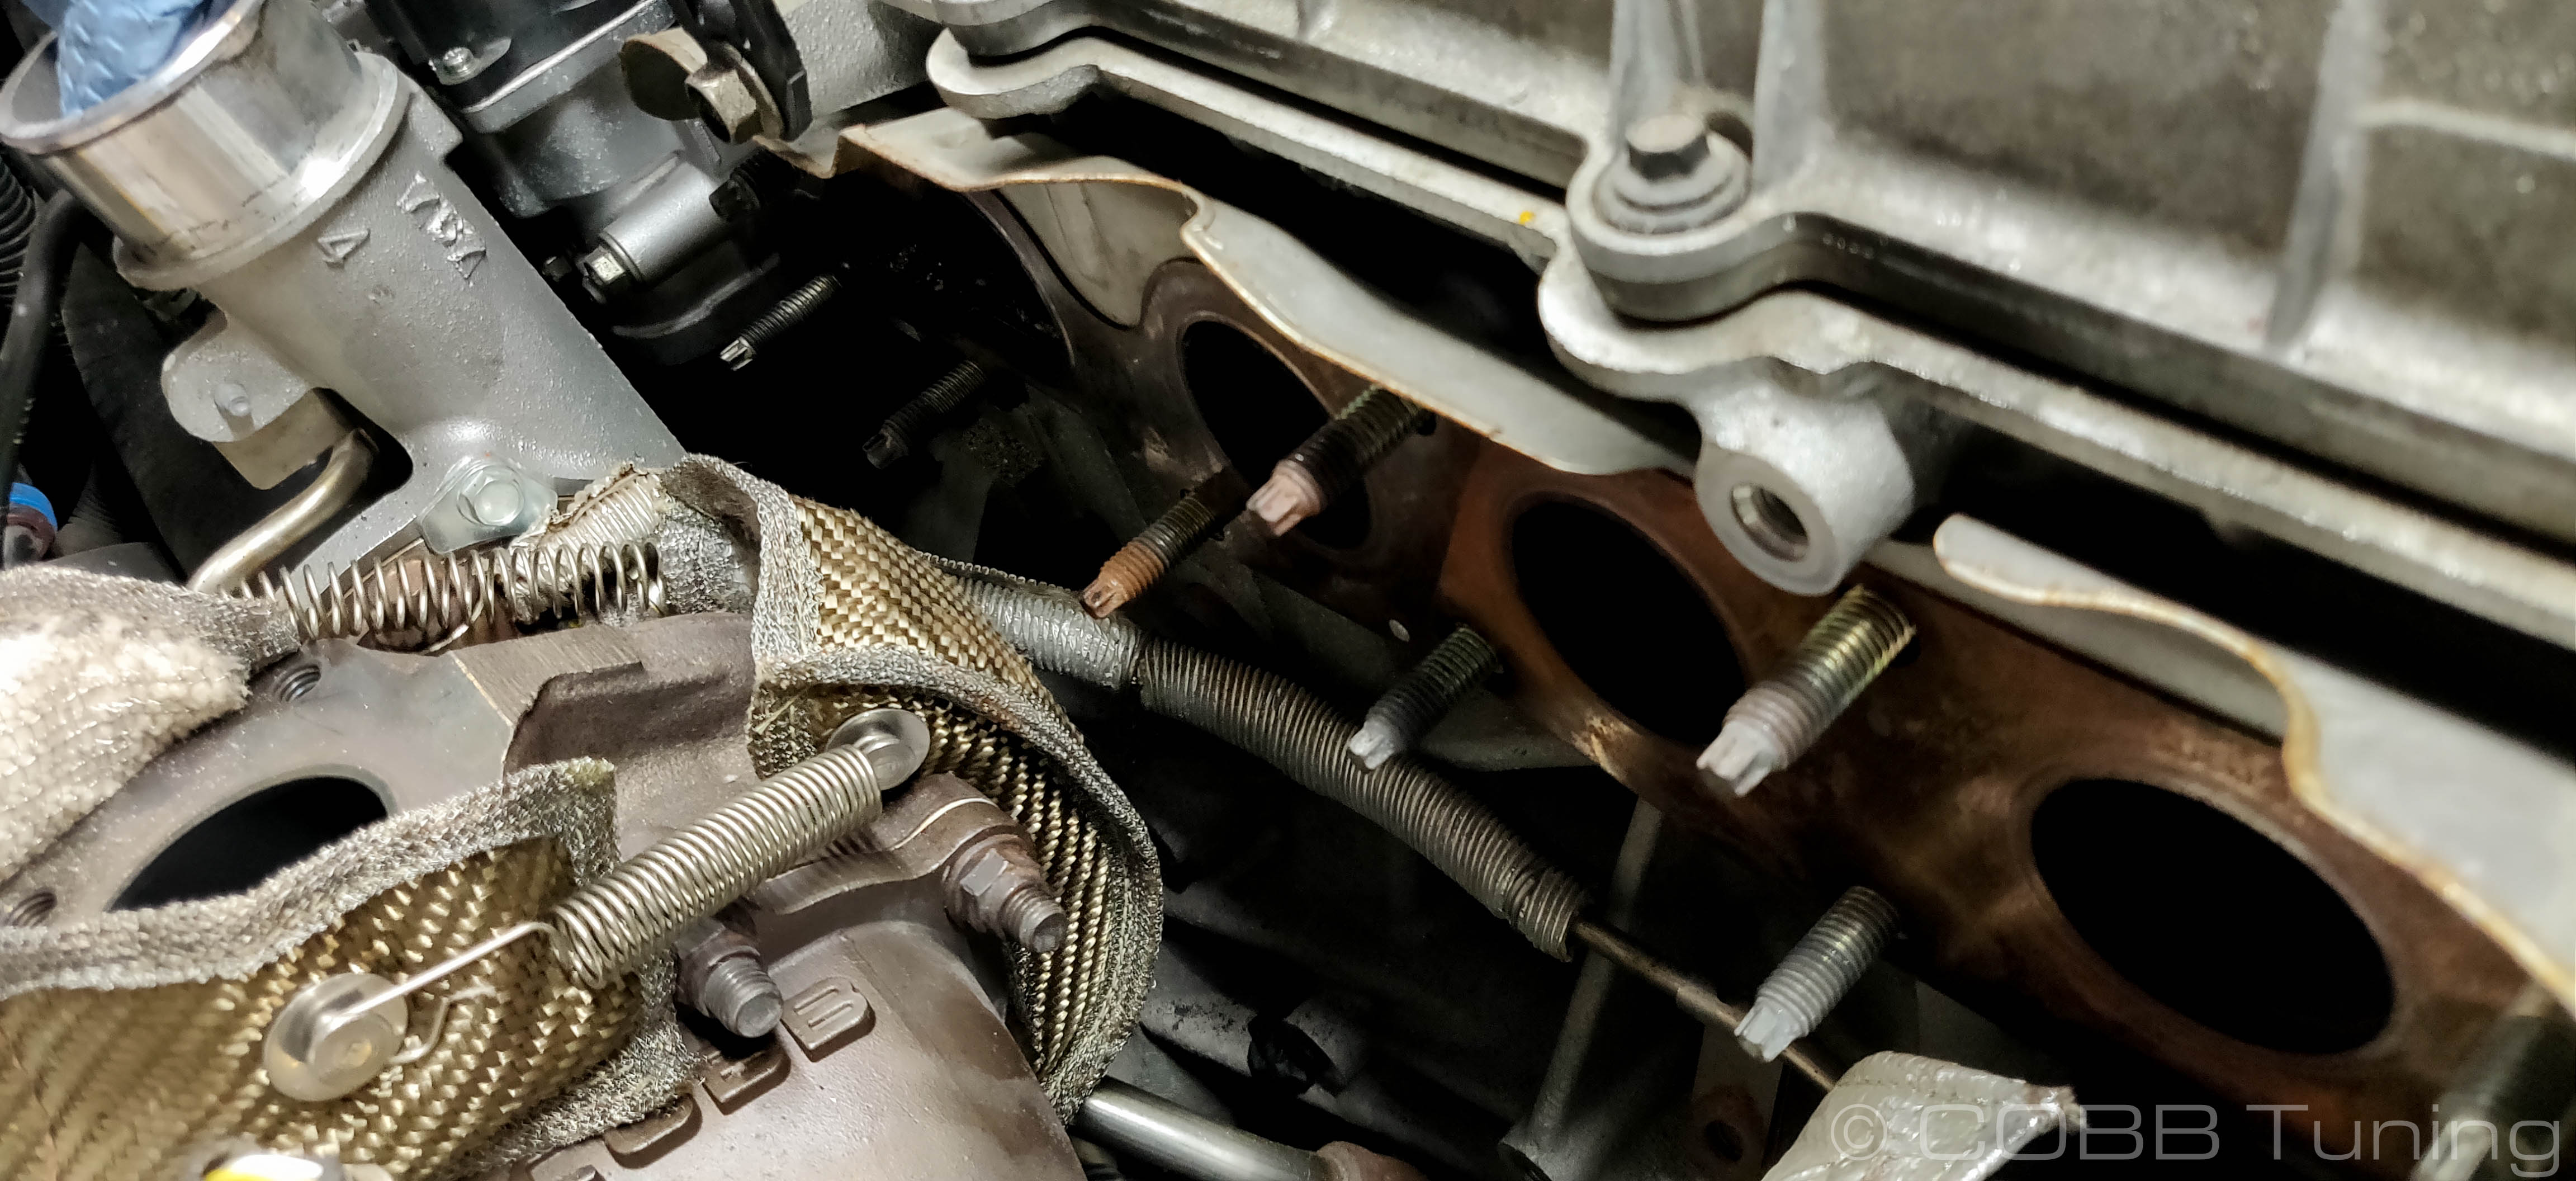
- Moving to the back of the engine spray some penetrating oil on the heat shield bolts and allow it to sit so you can get them out easily. After waiting a bit remove all 5 using your 8mm socket.


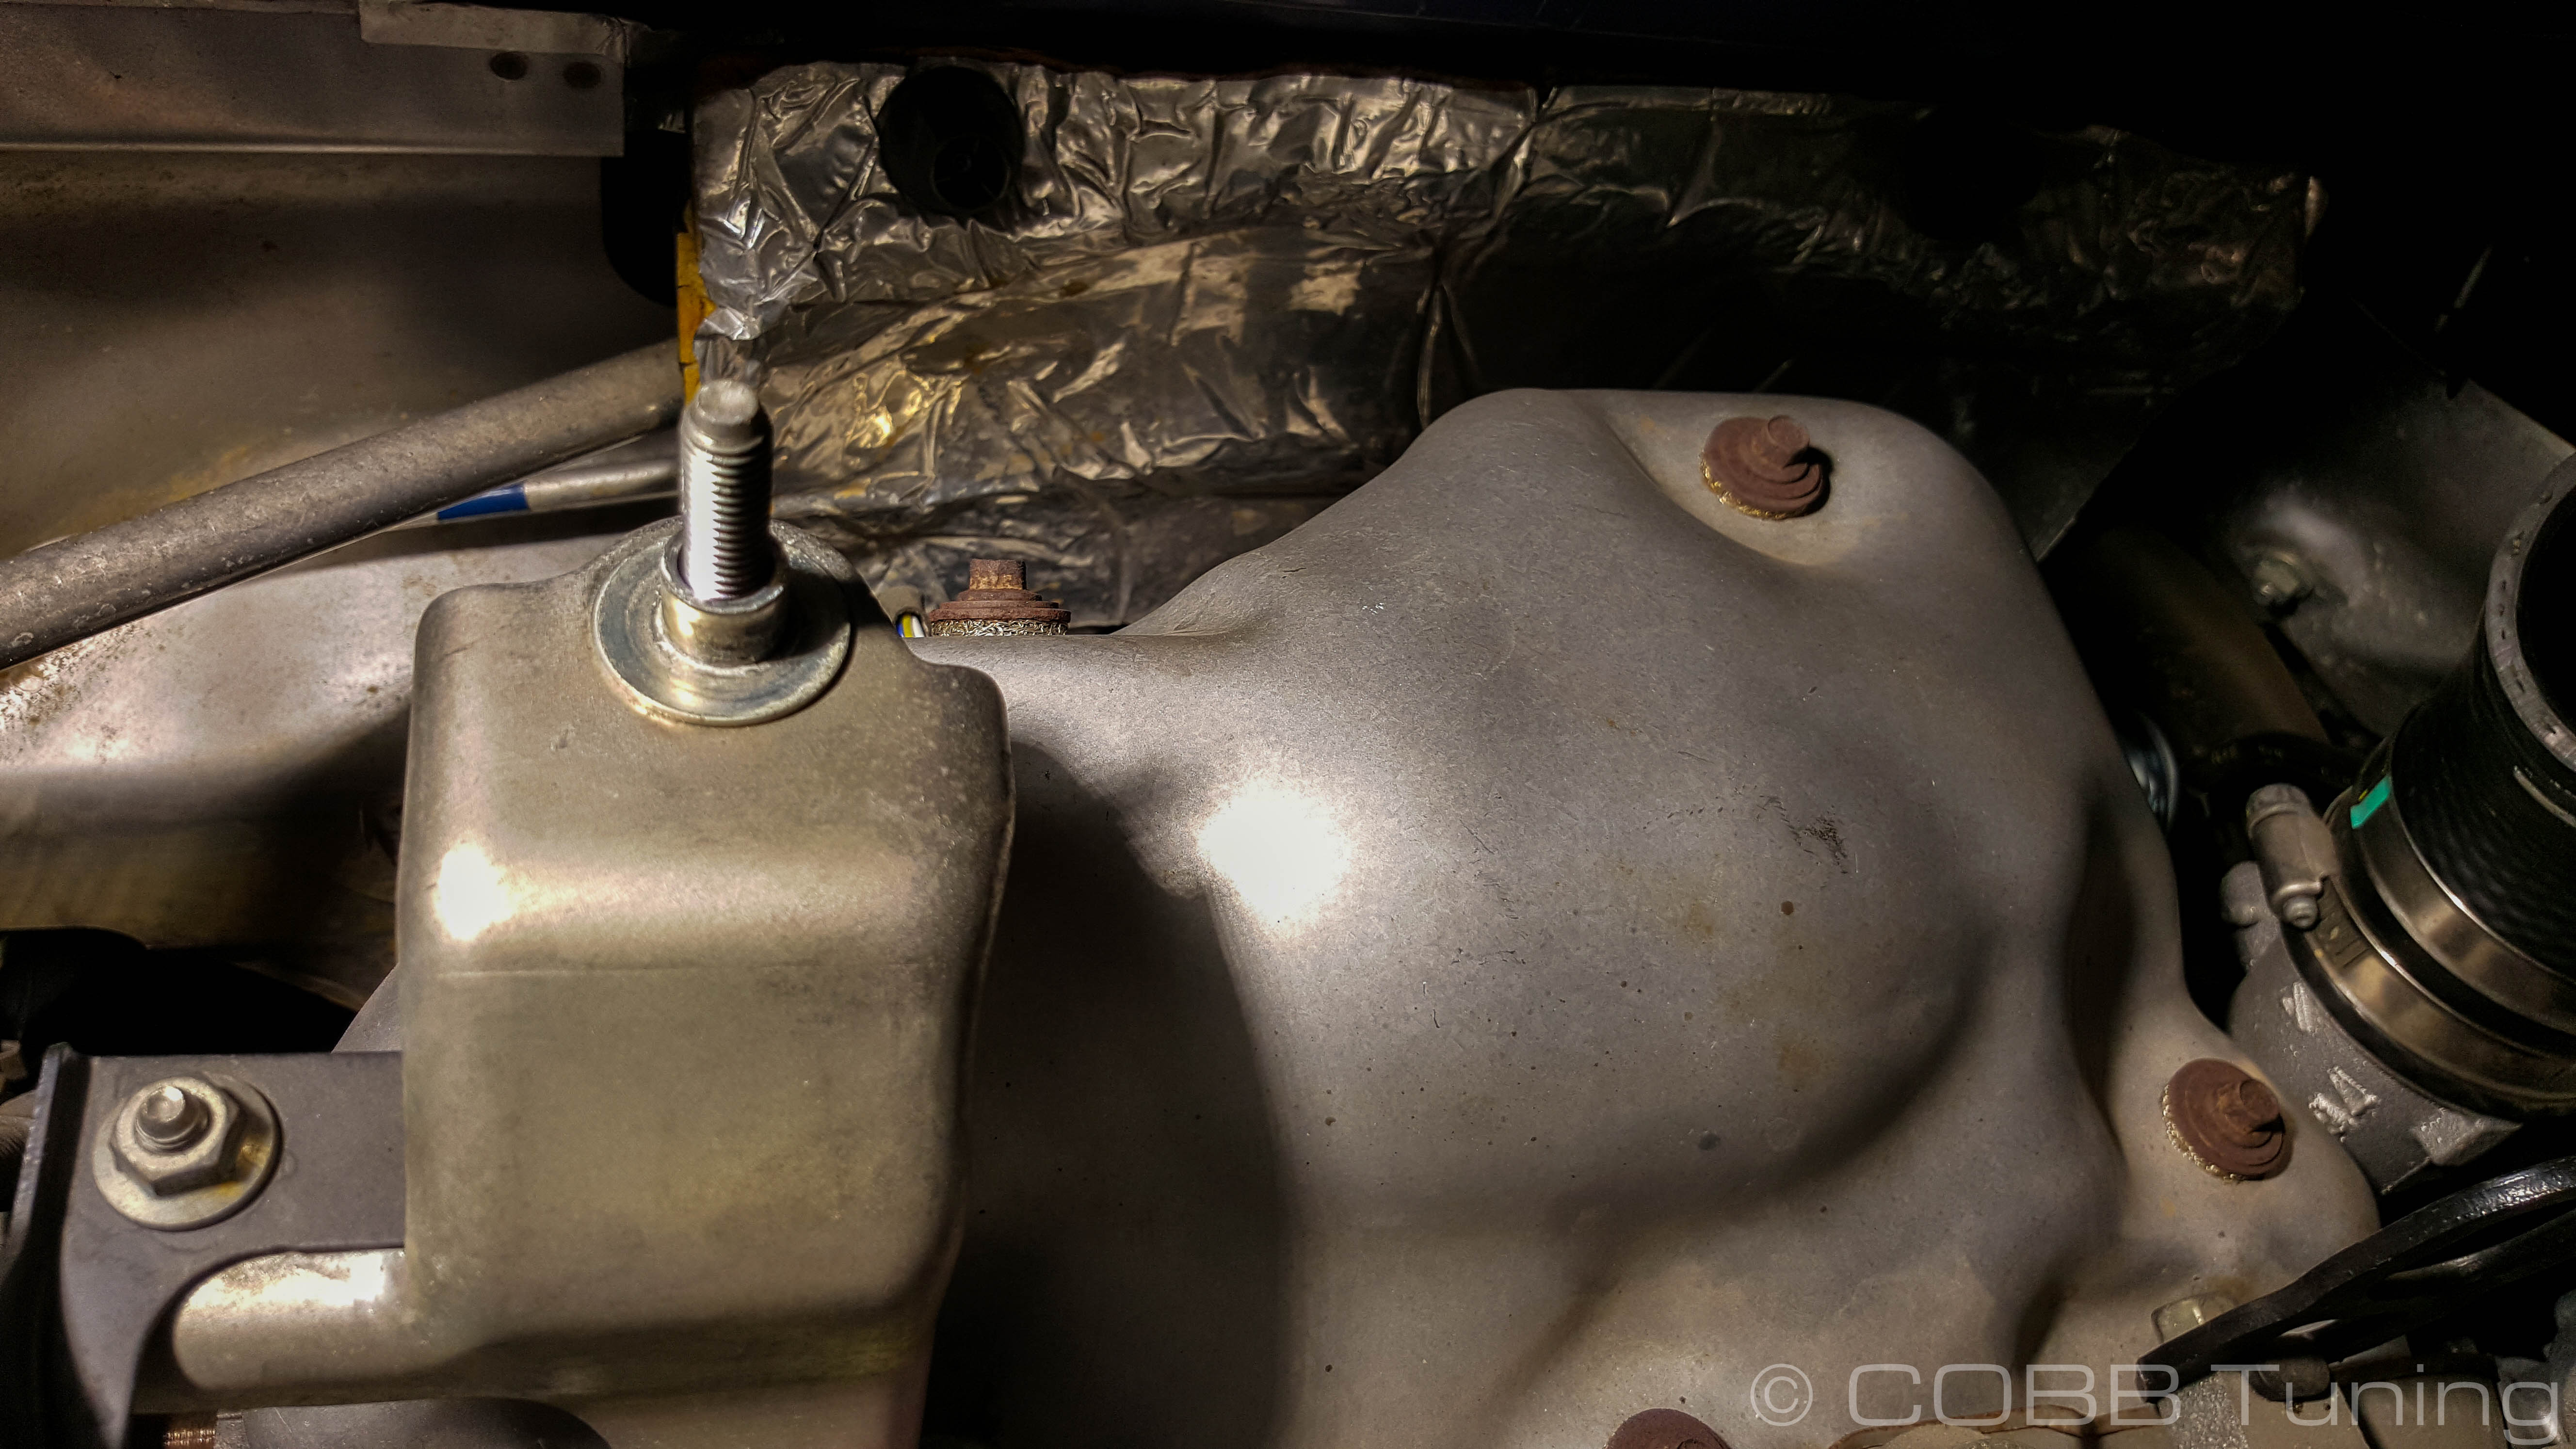
- It's an easy 3 10mm bolts to remove the lower manifold heatshield as well.

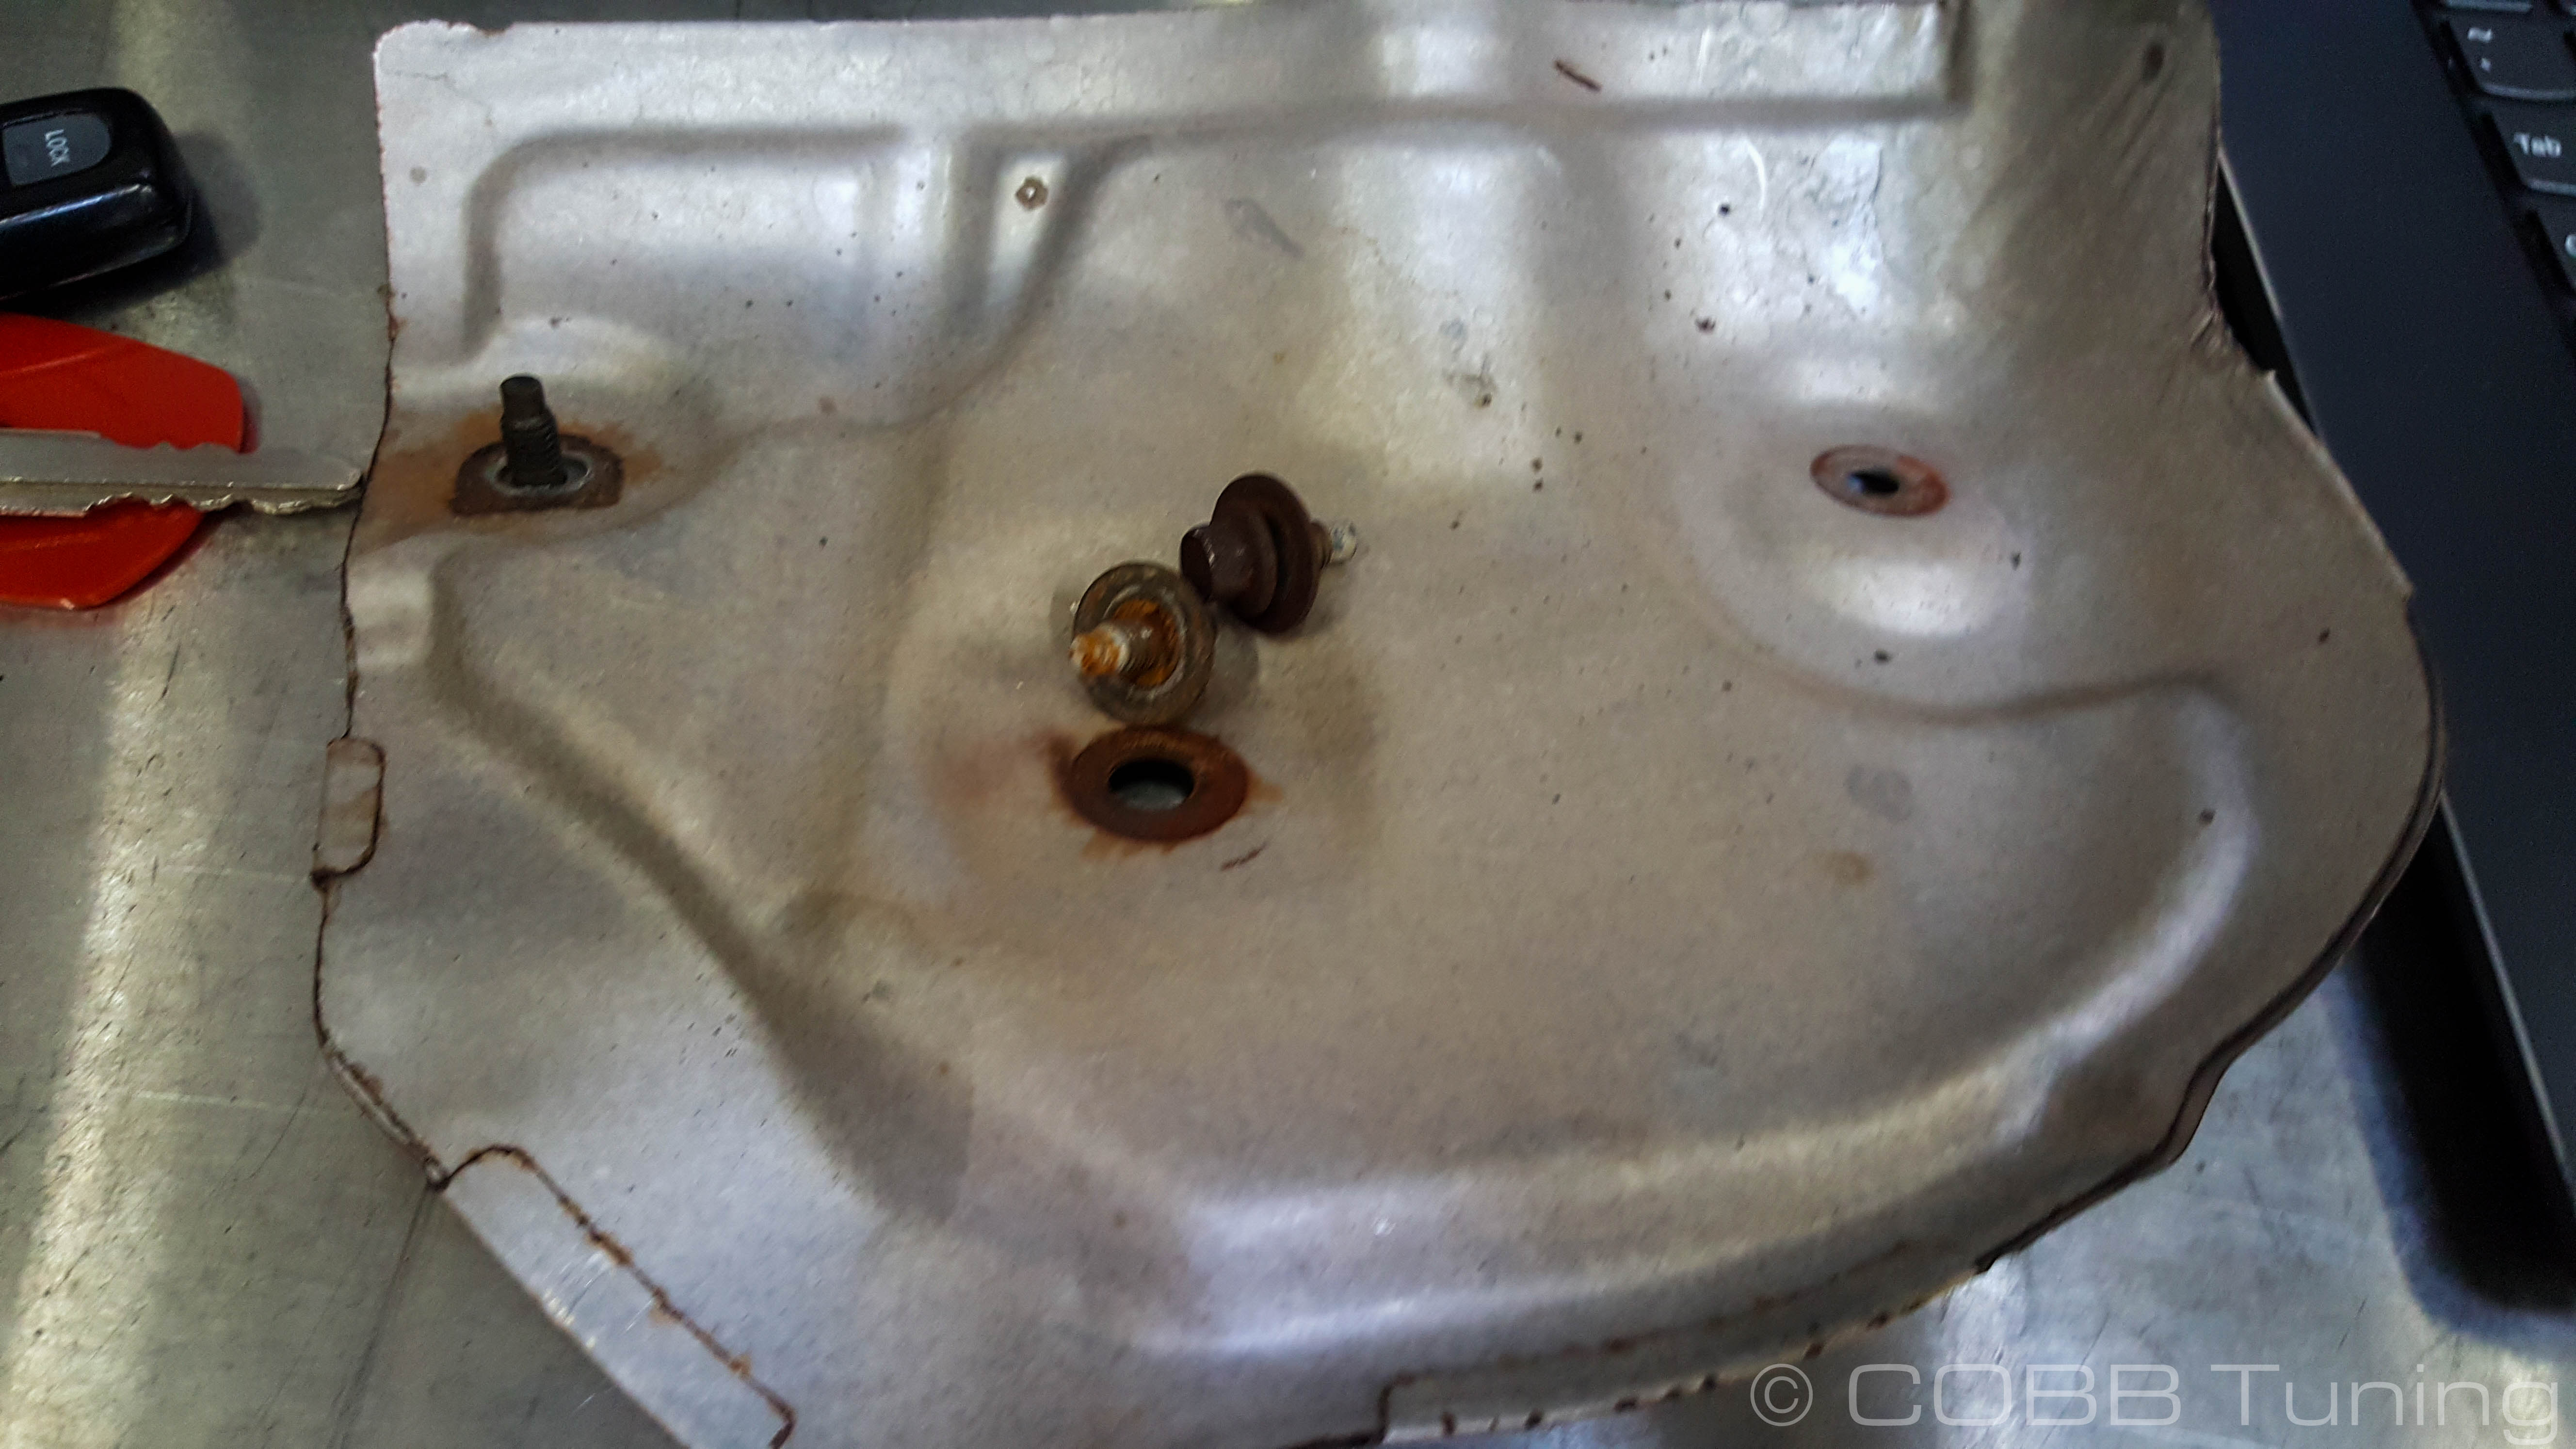
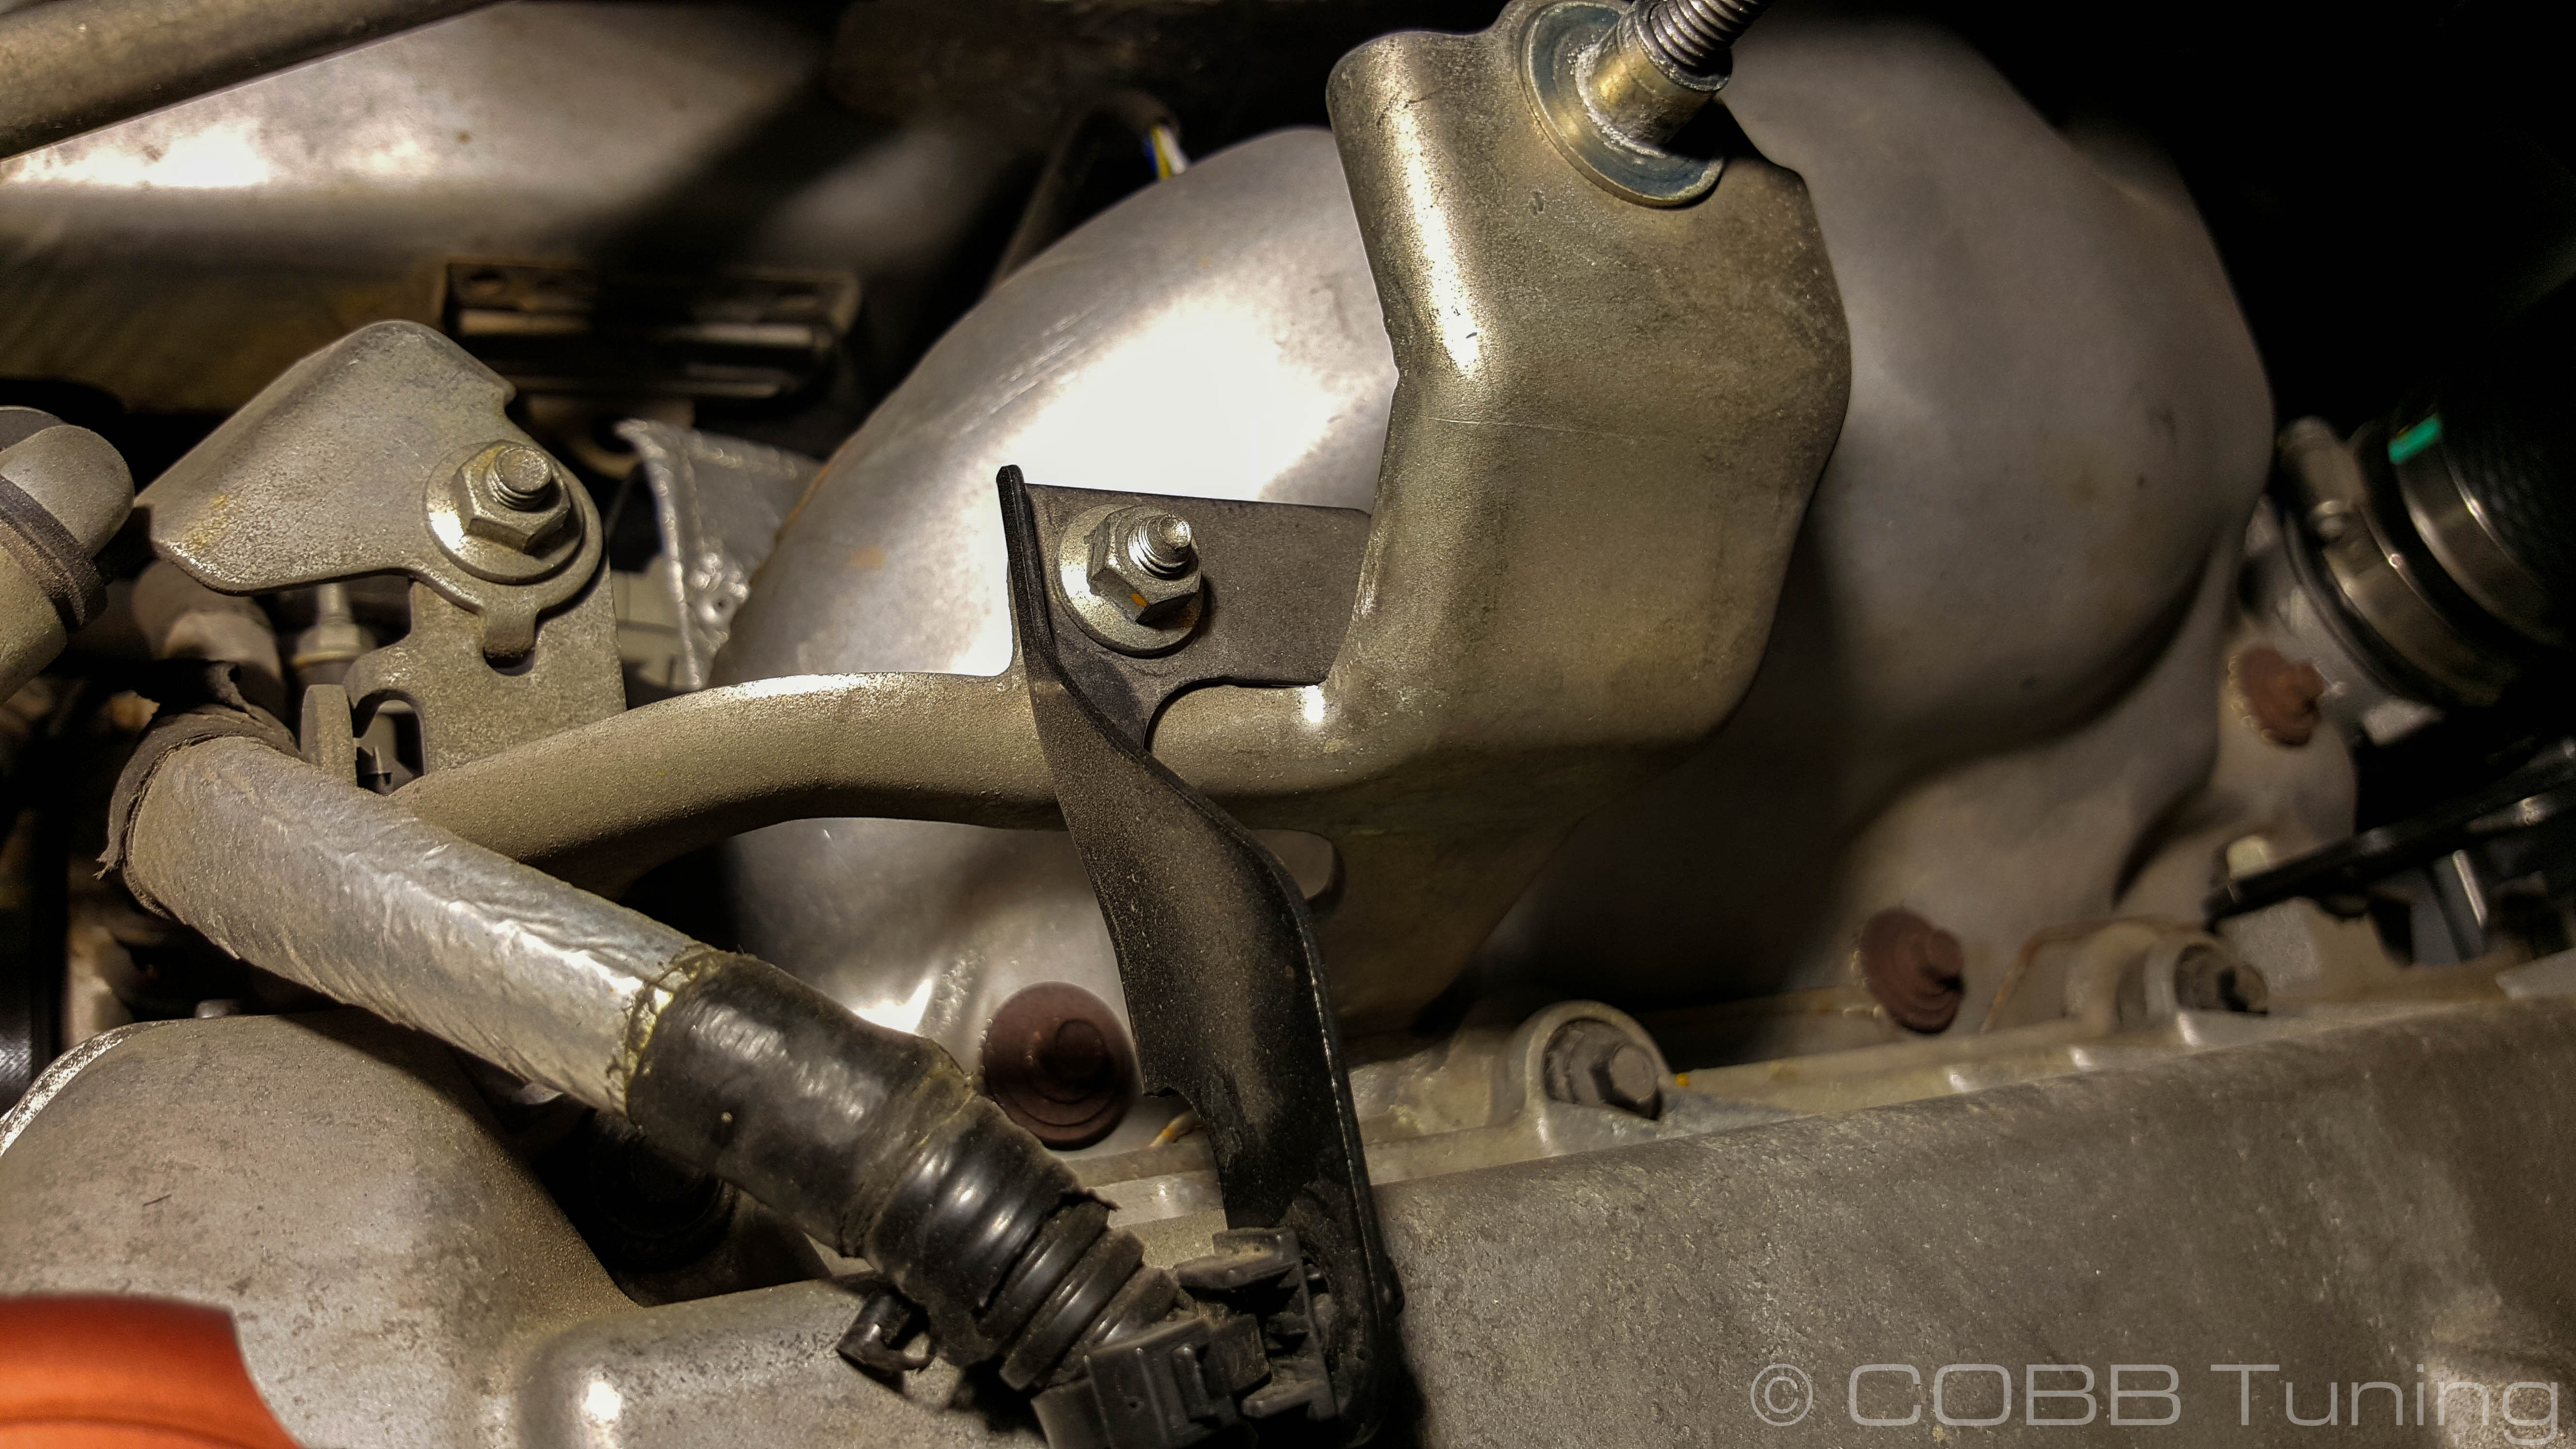
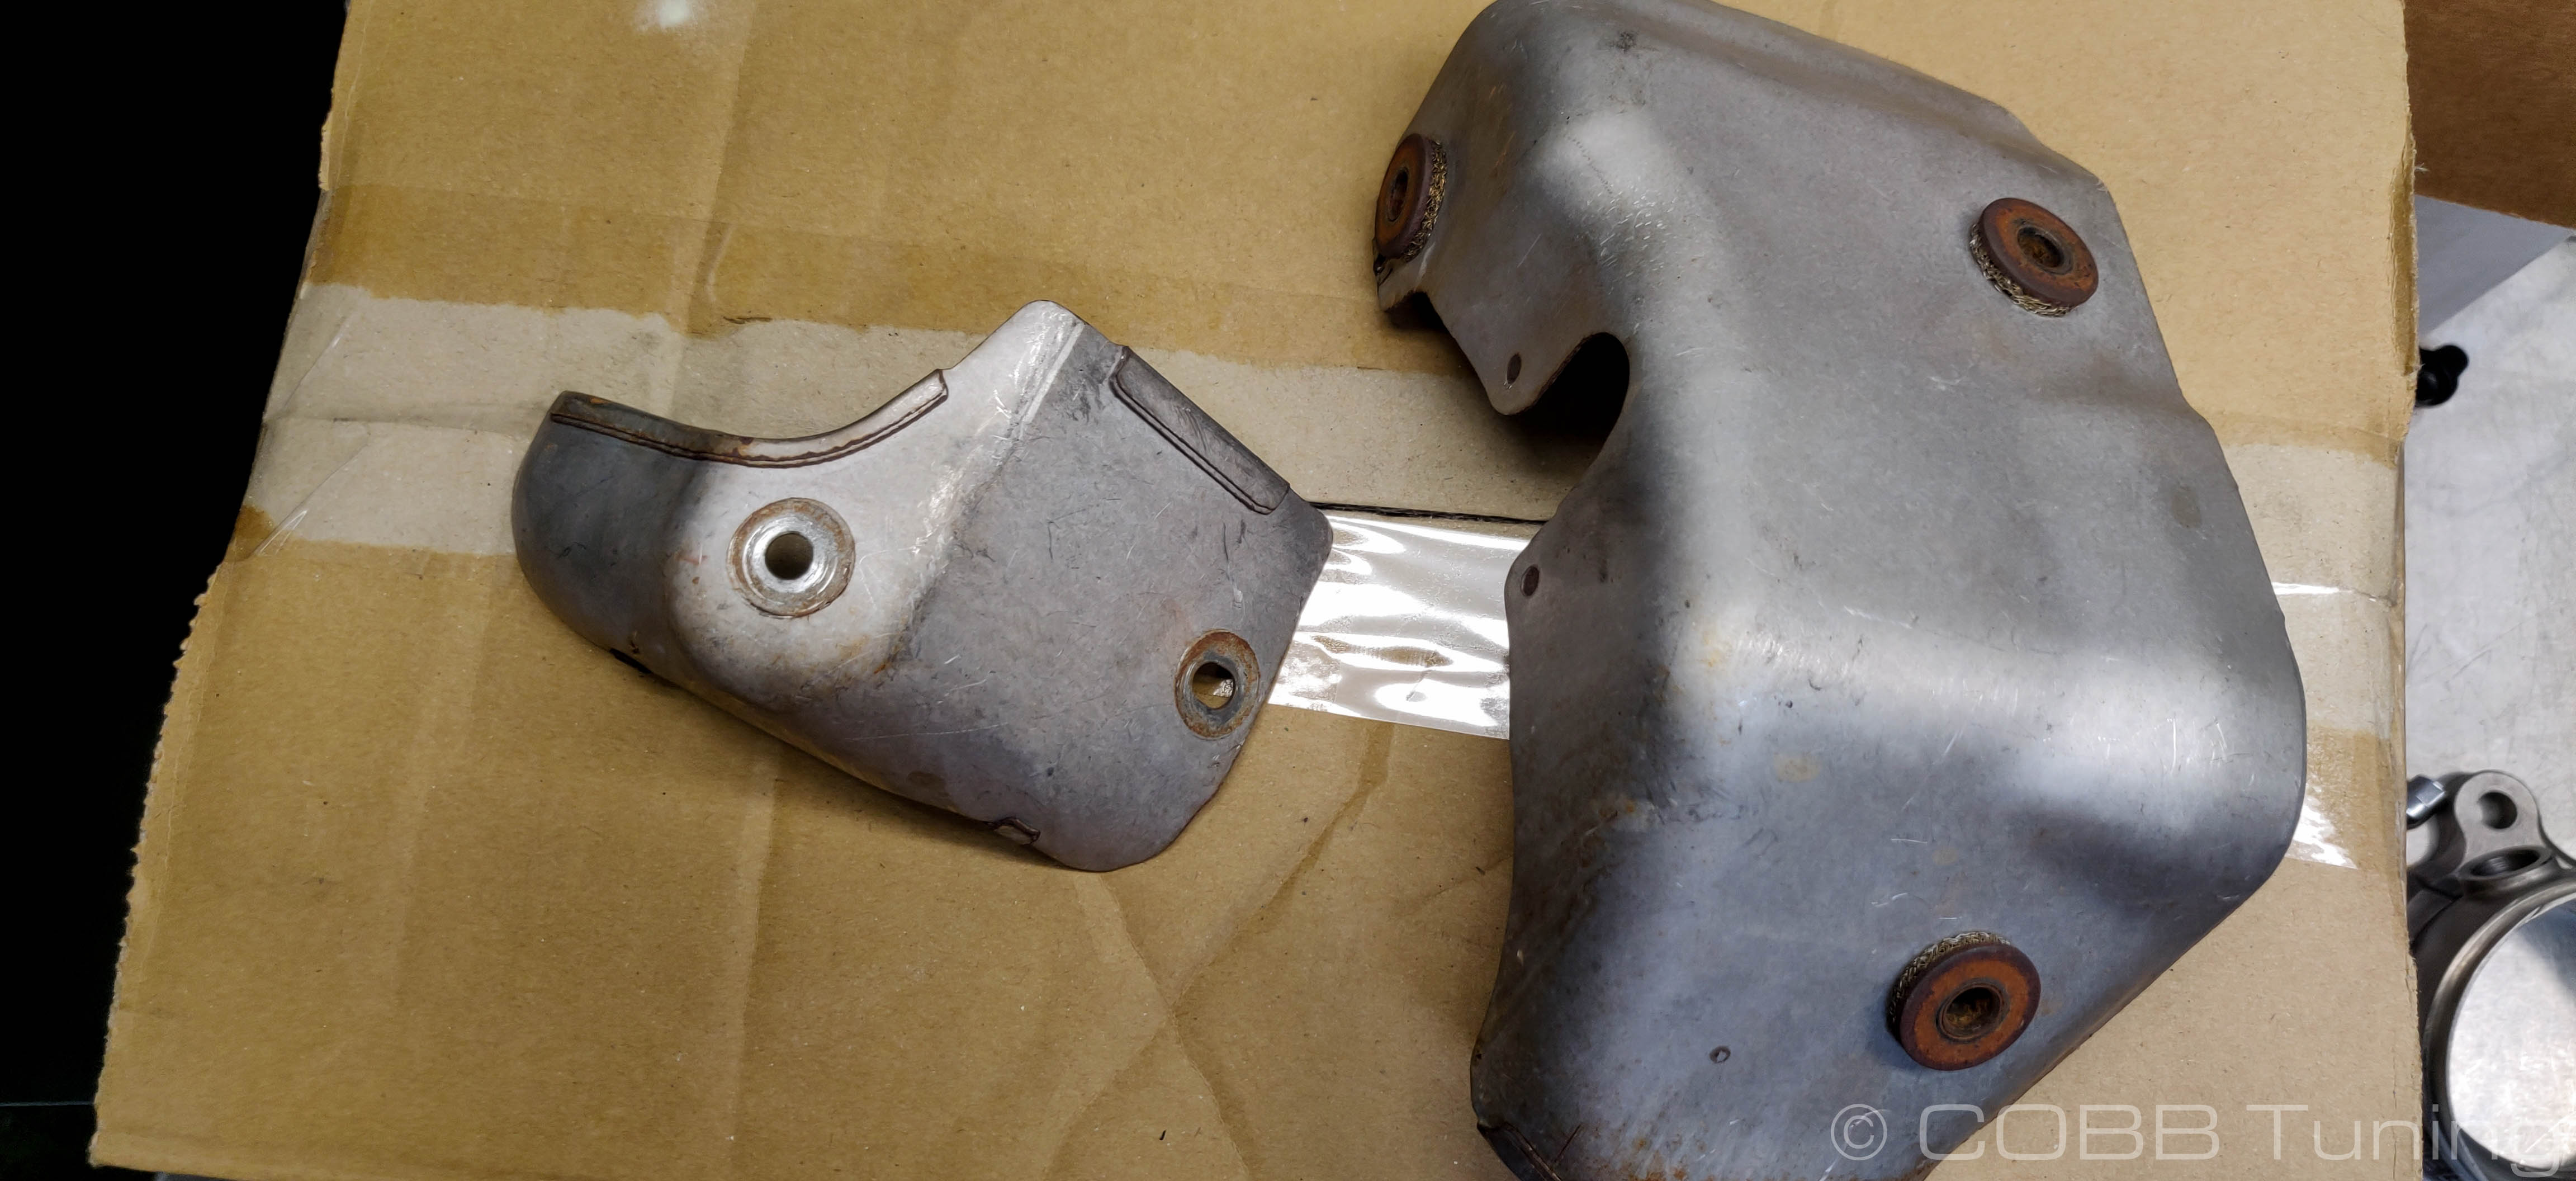
- Remove the three bolts holding the turbo heatshield in place over the exhaust housing. (Shown off of the car to get a better idea of where everything is.

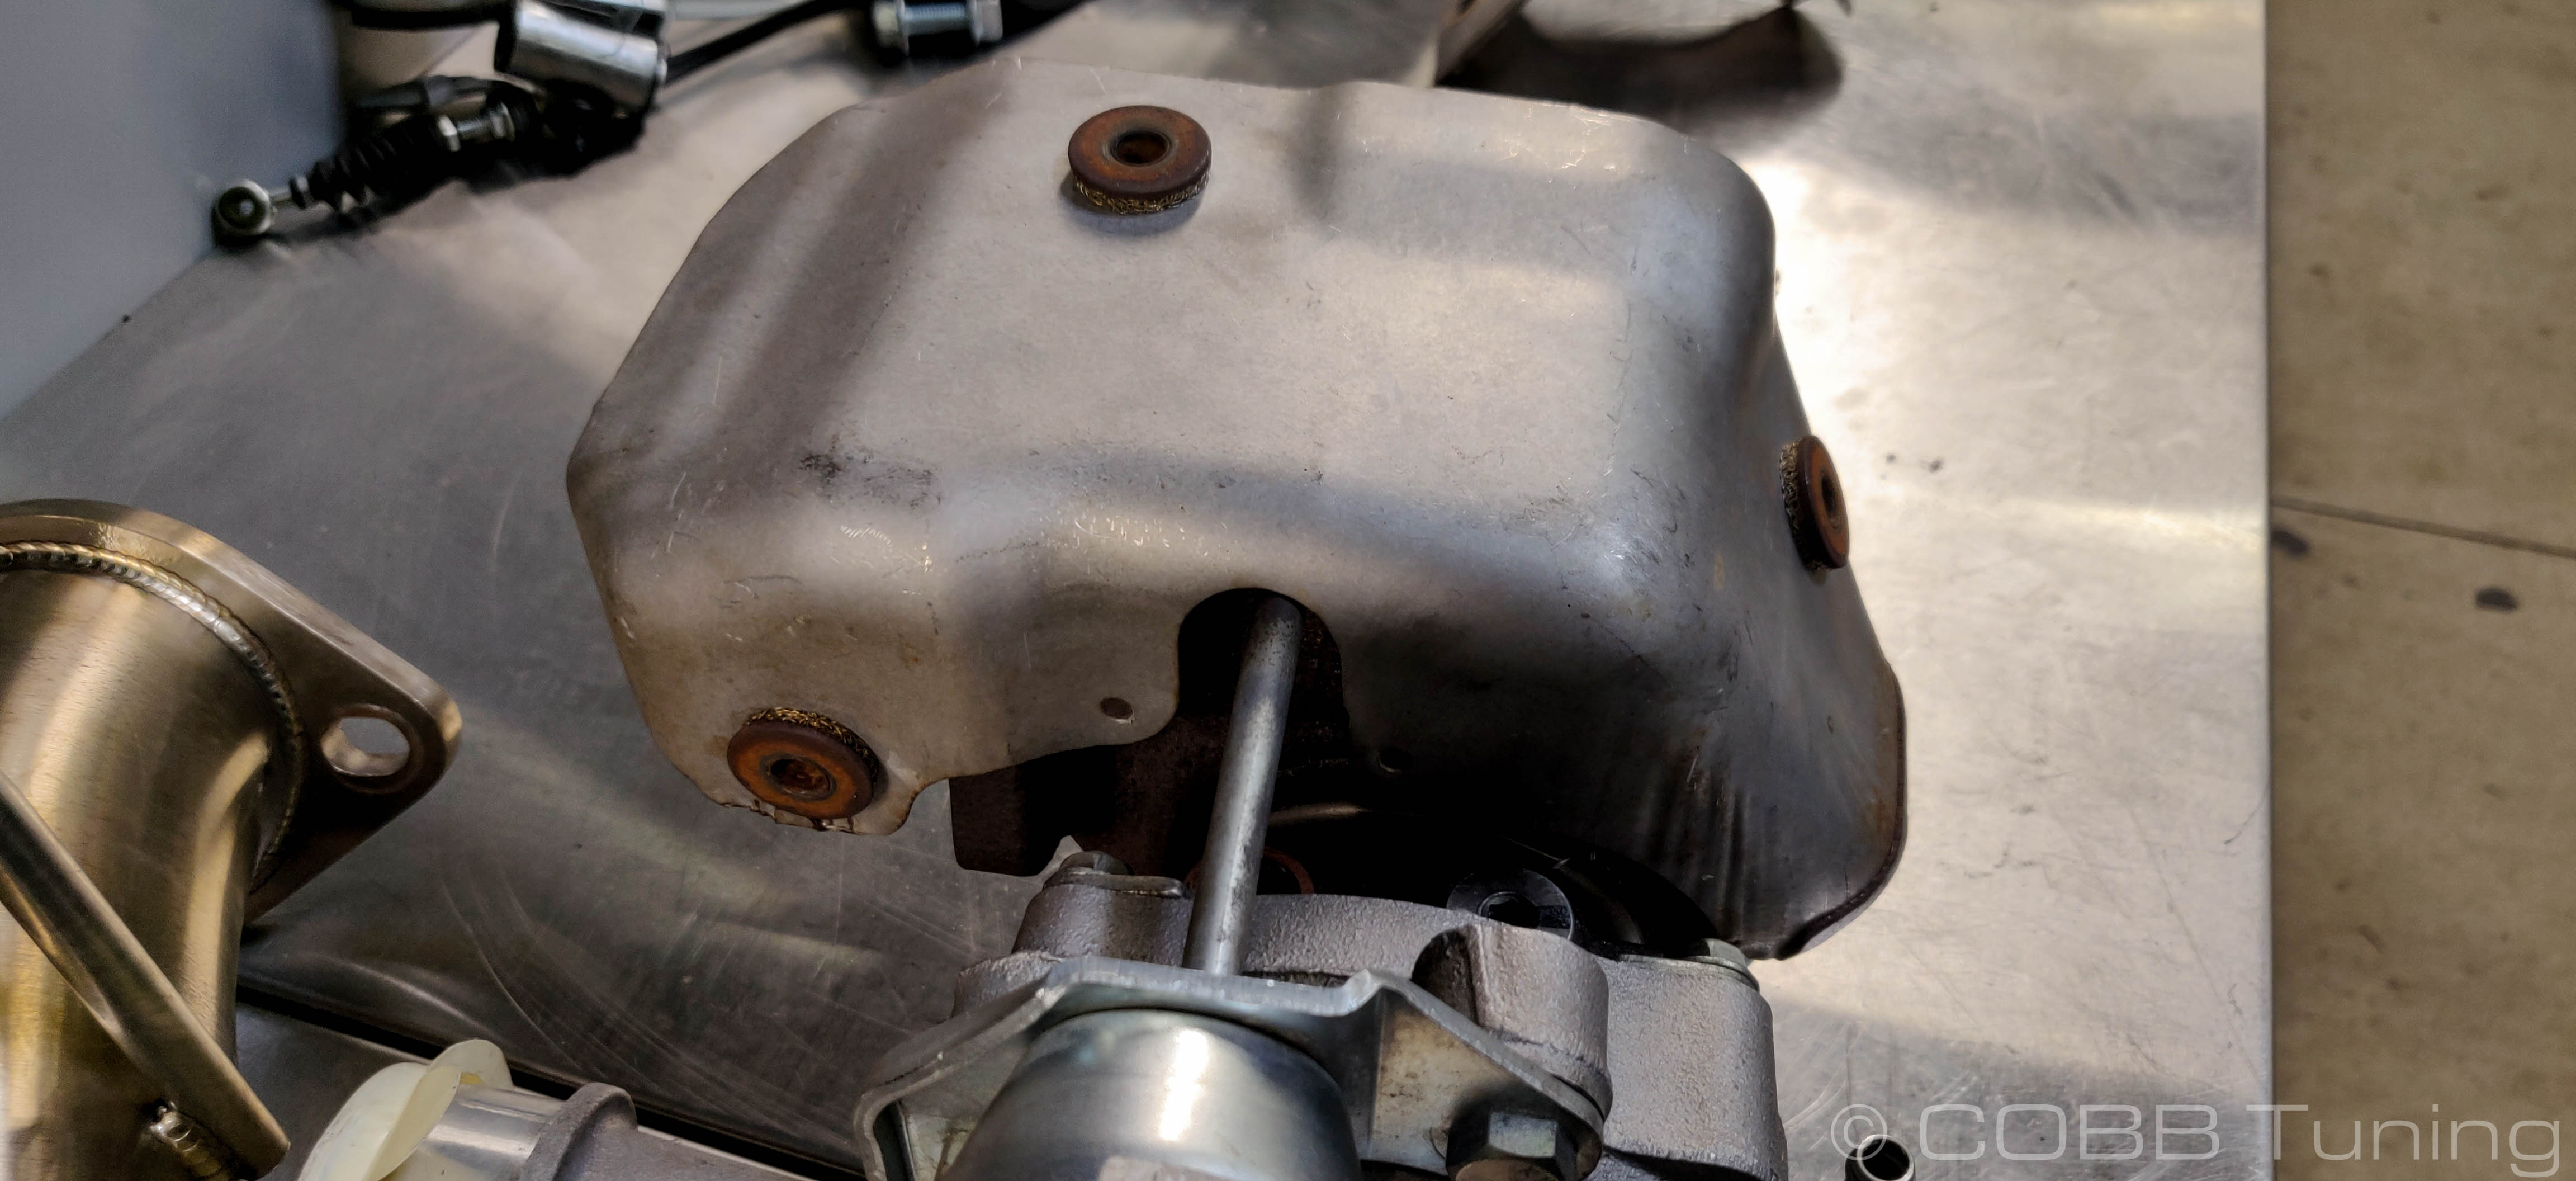

- Remove the other two-bolt heat shield from the turbo as well.

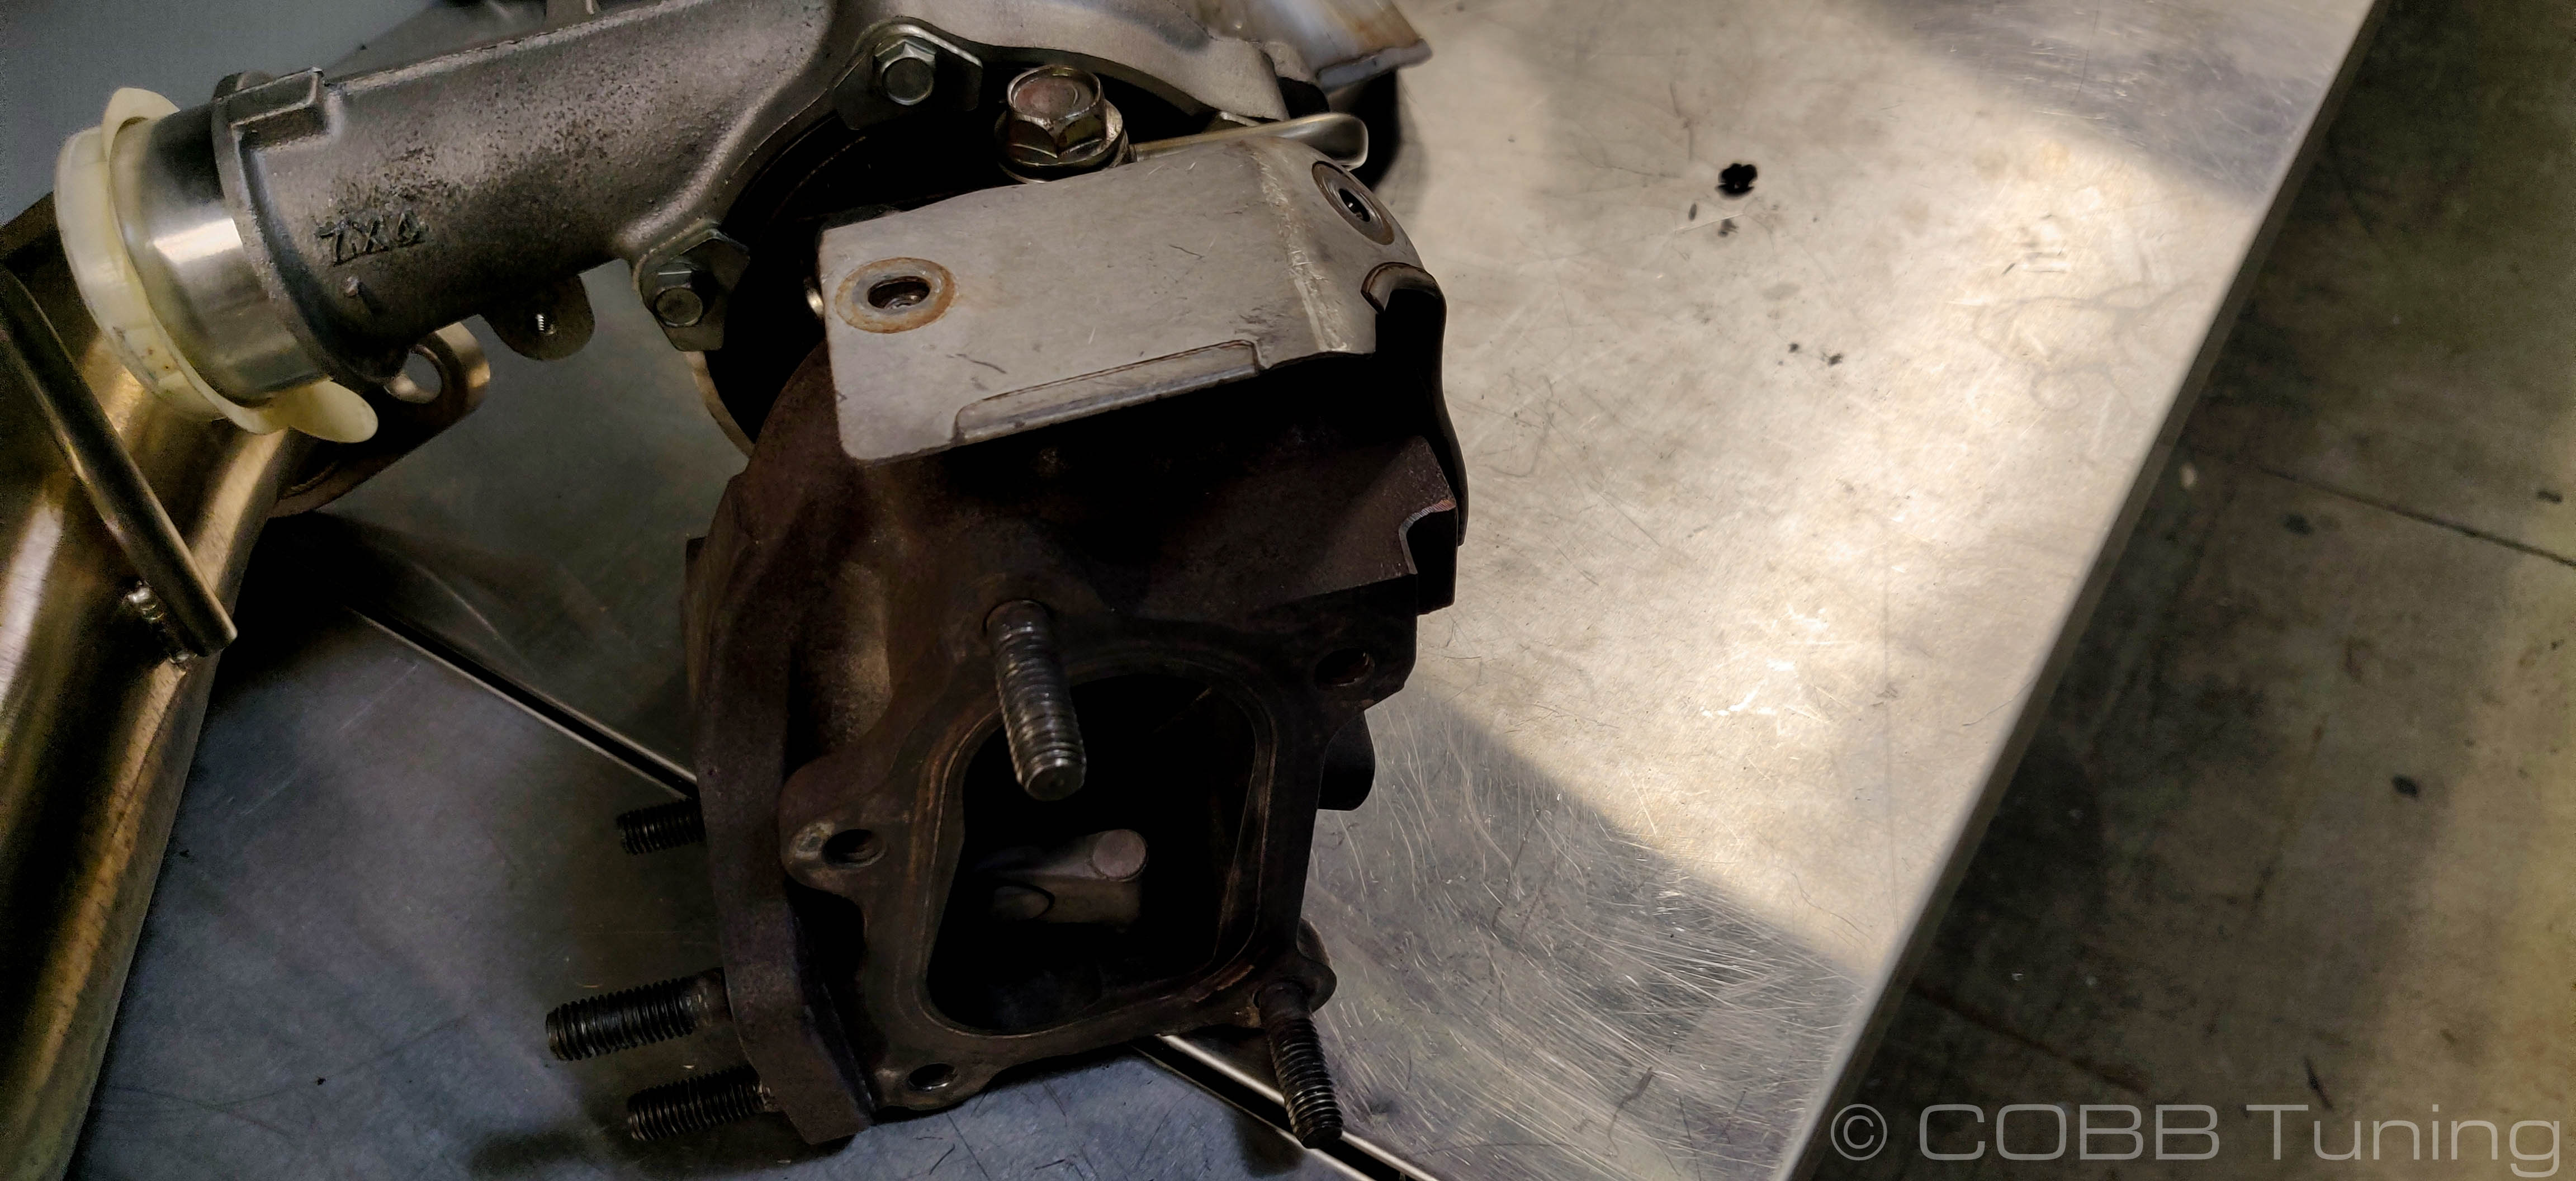

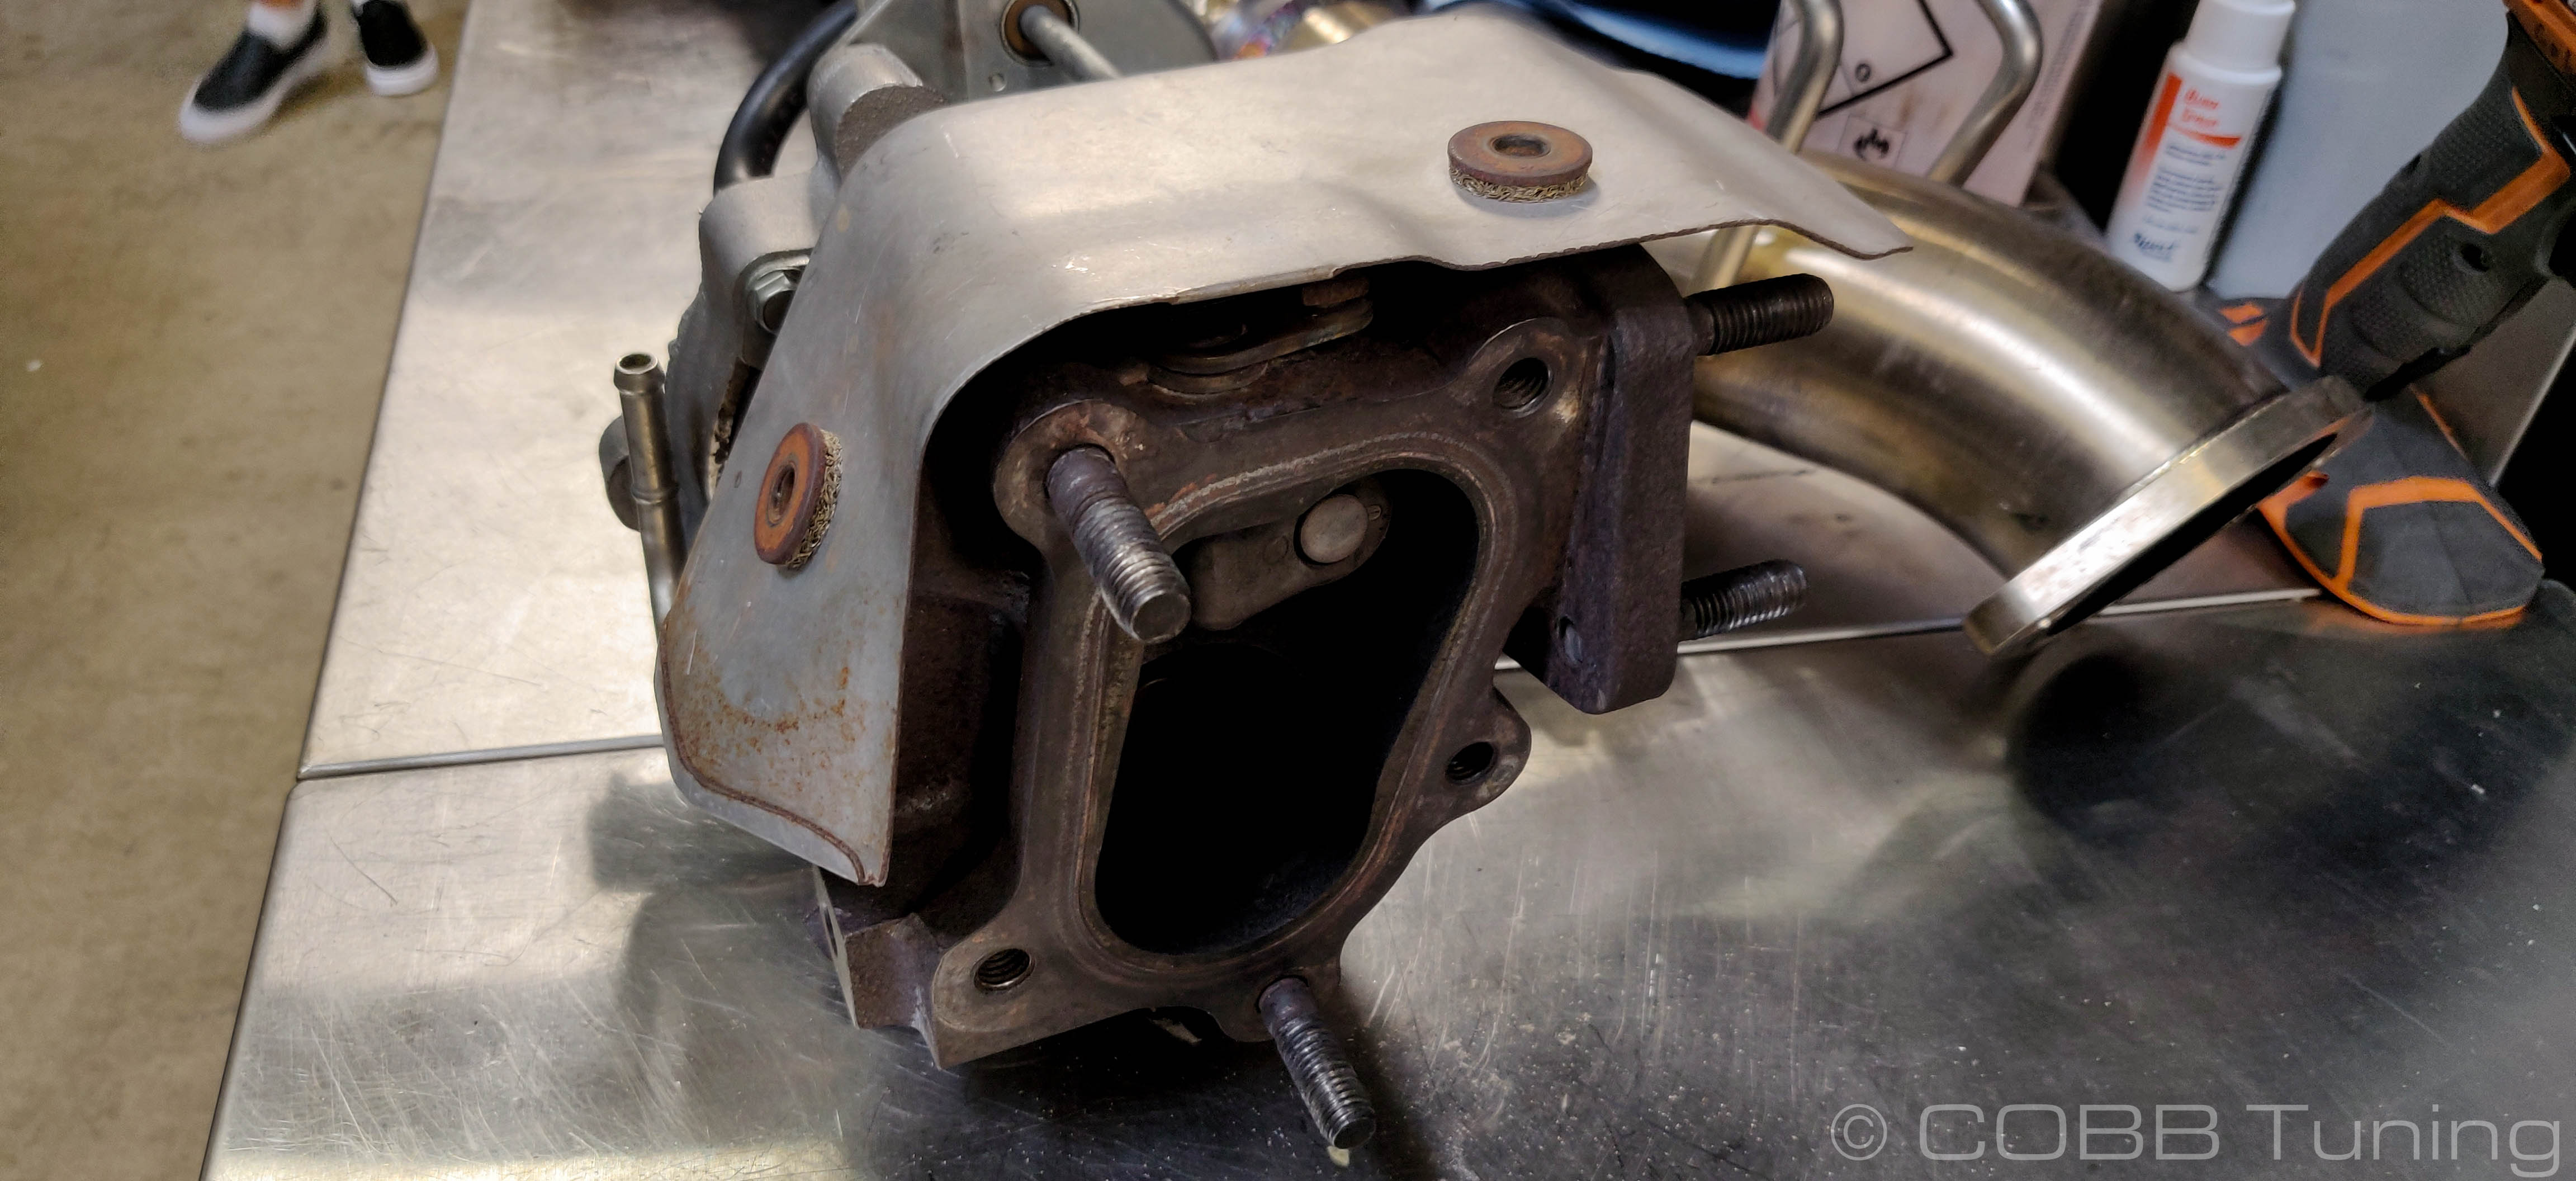
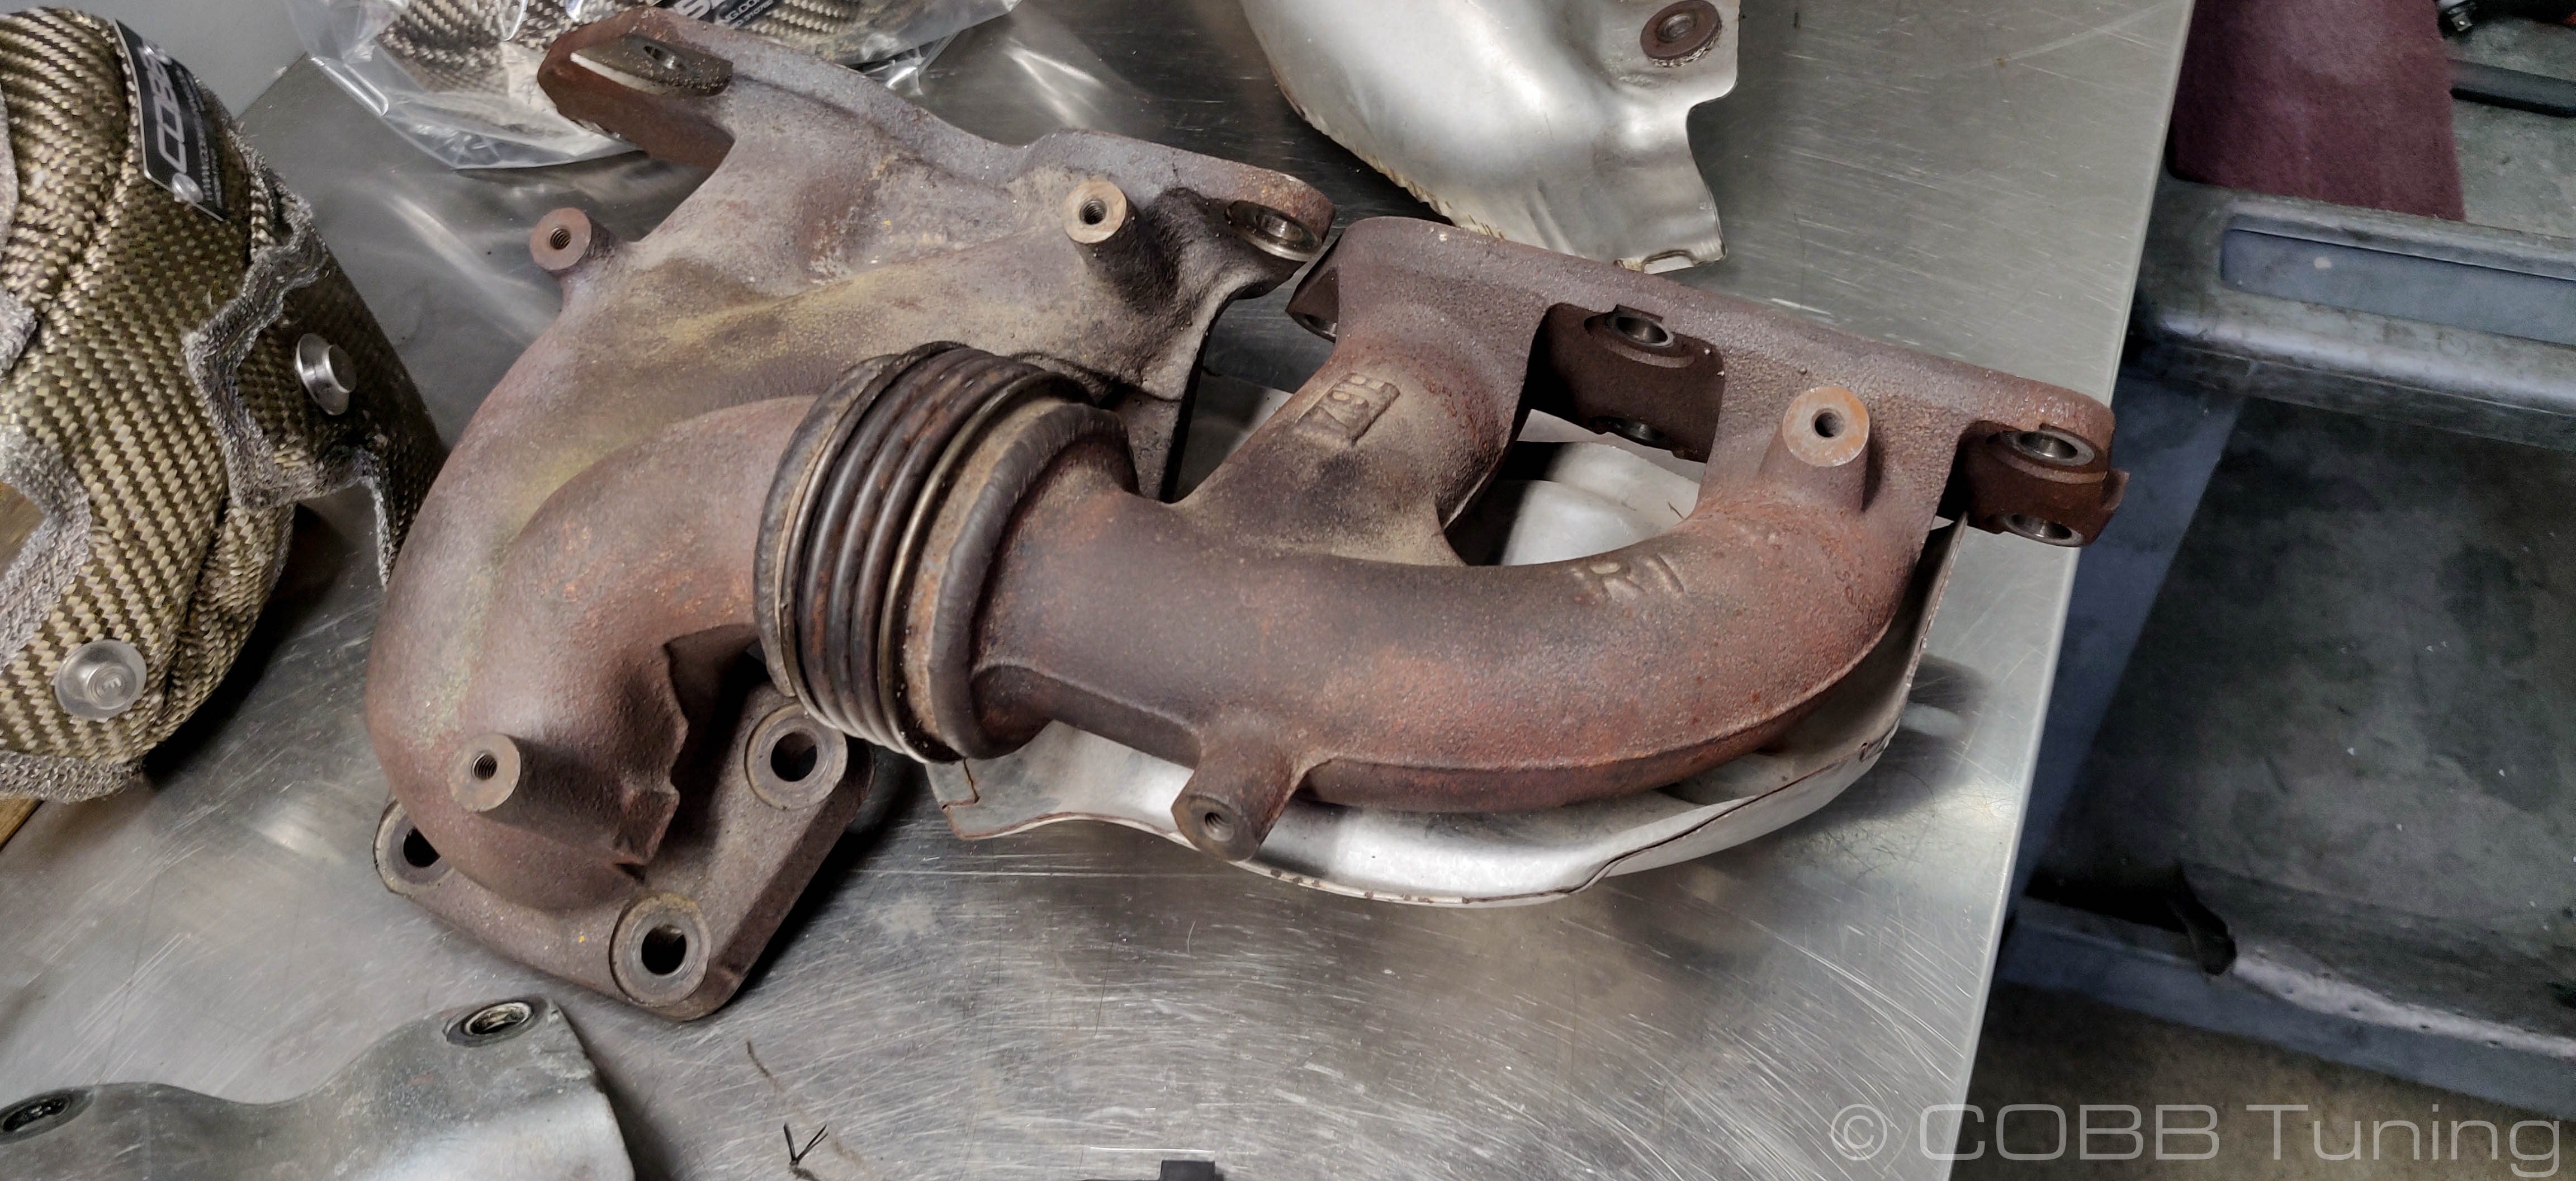
- While not necessary we chose to remove the exhaust manifold to allow a better view of how it goes together.


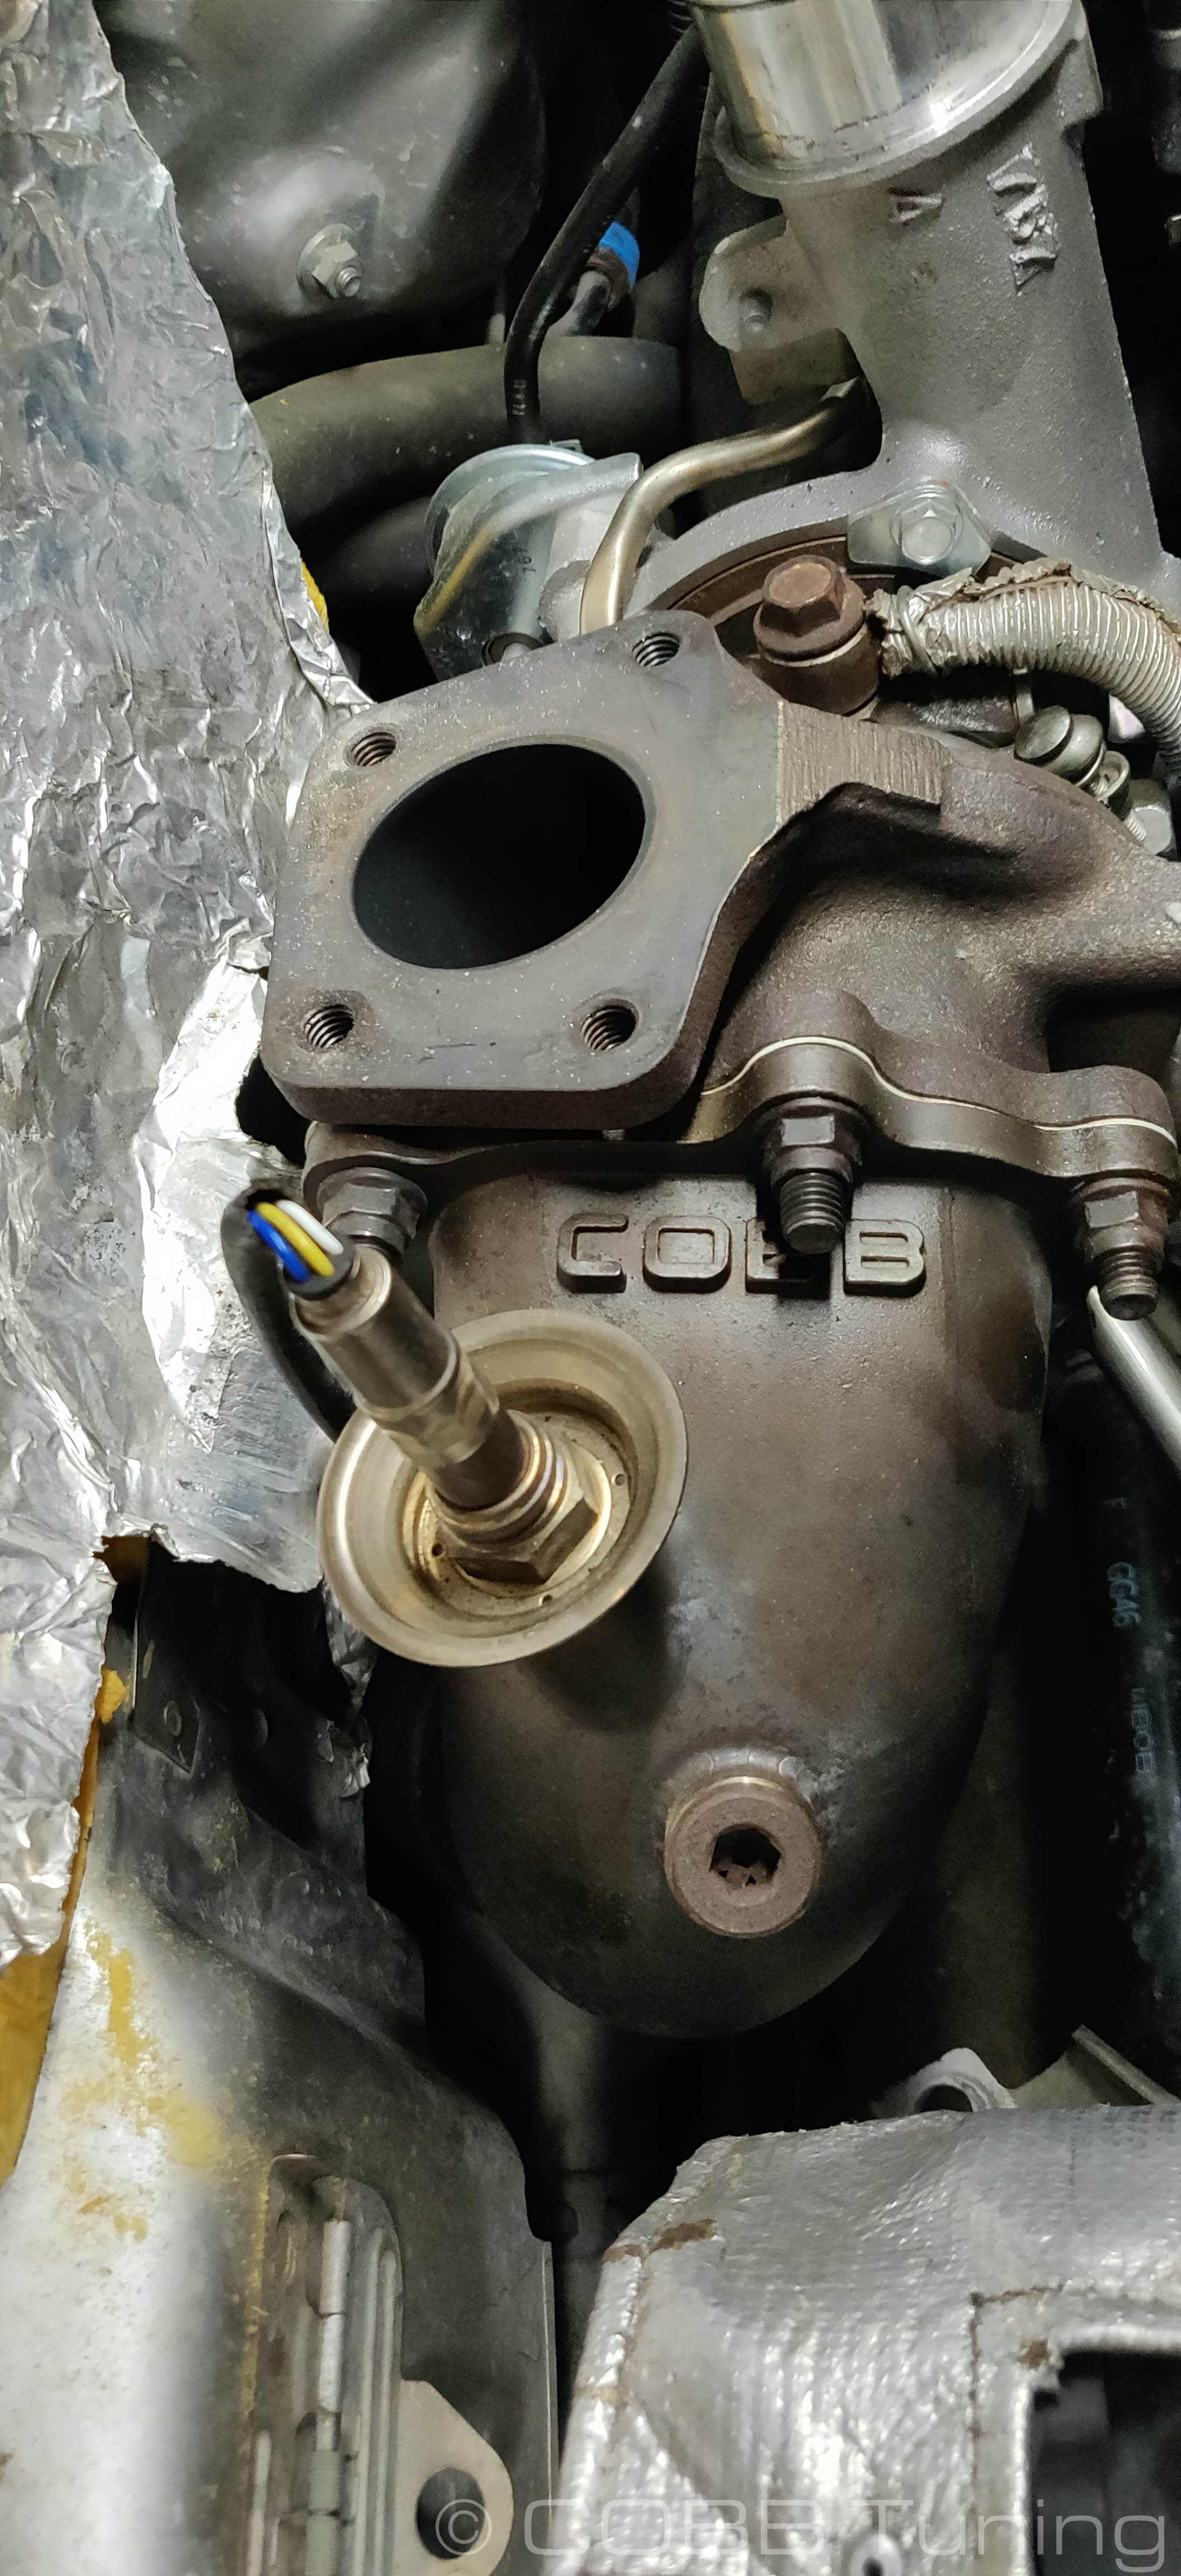

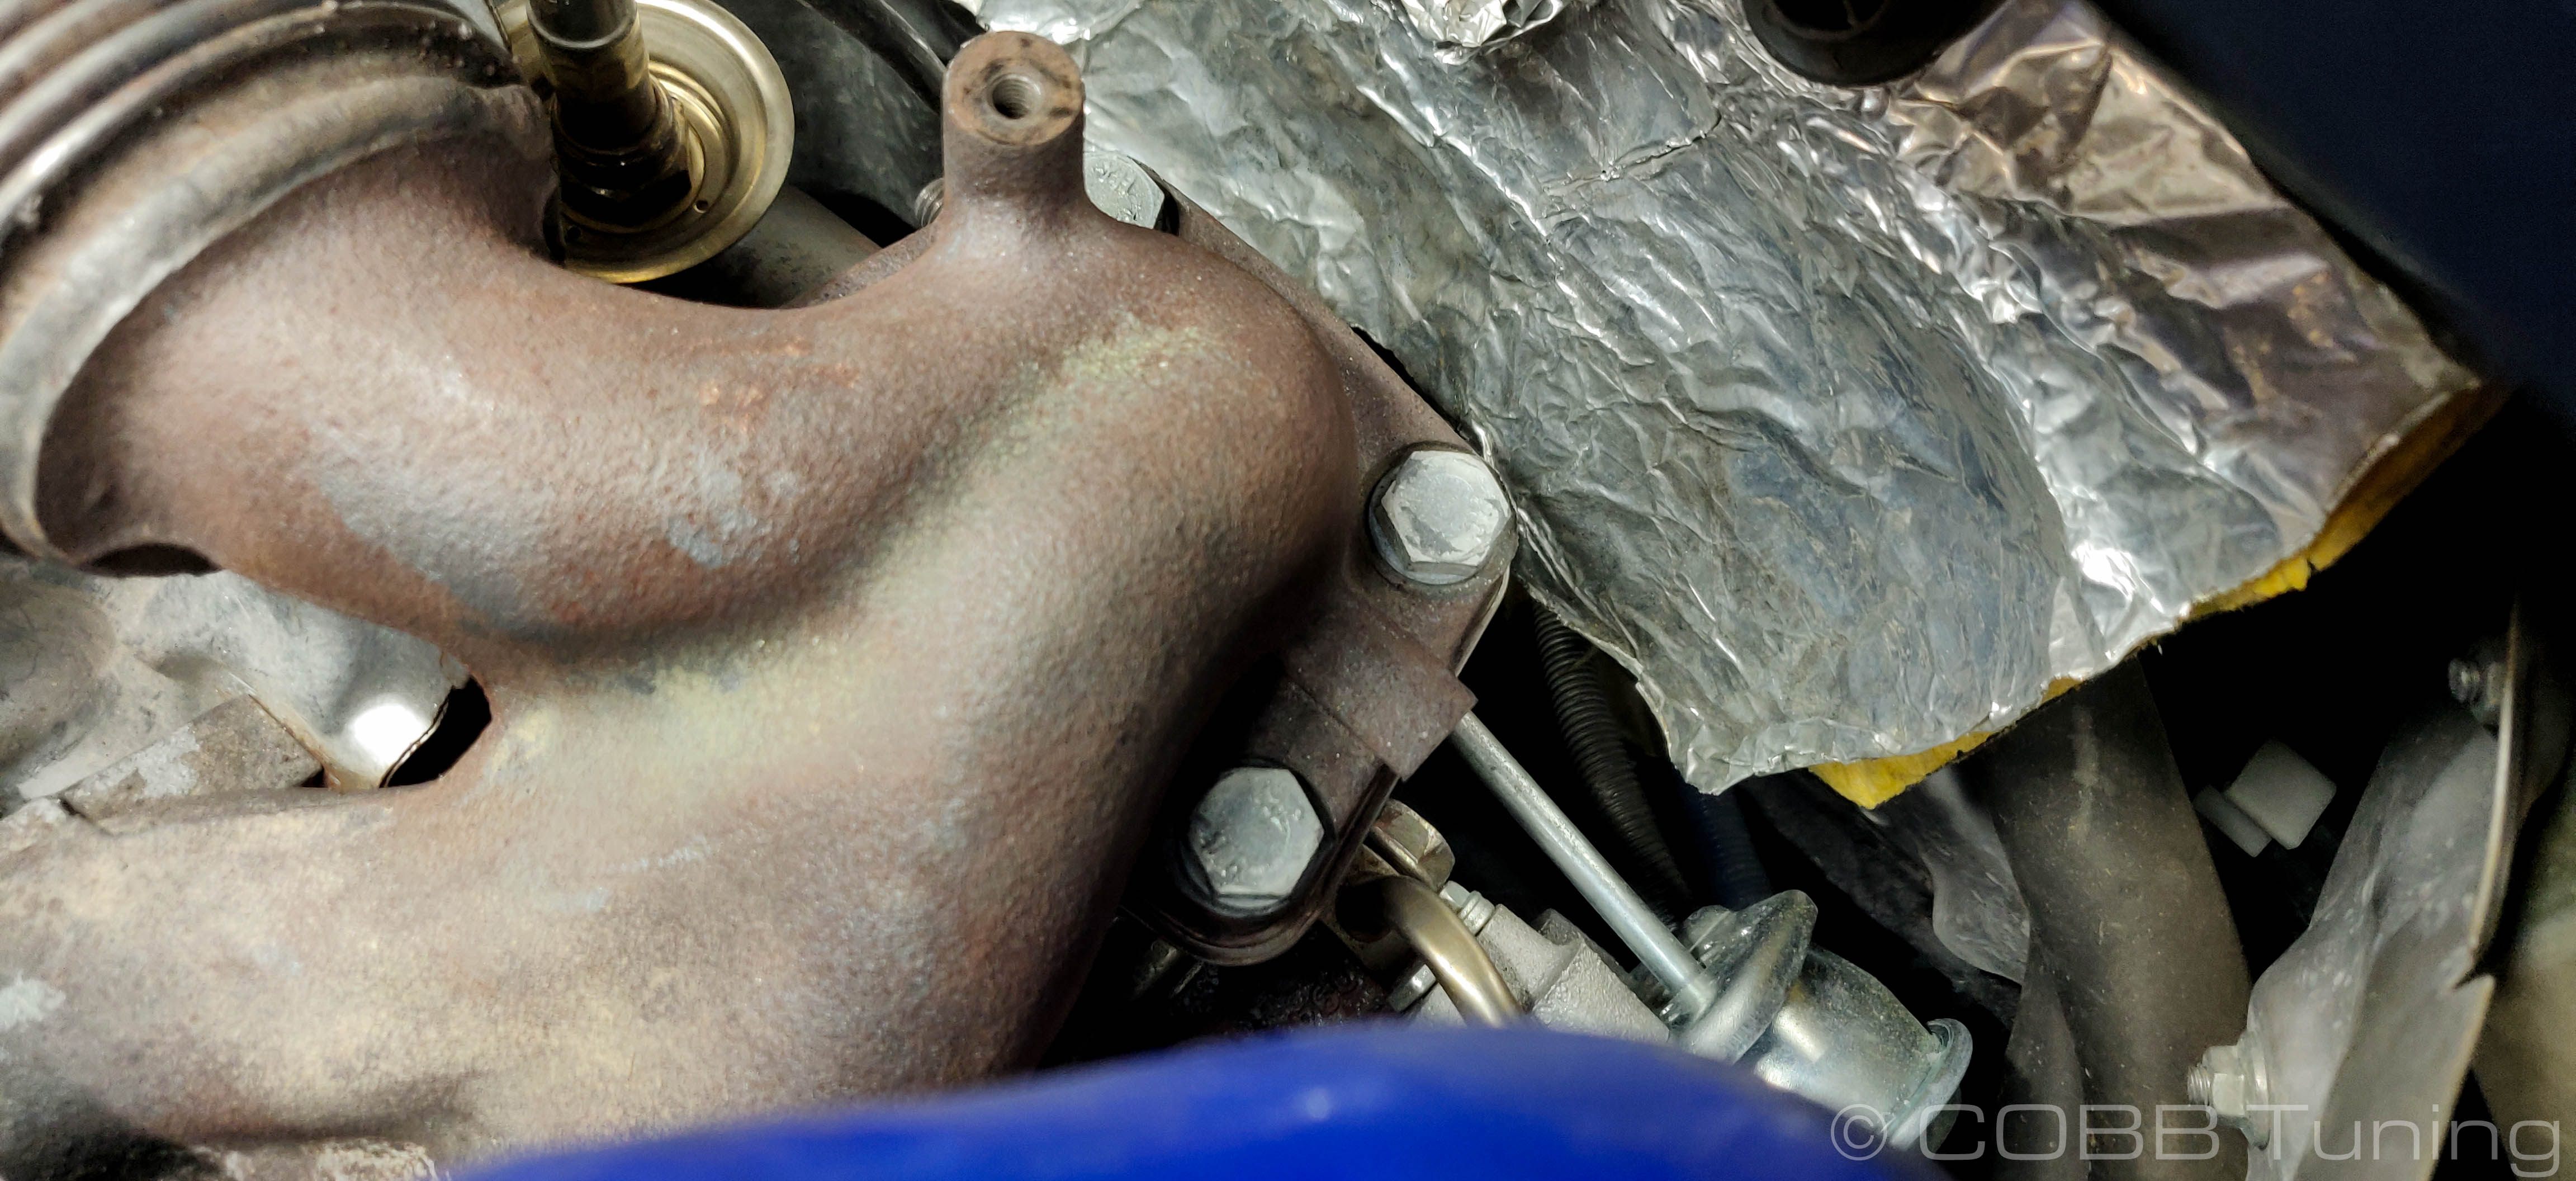
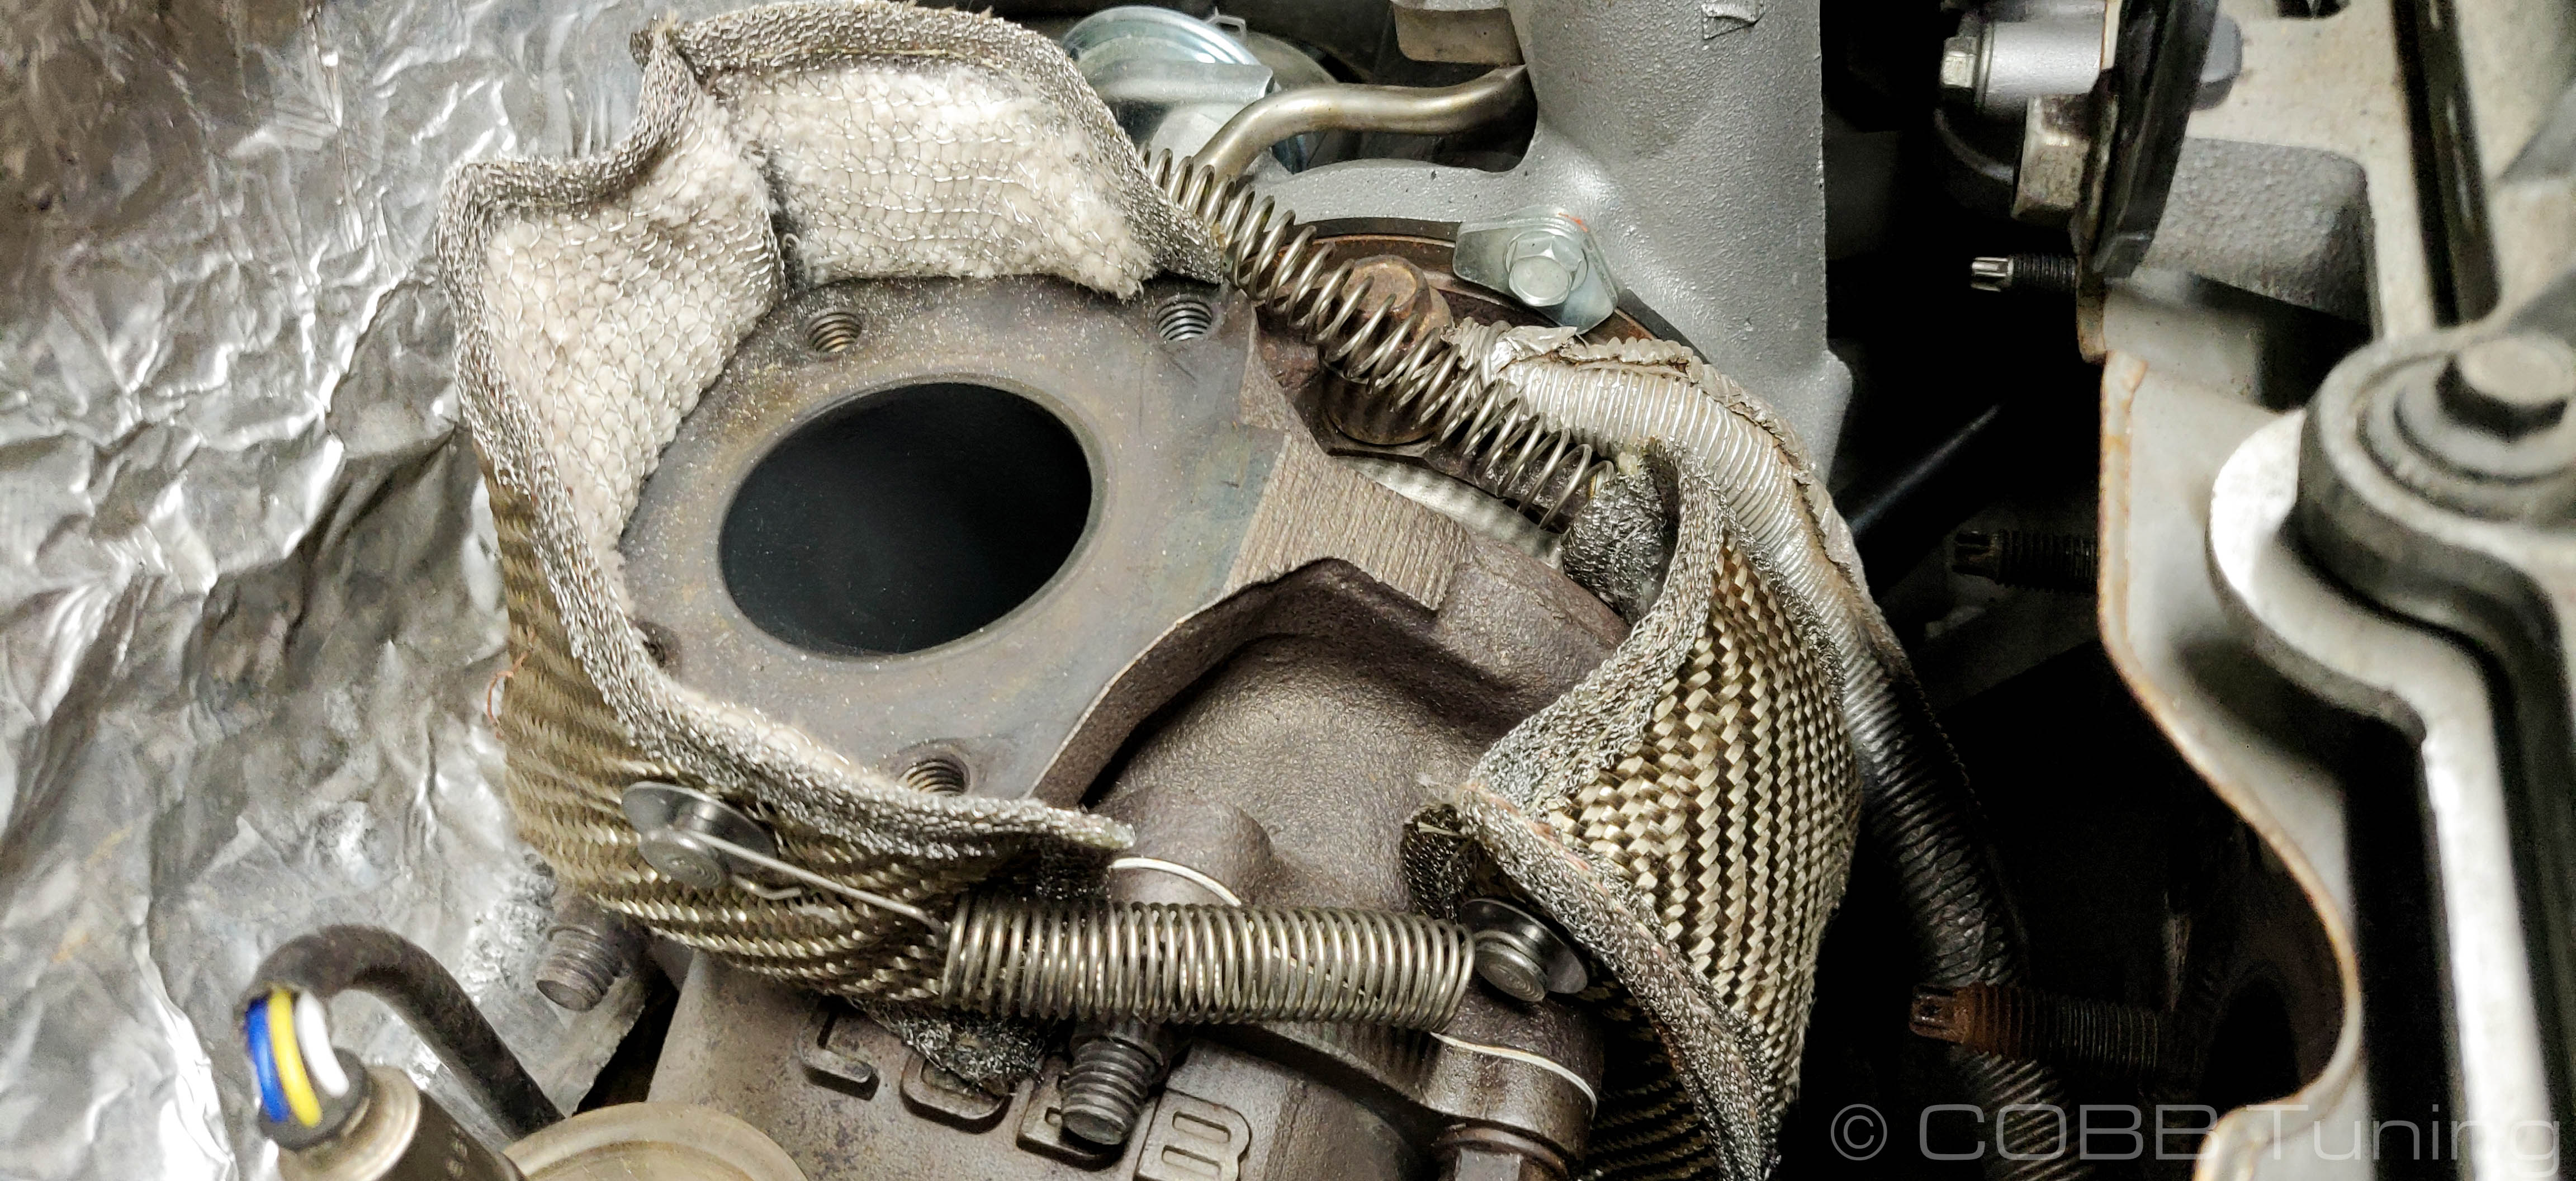
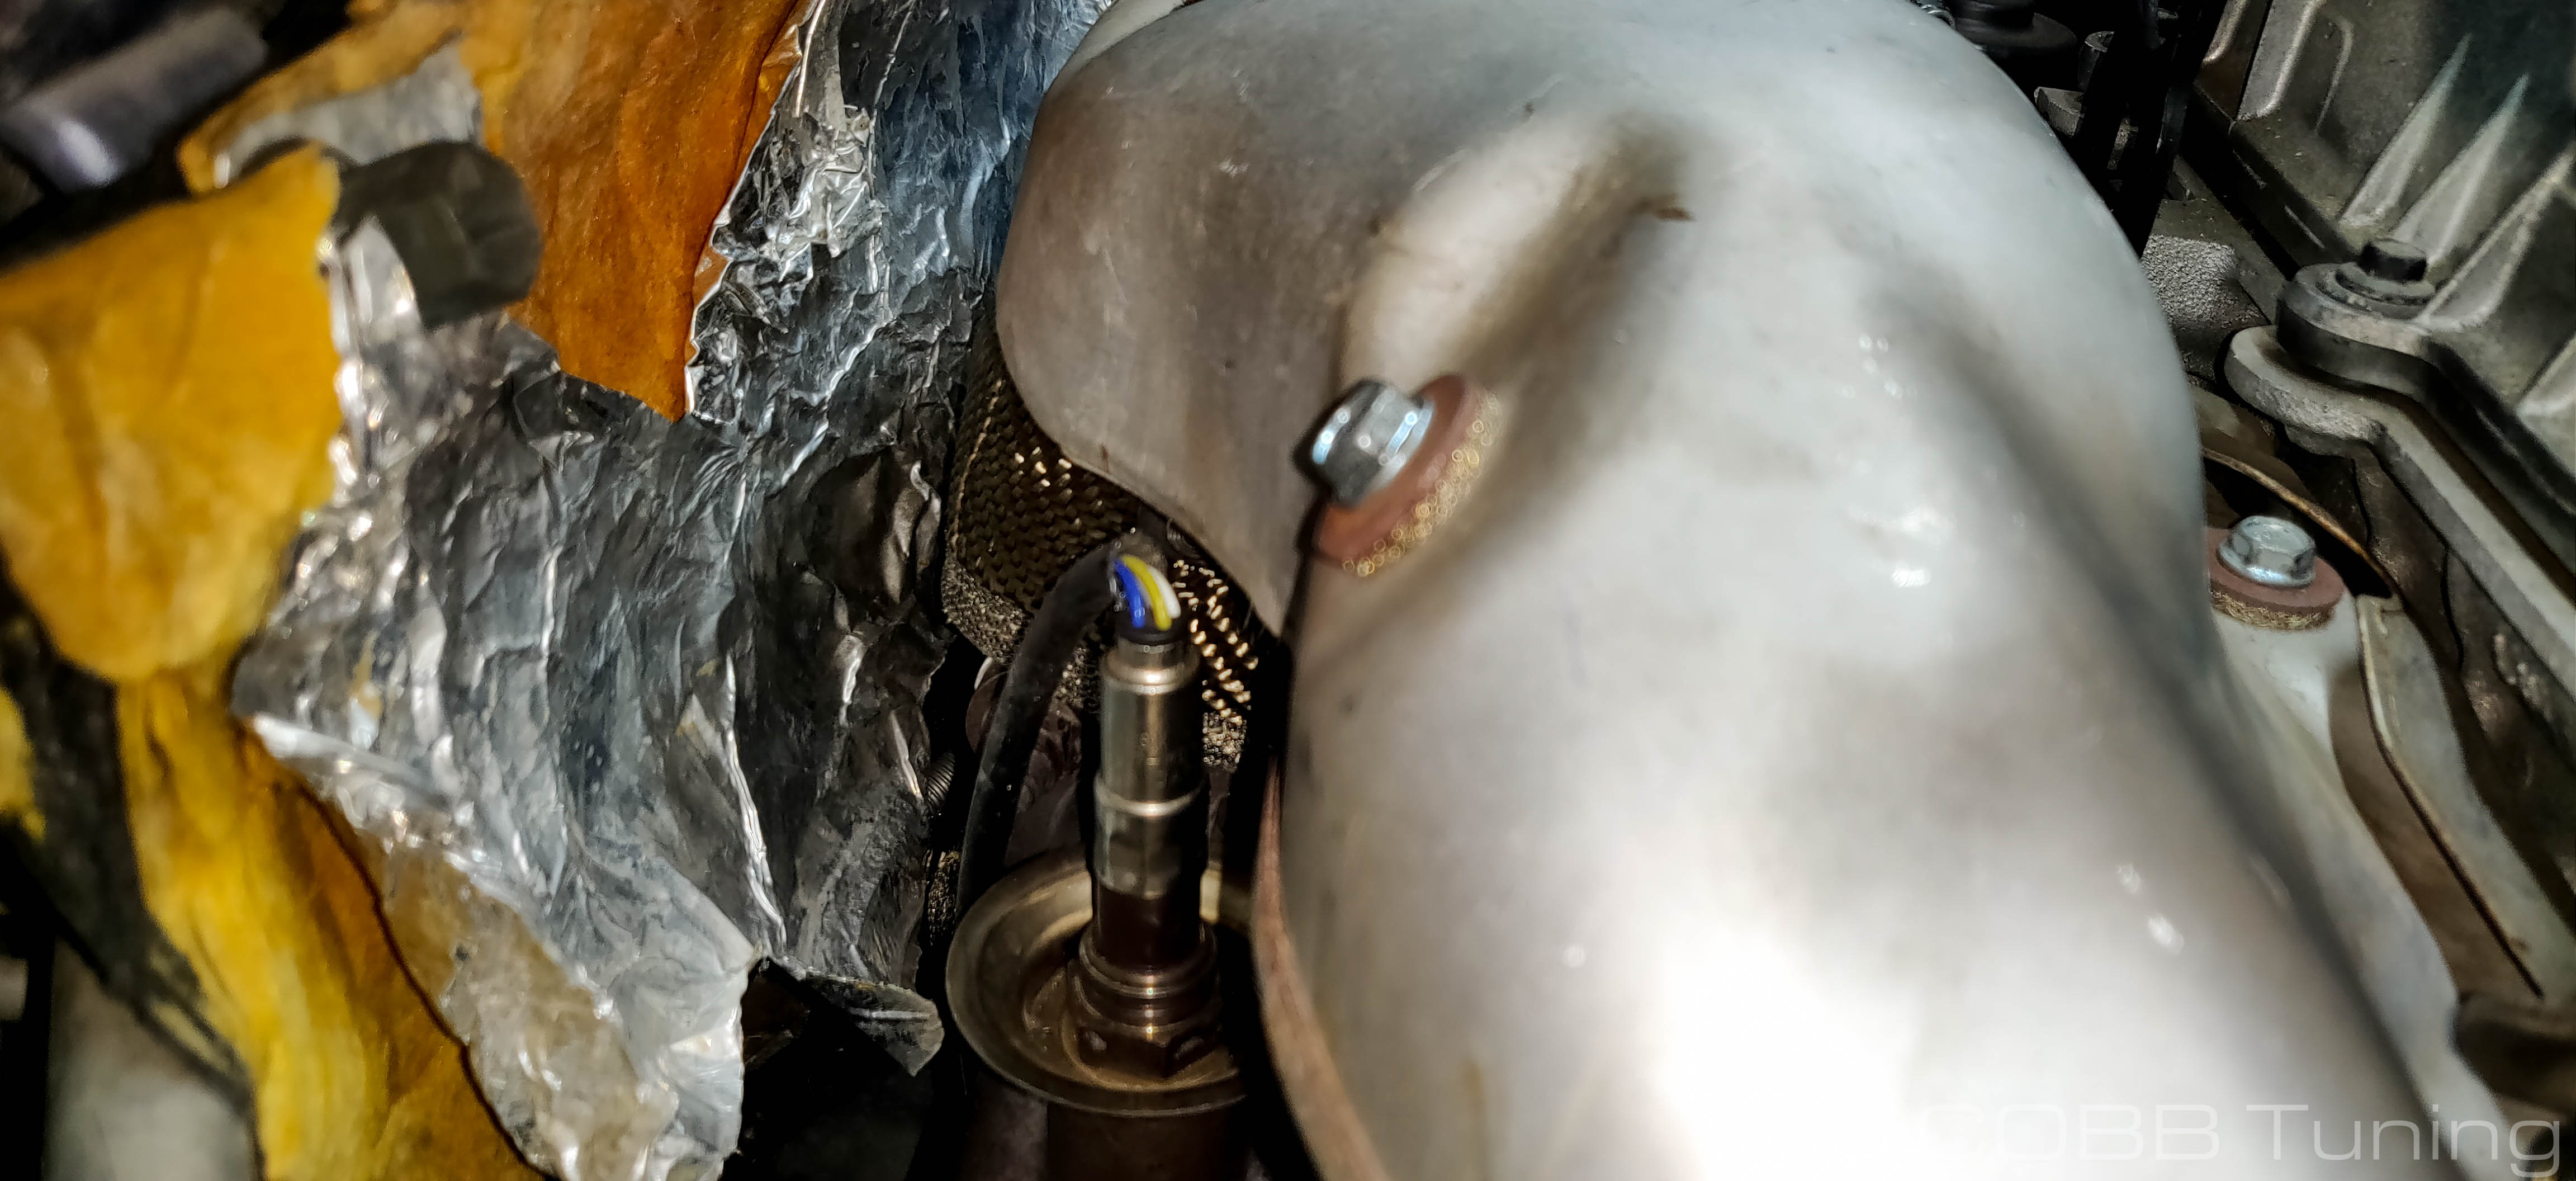
- The side with the log flaps will go around the firewall side of the manifold collector while the shorter sides will sit on the engine side. Fish the blanket around the exhaust housing of the turbo. The cut-out u shape should go around the wastegate actuator

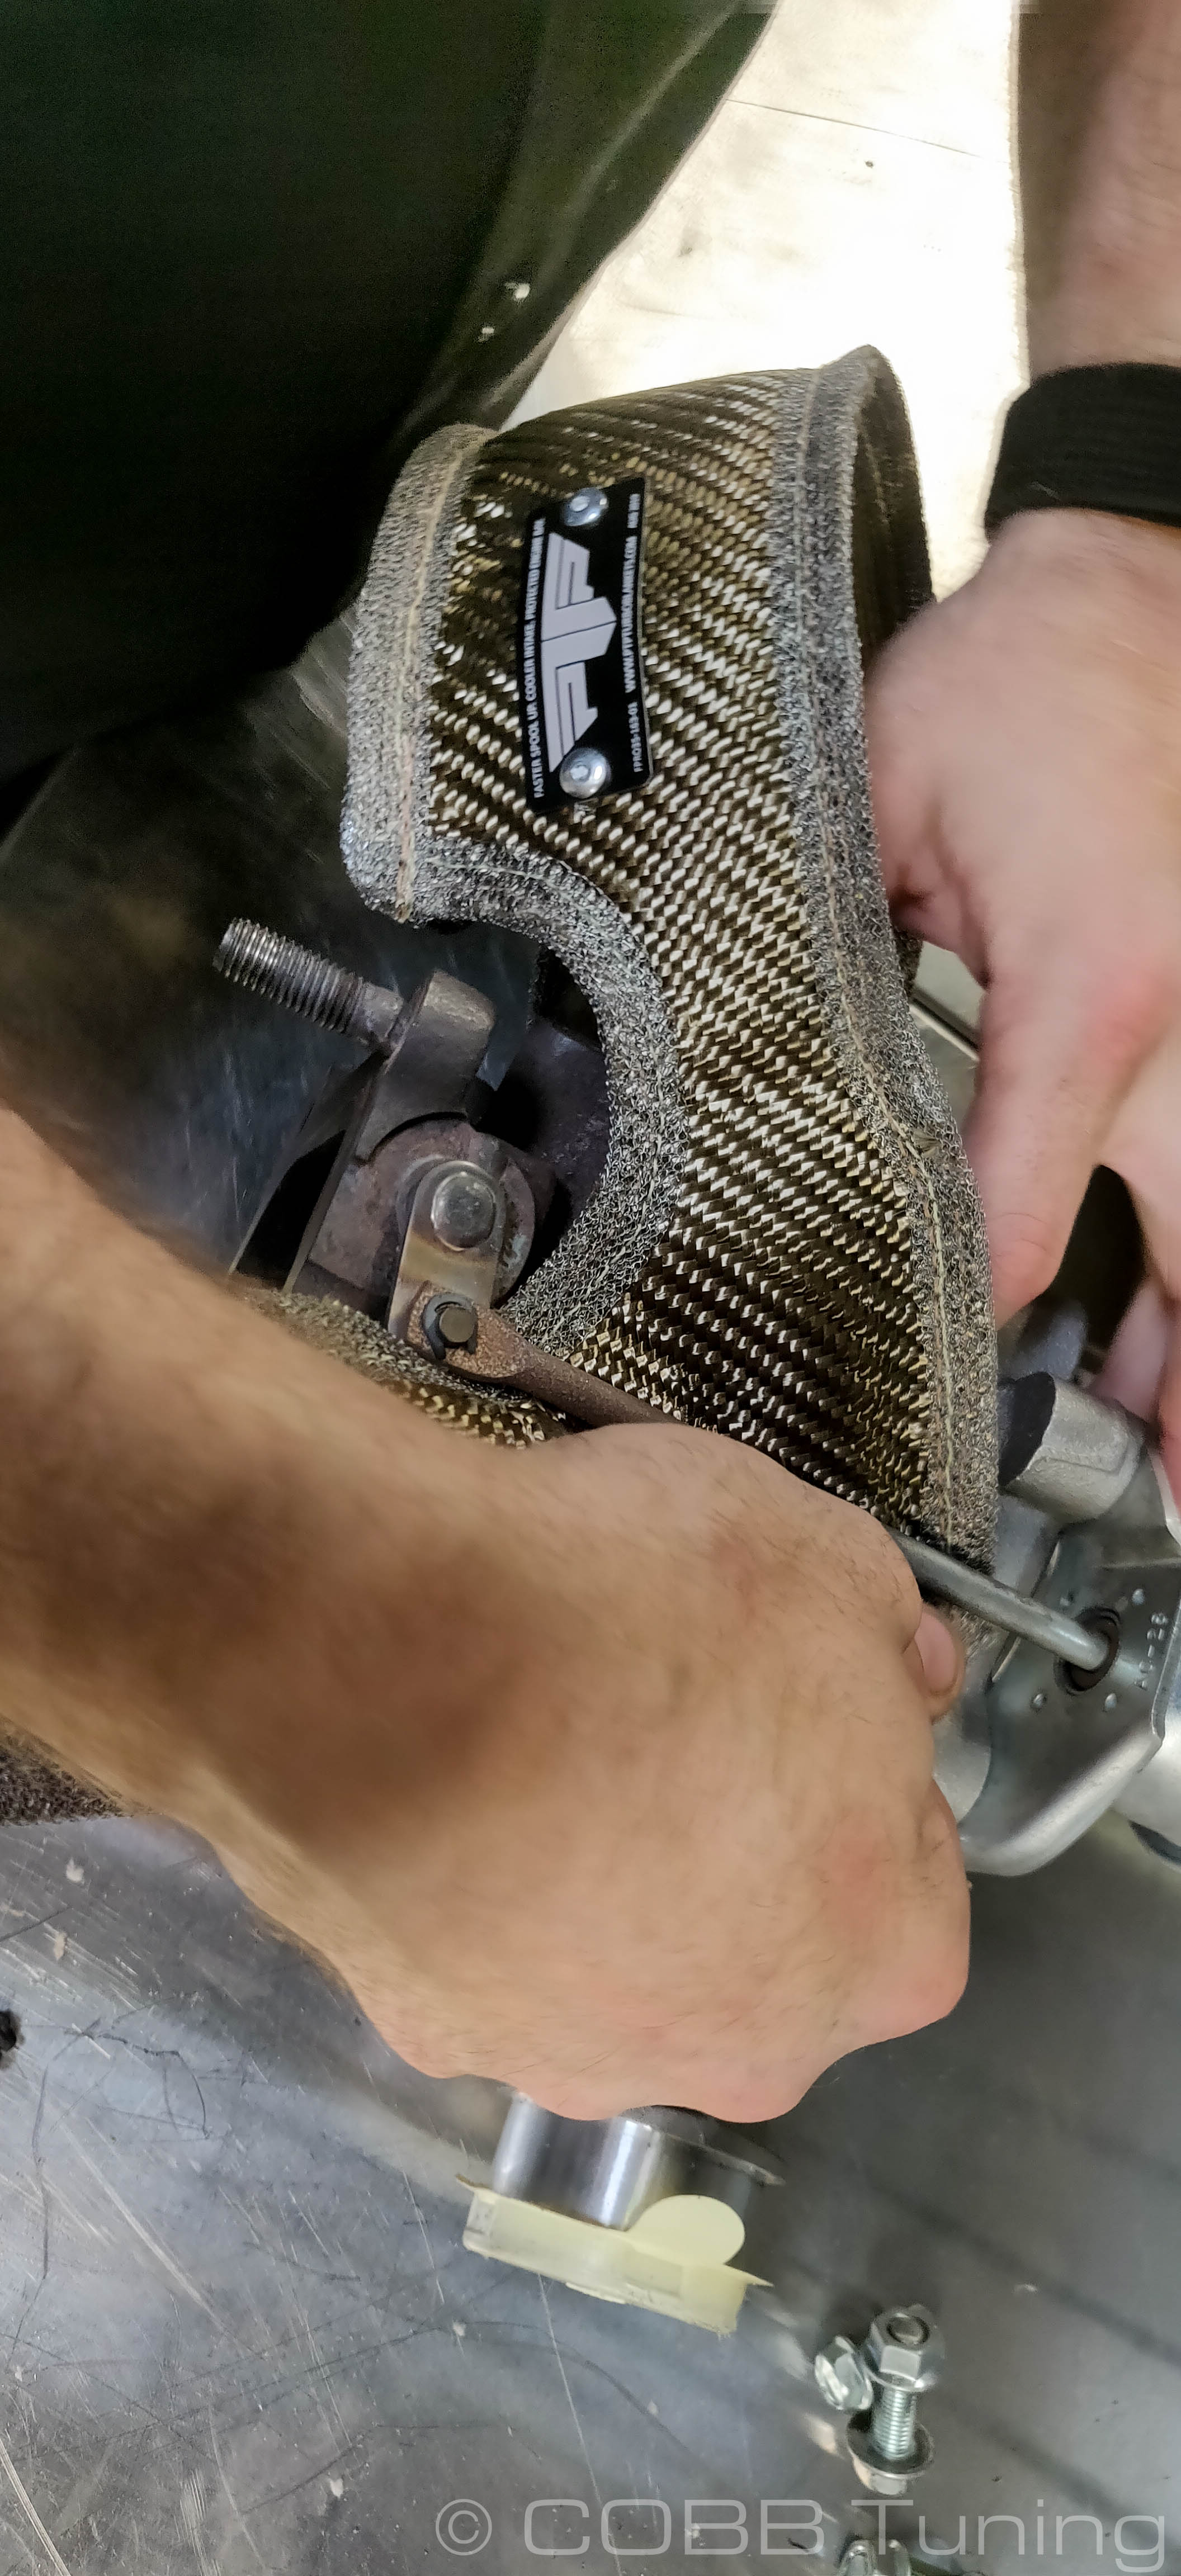


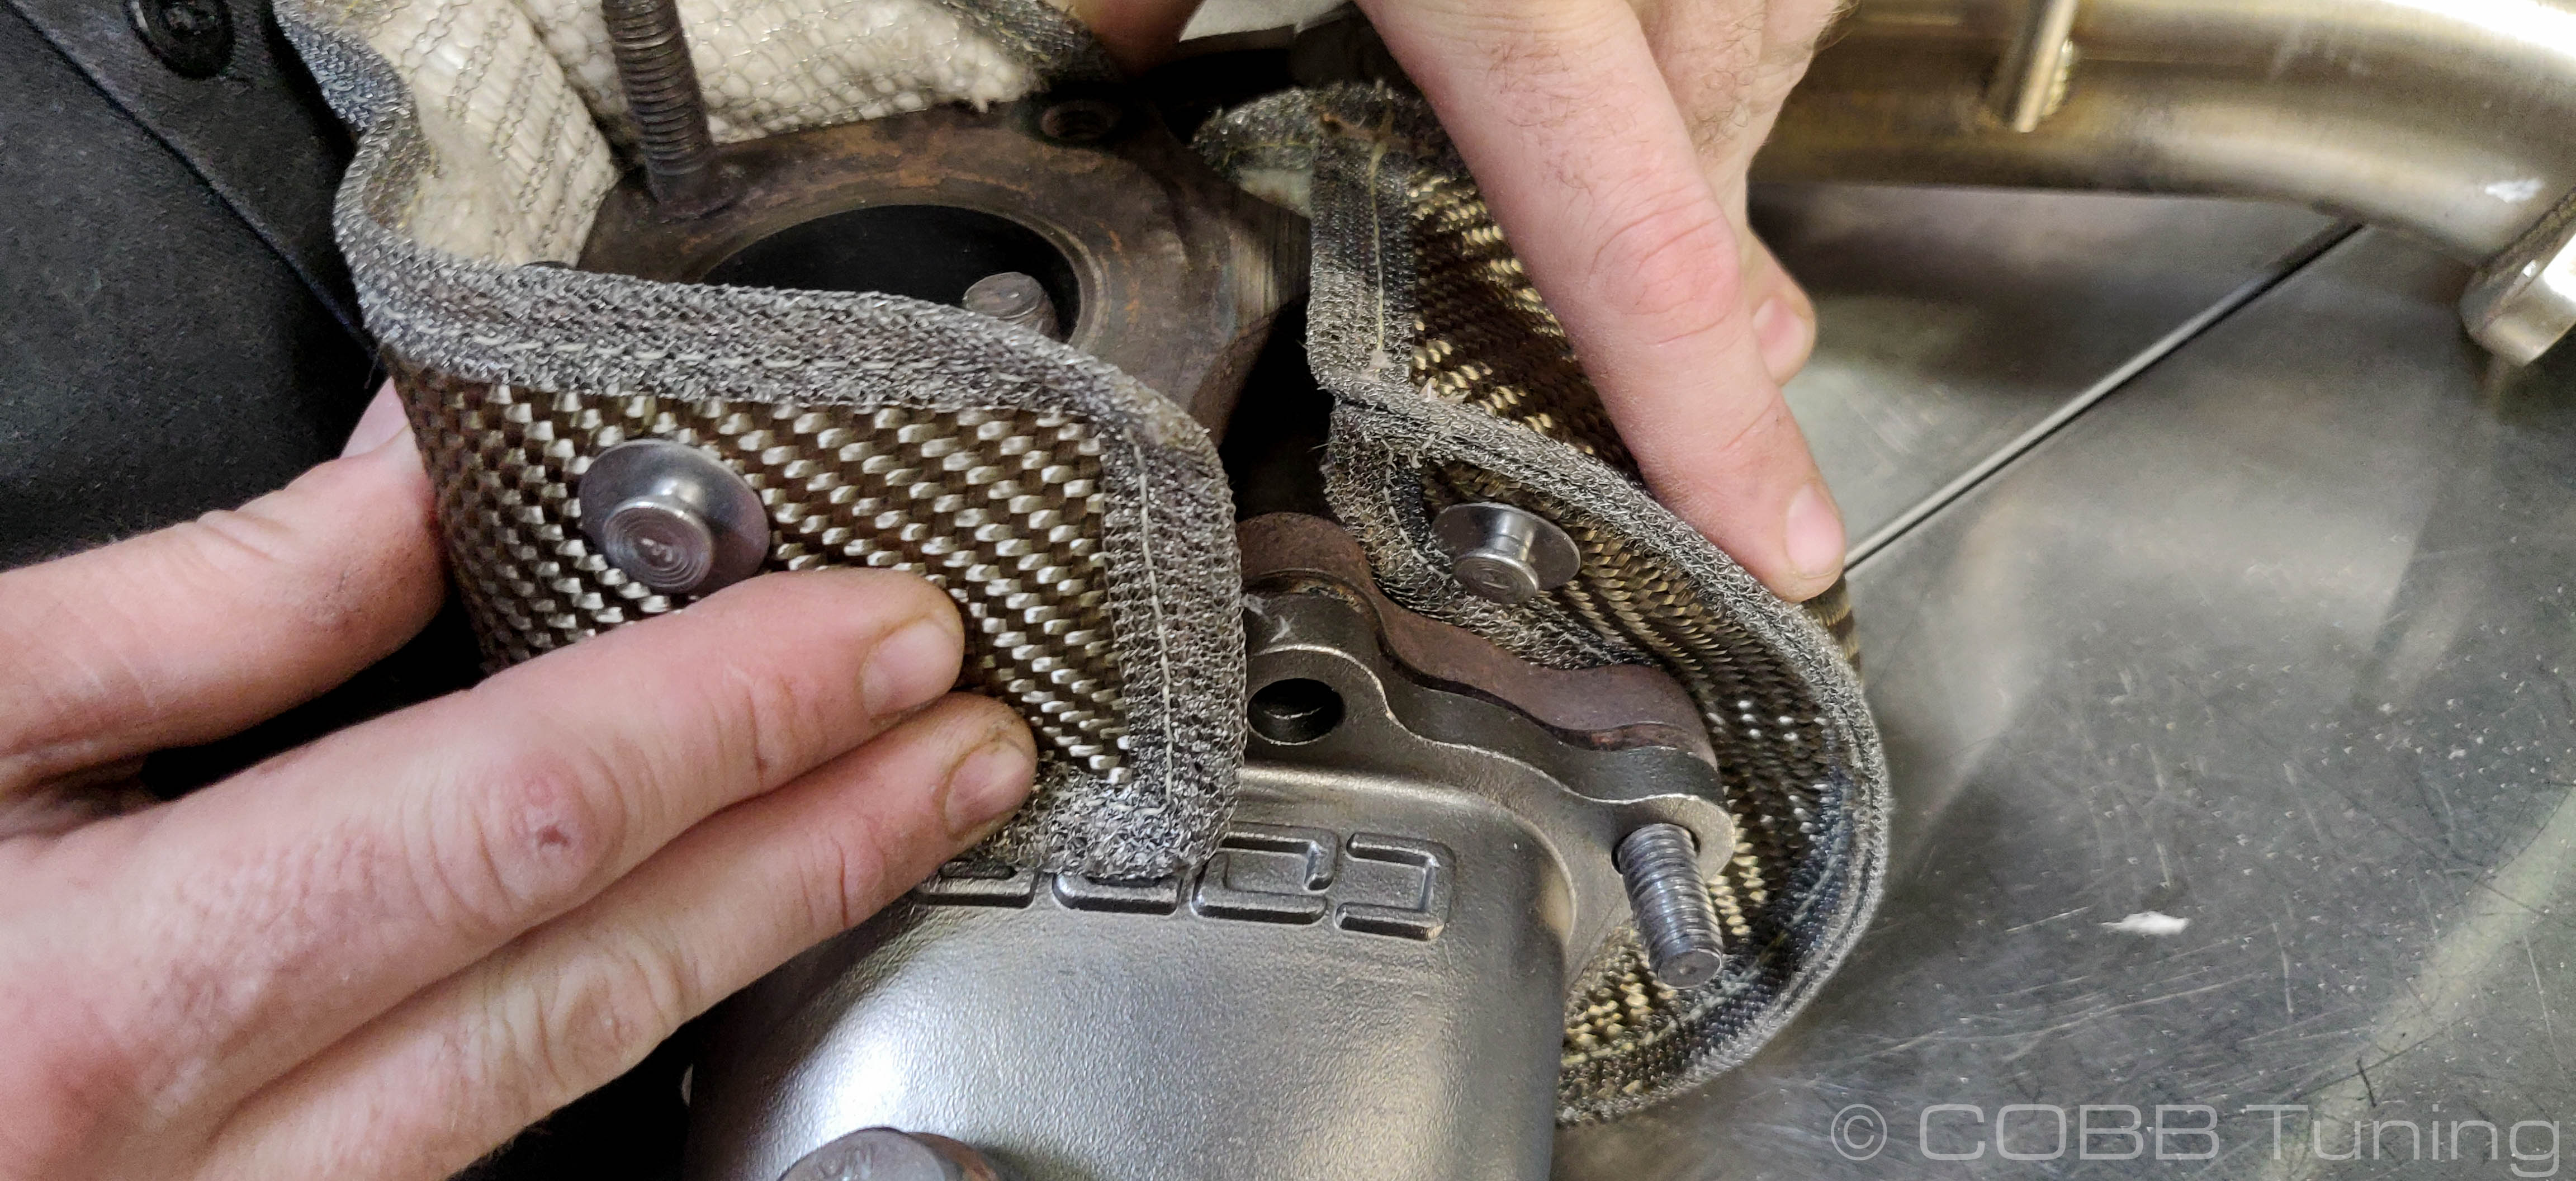
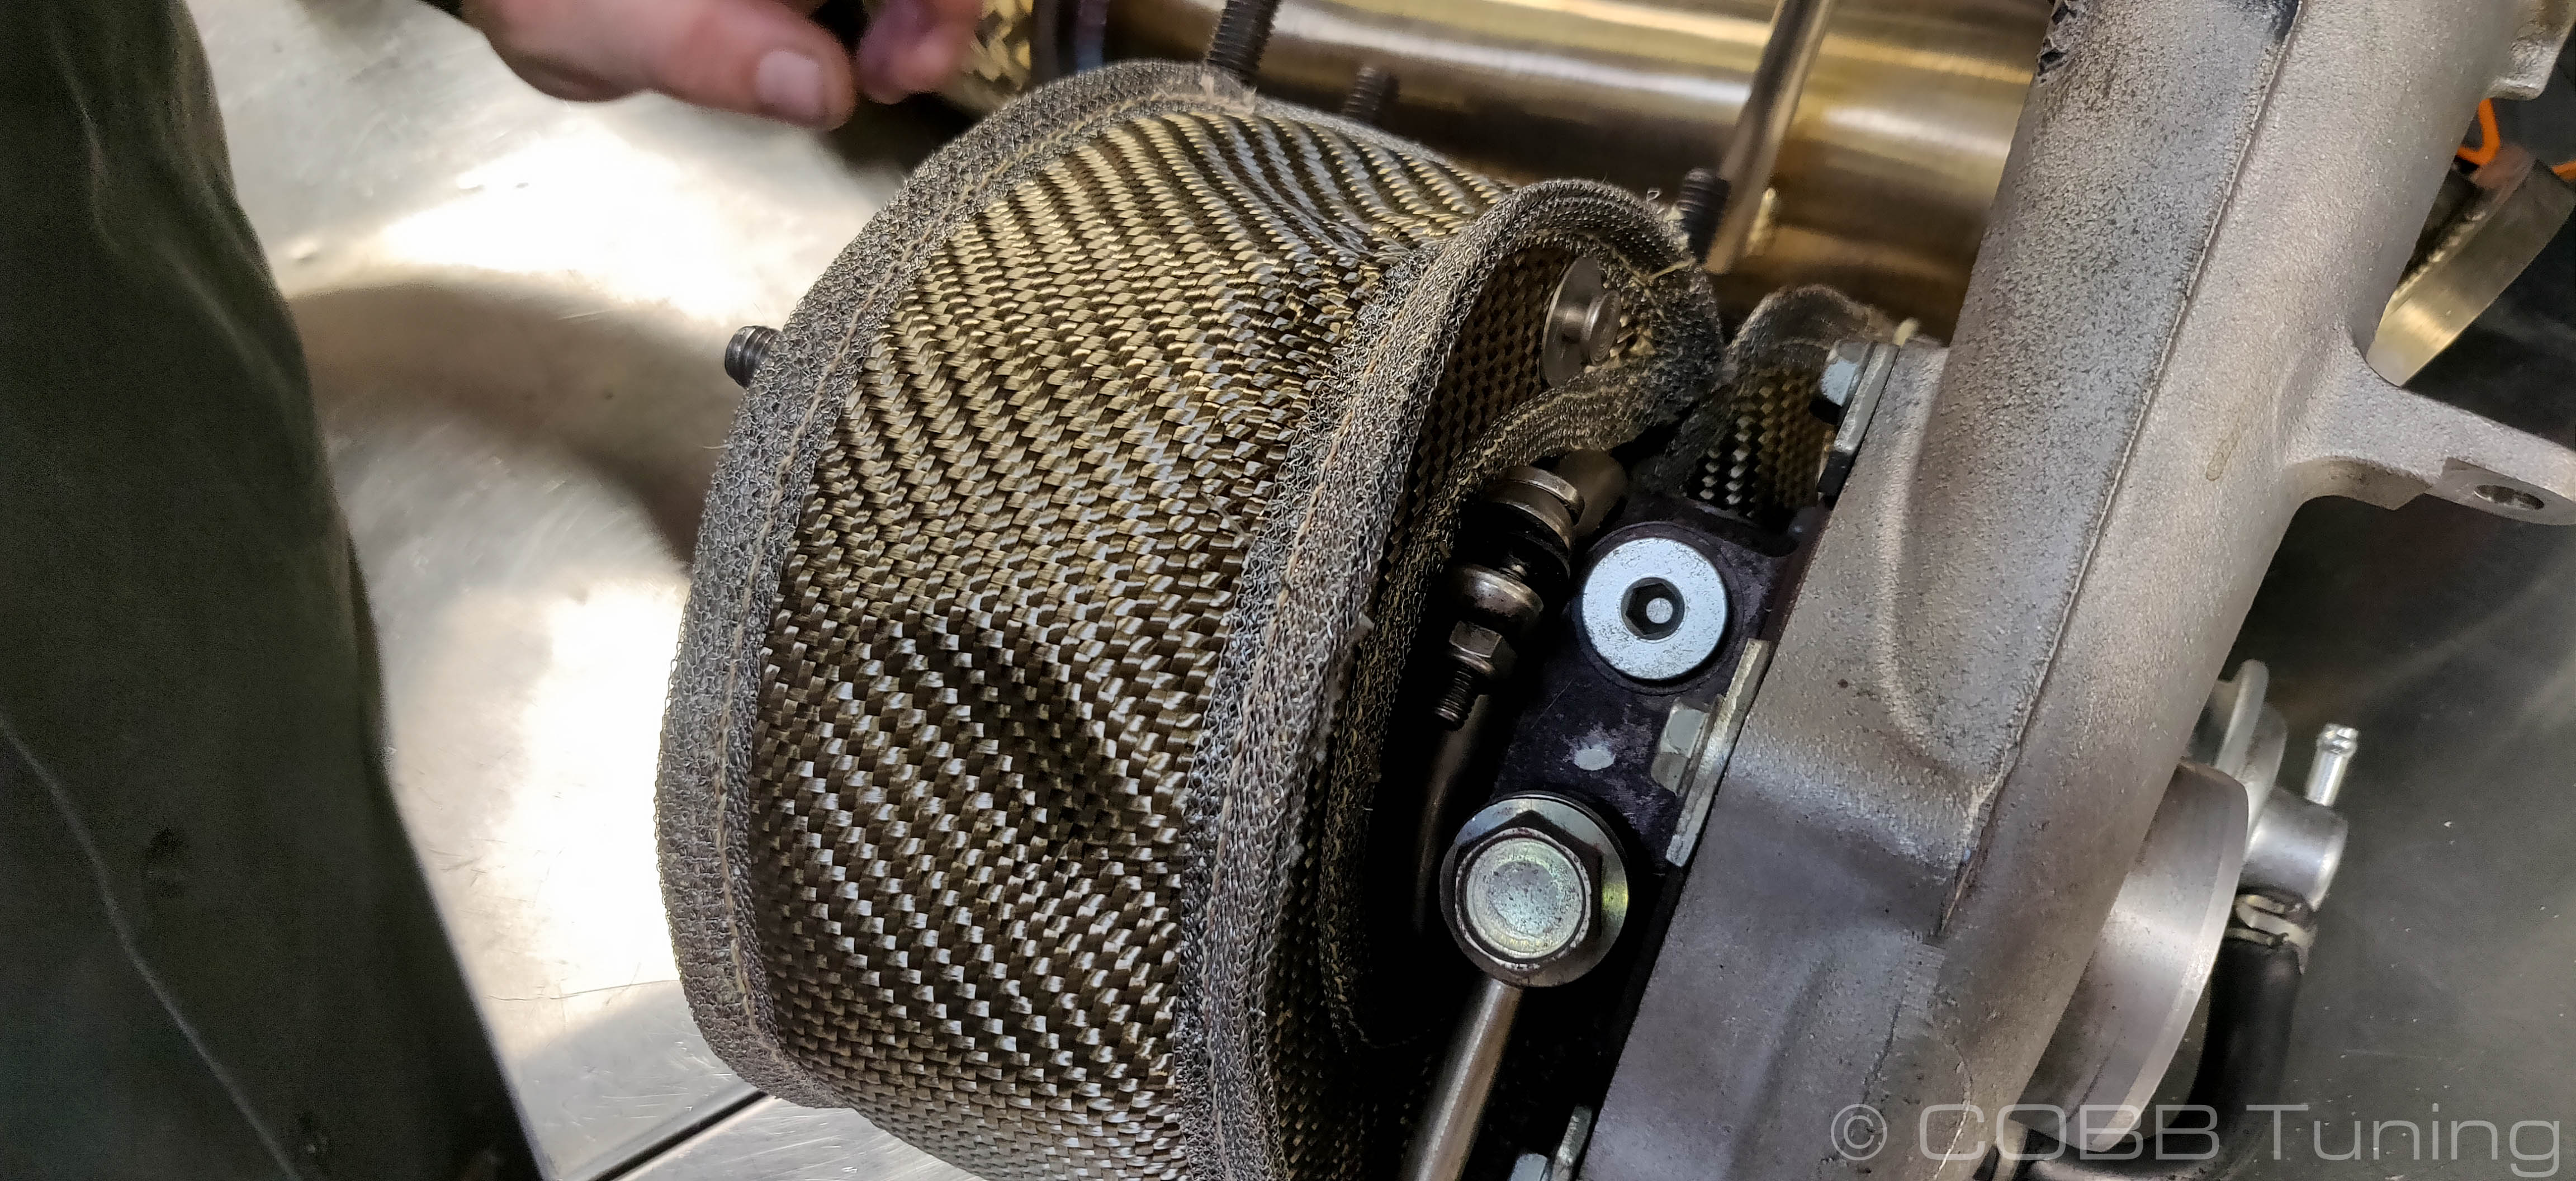
- Using the provided two springs, connect the two halves of the blanket together around the collector. Make sure not to route the springs where they'll interfere with anything.
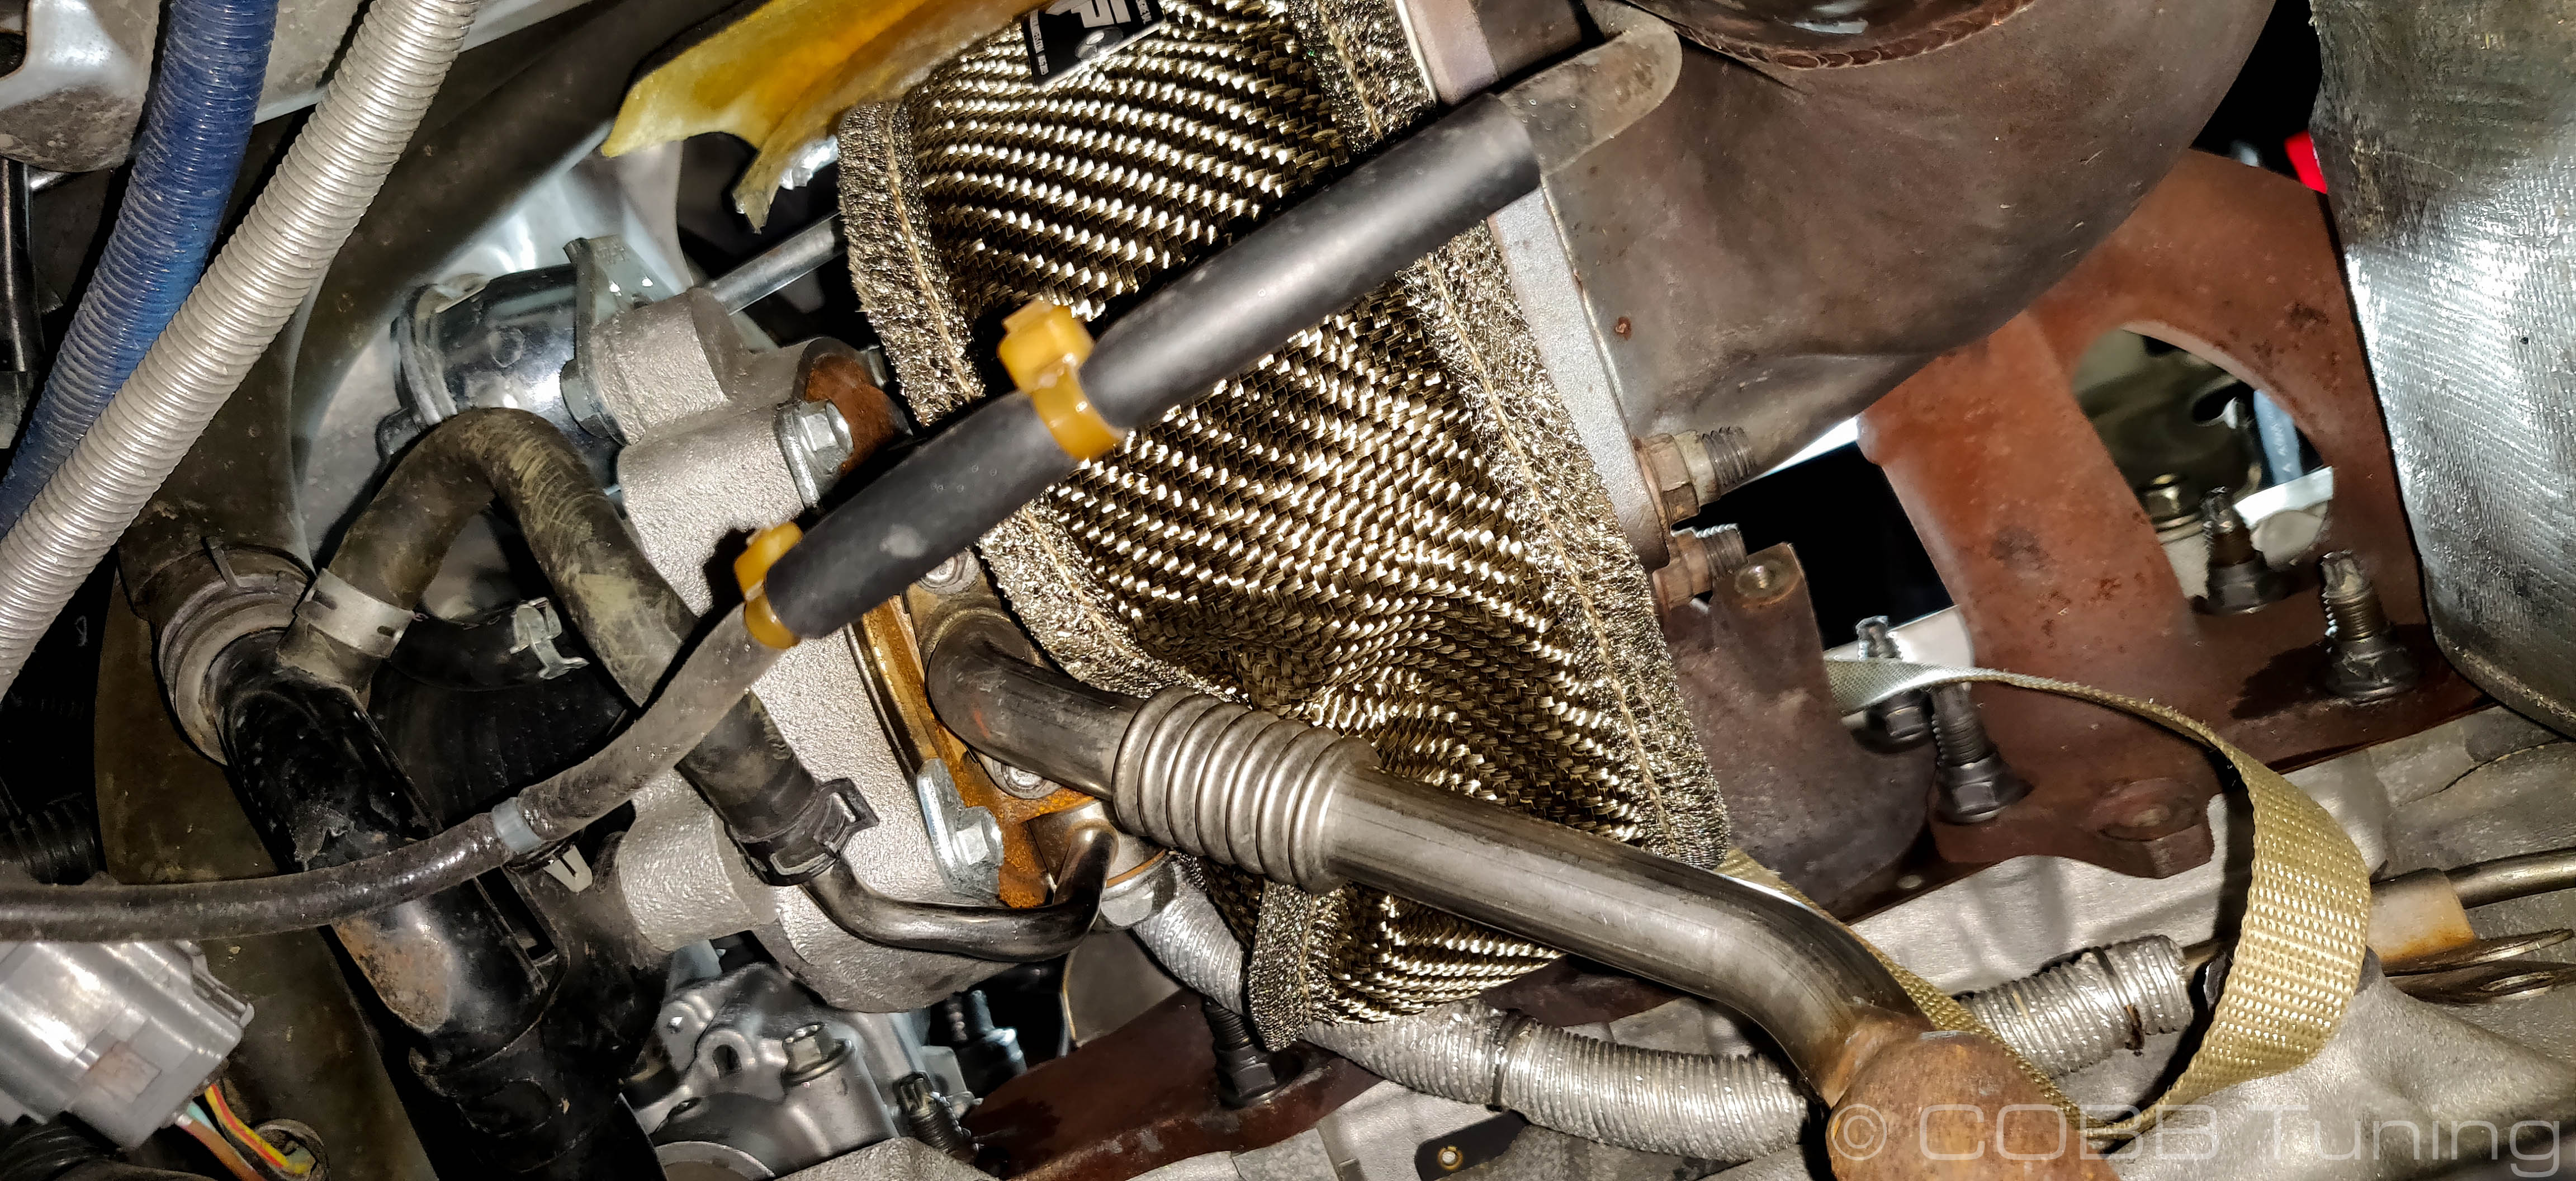
- The turbo heatshields will no longer fit and aren't necessary. You can typically get the manifold heatshield back on easily.
You're all done! Go out and enjoy!
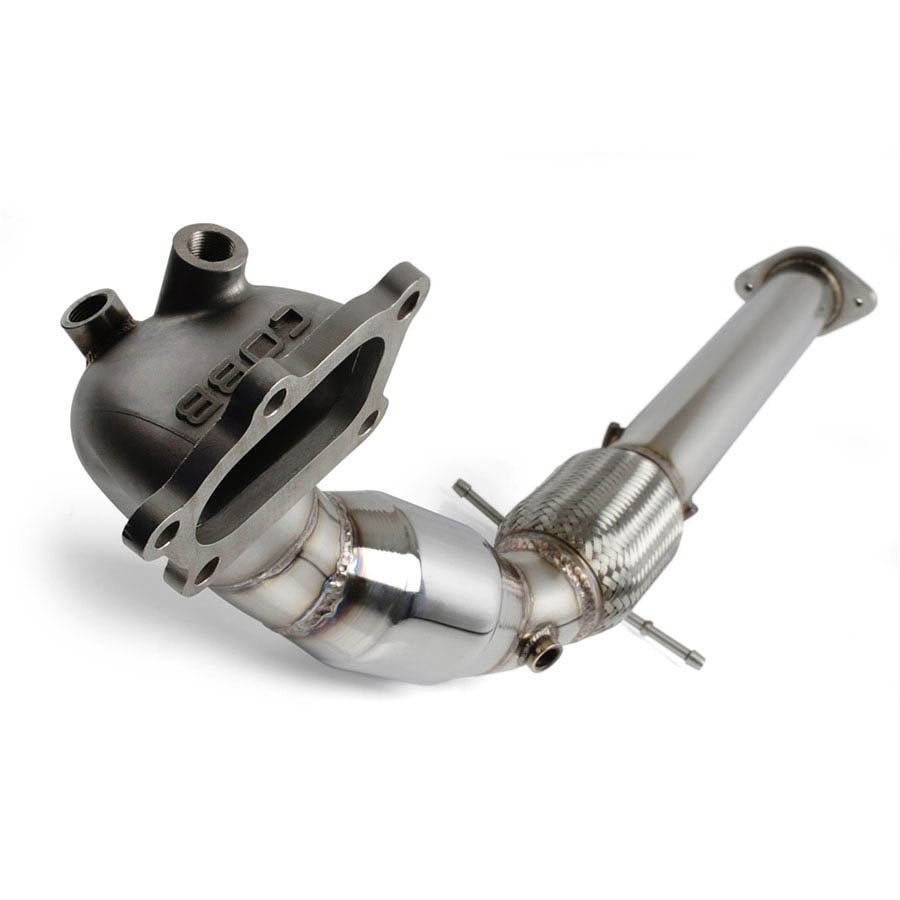
COBB Downpipe Installation
- The side with the log flaps will go around the firewall side of the manifold collector while the shorter sides will sit on the engine side. Fish the blanket around the exhaust housing of the turbo. The cut-out u shape should go around the wastegate actuator

- Using the provided two springs, connect the two halves of the blanket together around the collector. Make sure not to route the springs where they'll interfere with anything.

- The turbo heatshields will no longer fit and aren't necessary. You can typically get the manifold heatshield back on easily.

You're all done! Go out and enjoy!
Note The blanket will likely smoke a little bit the first few times it's its heat cycled. This is normal.
Links
Mazda Installation InstructionsCOBB Product Install Instructions for Mazda Vehicles
Main Installation Instruction Repository for Mazda Parts
Link to Mazda Map Notes to see what map you should be on given the parts you've added
| Insert excerpt | ||||||
|---|---|---|---|---|---|---|
|