COBB Tuning BPV Installation Instructions
712665 – Subaru BPV
2004-2008 Subaru Forester XT
2002-2007 Subaru Impreza WRX
2004-2019 Subaru Impreza WRX STI
Congratulations on your purchase of the COBB Tuning BPV! The following instructions will assist you through the installation process. Please read them BEFORE beginning the install to familiarize yourself with the steps and tools needed. If you feel you cannot properly perform this installation, we HIGHLY recommend you take the vehicle to a qualified and experienced automotive technician.
Table of Contents
Parts List
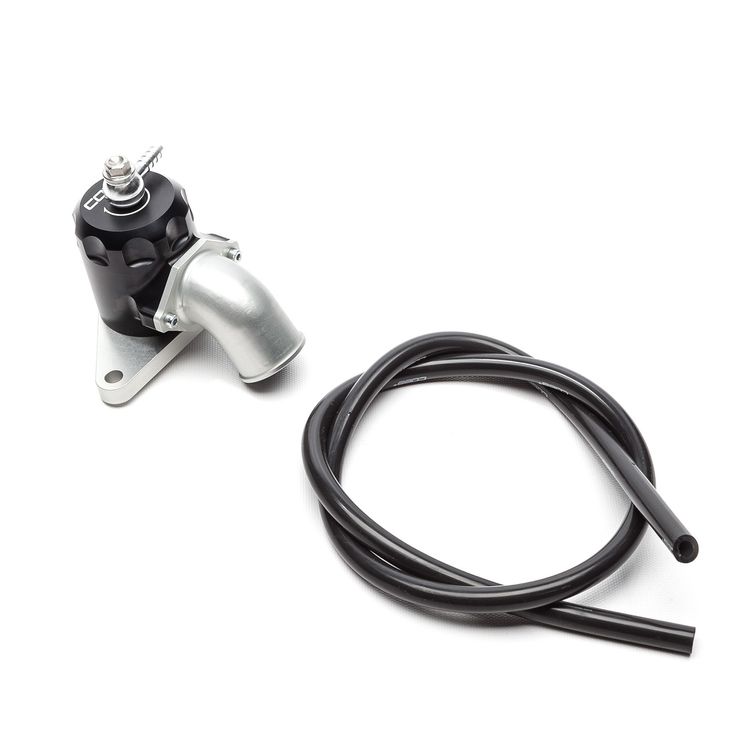
- BPV
- 6mm COBB Vacuum Hose
- Zip Ties
Tools Needed
Sockets
3/8"
Hand Tools
Stock BPV Removal
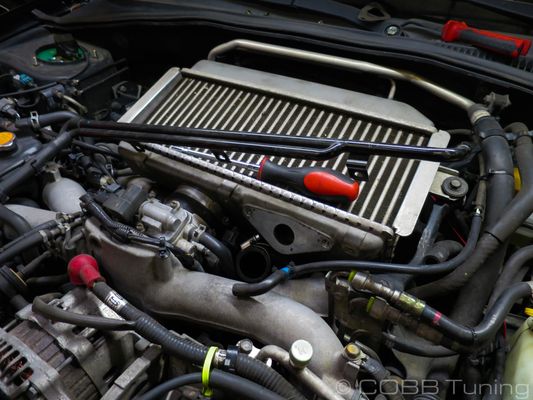
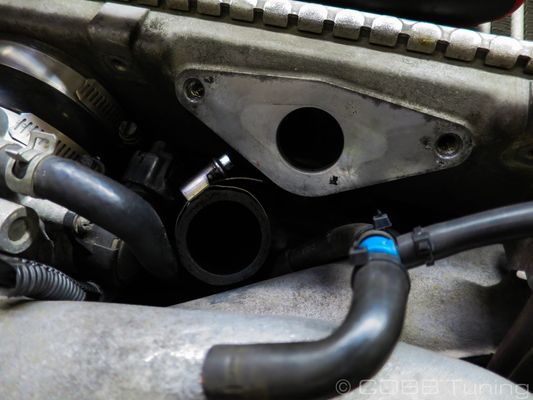
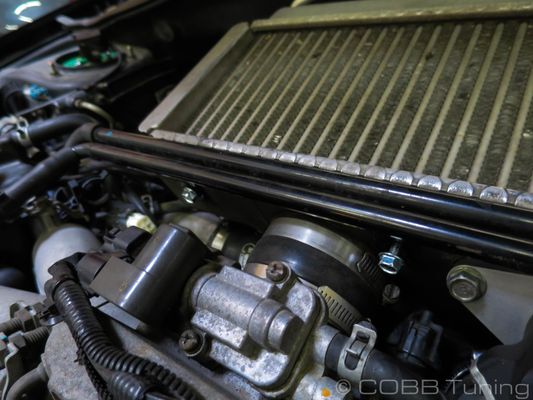
- Remove the three 10mm bolts holding the PCV crossover tube in place.
- Pull it out of the hose on one end then turn it over to the other side and out of the way (Or remove entirely).
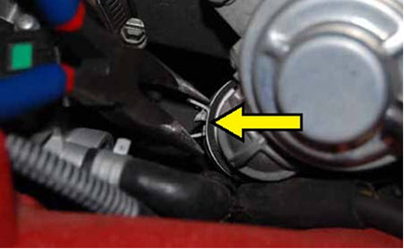
- Remove the spring clamp (or zip tie in our case) holding the stock manifold reference line in place.
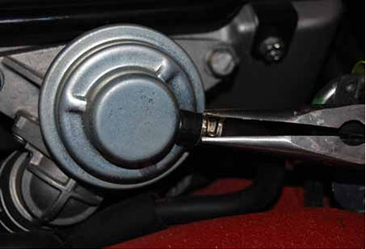
- Using a pair of pliers, remove the return line from the bypass valve. Each application is a bit different.
- Using a 10mm or 12mm socket with ratchet or 10mm or 12mm open end wrench (depending on application), remove the 2 bolts that hold the bypass valve in place.
TIP: Make sure to keep an eye on the factory gasket behind the BPV. They can fall when you remove the valve and end up in difficult to reach locations!
COBB BPV Installation
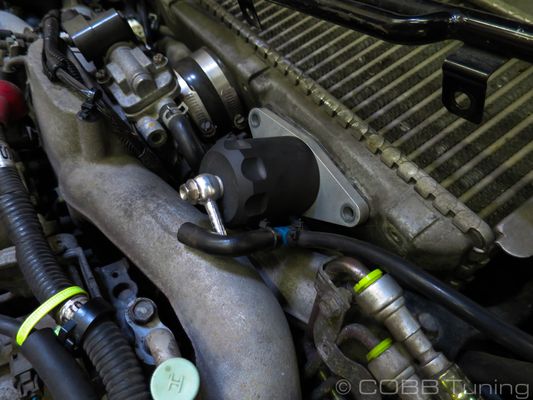
- Insert the BPV into the recirculation hose. Sometimes it can help to have a screwdriver or other object to hold the hose in place from underneath.
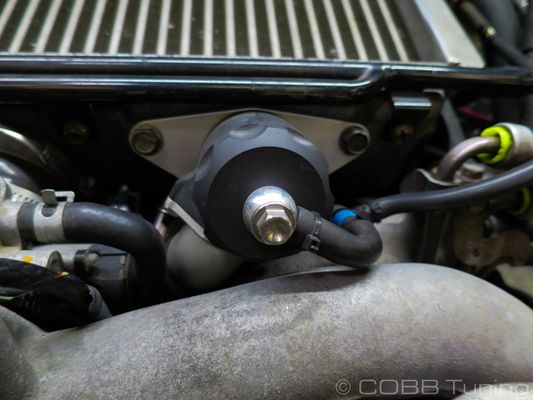
- Slip the gasket (if your model requires one) in between the BPV and the intercooler then begin hand tightening the two 12mm bolts on the flange.
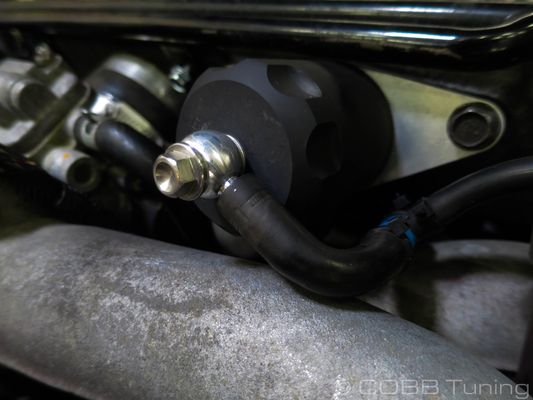
- Install the manifold reference line to the top barbed fittings.
- Install a hose-clamp or zip tie to hold it in place properly.
- Reinstall the PCV crossover tube with the three 10mm bolts.
- You're all done! Go out and enjoy.
Please place the included CARB EO Sticker in a Clean, Visible Location.
Contact Us:
COBB Customer Support
Web Support and Tech Articles: COBB Tuning Customer Support Center
Email: support@cobbtuning.com
Phone support available 9am to 6pm Monday-Thursday. 9am to 4pm Friday (CST)
866.922.3059

