
Part Number – Part Name
Vehicle Coverage
[placeholder]
Congratulations on your purchase of the COBB Tuning xxxxxxxxxxxxx! The following instructions will assist you through the installation process. Please read them BEFORE beginning the install to familiarize yourself with the steps and tools needed. If you feel you cannot properly perform this installation, we HIGHLY recommend you take the vehicle to a qualified and experienced automotive technician.
IMPORTANT! Installing this kit will require custom tuning or utilizing an appropriate Stage Power Package map if you have a matching mechanical configuration. Please consult with COBB or an authorized ProTuner in your area if you have any questions!
Table of Contents
Parts List
Tools Needed
Sockets
3/8"
Hand Tools
Wrenches
Stock Component Removal
- Park your car in a flat, level place and allow it to cool down completely.
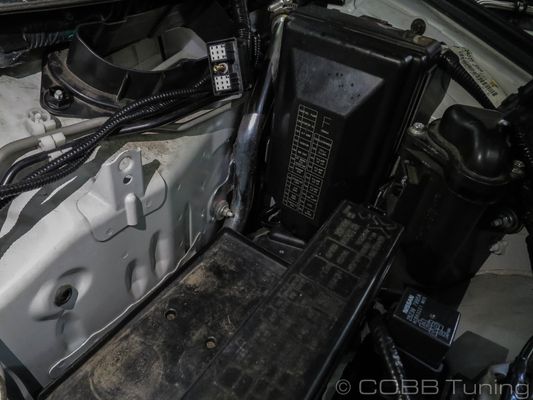
- Remove the battery cover.

- Remove the sealing strip from along the top.

- Using your trim tool, pop out the 5 trim clips around the battery cover panel and remove it from the car.

- Now remove the Brake booster cover along with the 5 trim clips on that cover.
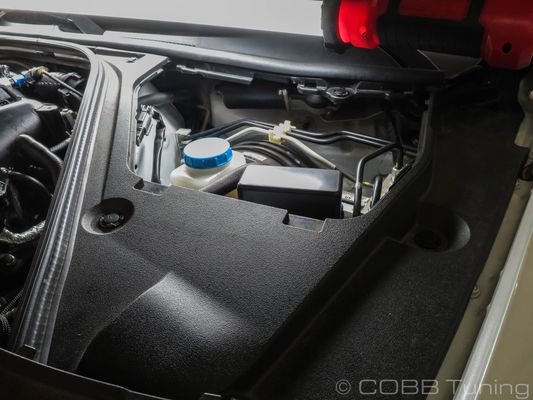
- Remove the last two clips holding the battery cover section to the windshield and remove that component as well.

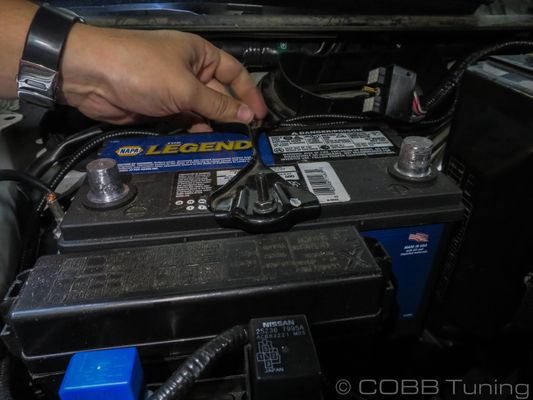
- Using a 10mm wrench remove the negative battery terminal from the battery.
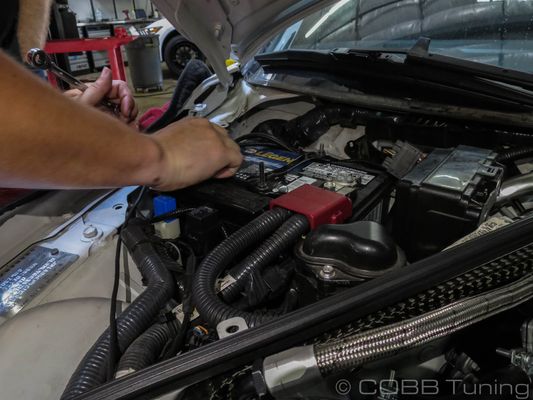
- Now remove the positive terminal.
- Using your deep 10mm socket remove the battery tie down.
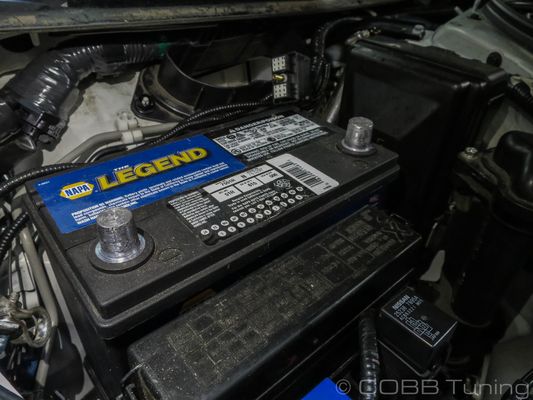
- Now remove the battery from the car.
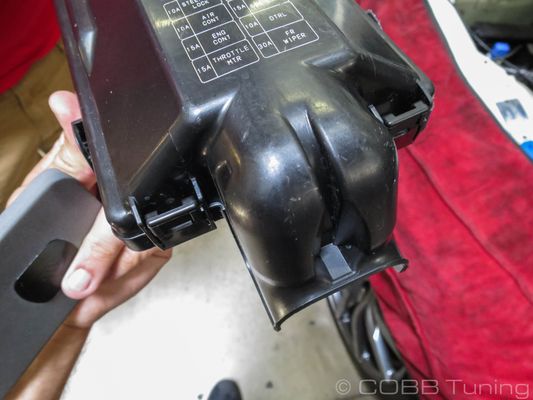
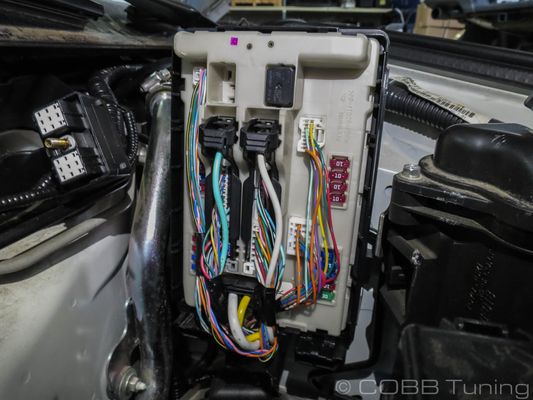
- Press down on the two tabs at the top of the power management unit and pull upwards to release it from it's bracket.
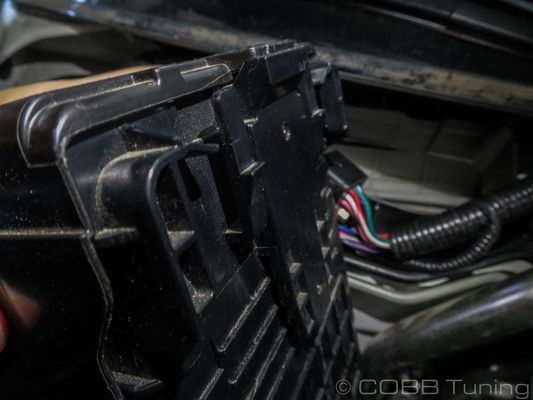
- Squeeze the two tabs on the bottom of the cover to remove it.
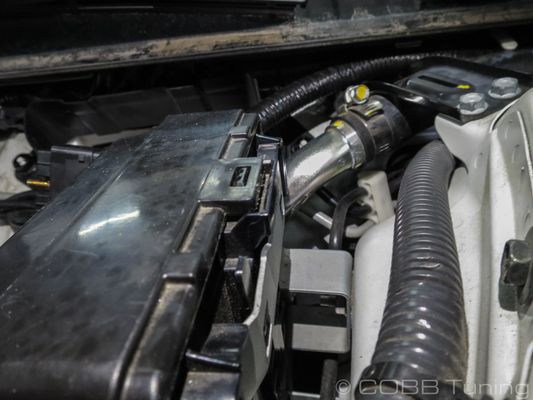
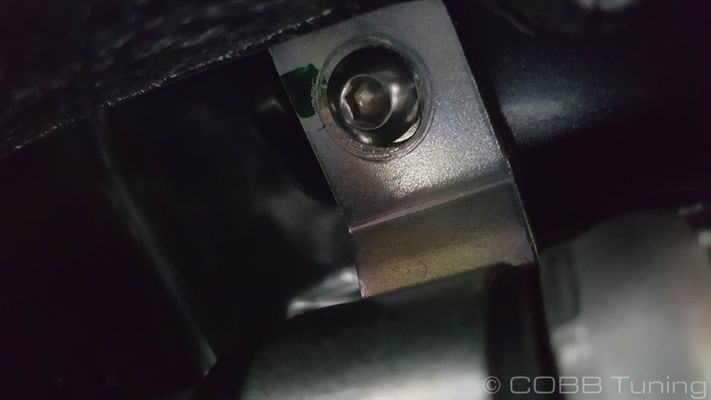
- Remove the single 10mm bolt from the bracket retaining the AC line to the firewall near the brake-booster.
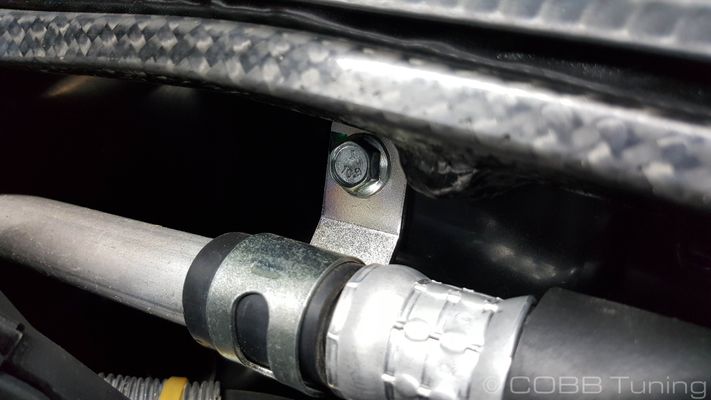
- Go ahead and replace that bolt with the longer 4mm Allen-head bolt you received with the kit.
- Squeeze the two sides of the plastic clip holding the nearby wiring harness into place.
Gateway Installation
Links
NISSAN CALIBRATION SUPPORTCOBB Customer Support Web Support and Tech Articles: COBB Tuning Customer Support Center Email: support@cobbtuning.com Phone support available 9am to 6pm Monday-Thursday. 9am to 4pm Friday (CST) 866.922.3059 return to www.cobbtuning.comContact Us: