745660 - Subaru XLE BPV [Discontinued]

745660 – Subaru XLE BPV
2015 - 2019 WRX
Congratulations on your purchase of the COBB Tuning Subaru XLE BPV! The following instructions will assist you through the installation process. Please read them BEFORE beginning the install to familiarize yourself with the steps and tools needed. If you feel you cannot properly perform this installation, we HIGHLY recommend you take the vehicle to a qualified and experienced automotive technician.
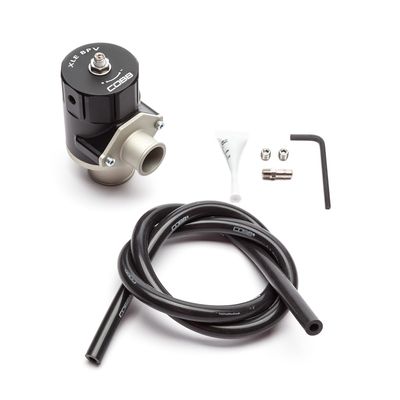
Parts List
- XLE BPV
- Loctite 545 pipe thread sealant
- (3) feet of 6mm vacuum hose
- Barb fitting
- (2) Hex plug
- Allen key
Tools Needed
- Phillips head screwdriver
- Flathead screwdriver
3/8" ratchet
3/8" 10mm socket
3/8" 12mm socket
3/8" 8mm socket
3/8" 12" extension
3/8" 6" extension
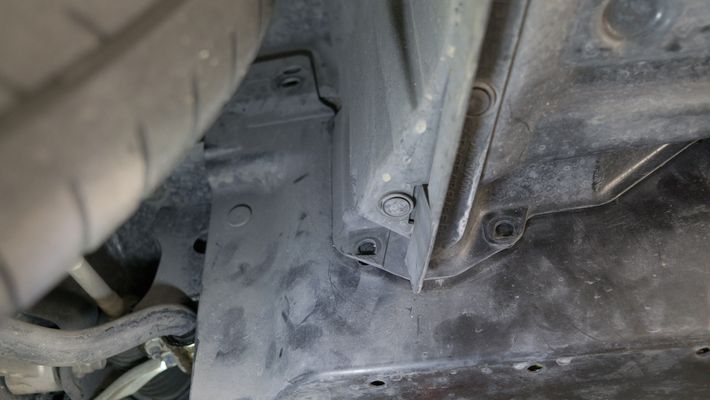
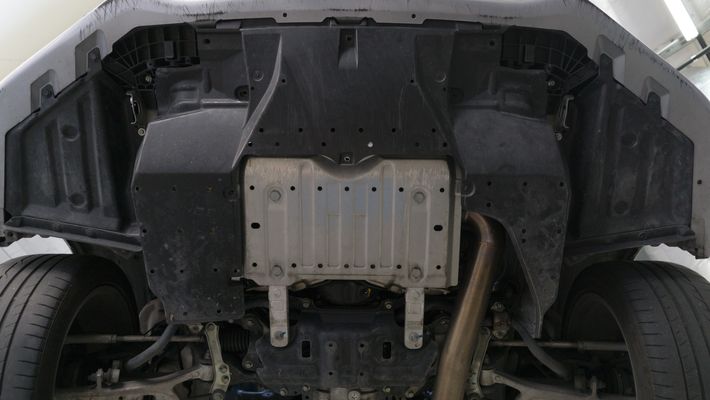
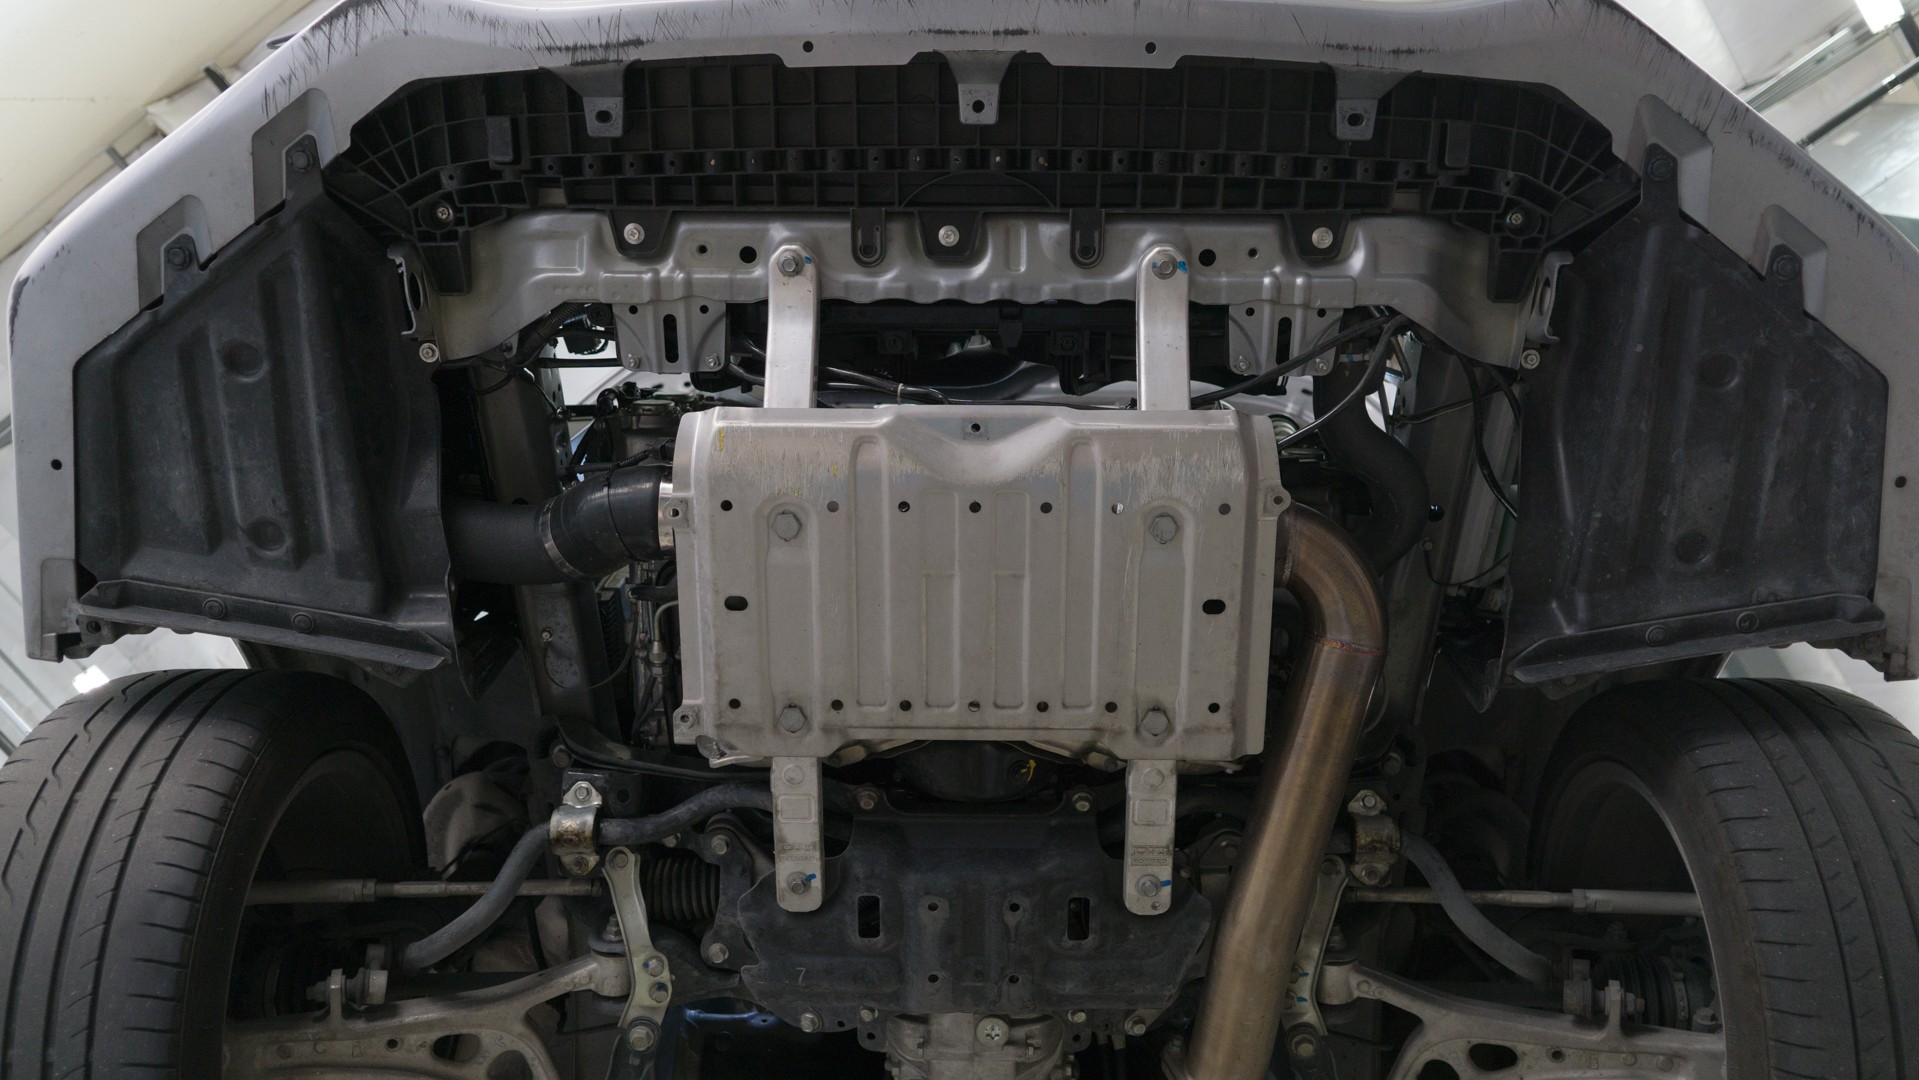
Removal of the Undertray
- Release the (3) flathead push-clips from the passenger wheel well.
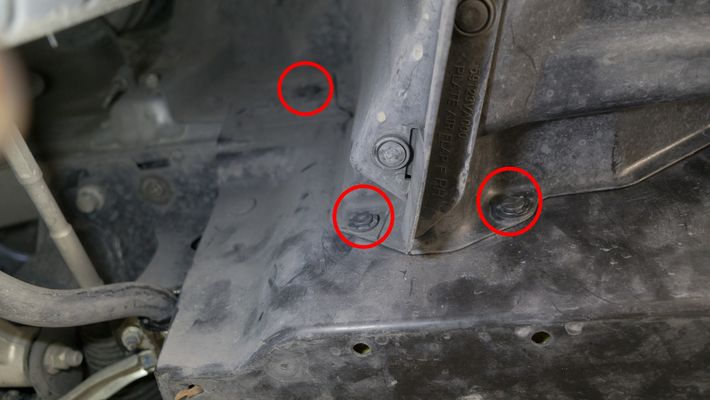
- Release the (3) flathead push-clips from the driver wheel well.
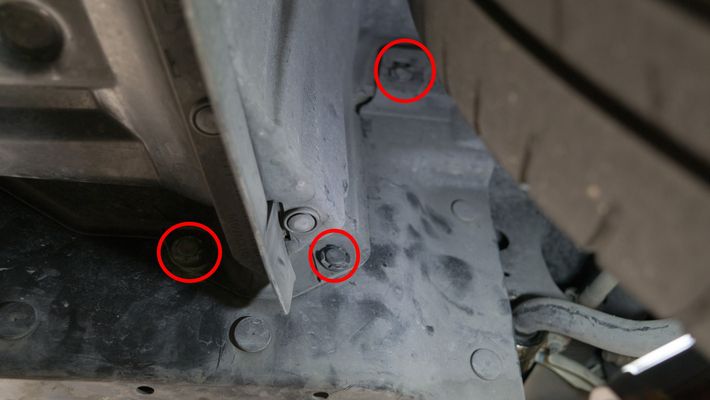
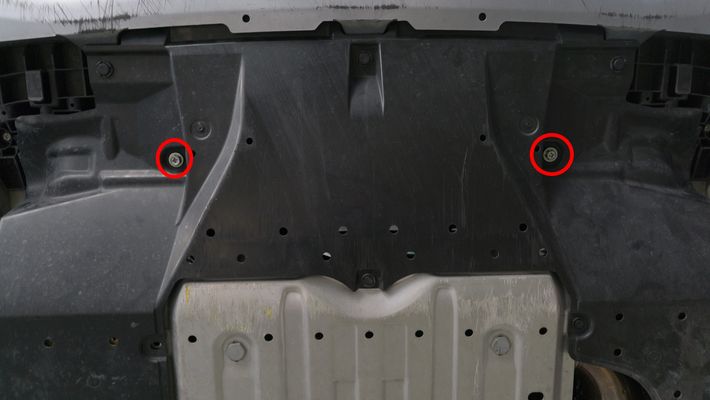
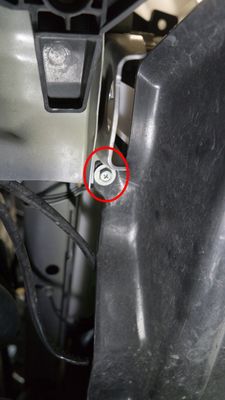
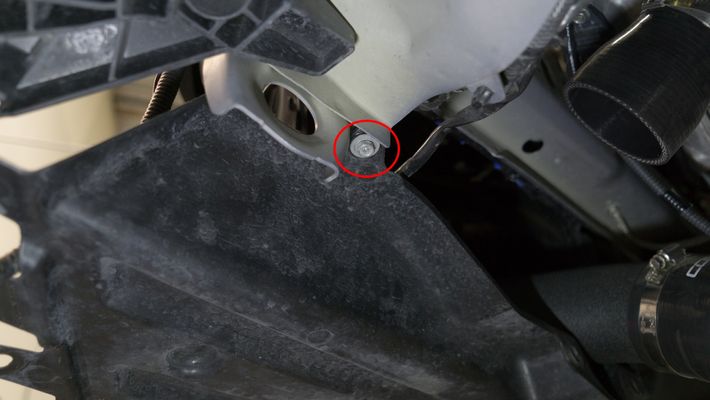
- Remove (2) 12mm bolts.
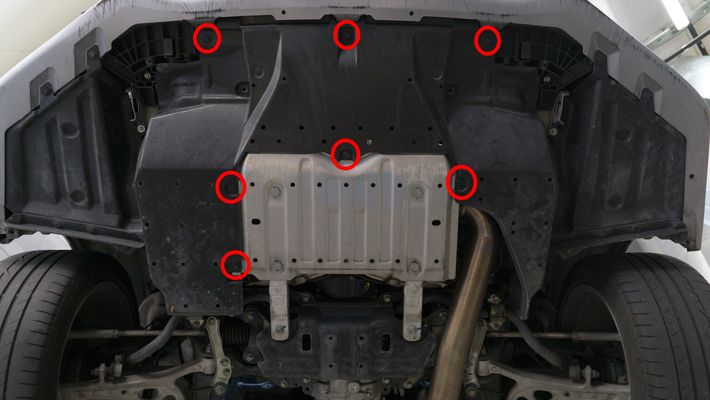
- Remove (7) plastic push type retainers.
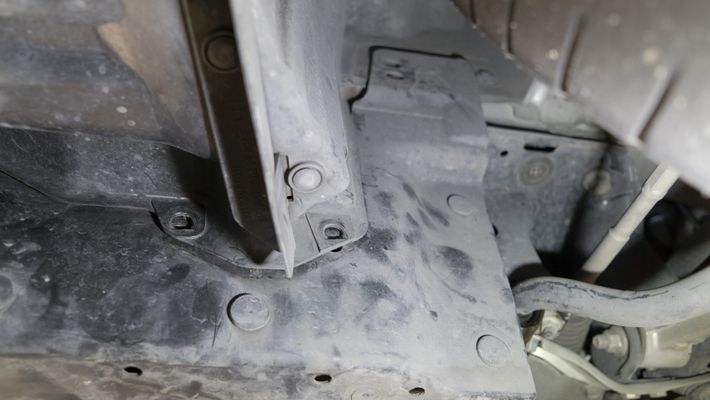
- Remove the lower wheel well tray by unscrewing (1) Phillips head screw on the driver side.
- Remove the lower wheel well tray by unscrewing (1) Phillips head screw on the passenger side.
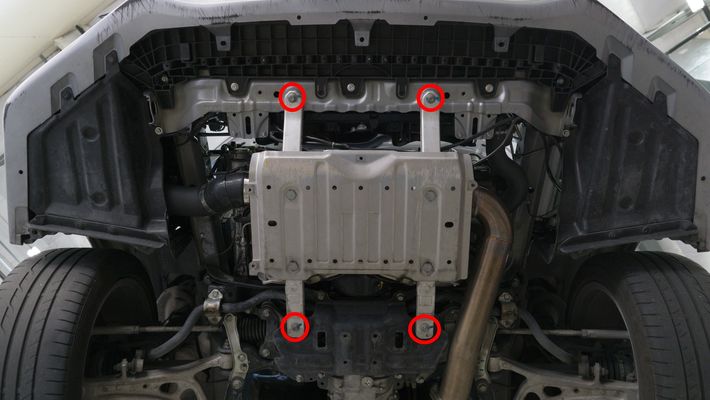
- Remove the skid plate by unbolting (4) 12mm bolts.

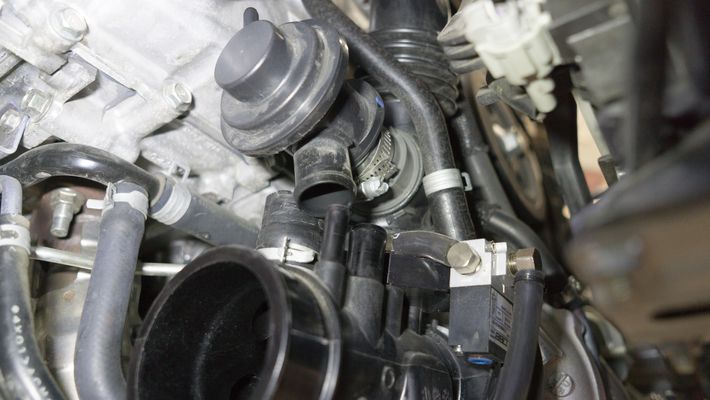
Removal of Factory BPV
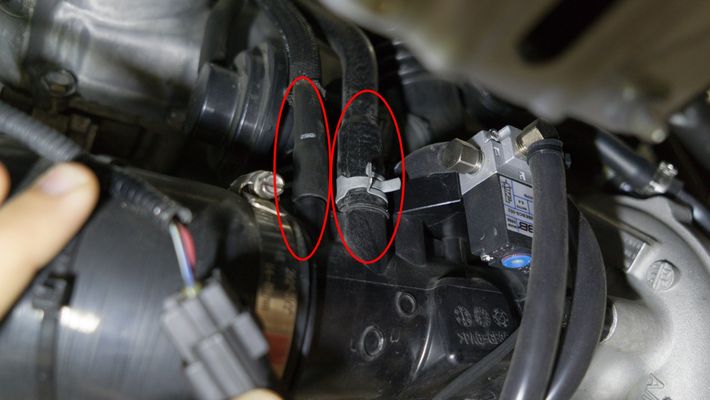
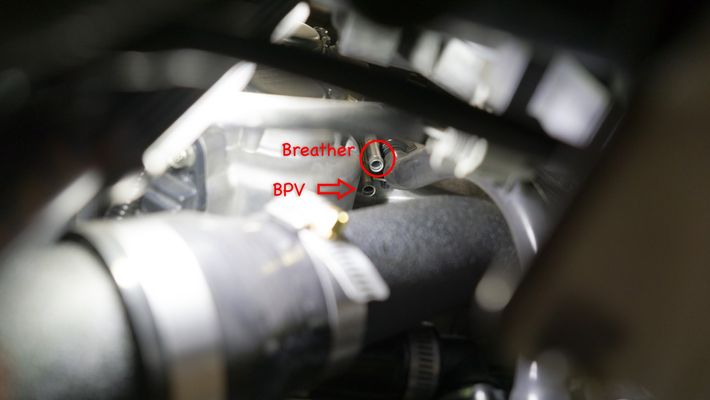
- Under the car, remove (2) breather lines from the intake tube.
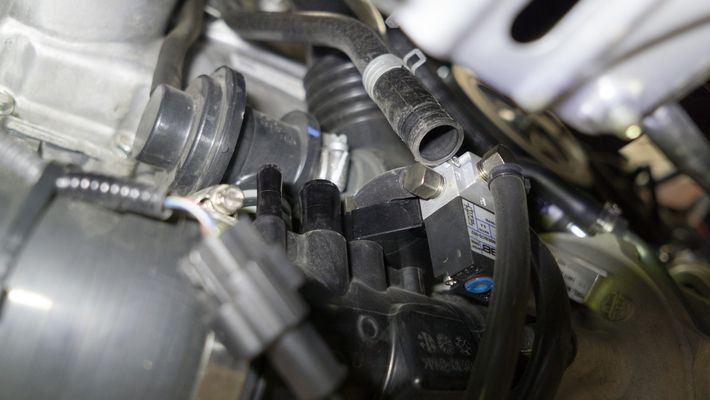
- Loosen the intake silicone clamp to allow access to the BPV.
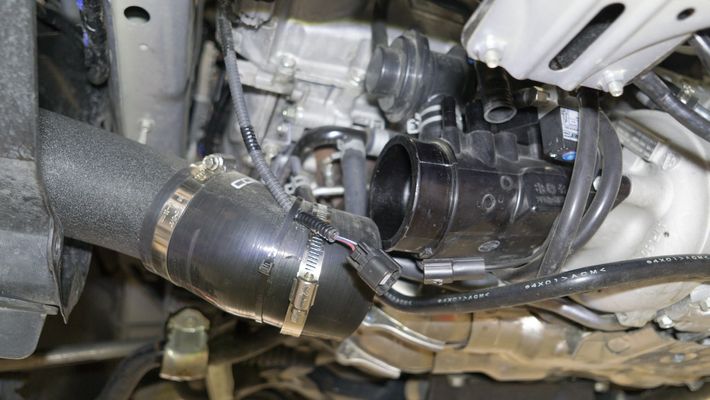
- Loosen the BPV to factory turbo inlet clamp.
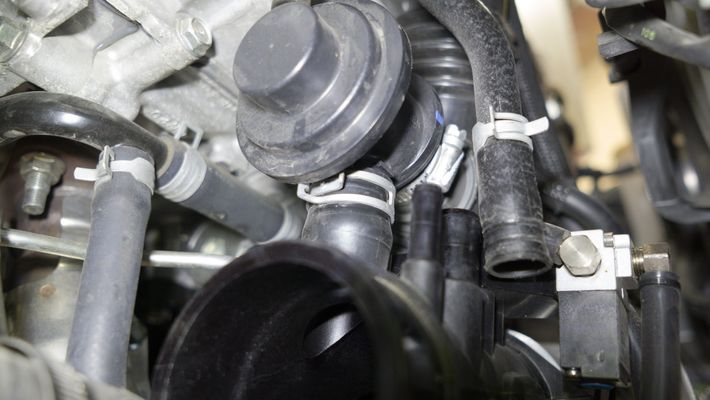
- Remove the vacuum hose to the BPV.


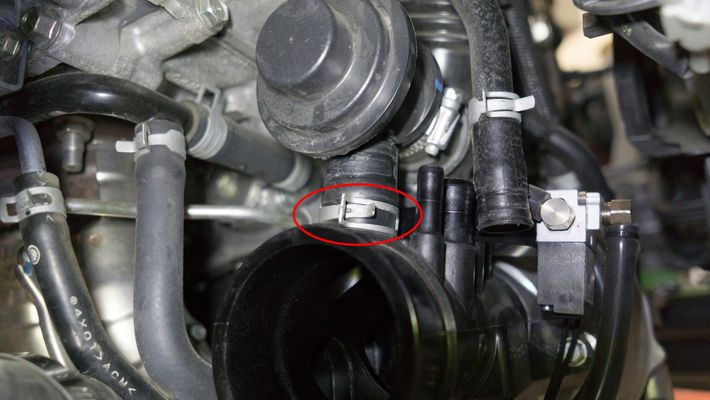
- Loosen the BPV to factory hot pipe clamp.

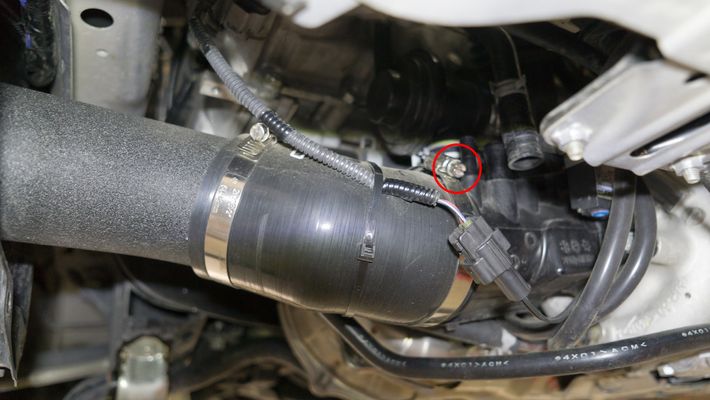
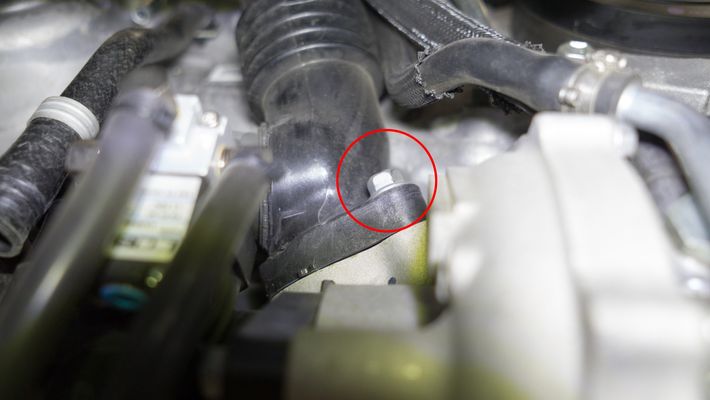
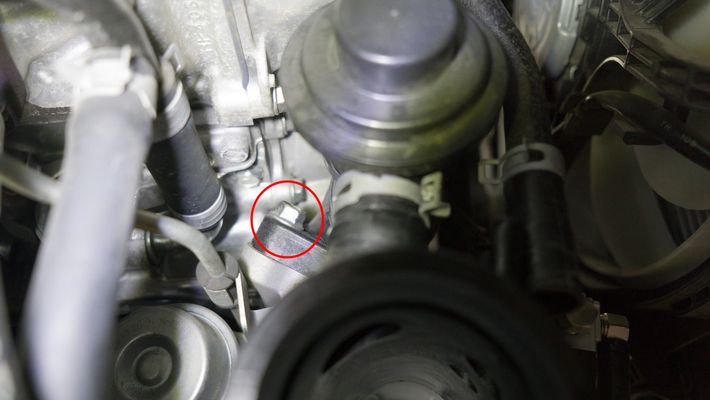
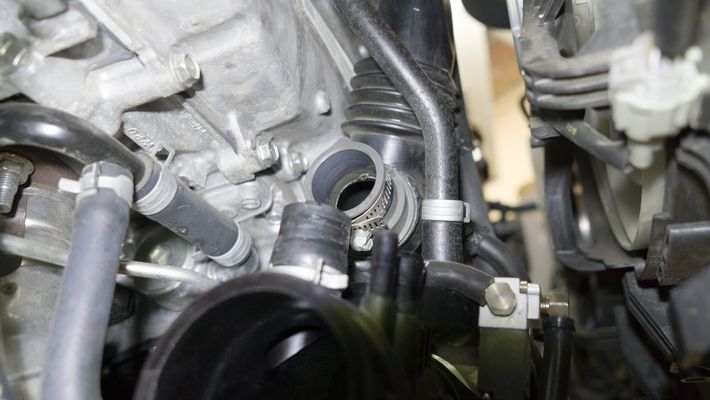
- Remove (2) 12mm bolts on the factory hot pipe to turbo. You will need a 6" extension for one of the bolts.
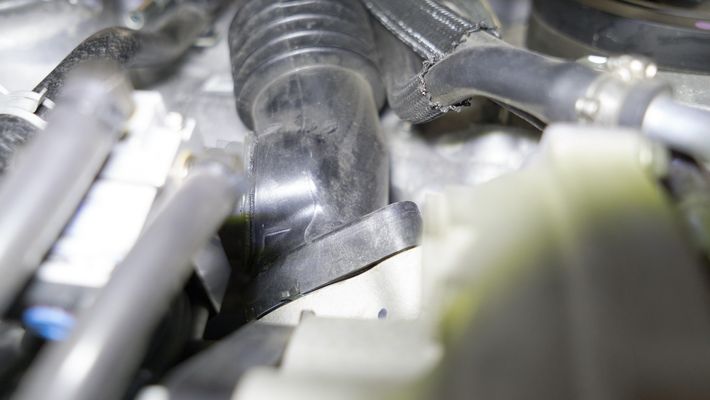
- Applying a small amount of pressure, remove the BPV from the turbo inlet.
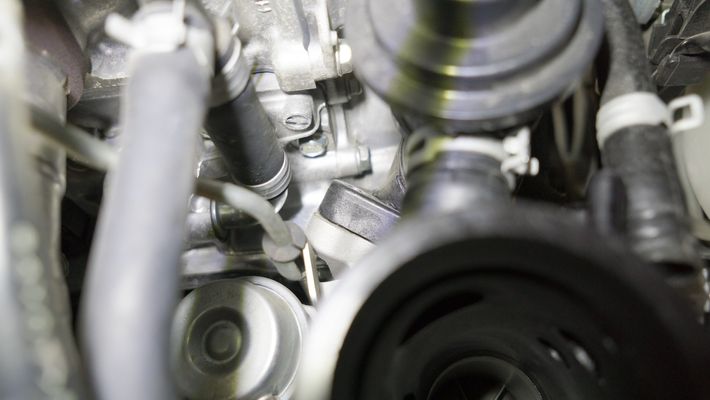
- Pull the BPV away from the factory hot pipe.
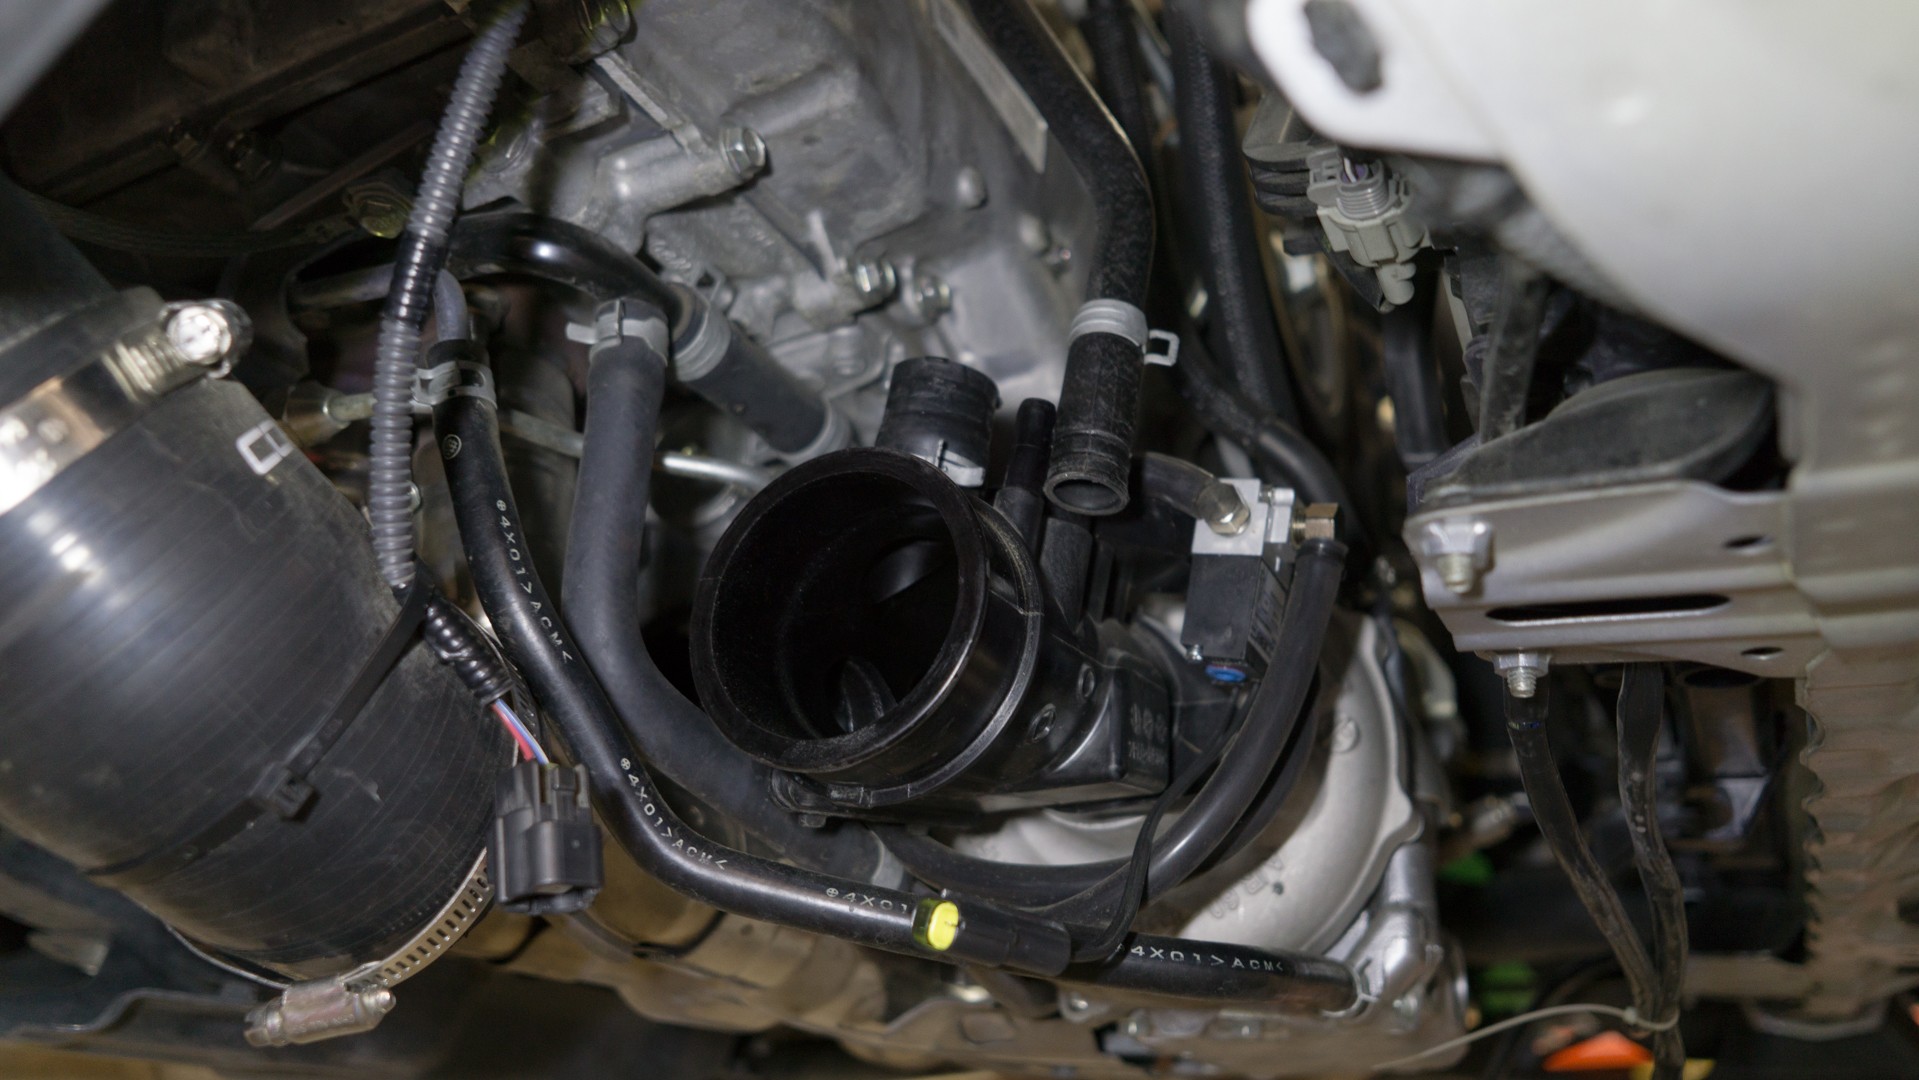
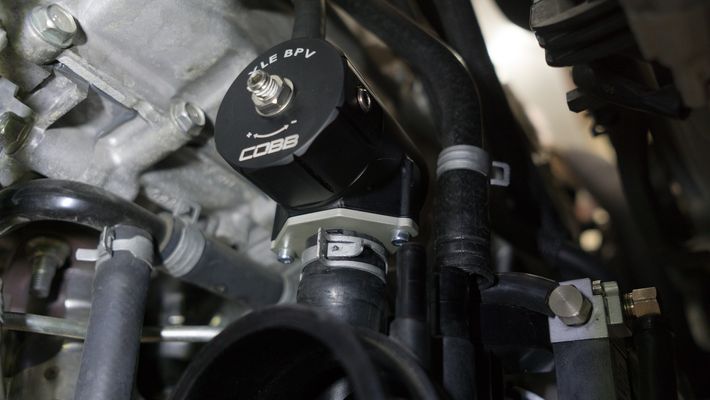
Installation of COBB XLE BPV
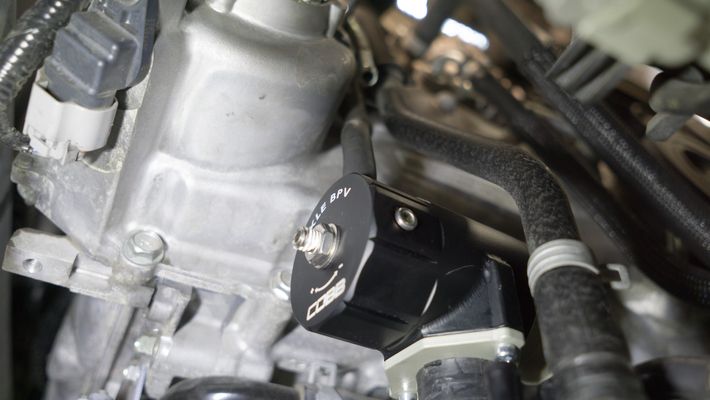
- Prior to installing the BPV, you will want to install the barb and (2) plugs with a small amount of Loctite, as shown.


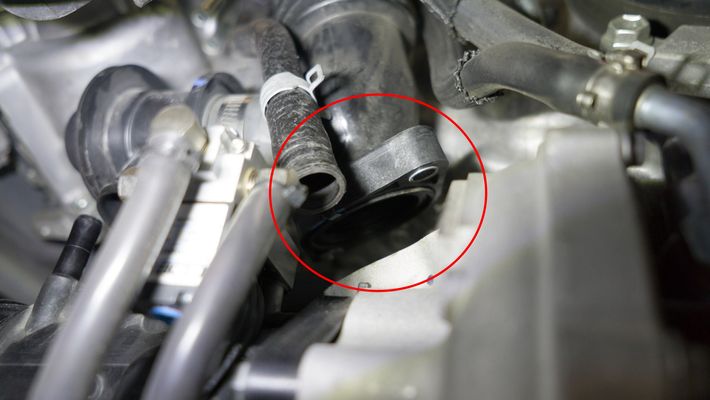
- Fit the BPV in position, being careful not to pinch or fold the silicone on the turbo inlet you insert the nose.
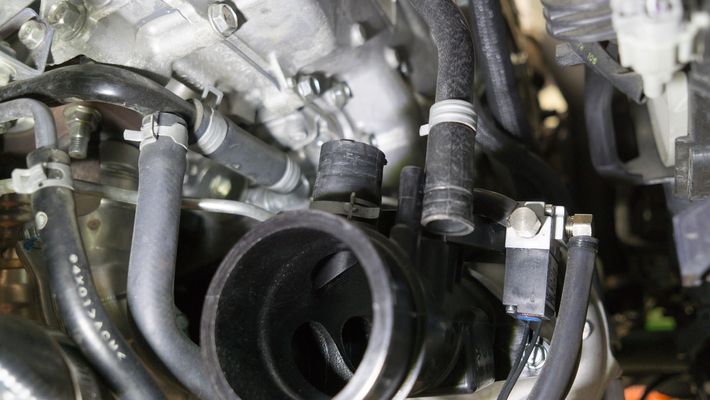
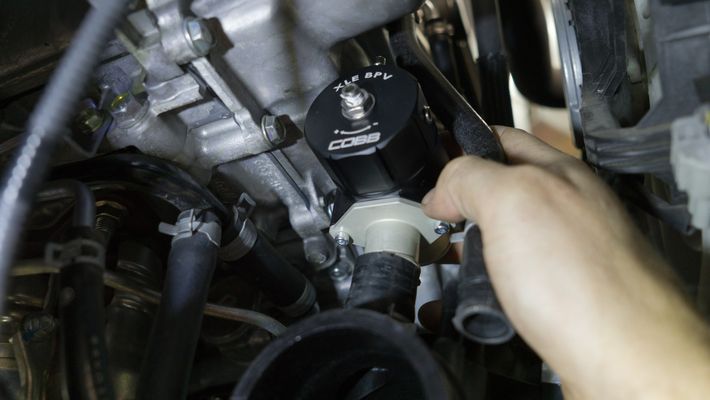
- Cut approximately 25" of 6mm vacuum hose and connect the BPV to the reference line.
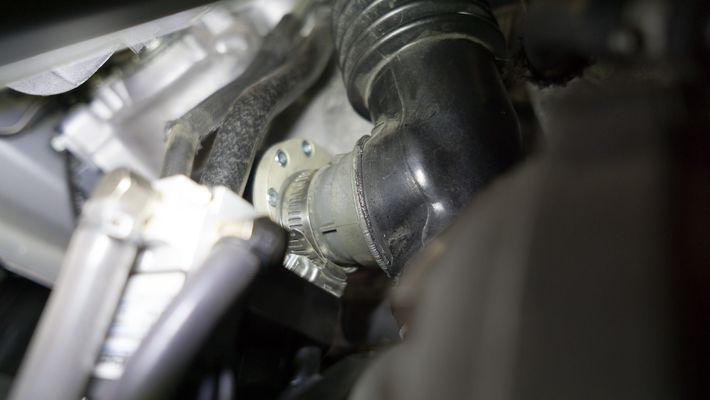
- Adjust the clamp to secure the silicone around the nose of the BPV.
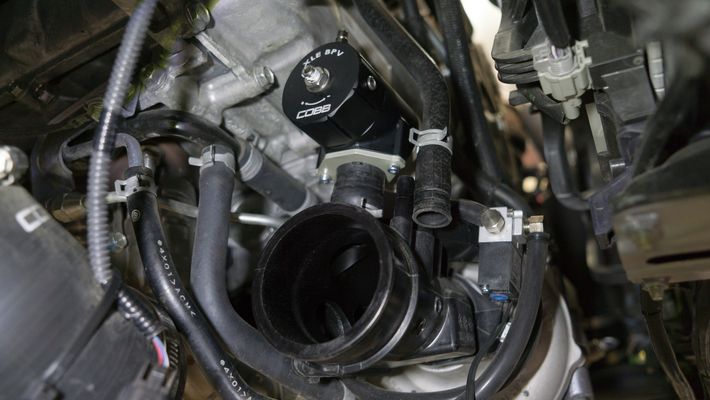
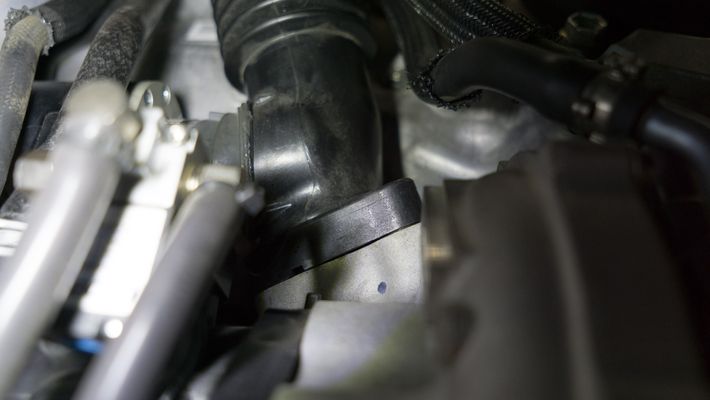
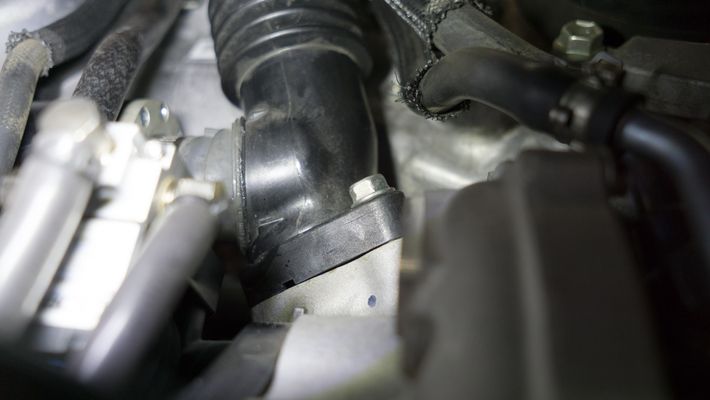
- Attach and secure the intercooler hot pipe to the rear of the BPV.
- Secure the intercooler hot pipe flange reusing the OEM bolts.
Reinstall Undertray
- Install the skid plate by bolting (4) 12mm bolts.
- Install the undertray.
- Secure the lower wheel well tray by screw (1) Phillips head screw on the passenger side.
- Secure the lower wheel well tray by screw (1) Phillips head screw on the driver side.
- Insert (7) plastic push type retainers.
- Secure the (2) 12mm bolts.
- Insert the (3) flathead push-clips from the driver wheel well.
- Insert the (3) flathead push-clips form the passenger wheel well.
- Secure the lower wheel well tray by screw (1) Phillips head screw on the passenger side.
Final Verification
- Conduct a pressurized smoke test to check for any leaks. If there are no leaks present, you are good to go! Enjoy your new COBB XLE BPV!
Links
COBB Product Install Instructions for Subaru Vehicles
Main Installation Instruction Repository for Subaru Parts
Calibration Map Notes for Subaru Vehicles
Link to Subaru Map Notes to see what map you should be on given the parts you've added
COBB Customer Support Web Support and Tech Articles: COBB Tuning Customer Support Center Email: support@cobbtuning.com Phone support available 9am to 6pm Monday-Thursday. 9am to 4pm Friday (CST) 866.922.3059 return to www.cobbtuning.comContact Us:
Copyright 2023 © COBB Tuning Products LLC. All Rights Reserved. | www.cobbtuning.com