244320 - Subaru Shift Plate WRX
244320 - Subaru Shift Plate WRX
Subaru WRX 2015 - 2022
Congratulations on your purchase of the COBB Tuning Subaru Shifter Stop! The following instructions will assist you through the installation process. Please read them BEFORE beginning the install to familiarize yourself with the steps and tools needed. If you feel you cannot properly perform this installation, we HIGHLY recommend you take the vehicle to a qualified and experienced automotive technician.
Table of Contents
Parts List
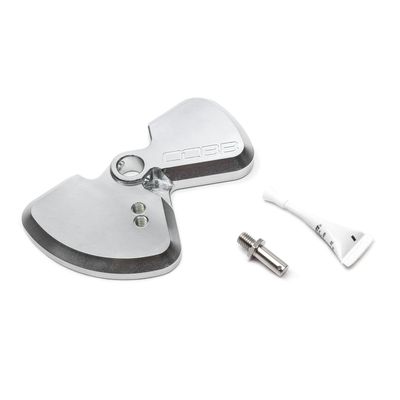
- COBB DIT WRX Shift Plate
- Shift Plate Pin
- Blue Thread Locker
Tools Needed
Sockets
3/8"
3/8" ratchet
3/8" 6" extension
3/8" 12mm socket
3/8" 13mm socket
1/2"
1/2" ratchet
- 1/2" 17mm socket*
Hand Tools
- Hammer
- Punch
Subaru DIT Shift Plate Installation
- Park your car in a flat level area.
- Lift and properly support the car so you can get underneath it.
- Support the transmission with a jack.
- Remove the two forward outer 17mm bolts holding the transmission cross member in place.
- Undo the two central bolts going upwards onto the transmission mount.
- Along with the two bolts on the rear bushing. The parts may stick together when you remove it or they may pop off. In which case make sure to reinstall them when you go to put the car back together.
- Remove the two 12mm bolts holding the long cable cover in place.
- Remove the two easy to get to bolts on the passenger's side (right) and rear of the transmission. You should be able to slide it up and out of the way. You may need to loosen the top bolt to get it to slide if yours was installed tightly.
- Remove the clip holding the cable in place and set it with the washer somewhere safe.
- Pull out the retainer holding the cable in place.
- Pull the cable free from the pin on the shift linkage.
- Using a punch, gently tap the pin out of the shifter. Try not to pop it out all of the way as it makes it harder to find.
- Pull the shift plate out of the car.
- Finish tapping the pin the rest of the way out.
- Carefully hold the new shift plate in a vice.
- Tap the old pin in part way but not far enough that it will stick into the bore where you'll install it onto the transmission.
- Install it on to the transmission. After lining up the pin gently tap it in to place.
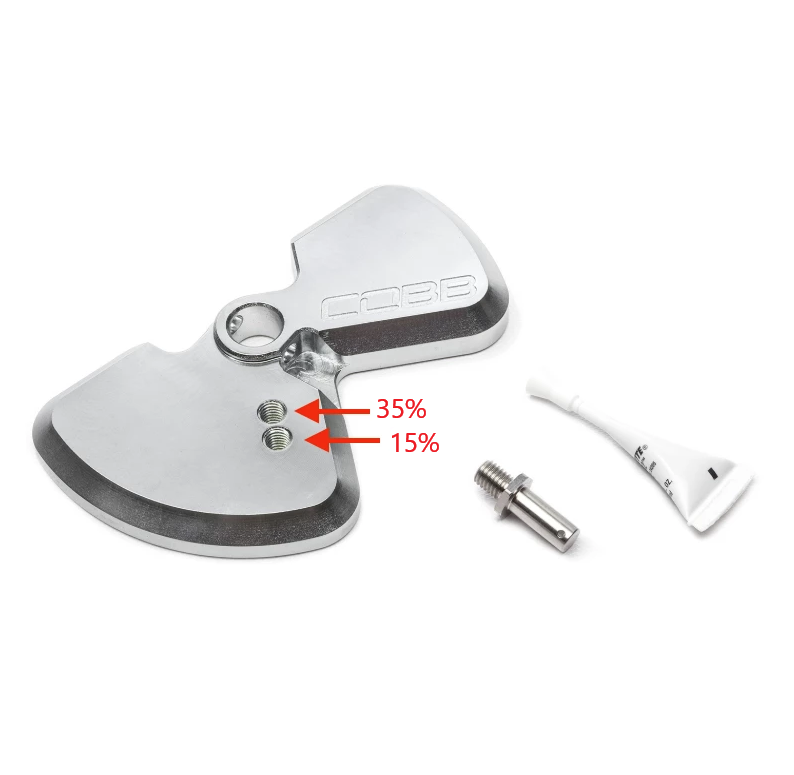
- Add a small about of loctite to the pivot pin, then install it into the desired position using a 13mm wrench. The outer position will reduce the shift less than the inner one.
- Reinstall the stock cable and shields in the reverse order of removal.
- You're all done! Go out and enjoy!
Links
COBB Customer Support Web Support and Tech Articles: COBB Tuning Customer Support Center Email: support@cobbtuning.com Phone support available 9am to 6pm Monday-Thursday. 9am to 4pm Friday (CST) 866.922.3059 return to www.cobbtuning.comContact Us:
Related content
Copyright 2025 © COBB Tuning Products LLC. All Rights Reserved. | www.cobbtuning.com


