524202, 524203 - COBB TUNING SS DOWNPIPE [Discontinued]

COBB TUNING SS DOWNPIPE INSTALL INSTRUCTIONS
2008-2014 WRX, 2011-2019 STi (sedan), 2008-2015 STi (Wagon), 2005-2009 Legacy GT (MT), 2006-2009 Legacy GT Spec B, 2005-2008 Outback XT (MT), 2009-2013 Forester XT, 2009-2010 2.5GT
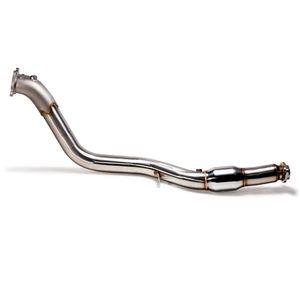
524202
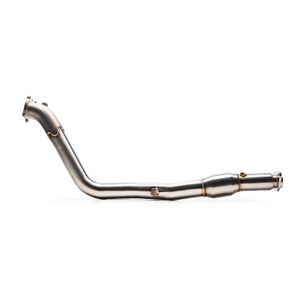
524203
Congratulations on your purchase of the COBB Tuning Downpipe. The following instructions will assist you through your installation process. Please read them first BEFORE beginning the install and familiarize yourself with the steps and tools needed. If you feel that you cannot properly perform this installation, we HIGHLY recommend you take the vehicle to a qualified and experienced automotive technician.
Part List
- Downpipe
- O2 sensor bung plug
Tools Needed
- 14mm socket
- 12mm socket
- 10mm Allen-head socket/ wrench
- Socket wrench (3/8" recommended)
- 22mm open/boxed socket wrench or O2 sensor removal tool
- 14mm open/boxed socket wrench
- 12mm open/boxed socket wrench
- 10mm open/boxed socket wrench
- High temperature anti-seize
- Penetrating lubricant (ex:WD40)
- Optional: cut-off wheel or tin snips
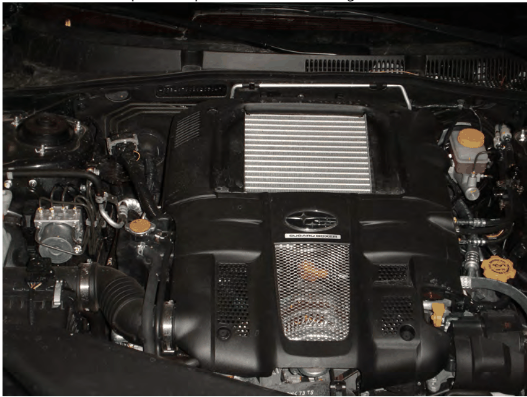
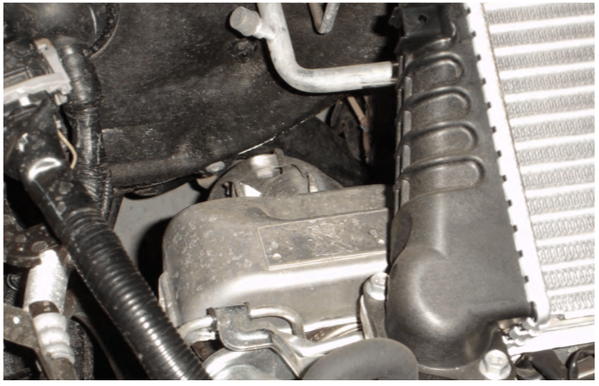
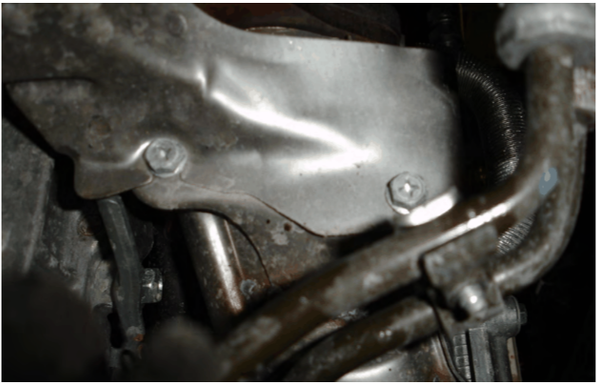
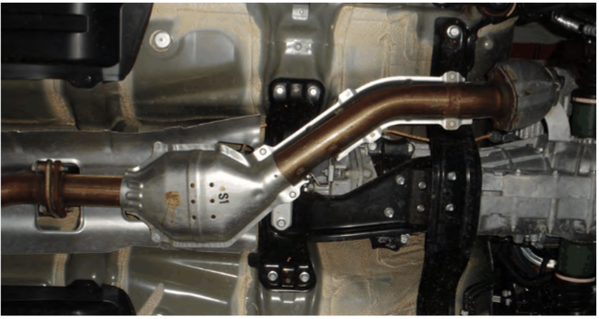
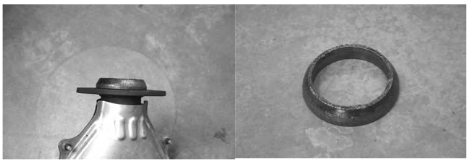
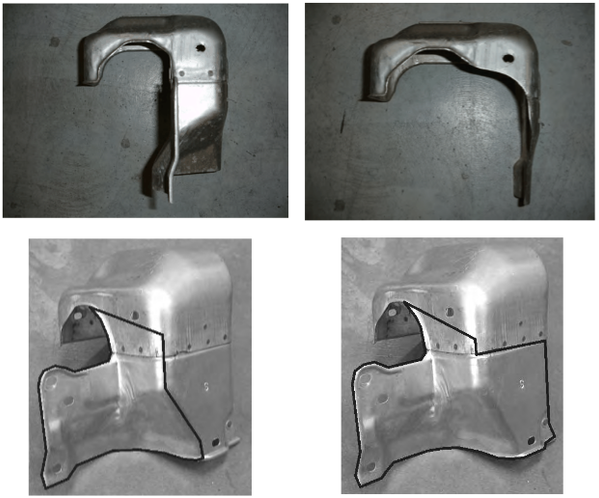
Removal of Stock Downpipe

Installation of the COBB Tuning Downpipe
Links
COBB Product Install Instructions for Subaru Vehicles
Main Installation Instruction Repository for Subaru Parts
Calibration Map Notes for Subaru Vehicles
Link to Subaru Map Notes to see what map you should be on given the parts you've added
COBB Customer Support Web Support and Tech Articles: COBB Tuning Customer Support Center Email: support@cobbtuning.com Phone support available 9am to 6pm Monday-Thursday. 9am to 4pm Friday (CST) 866.922.3059 return to www.cobbtuning.comContact Us:
Copyright 2023 © COBB Tuning Products LLC. All Rights Reserved. | www.cobbtuning.com