712650, 724650, 733650, 771650, 7C1650 - COBB XLE BYPASS VALVE [Discontinued]
- Chris Mitchell (Deactivated)
- Brandyn Mowat
- Paul Geyman

712650, 724650, 733650, 771650, 7C1650
COBB TUNING XLE BYPASS VALVE INSTALL INSTRUCTIONS
2002-2015 WRX, 2004-2015 STI (Sedan), 2005-2009 Legacy GT, 2006-2009 Legacy GT Spec B, 2005-2009 Outback XT, 2004-2013 Forester XT, 2009-2010 2.5 GT
Part List
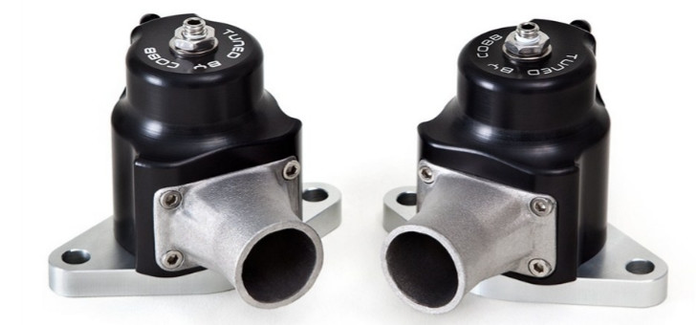
- Bypass Valve (2 for Nissan GT-R)
- O-Ring (Mazdaspeed 3 Applications Only)
- Paper Gasket (Mazdaspeed 3 or Legacy GT and 08+ WRX Applications Only)
Tools Needed
- 3/8" Ratchet
- 10mm & 12mm Socket
- 10mm & 12mm Open End Wrench
- Pliers
Tools Required for Maintenance
- 3mm Allen Key
- 4mm Allen Key
- 13mm Open End Wrench
- Moly-Based Grease (We recommend ARP Ultra-Torque Fastener Assembly Lubricant, P/N 100-9911)
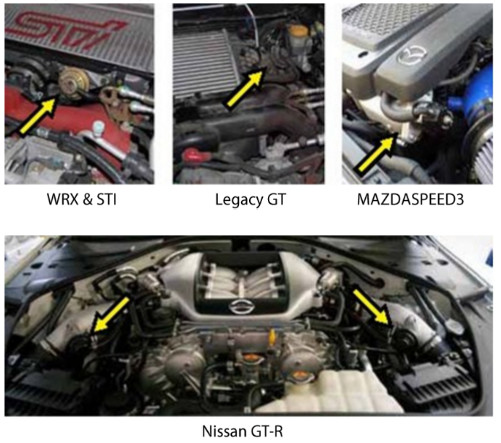
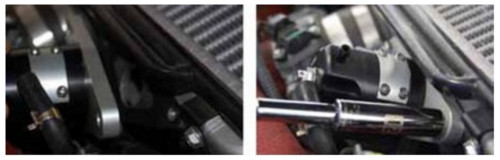
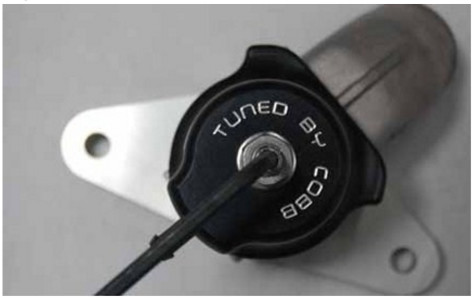
1) Locate your stock bypass valve. Use the pictures below for reference if need be.
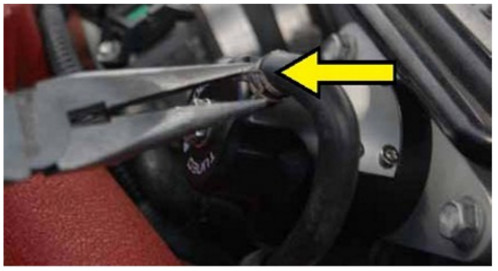
2) Using a pair of pliers remove the return line from the bypass valve.

3) Remove the vacuum line.

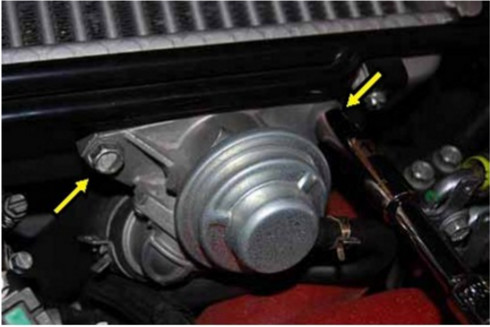
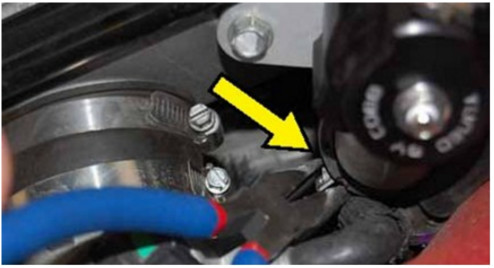
4) Using a 10mm or 12mm socket with ratchet or 10mm or 12mm open end wrench (depending on the application), remove the 2 bolts that hold the bypass valve in place.
5) Remove bypass valve.
Installation of COBB Tuning XLE Bypass Valve
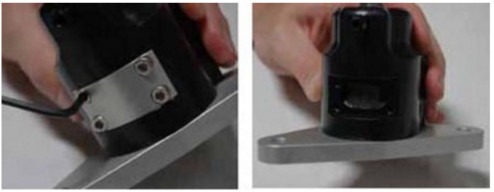
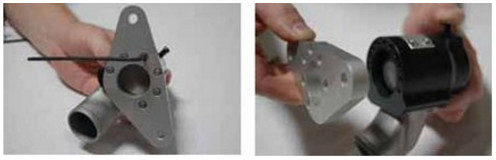
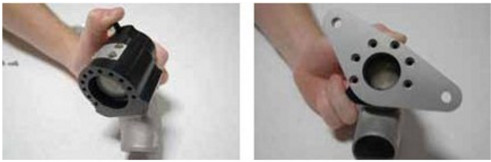
1) Test fit the COBB Bypass Valve by placing it on the flange and make sure the base and body are in the correct orientation, If you need to change the base and body orientation, please refer to
the disassemble and reassemble of the COBB BPV at the end of these instructions.
2) LGT/08+ WRX and MAZDASPEED3 owners, place the provided paper gasket or o-ring on the base of the COBB Bypass Valve and place it on the cars mounting flange. If you did not receive a
paper gasket or O-ring with your COBB BPV (02-07 WRX, STi, FXT, GTR), make sure the stock gasket is in place and place the COBB BPV on the flange.

3) Attach the COBB BPV reusing the (2) stock bolts. Torque to 12 ft/lbs.
4) Reattach the stock vacuum line to the barb on the BPV body.
5) Reattach the stock return line to the nose on the COBB BPV.
6) If you choose to alter the noise of the BPV you can remove the backing plate using a 3mm Allen key. This will allow some of the air to be released to the atmosphere.
Adjusting the Spring Preload
In order to adjust the spring tension on the COBB Tuning BPV, adjust the set screw in the top of the BPV body.
1) Loosen the jam nut using a 13mm open end wrench.

2) Using a 4mm Allen key, turn the screw clockwise to increase spring tension, increase the chance of compressor surge and make the BPV vent to air slower. This will also cause the BPV to vent
later when you lift your foot off the throttle.
3) Turning the screw counter clockwise will decrease the spring tension, decrease compressor surge and make the BPV vent faster. This will also cause the BPV to vent sooner when you lift your
foot off the throttle.
NOTE: Adjusting the spring tension does NOT adjust the amount of boost the BPV will hold. In order to adjust the amount a stiffer spring will be needed.
Bypass Valve Maintenance
It is recommended that every time you change your oil you inspect your COBB Tuning Bypass Valve to make sure the piston is still moving freely. You can do so by unbolting the BPV from the vehicle mounting flange and pushing on the piston. If you can feel some resistance, it is advised to remove the piston from the body and clean and re-grease the piston, we recommend ARP Ultra Torque Fastener Assembly Lubricant, P/N 100-9911, but any moly-based grease will work fine.
Disassemble the COBB Tuning Bypass Valve
In order to remove the piston, unbolt the base flange from the body using a 3mm Allen key. Depending on the BPV model you have, this may be 5-6 socket head cap screws. When removing the piston, be careful to not cut the O-ring. If your O-ring is damaged, you can contact COBB Tuning for a replacement.
Reassemble the COBB Tuning Bypass Valve
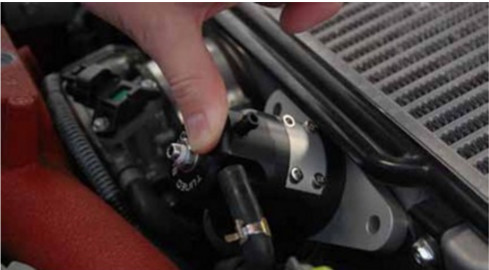
To reassemble the BPV, push the piston back into the body, so that the piston does not protrude from the body. You can hold the piston at that point by placing your finger over the vacuum connection.
Place the base flange onto the body and re-clock the flange. Secure the flange with the 5-6 socket head cap screws, depending on the model, using a 3mm Allen key.

Related content
Copyright 2025 © COBB Tuning Products LLC. All Rights Reserved. | www.cobbtuning.com