501210 - High Flow Catted Downpipe

501210 - High Flow Catted Downpipe
2014-2019 Ford Fiesta ST
Congratulations on your purchase of the COBB High Flow Catted Downpipe for your 2014+ Ford Fiesta ST. The following instructions will assist you through your installation process. Please read them first BEFORE beginning the install and familiarize yourself with the steps and tools needed. If you feel that you cannot properly perform this installation, we HIGHLY recommend you take the vehicle to a qualified and experienced automotive technician
Part List
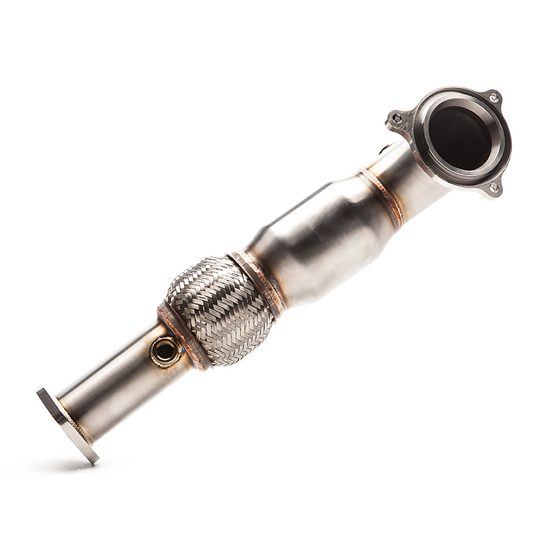
- COBB High Flow Catted Downpipe
- Gasket
- 2 x M10x35mm Flange Bolts
- 2 x Flange Nuts
Tools Needed
- 3/8” Ratchet
- ¼” Ratchet
- 13mm Deep Socket
- 10mm Socket
- 10mm Deep Socket
- 10mm Ratcheting Wrench (Optional/Recommended)
- 8mm Socket
- Various Extensions
- Universal Joint
- T30 Torx Bit
- O2 Sensor Removal Tool
- Flathead Screwdriver or Pick
- Phillips Head Screwdriver
- Blue Painters Tape
- Anti-seize paste
Removing Factory Downpipe
- To start things off, we’re first going to need to remove the intake system off of the vehicle. To do this and avoid any damage to the intake while removing it, it is best to also remove the windshield cowl. Grab the flathead screwdriver or pick and start removing the six (6) clips that help sandwich the two cowl pieces together.
- Now, take the blue painters tape (or any tape, really) and mark the locations of where each windshield wiper rests on the windshield. This will come in handy when putting them back on when we’re done
. - Remove the rubber caps off the base of each wiper and use a 15mm socket to remove the nut holding them on. Now, wiggle up and down on each wiper until it frees up off of the spline. Set them aside for re-installation later.
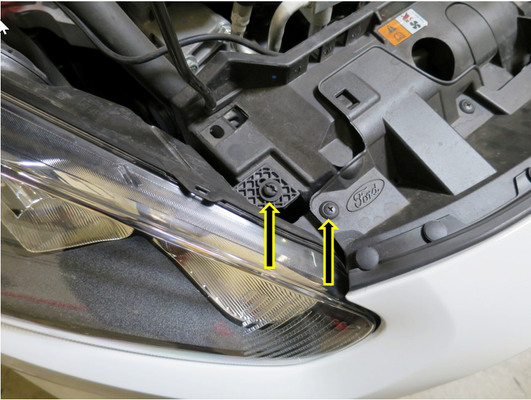
- Using a Phillips head screwdriver, remove the plastic rivet that holds the front of the headlight to the bumper. You may need to use the flathead to pop the rivet out once the plastic screw is removed.
- Now remove the two T-30 Torx bolts that secure each headlight.
- With the hardware removed from each headlight, carefully pull it up and out of the vehicle. Make sure to disconnect the electrical connector to allow it to be completely removed.
- With the headlights out, you can now reach the 10mm bolts on each side of the cowl. Remove them and pull the cowl pieces away from the windshield.
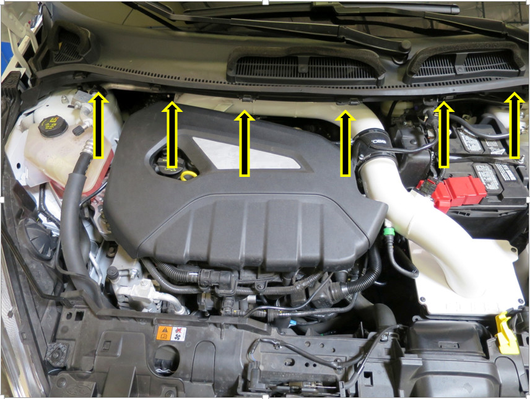
- With the cowl out of the way, use an 8mm wrench or socket to loosen the clamps on the factory intake hose and remove the intake from the turbo to the airbox.
- With the intake out of the way, you can gain access to the O2 sensor plugs behind the driver’s side of the valve cover. There is a blue plug and a black plug. Unplug them both.

- Using your O2 sensor tool, remove the top O2 sensor (black wire) and set it aside.
- Using a 10mm socket, remove the 10mm bolt holding the hardline to the back/passenger’s side of the valve cover. Bend the hard line slightly out of the way to grant you access to the heat shield bolt in the next step. See picture on next page.
Using an 8mm socket, remove the four (4) bolts holding the exhaust manifold heat shield to the car. The heat shield will be loose but difficult to remove, you’ll just need to push it aside later.

With a 10mm socket, using an extension and universal joint, reach down the back of the motor and locate the upper-most downpipe bolt that holds the downpipe to the turbo. Compare the mounting pattern to your COBB downpipe to get an idea of where you’ll need to reach. You’ll need to push the heat shield out of the way to gain access. Depending on your tools, you may also have access to the second bolt towards the passenger side of the flange.
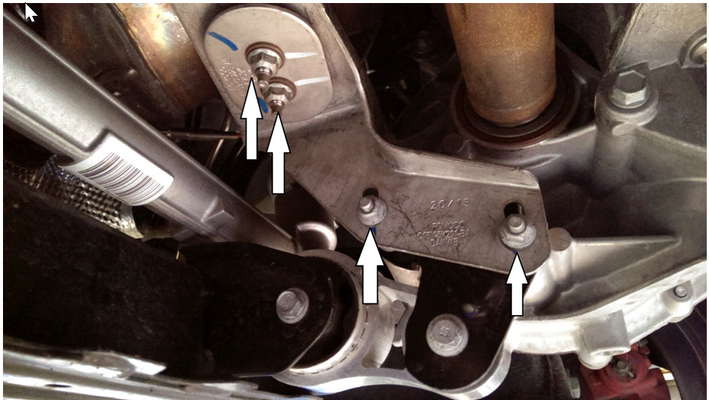
Moving under the car, raise the car up on jack stands or on the lift. Using a 13mm socket, remove the four (4) nuts that hold the bracket that connects the downpipe to the transmission.
- Using a 15mm socket, remove the nuts that connect the exhaust system to the downpipe. You may need to also remove the four (4) 13mm nuts that hold the mid-chassis brace to the car so that you can push the exhaust further out of the way.
- Using your O2 sensor tool, remove the downstream O2 sensor from the downpipe and set aside.
Reaching up with a 10mm socket or wrench (ratcheting if possible) remove the remaining bolt(s) that secure the downpipe to the turbo and remove the downpipe from the car. It may be tricky but you’ll get it.
Installing COBB Downpipe
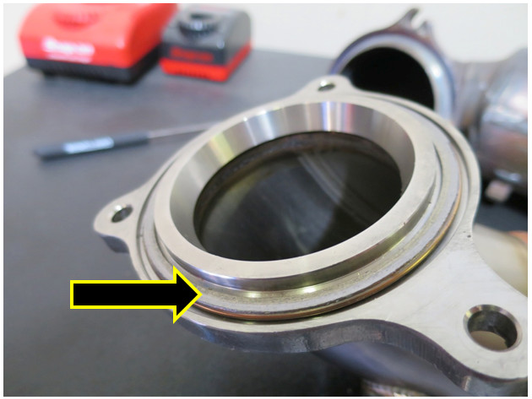
- First, remove the ring gasket from the stock downpipe and install it onto the COBB downpipe.
- Put a small amount of anti-seize paste onto the threads of the O2 sensors and reinstall into the COBB downpipe. Black goes at the top and blue at the bottom on the other end of the flex section.
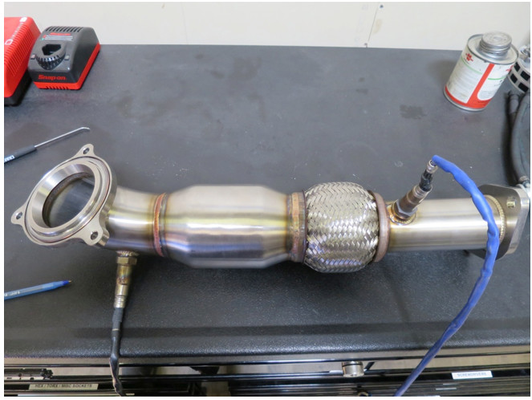
- Now, install the COBB downpipe up through the exhaust tunnel and into place. Secure with the factory 10mm bolts.
- From here, just work in reverse order get the back up and running. Don’t forget to update your map on your AccessPORT for your new modifications and enjoy!
Links
COBB Product Install Instructions for Fiesta ST
Main Installation Instruction Repository for Fiesta Parts
Link to Fiesta Map Notes to see what map you should be on given the parts you've added
Copyright 2023 © COBB Tuning Products LLC. All Rights Reserved. | www.cobbtuning.com