952250 - Lightweight Tubular Sway Bar Kit[discontinued]

952250 - Lightweight Tubular Sway Bar Kit
Mitsubishi Evolution X 2008-2013
Congratulations on your purchase of the COBB Tuning Lightweight Tubular Sway Bar Kit! The following instructions will assist you through the installation process. Please read them BEFORE beginning the install to familiarize yourself with the steps and tools needed. If you feel you cannot properly perform this installation, we HIGHLY recommend you take the vehicle to a qualified and experienced automotive technician.
IMPORTANT! Installing this kit will require custom tuning or utilizing an appropriate Stage Power Package map if you have a matching mechanical configuration. Please consult with COBB or an authorized ProTuner in your area if you have any questions!
Table of Contents
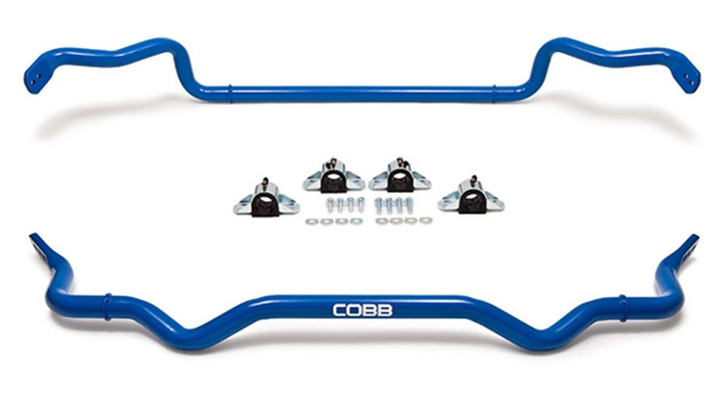
Parts List
- Front Sway Bar
- Rear Sway Bar
- (2) 1 1/4" Sway Bar Bushings
- (2) 1 1/8" Sway Bar Bushings
- (8) Sway Bar Mounting Straps
- (8) Washers)
- Sway Bar Bushing Grease Packets
- (4) 13mm Bolts
Tools Needed
- Phillips head screwdriver
- Flathead screwdriver
3/8" ratchet
3/8" 10mm socket
3/8" 12mm socket
3/8" 13mm socket
- 3/8" 17mm socket
- 3/8" 19mm socket
- 3/8" 5mm Hex Key or Hex Socket
3/8" 12" extension
3/8" 6" extension
- Trim tool
Front Sway Bar
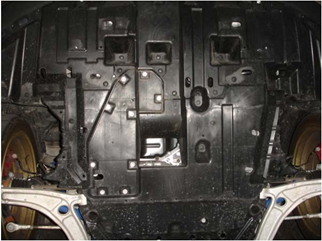
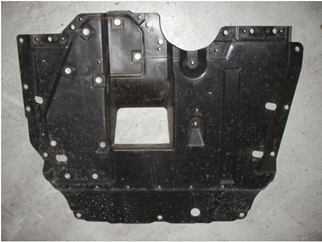
- Remove the rear section of the plastic undertray by using a flat headscrewdriver or trim tool in order to remove the plastic fasteners holding it in place.
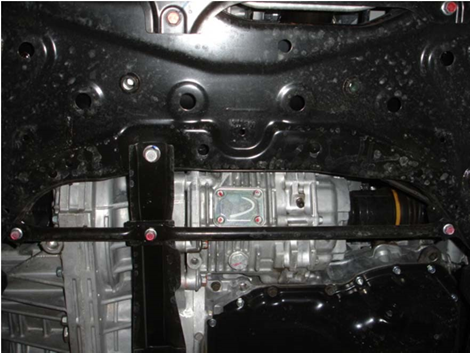
- Support the center of the motor with a transmission jack or similar device.
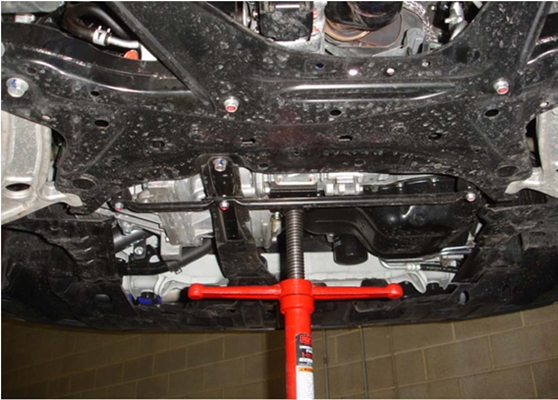
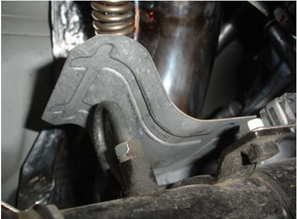
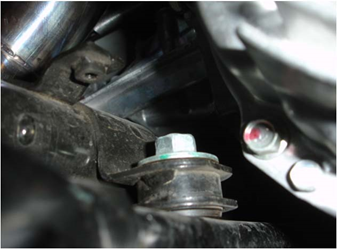
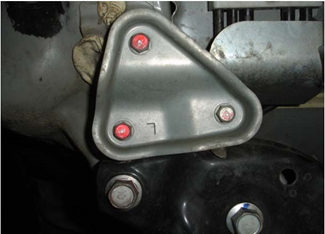
- Remove the lower motor mount brace by removing the two 12mm bolts and three 17mm bolts that attach the brace to the chassis and the 14mm bnut and bolt that goes through the front lower motor mount.
- Remove the rear brace by removing the two 14mm bolts and two 12mm bolts
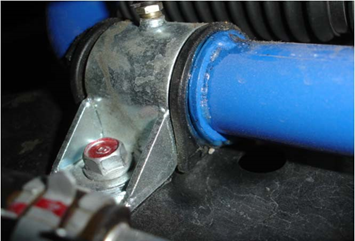
- Unbolt the power steering line by removing the two 10mm bolts that secure it to the subframe
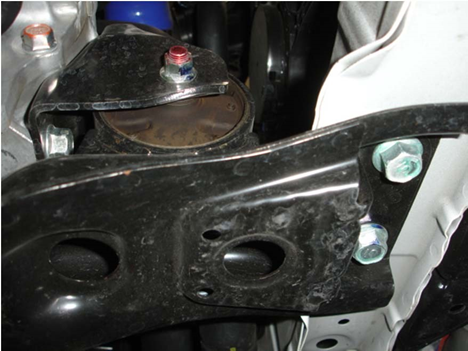
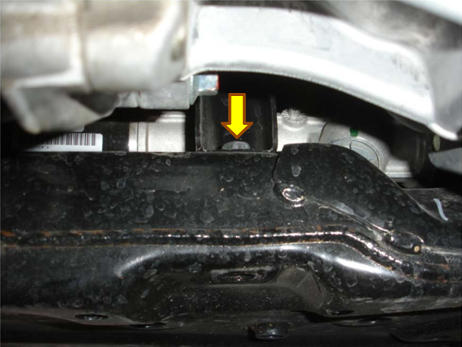
- Now unbolt the rear lower engine mount from the subframe by removing the three 14mm bolts and the 14mm nut and bolt that goes through the rear motor mount.
Note: Leave the mount loosely in the chassis for now until the subframe is lowered in a later step.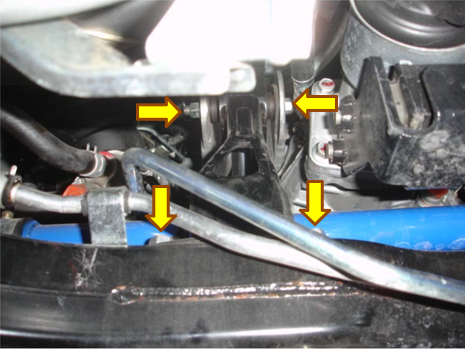
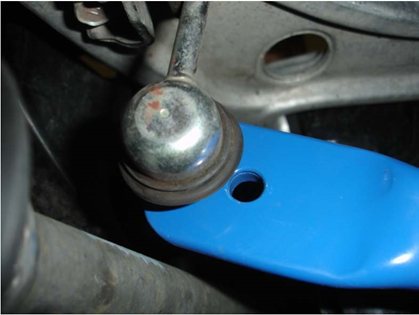
MR model cars will need to remove the gear selector cable out of it's clip.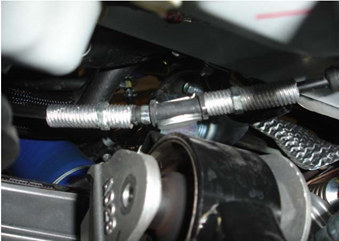
- Remove the end links from the stock sway bar by removing the 14mm nut on each end of the bar. You may need to insert a 5mm Allen wrench in the end of the end link to prevent the stud from spinning while you remove the nut.
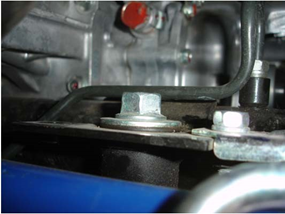
- Remove the four 12mm bolts on the bushing straps that attach the sway bar to the subframe.
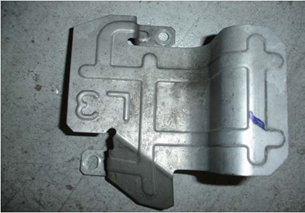
- To access the steering rack bolts you will need to remove the heat shield by removing the two 10mm bolts.
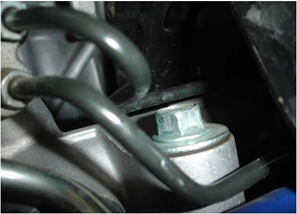
- Unbolt the steering rack from the subframe by removing the three 17mm bolts. You will need to move the rear motor mount over to access the third bolt. Leave the steering rack loose in the car as this will allow the subframe to be lowered later.
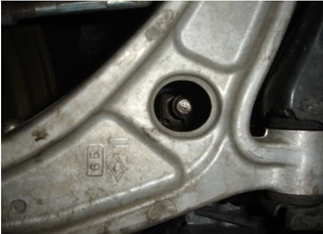
- Support the motor with a transmission stand and use a transmission jack to support the subframe while you remove the four 19mm bolts and two 12mm brace bolts that secure the subframe to the chassis. The front two subframe bolts are accessed by inserting an extension through the provided hole in the lower control arm.
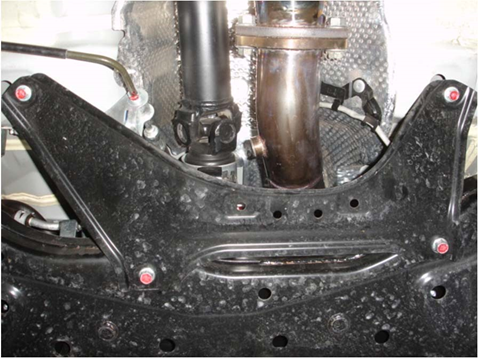
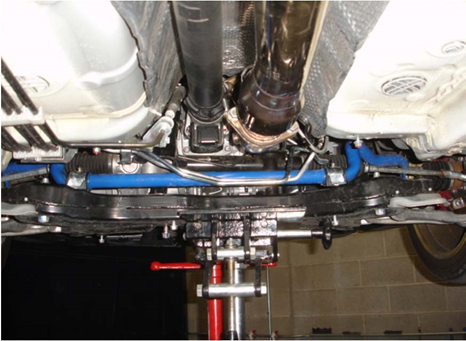
- With the bolts removed you should now be able to lower the subframe and pull the stock sway bar out. Take note of the position and routing of the sway bar in the chassis. This may make installing the Cobb front sway bar easier.
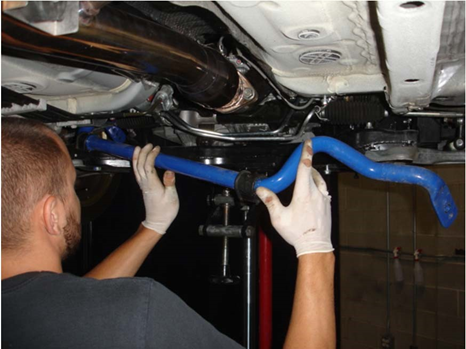
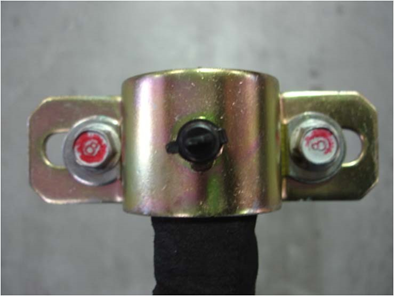
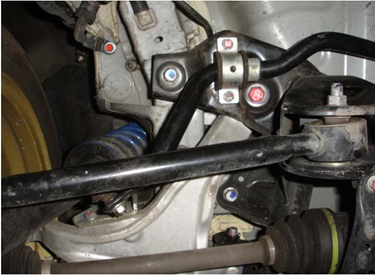
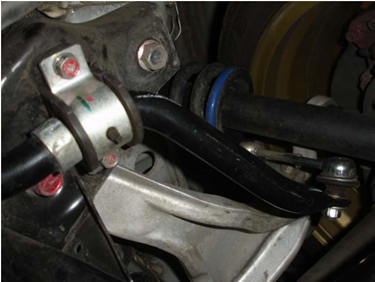
- Grease the inside of the 1-1/4” bushings with the provided grease and install them on the Cobb sway bar in the same orientation as stock. Install the Cobb sway bar in the reverse order in which it was removed. Use the supplied longer bolts, straps with 90 degree fittings (make sure the 90 degree fittings are orientated towards the outside of the car for easier maintenance) and install the provided washers on the straps with the flat side facing the bushing as shown.
Note: Check clearance between the sway bar and rear motor mount before you tighten the 13 mm bolts on the bushing strap.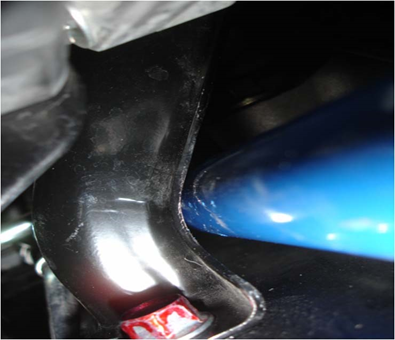
- There are two positions in which the end links can be installed on the Cobb front sway bar. The hole on the end of the bar is the stiff setting (50% stiffer than stock), and the one next to that is the stiffer setting (70% stiffer than stock).
- You can now reinstall the components back in the order they were removed.
Rear Sway Bar
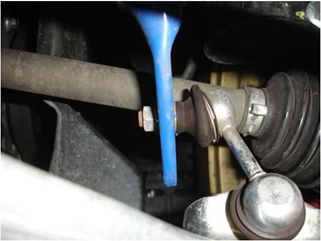
- Remove the two 14mm nuts that secure the end links to the end of the sway bar. You may need to insert a 5mm Allen wrench in the end of the end link to prevent the stud from spinning while you remove the nut.

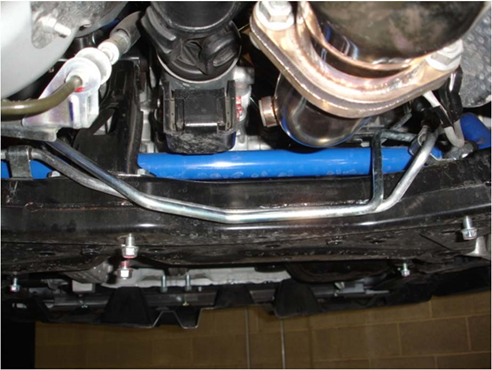
- Now remove the four 12mm bolts that secure the sway bar mounting straps to the rear subframeand remove the rear sway bar by sliding it out of the side of the car. Be careful not to damage the hydraulic lines that run into the rear differential when removing the bar.
- Grease the inside of the 1 1/8" bushings with the provided grease and install them on the COBB sway bar in the same orientation as stock.
- Install the COBB sway bar in the reverse order the stock was removed. Use the supplied bolts and washers on the straps with the flat sidez towards the bushings
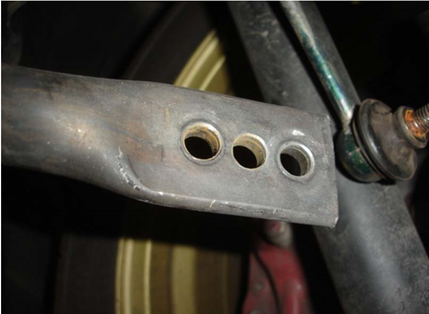
- There are three positions in which the end links can be installed on the Cobb rear sway bar. The hole on the end of the bar is the stiff setting (155% stiffer than stock), the one next to that is the stiffer setting (195% stiffer than stock), and the one on the inside is the stiffest (245% stiffer than stock).
- Recheck the torque on all bolts that were removed.
- Go out and enjoy!
COBB Customer Support Web Support and Tech Articles: COBB Tuning Customer Support Center Email: support@cobbtuning.com Phone support available 9am to 6pm Monday-Thursday. 9am to 4pm Friday (CST) 866.922.3059 return to www.cobbtuning.comContact Us:
Copyright 2023 © COBB Tuning Products LLC. All Rights Reserved. | www.cobbtuning.com