252315 - Mitsubishi Evolution X Short Shifter [discontinued]

252315 – Mitsubishi Evolution X Short Shifter
Mitsubishi Evolution X MT 2008-2015
Congratulations on your purchase of the COBB Tuning Double Adjustable Shifter! The following instructions will assist you through the installation process. Please read them BEFORE beginning the install to familiarize yourself with the steps and tools needed. If you feel you cannot properly perform this installation, we HIGHLY recommend you take the vehicle to a qualified and experienced automotive technician.
IMPORTANT! Installing this kit will require custom tuning or utilizing an appropriate Stage Power Package map if you have a matching mechanical configuration. Please consult with COBB or an authorized ProTuner in your area if you have any questions!
Table of Contents
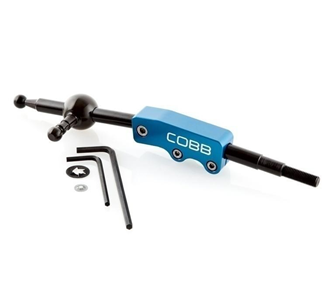
Parts List
- Double Adjustable Short Shifter
- 5mm Allen Key
- 4mm Allen Key
- 10mm Push Nut
- 4mm Push Nut
Tools Needed
- Phillips head screwdriver
- Flathead screwdriver
3/8" ratchet
- 3/8" 7mm socket
3/8" 10mm socket
3/8" 14mm socket
3/8" 12" extension
3/8" 6" extension
- 10mm combination wrench
- ~3/16" Punch
Removal of Stock Shifter
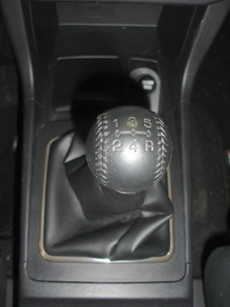
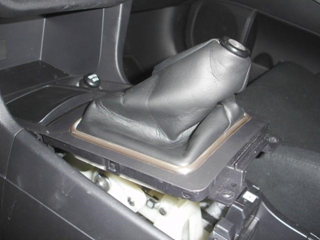
- Start by removing the shift knob by twisting it in counter-clockwise
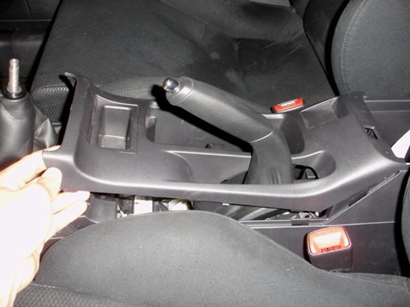
- Lift up on the rear of the center console to pop the upper portion of the center console out of the tabs and remove the piece.
- Remove the two Phillips head screws from the shifter trim.
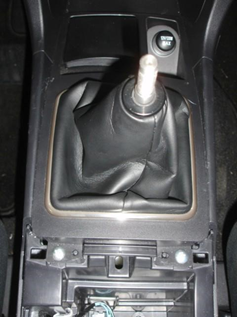
- Pull the shifter trim up and disconnect the power outlet connector to remove the trim piece

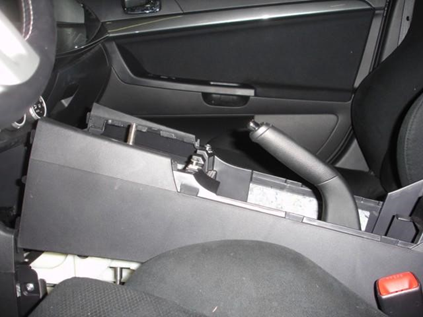
- Remove the two 10mm bolts inside the rear of the center console (under the armrest)

- Remove the two Phillips head screws that are underneath the shifter trim

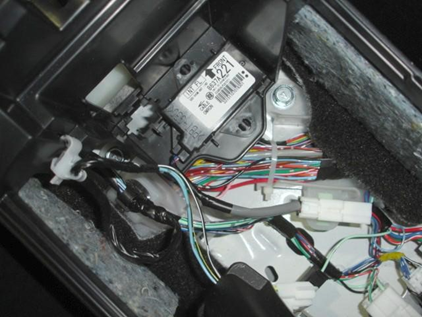
- Disconnect the sensor connector and wire harness retainer clip located in the center console.
- Lift the remaining portion of the center console up and out.
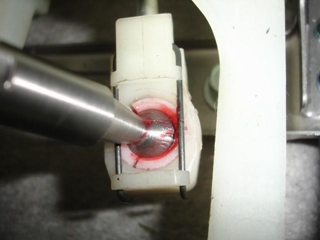
- On the bottom of the shifter you will see a metal retaining clip that secures the linkage to the shifter. Slide the clip back to release the lower ball from the linkage.
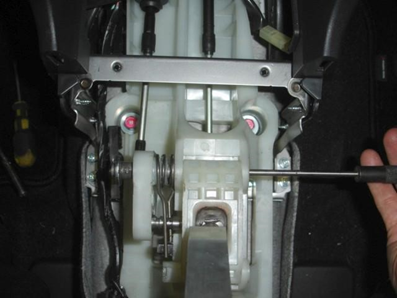
- Using a flat head screwdriver, remove the retaining clips from the two (2) pins in the top of the shifter assembly. Don't worry about breaking them as new ones have been provided with the COBB shifter.
- Use a 16" punch or smililar device to drive both pins out. Take note of the orientation of the spring and pins before removal as this will help on re-installation.
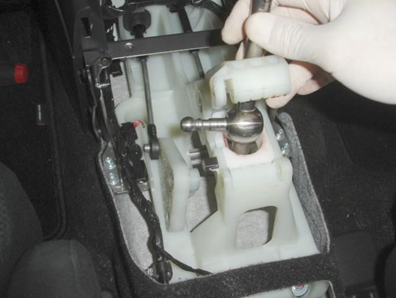
- Remove the upper plastic portion that secures the large pivot ball in place and pull the shifter up and out.
Installation of the COBB Tuning Double Adjustable Short Throw Shifter
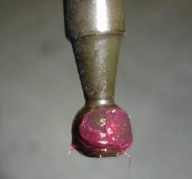
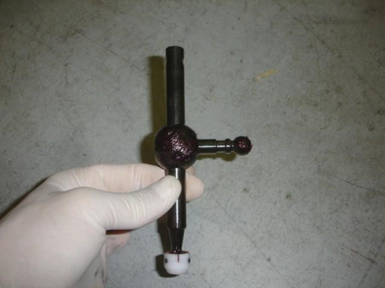
- Pop the plastic cup off the bottom of the factory shifter. Grease the bottom ball on the COBB Tuning shifter with an all-purpose grease (moly based grease) and re-install the plastic cup on the COBB Tuning shifter.
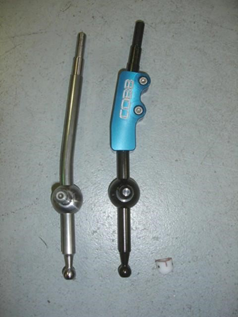
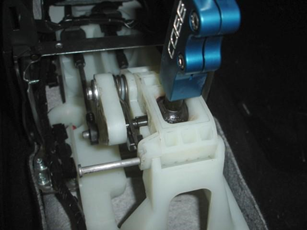
- To install the COBB Tuning shifter, remove the 5mm allen screw that attaches the upper aluminum portion to the steel shaft and separate the upper and lower parts of the shifter.
- Grease the large and small pivots on the shifter
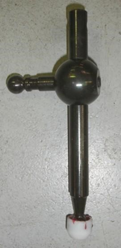
- Place the lower section of the COBB Tuning shifter in the plastic shifter base making sure to insert the plastic cup on the bottom of the shifter in the end of the shift linkage. Afterward re-install the metal retaining clip securing the lower ball of the shifter to the linkage.

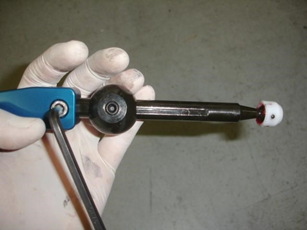
- Install the plastic portion that retains the large pivot ball. Slide the larger pin through the spring in the same orientation in which it was removed.
Note: Do not install the small pin at this time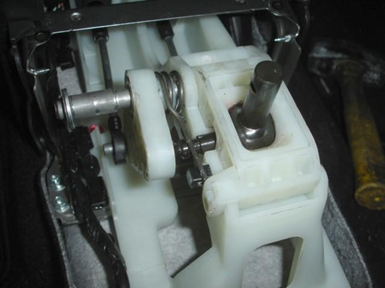
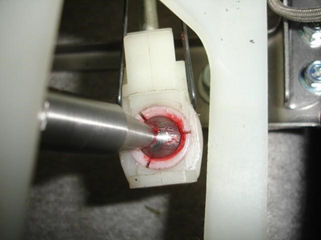
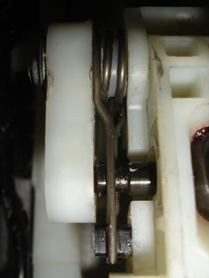
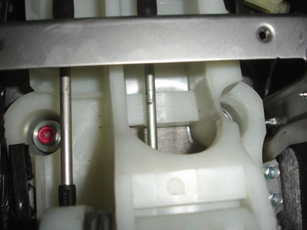
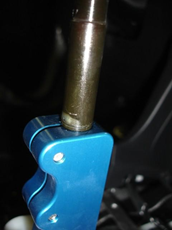
- Make sure that the ball on the side of the shift lever slides into the plastic cup. The spring will need to clamp on either side of the shaft of the ball as shown.
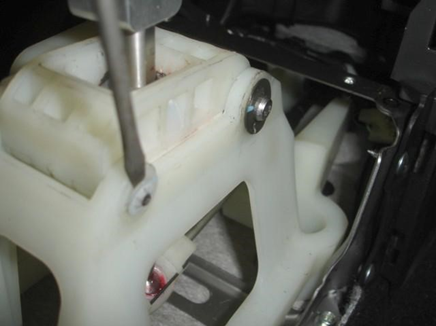
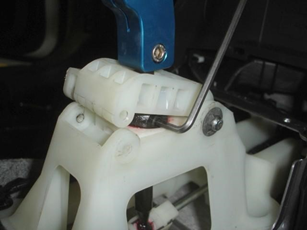
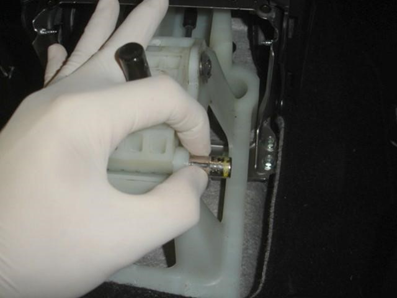
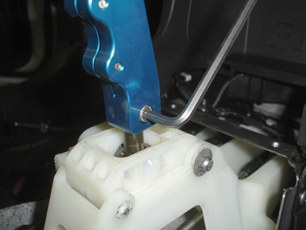
- Reinstall the upper section of the shift lever and adjust the shifter throw to your preference. To adjust the throw, lift up the rear of the plastic section that retains the large pivot ball just enough to be able to insert the 4mm allen key to loosen the set screw on the main ball. The further down the shaft is pushed through the pivot ball (shortening the distance above the main ball and lengthening the distance below), the shorter the throw. During this process, you may have to partially install the smaller pin, but do not install the retaining washer. You may need to remove the small pin several times to make adjustments.
- Go through all the gears and check clearances. Remember not to install the pin-retaining washer until the level is adjusted to your preference. Without the retaining washer the pin will be easier to remove in order to make adjustments to the shifter throw before you fully install the shifter.
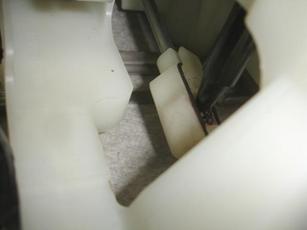
- While going through the gears, make sure that there is at least 1/8' clearance in between the shift linkage and all the parts of the plastic shifter base.
- With all of the clearances checked and the throw adjusted to your preference, tighten the 4mm set screw and install the smalelr pin.
- With both pins installed, place the supplied retaining clips on the end of each pin. It may help to use an appropriately sized socket (7mm and 14mm) and hammer to help push the retainers on to the pins.
- Tighten down the 5mm allen bolt that secures the upper aluminum portion of the shifter to the steel shaft. The logo should face the driver's side (USDM)
- Now it is time to adjust the shift knob height. To adjust the shift knob height, loosen the two (2) 4mm allen head bolts and slide the shaft up or down in the aluminum body. Once at your desire height, retighten the bolts. Make sure not to pull the shaft out of the body any further than the bottom line machined on the shaft. Do NOT over-tighten the bolts as damage can be caused by the bolts being over-tightened (44 in-lbs is the maximum recommended tightening torque).
- Reinstall the factory pieces in the reverse order of removal.
- Go out and enjoy!
Contact Us:
COBB Customer Support
Web Support and Tech Articles: COBB Tuning Customer Support Center
Email: support@cobbtuning.com
Phone support available 9am to 6pm Monday-Thursday. 9am to 4pm Friday (CST)
866.922.3059
return to www.cobbtuning.com
Copyright 2023 © COBB Tuning Products LLC. All Rights Reserved. | www.cobbtuning.com