745110 - SUBARU VA WRX COBB BIG SF INTAKE SYSTEM

745110
COBB 3" BIG SF INTAKE SYSTEM INSTALL INSTRUCTIONS
2015-2021 Subaru WRX
Congratulations on your purchase of the COBB 3” Big SF Intake System for your 2018 Subaru WRX!
The following instructions will assist you through your installation process. Please read them first BEFORE beginning the install and familiarize yourself with the steps and tools needed.
If you feel that you cannot properly perform this installation, we HIGHLY recommend you take the vehicle to a qualified and experienced automotive technician.
https://www.cobbtuning.com/dealers
Table of Contents
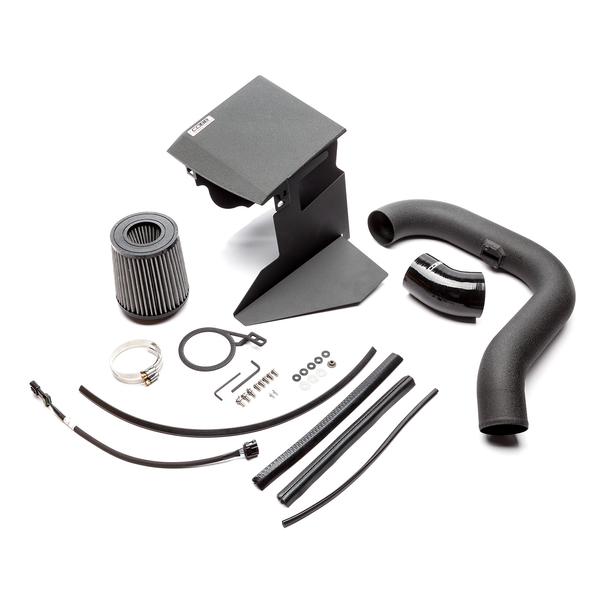
Part List
- #48 Hose Clamp (2)
- m4x8mm Stainless Socket Head Cap Bolt (2)
- 6mm lock washer for billet slider (3)
- m6x16mm stainless hex bolt (3)
- Flanged Hex Nut m6x17mm (1)
- m6x12 stainless socket head bolt (5)
- m6 washer black (5)
- m3 hex key
- m4 hex key
Tools Needed
Scissors (to cut edge trim)
Allen wrenches (provided): 5mm, 3mm, 2.5mm

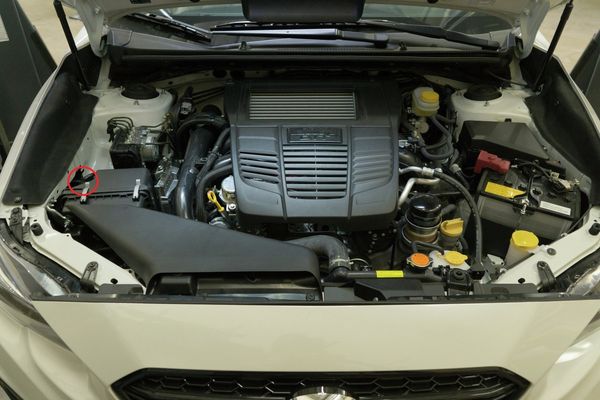
Removal of Stock Intake
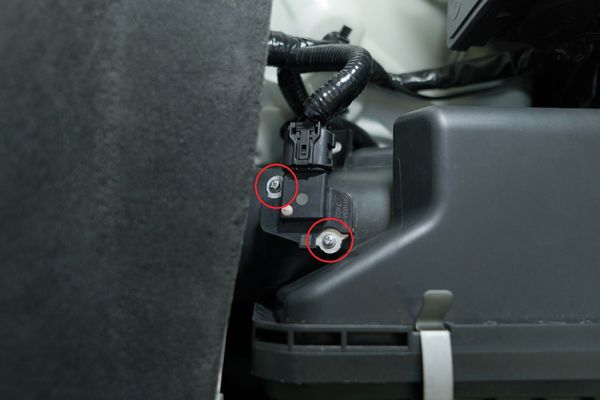
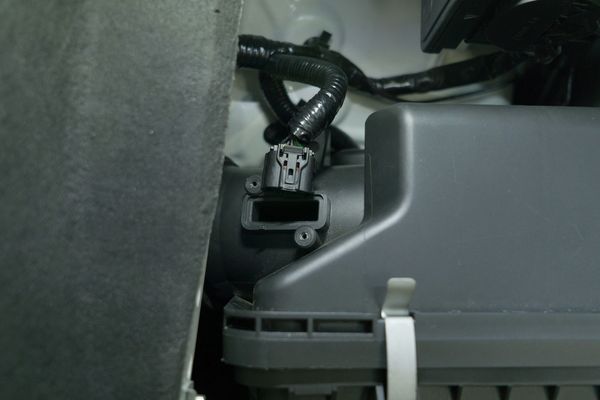
- Unscrew the Mass Airflow (MAF) sensor using a Phillips head screwdriver.

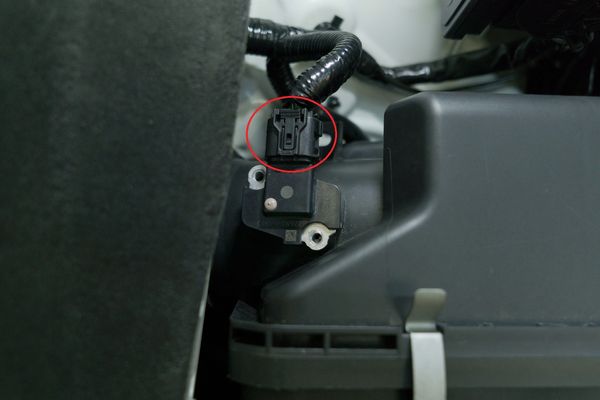
- Unclip the MAF sensor from the electrical harness and remove the MAF sensor.
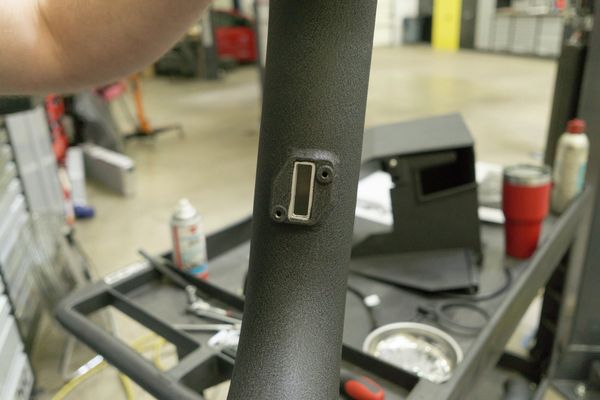
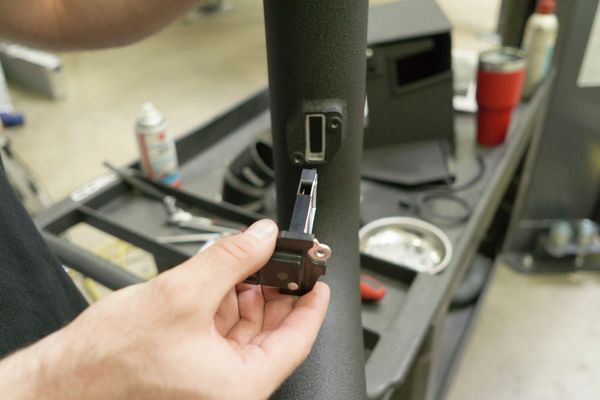
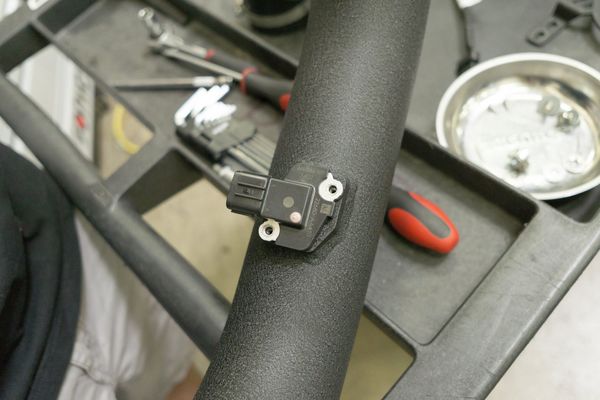
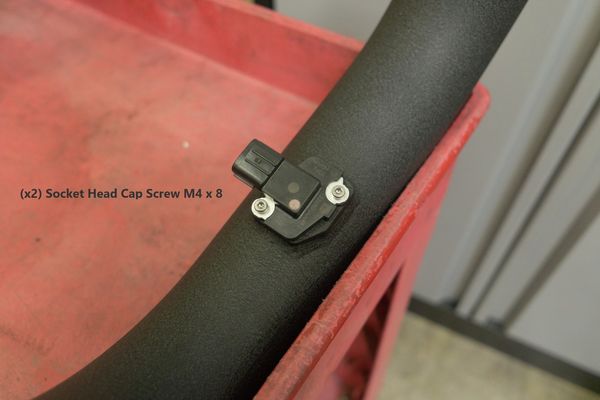
- Insert the MAF sensor in the COBB Big SF intake tube using the supplied hardware, x2 socket head cap screws M4x8, using the provided M3 hex key.
- Remove front air snorkel using a flathead screwdriver to release the clips.
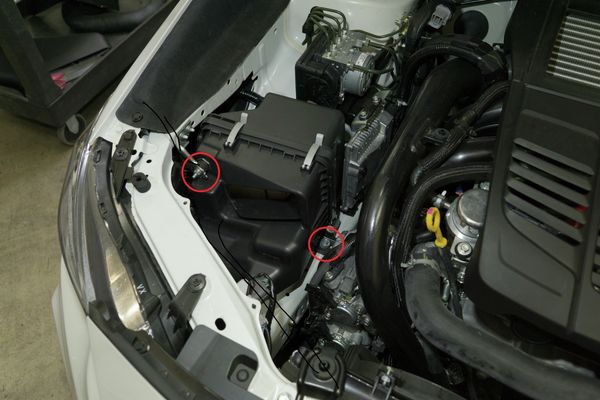
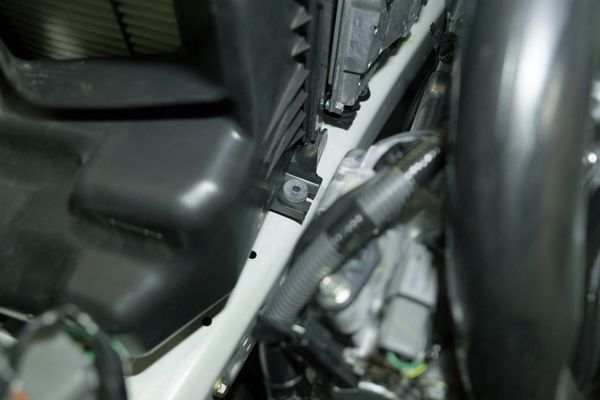
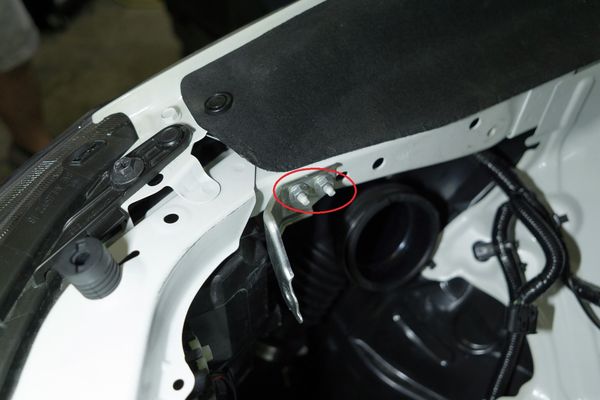
- Remove the 10mm nut on the intake bracket and 10mm bolt to the chassis.
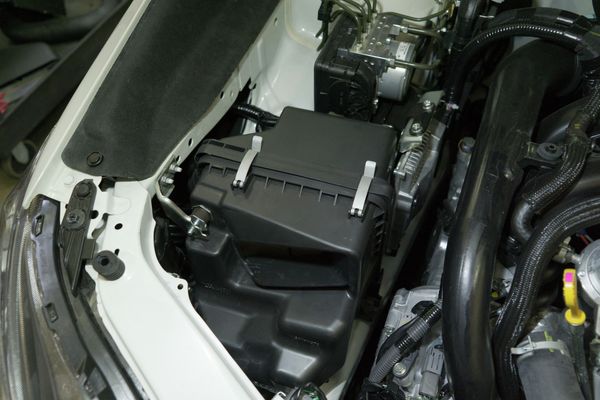
- Unclip the the two airbox halves.
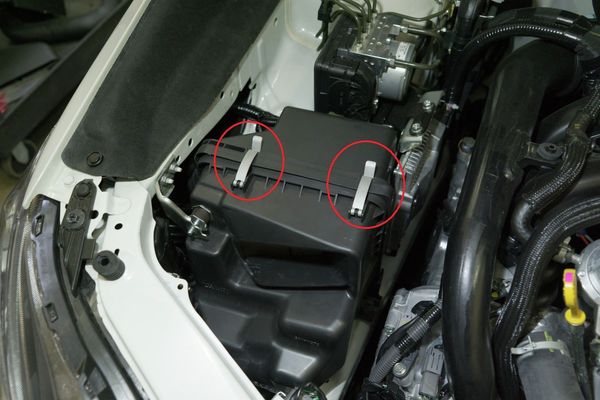
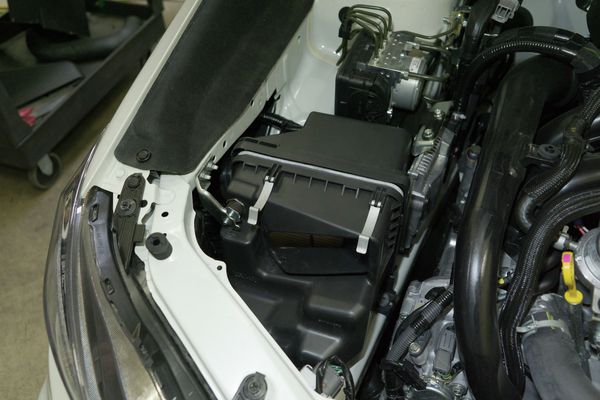
- Gently push down on the back side and pull up on the front side to separate and remove the front airbox half.
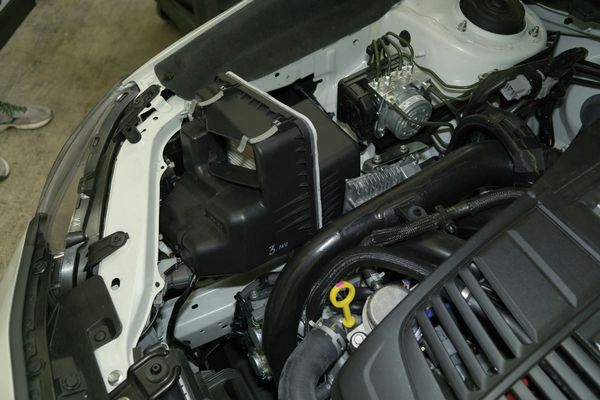
- On the backside of the remaining airbox half, loosen the worm clamp for the intake tube using an 8mm socket, and then remove the airbox.
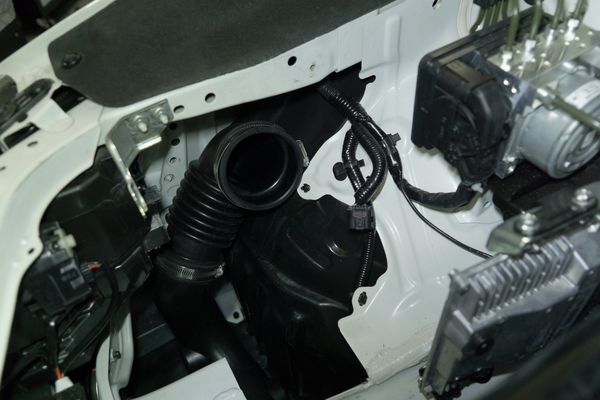
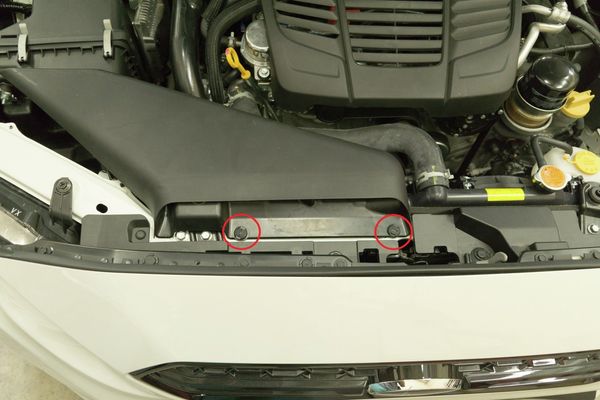
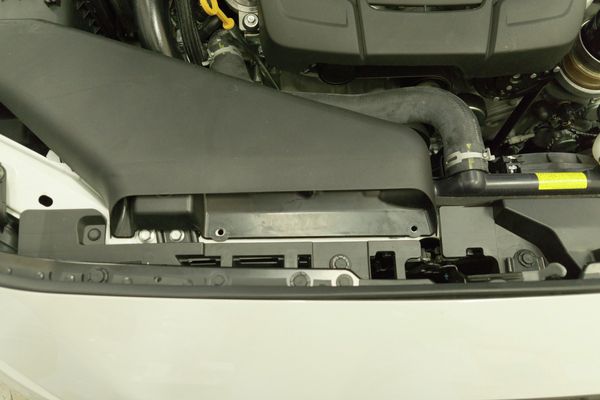
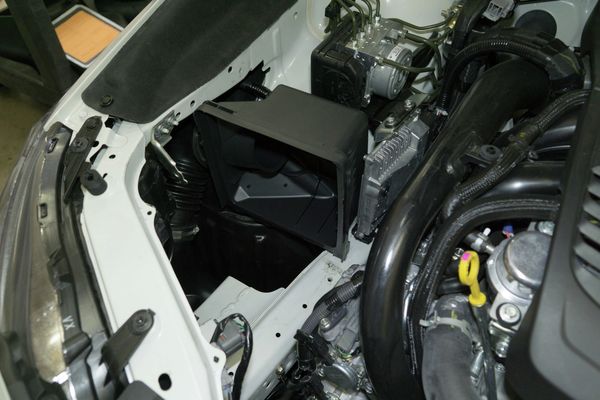
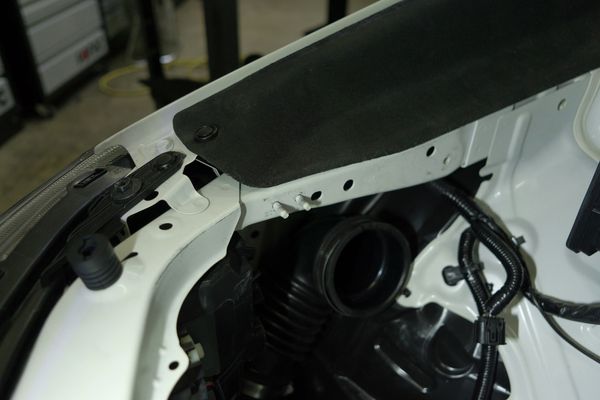
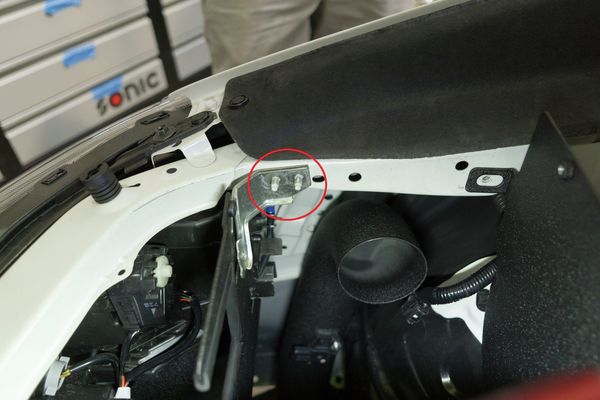
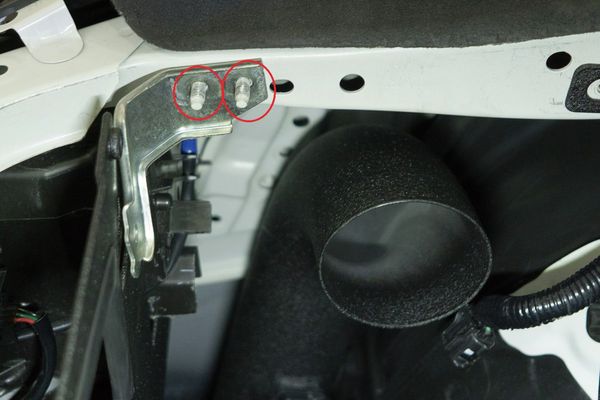
- Remove the forward intake bracket by removing the (2) 10mm nuts using a 10mm socket.
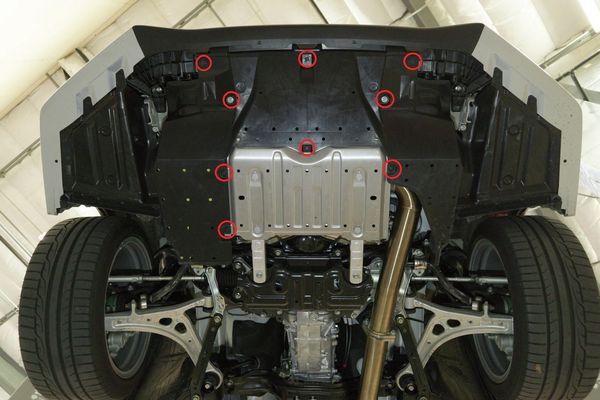
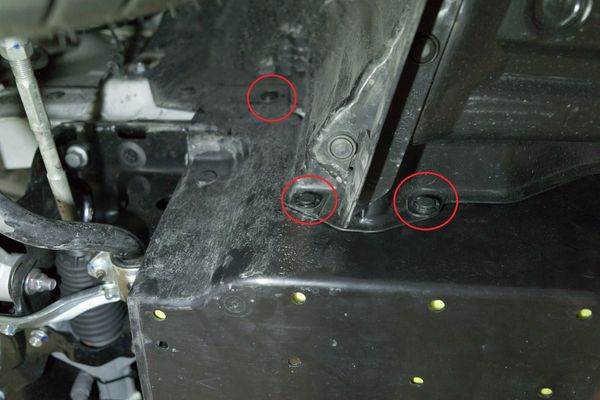
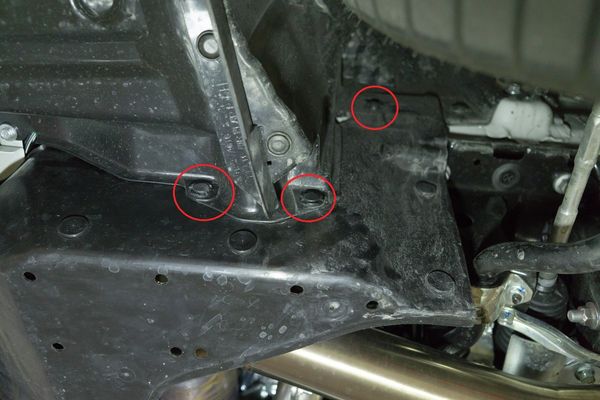
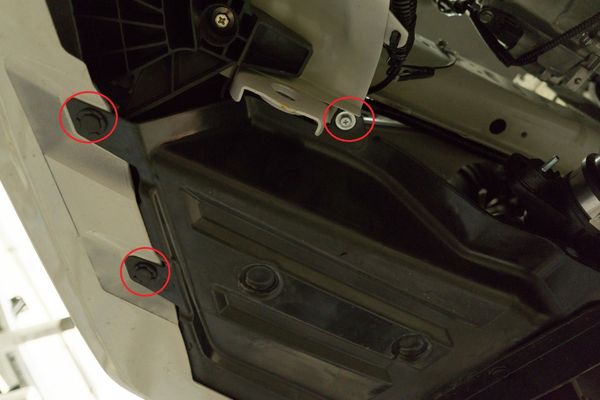
- Remove the undertray by removing (2) 12mm bolts and (13) push clips using a flathead screwdriver, 12mm socket, and 6” extension. (6) of the push clips are in each front wheel well.

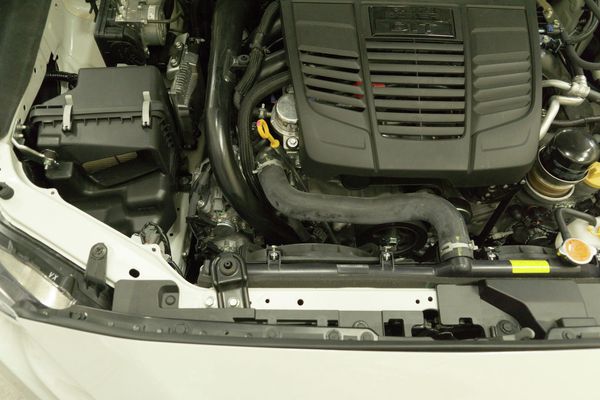
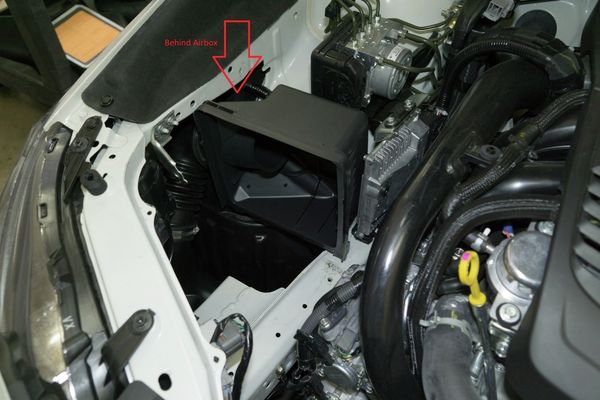
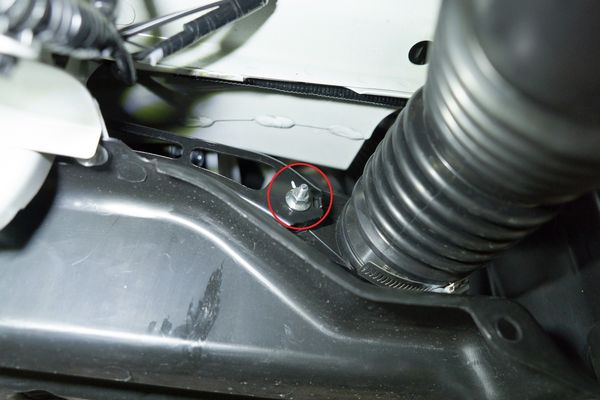
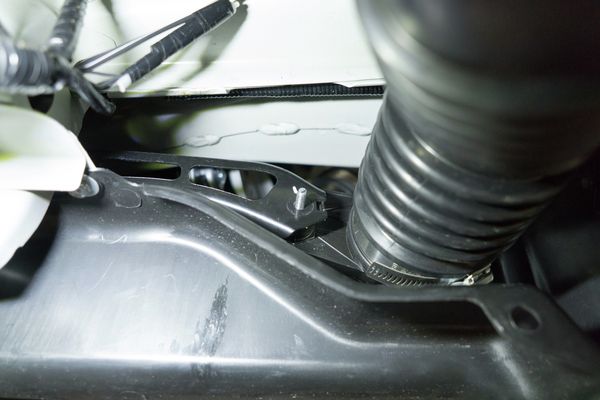
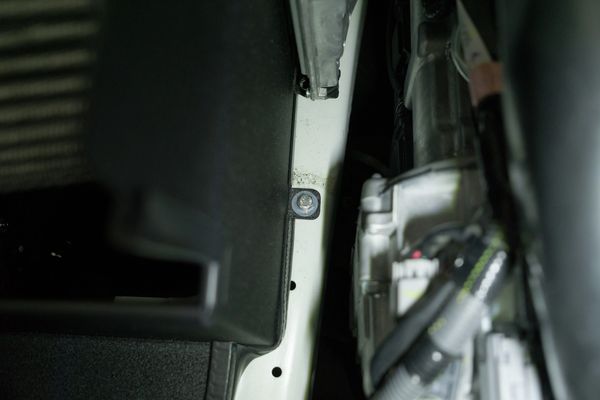
- Remove the 10mm nut holding on the stock intake tube using a 10mm socket and 6” extension.
- OPTIONAL: You can remove the intake bracket if you like. We do not reuse it.
- OPTIONAL: You can remove the intake bracket if you like. We do not reuse it.
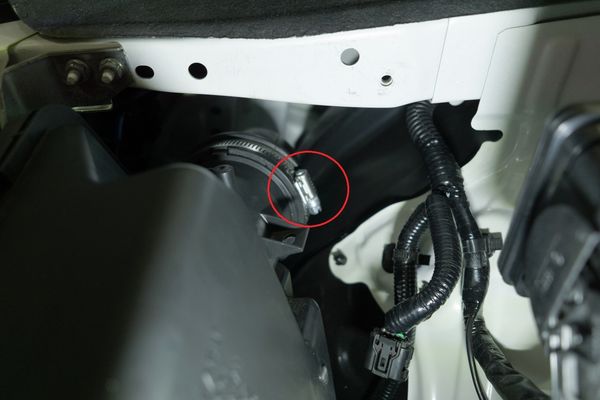
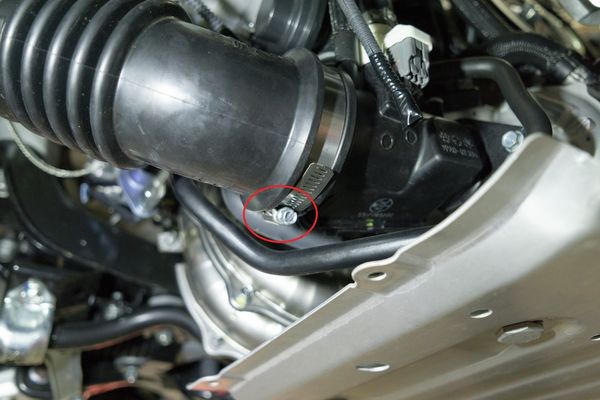
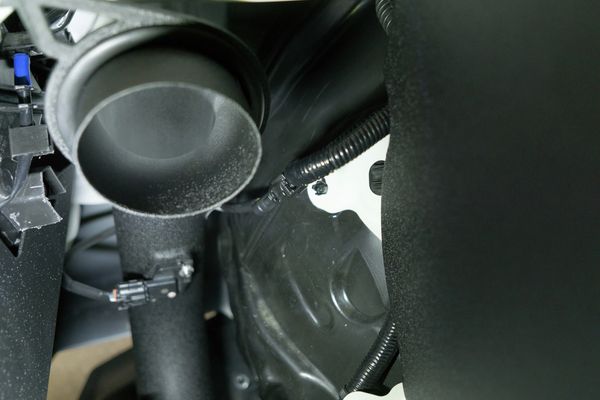
- Loosen the 8mm hose clamp holding the intake tube to the turbo inlet using an 8mm socket.
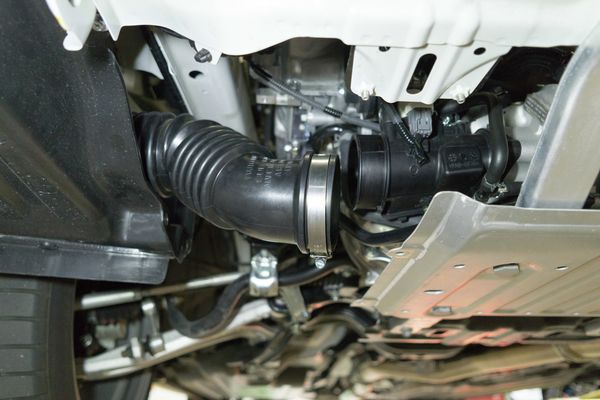
- Remove the 10mm bolt and (2) push clips securing the passenger side undertray using a 10mm socket and flathead screwdriver. The stock intake tube will then slide out very easily.
Installation of COBB 3” Big SF Intake and Filter
- Using silicone lubricant, or any comparable alcohol based lube, attach the 45 degree silicone elbow to the COBB intake tube.

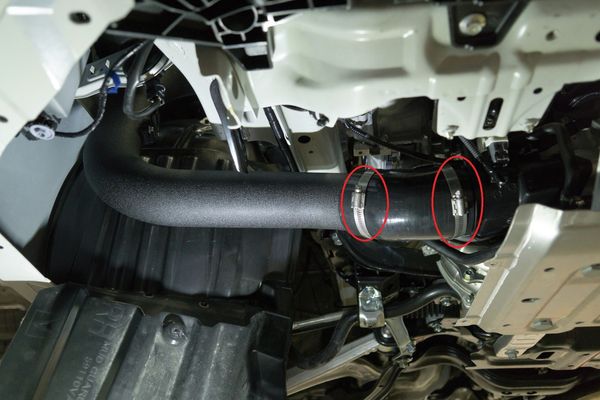
- Using silicone lubricant, or any comparable alcohol based lube, attach the silicone elbow to the turbo inlet and pipe using two hose clamps.
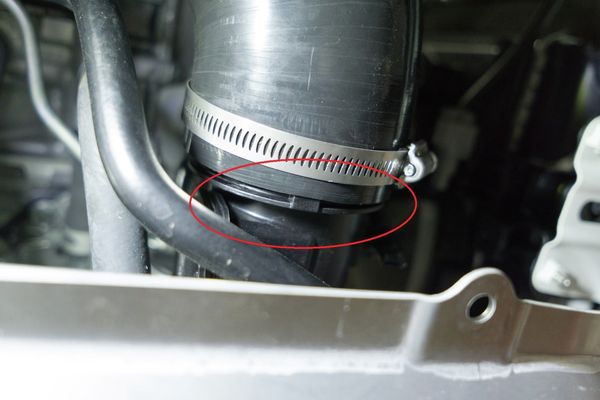
- NOTE: The stock turbo inlet has a notch in it for alignment on the stock intake tube. Our silicone does not utilize that notch, so make sure the silicone isn't on top of that as it could create a leak.
- NOTE: The stock turbo inlet has a notch in it for alignment on the stock intake tube. Our silicone does not utilize that notch, so make sure the silicone isn't on top of that as it could create a leak.
- Gently tighten the hose clamps only enough to keep the intake roughly in place (we’ll come back to tighten them more later).
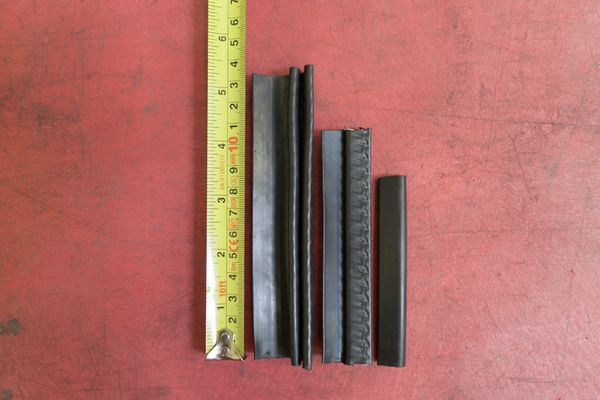
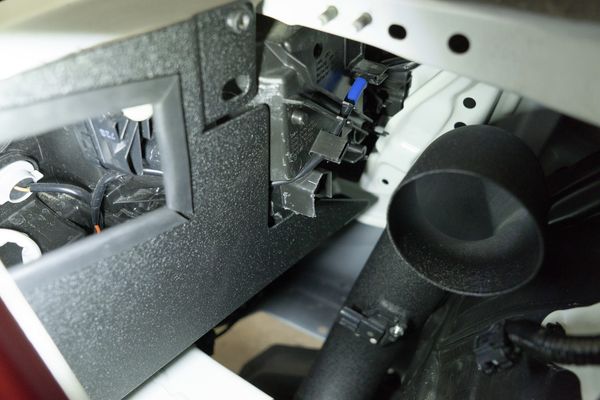
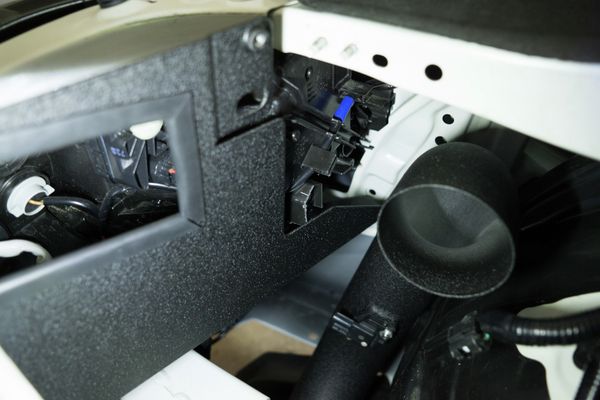
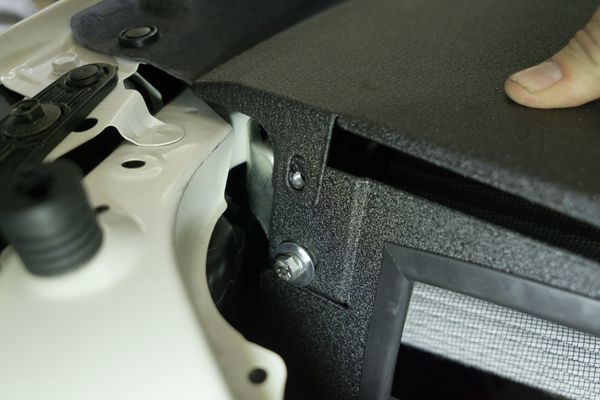
- Cut the provided trim pieces as depicted for lining the edges of the airbox along the intake tube cutout and install them.
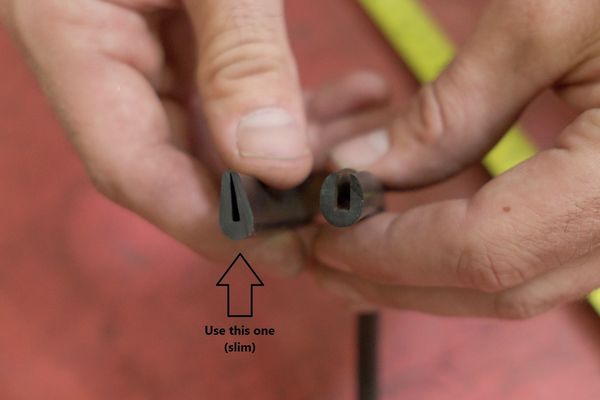
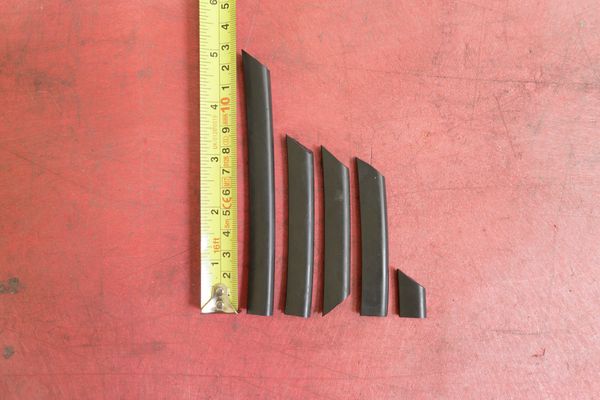
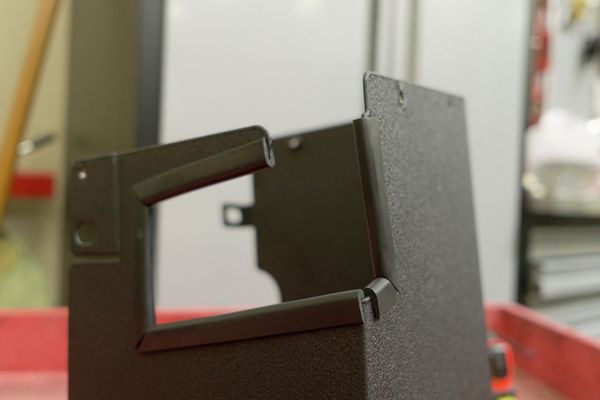
- Cut the provided trim pieces as depicted for lining the edges of the bottom of the airbox and install them.
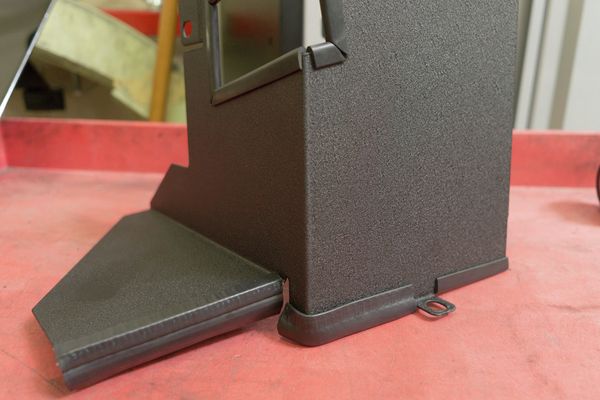
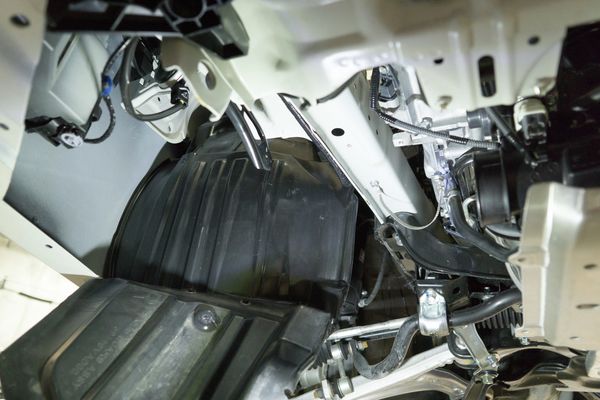
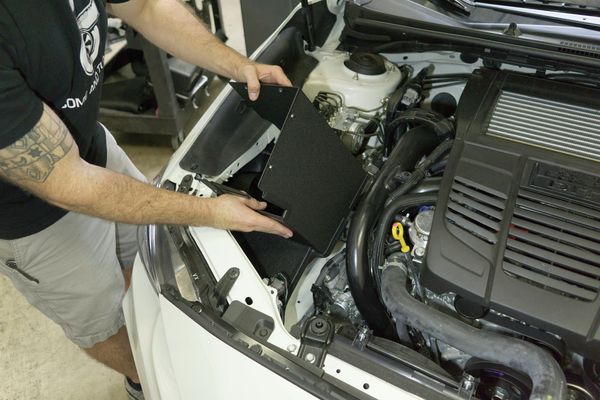
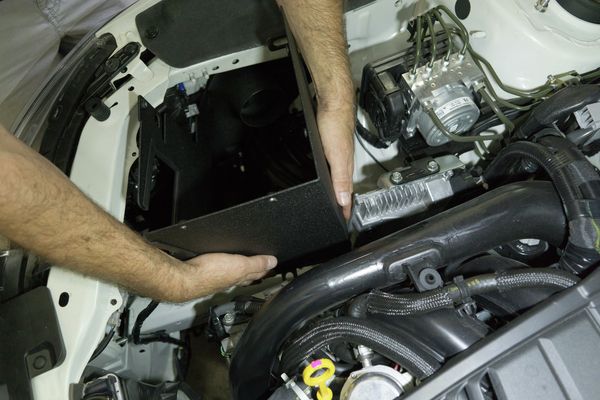
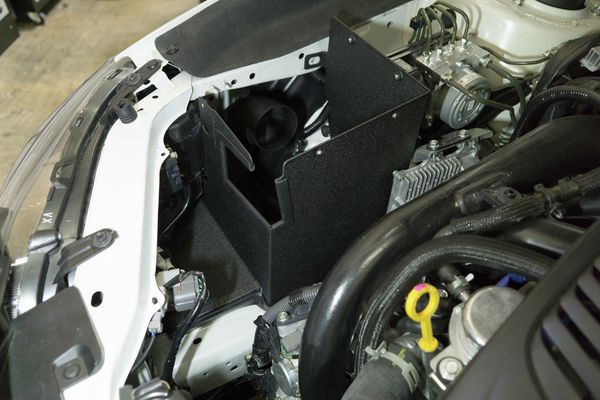
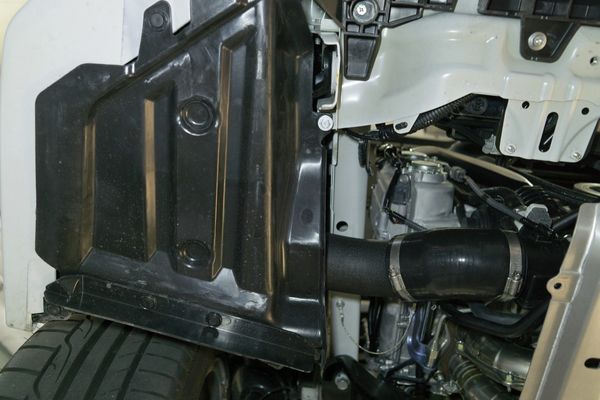
- Gently insert the airbox in the engine bay. You may need to gently bend the sides of the airbox in so as to clear the ECU, charge pipe, and headlight assembly.
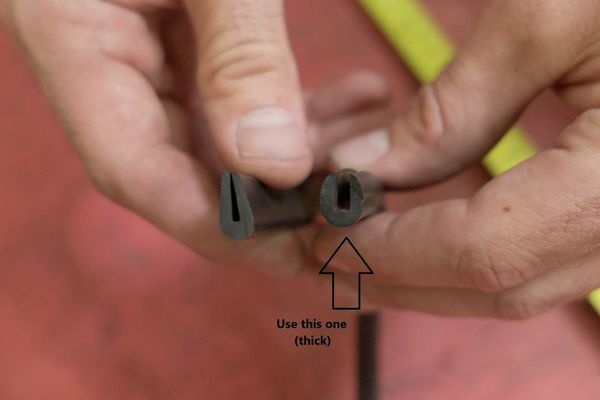
- Cut approximately 10.75” of the trim (noted with the thicker inside cutout) for the COBB intake tube bracket.
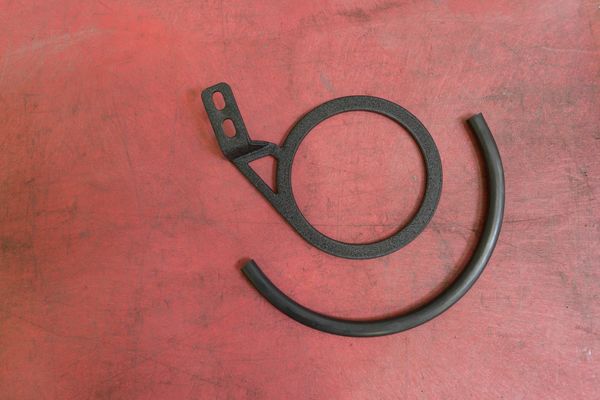
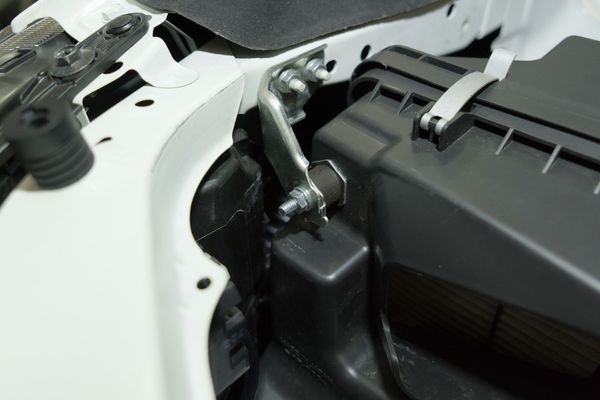
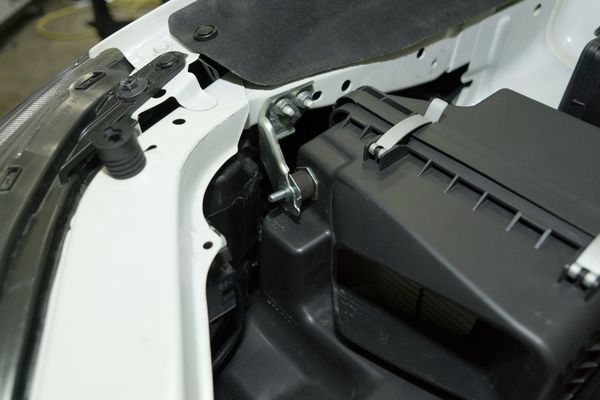
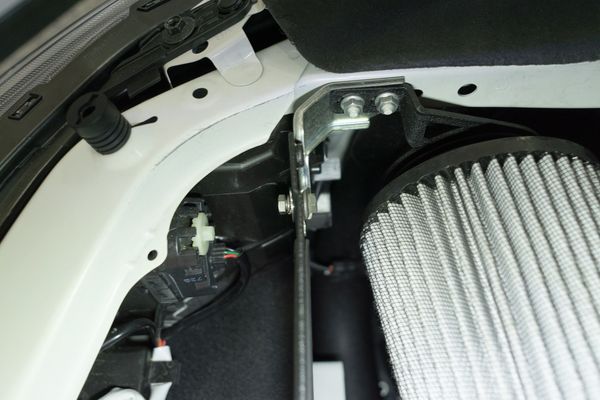
- Place the OEM intake bracket on.
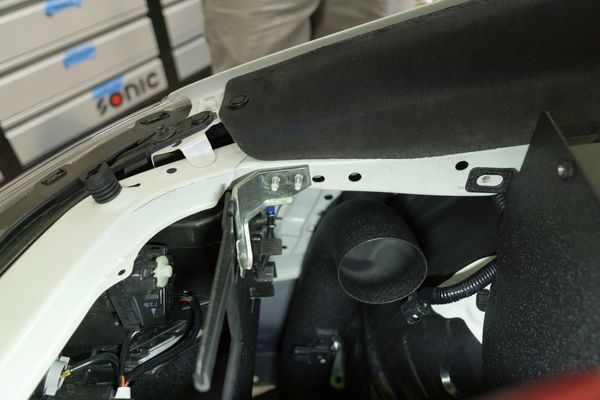
- Place the COBB Big SF intake tube bracket in the same location.

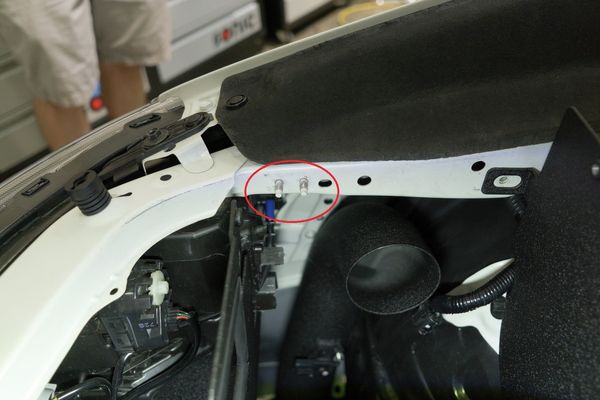
- Install the OEM 10mm bolts and secure them loosely using a 10mm socket.
- NOTE: Leave them loose as the COBB intake tube bracket is slotted, allowing for adjustment after the intake filter has been installed.
- NOTE: Leave them loose as the COBB intake tube bracket is slotted, allowing for adjustment after the intake filter has been installed.
- Install the MAF extension harness.
- We wrap ours behind the intake tube out of preference.


- We wrap ours behind the intake tube out of preference.
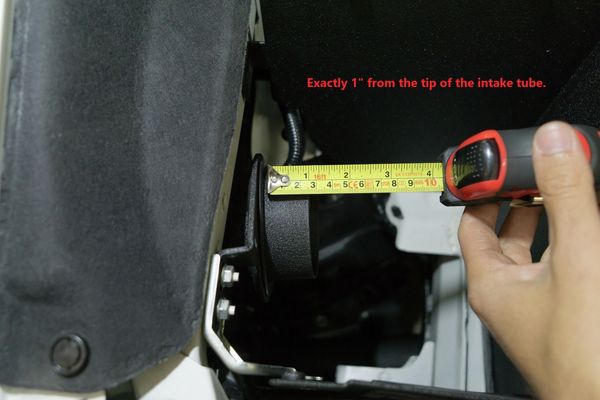
This might be the most important step of the entire install, so please heed this. Measure 1” from the tip of the intake tube and mark it with a Sharpie or pencil.
If the air filter is not positioned appropriately, the airflow readings through the MAF sensor will be affected and may cause driveability issues
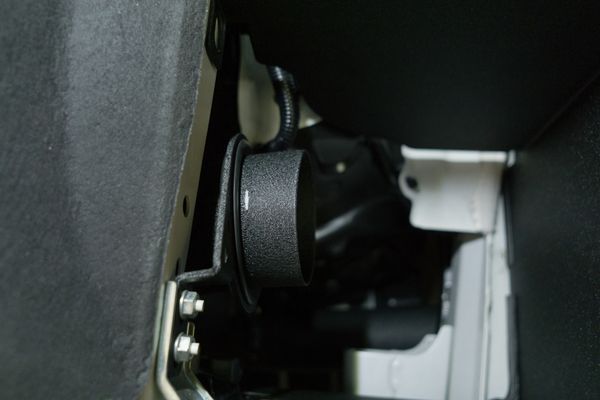
- Insert the intake filter on the intake tube and line it up with the previous mark.
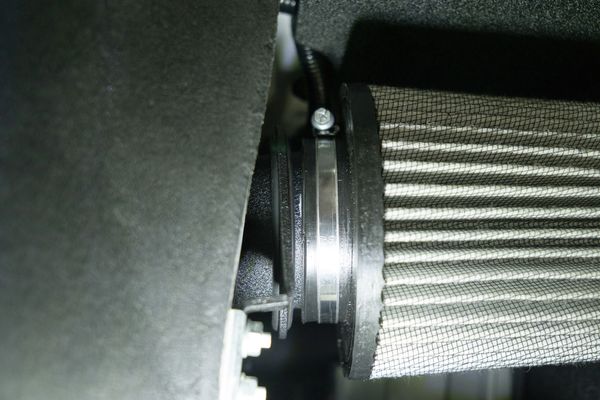
- Tighten the (3) hose clamps (filter and 2 for turbo inlet) that secure the COBB Big SF Intake tube.
- Reinstall the (2) clips and (1) screw for the passenger undertray.
- Reinstall the (2) 12mm bolts and the (13) push pins for the undertray
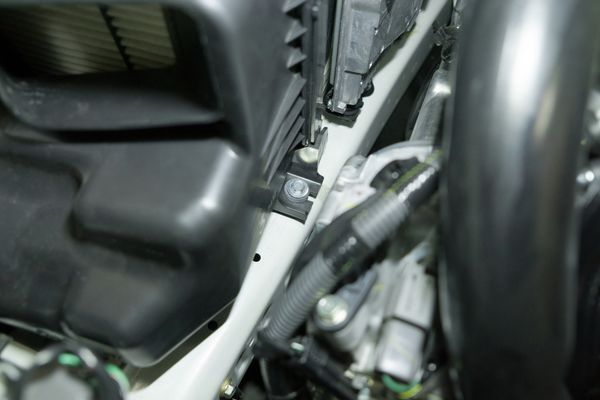
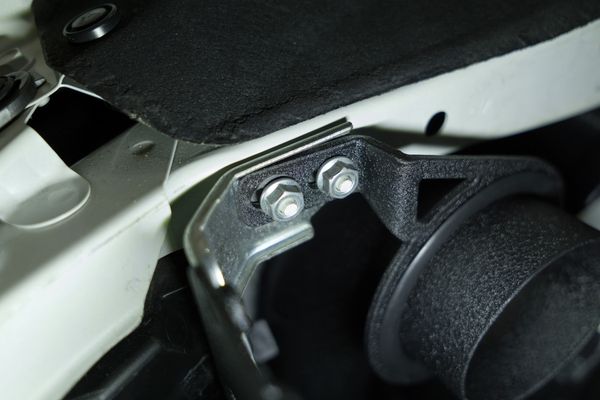
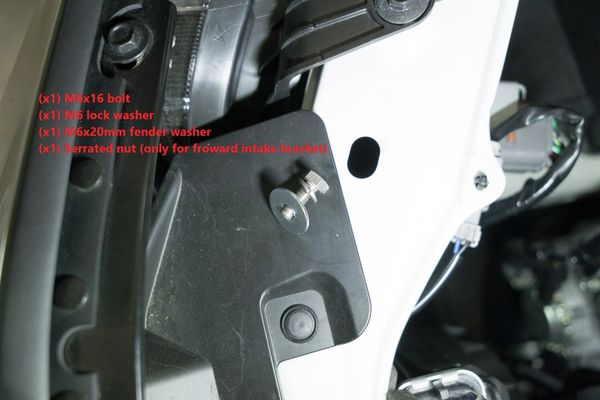
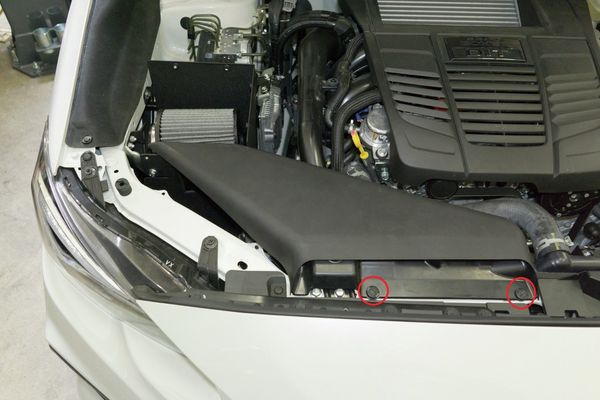
- For each location of mounting the airbox, you will utilize an M6x16 hex bolt, M6 lock washer, M6x20mm fender washer, and a serrated nut (specific for the forward intake bracket).
- NOTE: Keep each mounting location slightly loose so that you can adjust for the lid in the following steps.
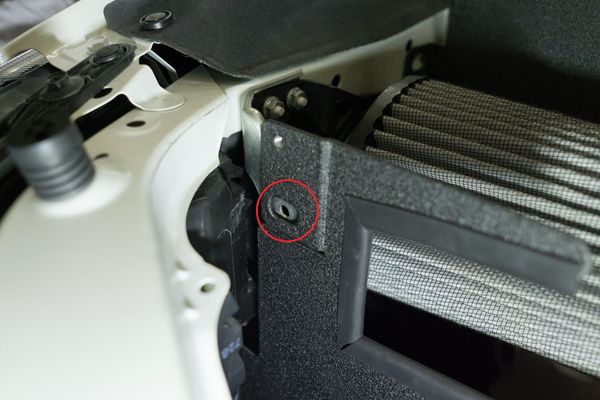
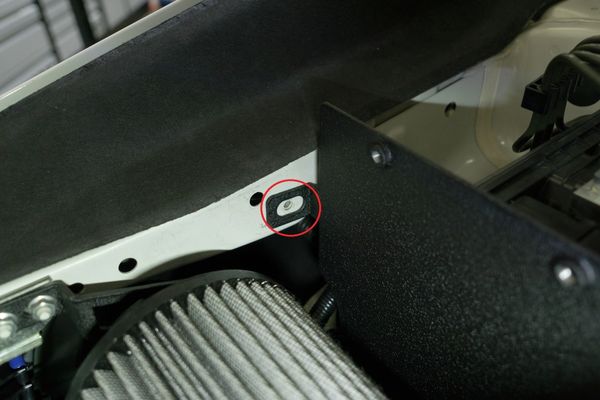
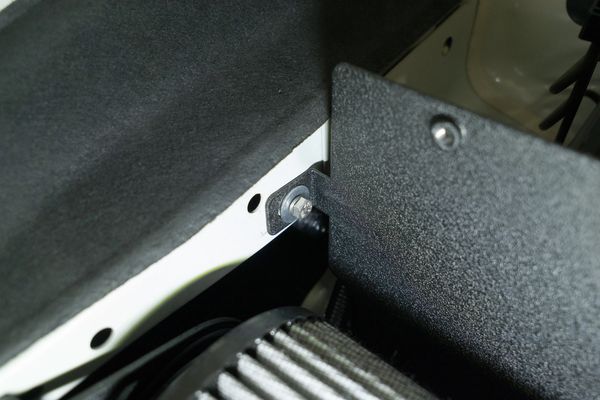
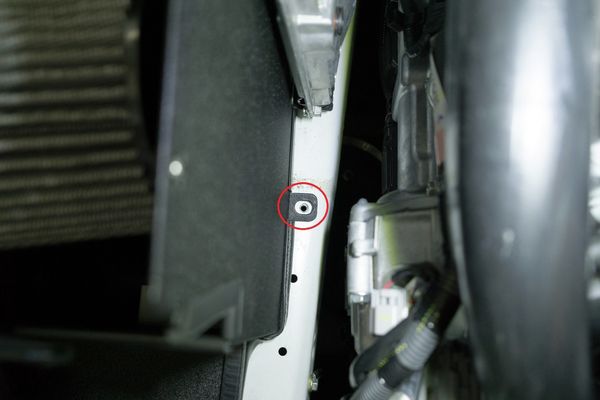
- NOTE: Keep each mounting location slightly loose so that you can adjust for the lid in the following steps.
- Install the OEM snorkel with the (2) push clips
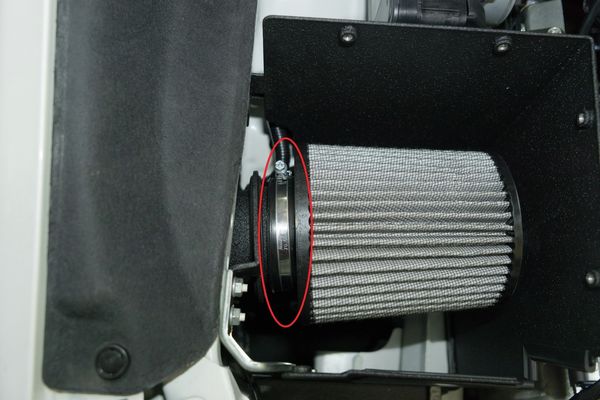
Double check that your air filter is positioned correctly as described in step 12
If the air filter is not positioned appropriately, the airflow readings through the MAF sensor will be affected and may cause driveability issues
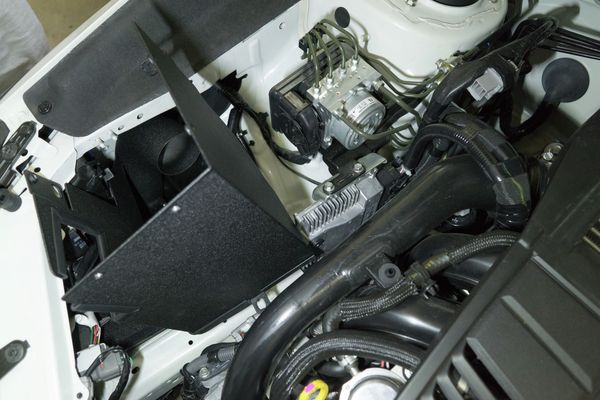
- Fit the lid to the top of the airbox. Once you’ve verified it lines up with the mounting holes, remove it.
- Tighten down the airbox hardware.
- Put the lid back on and use the provided hardware to secure it, (5) M4x10mm button head cap screws, 4mm nylon washers.

- Before starting your car, please flash the appropriate +BigSF map.
- Done!
Links
COBB Product Install Instructions for Subaru Vehicles
Main Installation Instruction Repository for Subaru Parts
Calibration Map Notes for Subaru Vehicles
Link to Subaru Map Notes to see what map you should be on given the parts you've added
COBB Customer Support Web Support and Tech Articles: COBB Tuning Customer Support Center Email: support@cobbtuning.com Phone support available 9am to 6pm Monday-Thursday. 9am to 4pm Friday (CST) 866.922.3059 return to www.cobbtuning.comContact Us:
Copyright 2023 © COBB Tuning Products LLC. All Rights Reserved. | www.cobbtuning.com