Porsche 991.2 Carrera and Turbo ECU Removal

These instructions will explain the process for removal of the ECU on the Porsche 991.2 Carrera and Turbo models.
COBB Tuning would like to give a special thanks to BBi Autosport for assistance creating this document.
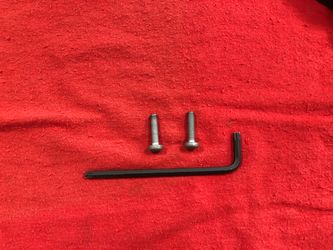
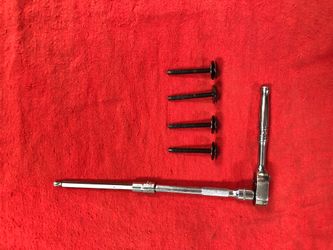
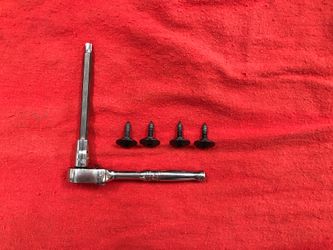
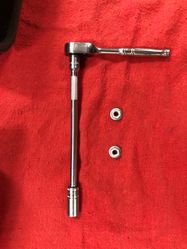
Tools Needed
- Flathead screwdriver
3/8" ratchet
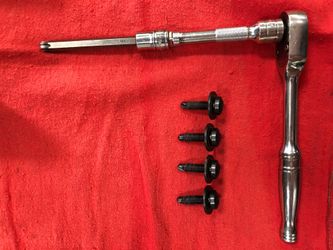
3/8" 10mm socket
3/8" T30 Torx Bit
- 3/8" T25 Torx Bit
- 3/8" T45 Torx Bit
- Masking Tape
Estimated Removal Time: 1 to 2 hours
Instructions for Removal
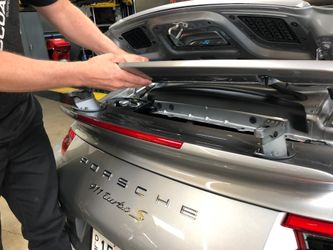
Battery Disconnect and hood/deck/spoiler open
- Make sure the car's coolant is cool and parked in a location where you can be comfortable leaving it undriven while the ECU is sent out for bench flashing. If the car needs to be moved or pushed while the ECU is not in the car, leave the car in the "N" Neutral position so you can push it. Failure to put the car in "N" Neutral before you remove the ECU will keep the car stuck in the "P" Park until the ECU is installed again.
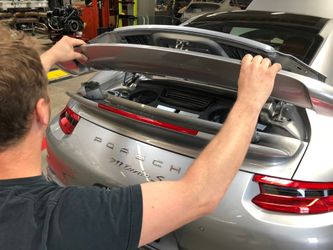
- RAISE THE SPOILER ON THE CAR TO FULL UPRIGHT POSITION. The button for this is located by the shift lever on the car.
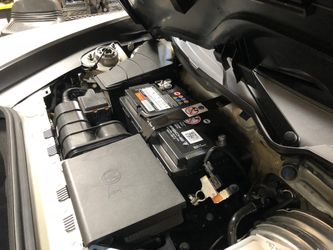
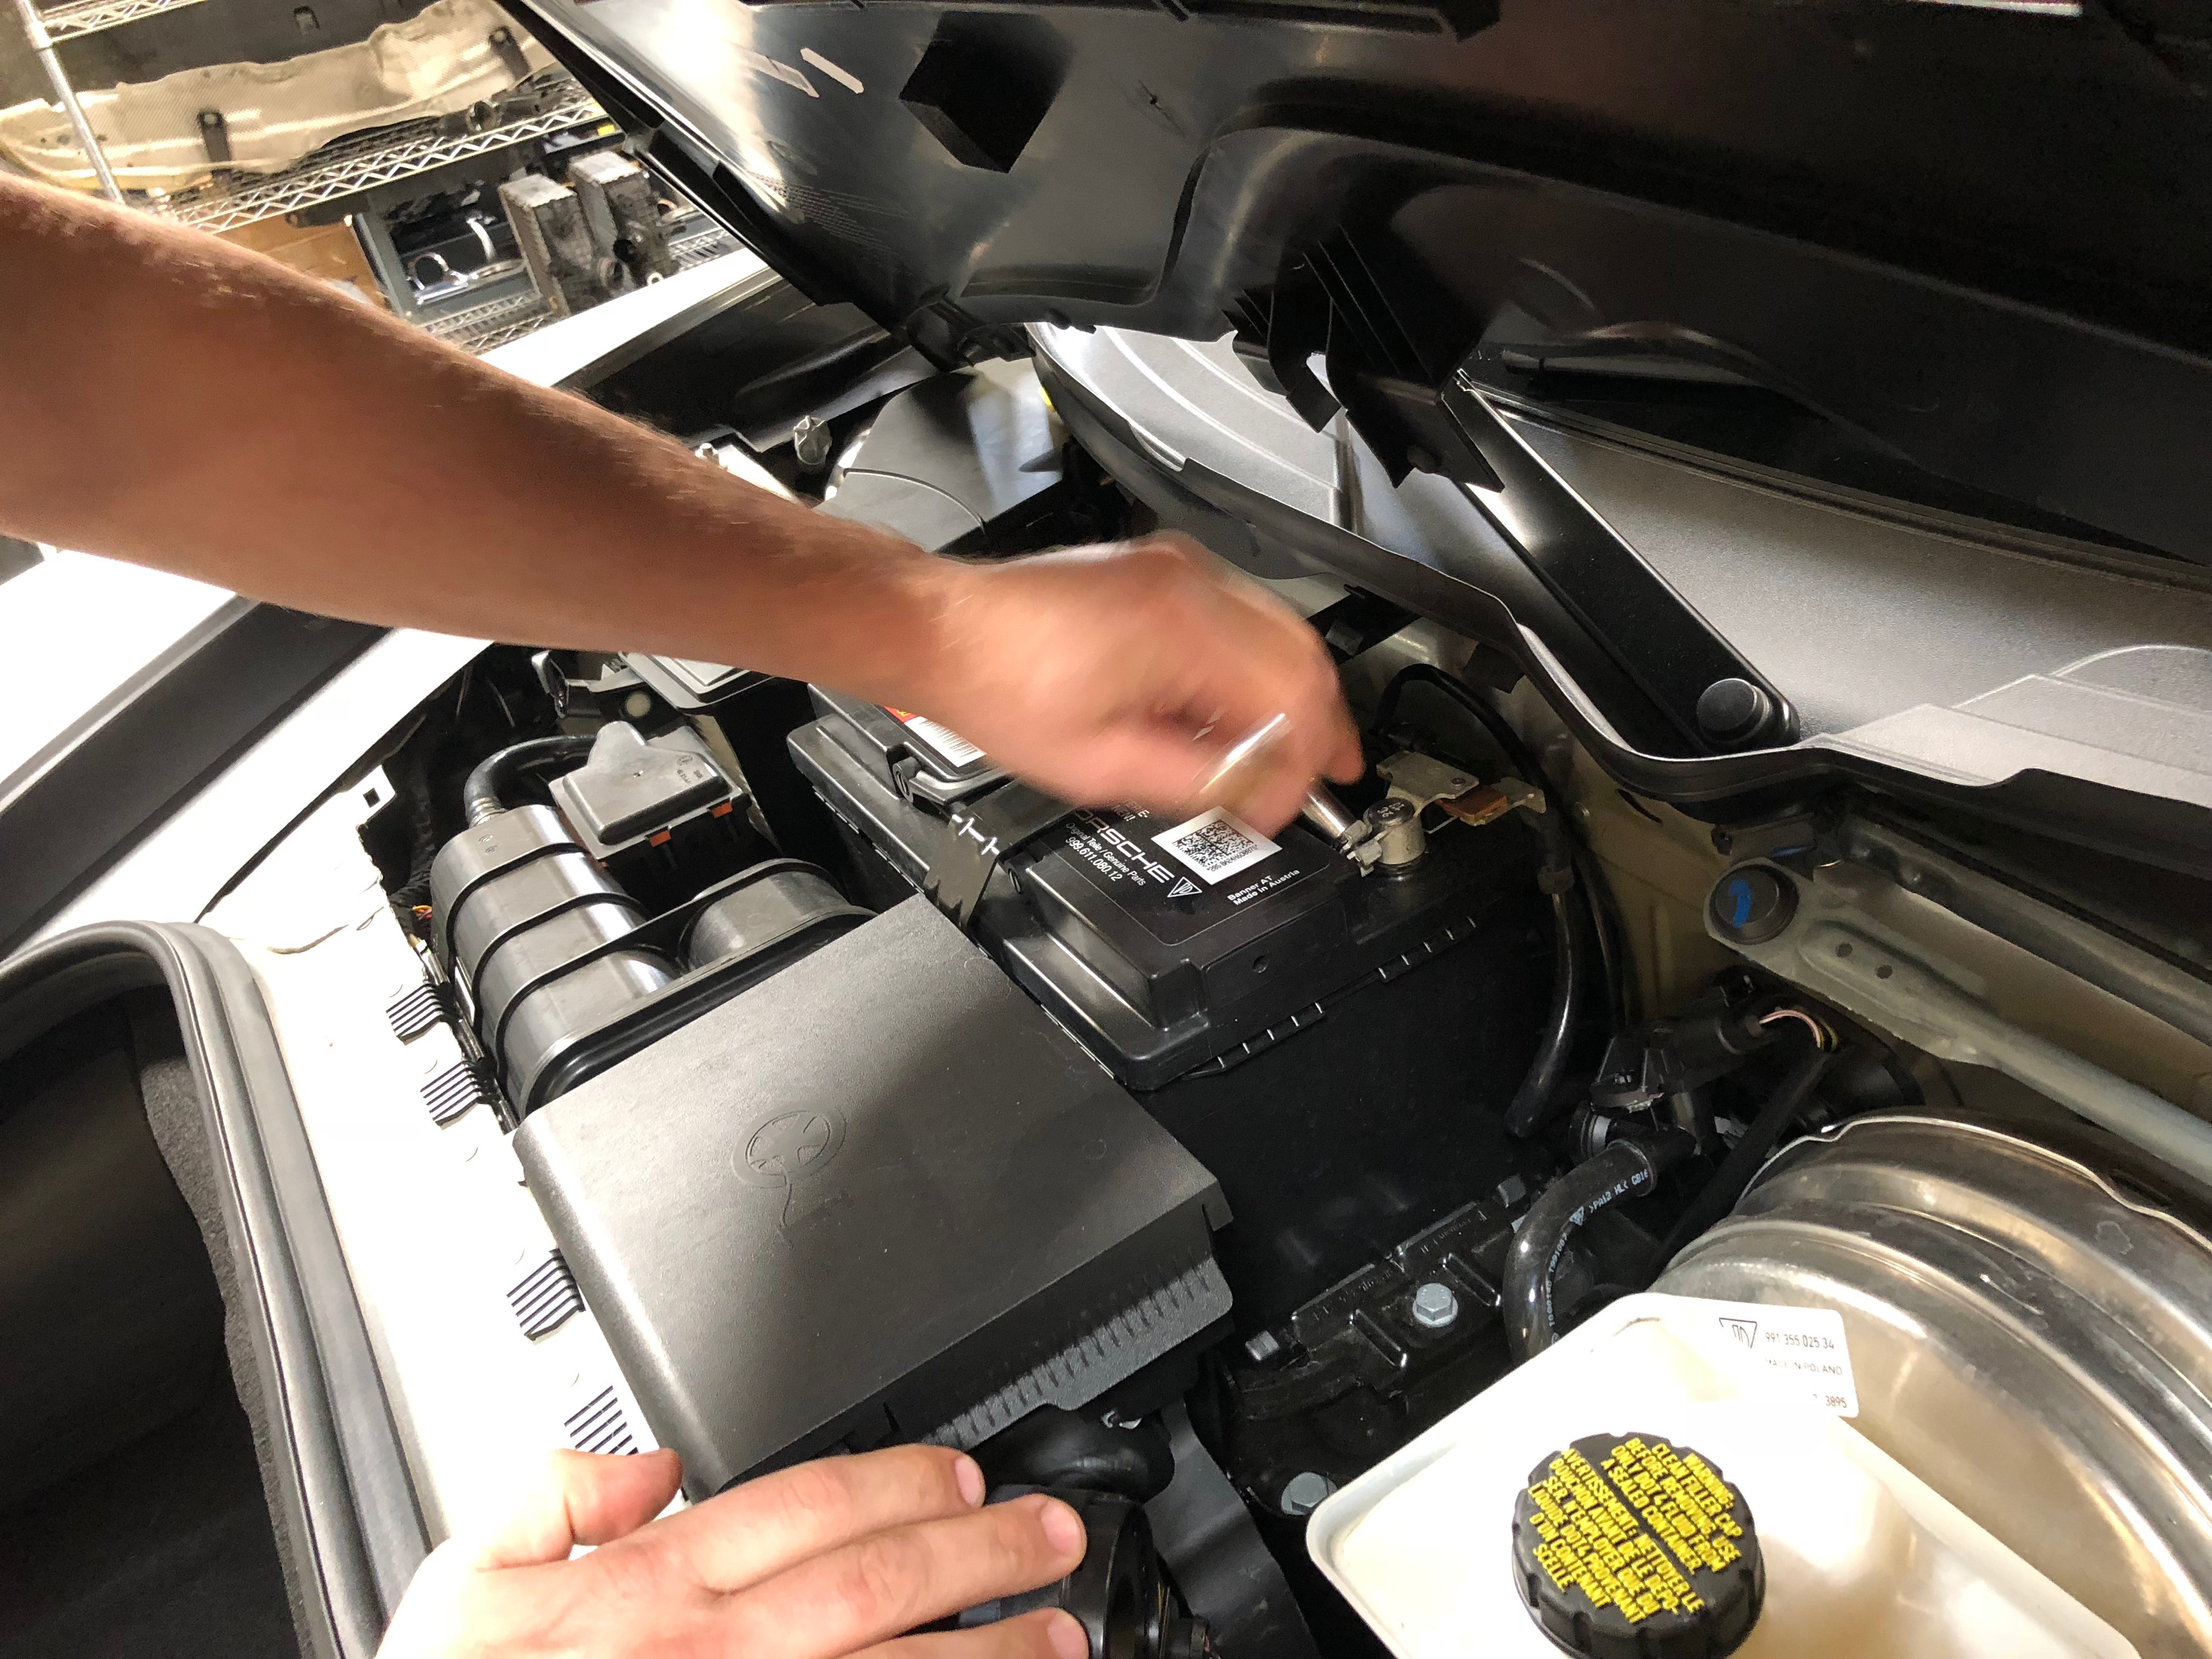
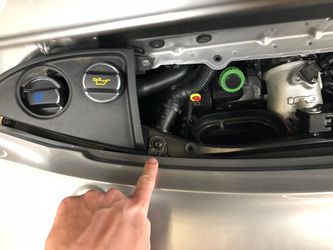
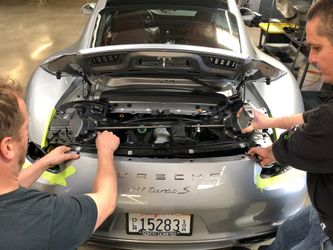
- With your car in a flat level place, pop the hood AND DECKLID and remove the car's cowl piece covering the brake master cylinder and battery. Once done, go ahead and unhook the negative terminal of the battery using a 10mm socket. Make sure to pop the decklid prior to removing the battery terminal, or you won't be able to get the decklid open. This goes the same for the spoiler, as mentioned in the step above.
Failure to disconnect the battery before removing the ECU can cause significant damage to their delicate circuitry.
Failure to raise the spoiler before you disconnect the battery will require reassembly of the car so you can raise it again.
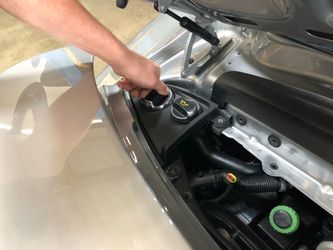
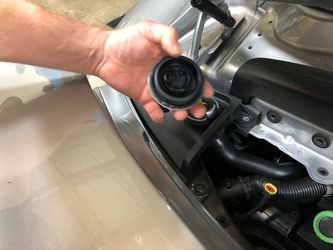
This procedure of removing the ECU does require removal of the coolant cap. If the coolant is still hot and pressurized, personal injury could occur. Please proceed with caution.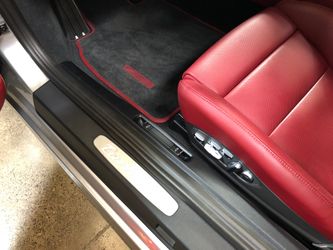
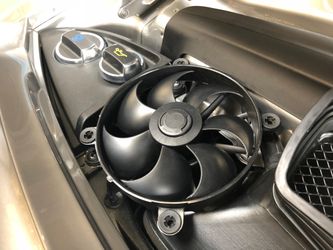
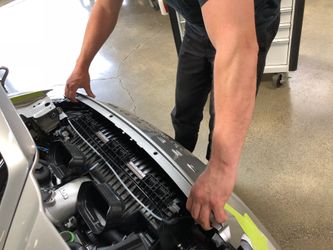
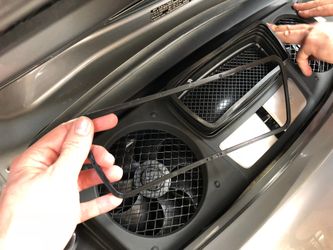
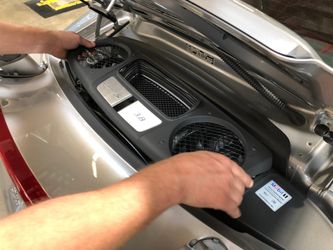
Fan and Shroud Removal
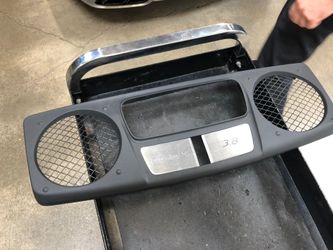
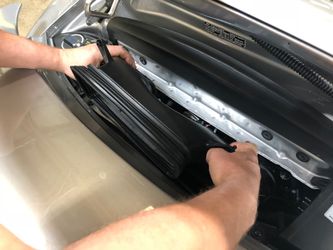
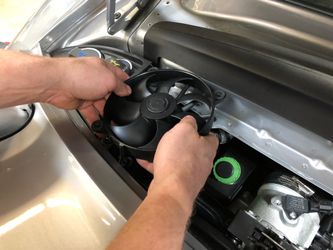
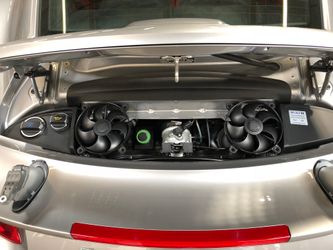
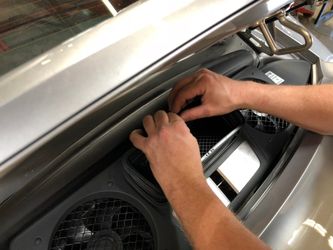
- Next, with the rear trunk open, remove the fan shroud. This step requires no tools. Simply "pop" some of the corners and center connection pieces out and it'll lift out.

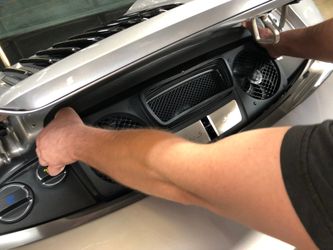
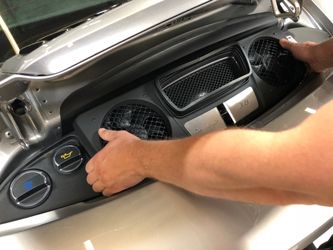


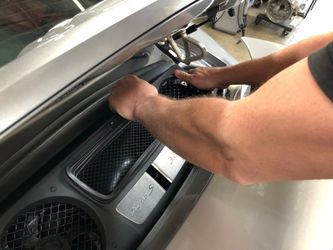
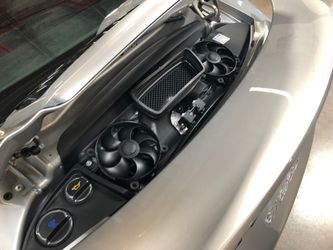
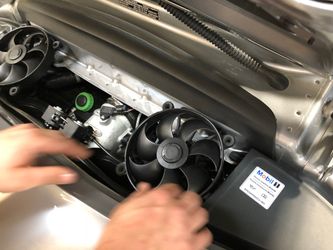
- Now remove the two fans. The fans also require no tools. "Pop" them out of place and disconnect the connector piece from the rear of the fan.
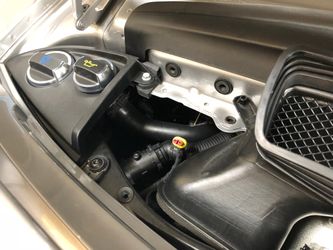
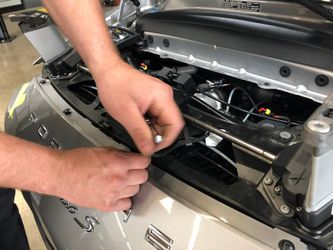
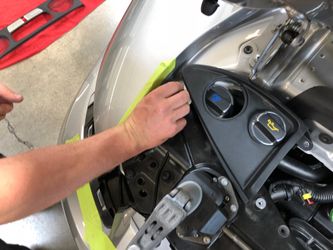
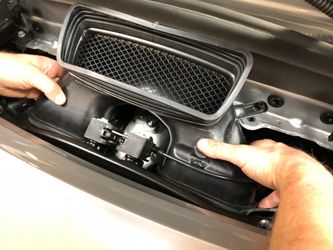
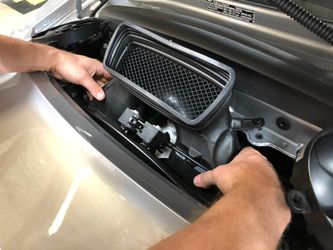
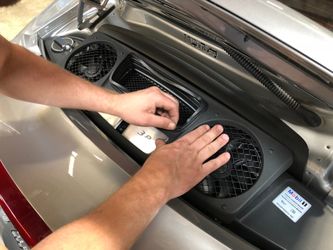
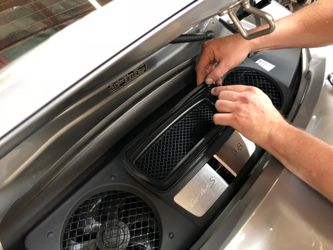
Air Duct Removal
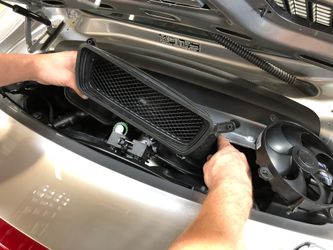
- With the fans out, remove the air duct. You will also "pop" this piece out of place. You may have to move some of the fan wiring out of the way to wiggle it out.
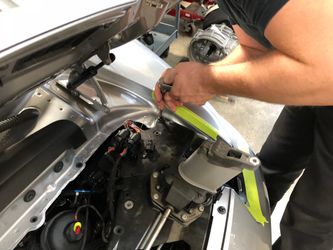
Cowl Removal
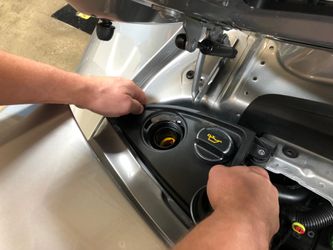
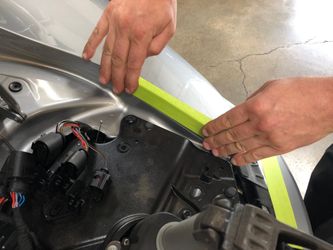
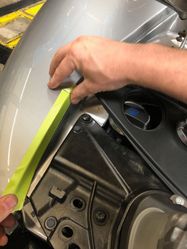
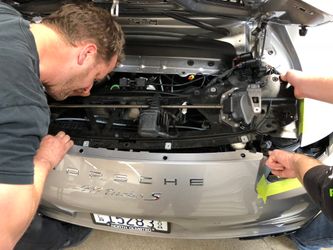
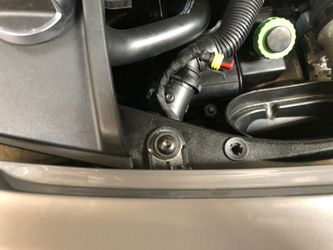
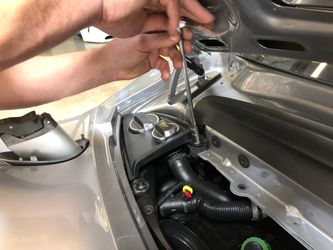
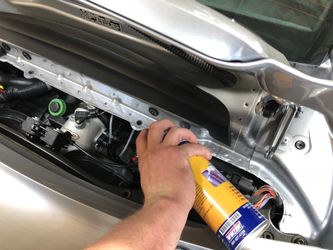
- The cowls on the left and right side of the engine bay will now need to come out. The right side "pops" out of place, while the left side requires using your 10mm socket to remove a single bolt. Once the bolt is out, you will also need to unscrew the coolant cap to get the cowl off. With the cowl off the car, reinstall the coolant cap. Make sure the coolant in the car is not hot and pressurized!!

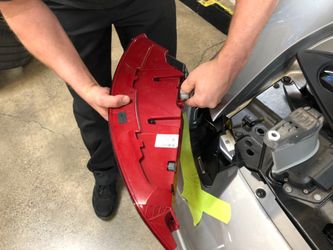
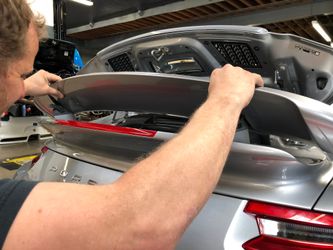
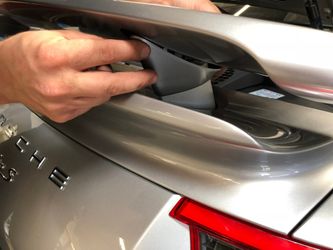
Spoiler Assembly Removal
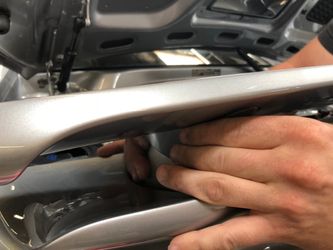
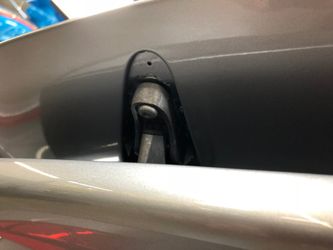
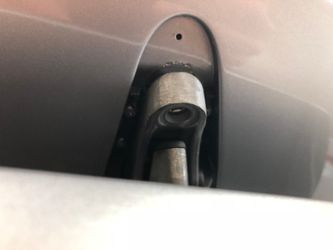
- It's now time to work on taking the spoiler off of the car. The first step is to "pinch" the painted inserts and pull them downward. There are a total of two of these inserts.
NOTE: Carrera models do not have this extra spoiler "insert" piece, you can skip ahead a few steps (Step 12) to remove the entire assembly.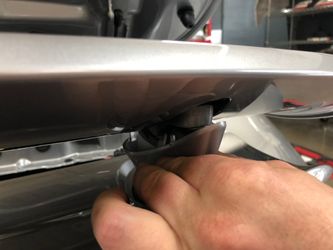
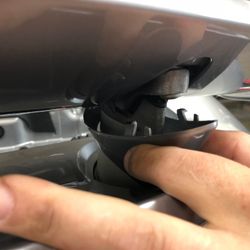
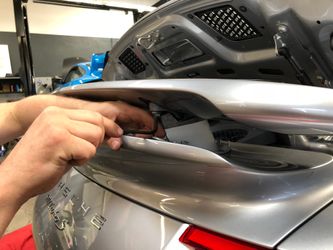
- With the inserts now pulled down, you can access the T25 torx bolt on each side. There are a total of two bolts, one on each side of the spoiler.
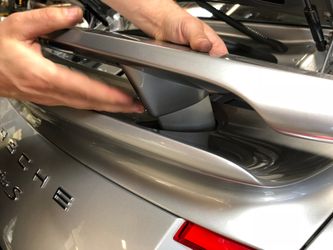
- CAREFULLY, remove the top portion of the spoiler by lifting and pulling away. This is a delicate painted piece, so set it down somewhere safe.
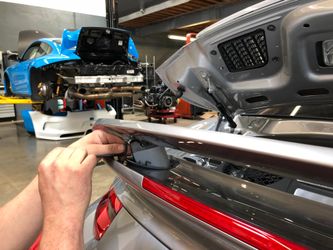
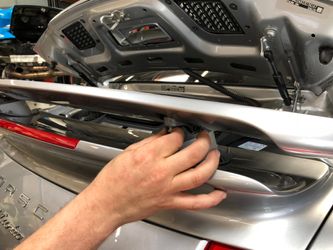
- Remember the spoiler inserts you "pinched" and pulled down on? You can now carefully slide these up and away.
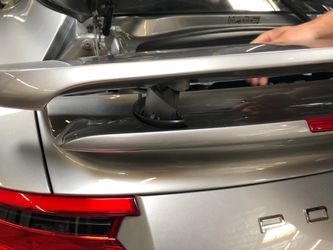
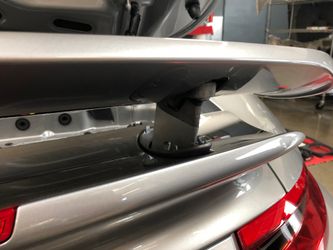
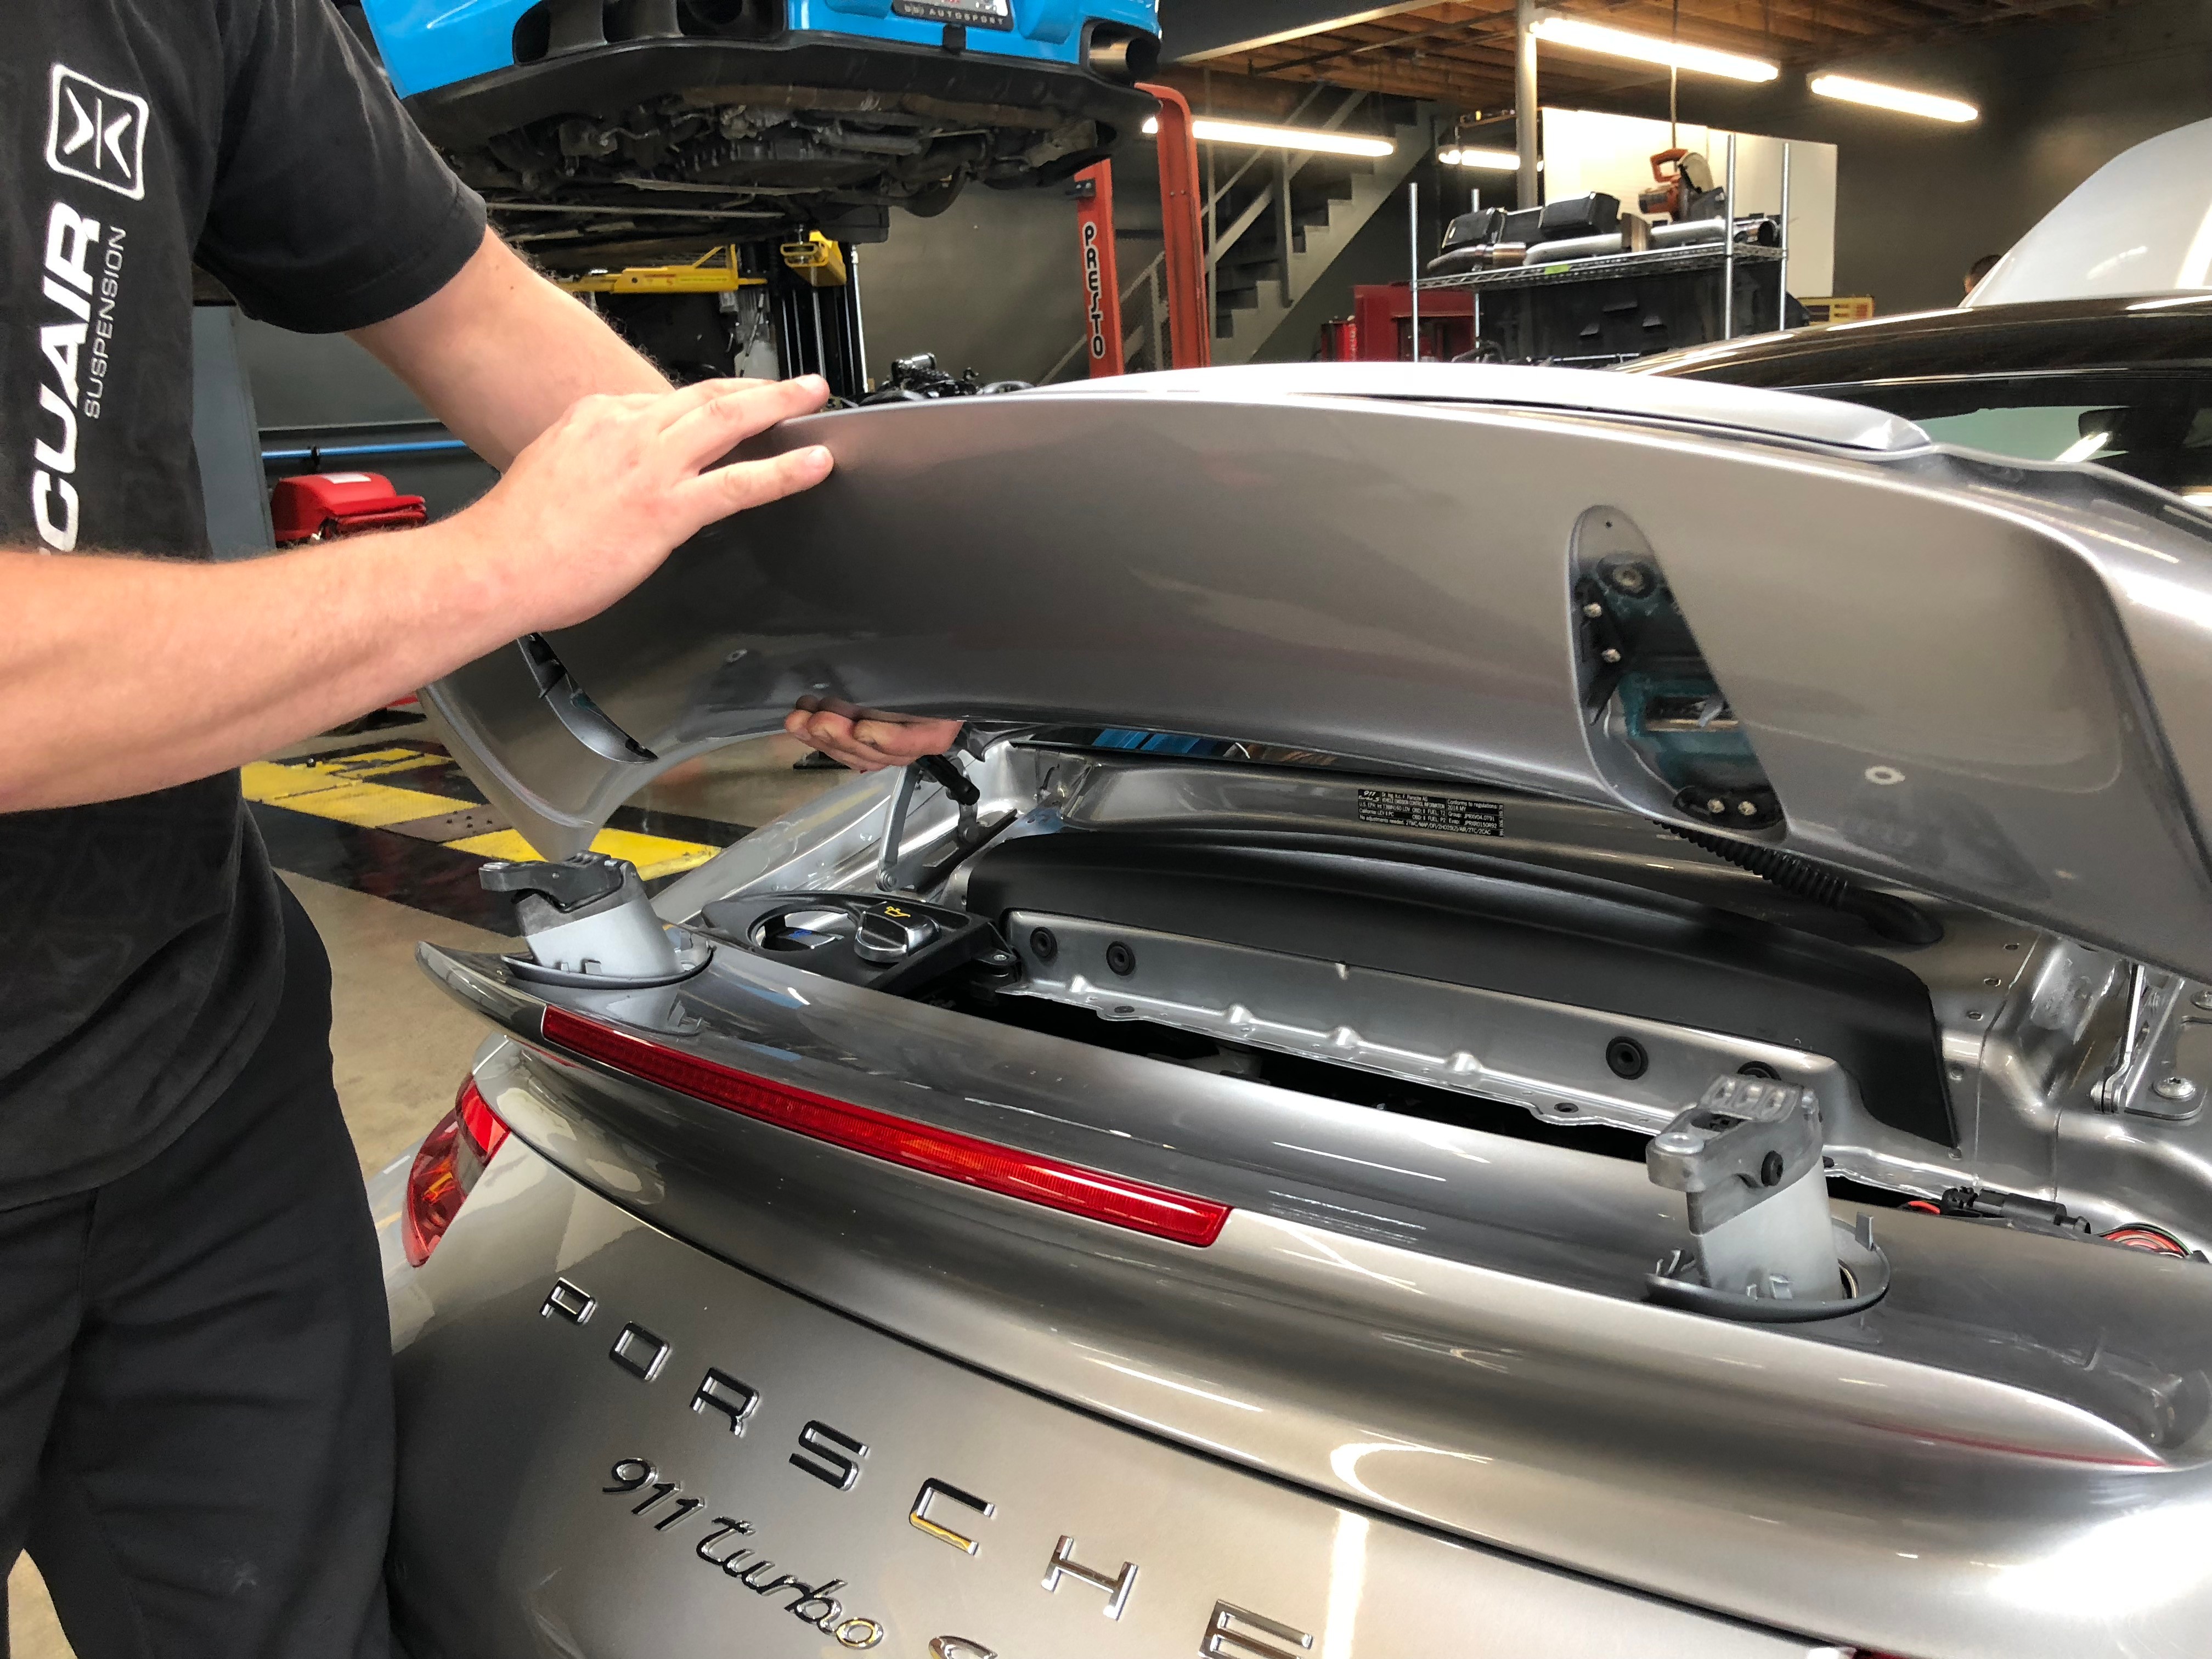
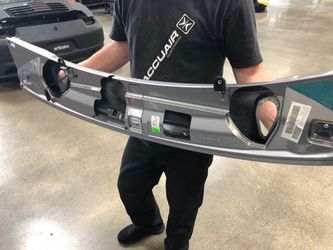
- Next, we are going to remove the main spoiler assembly. Start by disconnecting the lower electrical connection that plugs into the spoiler itself. Once unplugged, find the two T30 Torx bolts holding the spoiler assembly in place. Once these bolts are out, you can carefully, but firmly push the spoiler assembly forward (towards the front of the car) to knock it out of place and then carefully pull it out from the spoiler uprights.
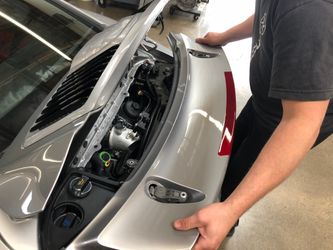
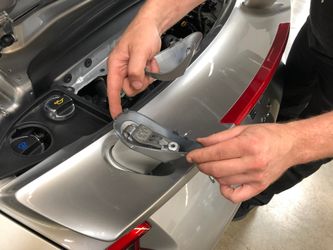
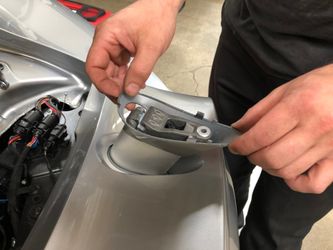
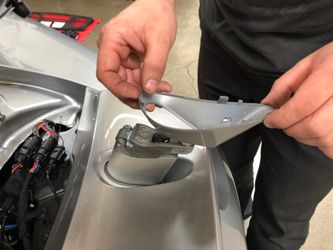
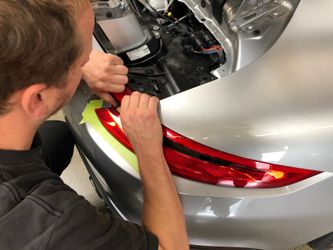
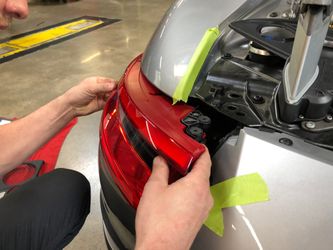
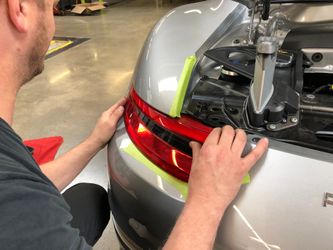
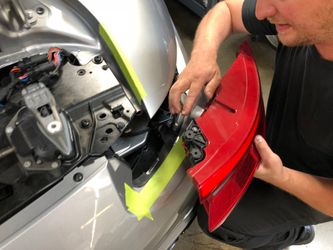
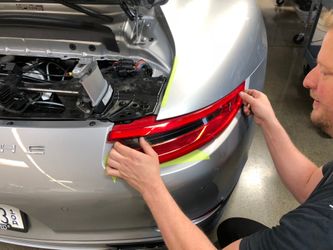
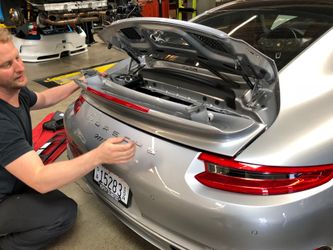
Tail Light Removal
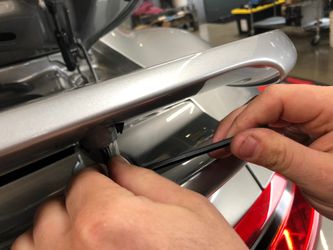
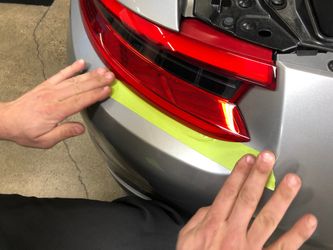
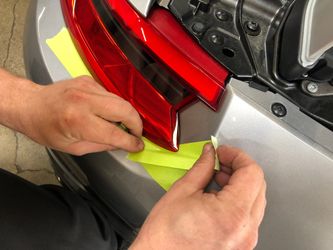
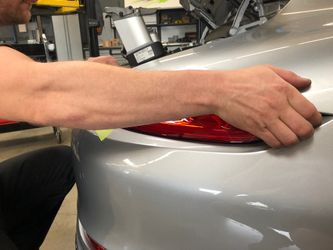
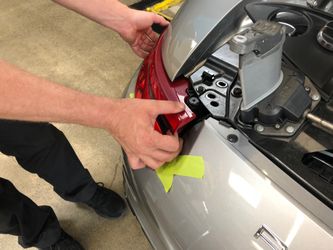
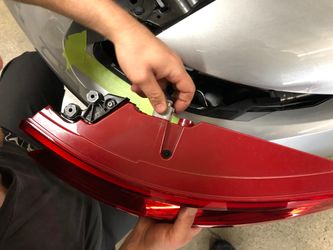
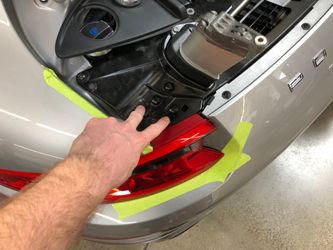
- It's taillight removal time. Each light is held on by two T25 Torx Bolts. Located these two bolts and remove them. We strongly advise the use of masking tape under the seam of the tail lights. When you remove the tail lights from the body of the car, you will need to press down before you can pull outward. It will become apparent why tape is needed so that you don't scratch any paint! With the tail light out from the body, you can now unplug it from the connector. Set the tail lights aside in a safe place.

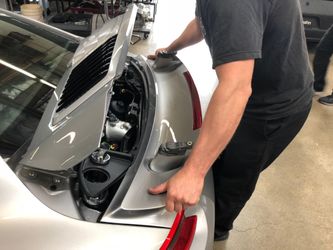
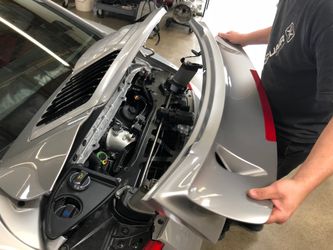
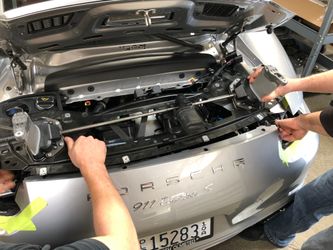
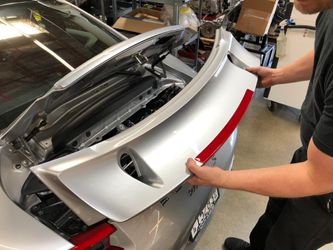
Deck Lid Assembly Removal
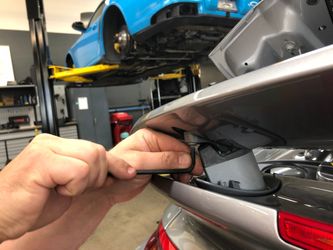
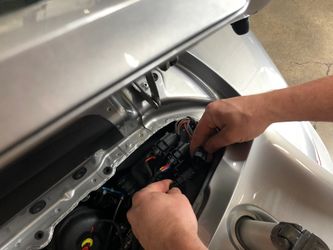
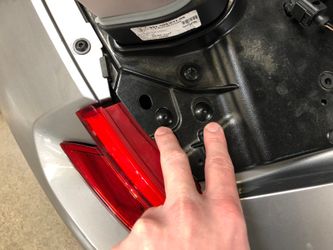
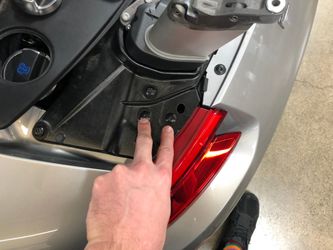
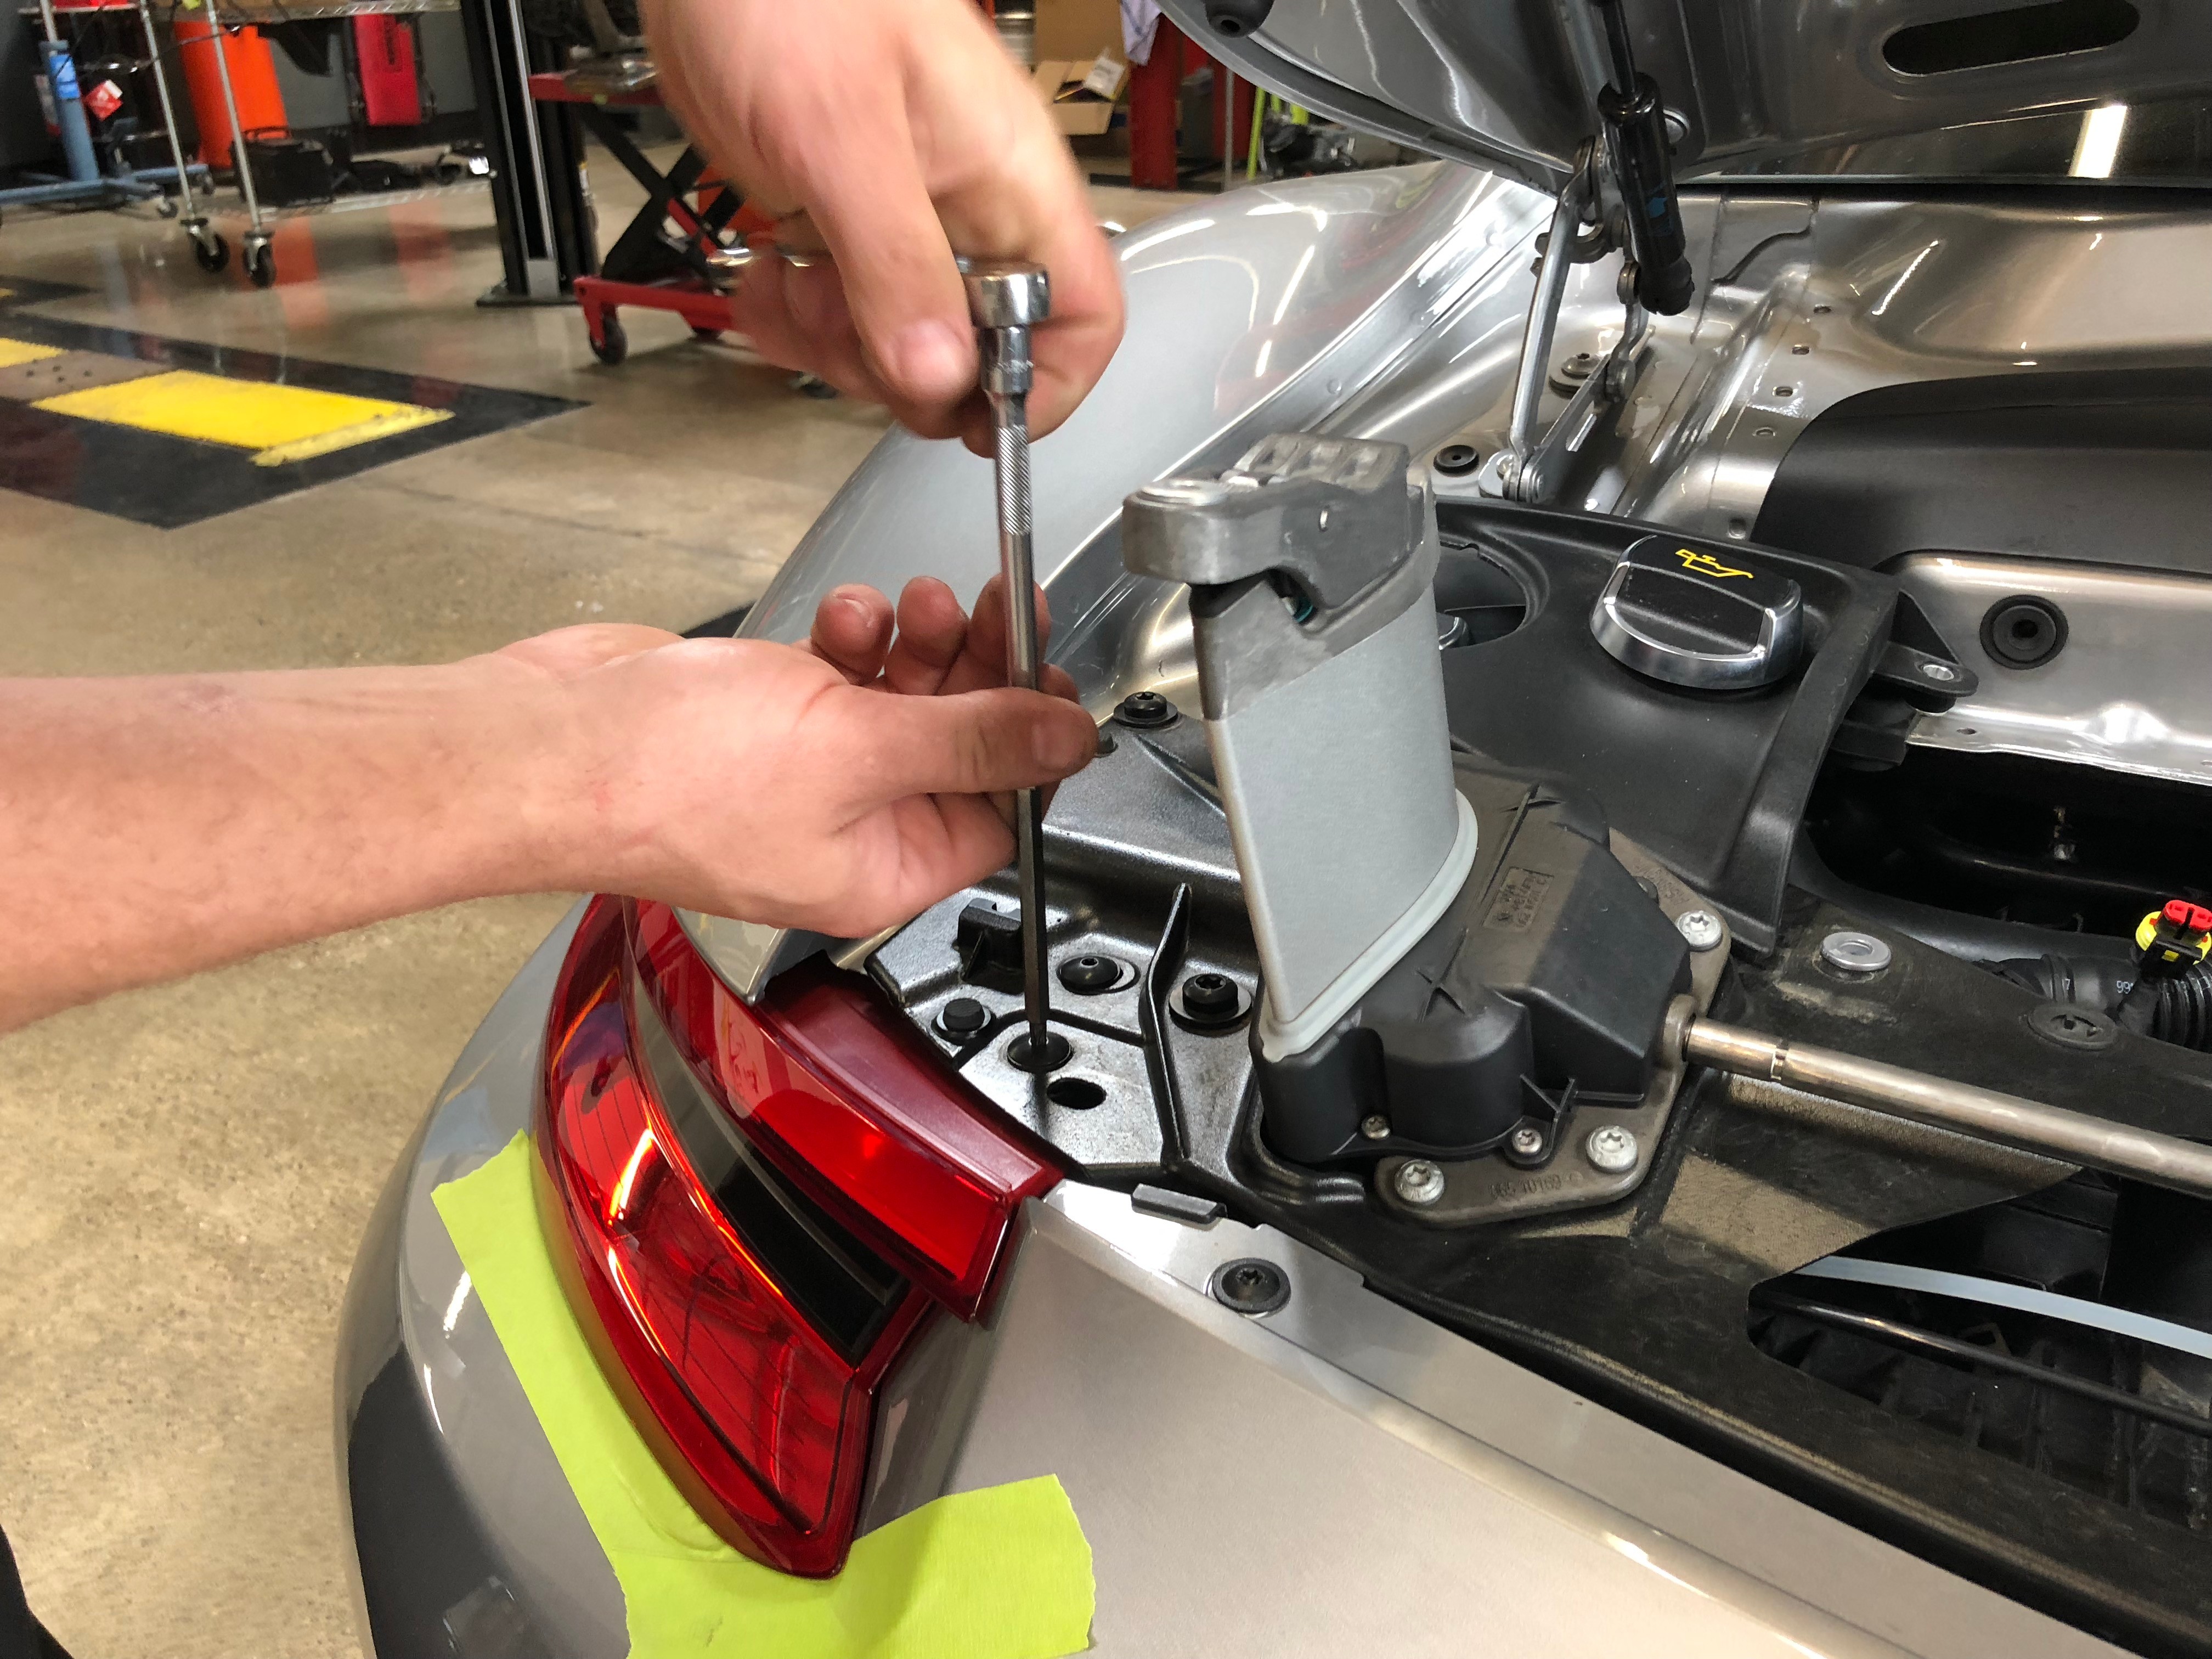
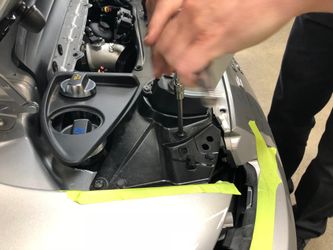
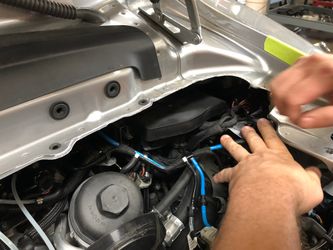
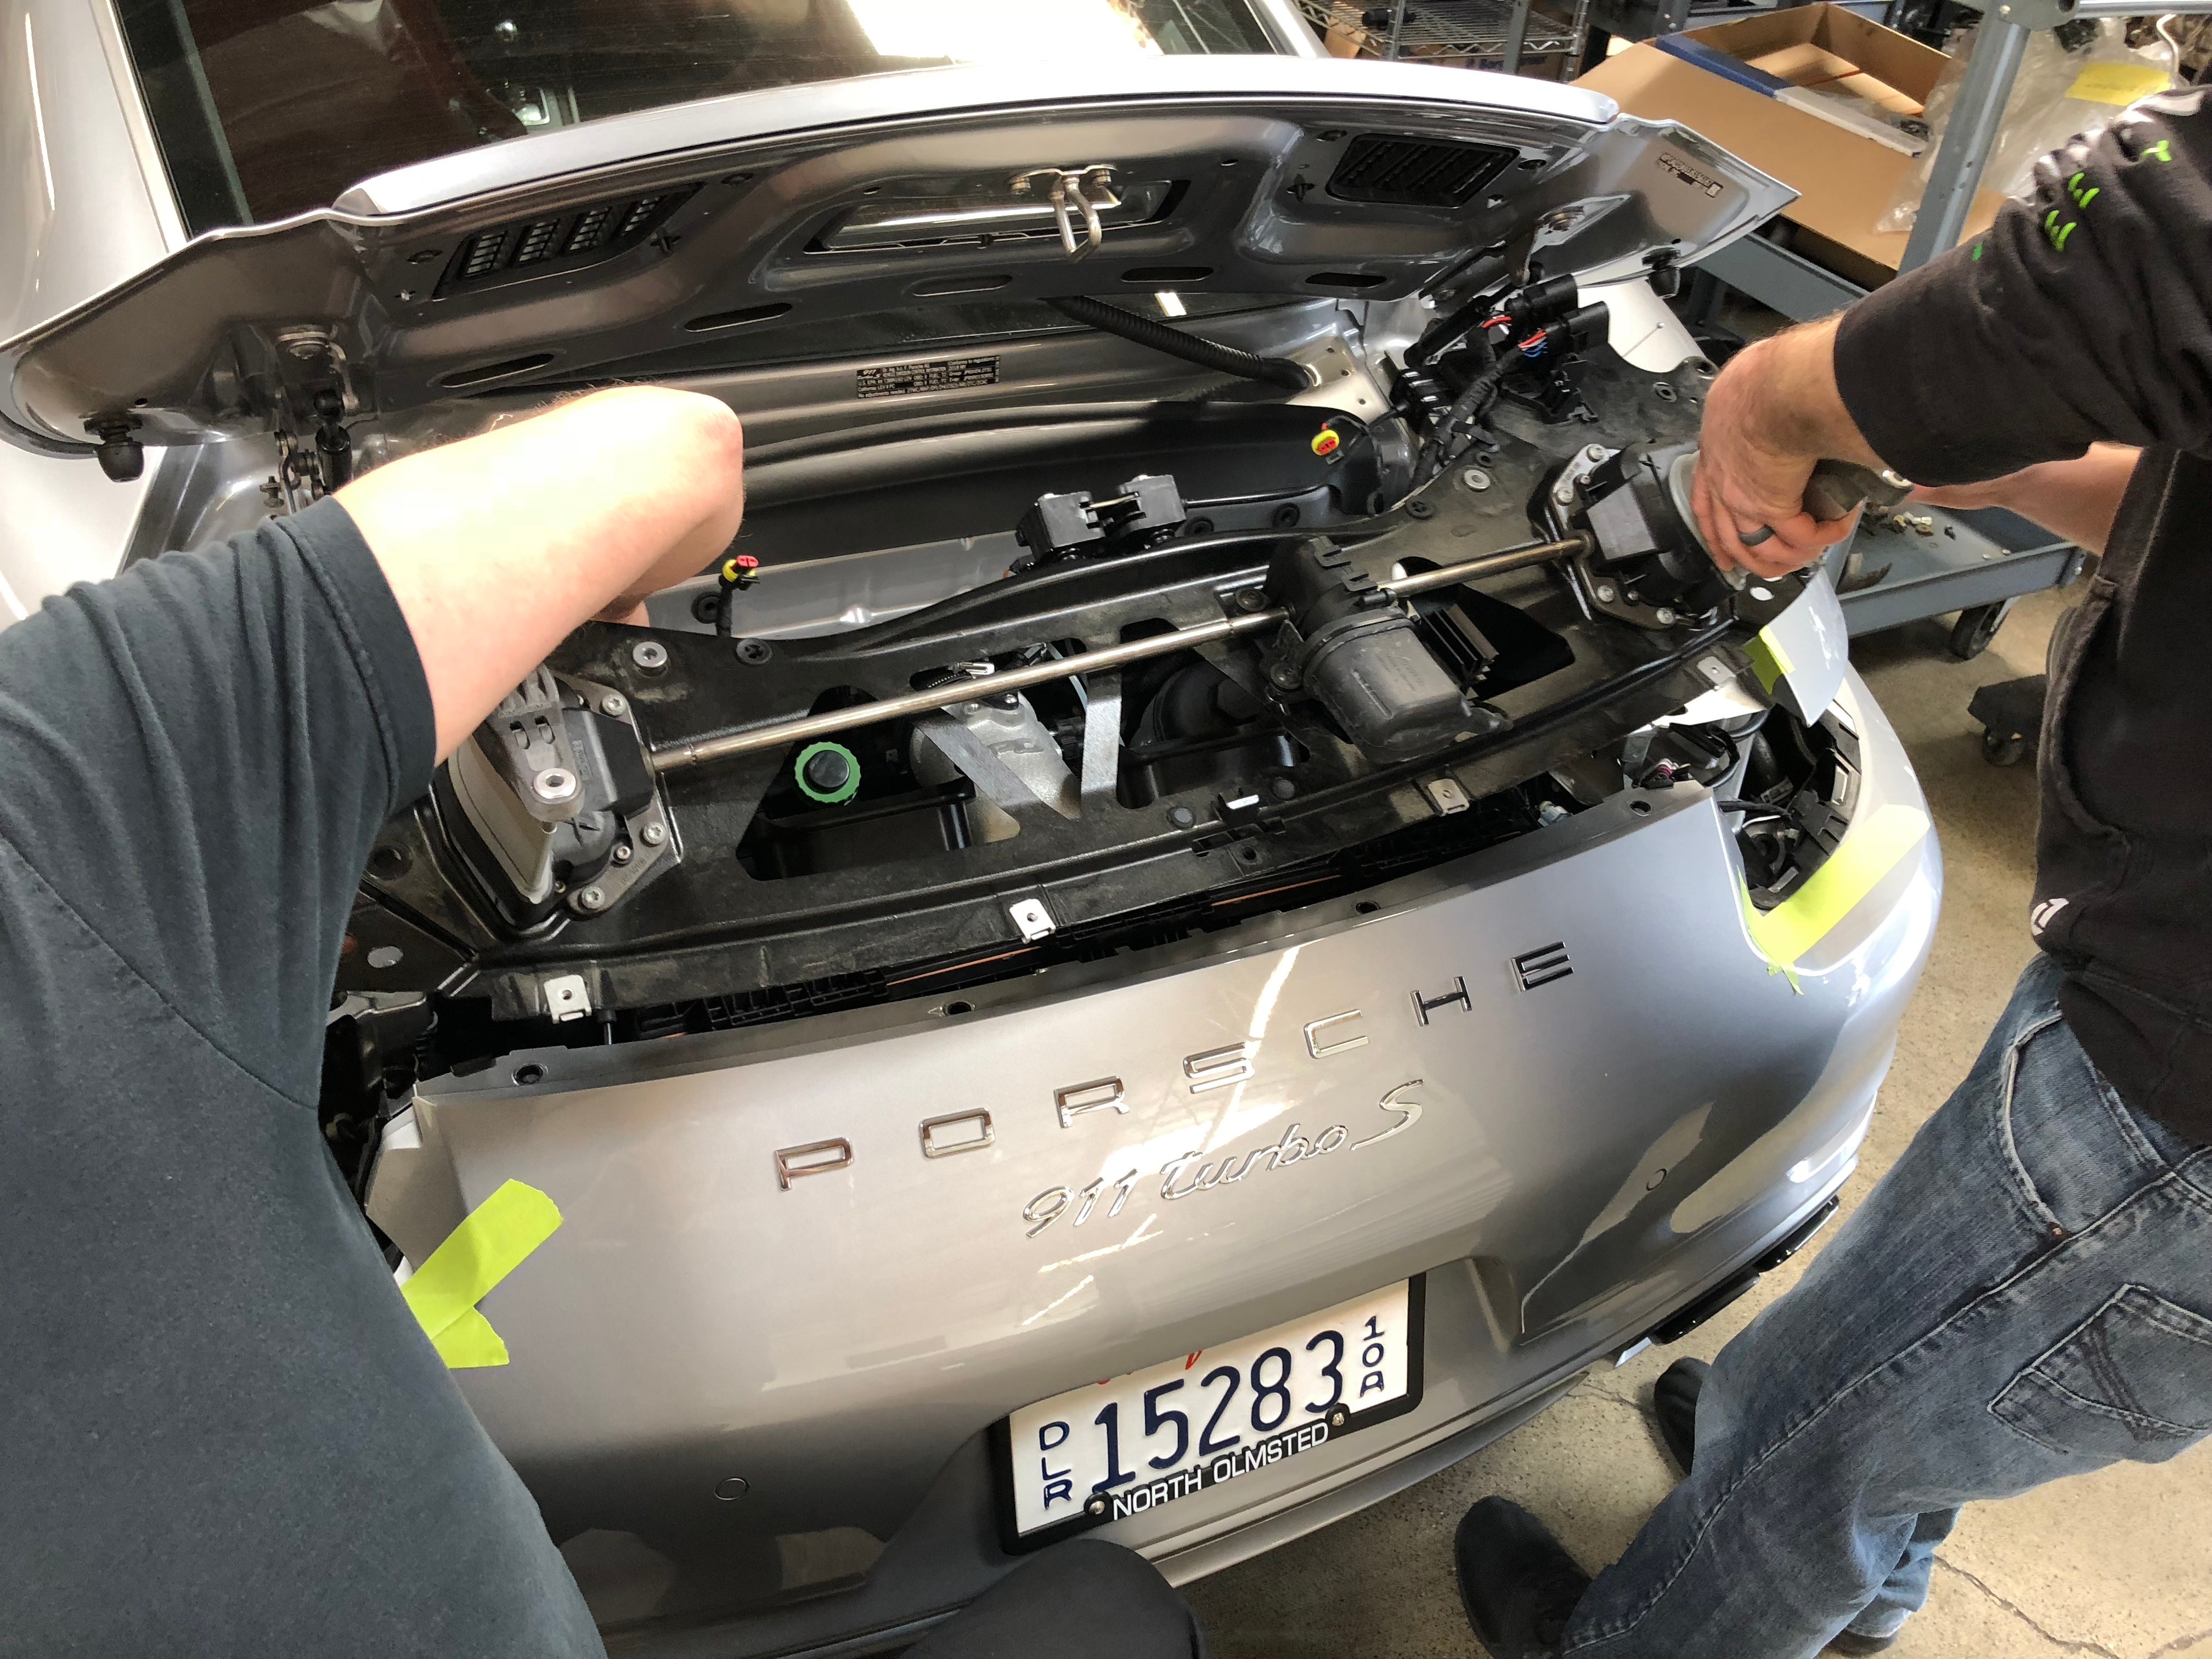
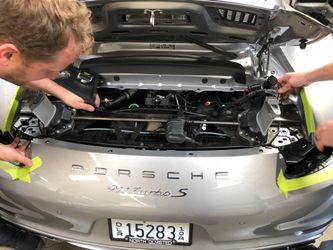
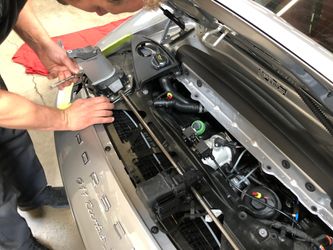
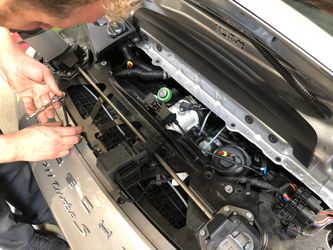
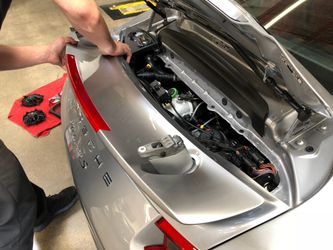
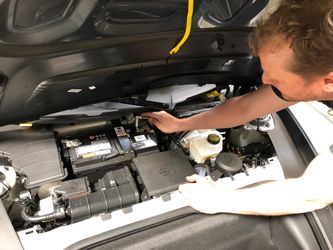
- With the tail lights out, find the 4 screws held on by T30 torx bolts that connect the bumper cover and remove them. At this time you will also want to disconnect the electrical connectors found in the top-right of the engine bay on the decklid assembly.
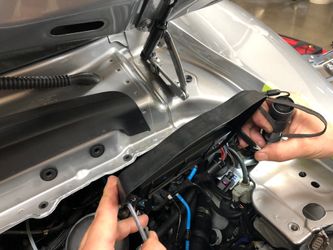
- You are now going to remove the deck lid mechanism and assembly. To do this, we'll want to start by taping off the side of the engine bay and car so you don't scratch any paint. You will then remove the four T45 torx bolts holding the mechanism in place. ProTip: After the deck lid mechanism assembly has been removed, check to make sure that the cords that allow the decklid to pop are in place. If these get bumped out, you will not be able to pop open the deck again!!


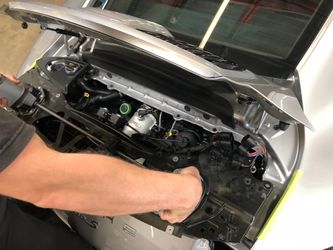


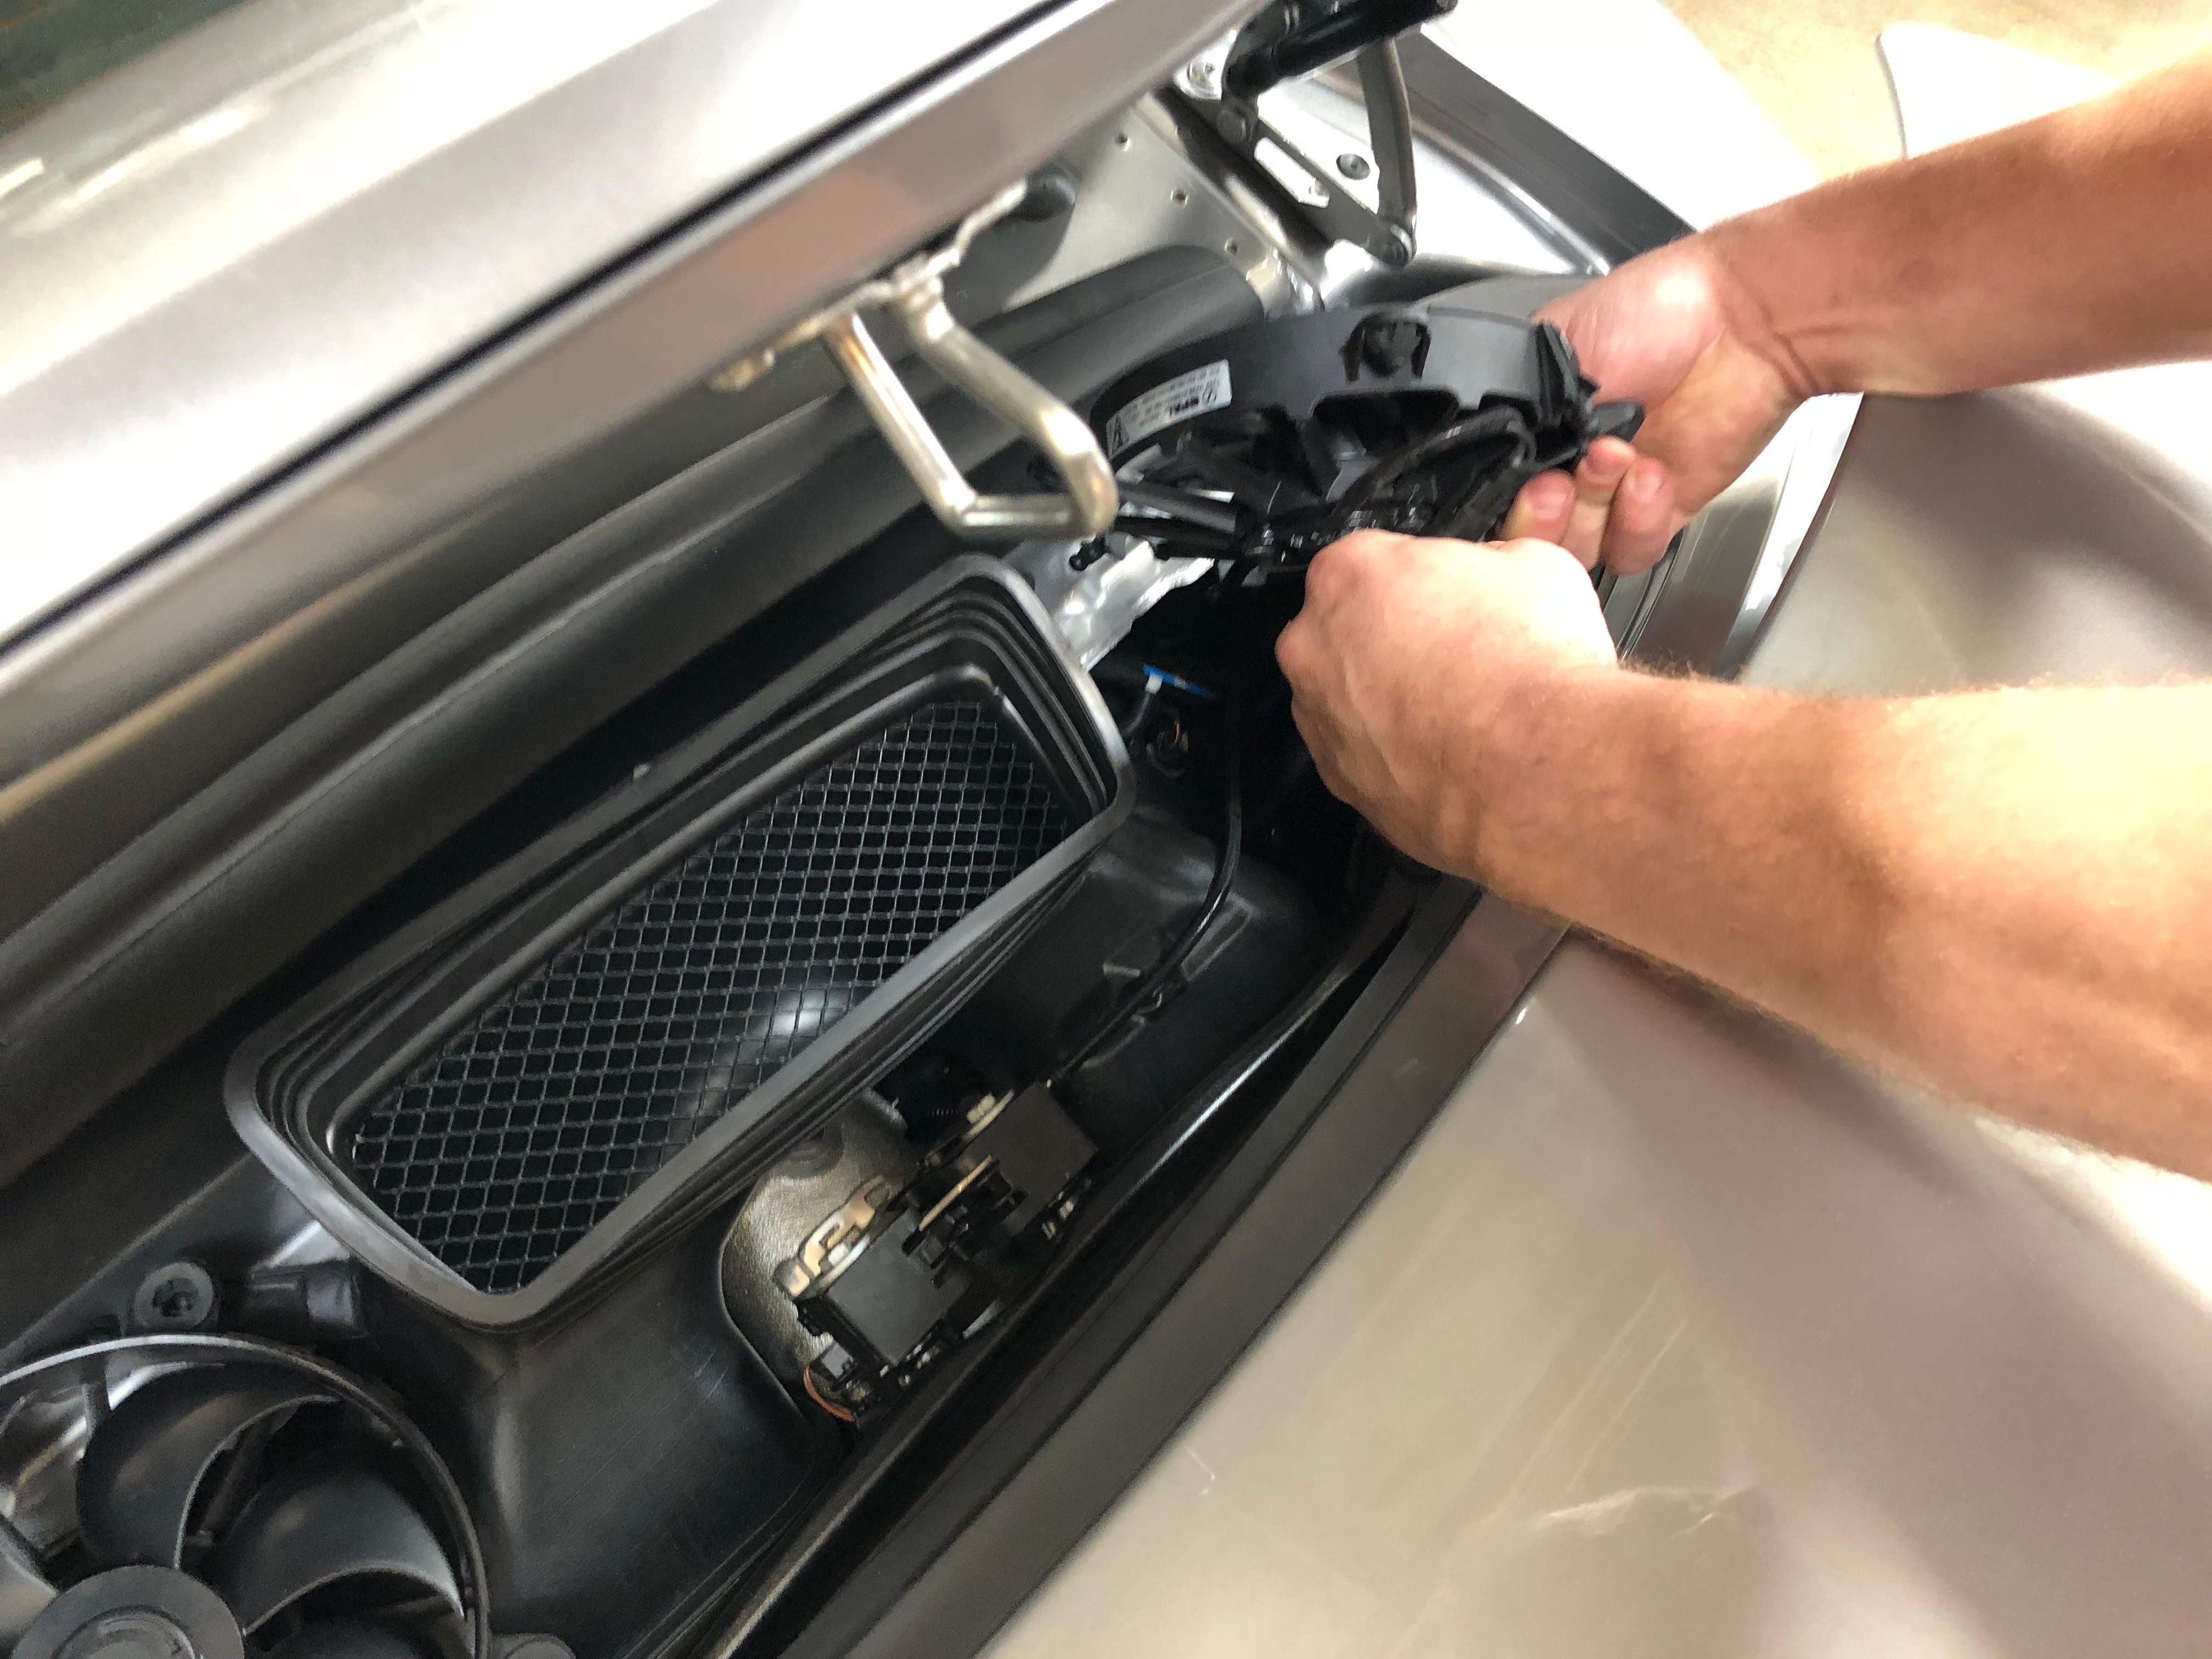
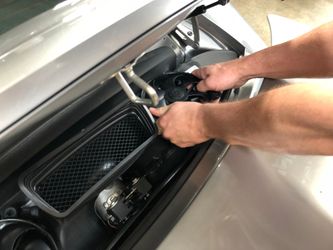
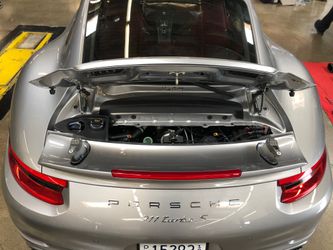
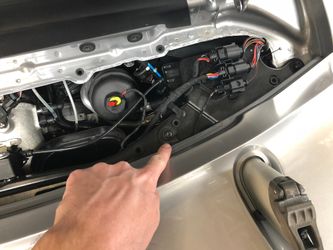
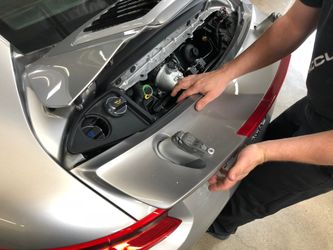
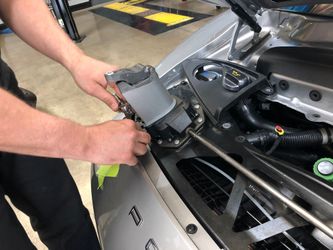
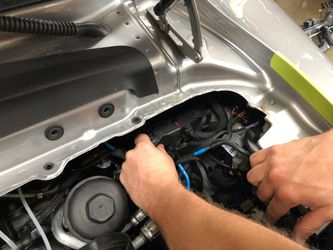
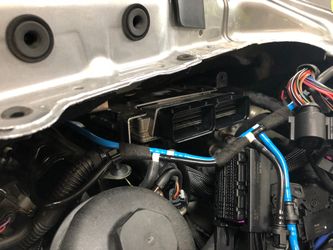
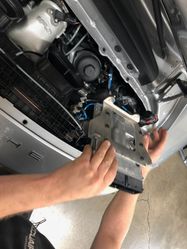
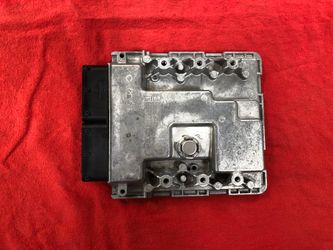
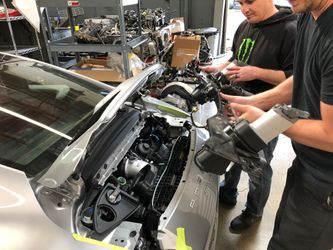
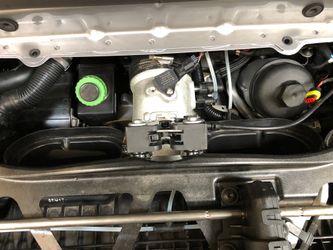
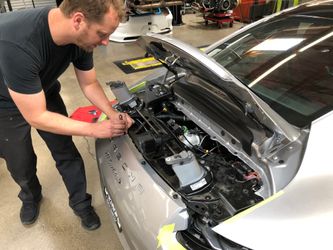
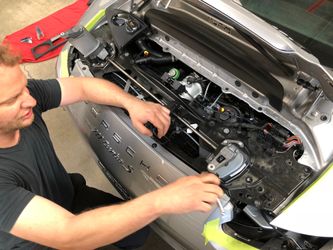
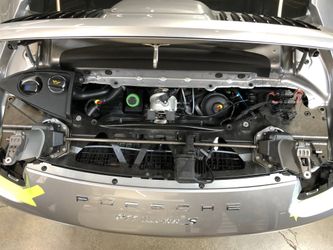
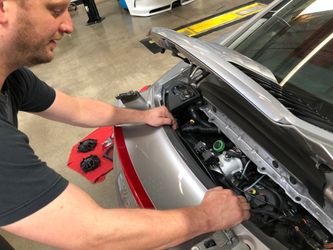
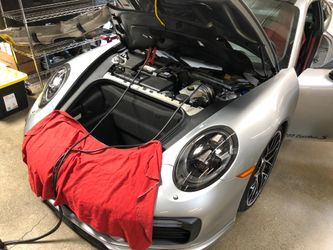
Removal of ECU
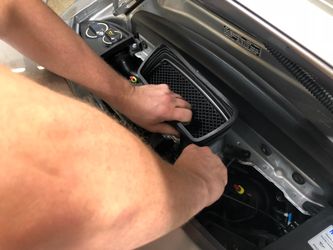
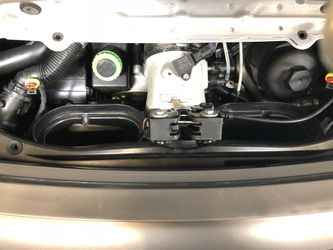
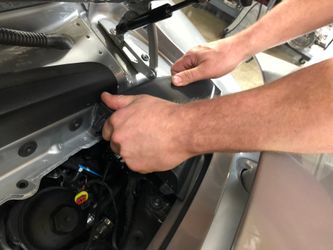
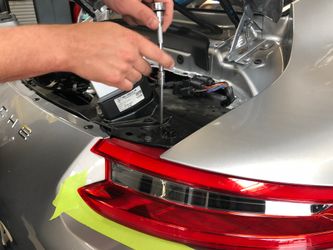
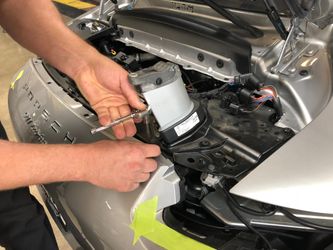
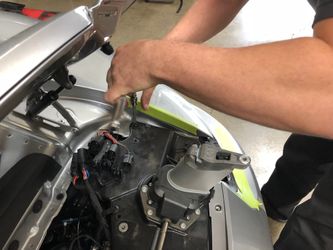
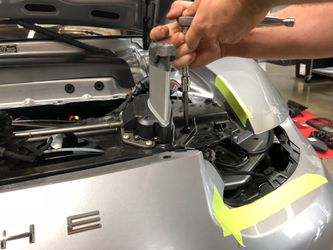
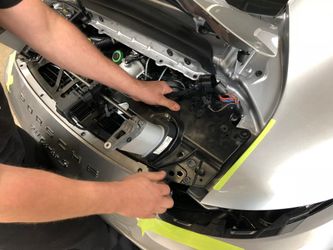
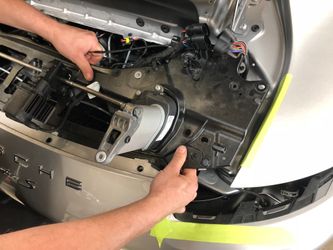
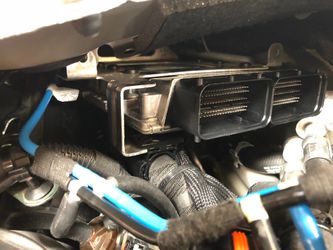
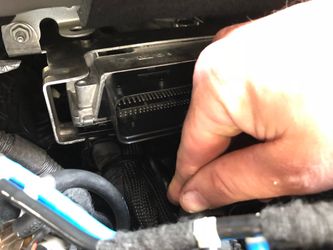
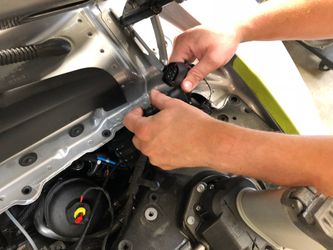
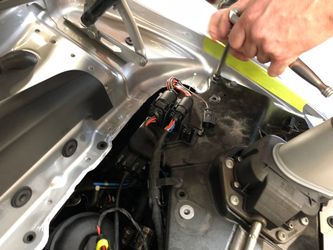
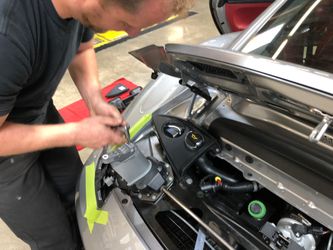
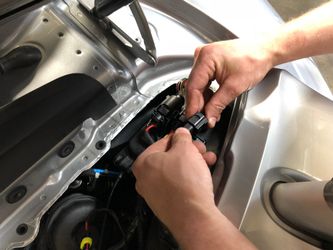
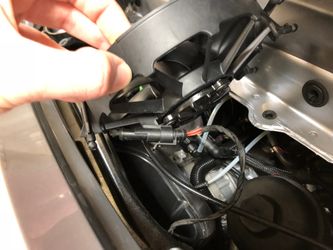
- The ECU should now be partially visible. Remove the weather guard covering the ECU. There are some small tabs that need to be pried outward and it'll come right out. It's a tight fit, so smaller hands may work better here.
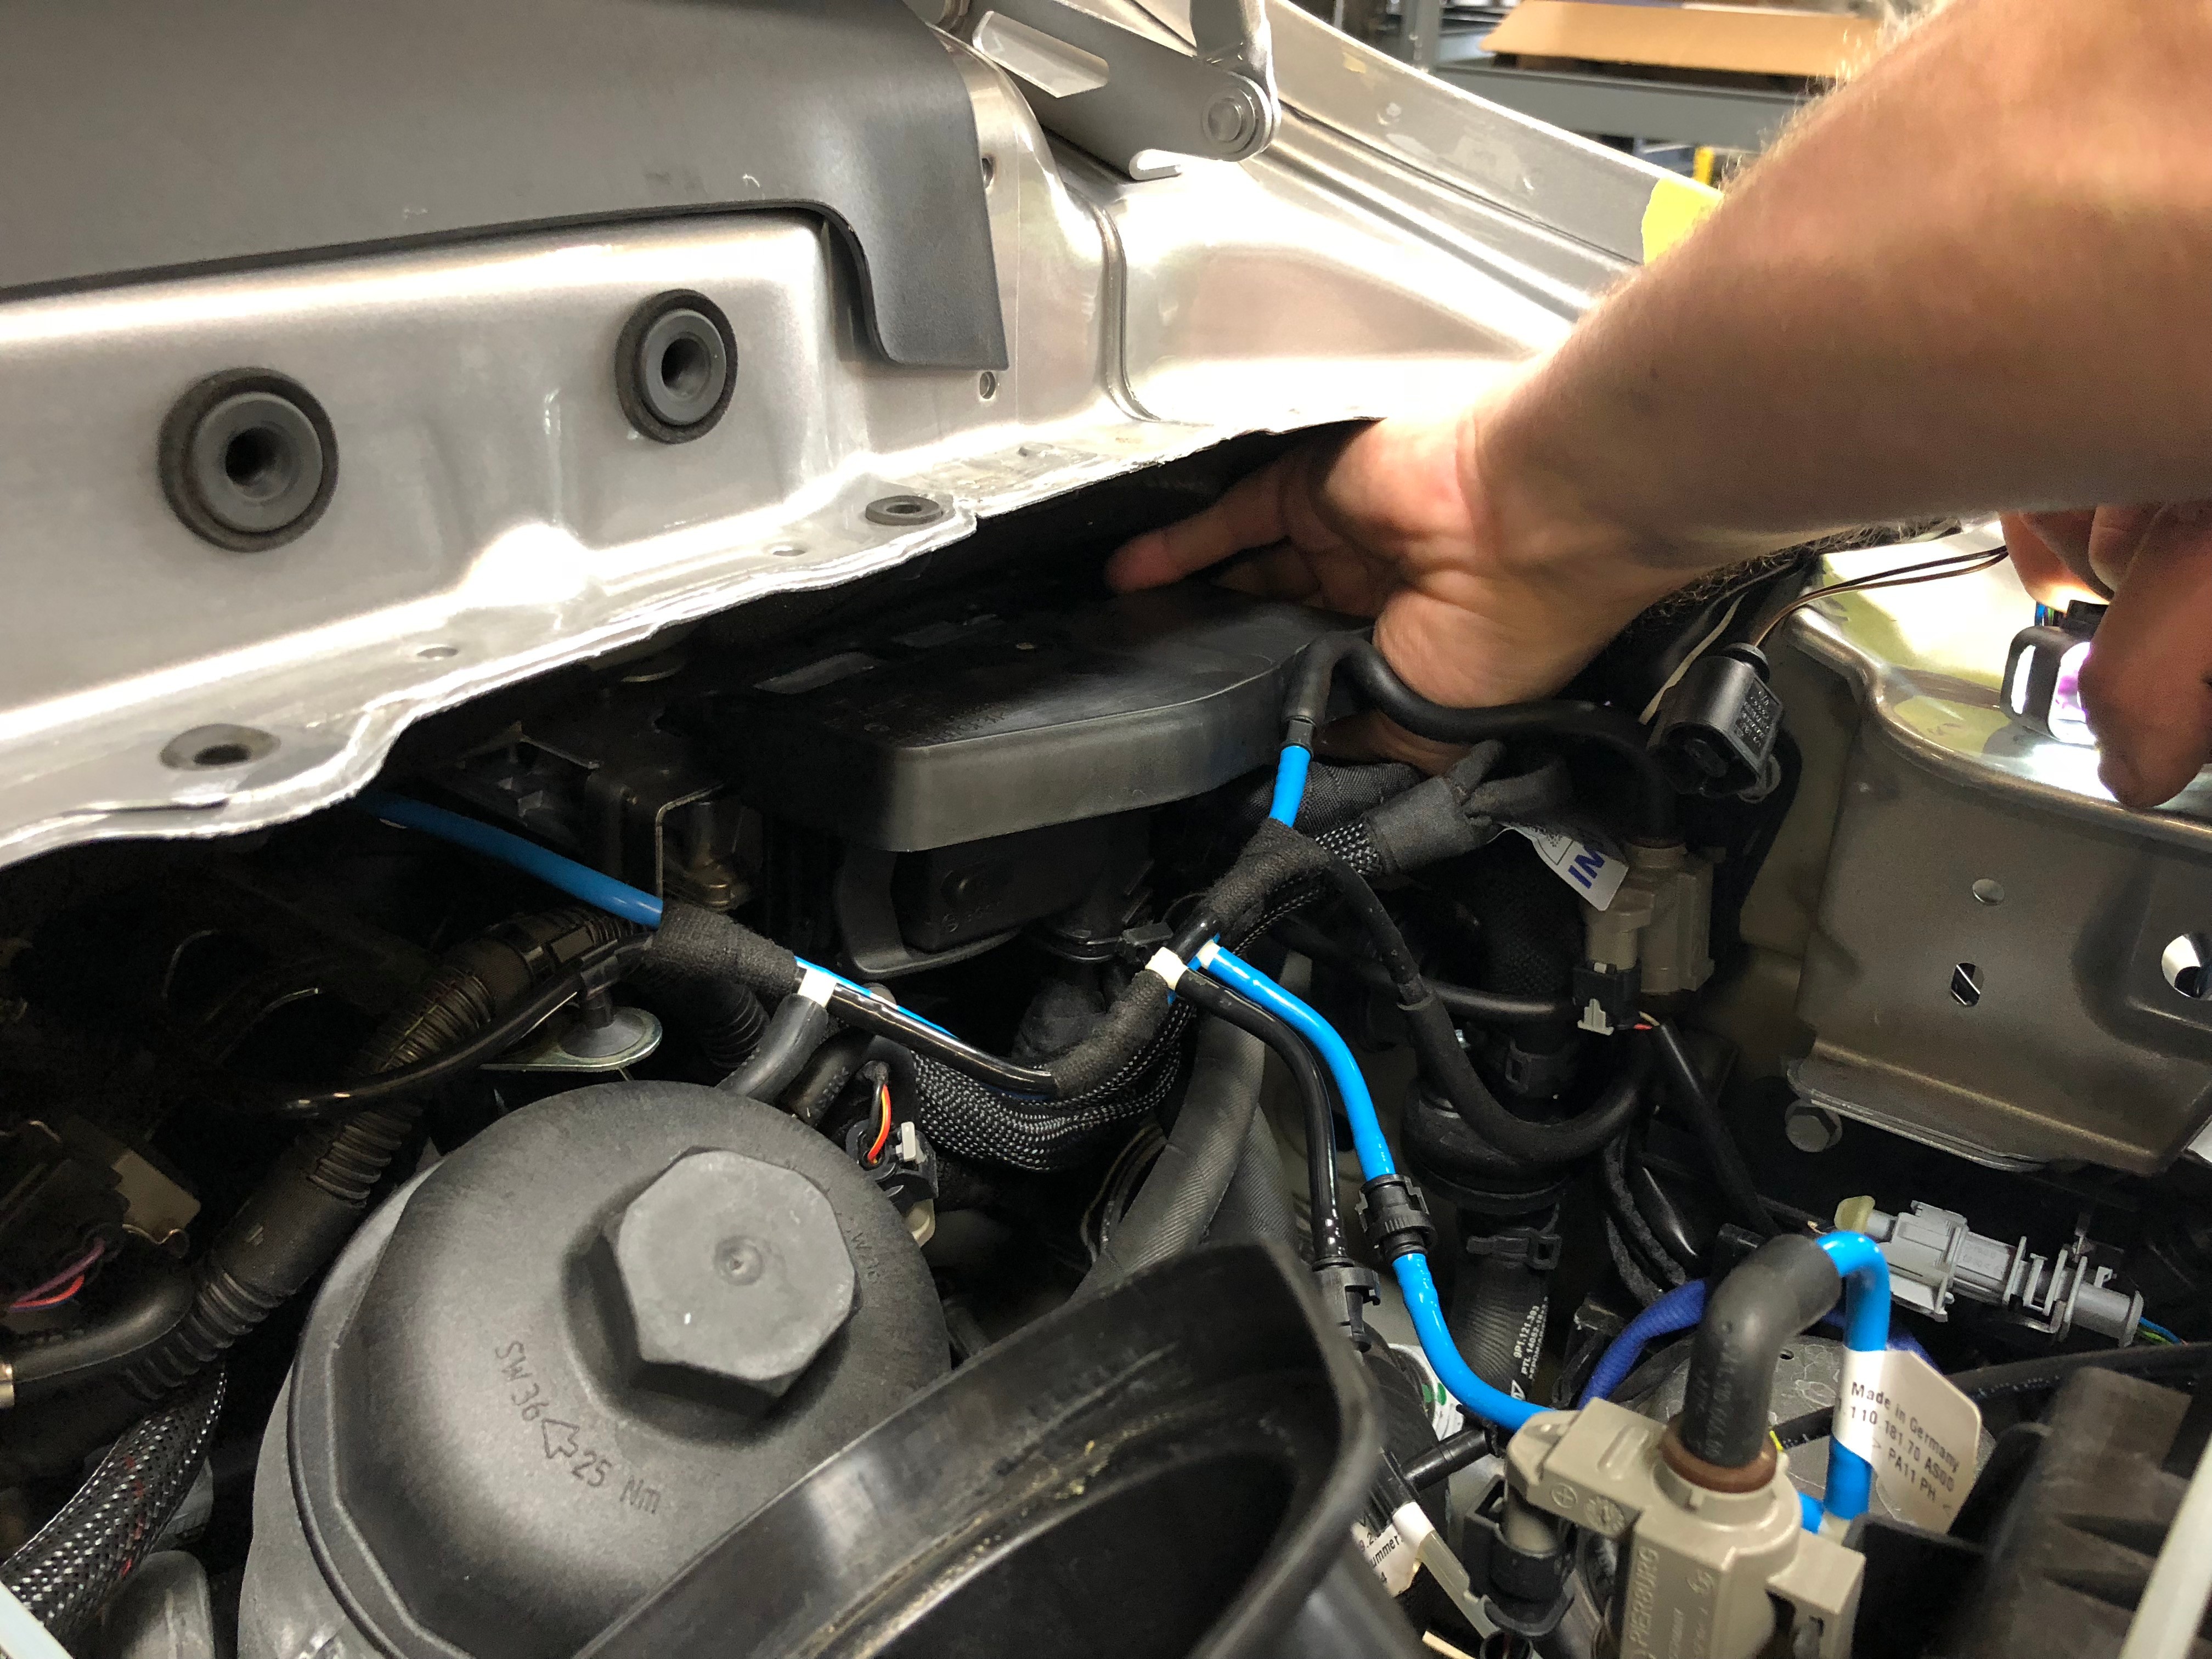
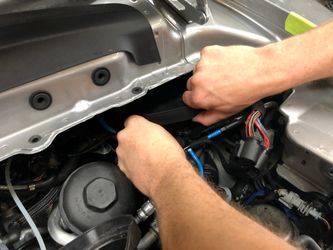
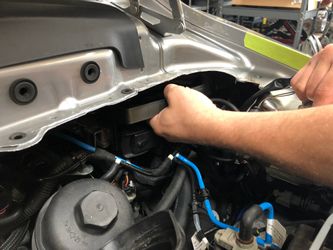
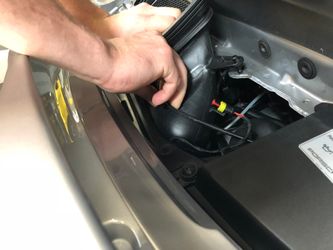
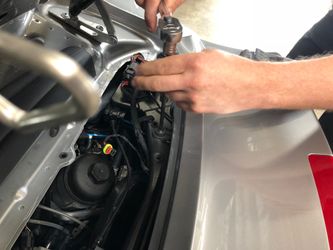
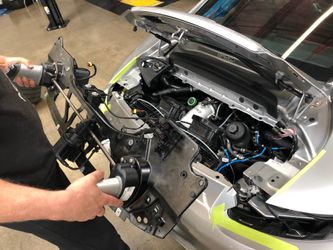
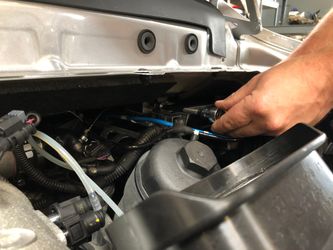
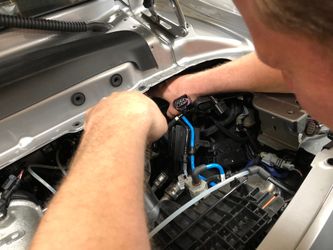
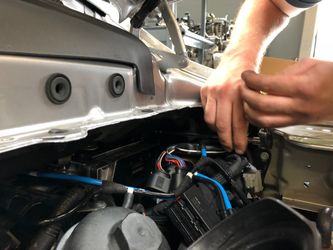
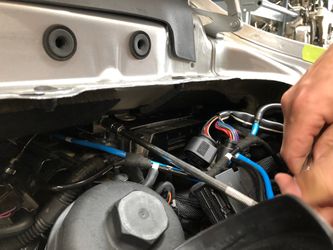
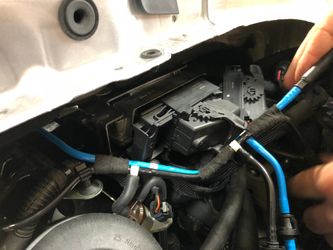
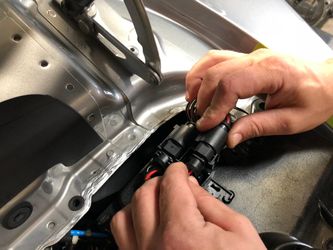
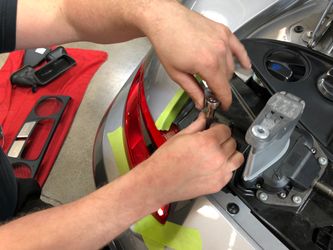
- Rotate and pull the two ECU connection harnesses out. Tuck the harnesses out of the way once you have unplugged them.
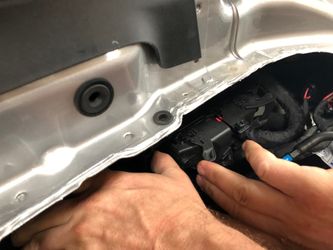
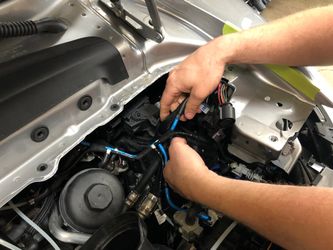

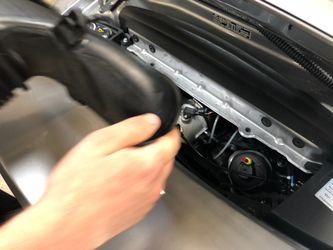
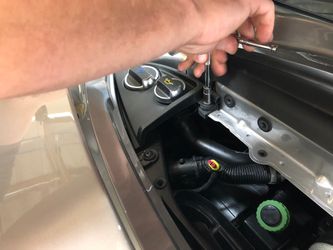
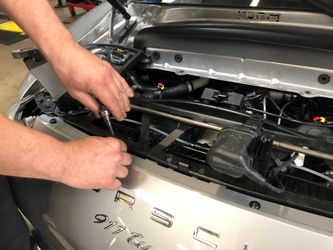
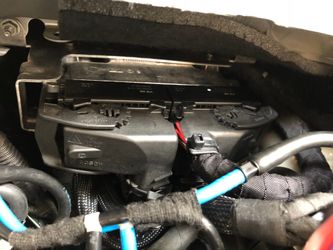
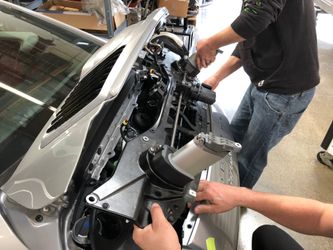
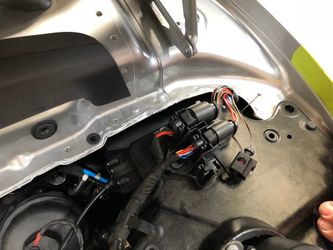
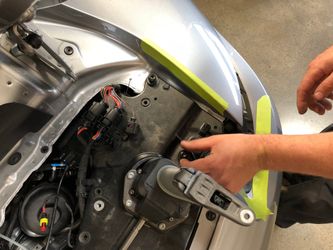
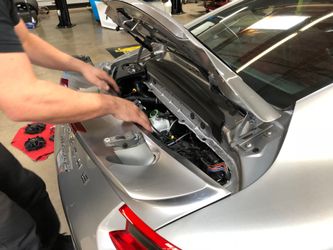
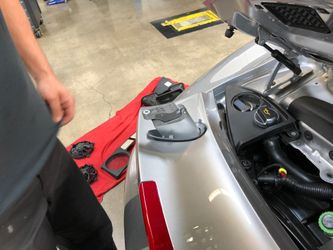
- Remove the two 10mm bolts holding on the ECU to the car.
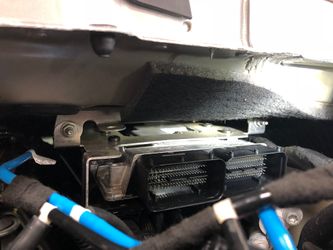
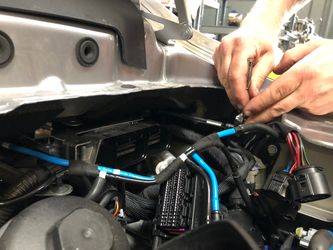
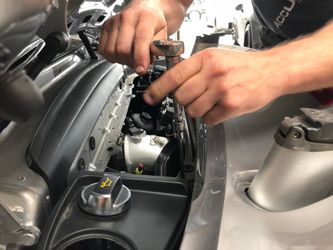
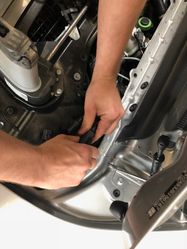
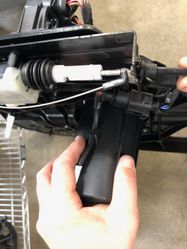
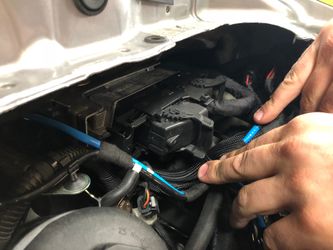
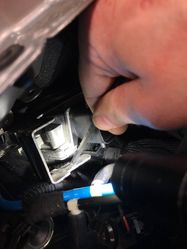
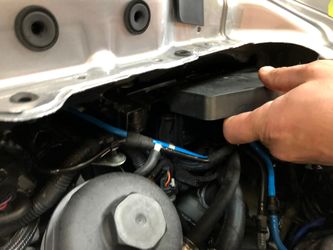
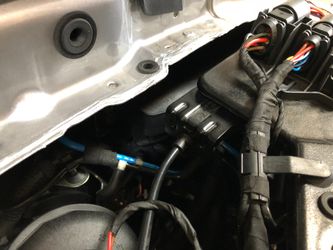
- The ECU will now be able to drop out of place, but it's still be held on by one last tab that's connecting to a large wiring loom. You can get a screwdriver of any kind and "pop" it out of place. Once you get this tab out, the ECU can be pulled out of the car.
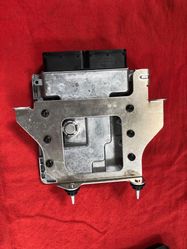
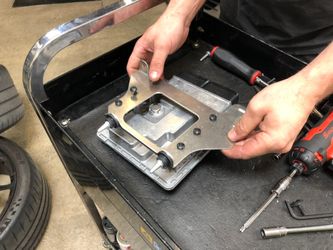
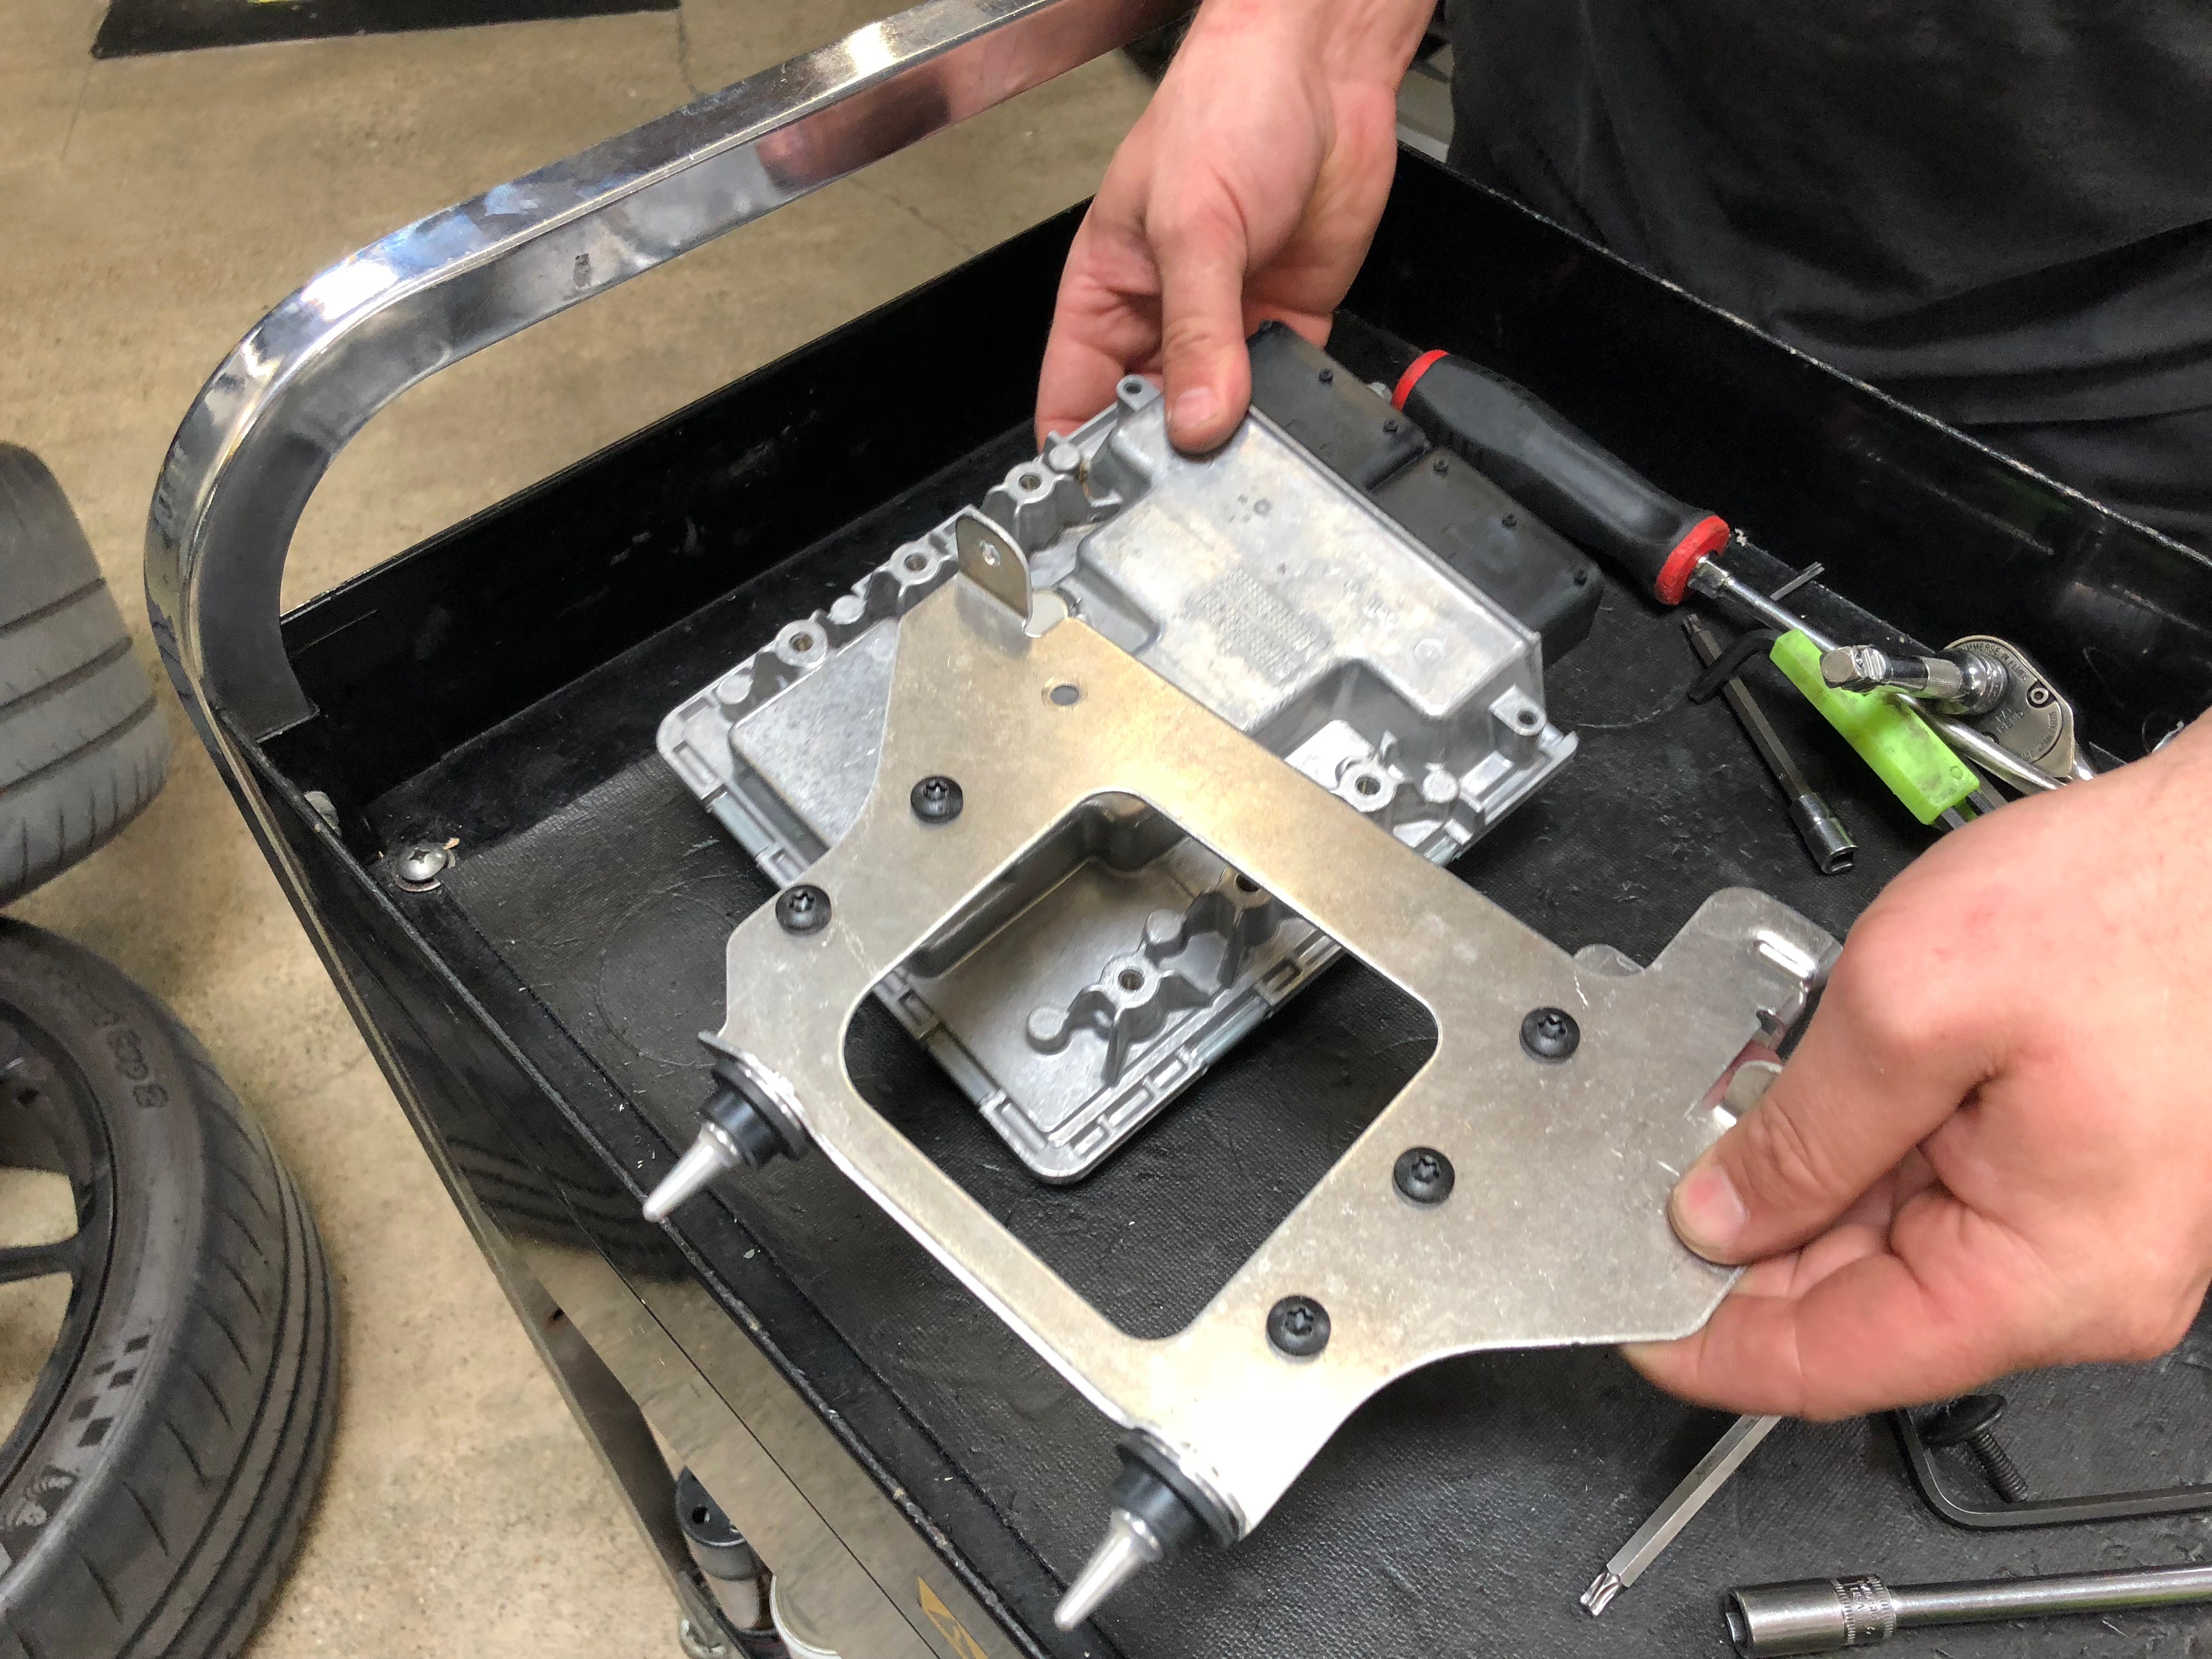
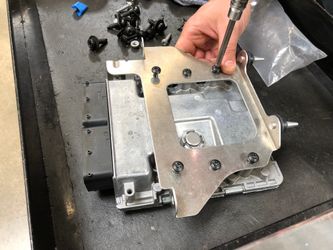
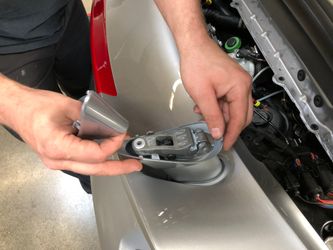
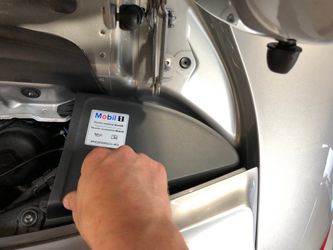
- With the ECU now out of the car, remove the six T30 torx bolts from the ECU brace. Now that the ECU is all by itself, send it on over to COBB Tuning and we'll get the ECU unlocked and ready to be tuned with an Accessport!

ECU Reinstallation
The installation of the ECU is mostly a reversal of the removal, but there are a few tricks we like to note to make it go smoothly. Because of this, full installation instructions will follow.
ECU
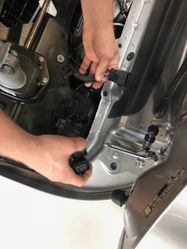
- Start by attaching the bracket to the ECU using the six T30 torx bolts.
- Next, place the ECU back into the car. You will have to line up the two male end of the ECU bracket and push them into the female pieces located in the engine bay. From there, attach the wiring loom to the ECU lower bracket, and then screw in the two 10mm bolts. Attach the ECU harness at this time. The weather guard will "pop" into place as well at this time.


Decklid/Spoiler Assembly install
- To put the decklid/spoiler assembly back in place will require two people. One person will need to pull back on the bumper cover and slip the assembly underneath so you can line up the bolt holes.
- Plug in the decklid/spoiler assembly connectors. It will also now be important to test and make sure the decklid pull cord still functions. You can hook the battery back up to the car and hit the decklid button to make sure everything works. If this doesn't work, you may never get the deck open ever again!!!
- Screw in the four T25 torx bolts that hold on the bumper cover.
- Tighten down the four T45 torx bolts that hold on the decklid/spoiler mechanism.


- Now, clip the taillights in place with the connectors and slide them into place. There's a sliding piece on the "pointy" end of the taillight that has to line up in place. You'll want to insert that end in first. Once in place, tighten down the two T25 torx for each taillight assembly. Once done, remove the tape.


- Now, put on the spoiler bottom piece and it'll go into place with a slide and pull motion. It will fit perfectly into placed once "popped" in.

- Tighten down the T30 torx bolts that hold the lower spoiler piece in place and then plug in the final connector piece.


- Place the painted spoiler insert pieces into position. No clipping or bolting down will need to happen now. Please note, they are marked "L" and "R" for the left and right sides of the car.

- Put the inserts in place. The left side requires a "pop" downward and tightening a 10mm bolt. You will also have to remove the coolant cap to fit it over.
The right side simply "pops" into place.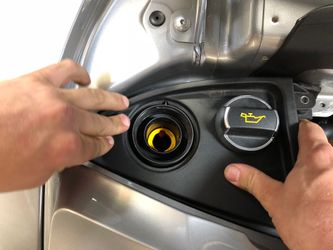

Fans and Air Inlet
- Time to put the fans into place. Make sure you plug the connectors in first, then "pop" them into place. If you want, you can lube up the "pop" pins and female ends for a slippery insertion.

- Put the center air inlet piece into place. Make sure not to bump the decklid mechanism cable out of place! You may want to move the fans slightly out of the way if you need more working room.

- "Pop" the engine cover into place. You will want to remove the hard ring piece for the air inlet to scoop it through. Reinstall the hard ring after it's all lined up.

Spoiler Top
- Finally, place the spoiler top on the upright supports and tighten down the two T25 torx. From there pinch and "pop" in the painted inserts.

- And that's it, connect the negative battery terminal and you're done! You are now ready to install the COBB Accessport onto the vehicle. Make sure you have a battery charger on the car's battery during the install process.
Here are some instructions on how to install the COBB Accessport
Customer Support
Phone support available 9am to 6pm Monday-Thursday. 9am to 4pm Friday (CST)
866.922.3059
Copyright 2023 © COBB Tuning Products LLC. All Rights Reserved. | www.cobbtuning.com