
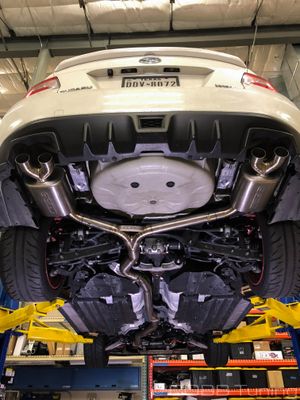
515140 - VA TitaniumSubaru Catback
WRX 2008 - 2021
WRX STi 2008 - 2021
Congratulations on your purchase of the COBB Tuning Subaru STI Catback. The following instructions will assist you through your installation process. Please read them first BEFORE beginning the install and familiarize yourself with the steps and tools needed. If you feel that you cannot properly perform this installation, we HIGHLY recommend you take the vehicle to a qualified and experienced automotive technician.
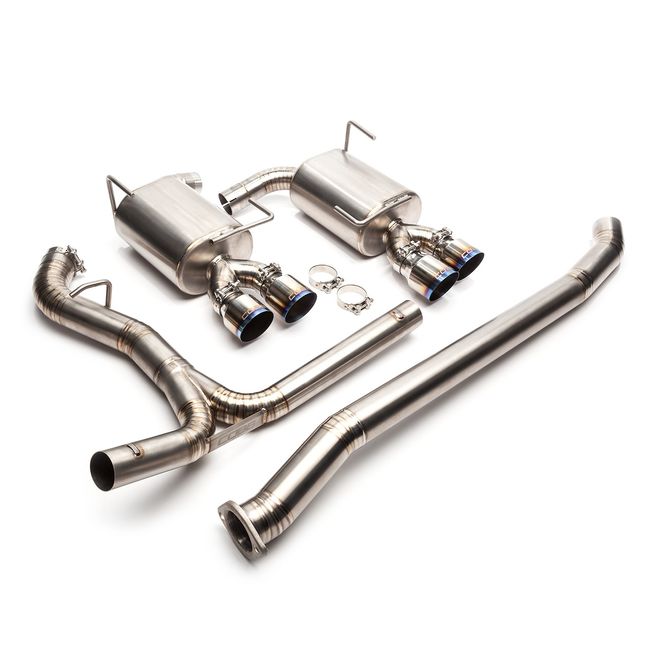
Parts List
- Straight Pipe
- Y-Pipe
- Driver's Side Muffler/Tips Section
- Passenger's Side Muffler/Tips Section
- 6 x 2.5" Exhaust Clamp
- 1 x 3" Exhaust Clamp
- 2 Tall COBB Titanium Exhaust Tips
- 2 Short COBB Titanium Exhaust Tips
Tools Needed
Sockets
3/8"
Wrenches
Removal of Stock Catback
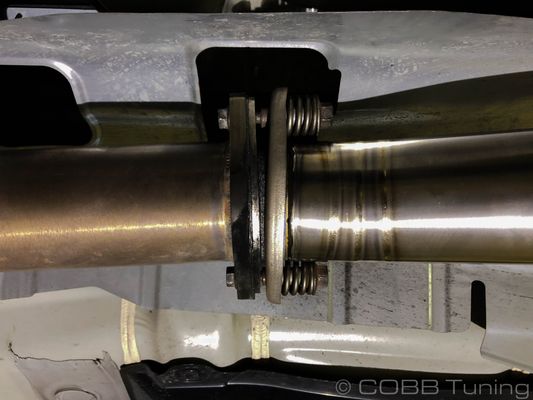
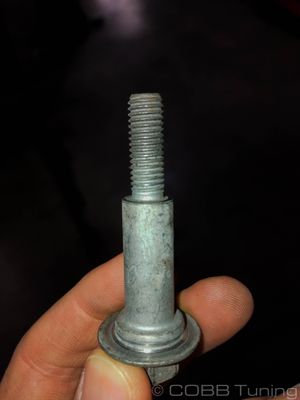
- Begin the removal process by loosening and removing the spring bolts holding the stock catback to the downpipe. Use a 14mm and 12mm to do so. NOTE: Keep this hardware, it will be used during the installation of the COBB Catback.
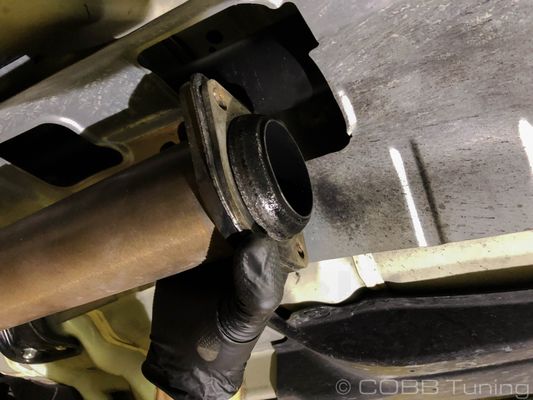
- Go ahead and take the donut gasket off of the end of the downpipe so that it is not damaged by potentially falling to the ground.
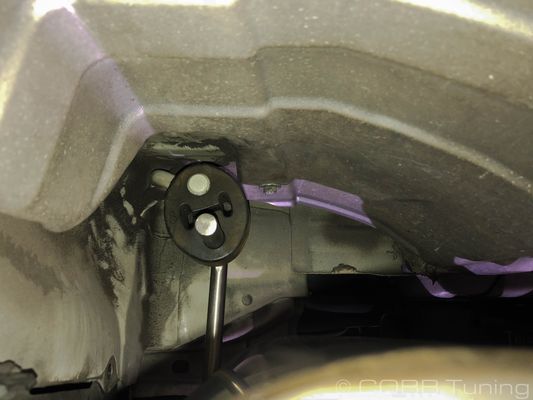
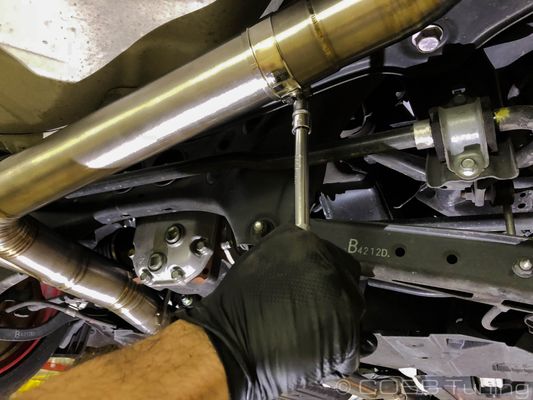
- There are 5 exhaust hangers that need to be removed from grommets so that the stock catback can be uninstalled. Remove the 4 hangers in the back that support the two mufflers first and then remove the hanger that is supporting the center of the catback. It is recommended that two people are used for this job!
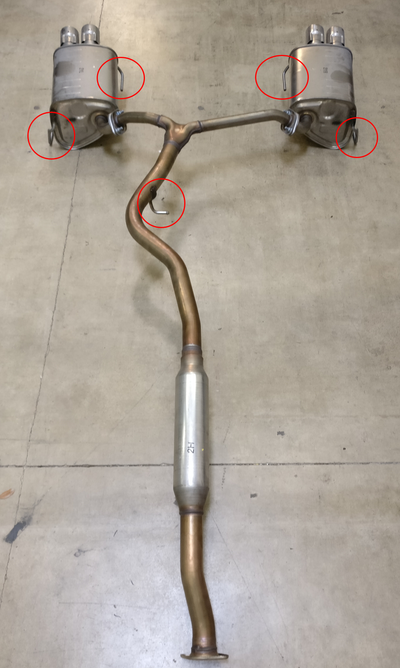
- Once the exhaust hangers are removed from the grommets, the catback should fall out of place.
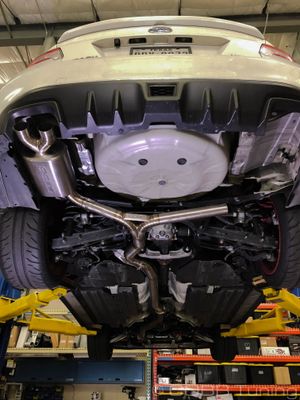
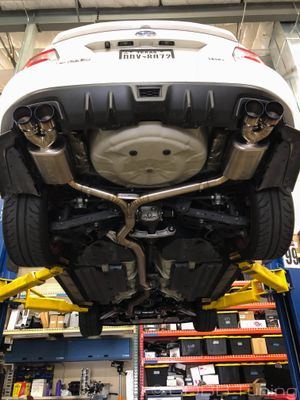
Installation of COBB STI/WRX Catback
Adding a small amount of anti-seize to the smaller, inside piece of each slip joint can help removing it in the future. Particularly because as you tighten down the clamps the pipe will typically deform slightly.
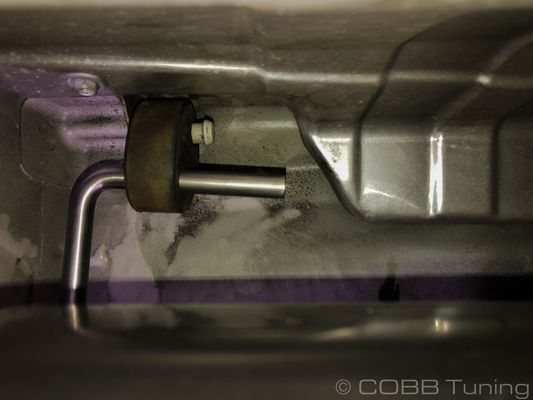
- Take the rubber muffler hangers back Off of the vehicle and install them onto the new exhaust components.
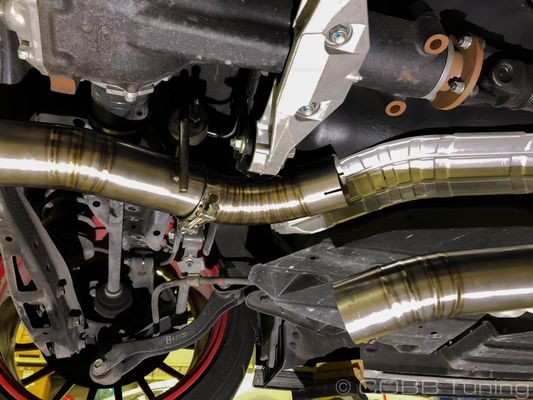
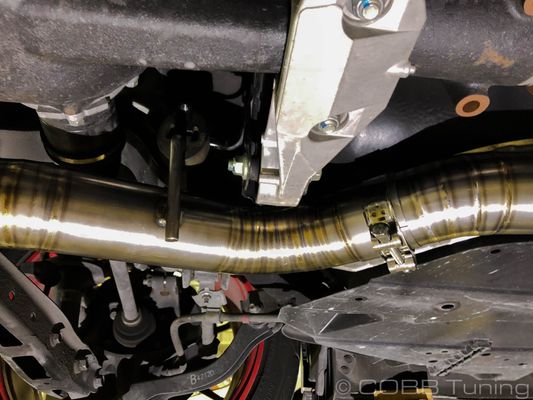
- Now go ahead and add the mid-pipe to your stock or COBB J-pipe. Leave the spring bolts loose for now in order to allow the exhaust the play it needs. If using the COBB J-pipe make sure to use the donut flange adapter.

- Put the rubber hanger over the y-pipe exhaust hanger and then attach it to the car. Once the hanger is attached, go ahead and slip the exhaust together making sure to put the larger hose clamp over the pipe first but leave it loose for now.
- Starting with the short side (left) pop one of the 2.5" clamps over the exhaust and slip the muffler section in place.
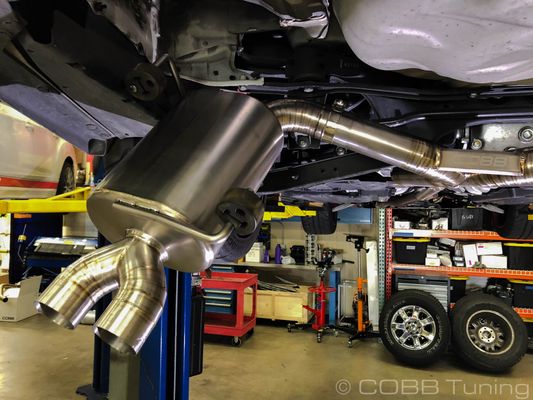
- Now roll it up behind the bumper and install the exhaust hangers.
- Repeat the same operation from step 4 & 5 on the longer side (right)

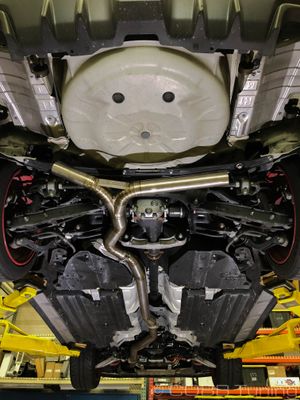
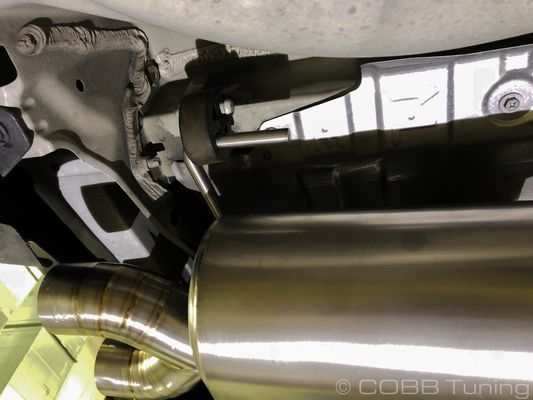
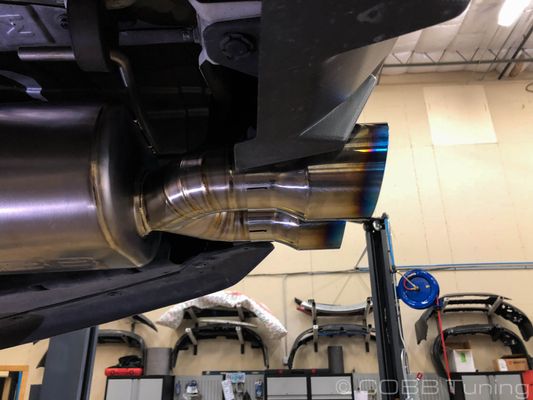
Go through and make sure each of the slip fits is on to the stopper and that the clamp is over the cut part of the pipe with some pipe remaining on the cut side. Once that is accomplished tighten down each section so that it is still movable but holds it's position so you can get things lined up. You'll need a 10mm socket for the smaller clamps and a 13mm for the large 3" on the mid-pipe to y-pipe.
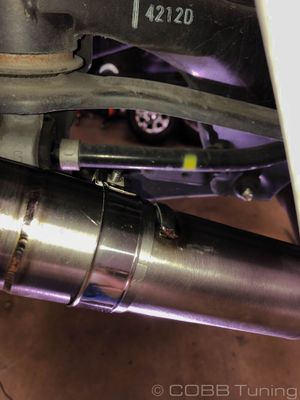
- Try to get everything lined up. Each of the slip fit sections have some give and room so you should be able to get it pretty close.
- Go through and tighten up all of the slip fits, starting at the bumper end and working forward. You can just go until it's relatively tight. Overly tightening can either cause damage to the clamp or bend the piping.
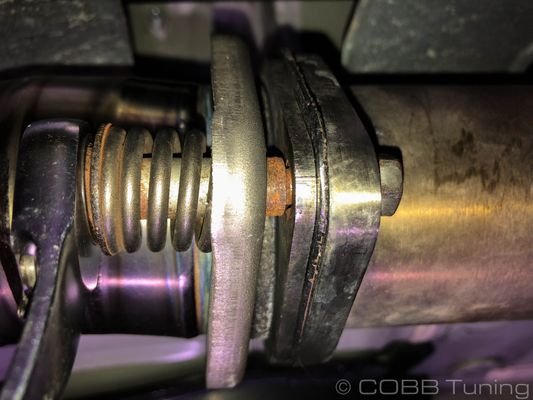
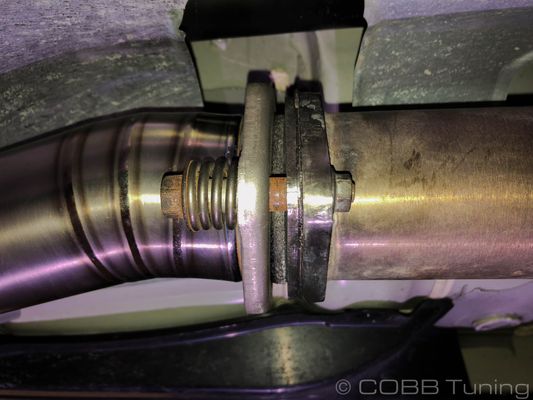
- Last but not least, finish tightening down the spring bolts using your 14mm and 12mm. Make sure to stop tightening when the flat shoulder rests on the exhaust flange.
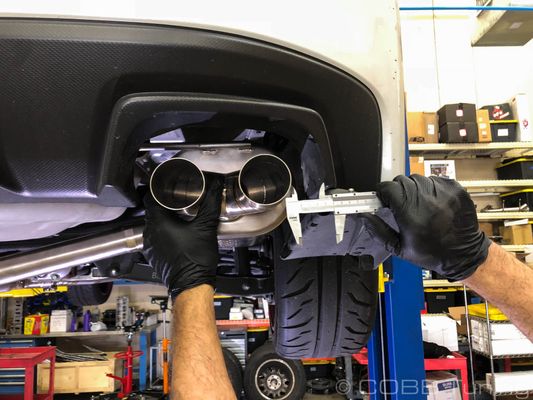
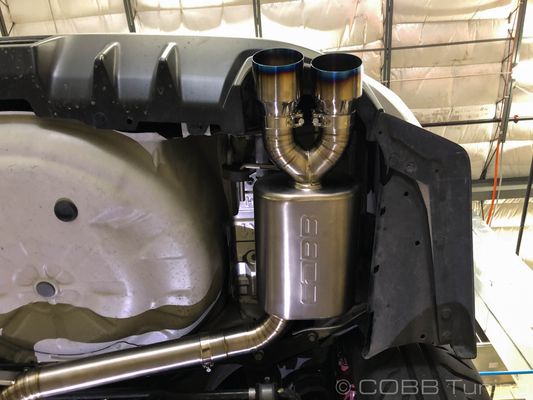
- The tips themselves are also slip-fit and two different heights, we typically put the taller on the inside but you can put them however you like.
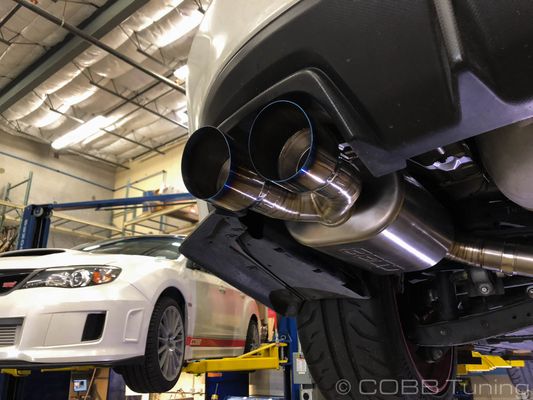
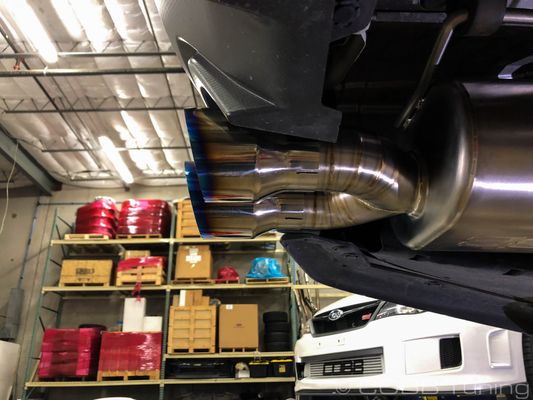
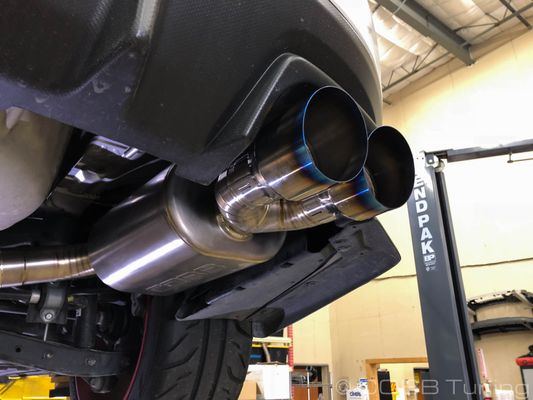
- Using your 10mm and the remaining clamps, attach the slip fit tips into place in whatever configuration you'd like!

Links
Subaru Installation Instructions
Main Installation Instruction Repository for Subaru Parts
Link to Subaru Map Notes to see what map you should be on given the parts you've added