
244600 - Subaru Shifter Stop WRX
2015 - 2020 Subaru WRX MT
Congratulations on your purchase of the COBB Tuning Subaru Shifter Stop! The following instructions will assist you through the installation process. Please read them BEFORE beginning the install to familiarize yourself with the steps and tools needed. If you feel you cannot properly perform this installation, we HIGHLY recommend you take the vehicle to a qualified and experienced automotive technician.
Table of Contents
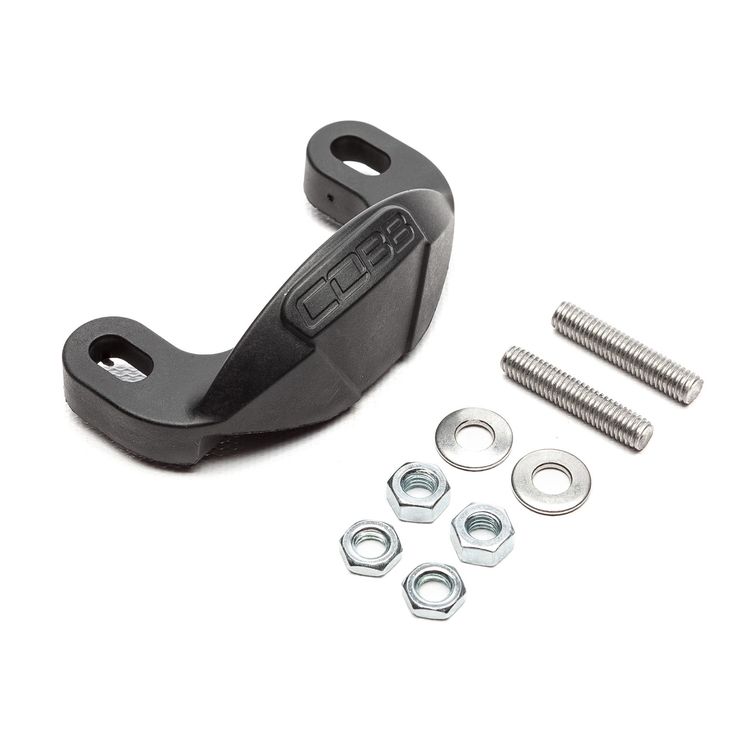
Parts List
- (2) m6 Spring Washer
- (2) m6 x 30 Stud
- (2) m6 x 1mm Jam Nut (Thin)
- (2) M6 x 1mm hex Nut
Tools Needed
Sockets
3/8"
Shifter Installation
- Park your car in a smooth flat area.
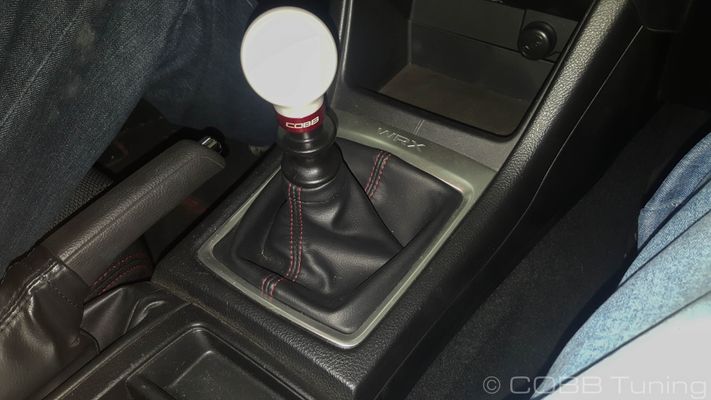
- Remove the shift knob by turning counter clockwise. You'll need it again so keep it nearby in a safe place
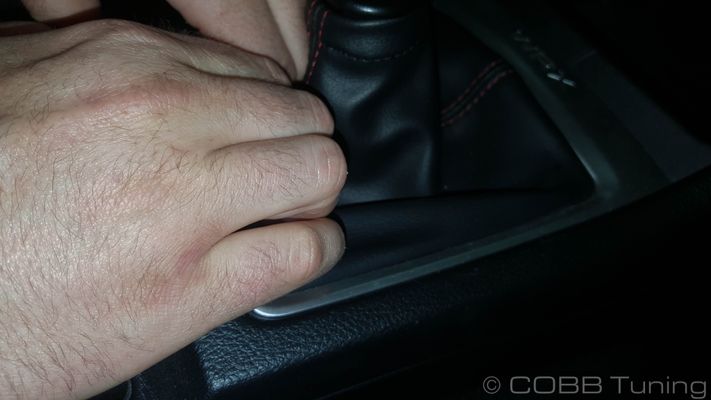
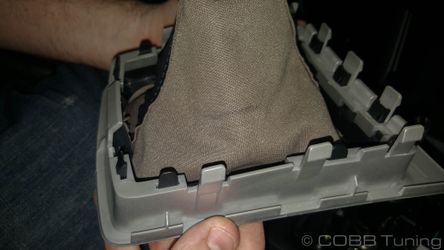
- Remove the shift boot by getting your fingers under the rear edge of the shift boot on the boot side and pulling gently upwards. It should pop free. You can then work around the edges and pull the shift boot free gently.
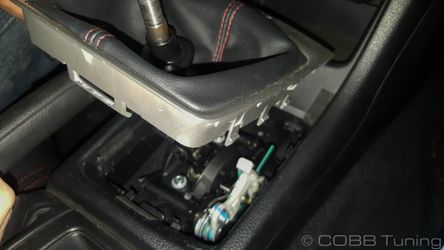
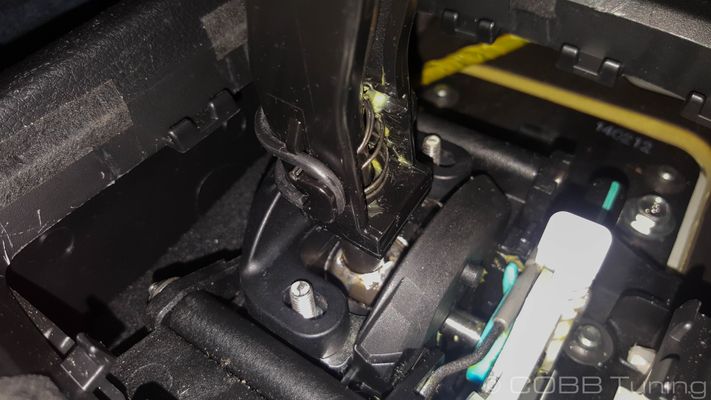
- Mark the current position of the reverse lockout.
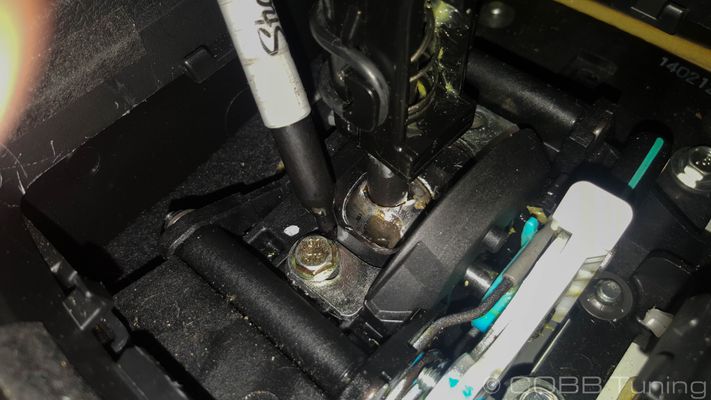
- Using your 10mm, remove the two bolts holding the reverse lockout down.
- Install the two provided studs. You'll want to tighten them down hand tight, then back them out one full rotation.
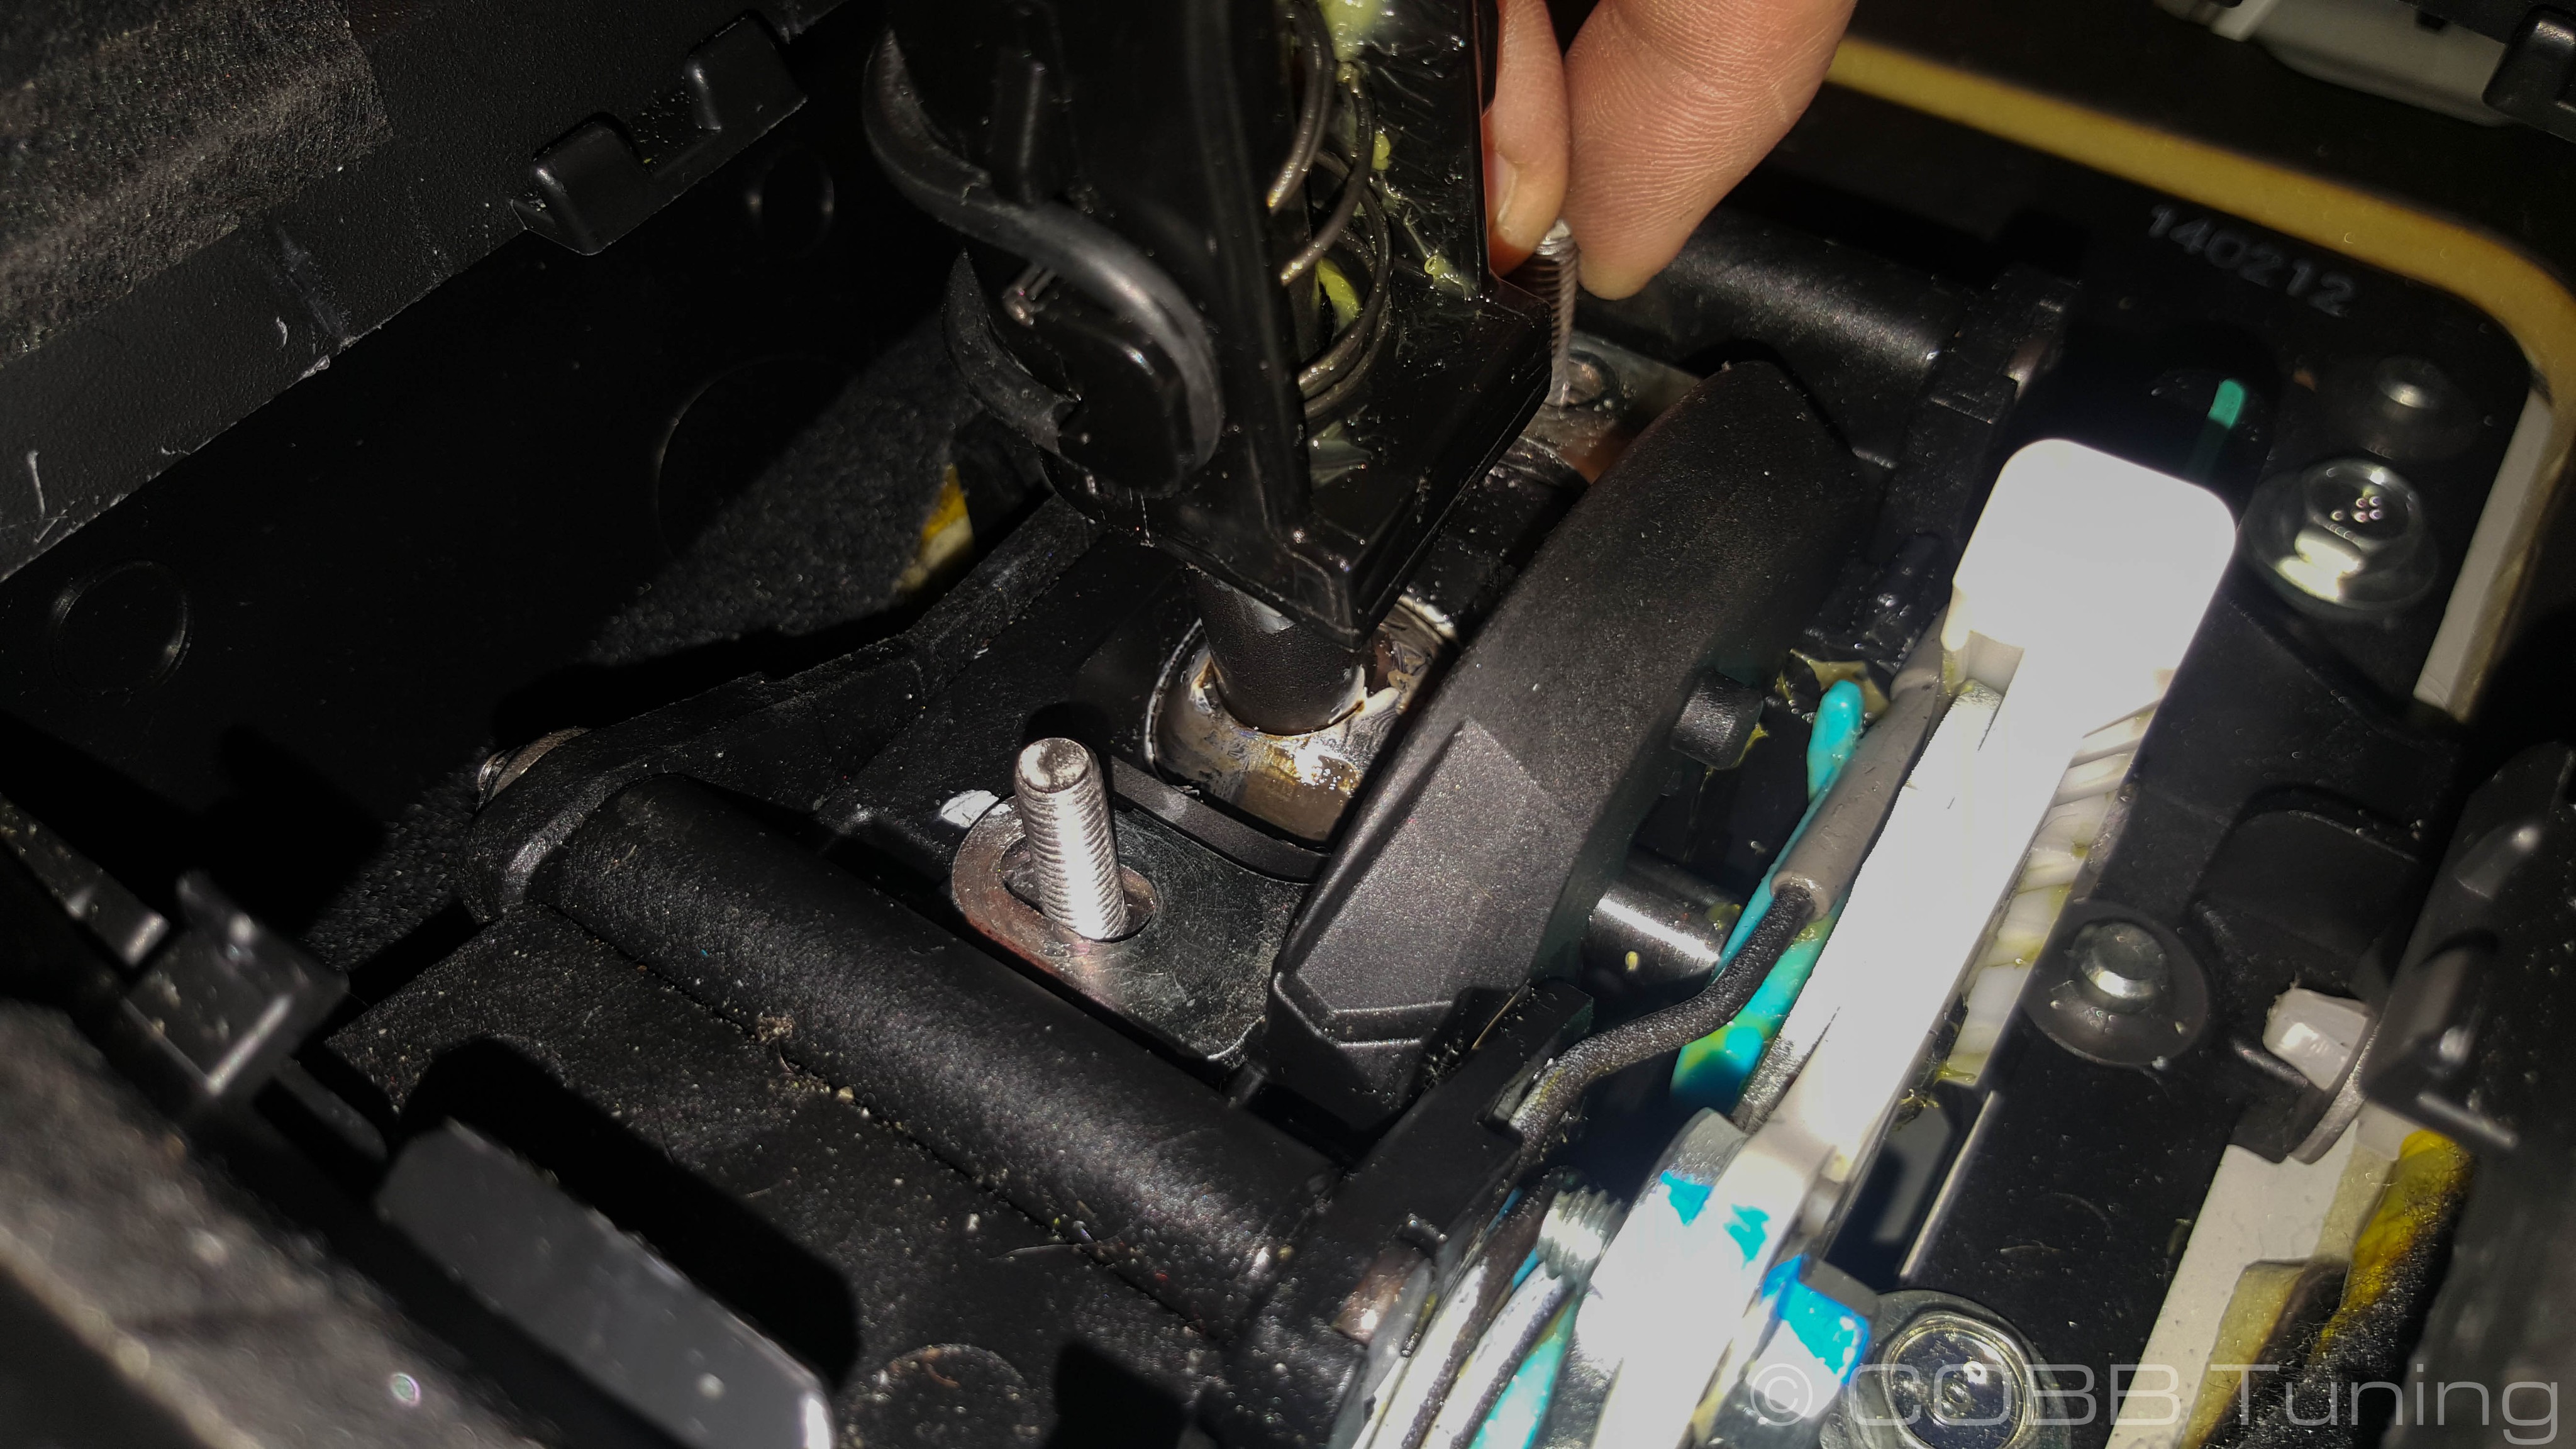
- Now loosely thread on the short set of nuts. You may need to hold the stud in place to thread down the nuts.
- Now it's time to adjust the reverse lockout for proper operation. Put the shifter into 5th gear and slide the lockout up close. You'll want to leave a small gap in between the two, typically about a zip-tie's width is good. Afterward tighten down the nuts and run your shifter through the gears. Make sure you can easily get into all the gears and you don't feel any binding. A good rule of thumb is to echo the amount of left and right play you have in 3rd gear.
- Once you're happy with the adjustment tighten it down to 4-5 ft - lb
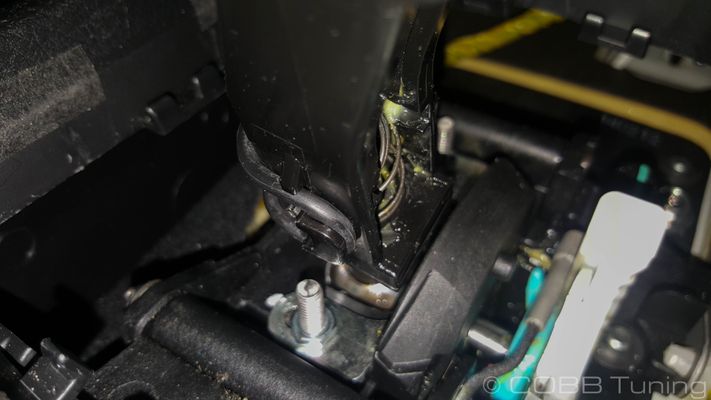
- Slide the COBB Shift Stop into place on top.
- The included washers are essentially like cones, put the outside facing down and the pointier side facing up.
- Install the full size nuts on top. When hand tight the stud should meet the top of the stud.
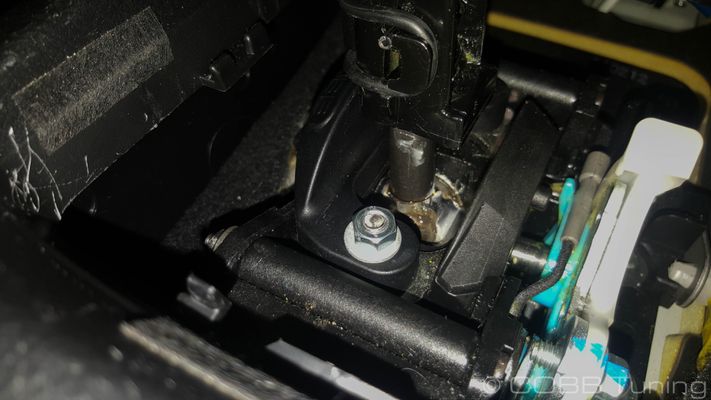
- Follow the same method to adjust this one for operation in 1st and second gear. Keep in mind that removing too much of the play can make it harder to get into gear.
- Tighten the nuts down to 4-5 ft-lb (48-60 in-lb)
- Run it through all of the gears to make sure it works smoothly.
- Reinstall the interior in the reverse order of removal.
- Go out and enjoy!
Links
Error rendering macro 'excerpt-include' : You can only link to a page or blog post.