
3C1650 - Nissan GT-R Fuel Pressure Sensor Kit
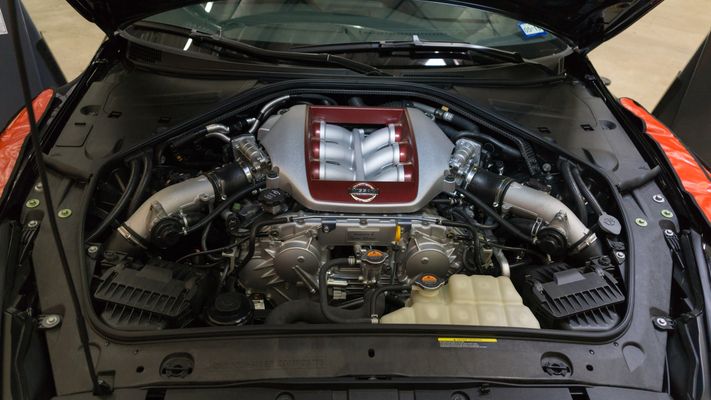
2009 - 2018 Nissan GT-R
Congratulations on your purchase of the COBB Nissan Fuel Pressure Sensor Kit! The following instructions will assist you through your installation process. Please read them first BEFORE beginning the install and familiarize yourself with the steps and tools needed. If you feel that you cannot properly perform this installation, we HIGHLY recommend you take the vehicle to a qualified and experienced automotive technician.
Please note that you must retain at least (1) TIP sensor on a MAF based tune for the vehicle to operate correctly.
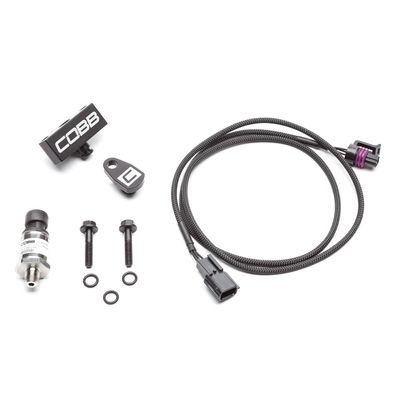
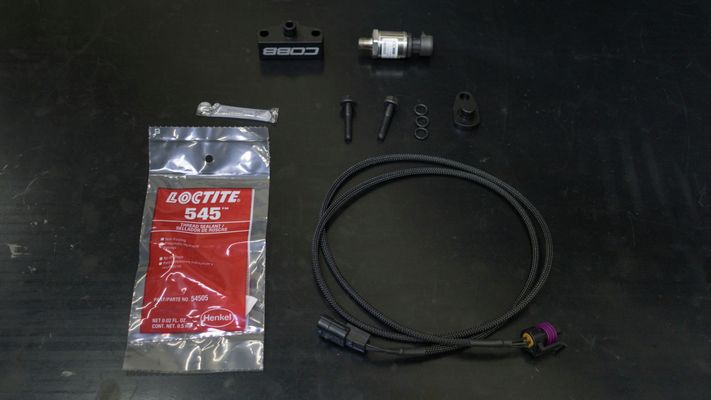
Part List
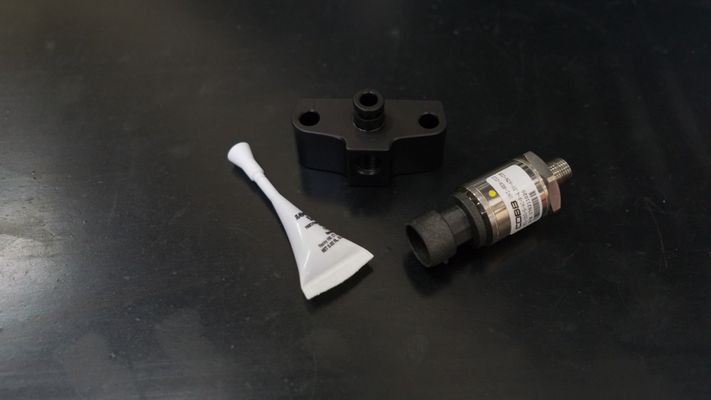
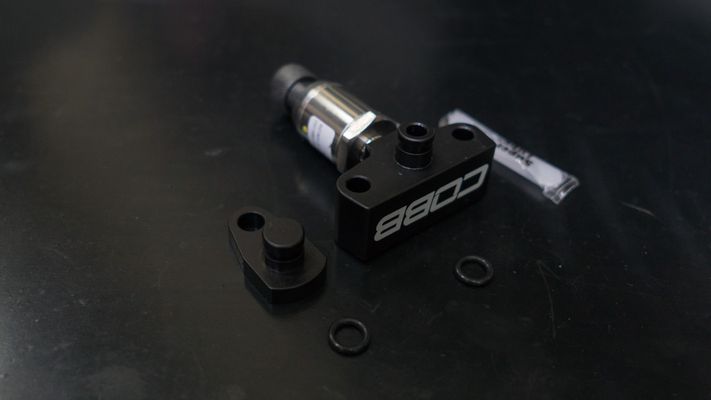
Fuel pressure sensor
Fuel pressure sensor adapter
TIP sensor plug
Fuel pressure harness
(2) M6x30mm bolts
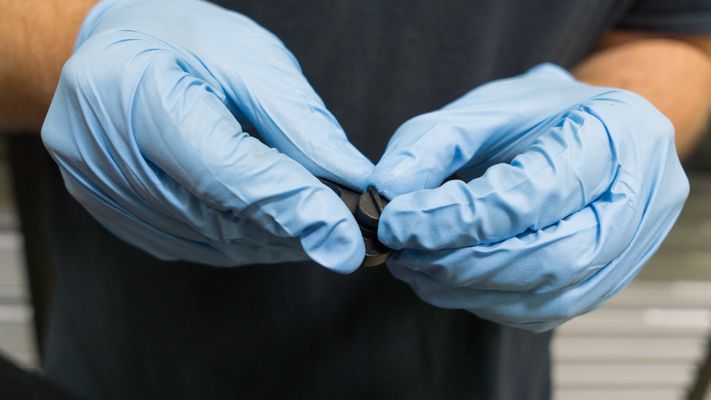
(3) O-rings, only (2) are needed, 2mm wide, 7.5mm ID
Loctite (red)
Super lube (clear)
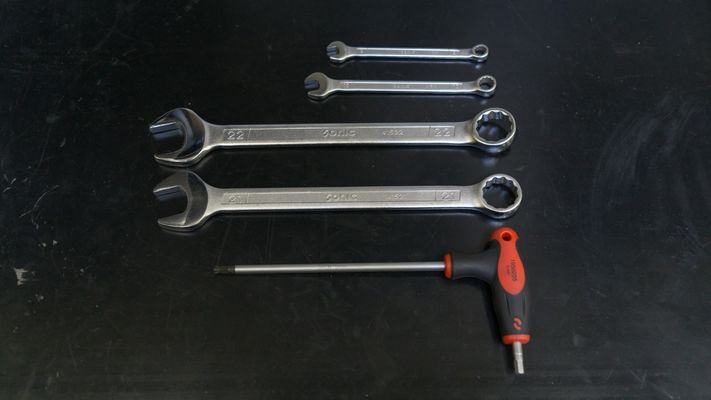
Tools Needed
M5 Allen key
22mm wrench
21mm wrench
8mm wrench
10mm wrench
Install the COBB Fuel Pressure Sensor
- Park the car in a smooth flat area.
- Depressurize the fuel system by removing the gas cap and leave it off to remove any residual pressure in the fuel tank. It can also help to allow the car to sit for a short time in order for the residual pressure to slowly bleed down.
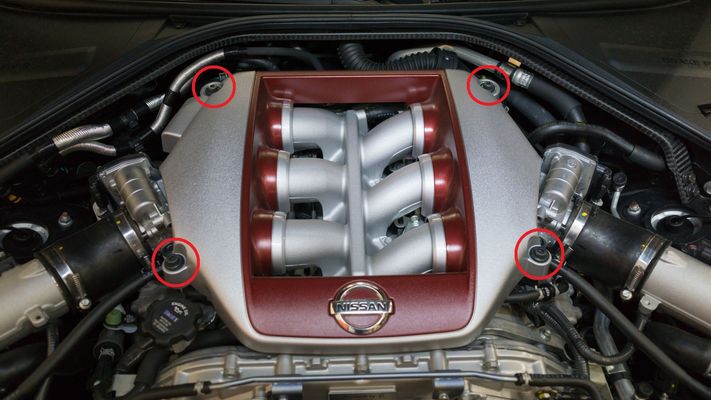
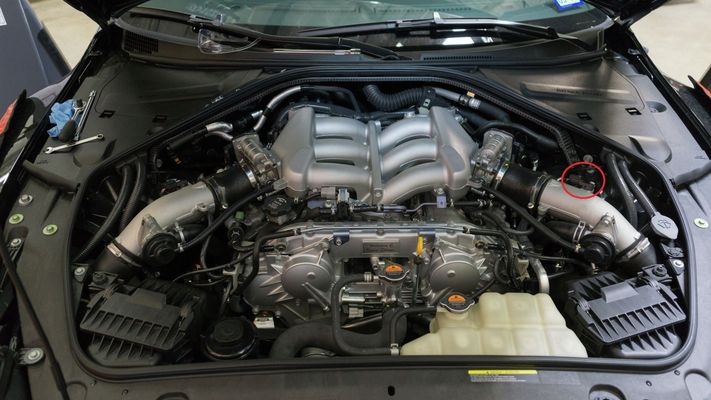
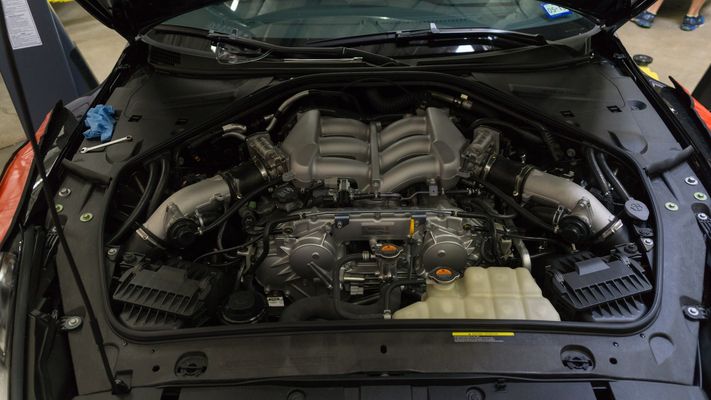
Remove the engine cover by removing the (4) bolts using an M5 Allen key

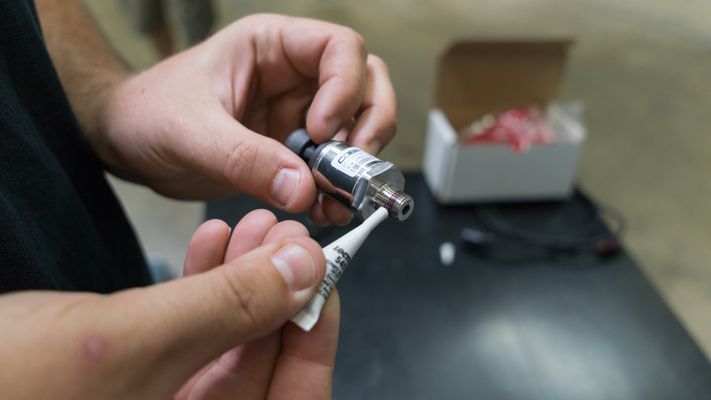
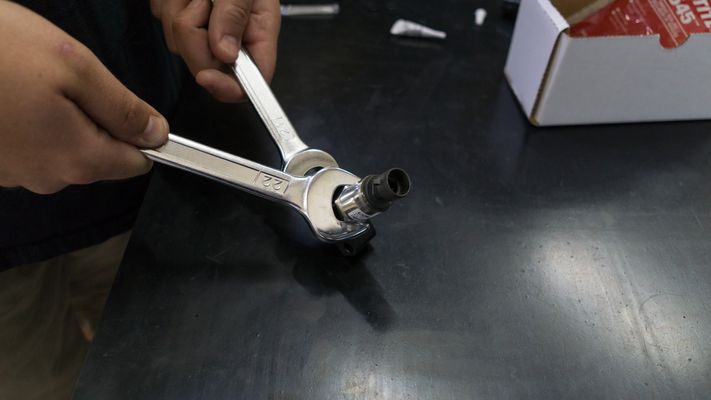
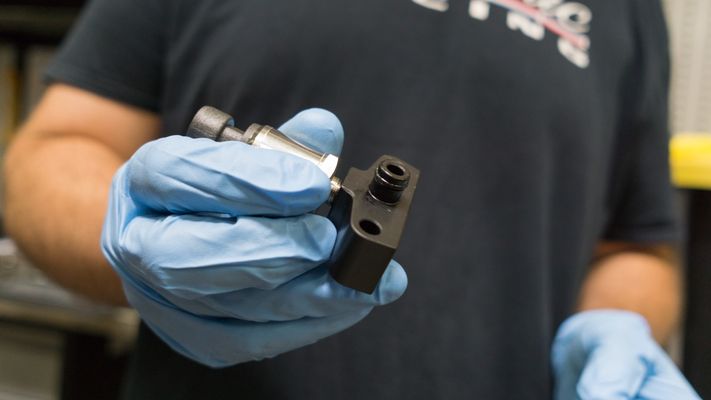
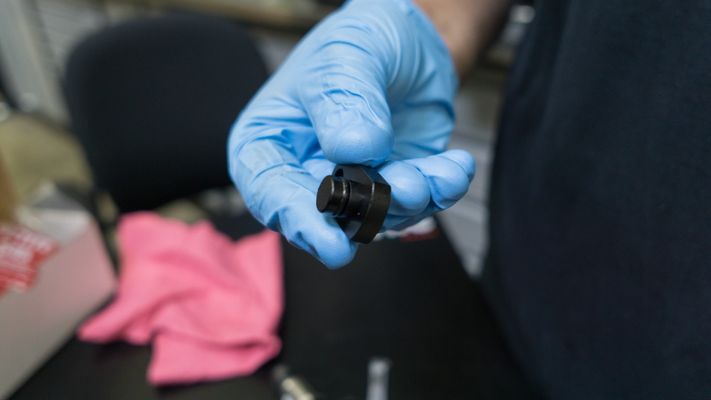
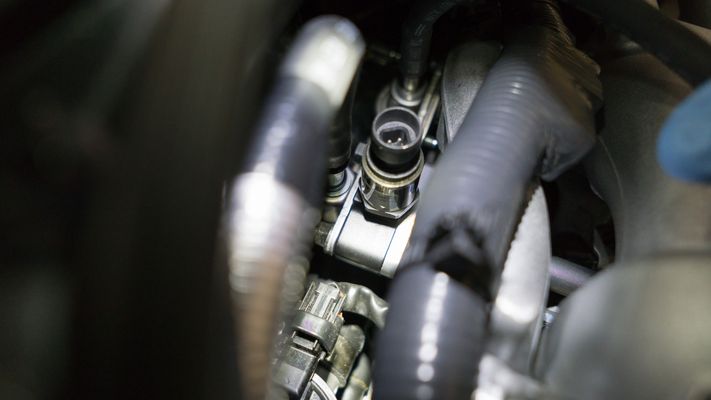
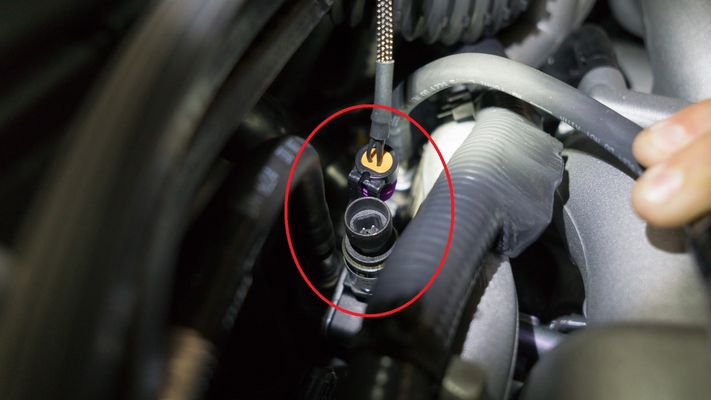
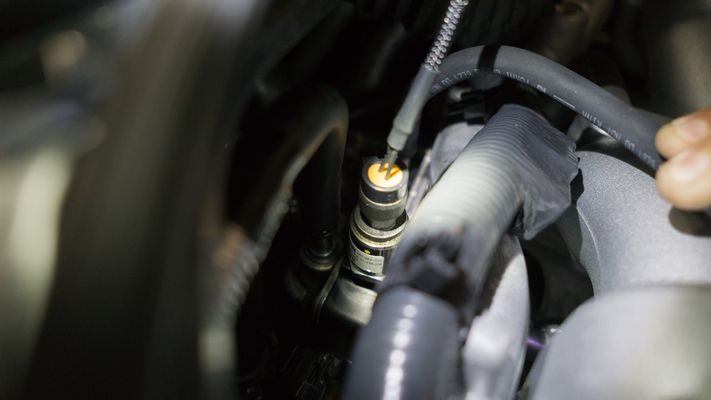
Attach the fuel pressure sensor to the fuel pressure sensor adapter using the included Loctite. You can use two open ended wrenches, 22mm or 7/8th wrench on the sensor and 21mm wrench on the adapter, to secure them together.
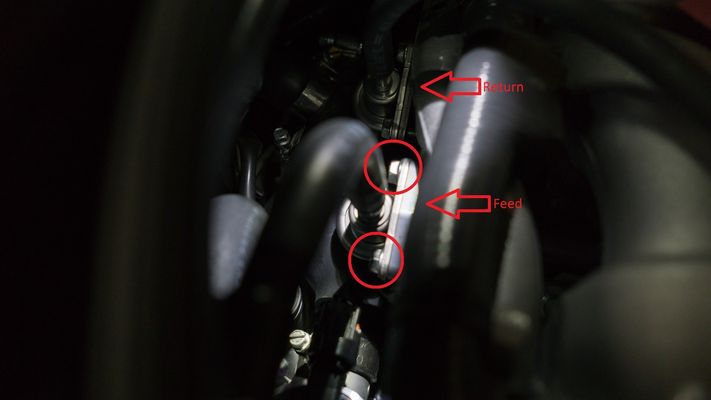
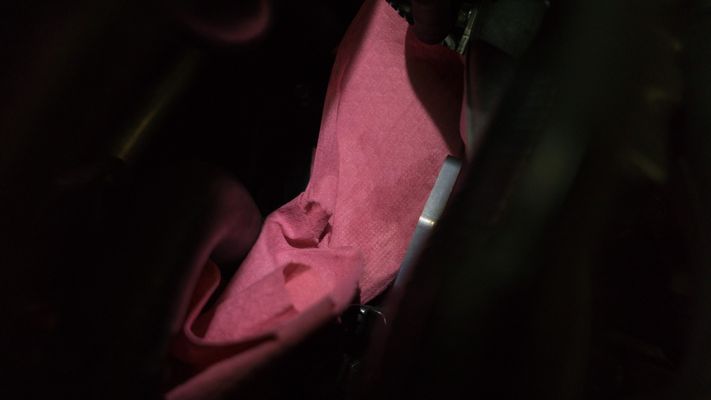
Place a rag under the fuel pressure damper on the feed side to catch any fuel that may leak and then remove the (2) bolts securing the fuel pressure damper to the feed side with a 10mm wrench.
Warning Eye Protection is recommended in order to reduce the possibility of getting fuel in your eyes.
Note The feed and return damper are identical, make certain you are removing the correct one. The feed side is closer to the passenger side of the vehicle.
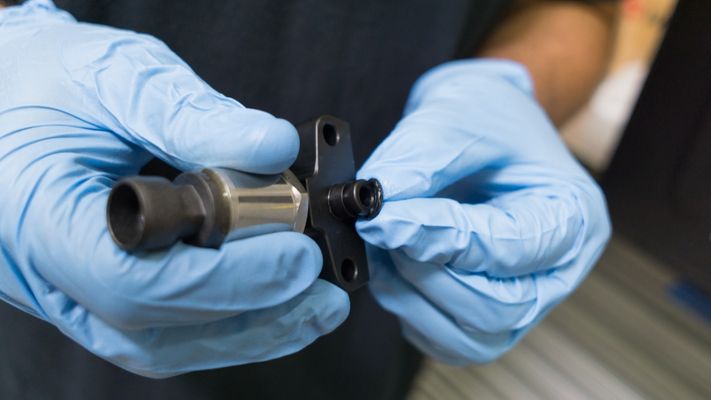
Install a lubed o-ring to the fuel pressure adapter.
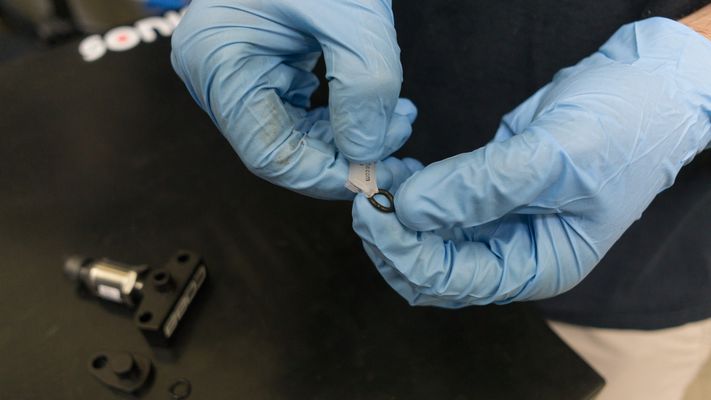
Install a lubed o-ring to the TIP sensor plug
Install the assembled fuel pressure sensor adapter to the damper using the included (2) M6 bolts.
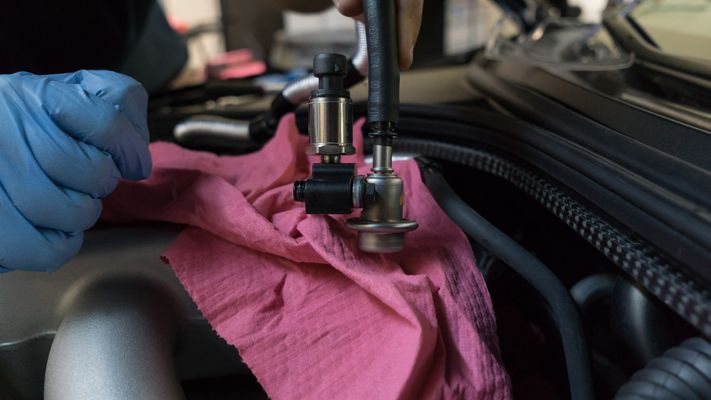
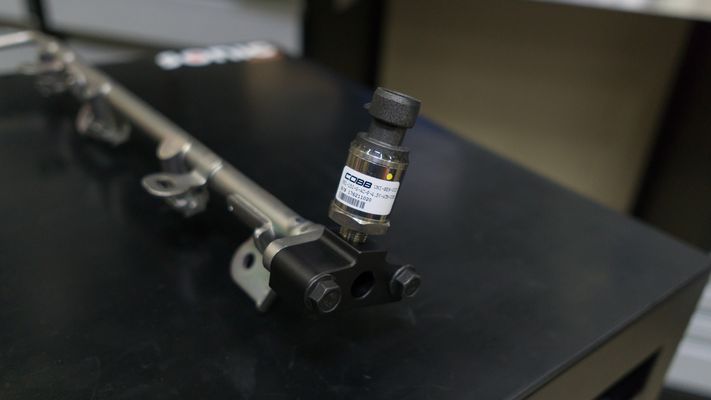
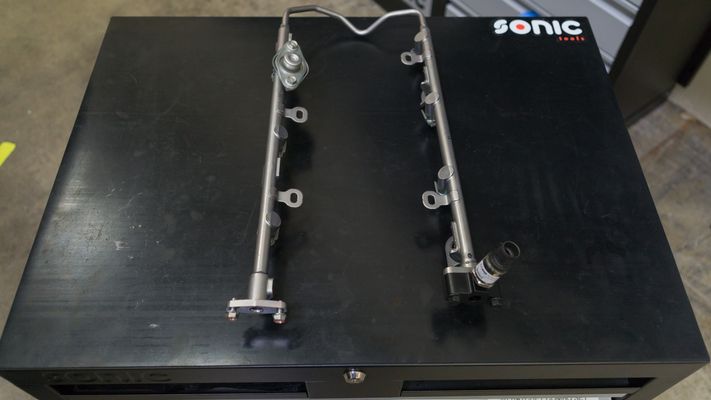
Reconnect the feed-side fuel line to the rail. Below are also pictures of the stock fuel rail outside the car so that you can see the intended final orientation with the fuel pressure sensor in the vertical position.

Install the TIP Sensor Plug and Route the Pressure Harness
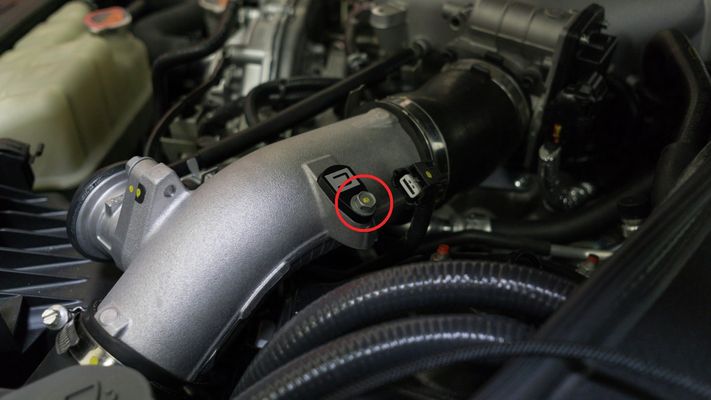
- Remove the TIP sensor harness by pressing on the clip connection to the TIP sensor and gently pulling it away.
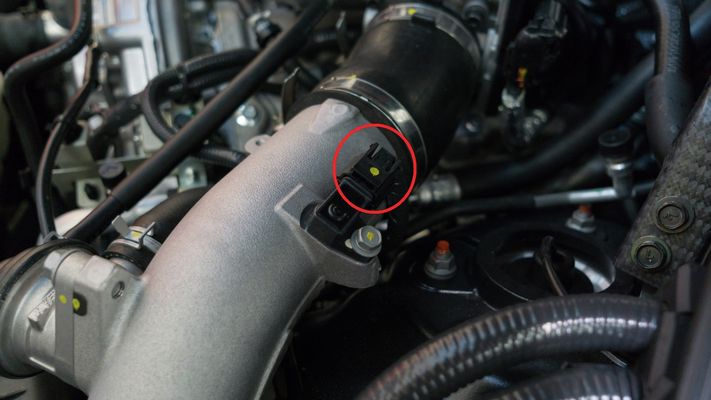
- Remove the 10mm bolt securing the TIP sensor and remove the TIP sensor.
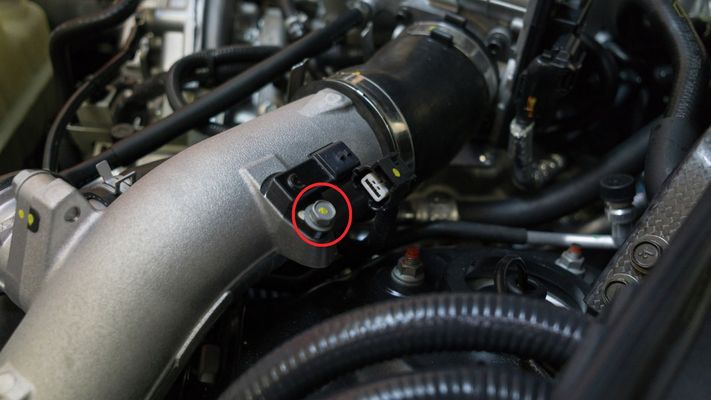
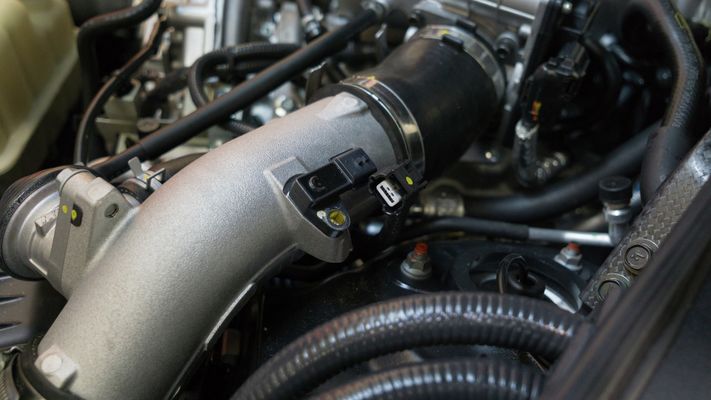
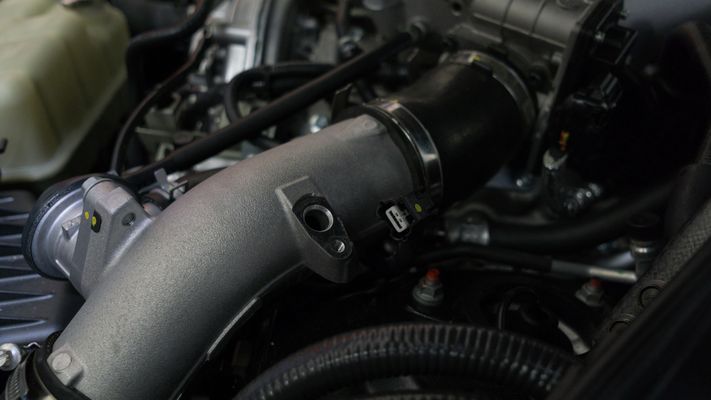
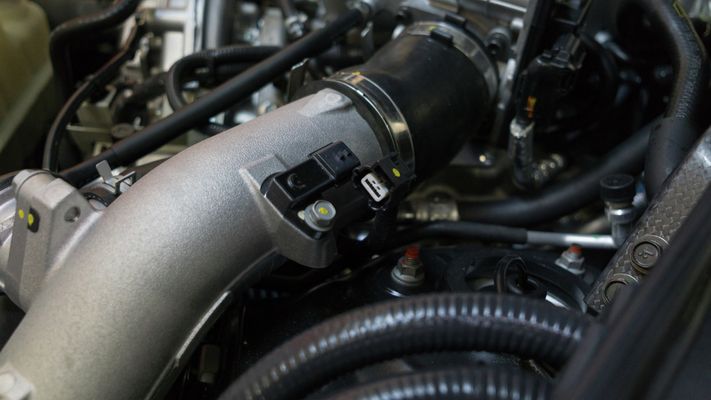
- Insert the COBB TIP sensor plug and secure it with the OEM 10mm bolt.
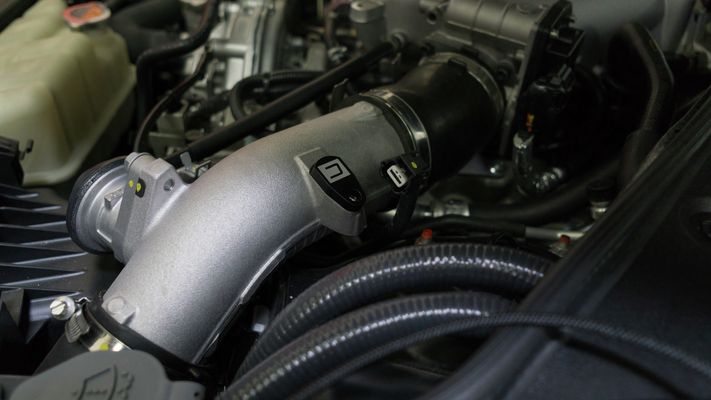
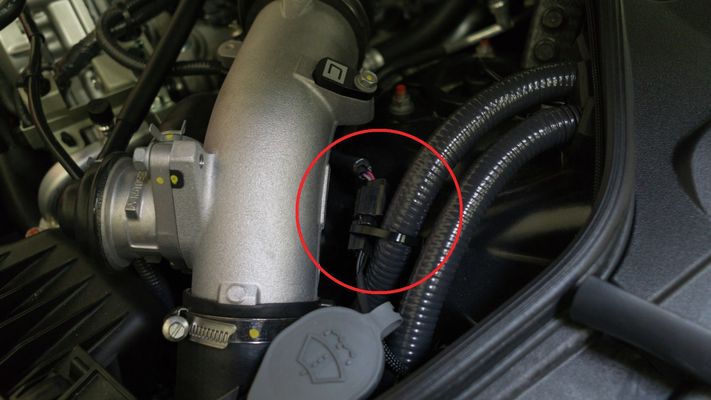
- Connect the COBB fuel pressure harness to the OEM TIP harness, use a ziptie to secure it (you have more length than you need for flexibility), and then connect the other end to the COBB fuel pressure sensor.
- Flash an appropriate map which supports the use of the COBB Fuel Pressure Sensor kit.
- Congratulations! You have successfully installed the COBB Fuel Pressure Sensor kit for your GT-R! Before driving your vehicle, changes to your ECU must be made within Accesstuner to enable fuel pressure monitoring safety and avoid throwing a diagnostic trouble code. Have your Protuner re-flash before driving the vehicle.
Map Notes for GT-R
Can help in order to figure out what components go with what map.
| Insert excerpt | ||||||
|---|---|---|---|---|---|---|
|