
A12700, A12600 – Subaru Map Sensor Adapter EJ (Cast Manifold)
Subaru WRX 2002 - 2007
Subaru STI 2004 - 2019
Subaru FXT 2004 - 2008
Congratulations on your purchase of the COBB Tuning Map Sensor Adapter! The following instructions will assist you through the installation process. Please read them BEFORE beginning the install to familiarize yourself with the steps and tools needed. If you feel you cannot properly perform this installation, we HIGHLY recommend you take the vehicle to a qualified and experienced automotive technician.
IMPORTANT! Installing this kit will require custom tuning or utilizing an appropriate Stage Power Package map if you have a matching mechanical configuration. Please consult with COBB or an authorized ProTuner in your area if you have any questions!
Table of Contents
| Table of Contents |
|---|
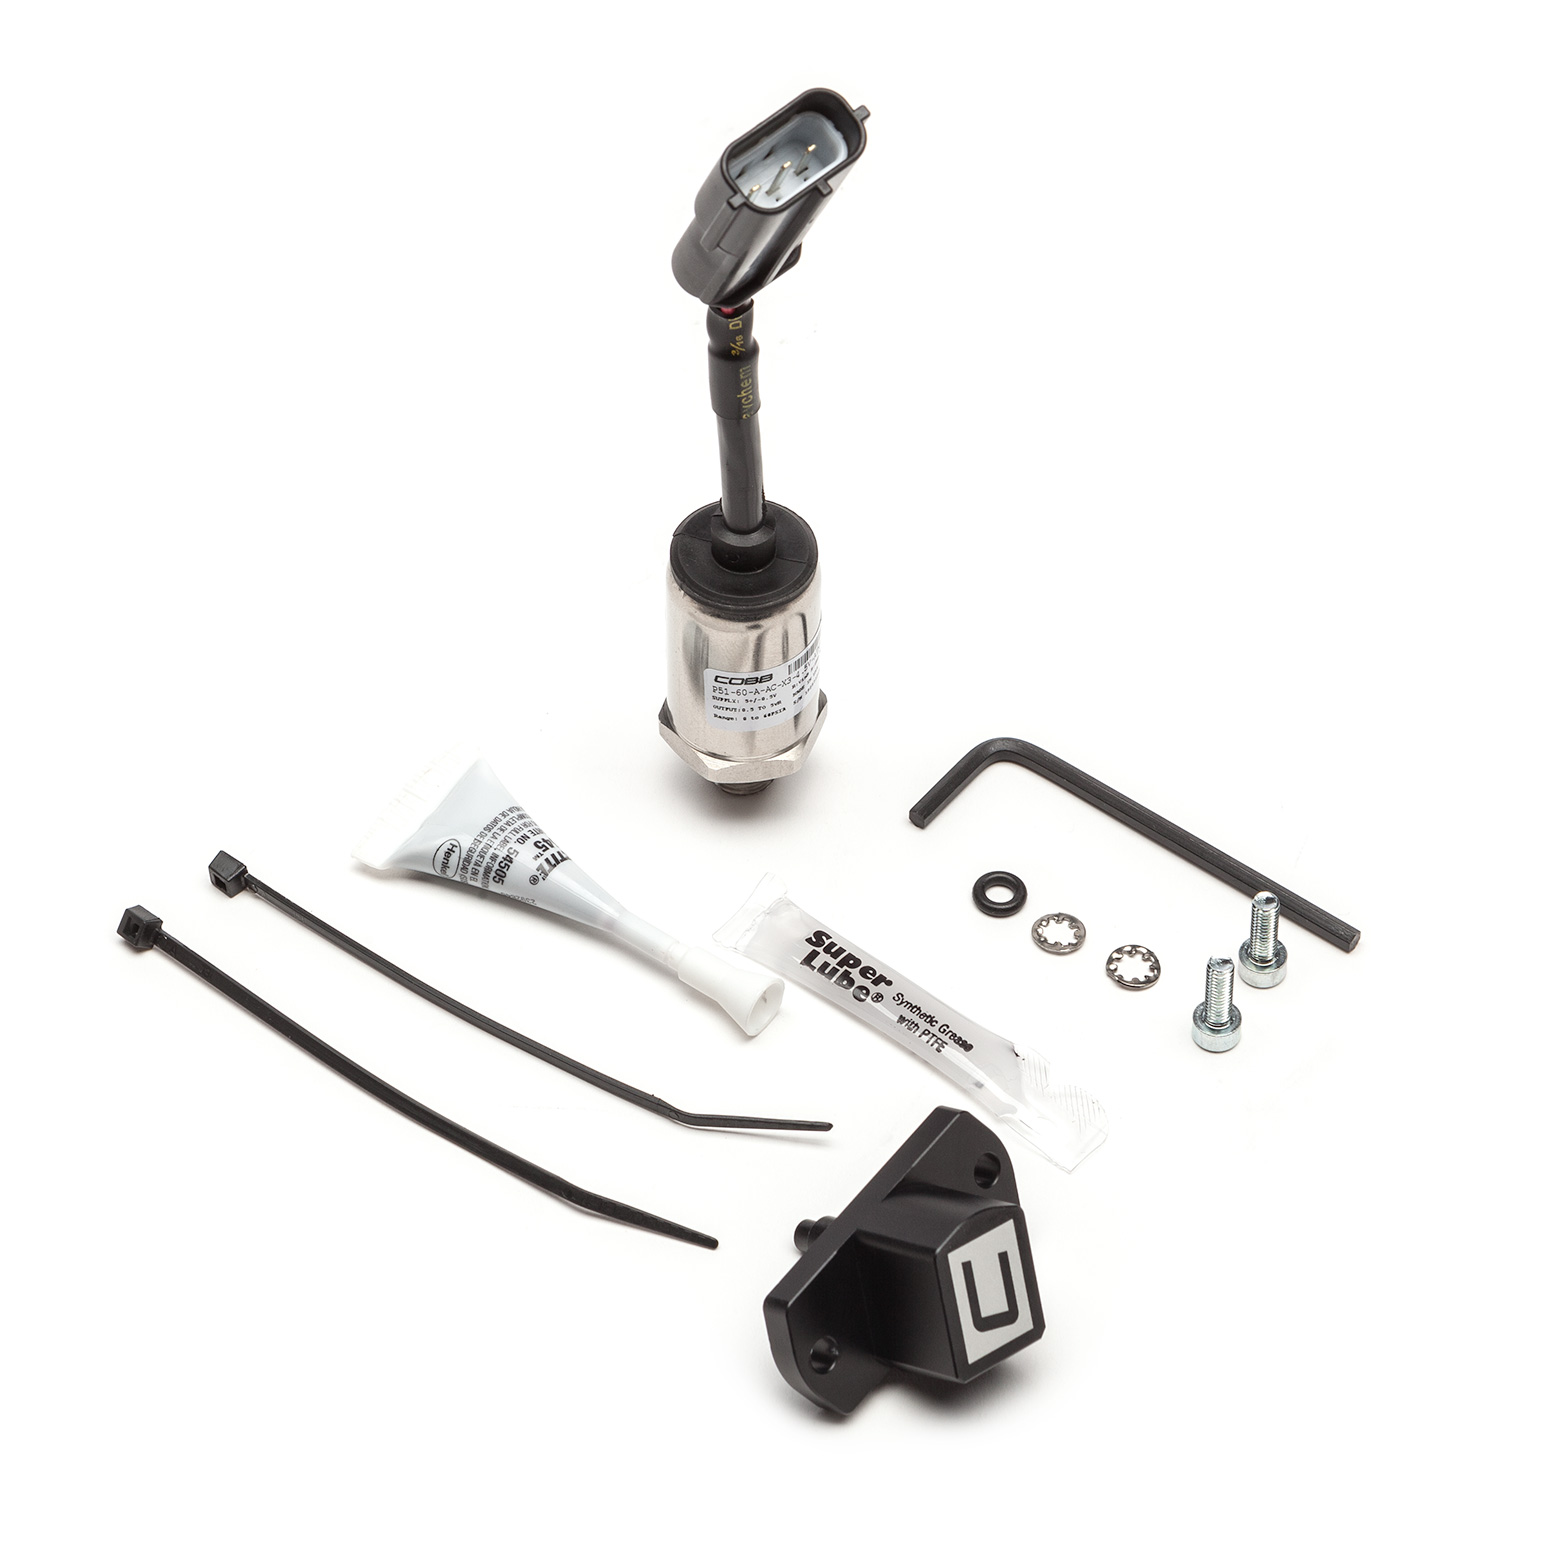
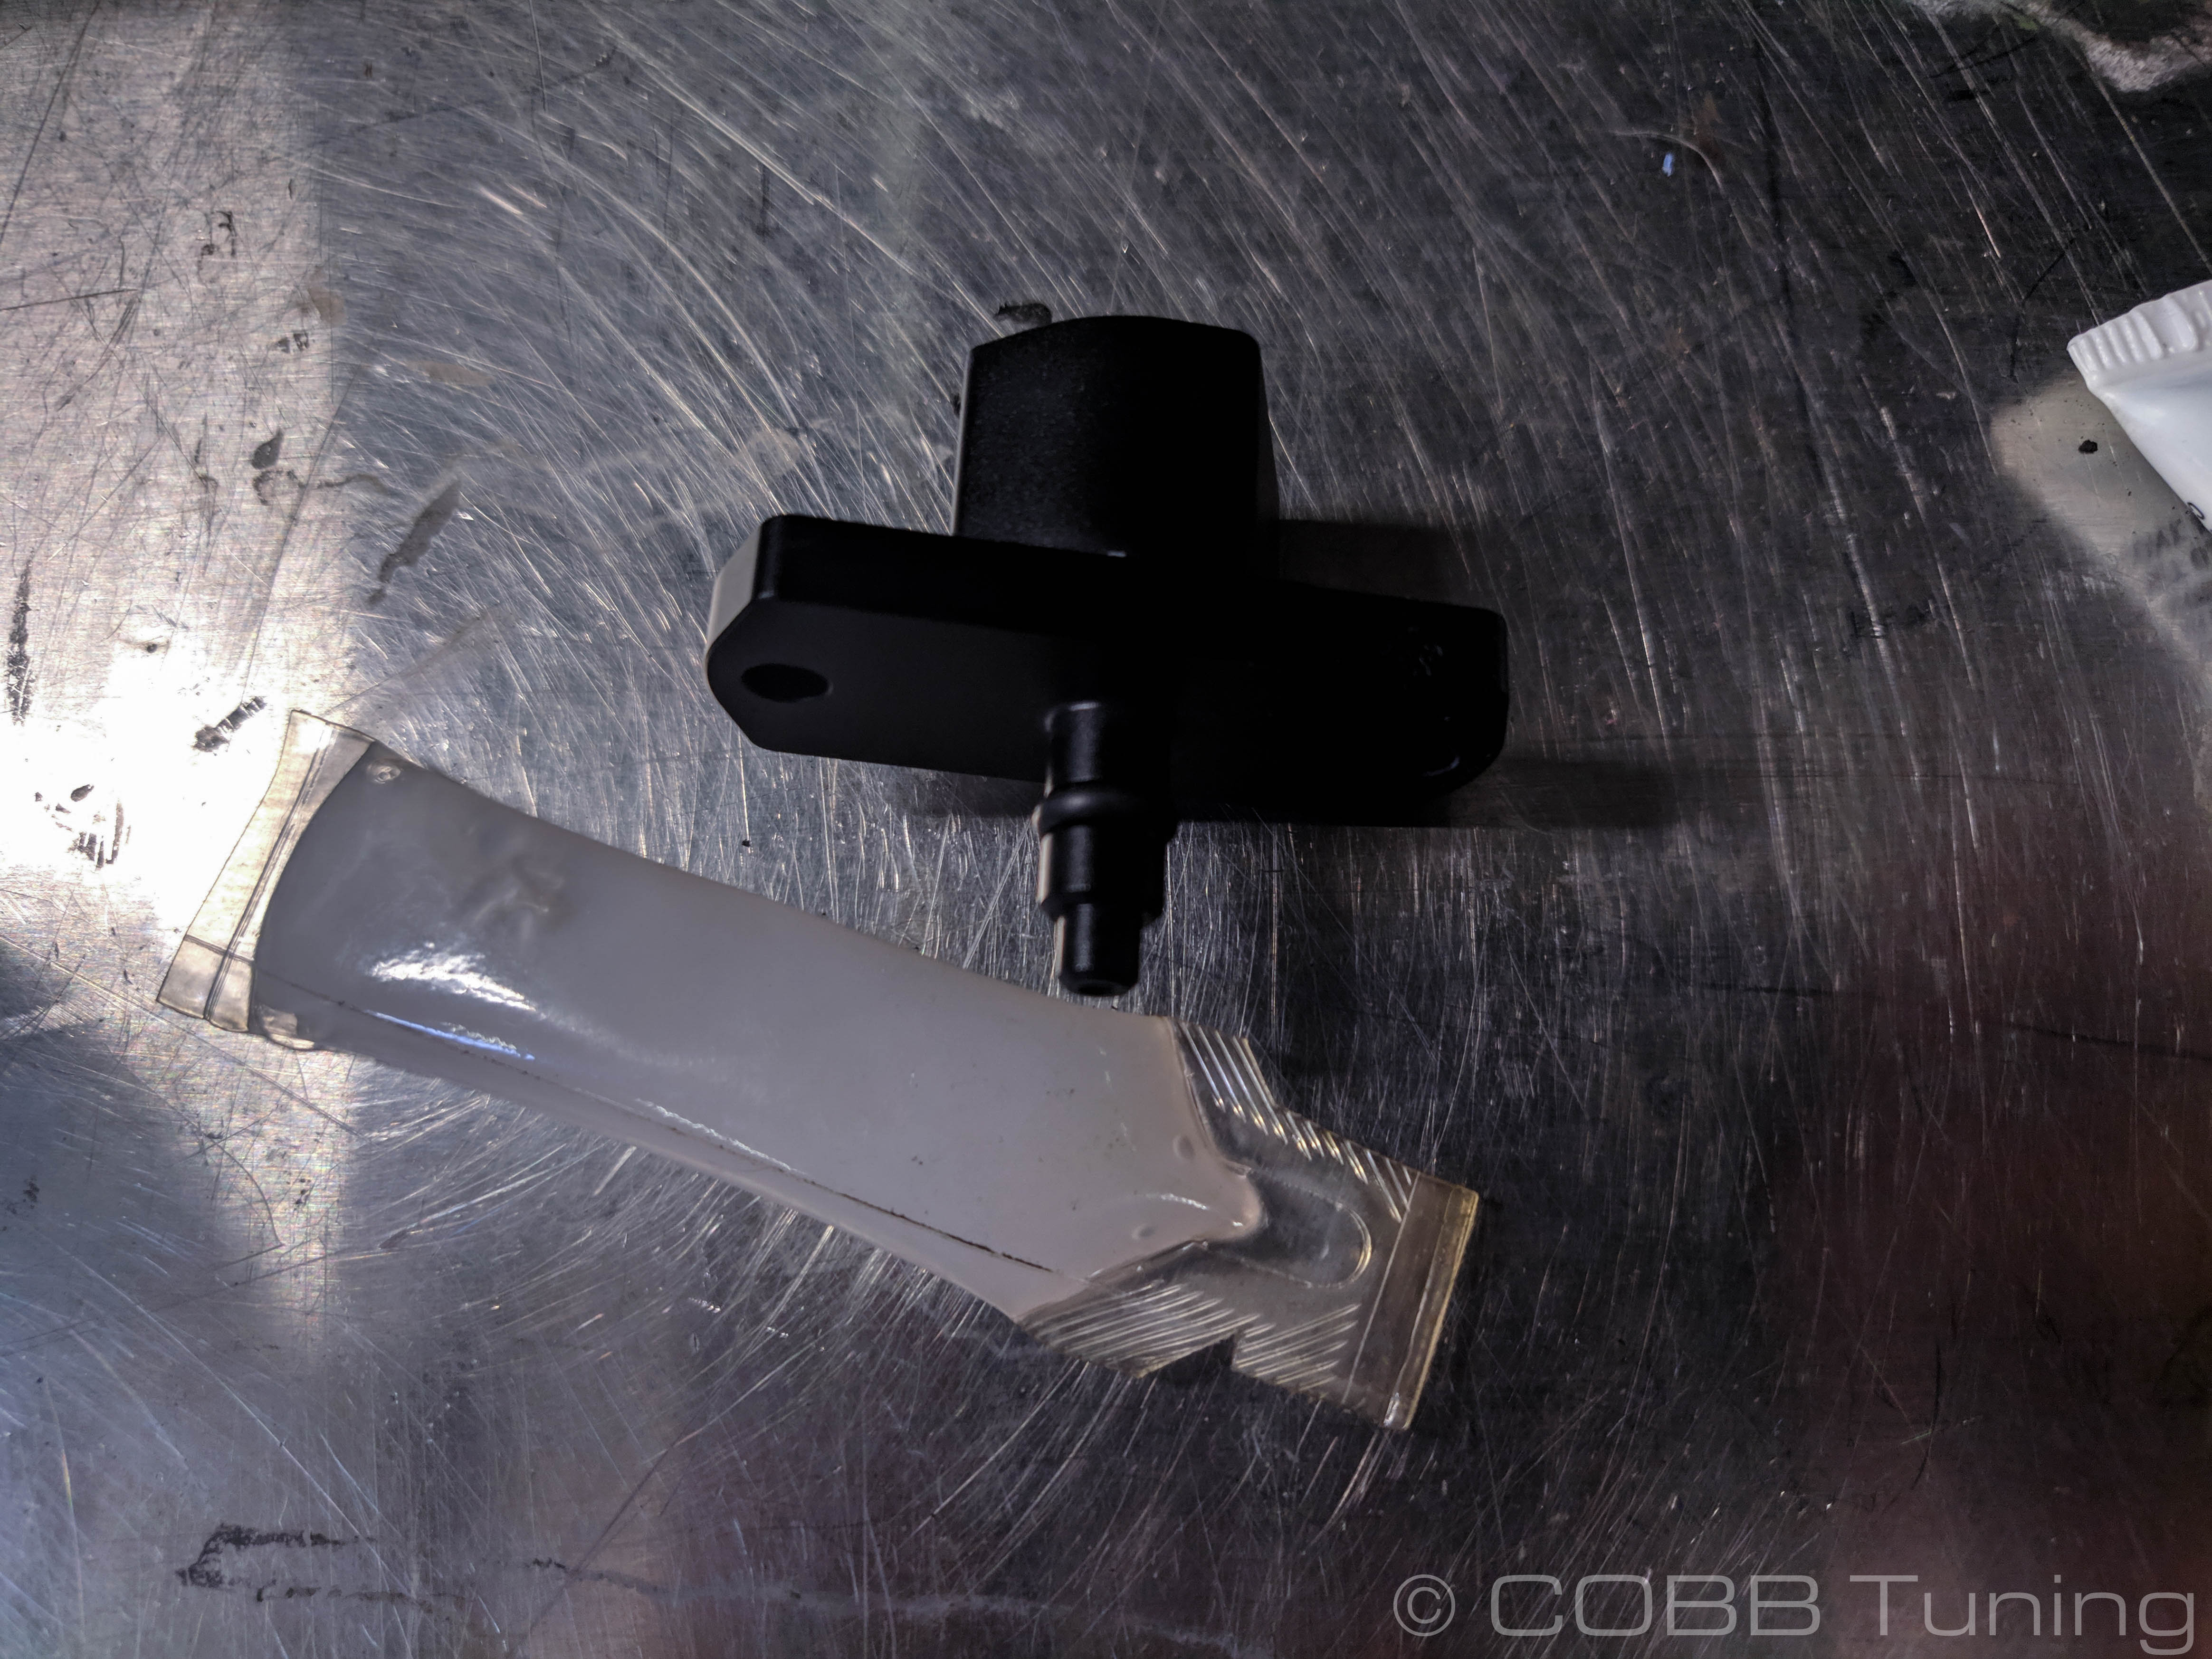
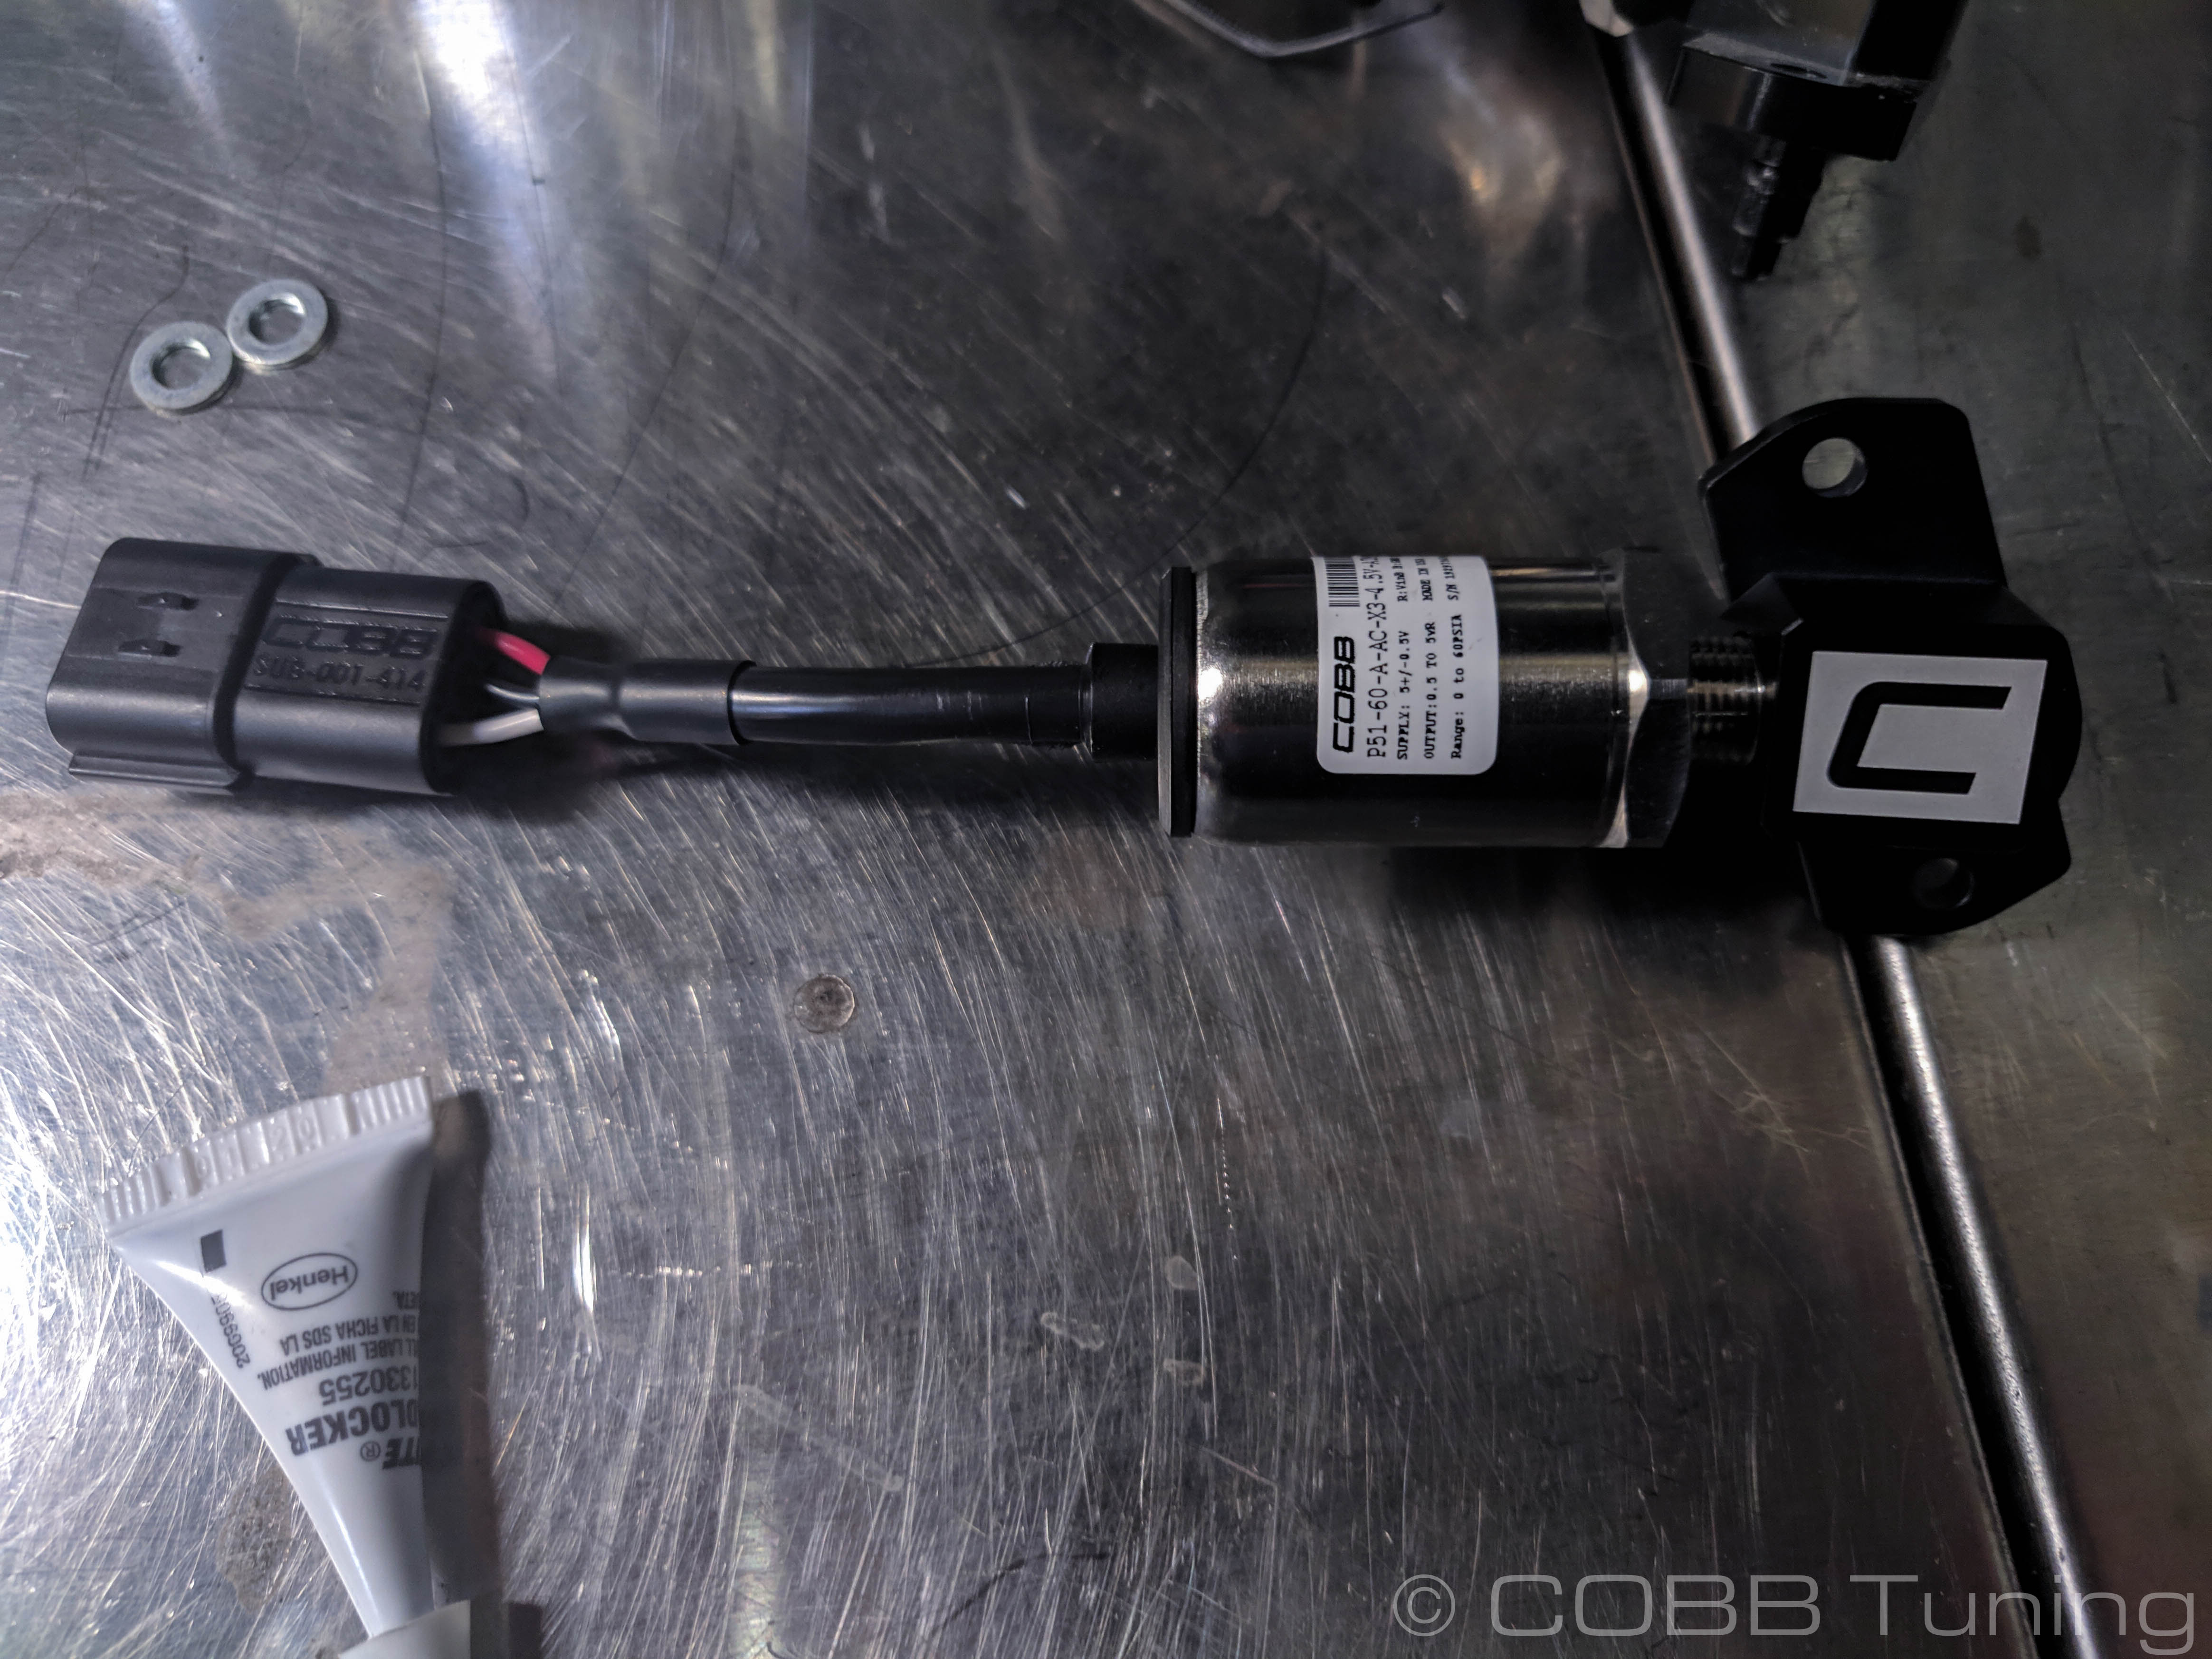
Parts List
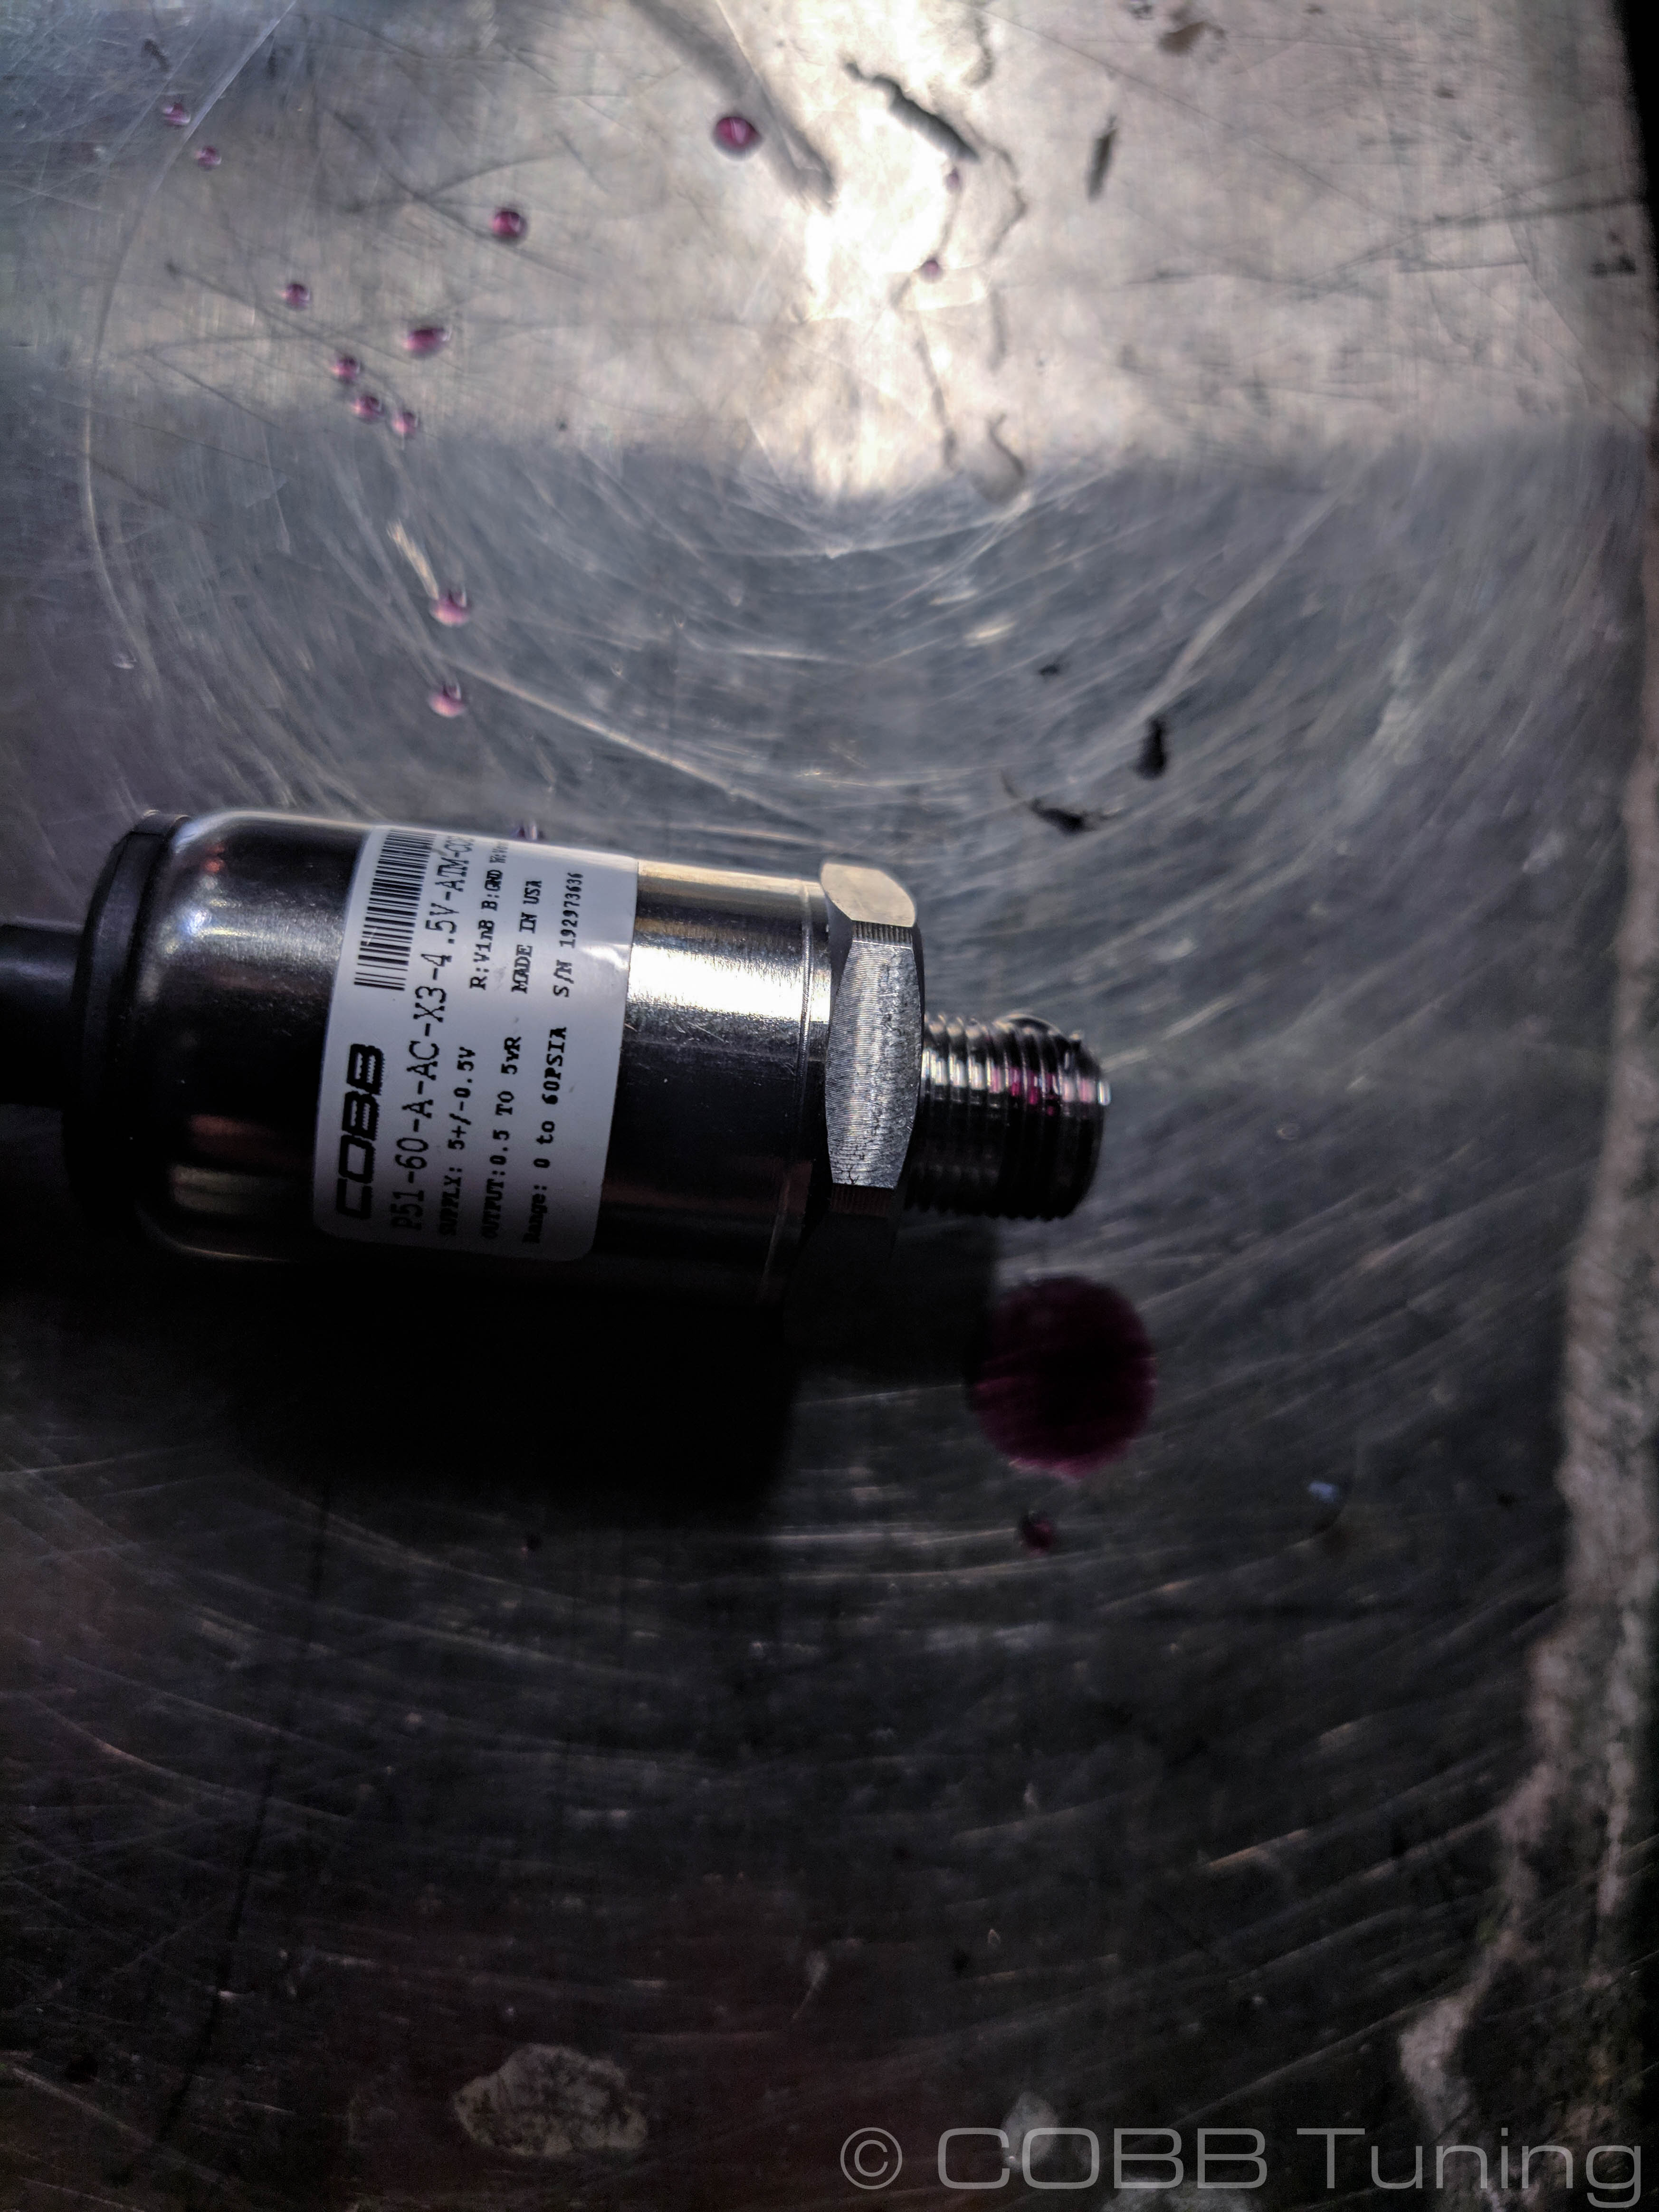
- 4-bar Map Sensor
- Map Sensor Adapter
- Loctite 545 Pipe Thread Sealant
- Superlube PTFE Lubricant
- (2) M4x12mm Socket head cap bolt
- (2) M4 Lock washer
- (2) 4" Black Zip Ties
Tools Needed
Sockets
3/8"
Hand Tools
- Phillips head screwdriver
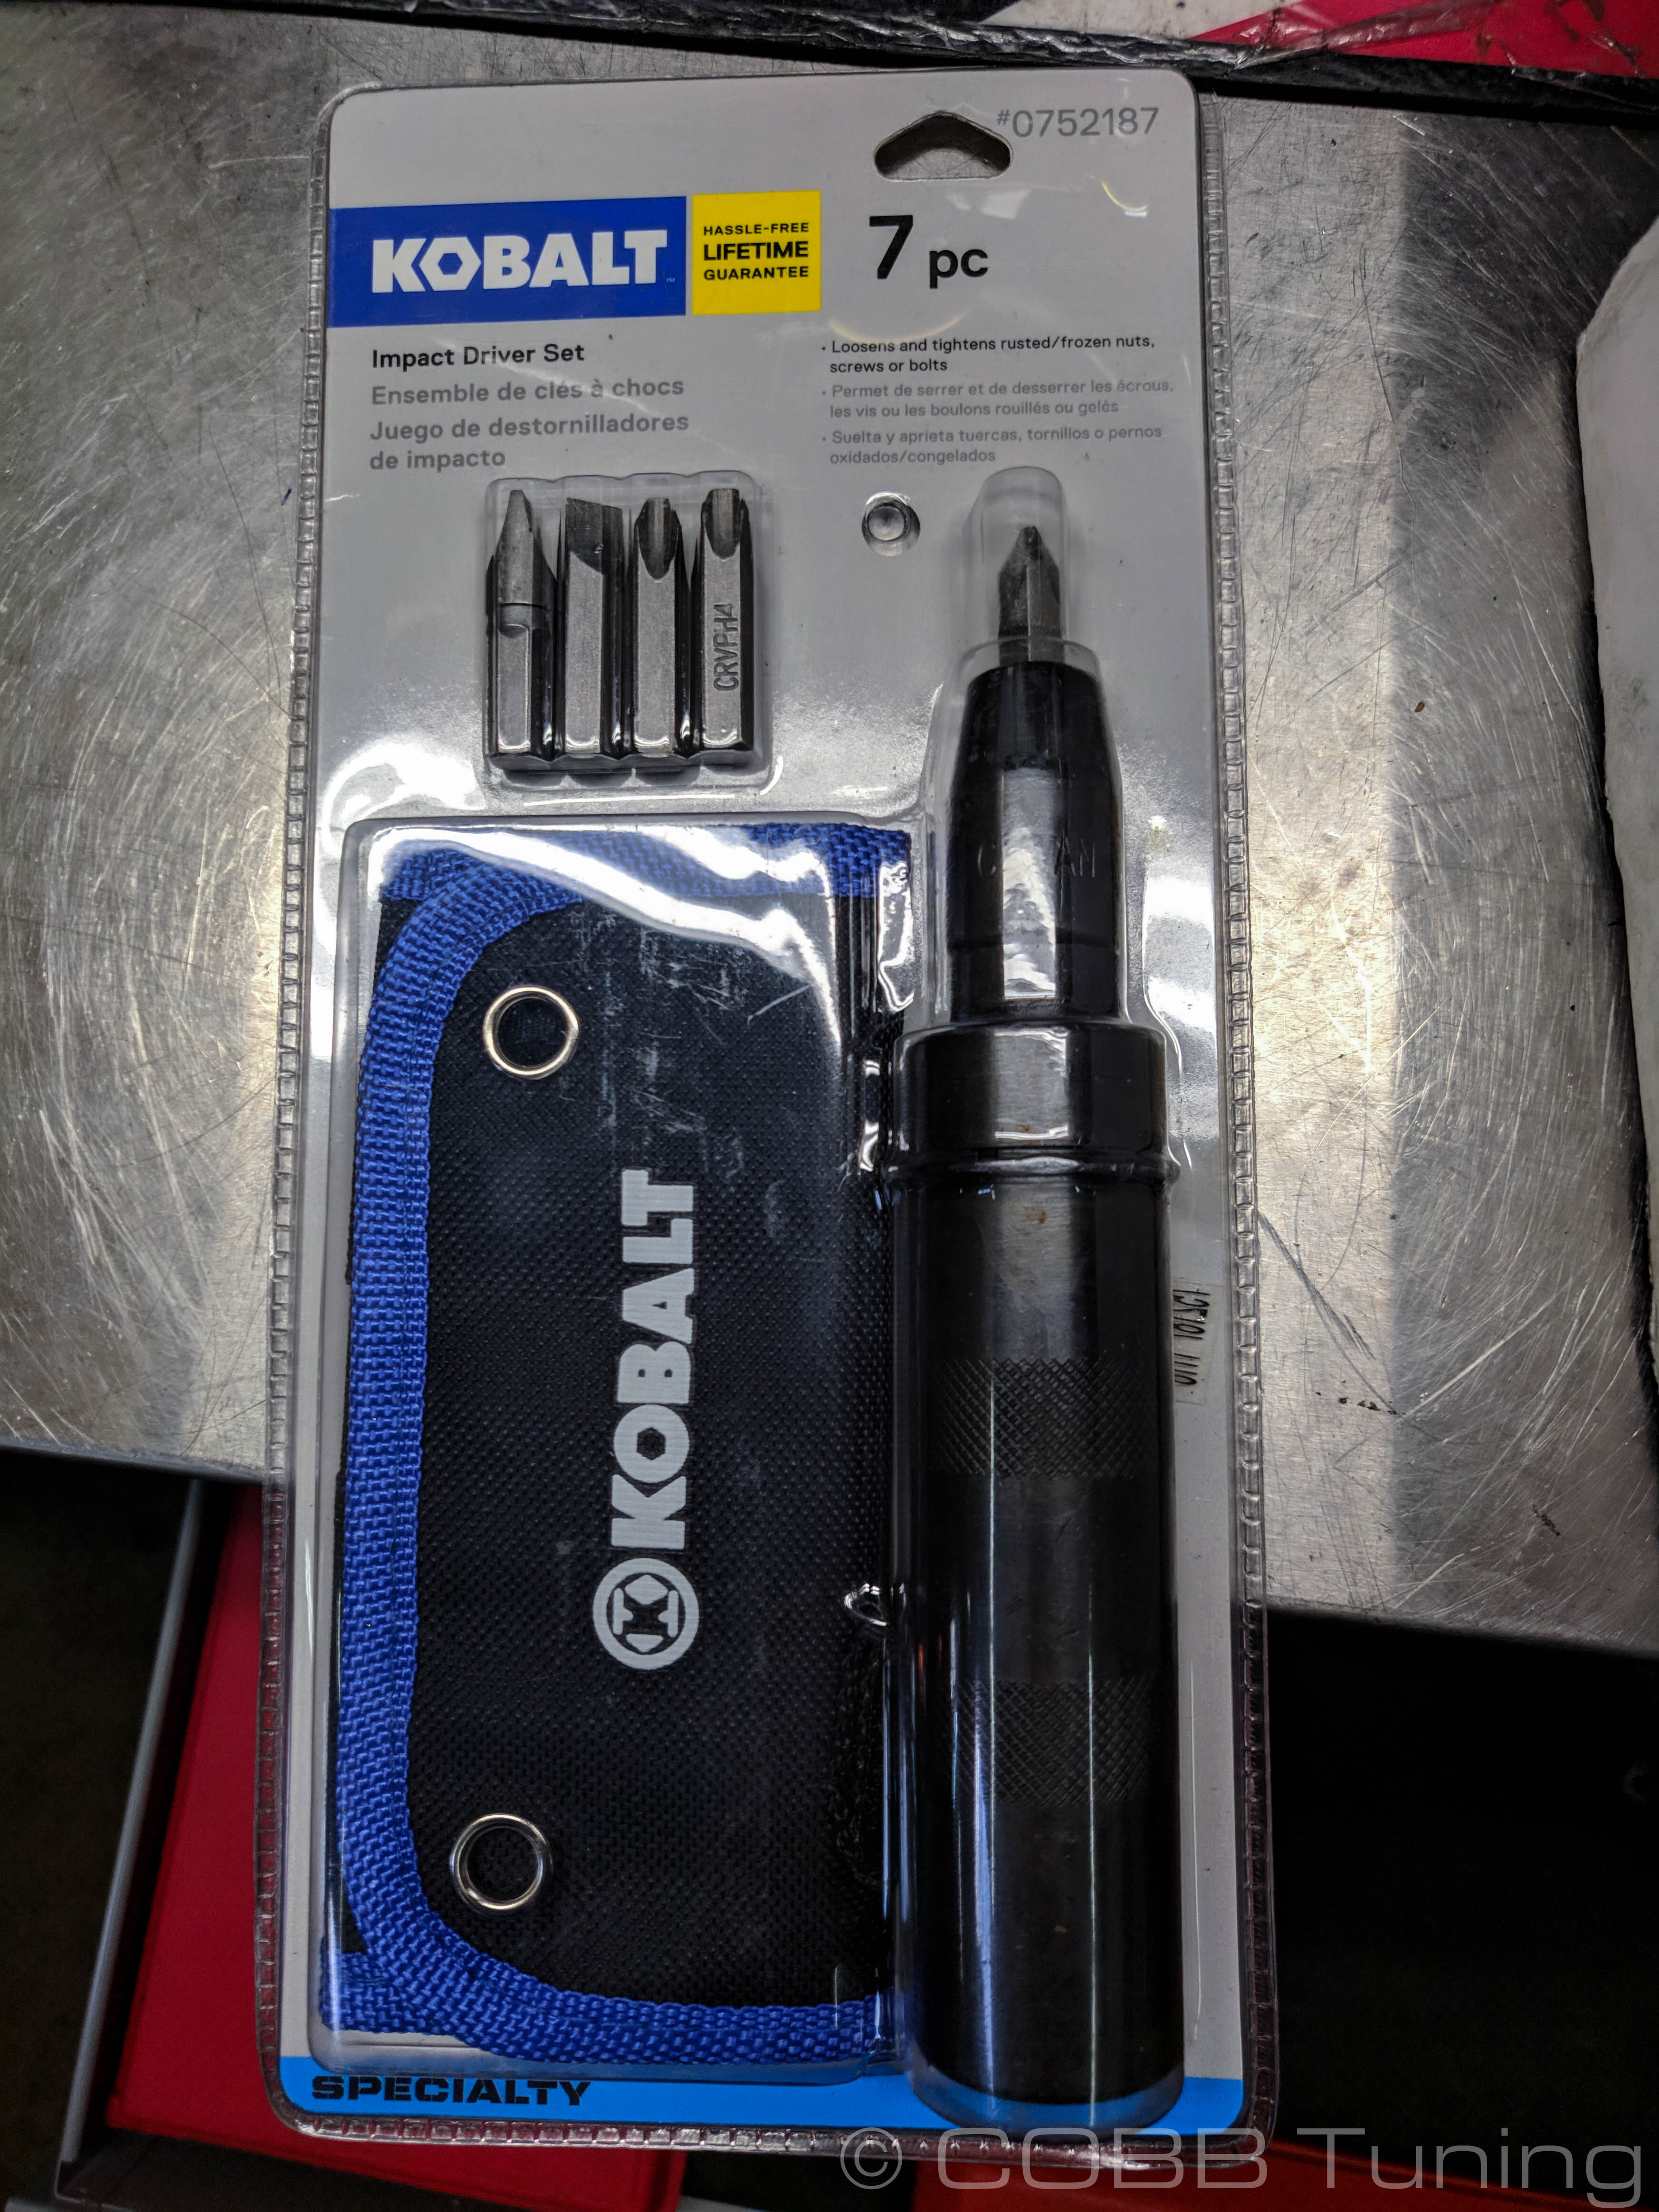
- Impact Screwdriver
Wrenches
Stock Map Sensor Removal
- Park your car in a flat level area.
- If your car is older or is from a climate that sees a lot of snow or rain, it may be a good idea to put a little bit of penetrating lubricant on the screws holding the map sensor down.
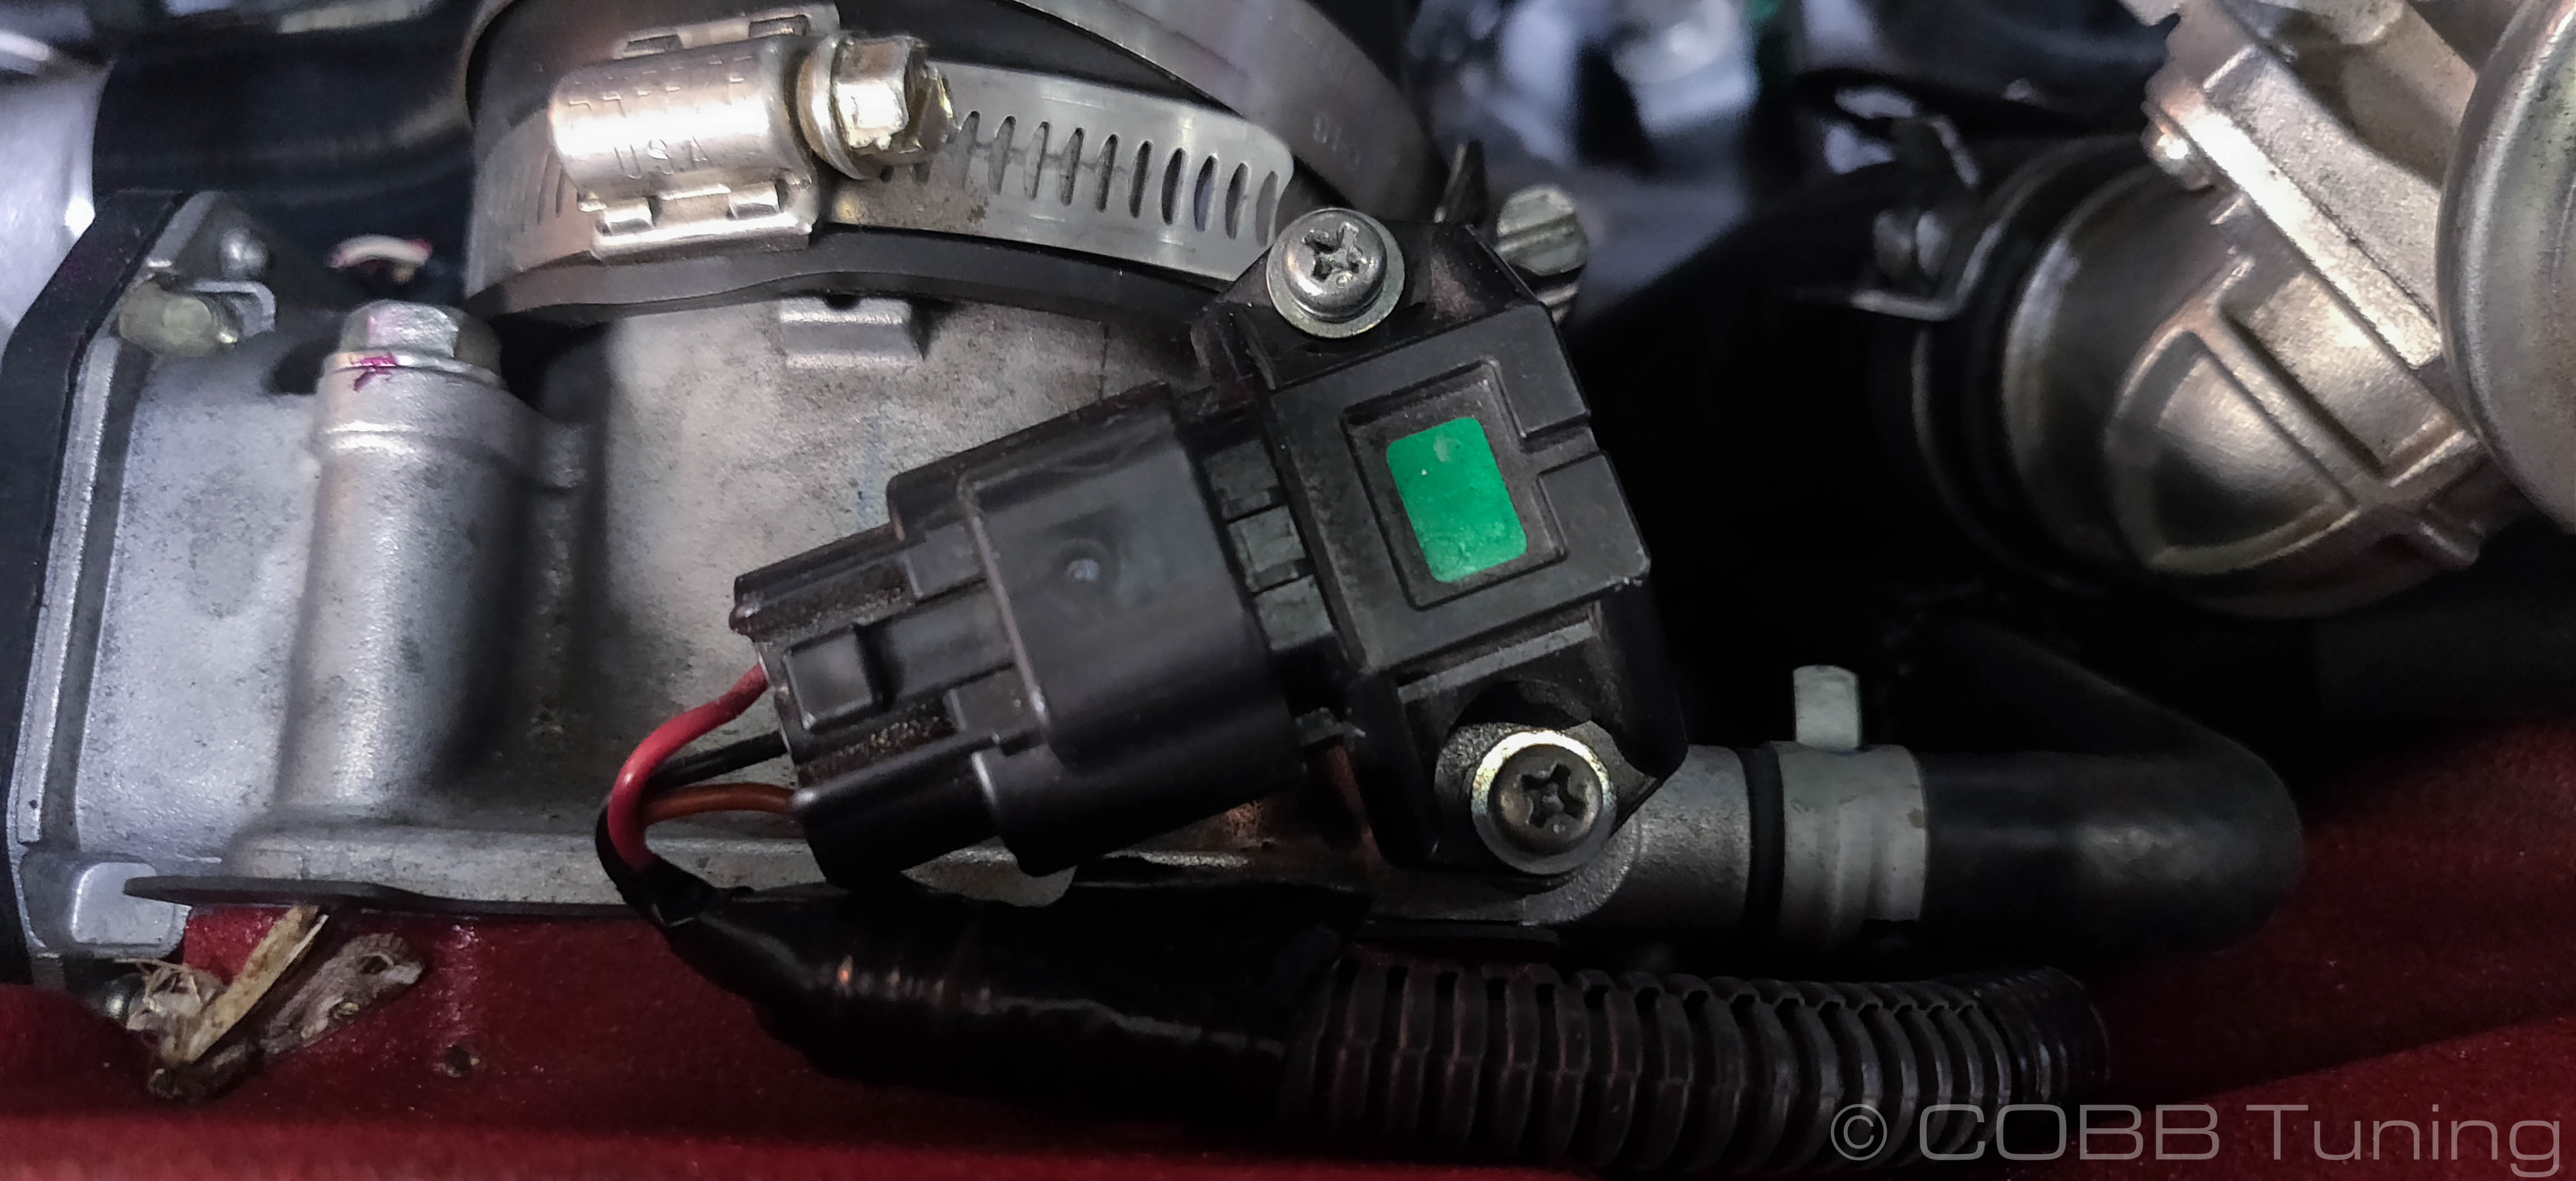
- Push in the tab and disconnect the map sensor connector from the sensor.
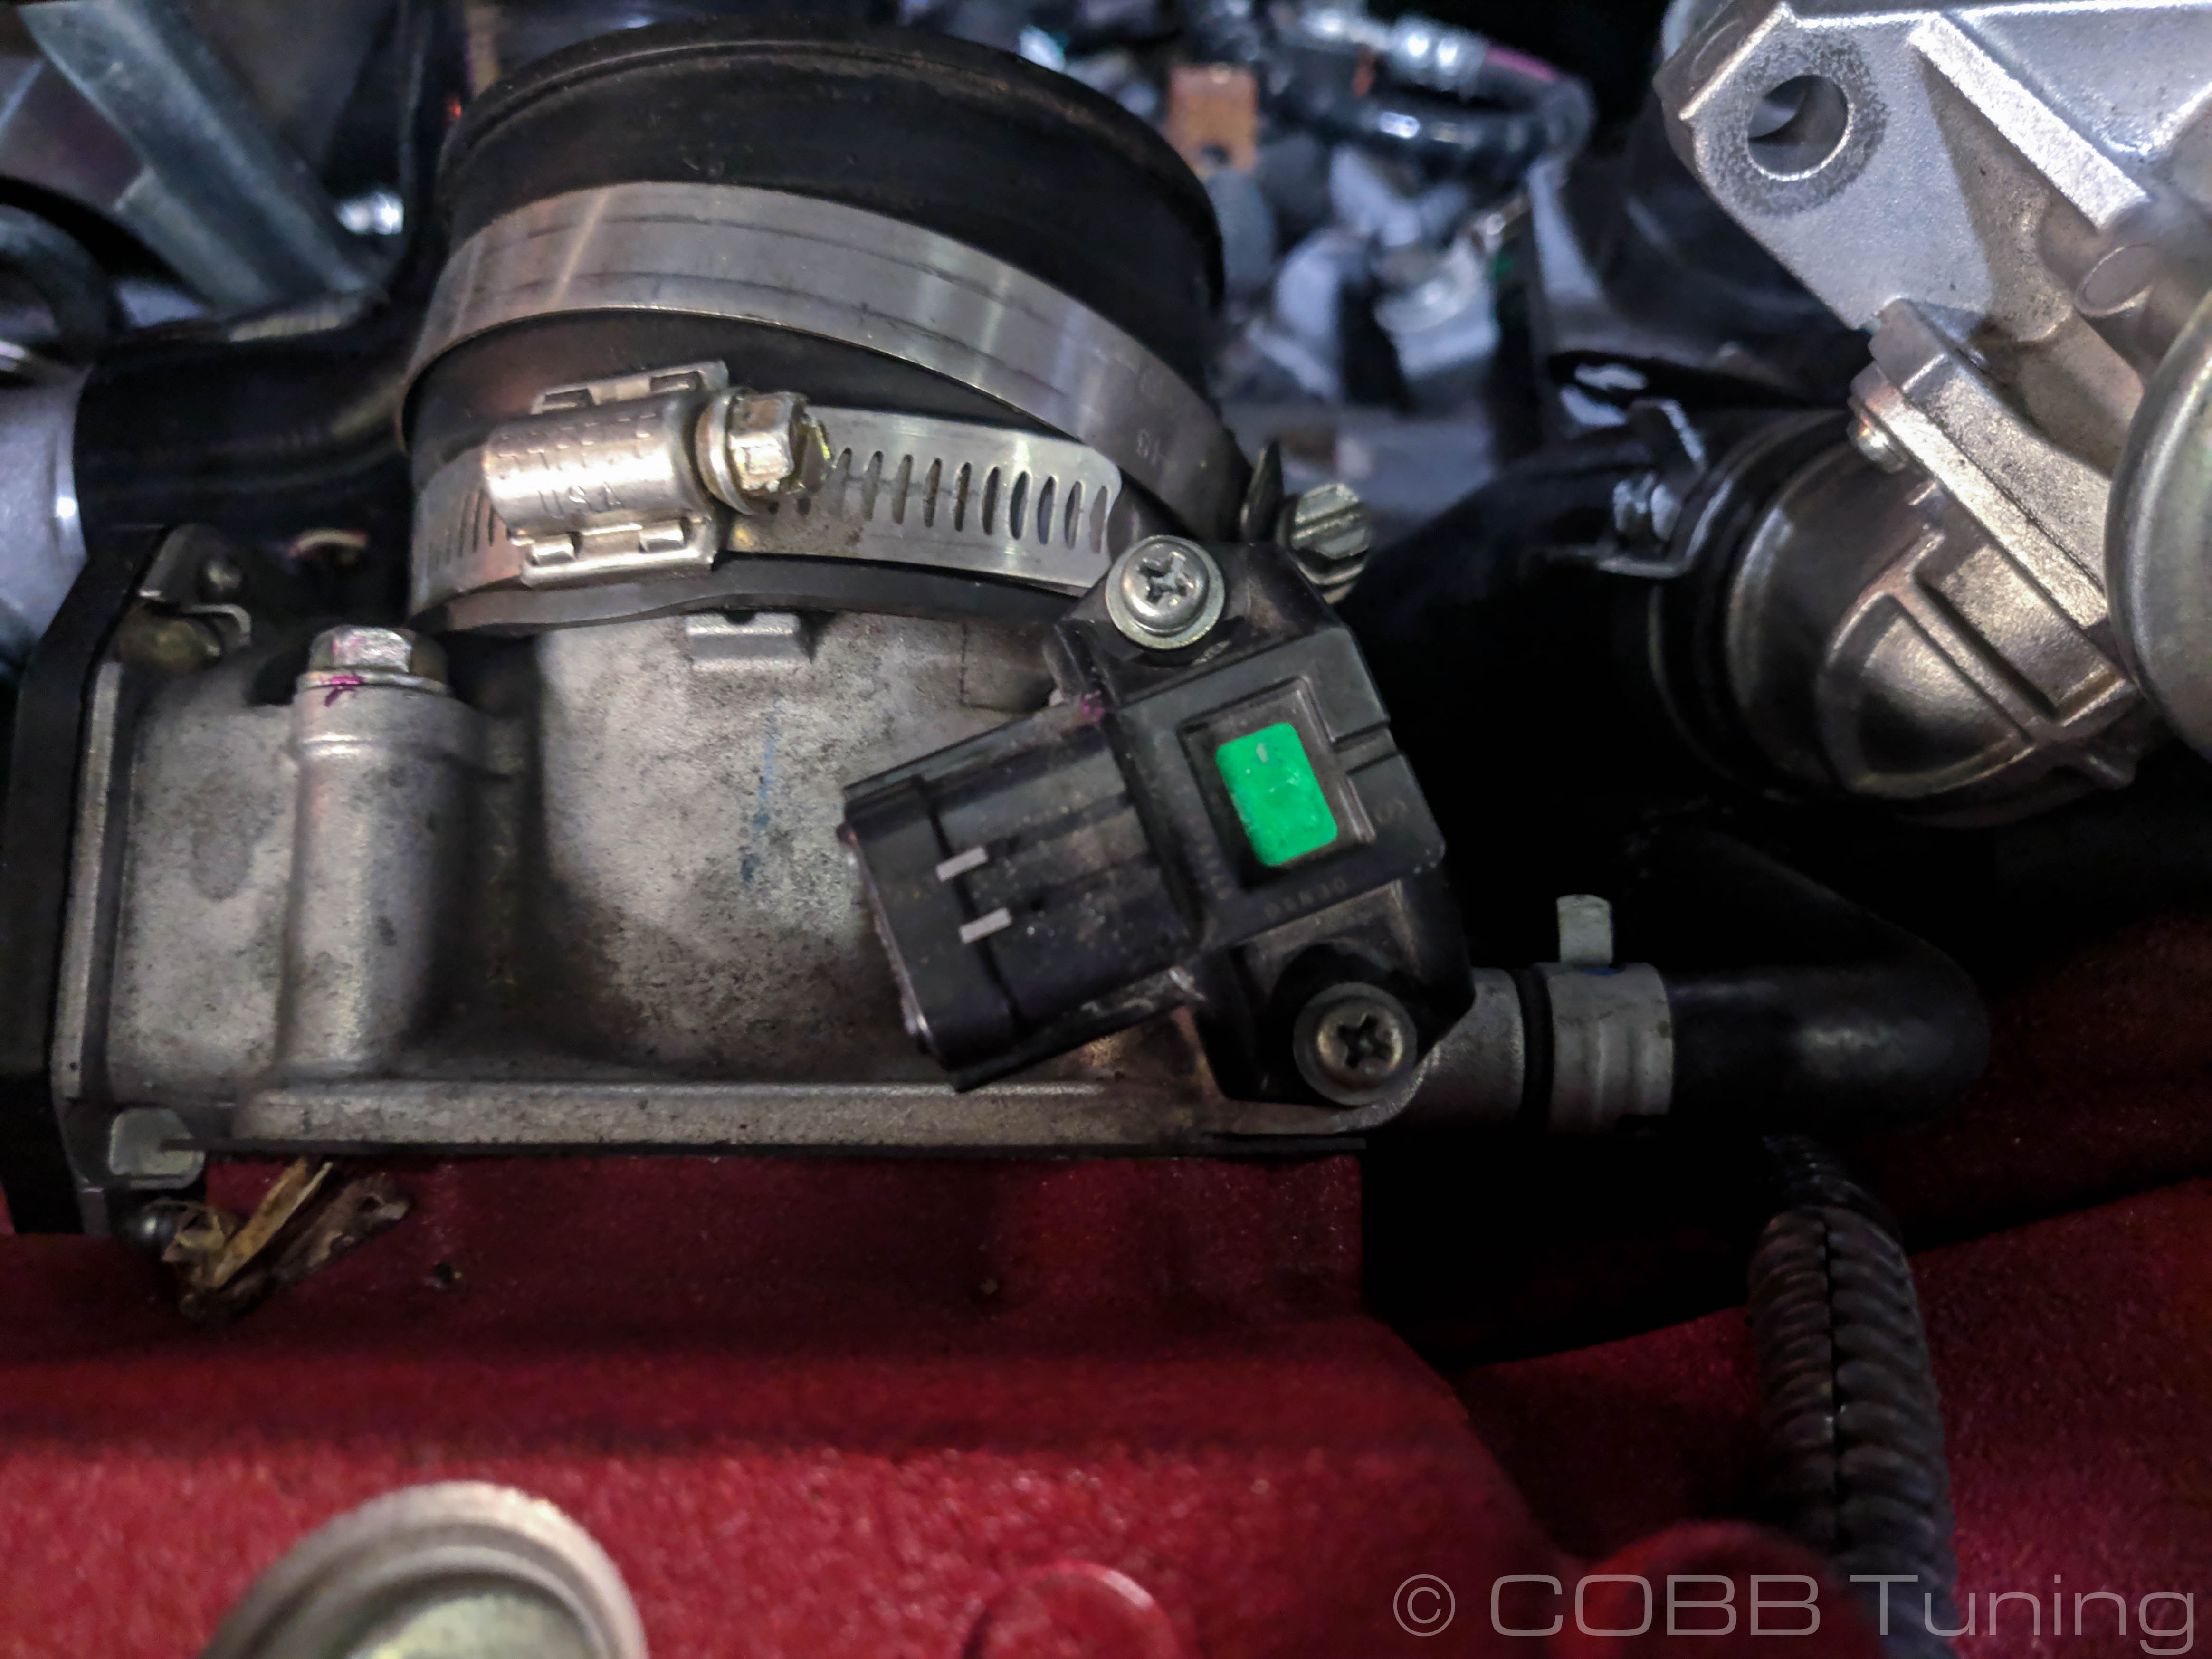
- Using a screwdriver remove the two screws holding the map sensor to the throttle body. Be careful and go slow to make sure it doesn't strip. If you aren't able to easily remove them, using an impact screwdriver that you hit with a hammer can make removal easier.
- pull straight up to remove the map sensor from the car. Make sure the o-ring comes off with it.
COBB Map Sensor Adapter Assembly and Installation
- Apply the included silicon lubricant to the o-ring on the bottom of the adapter.
- Add the included thread sealer onto the threads of the pressure sensor, make sure not to get any on the front portion where it may go into the sensor.
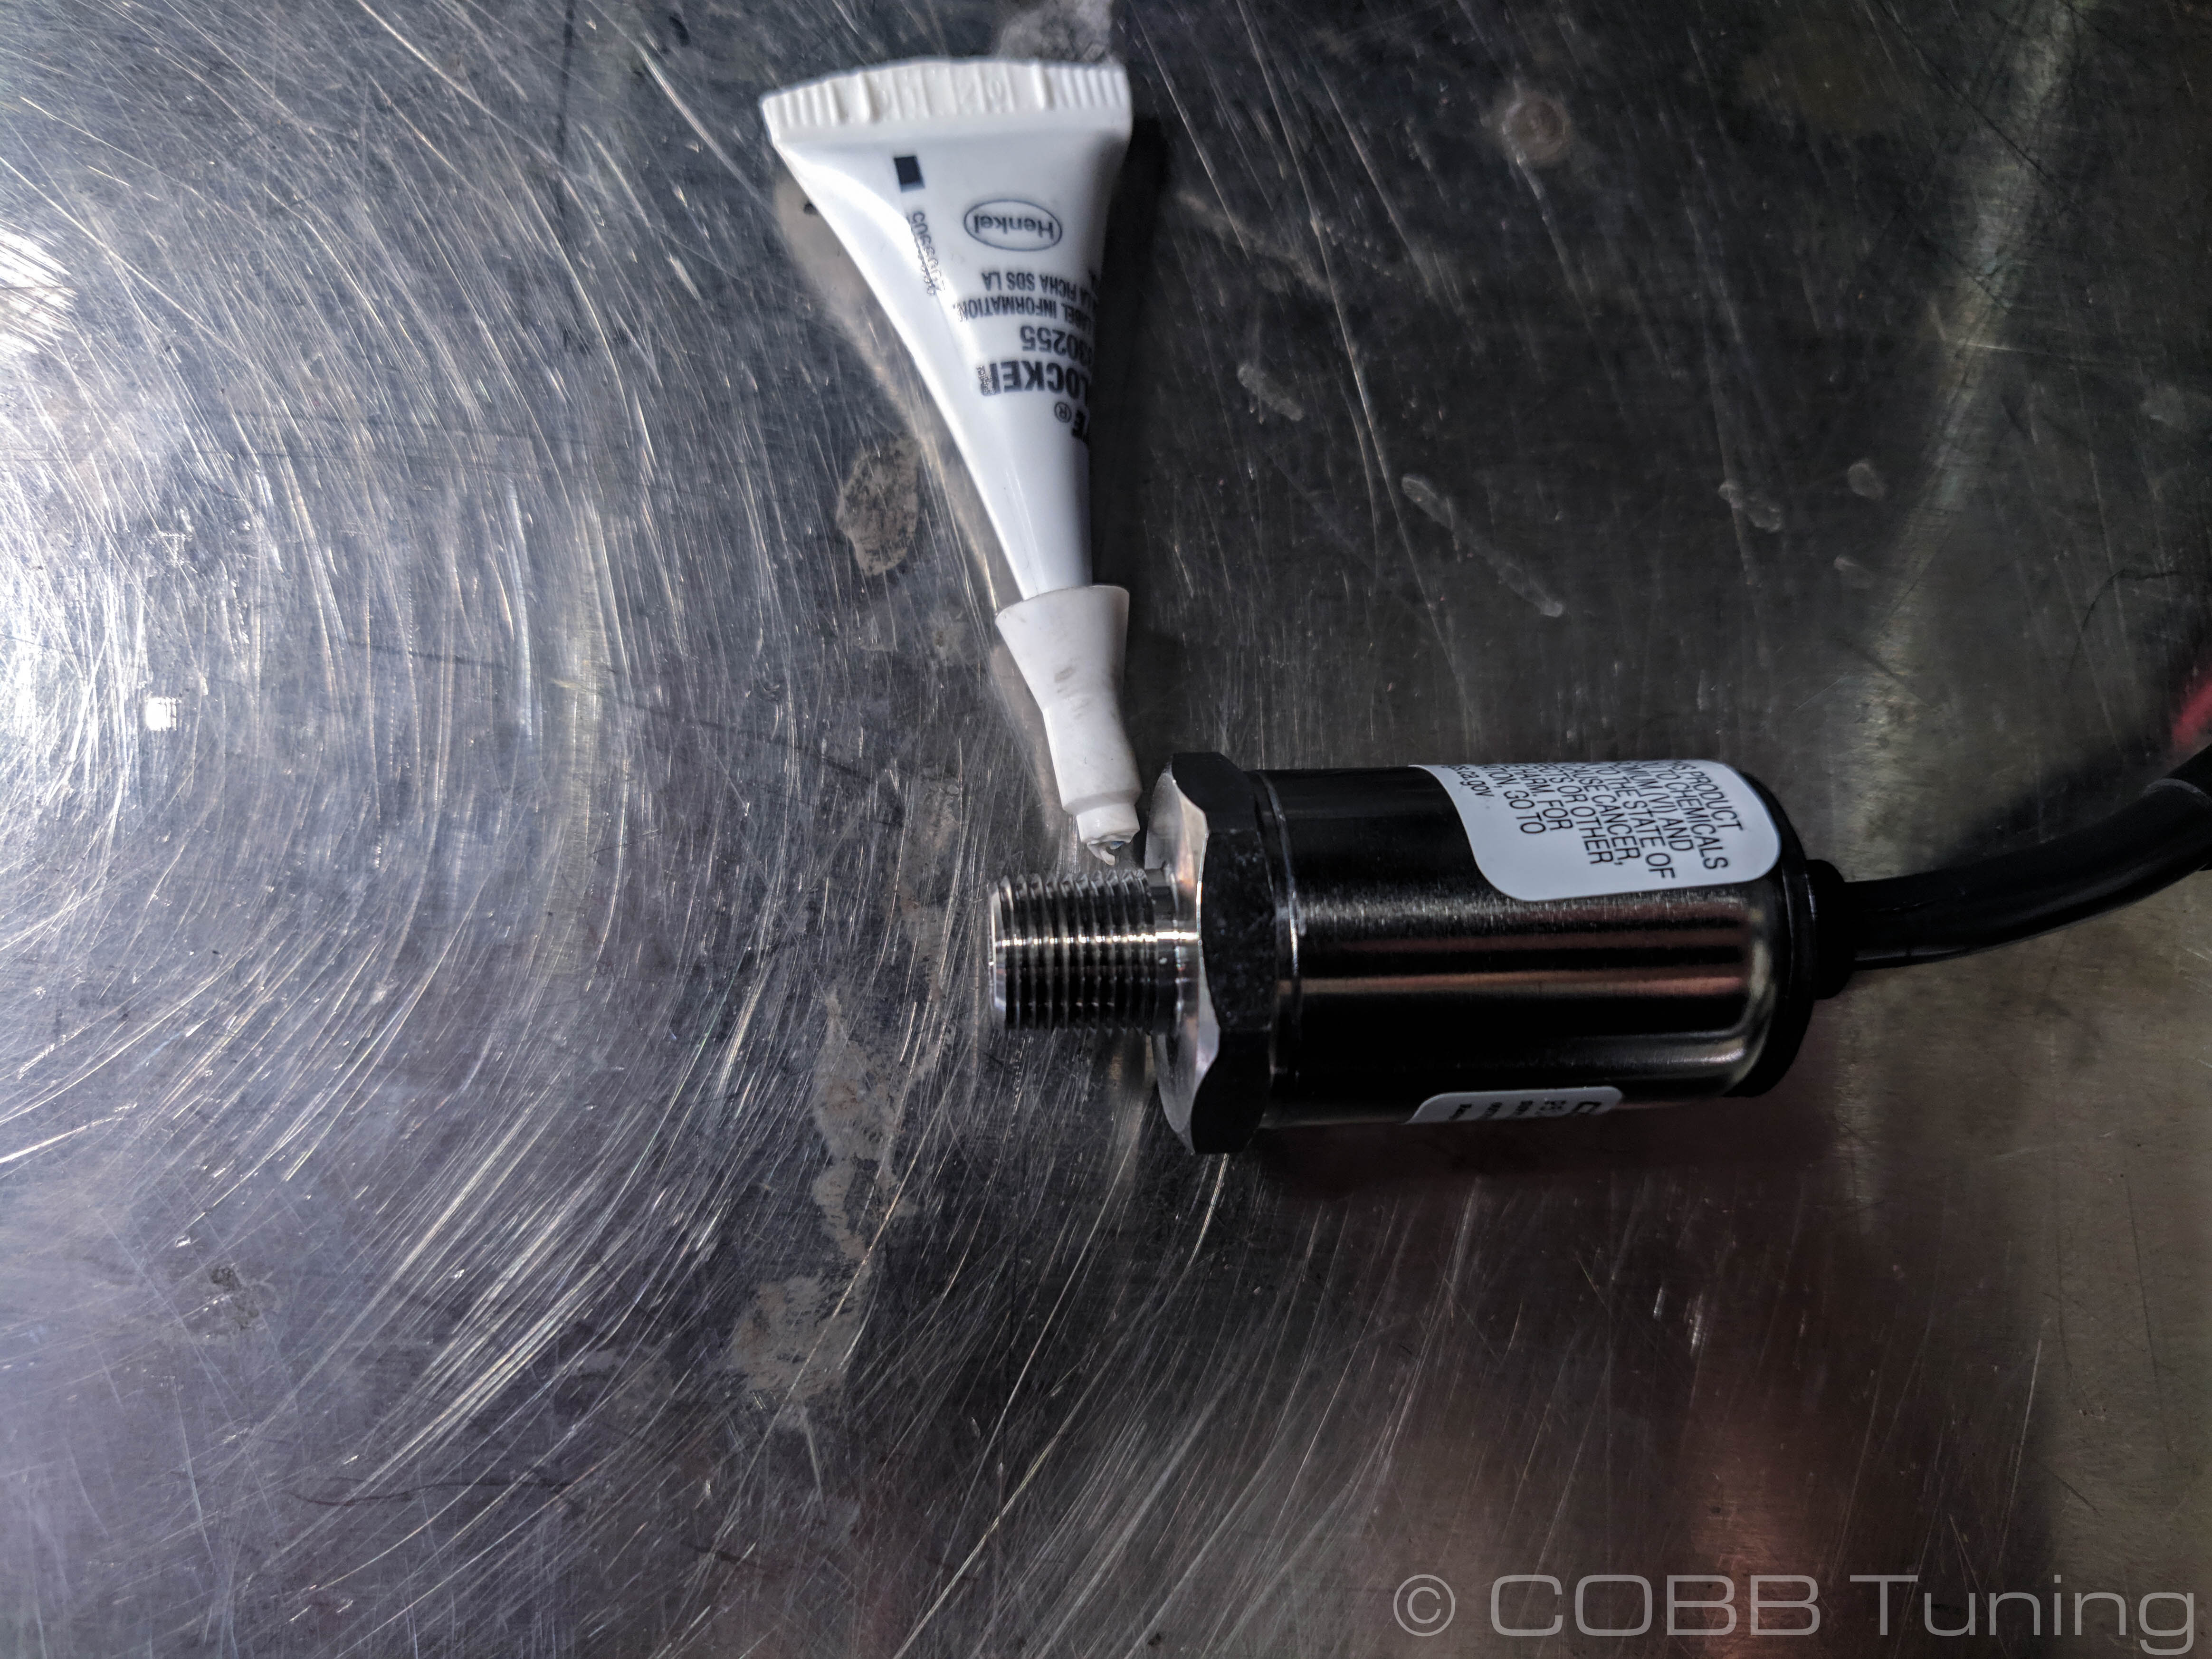
- Screw the sensor in hand tight onto the adapter.
- Carefully push the adapter into place on the throttlebody. Try to go straight in and avoid crushing or ripping the o-ring.
- Using the provided cap screws and washers, lightly install the adapter into place1 and tighten to around 15 in/lbs.

- With Moving on to the sensor hand tight, rotate it one and a half more full turns tighten it to 8 ft/lbs using a 22mm torque wrench.
- Add a zip tie near the BPV to hold the harness in place to avoid it ripping any of the wires out.

Additional Information
Calibration Data | |
| Map Sensor Calibration Multiplier (Gradient) | 15 |
| Map Sensor Calibration Offset (psi) | -7.5 |
| Map Sensor Voltage Range | 0.5v - 4.5v |
| Pressure at Max Voltage | 60psi @ 4.5v |
| Map Sensor Voltage DTC Limits High | 4.8v |
| Map Sensor Voltage DTC Limits Low | 0.25v |
| Insert excerpt | ||||||
|---|---|---|---|---|---|---|
|