
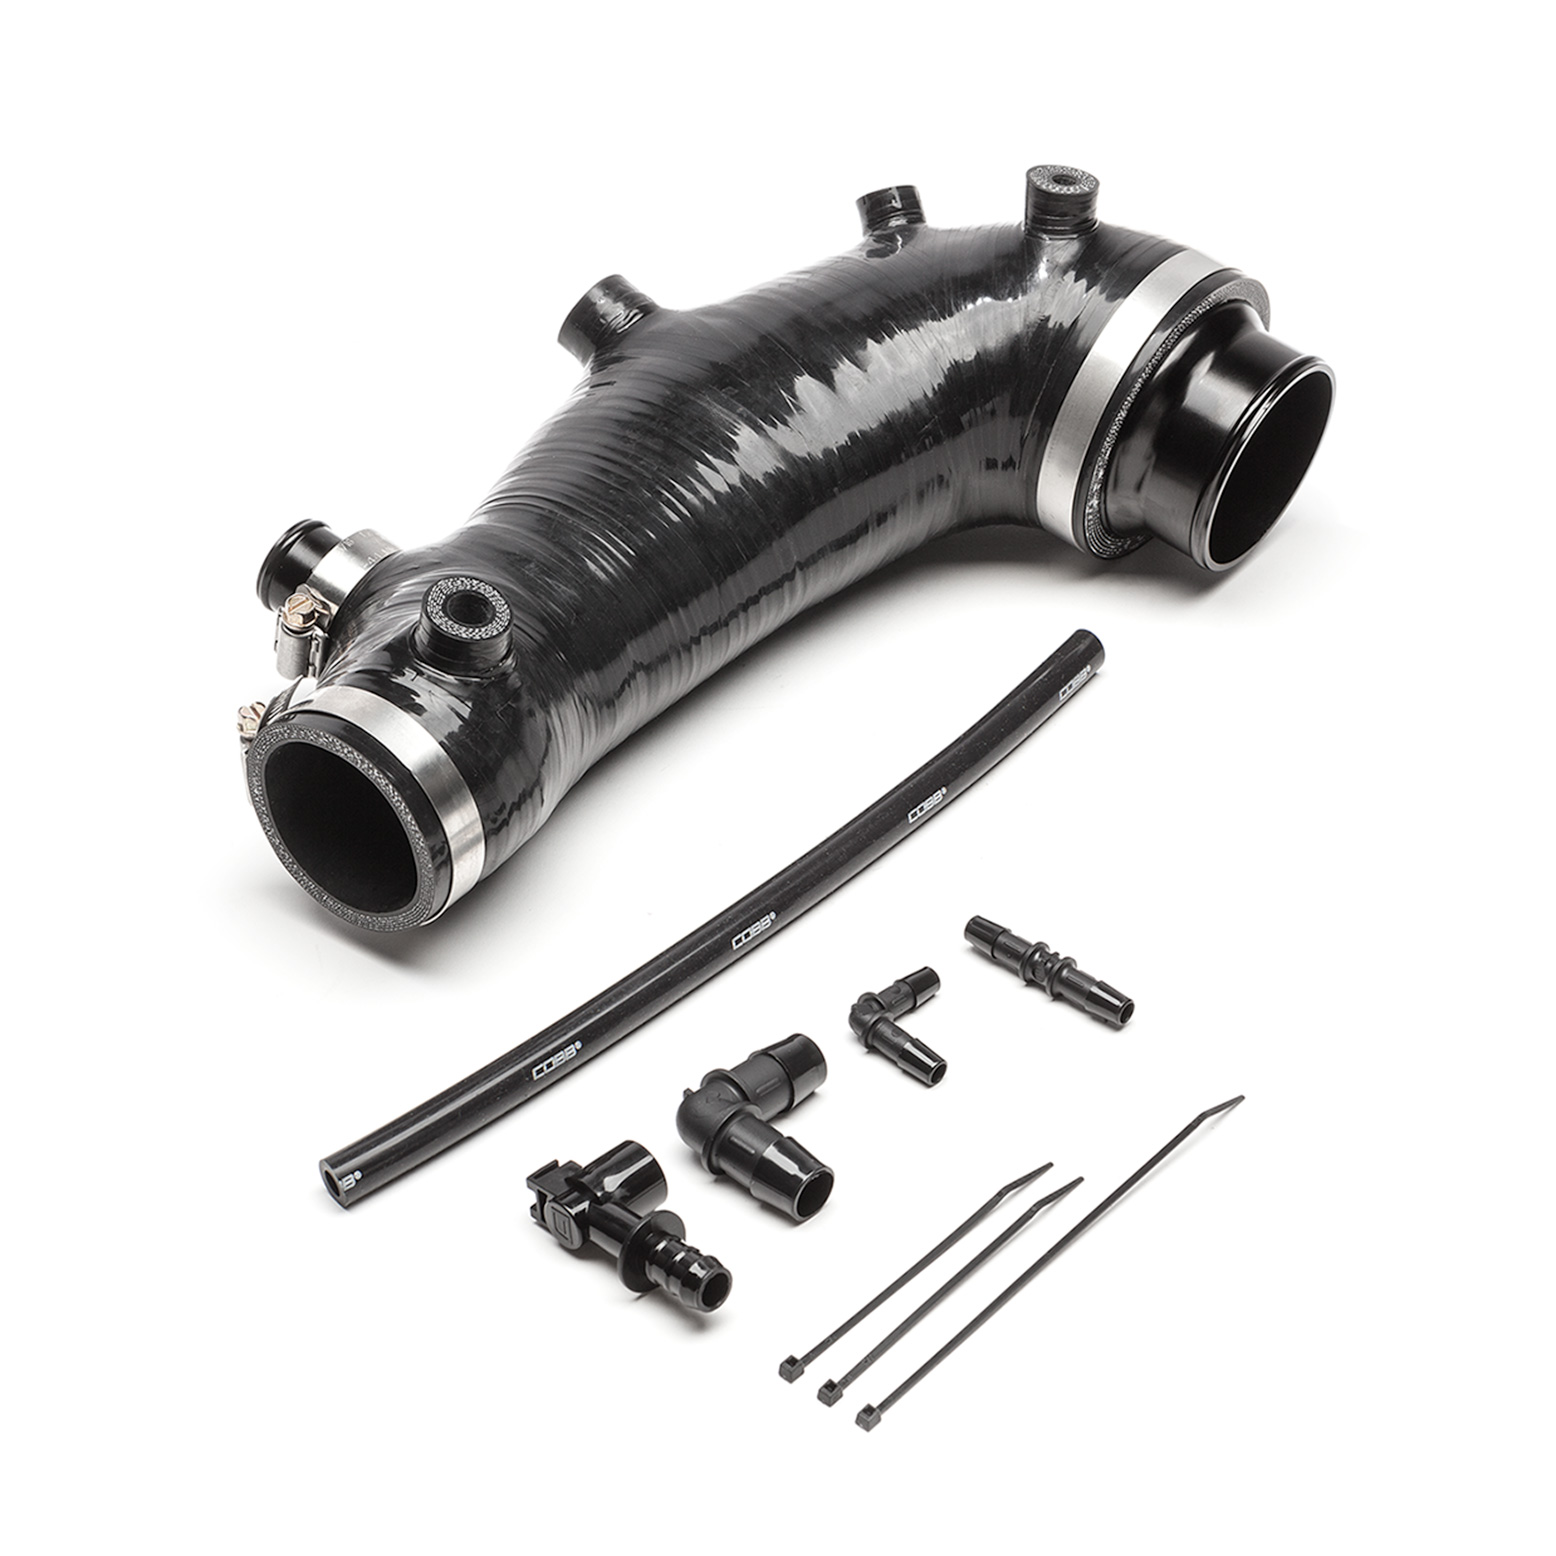
712450-BK – COBB Silicone Turbo Inlet
Subaru WRX 2002 - 2007
Subaru WRX STI 2004 - 2020
Subaru Forester XT 2004 - 2008
Congratulations on your purchase of the COBB Tuning Subaru Silicone Turbo Inlet! The following instructions will assist you through the installation process. Please read them BEFORE beginning the install to familiarize yourself with the steps and tools needed. If you feel you cannot properly perform this installation, we HIGHLY recommend you take the vehicle to a qualified and experienced automotive technician.
IMPORTANT! Installing this kit will require custom tuning or utilizing an appropriate Stage Power Package map if you have a matching mechanical configuration. Please consult with COBB or an authorized ProTuner in your area.

Quick Reference:

Inlet Hose Removal
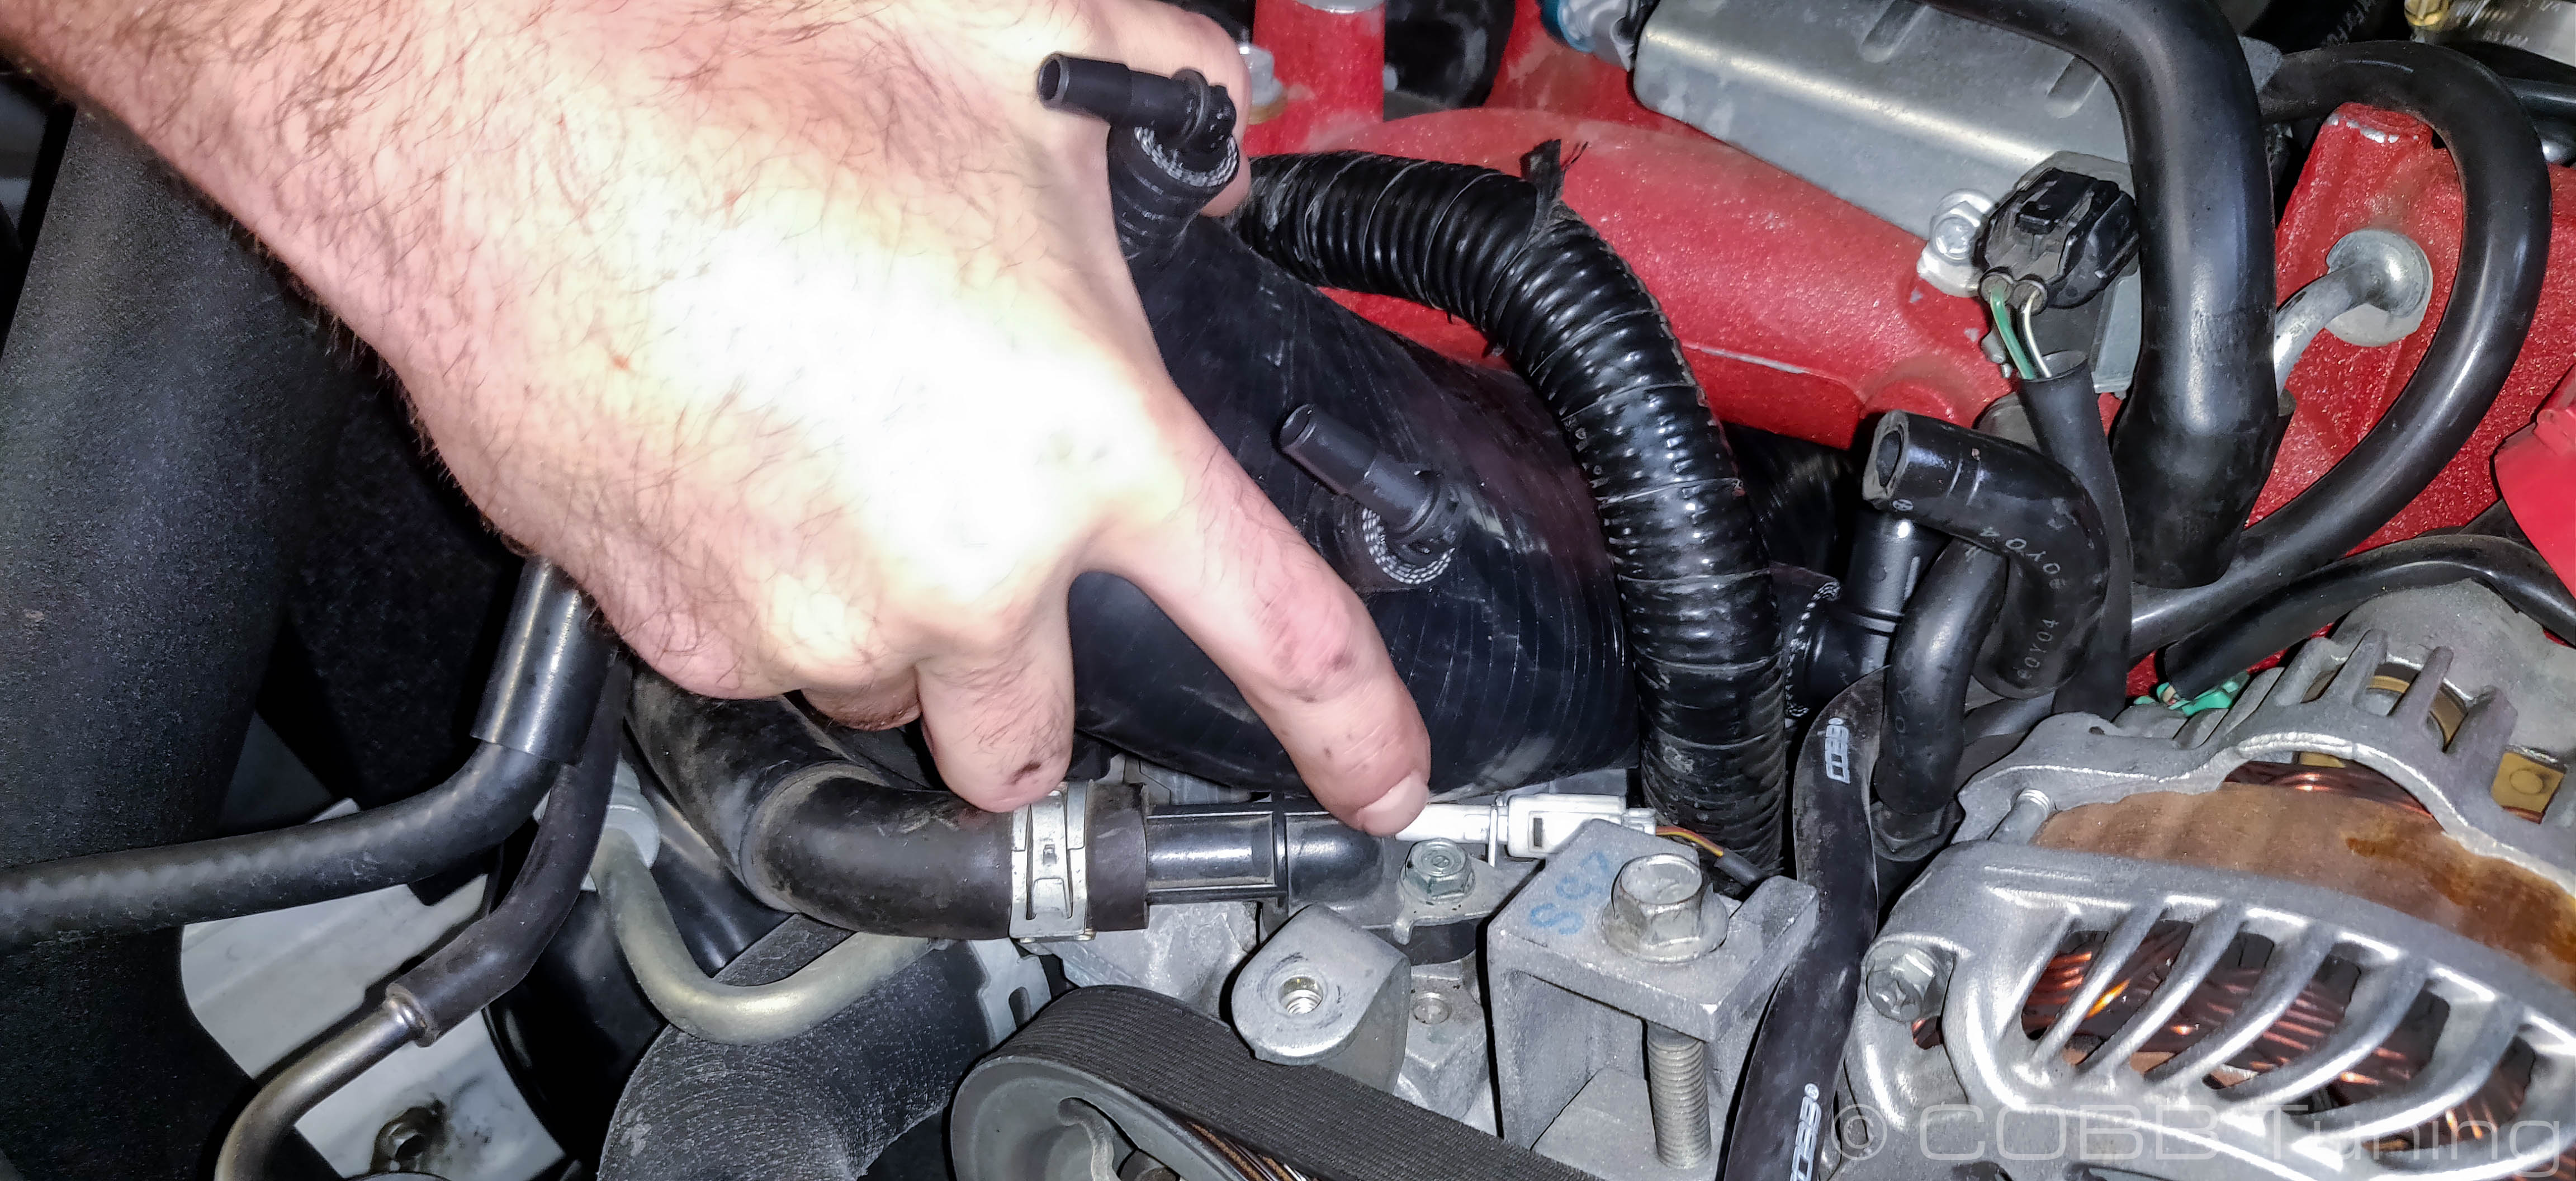
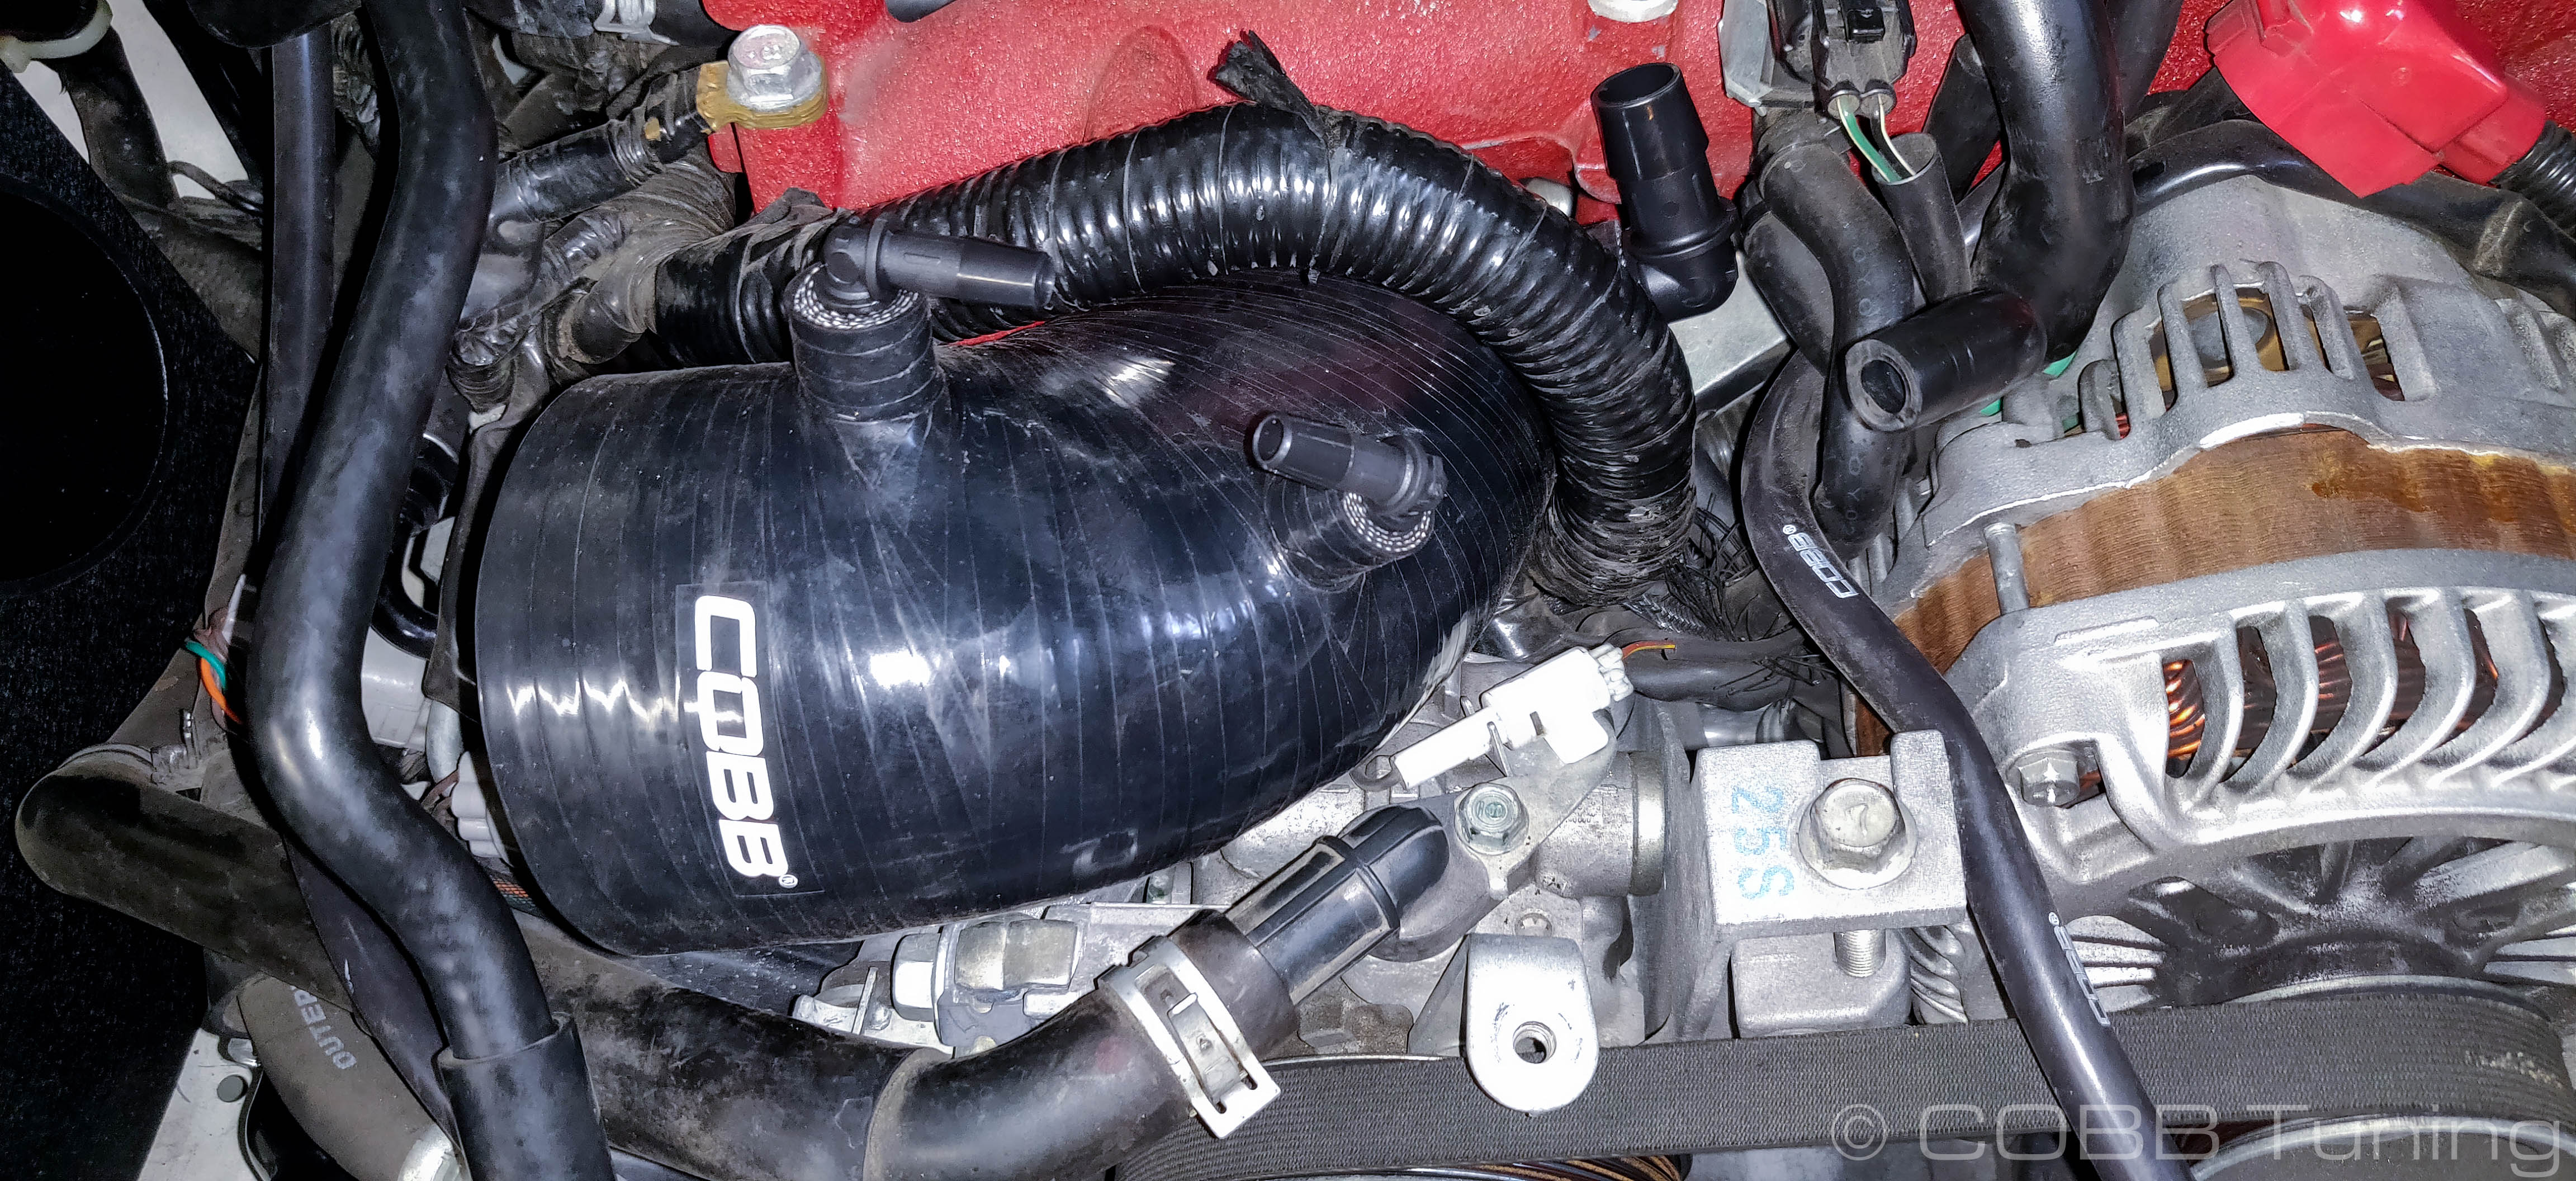
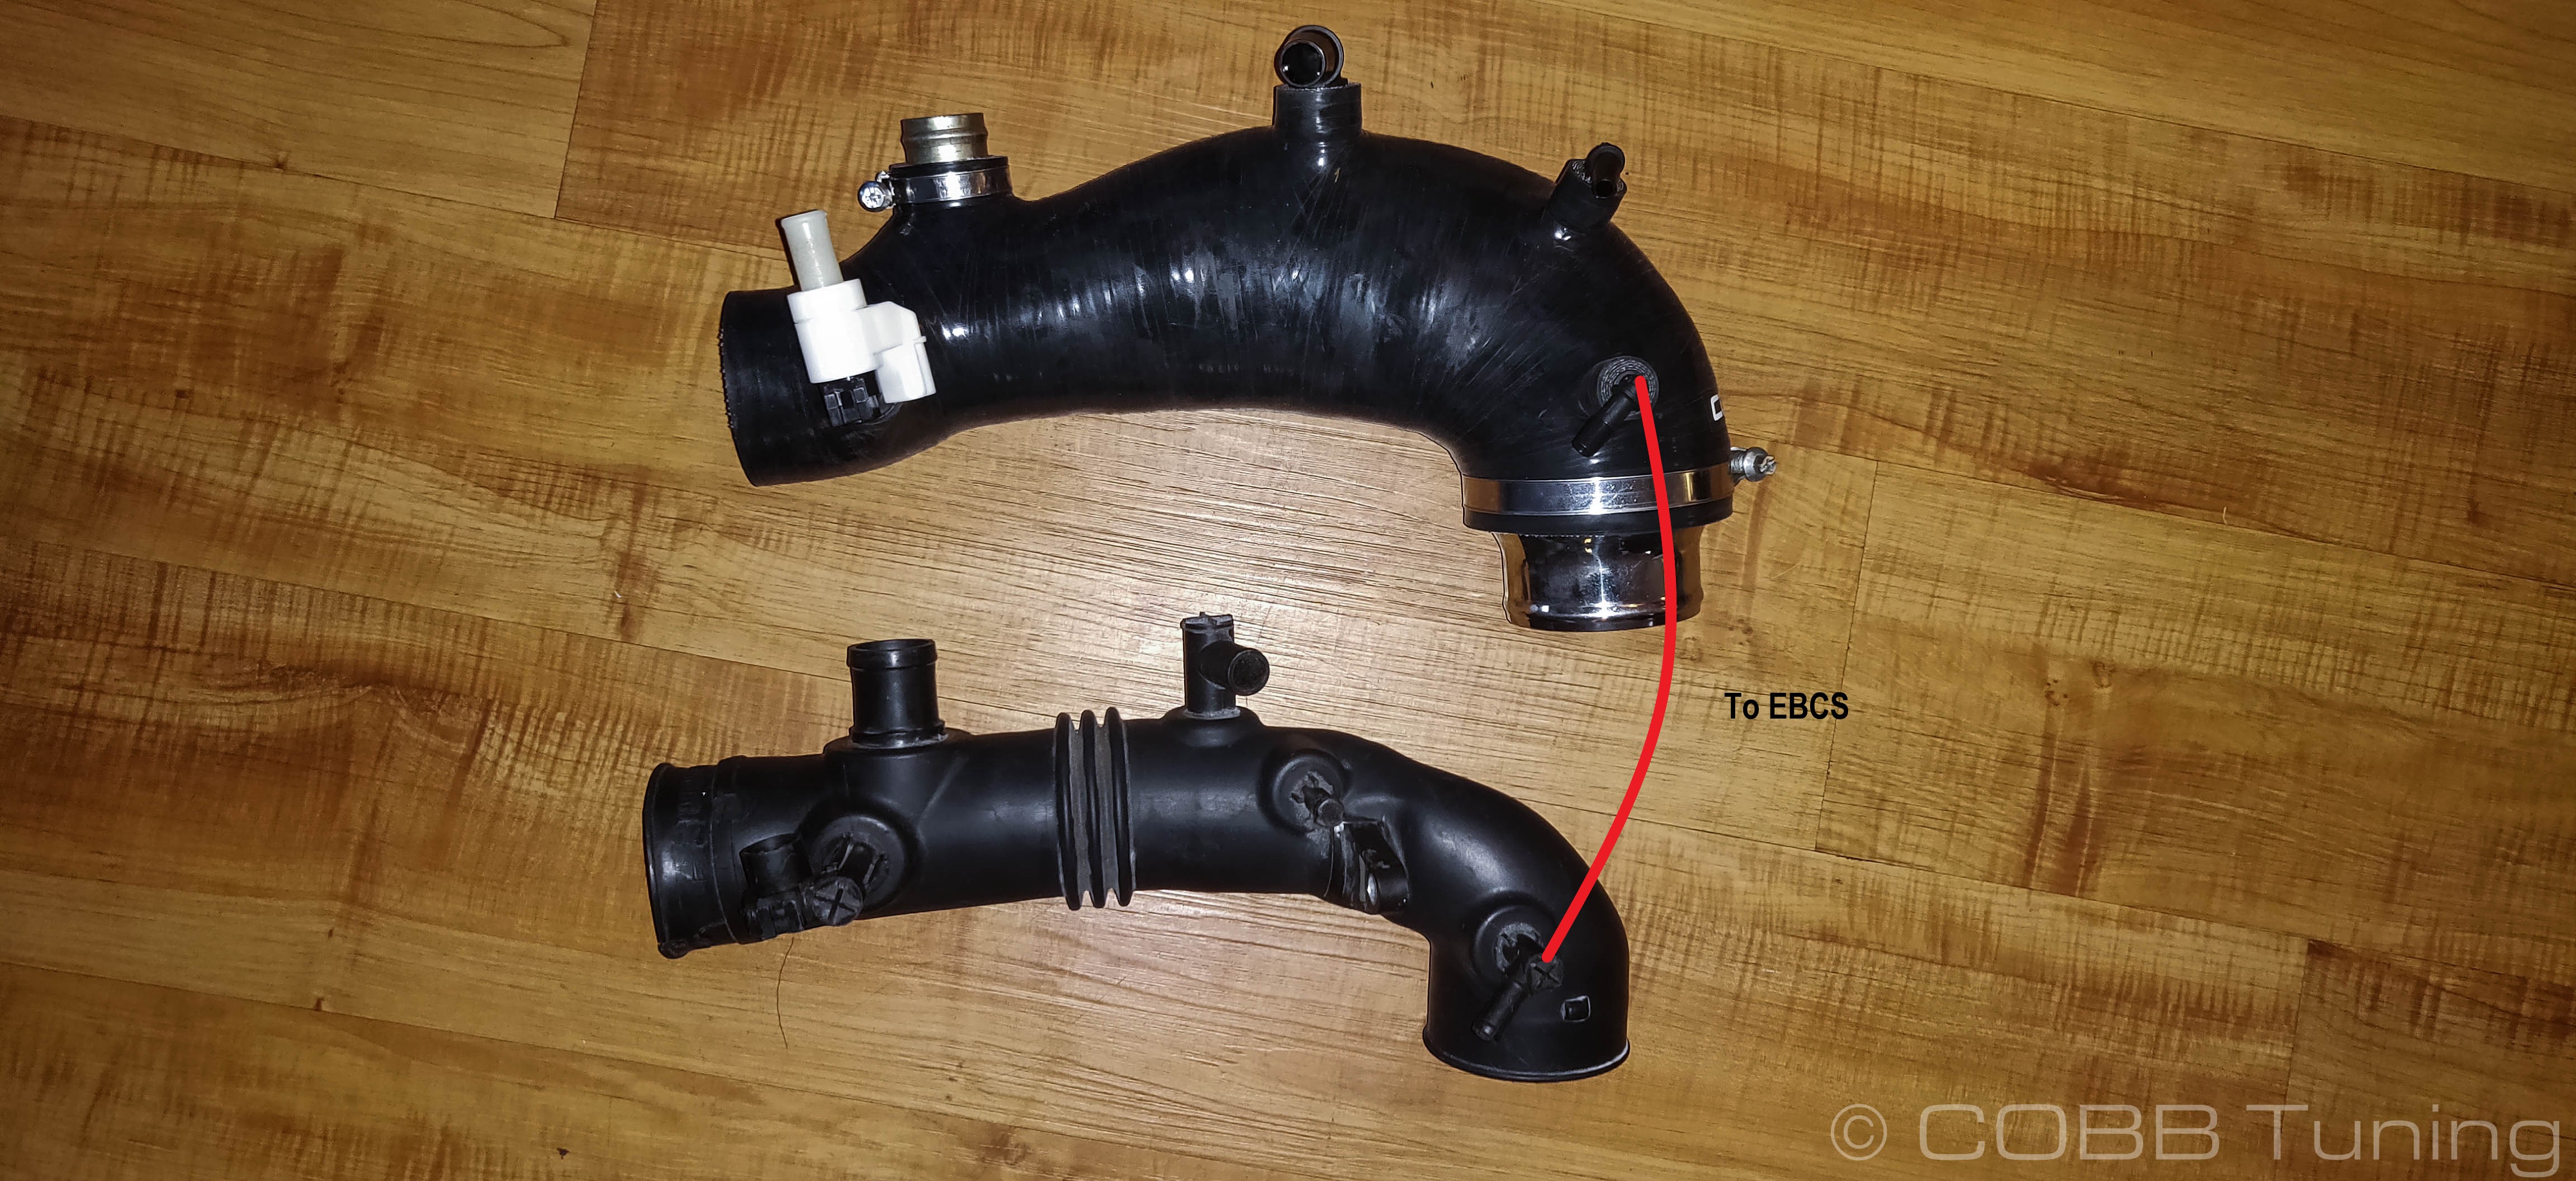
- Remove the EBCS line from the front port of the turbo inlet

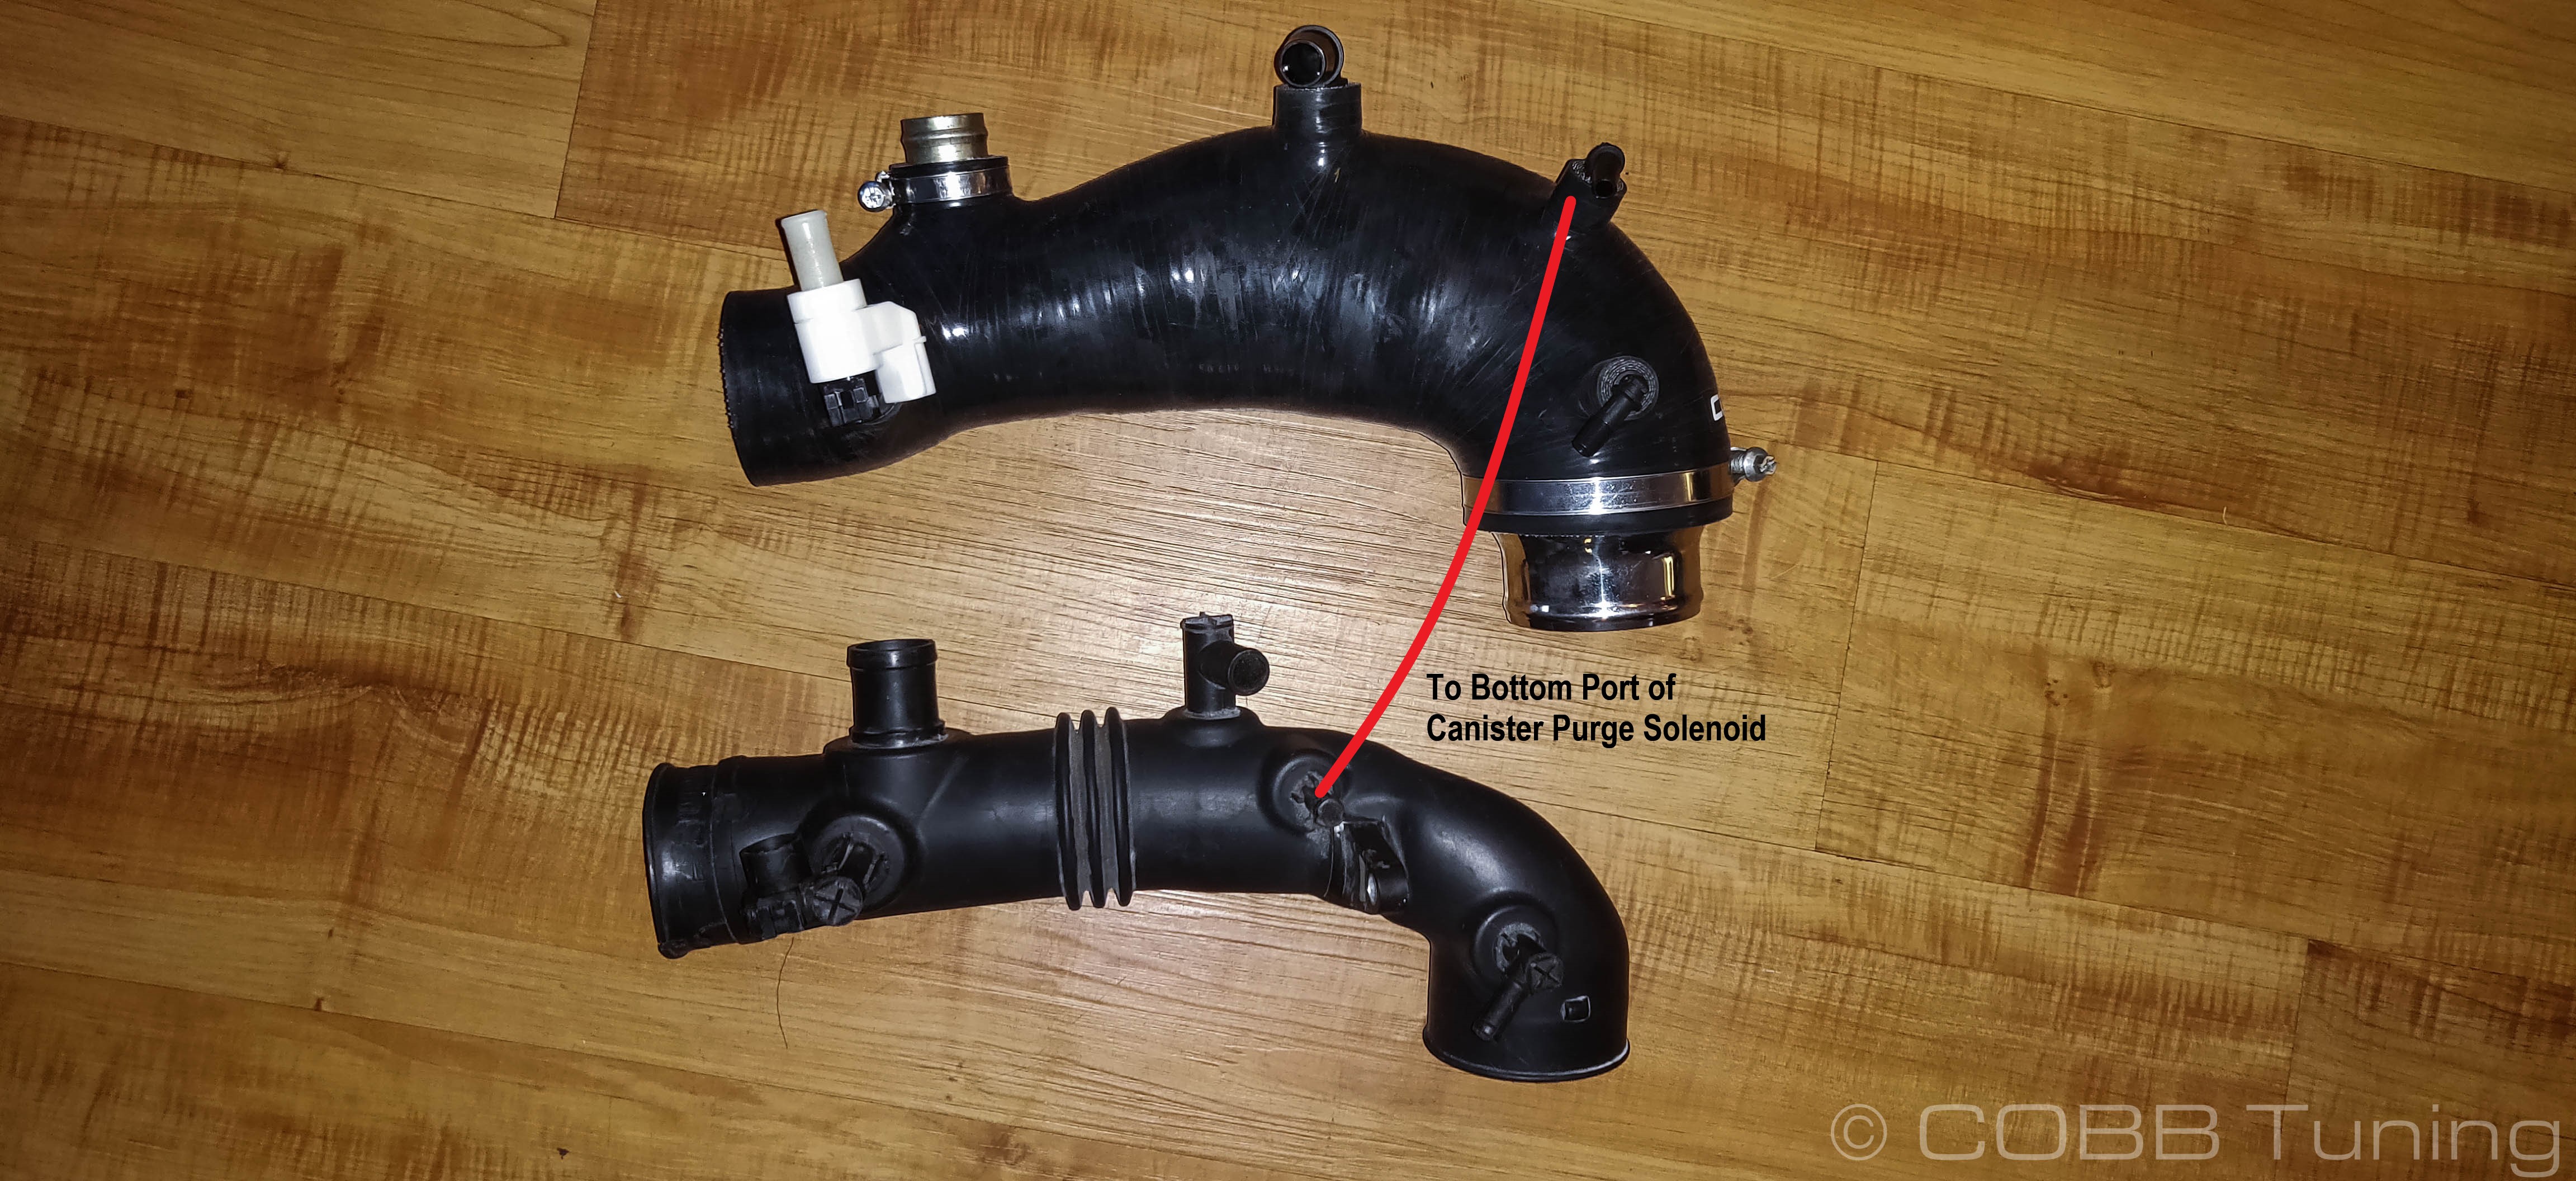
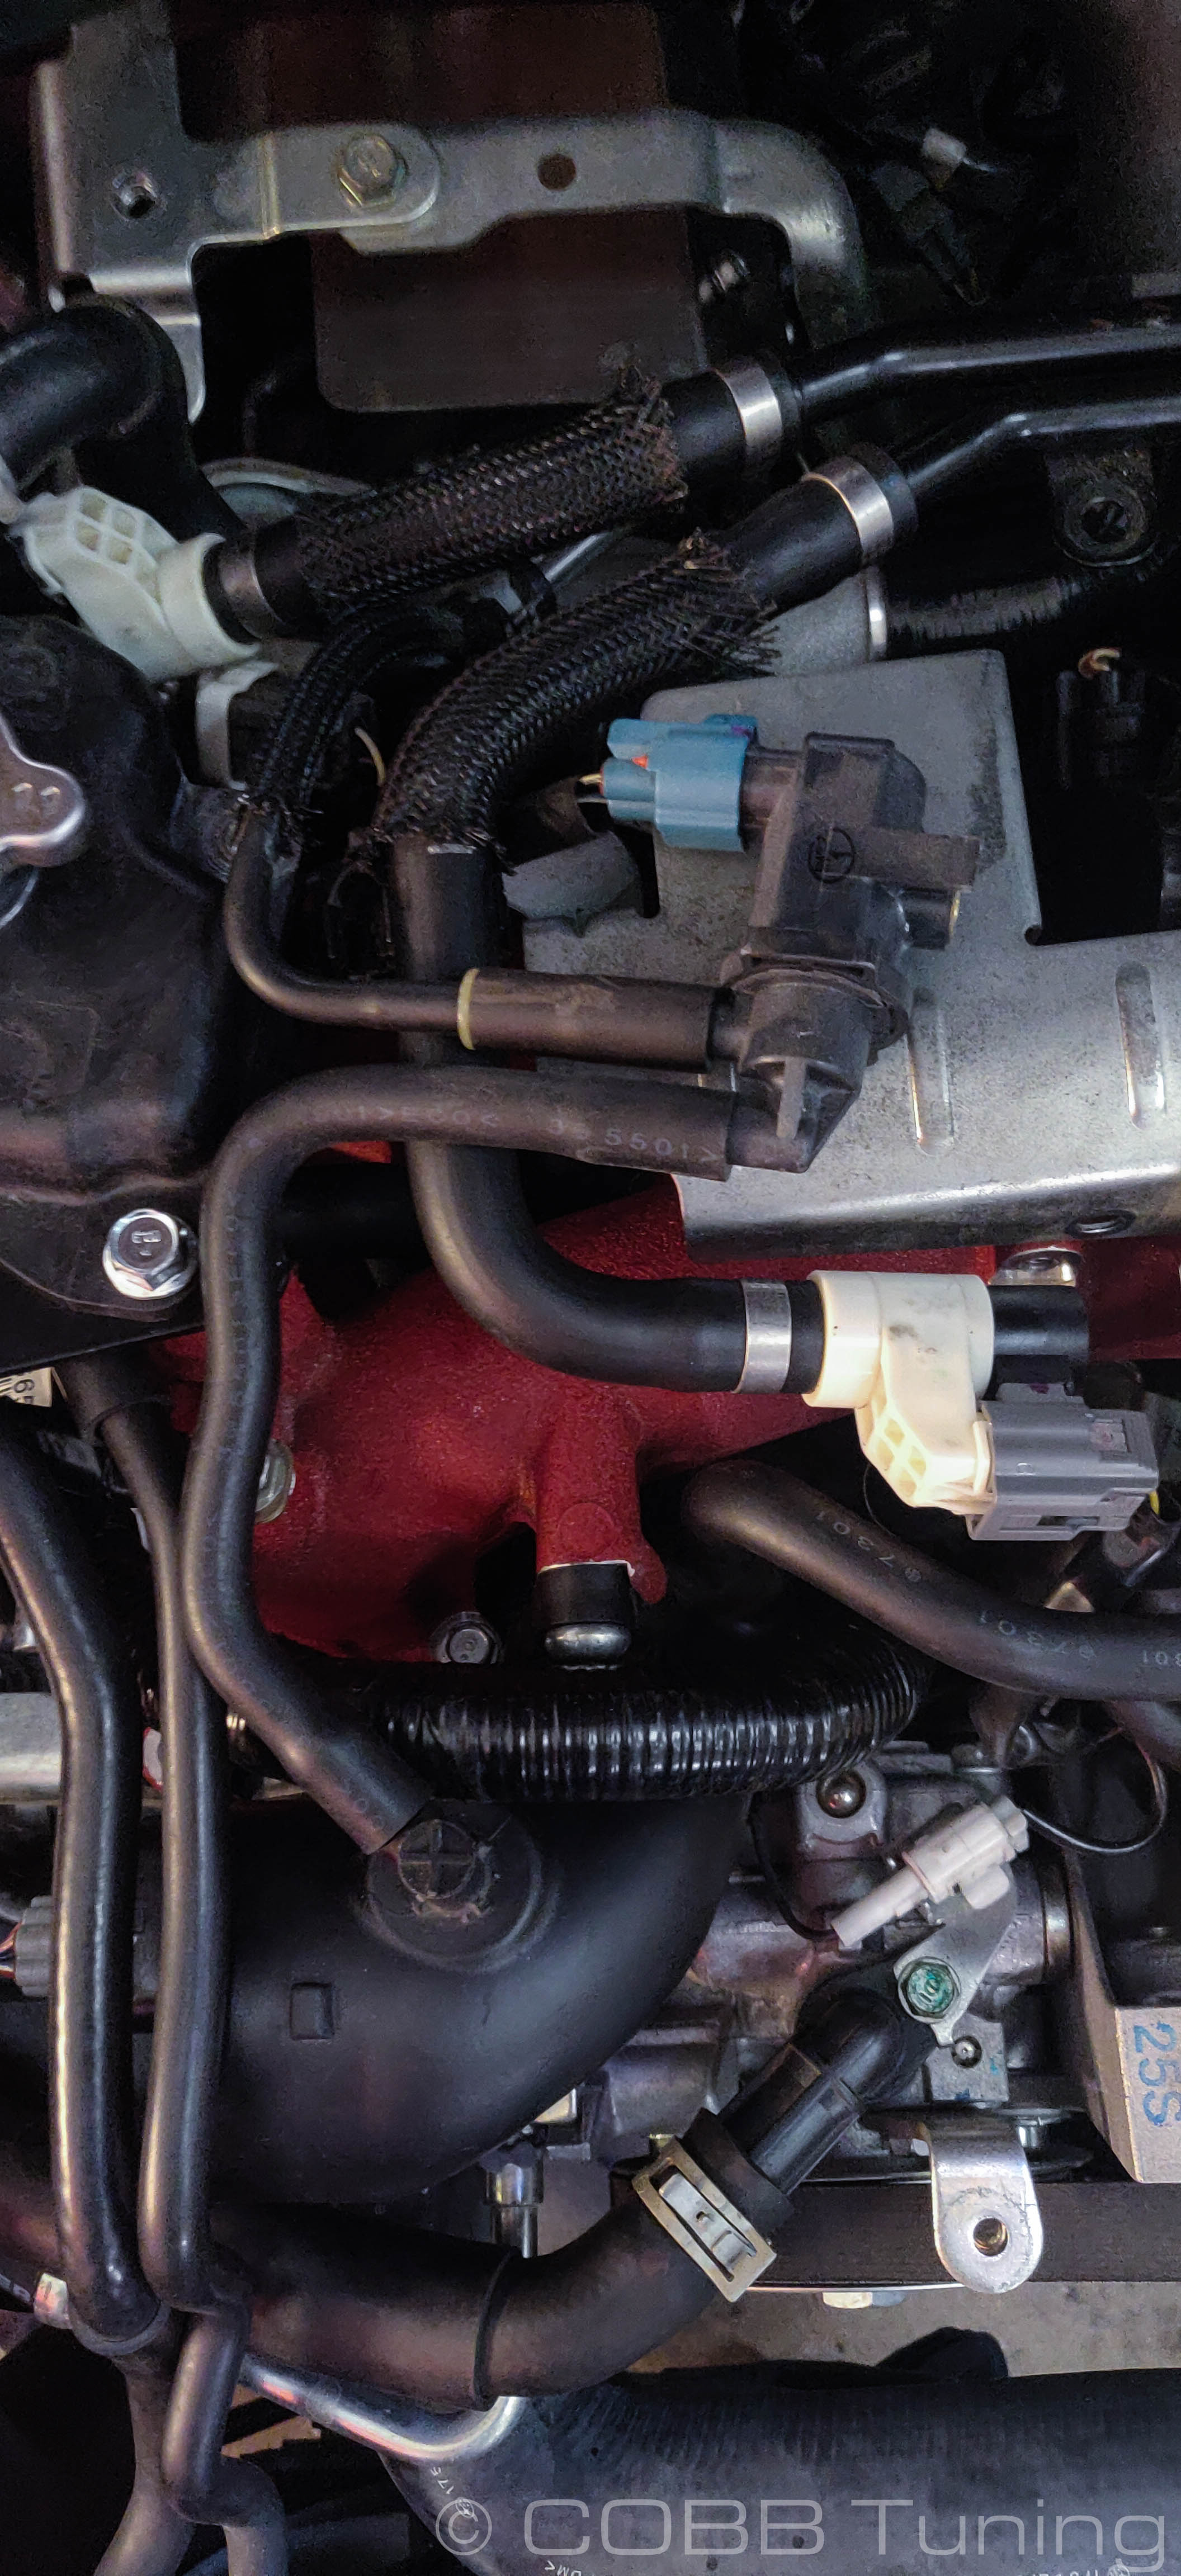
- Pop off the line going to the second port. The other end should go to the lower port of the canister purge solenoid.
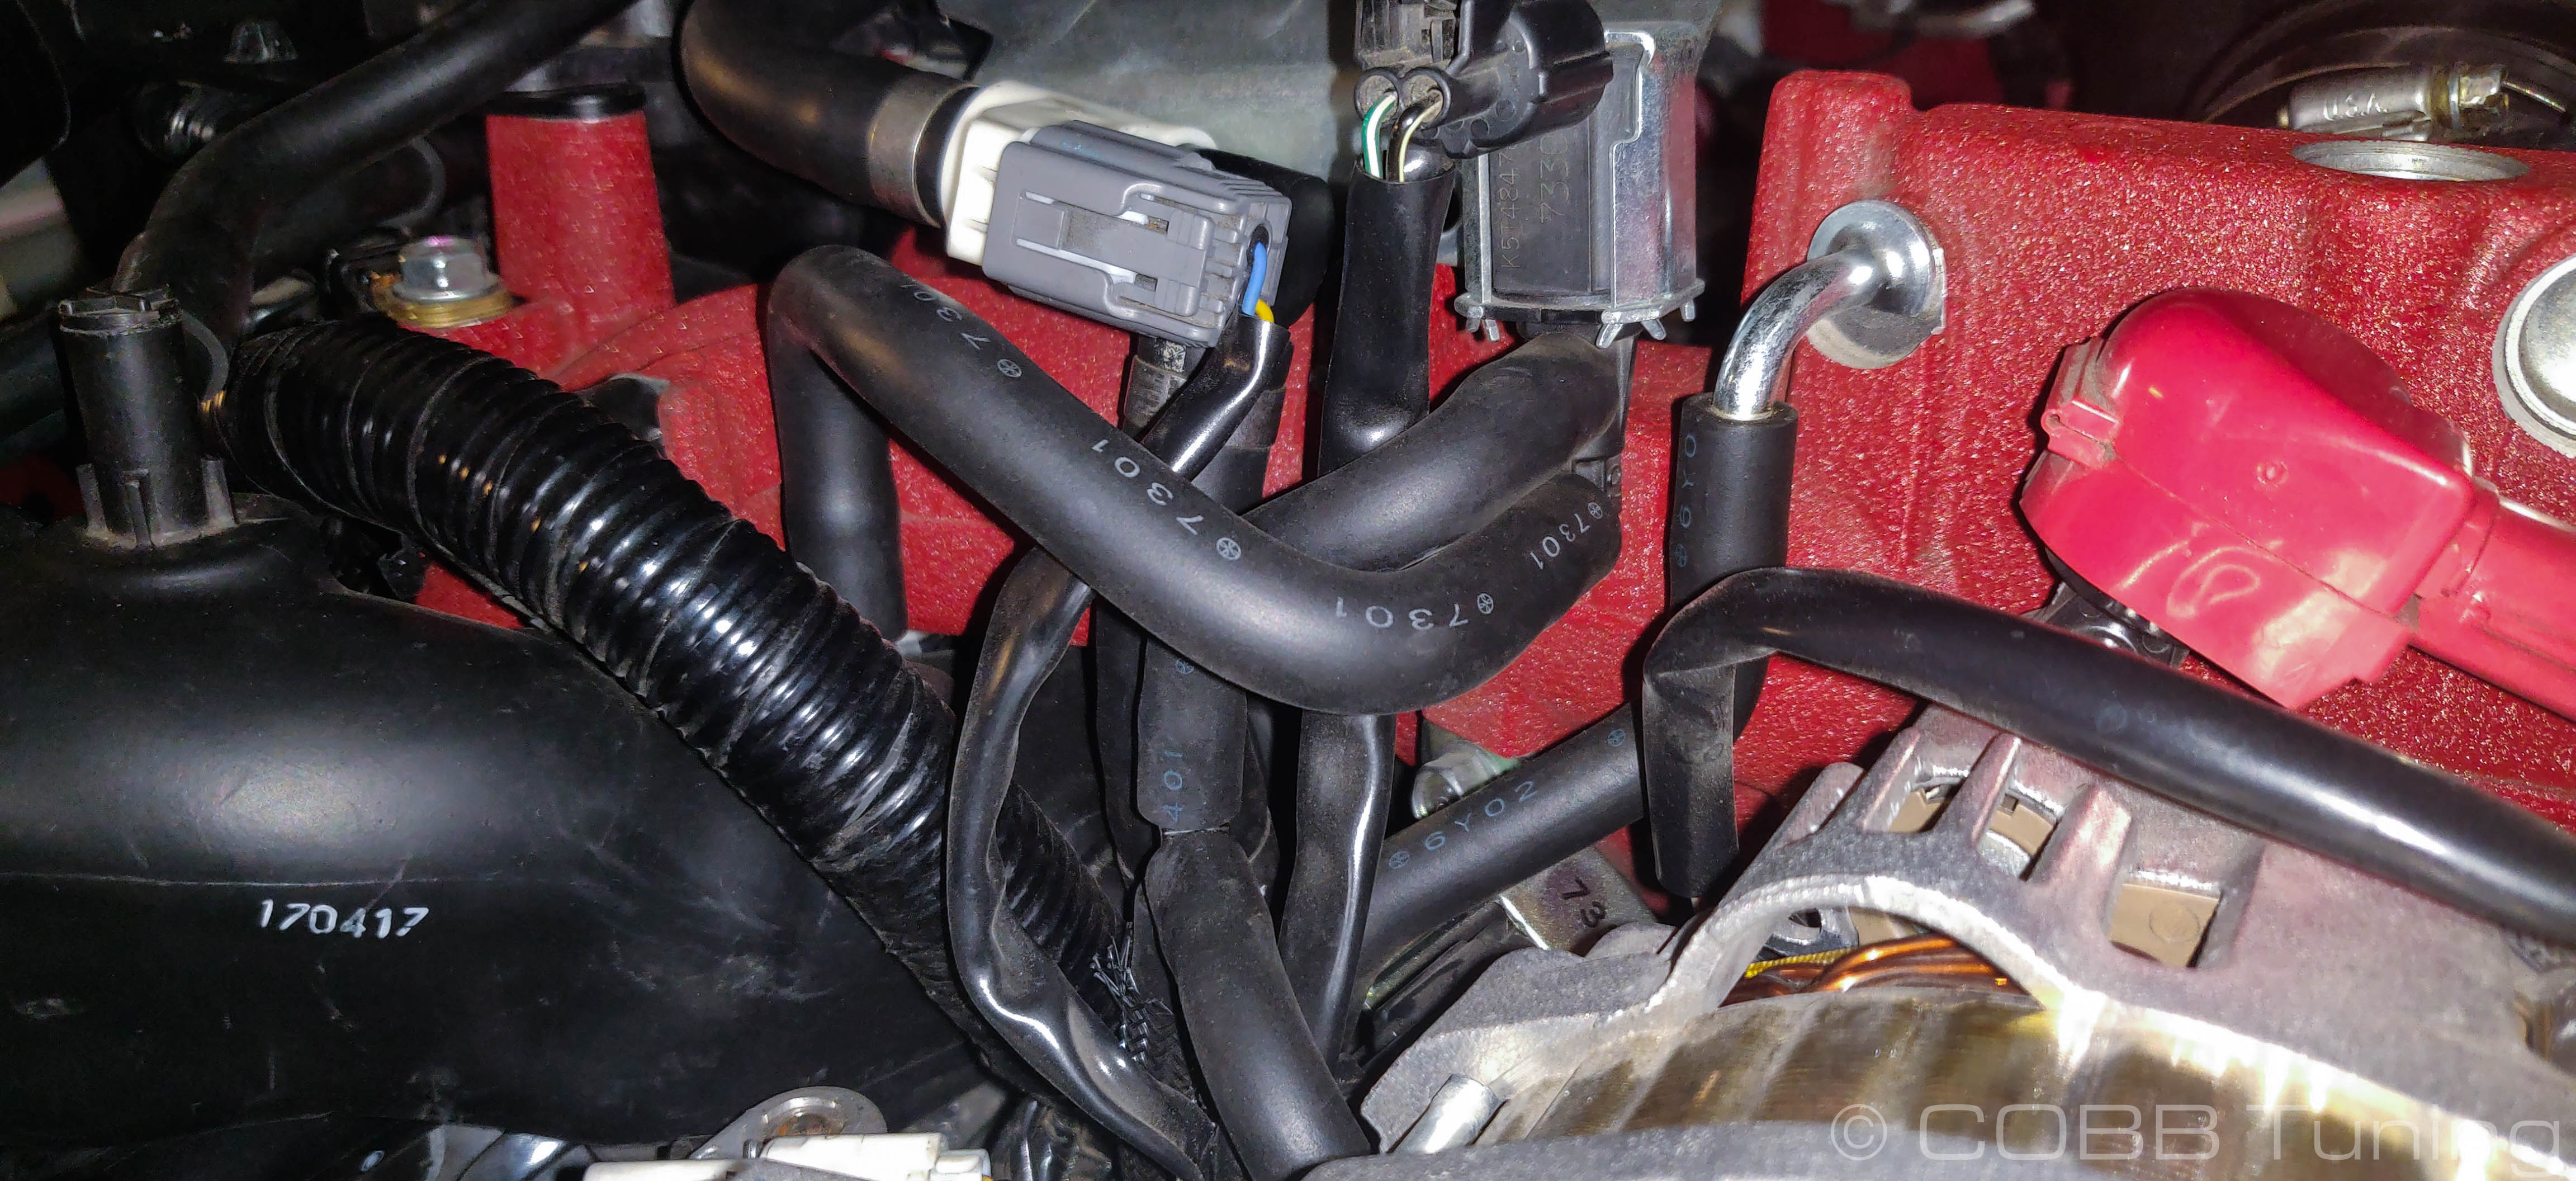
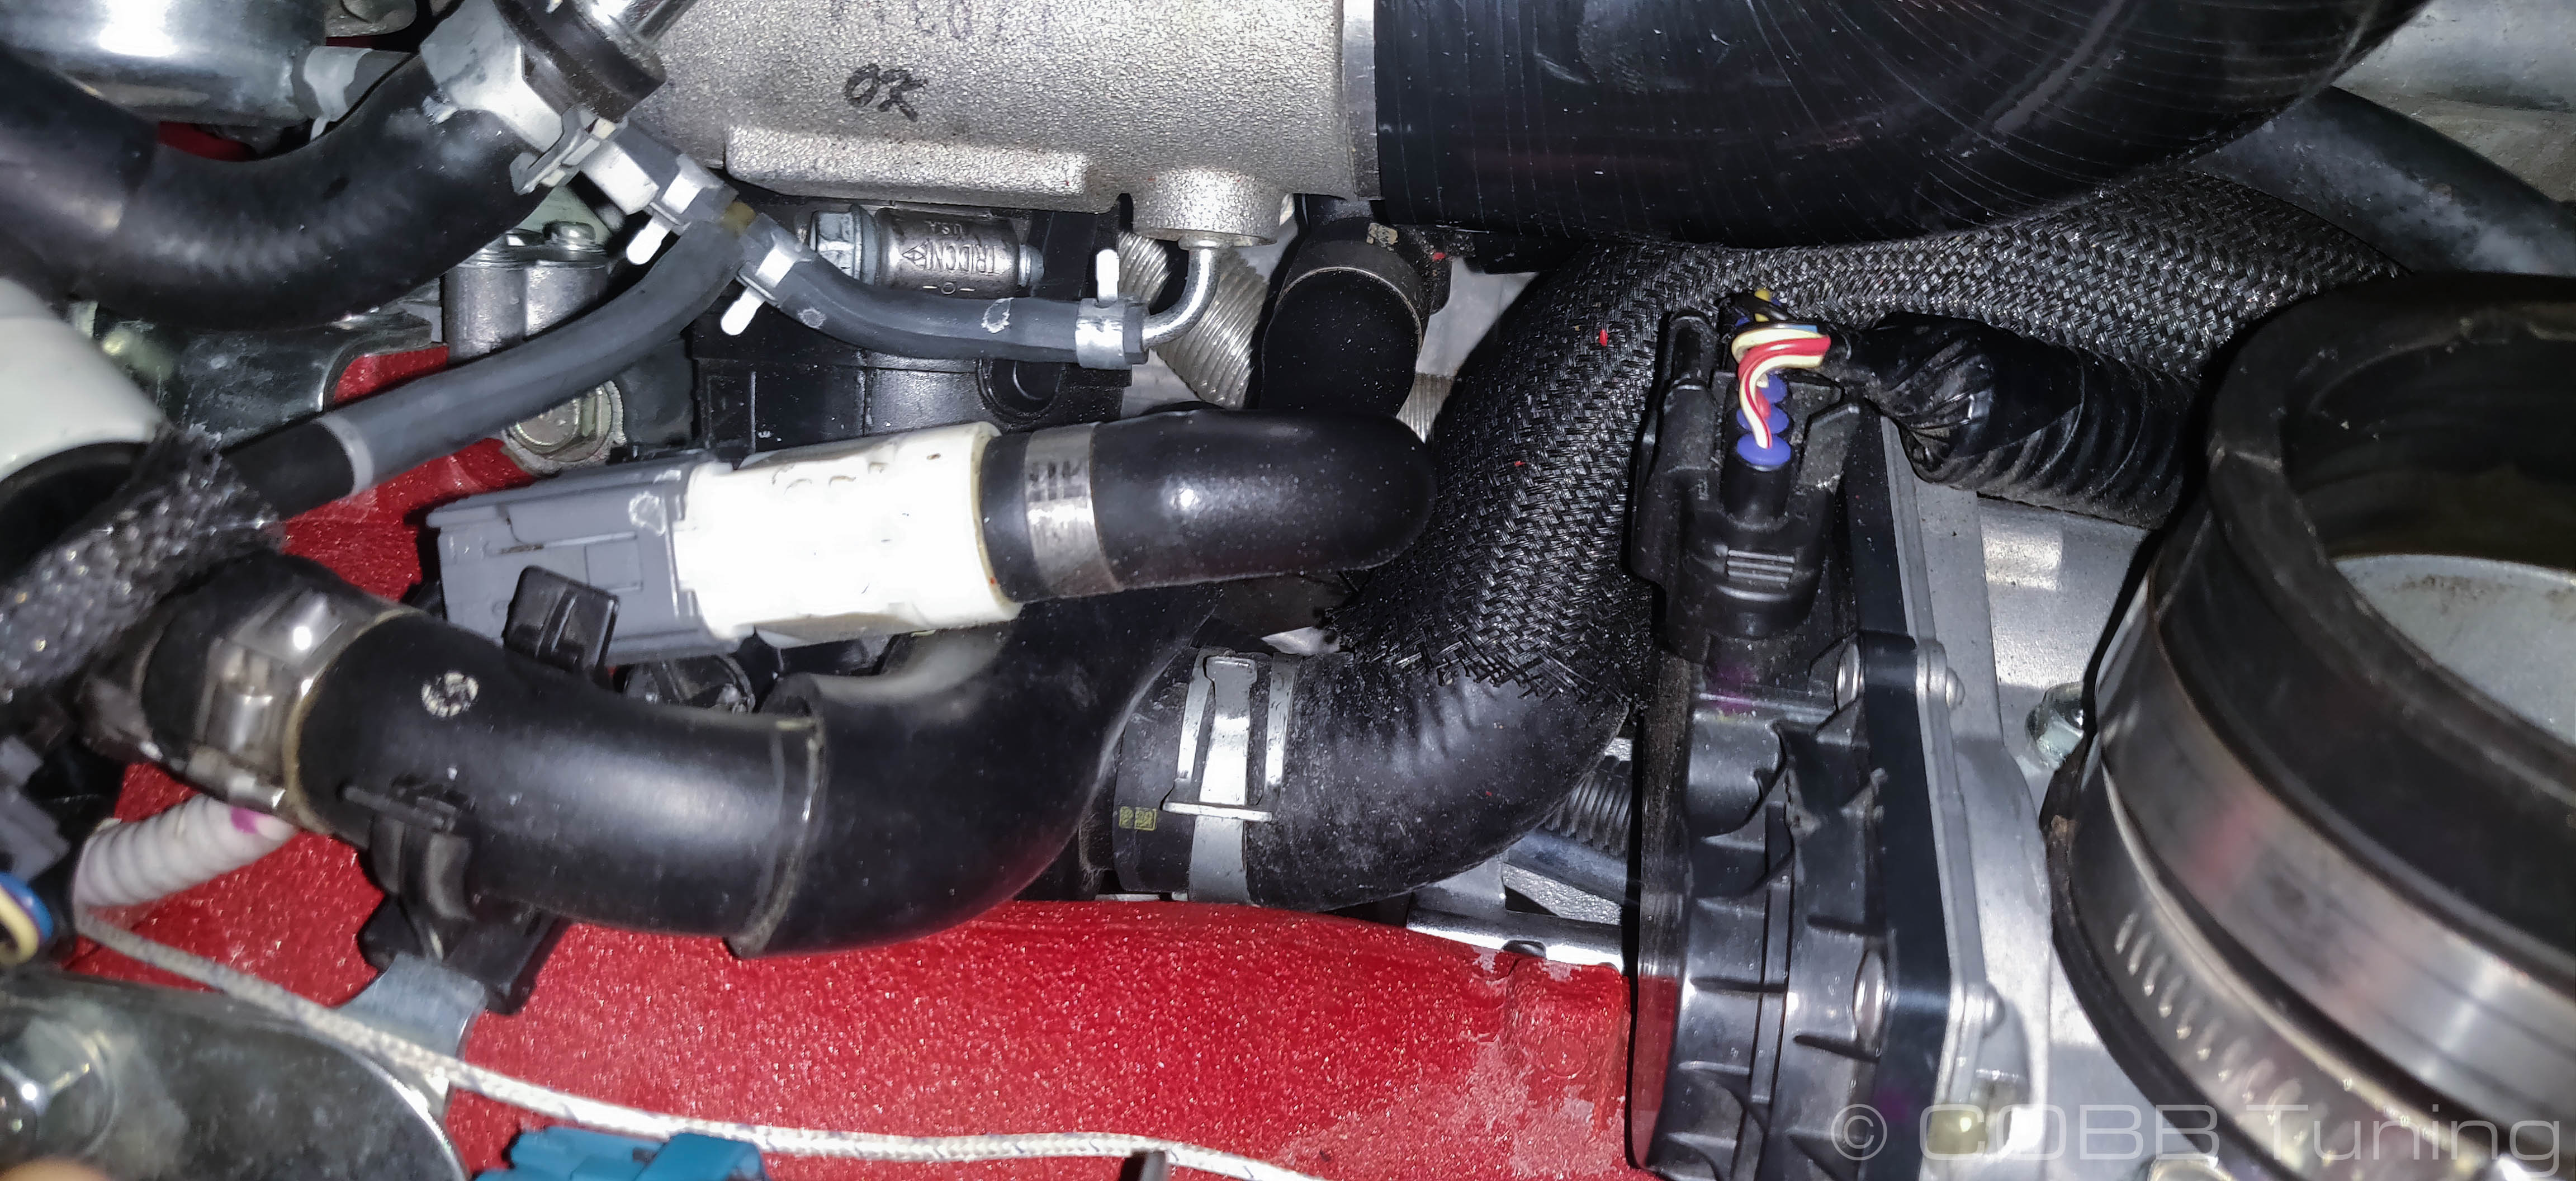
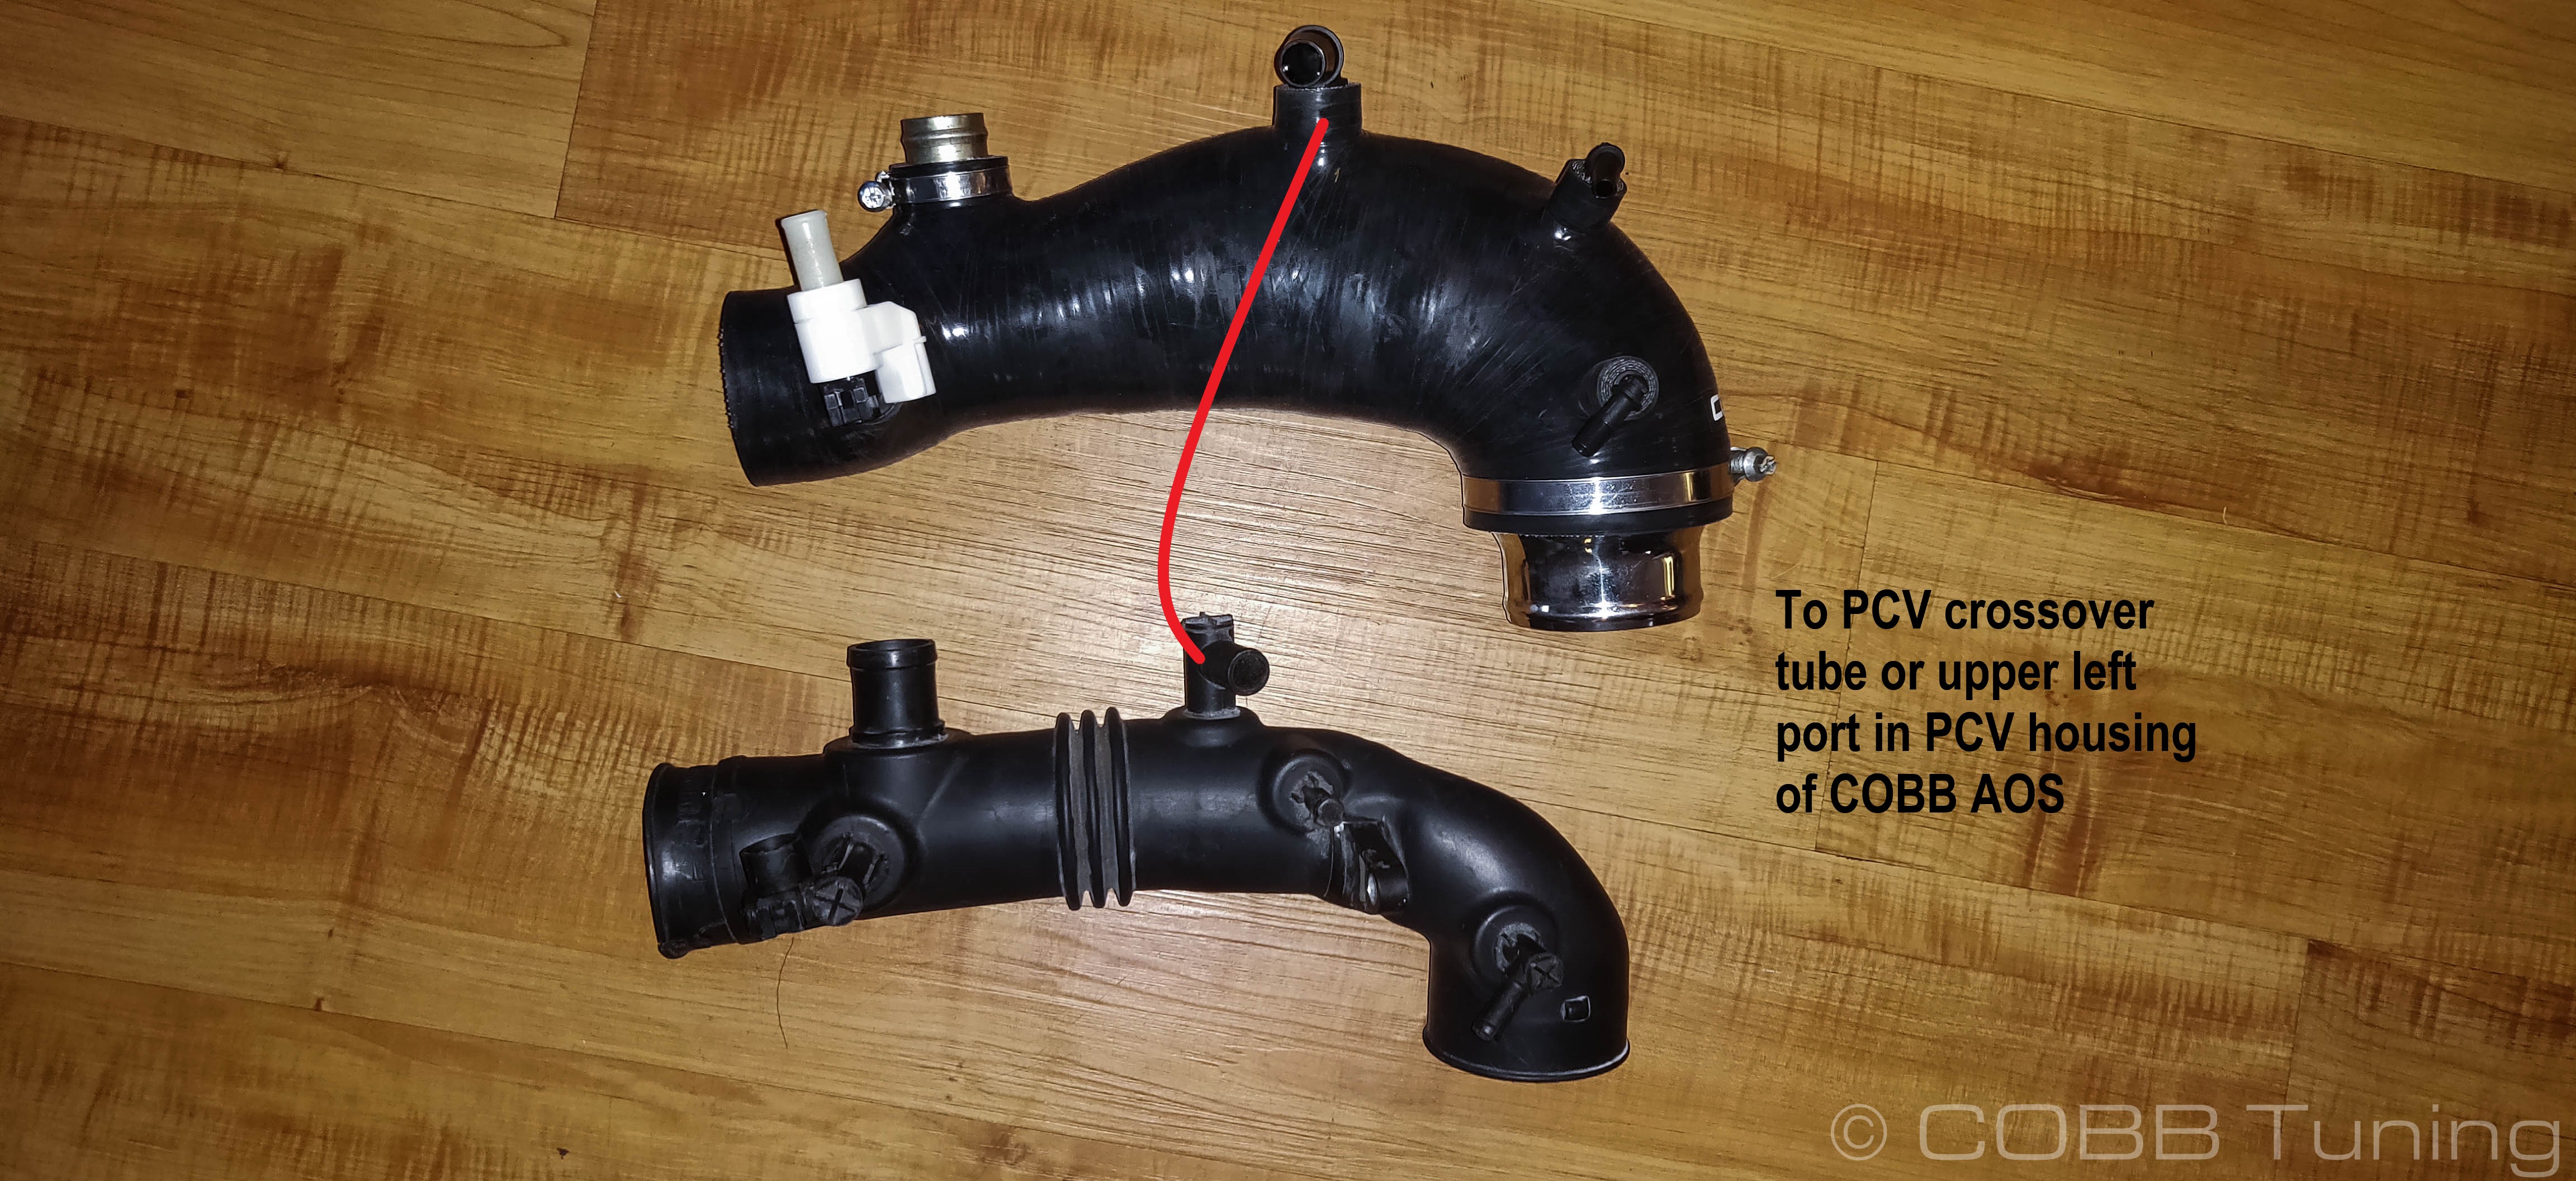
- Take off the larger hose behind that line that goes up into a blow-by sensor before attaching to the PCV crossover tube.
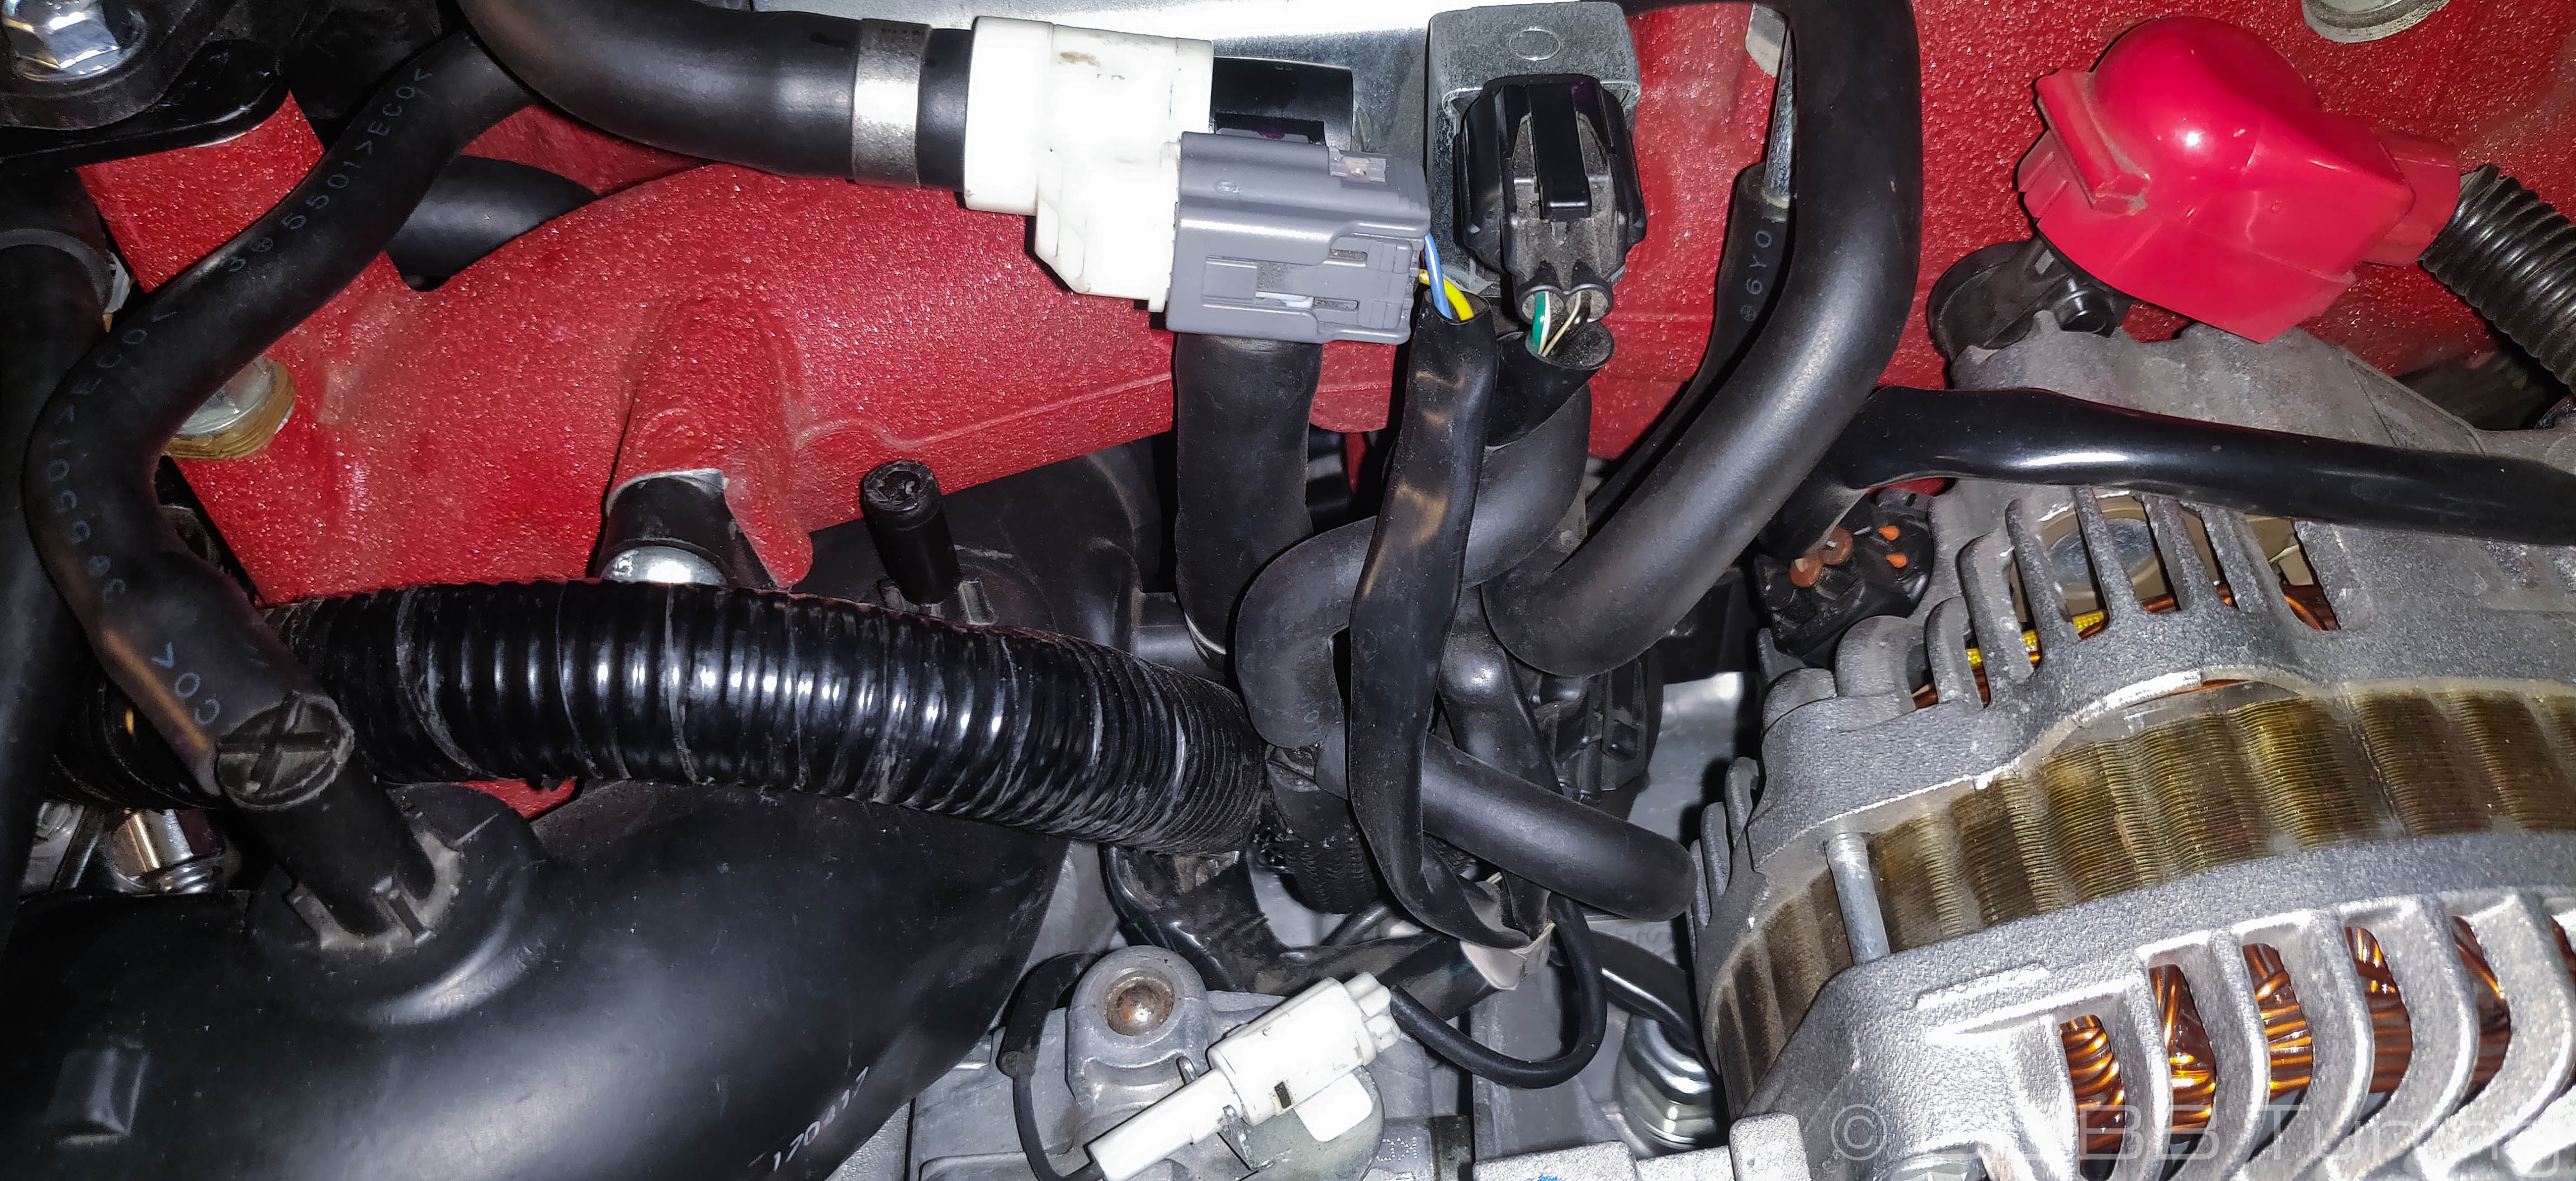
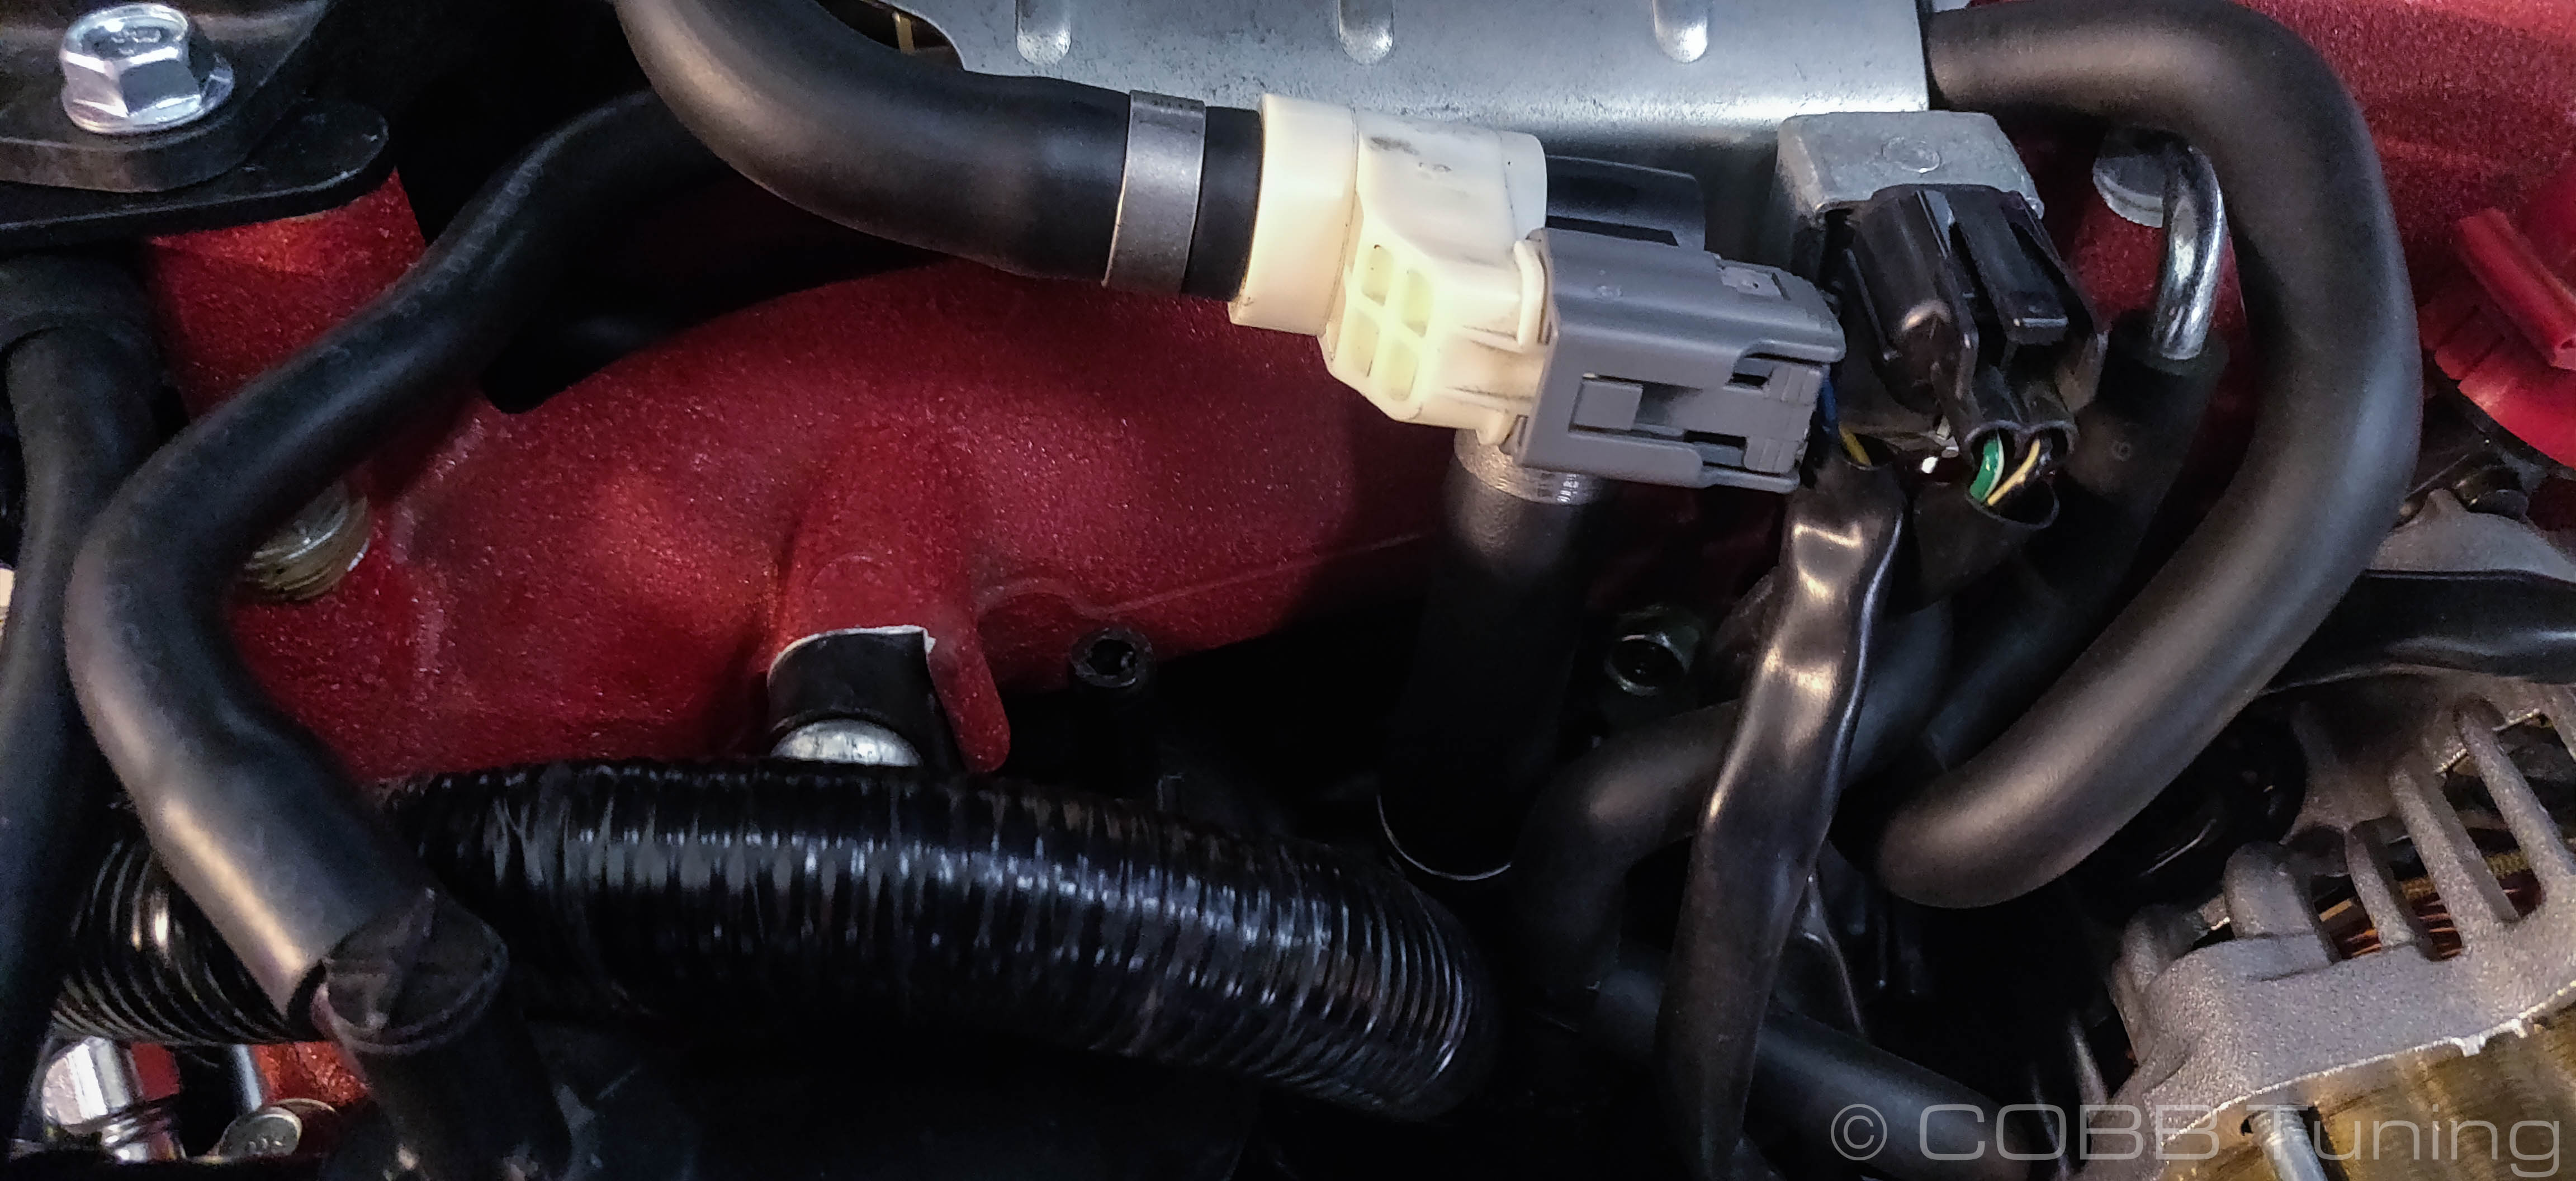
- Locating the blow-by sensor towards the rear of the inlet, squeeze the release tab on the electrical connector while pulling outwards to remove the sensor from the inlet.
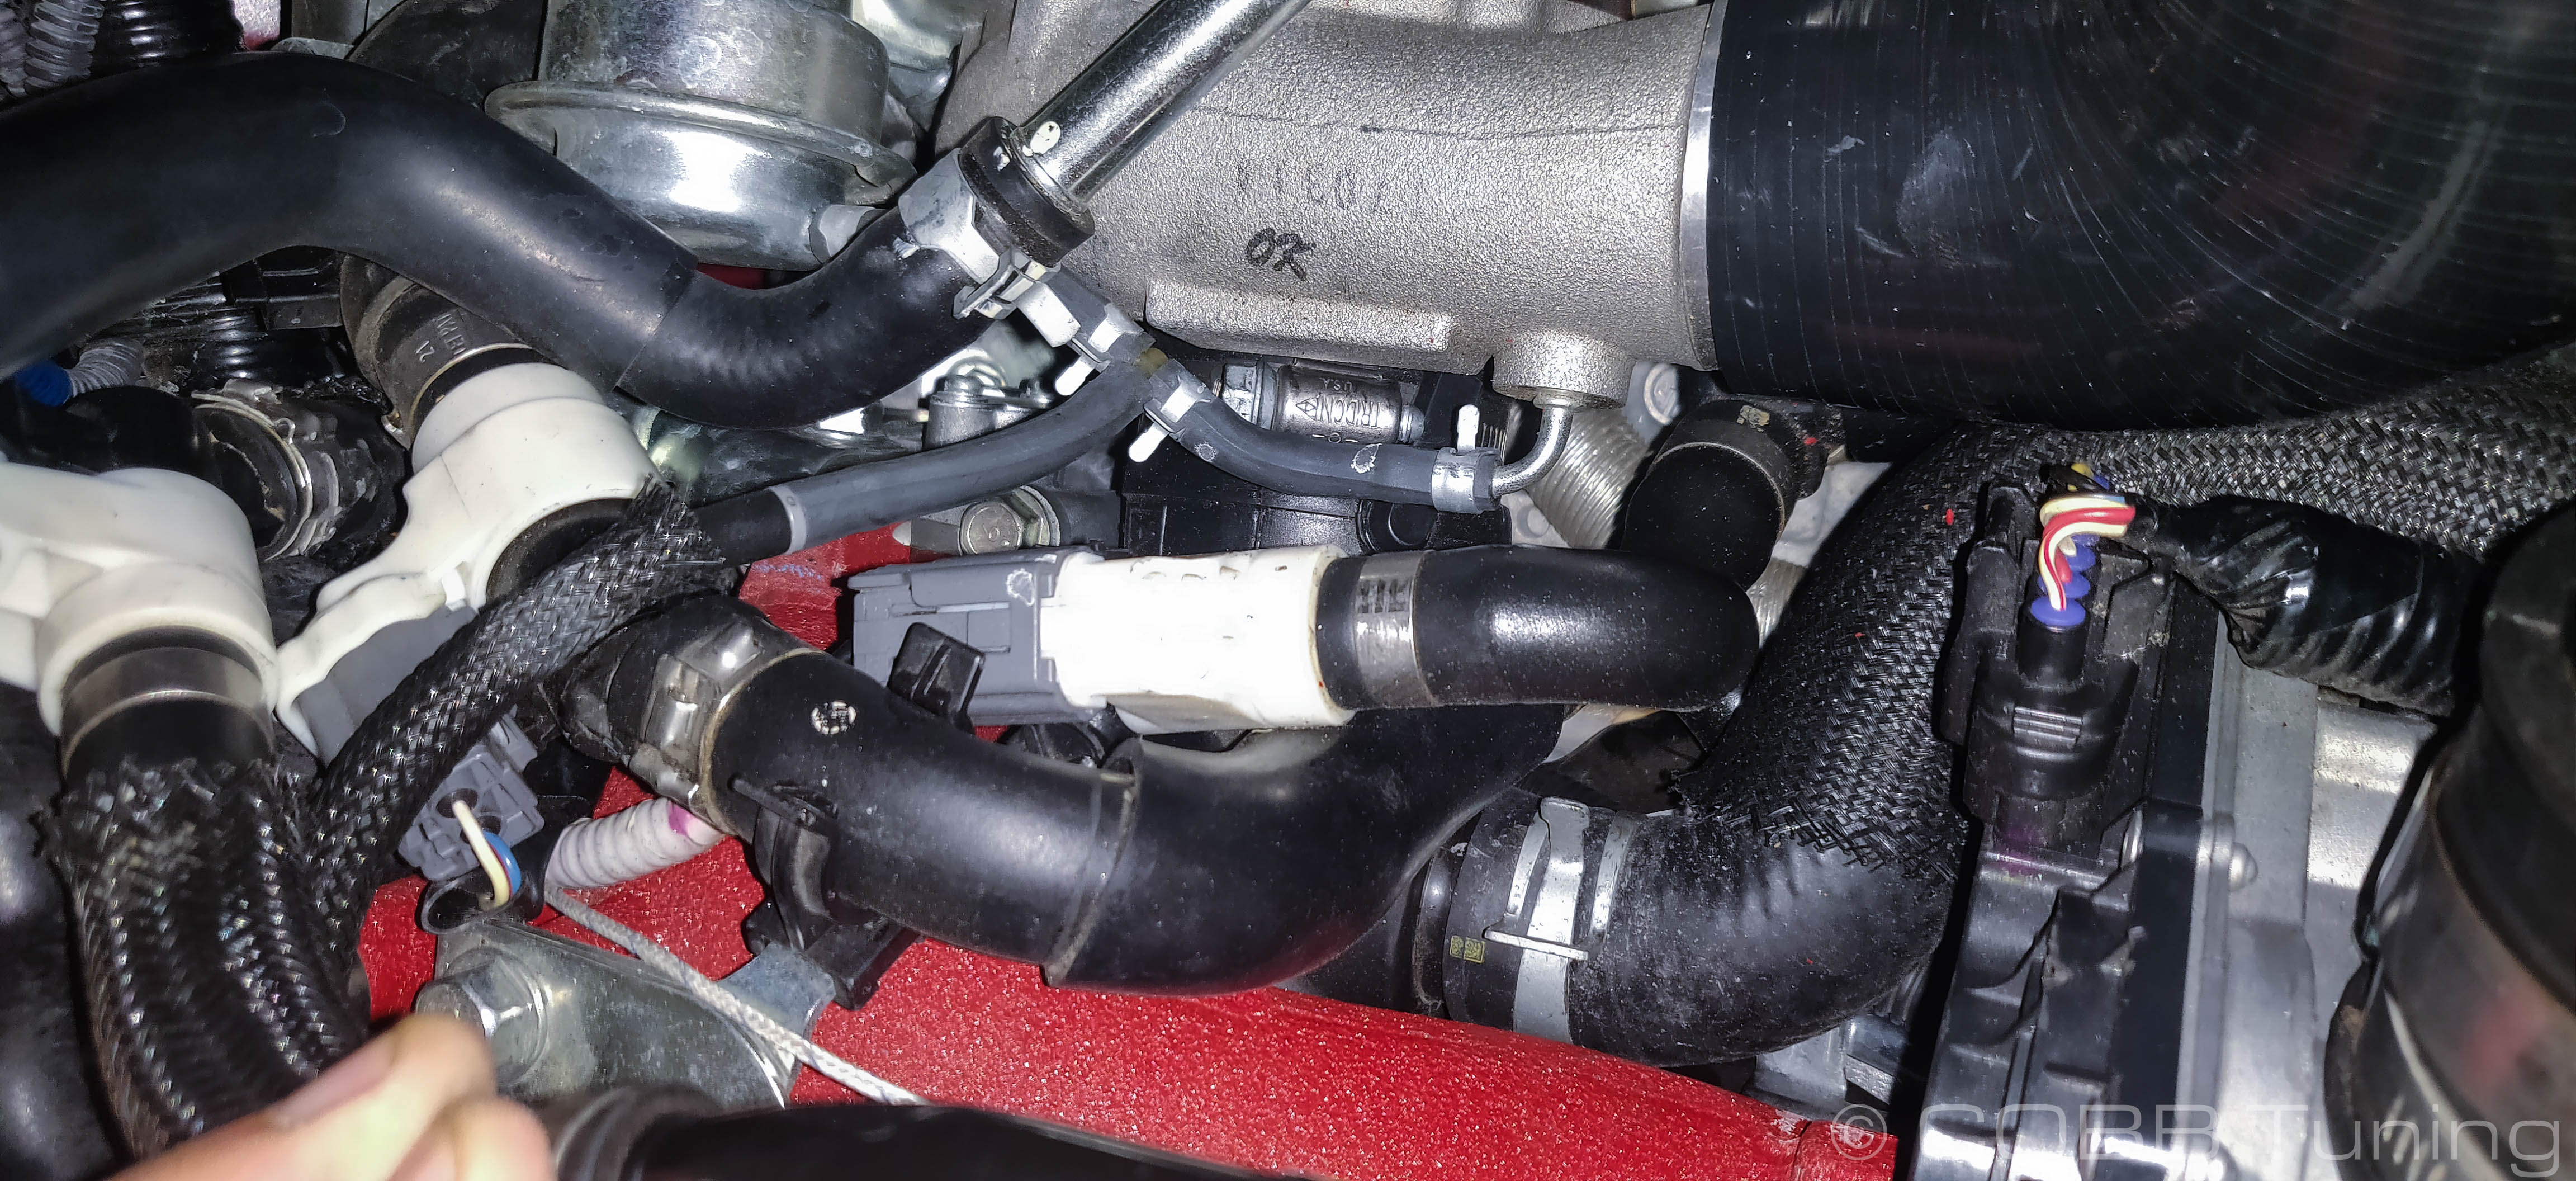
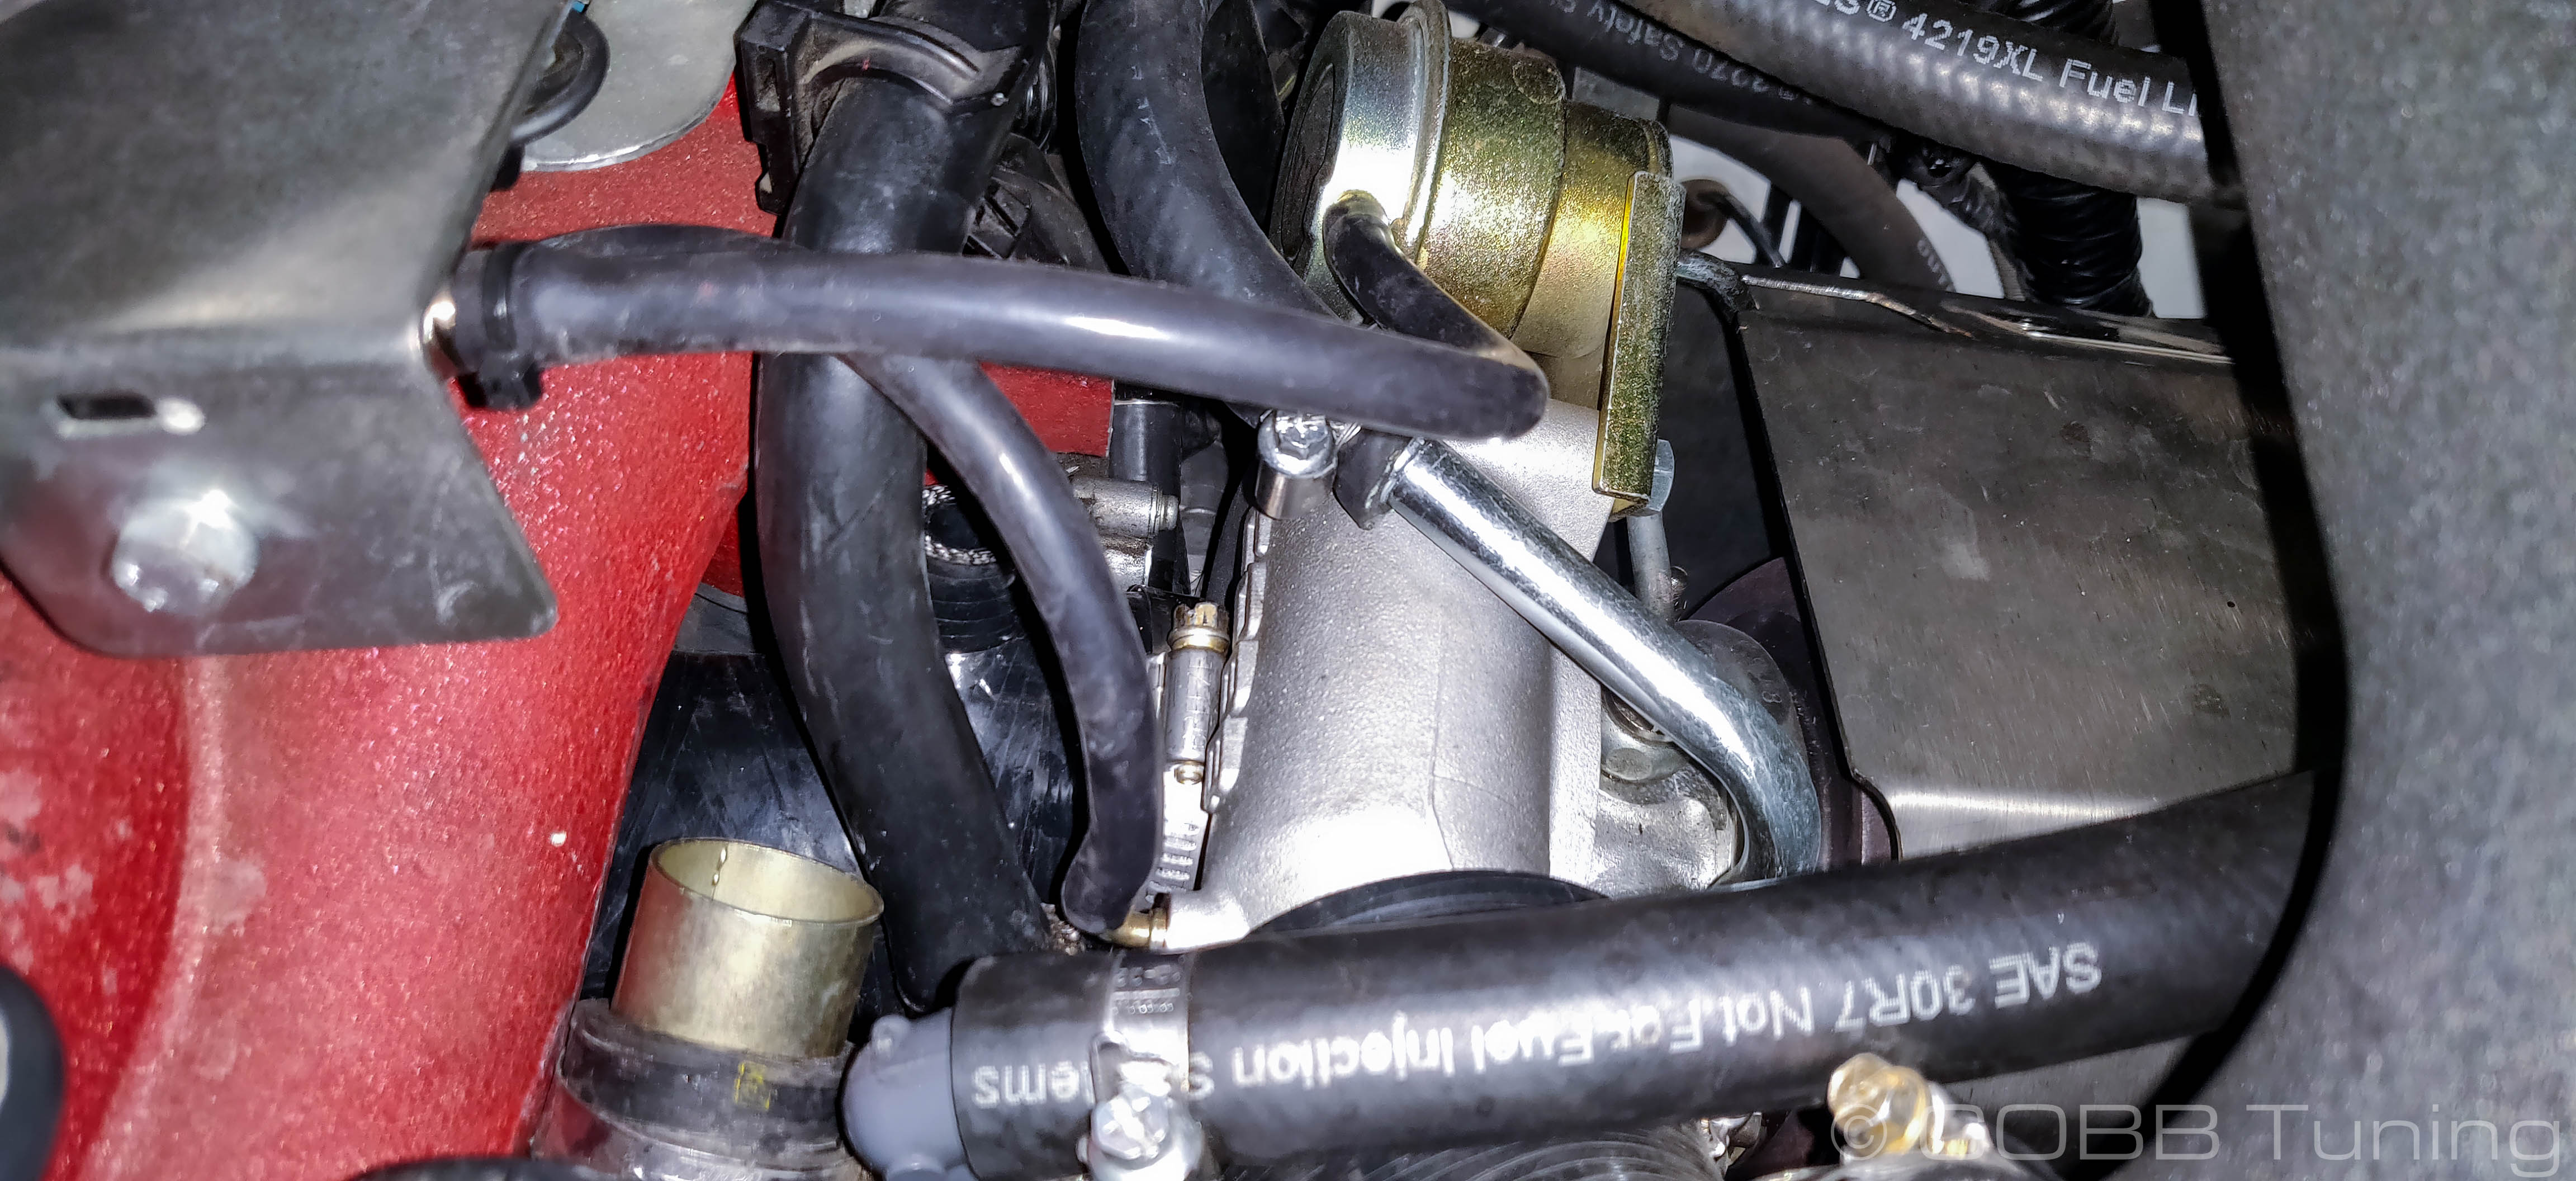
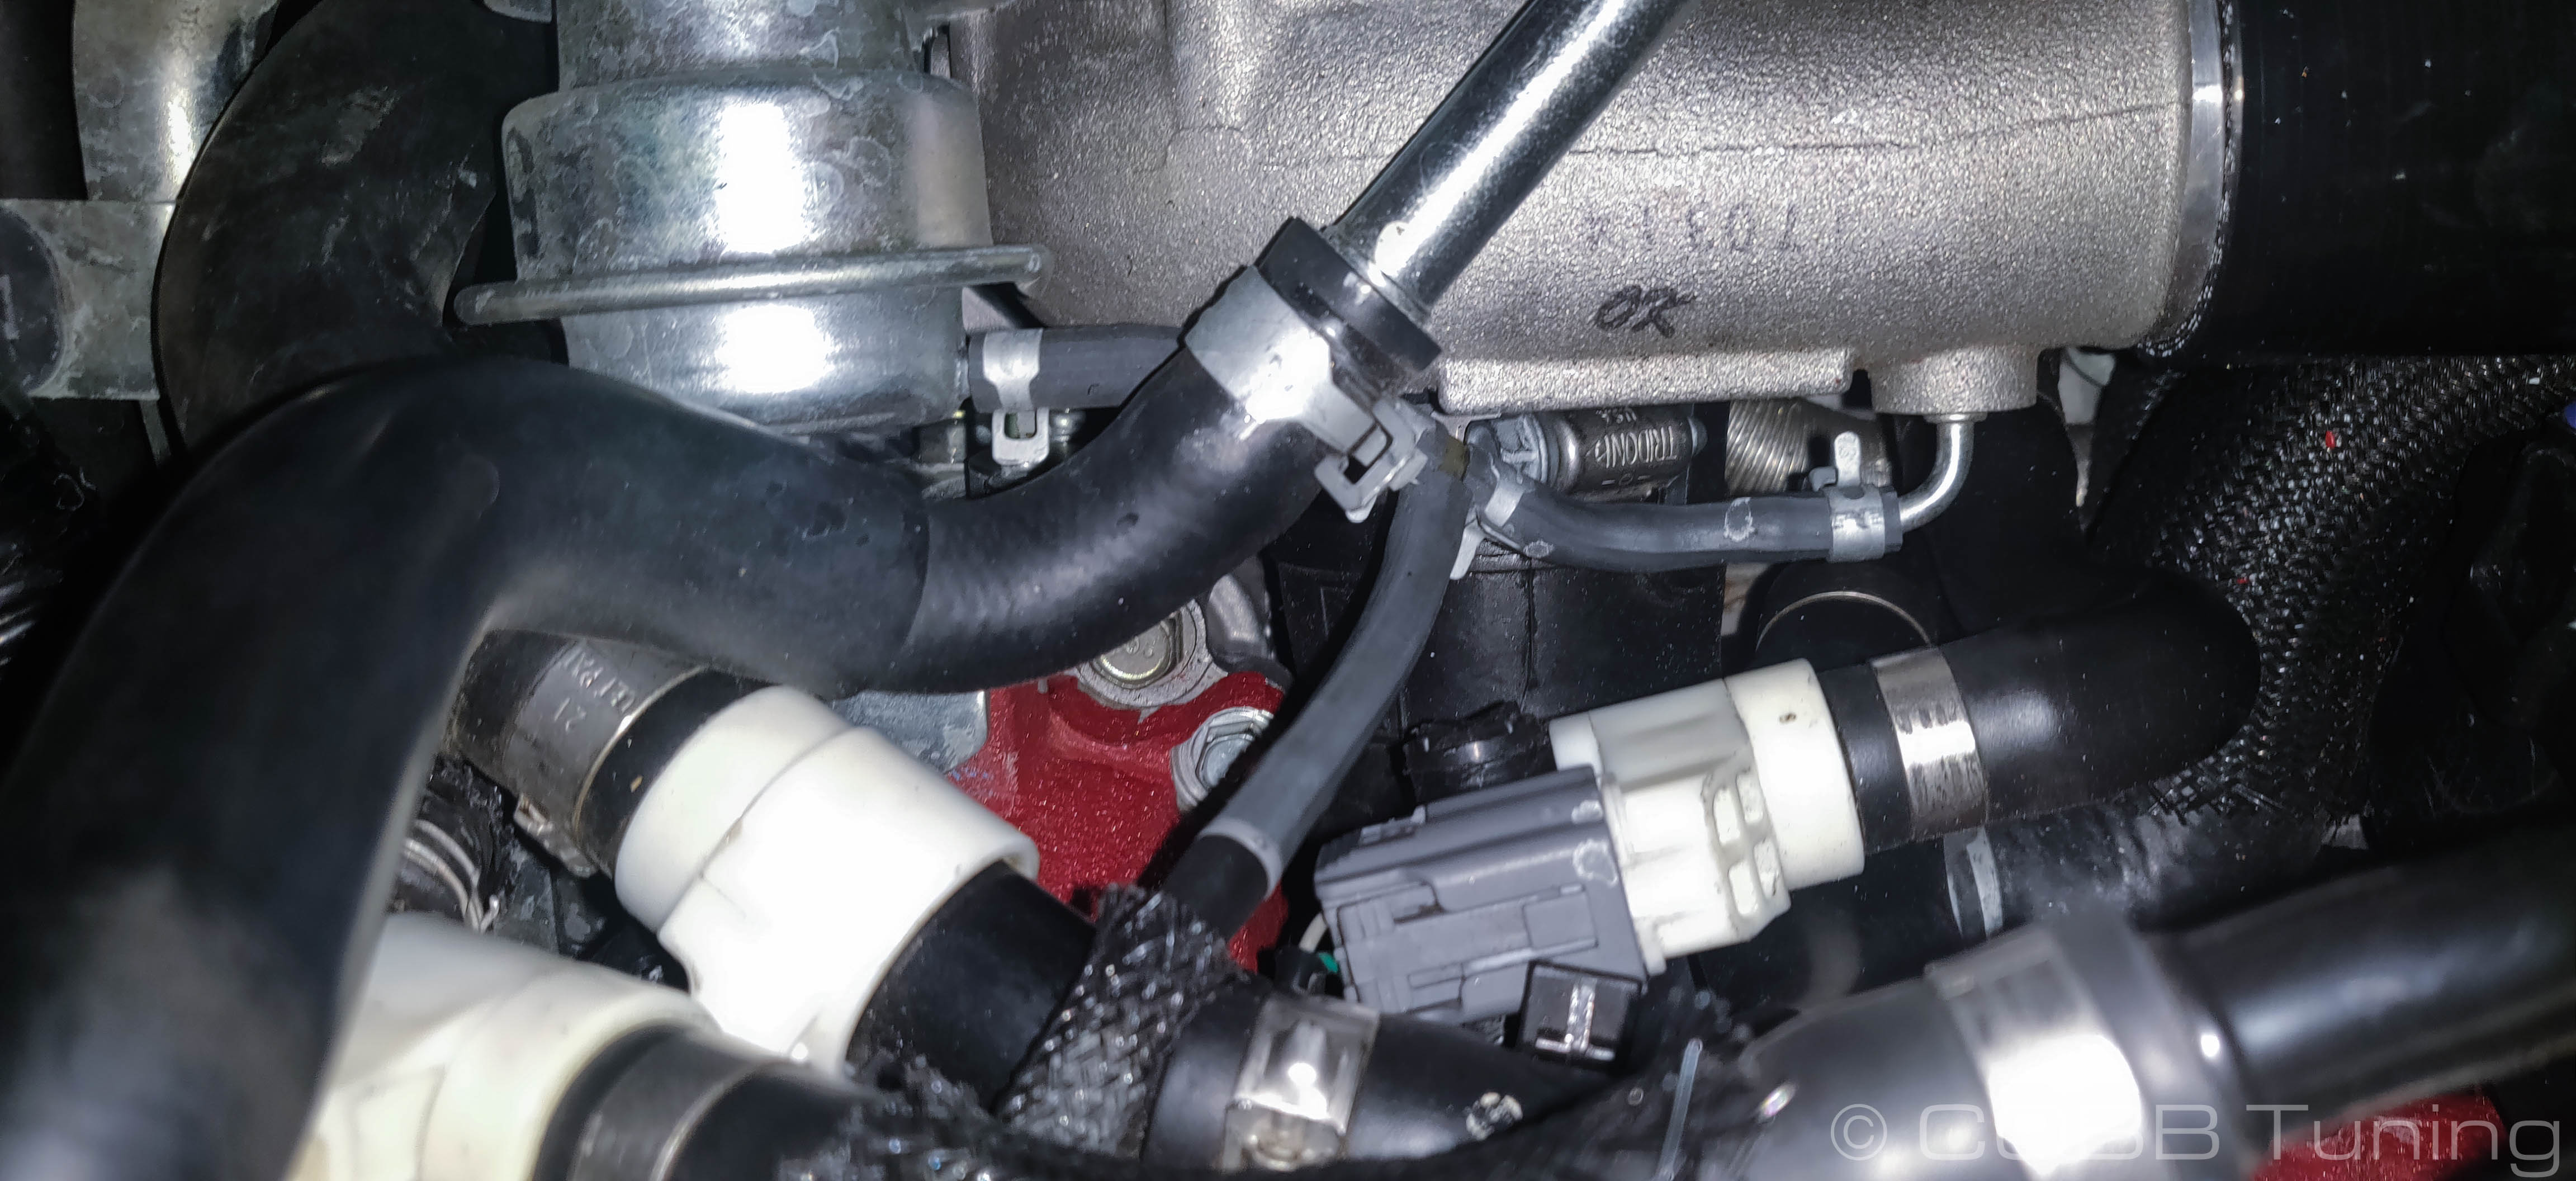
- Using pliers remove the hose clamp holding the BPV recirculation tube on and take it off of the inlet.
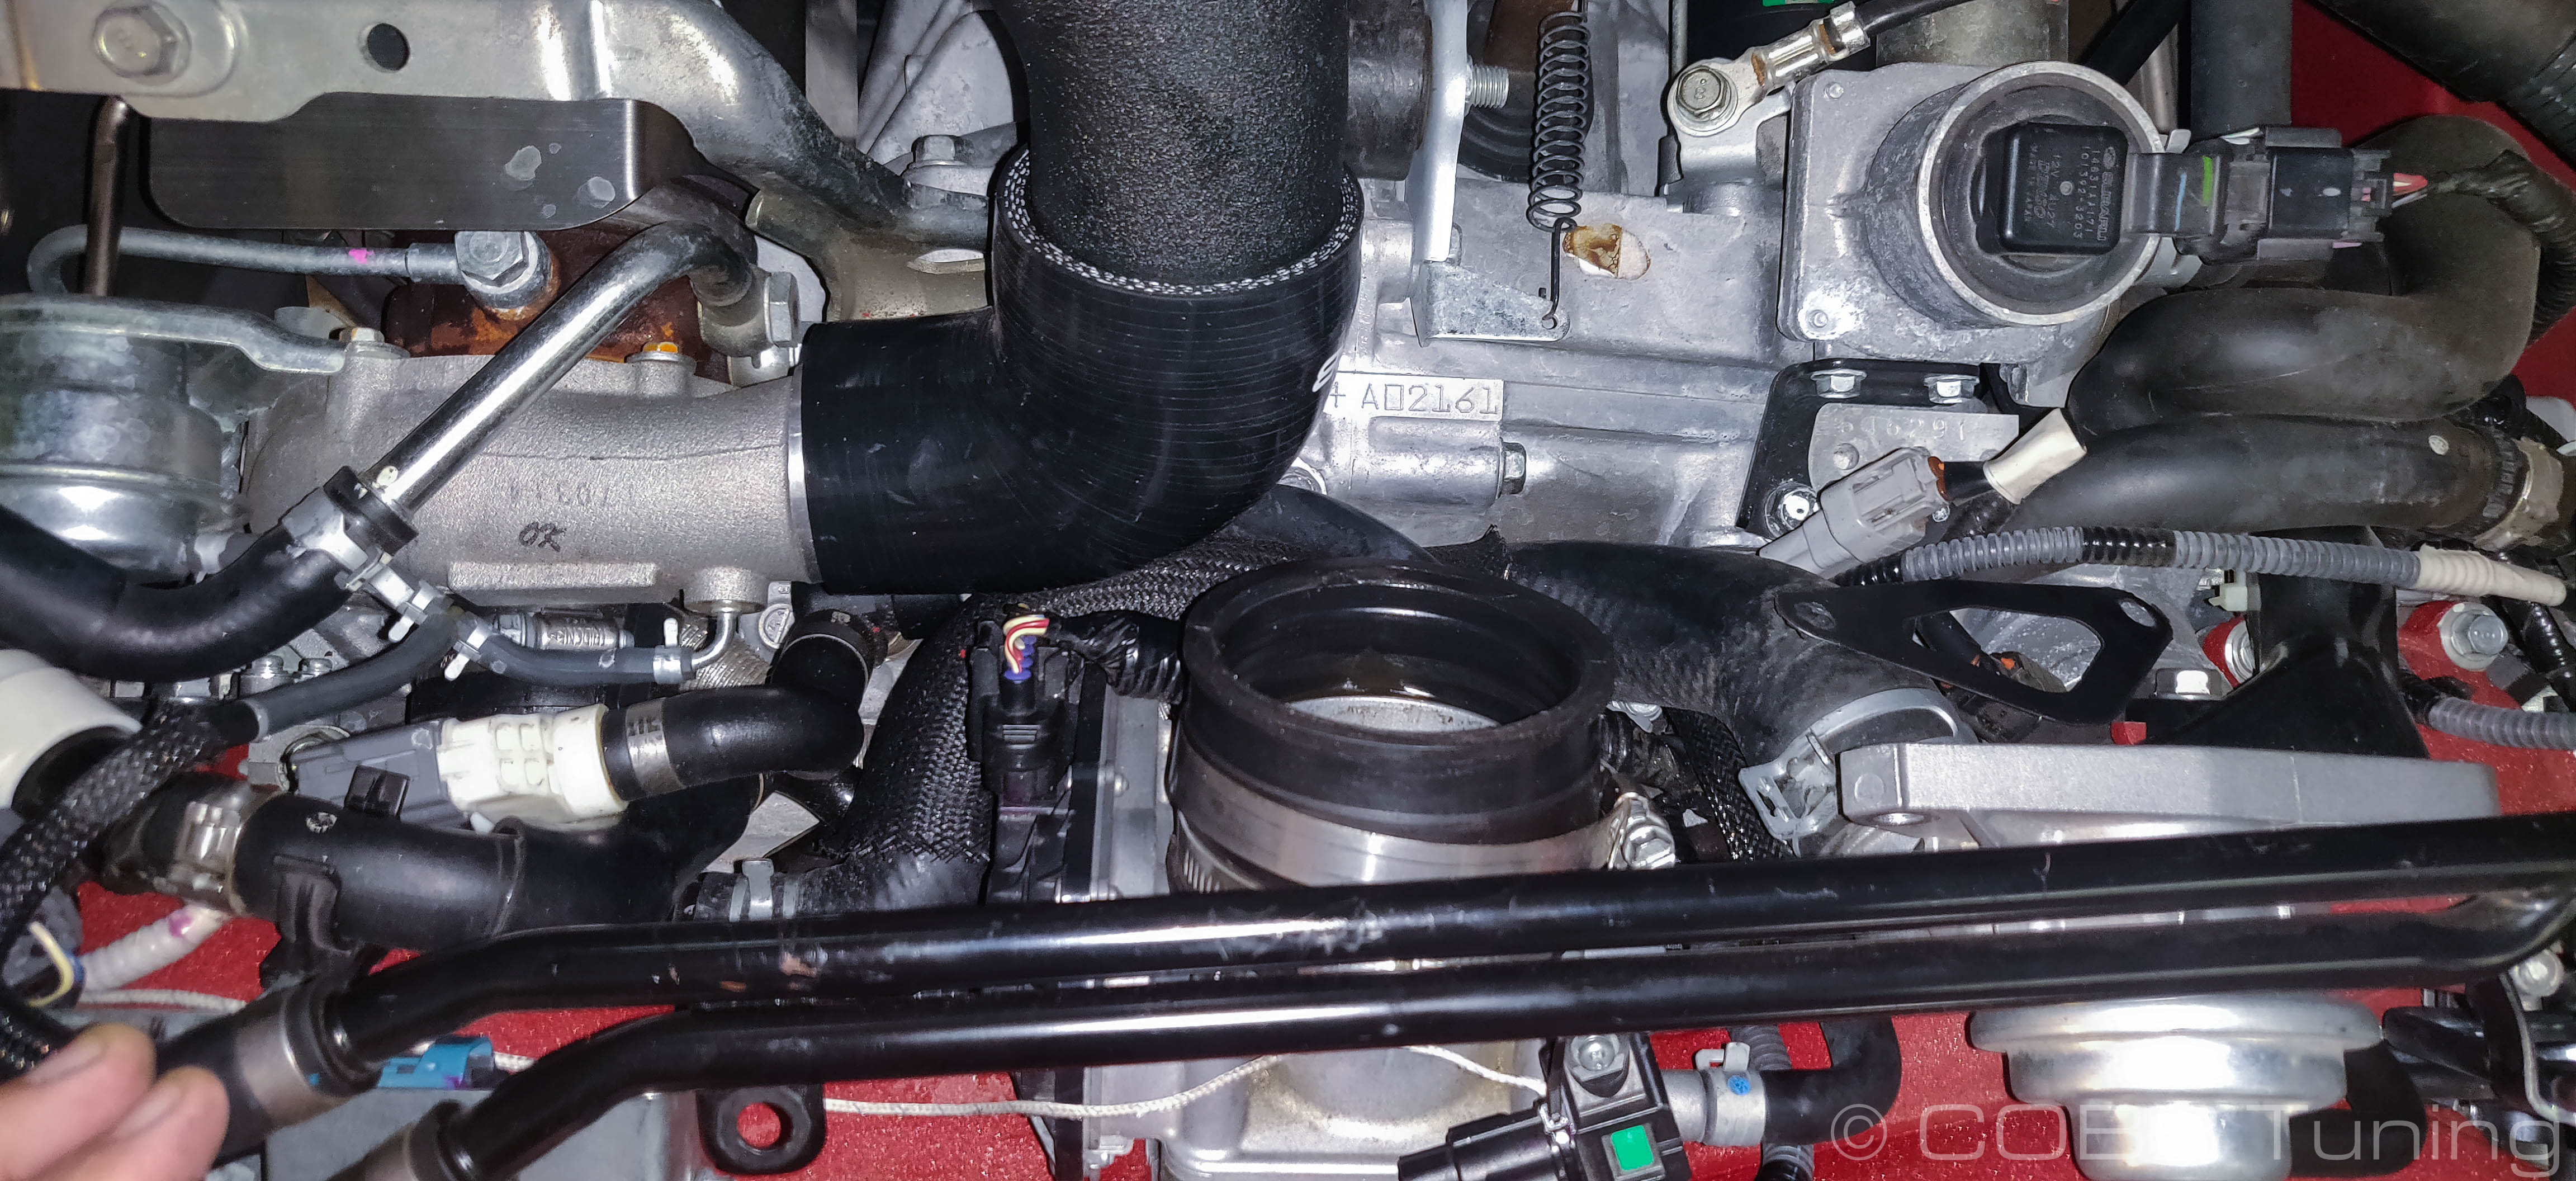
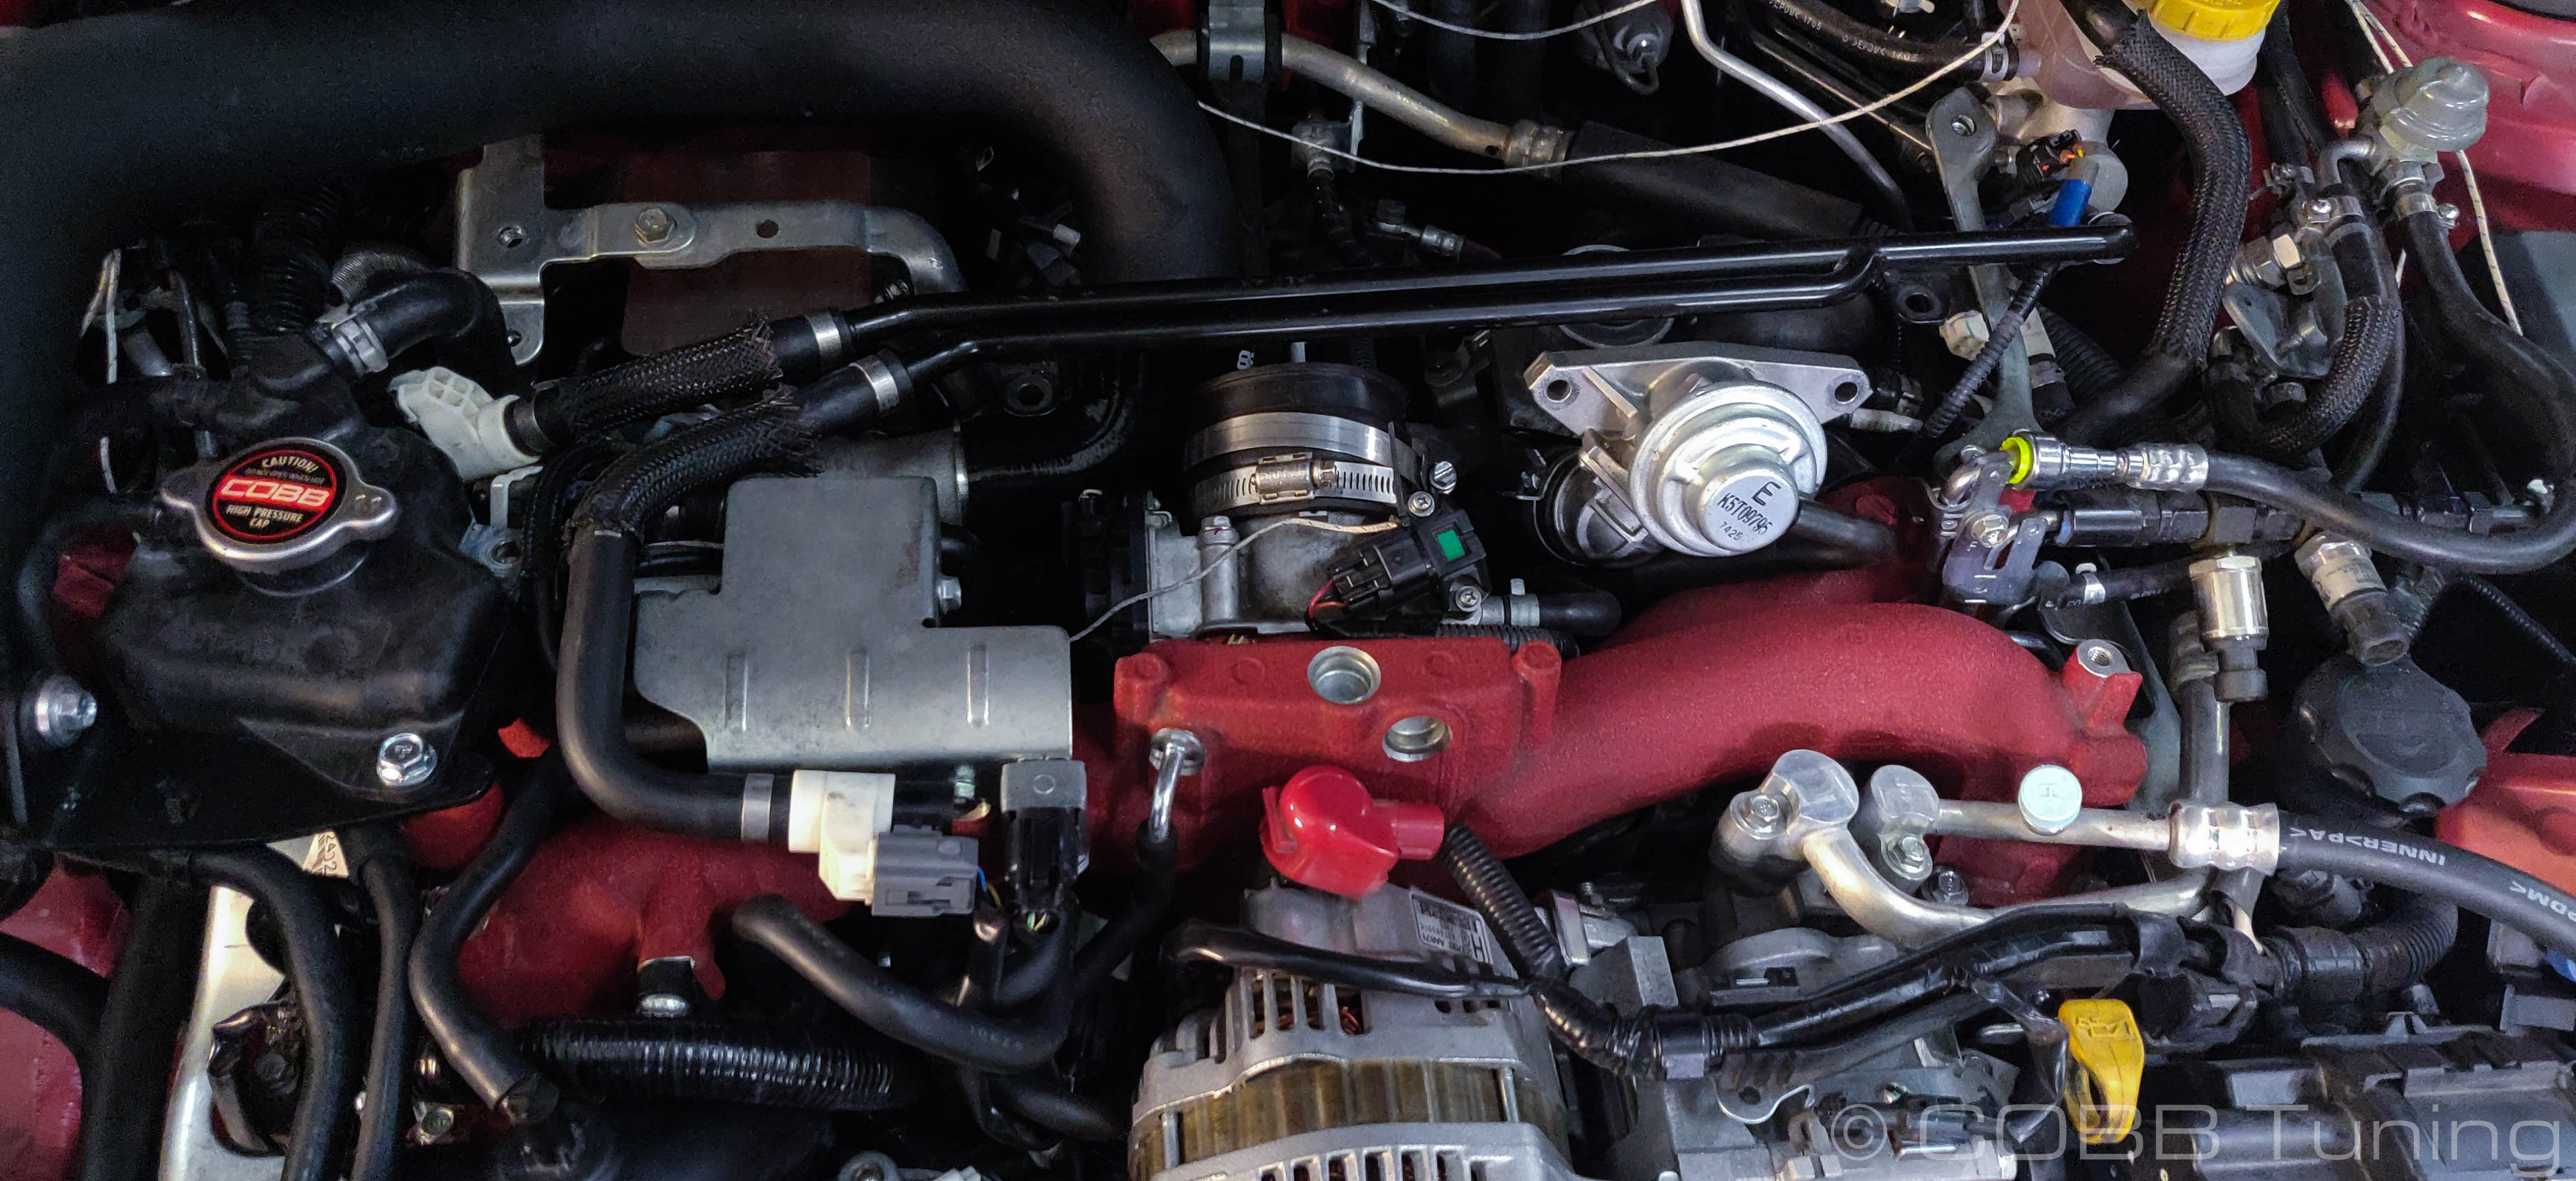
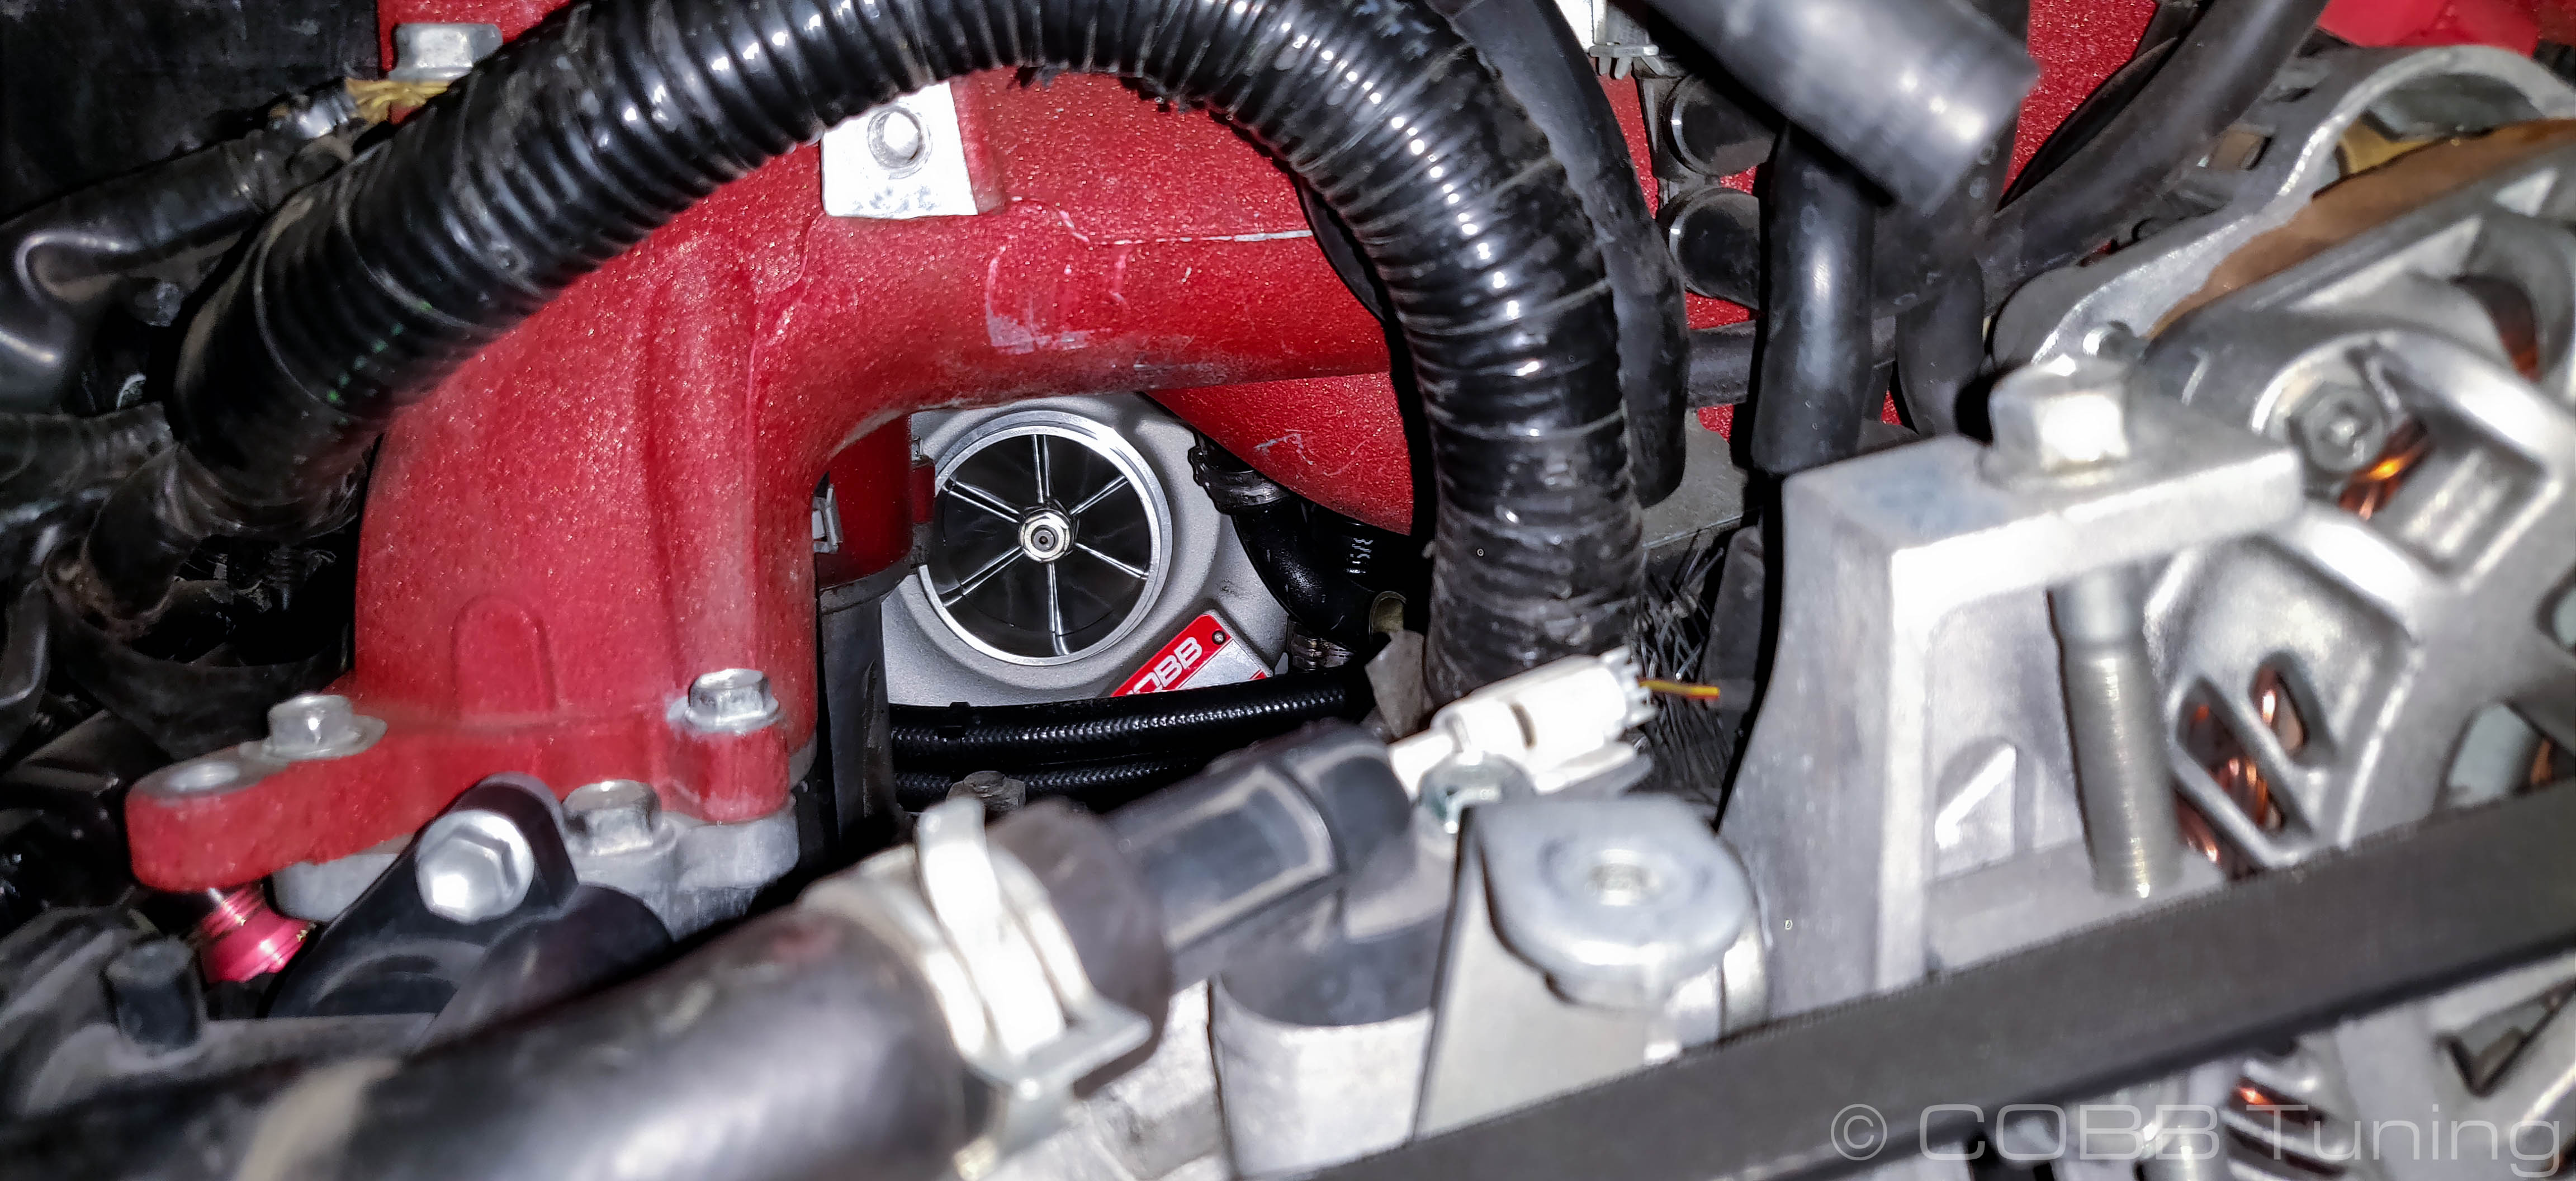
- Using a 7 or 8mm socket and extension remove the hose clamp holding the inlet onto the turbo.
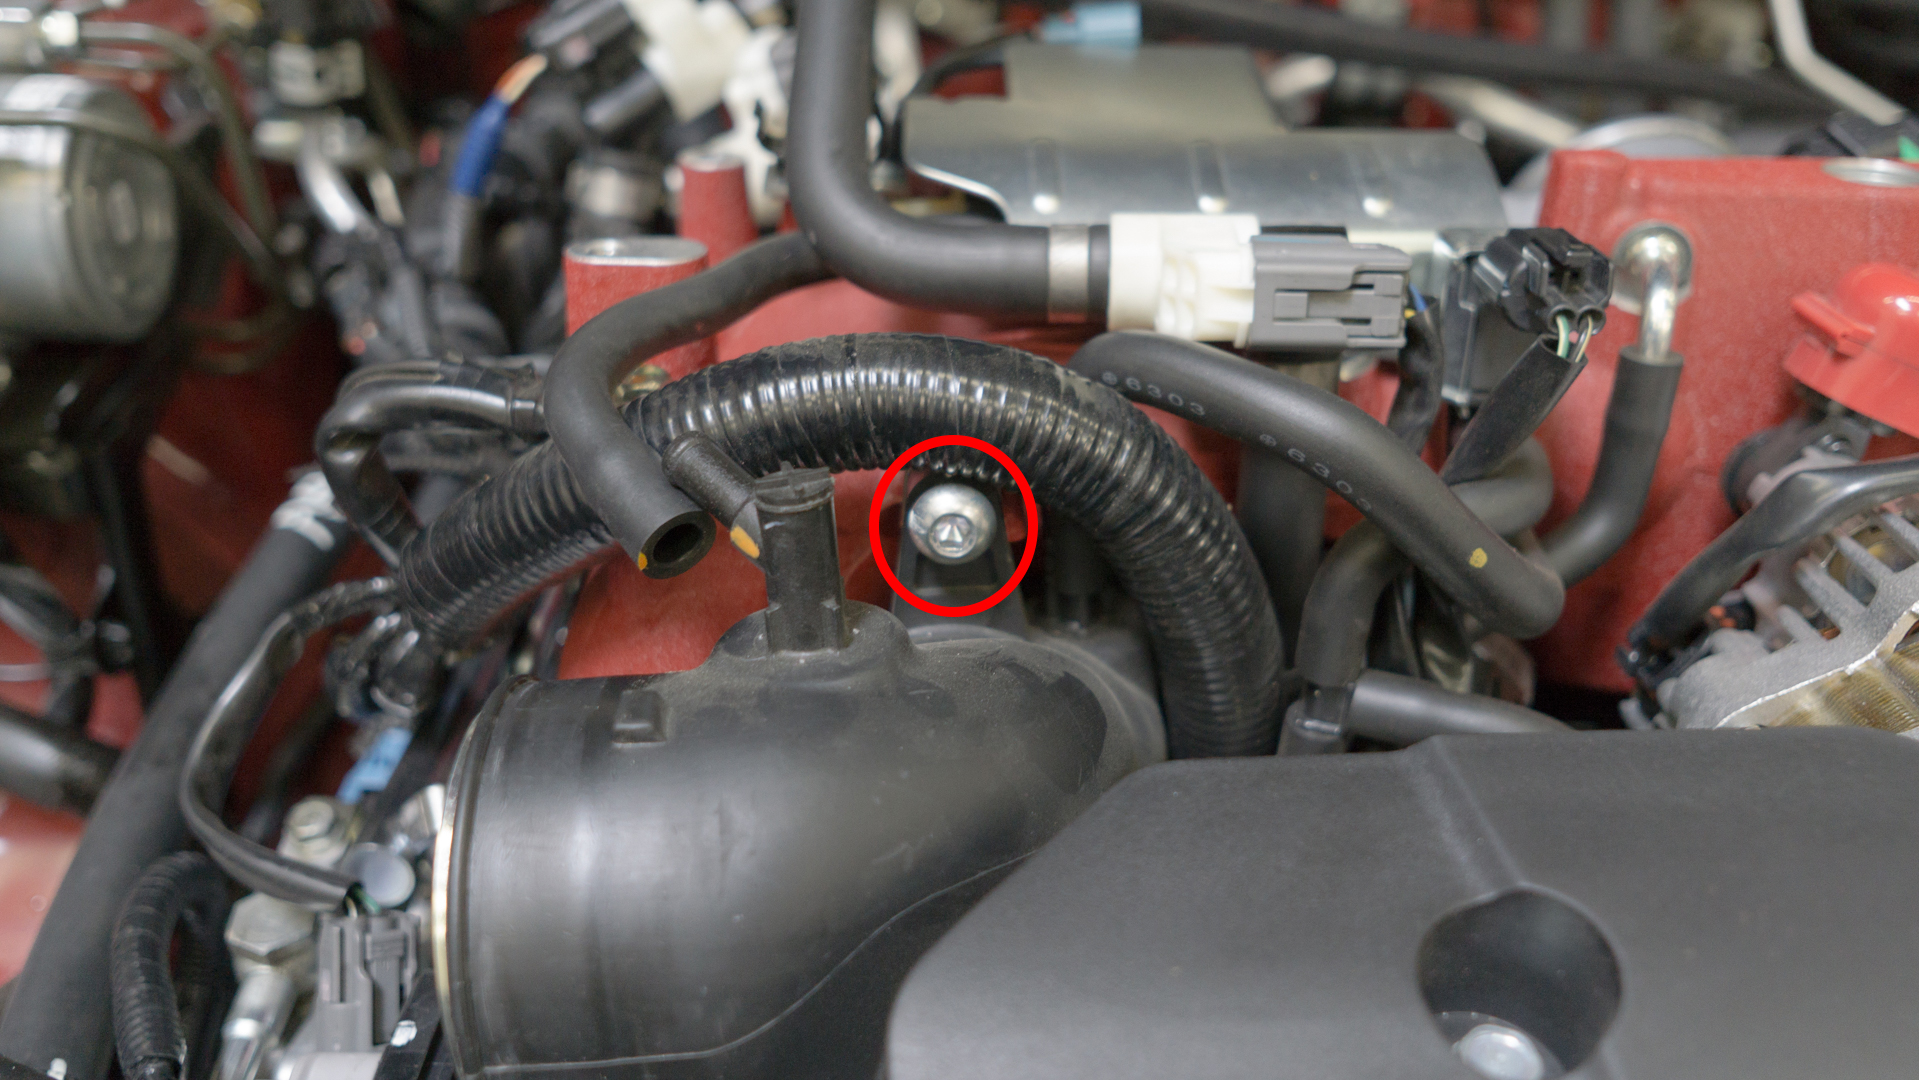
- Remove the 6mm hex head bolt on the front of the intake manifold holding the turbo inlet on.
- Finagle the turbo inlet forward and out from under the manifold. If your inlet is already cracked or broken, breaking the inlet can make it much easier to get out.
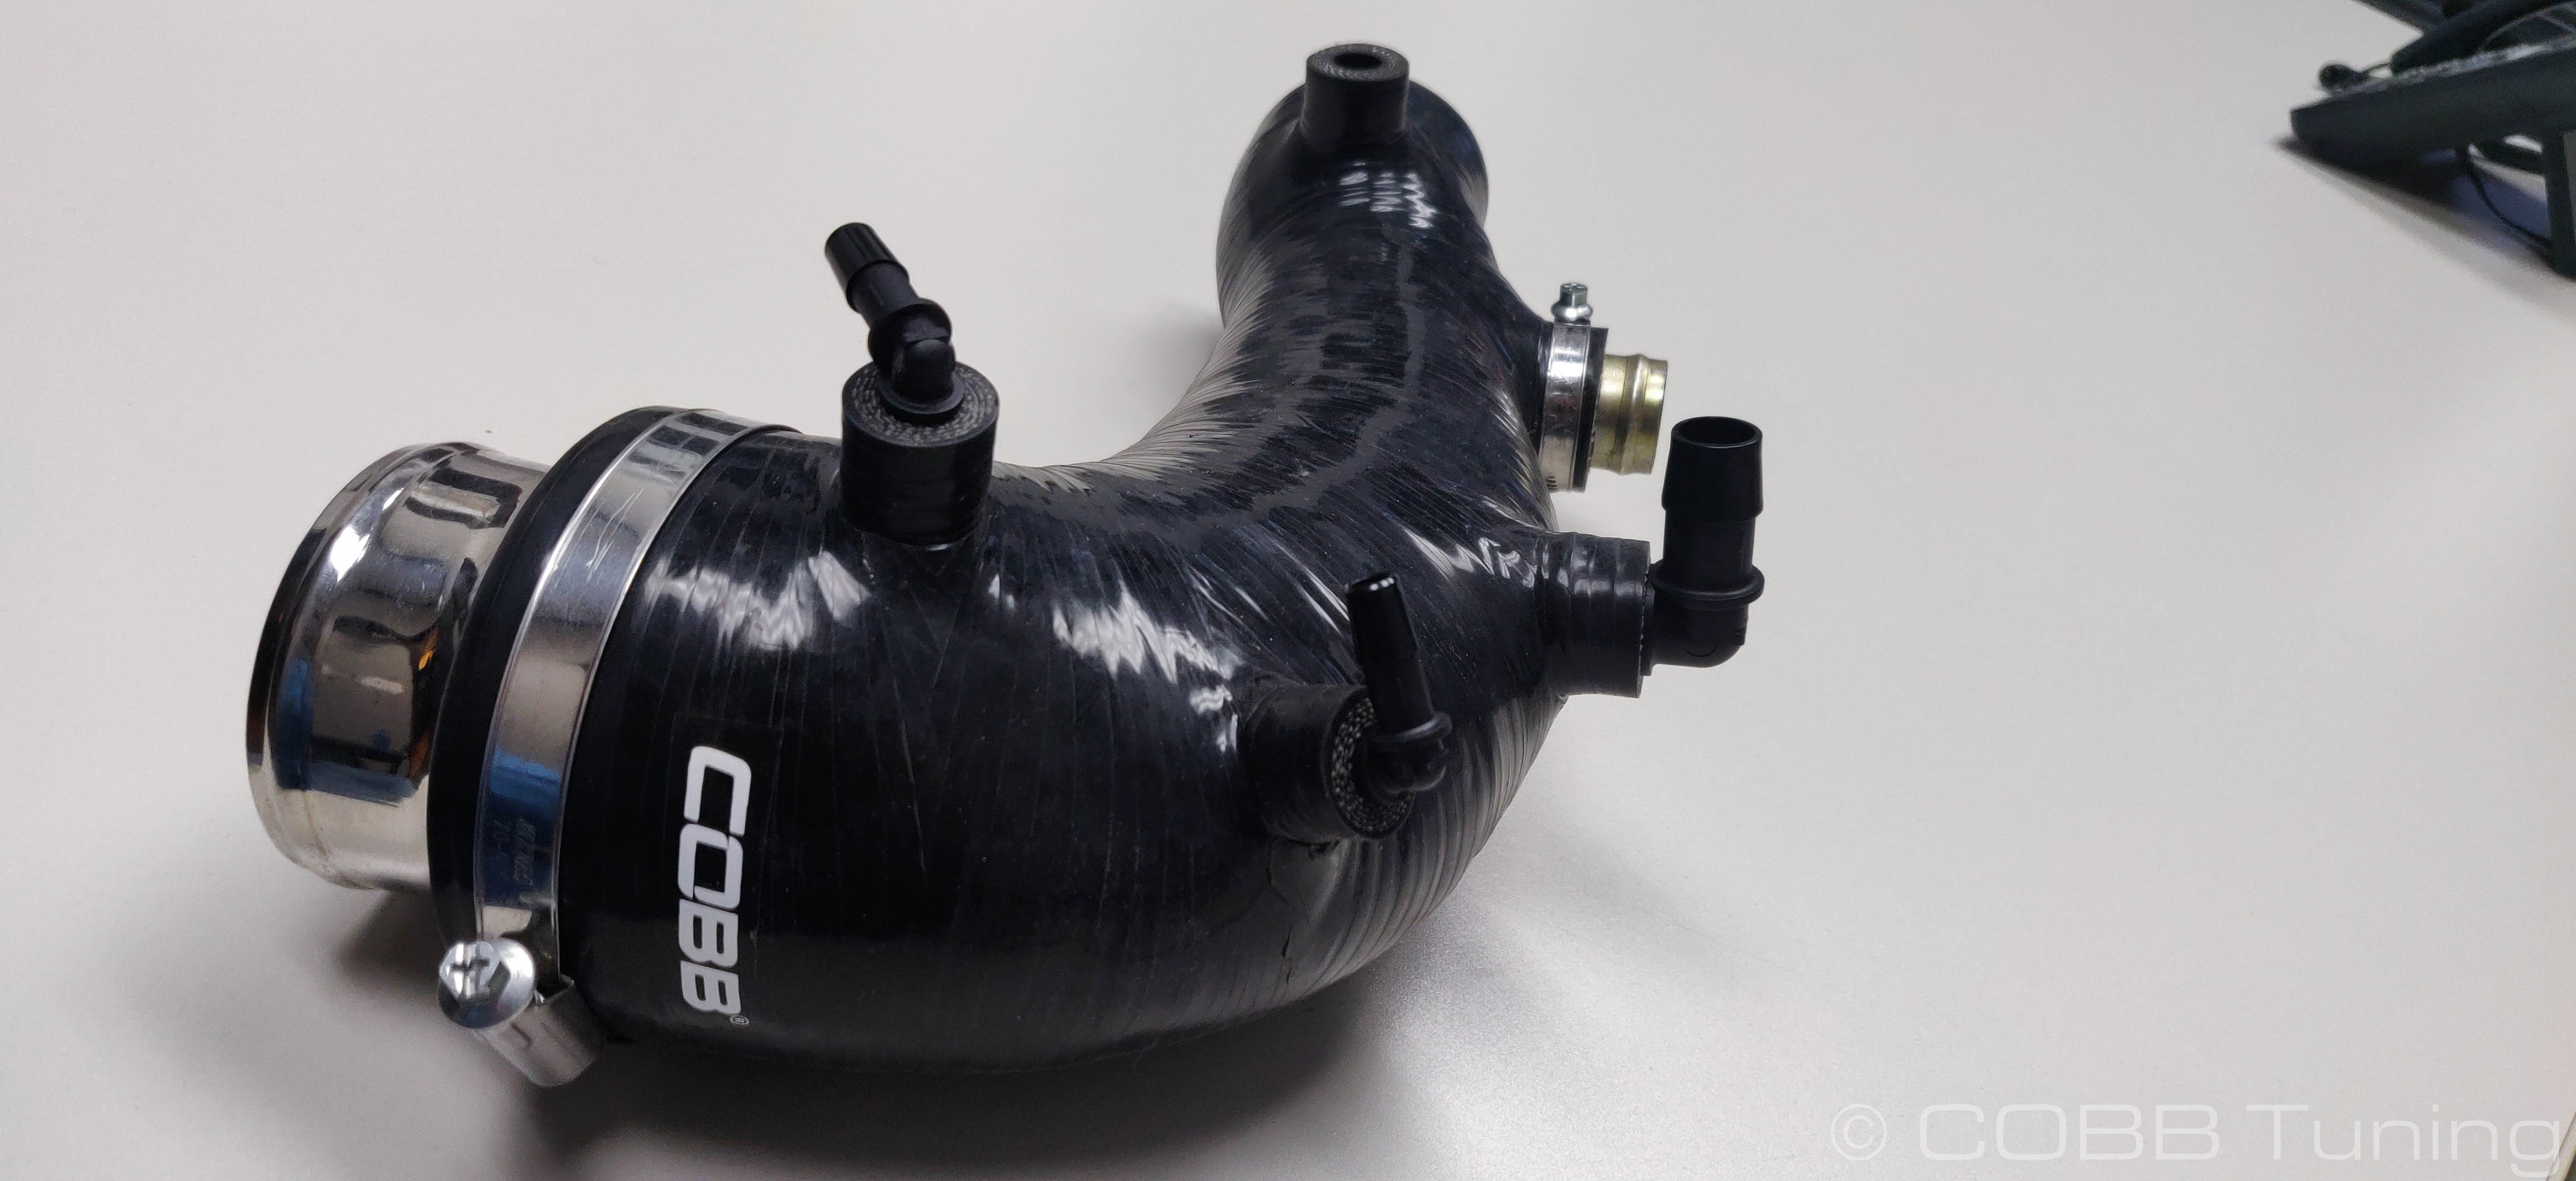
COBB Turbo Inlet Installation
- Before installation make sure the most of the fittings are installed.
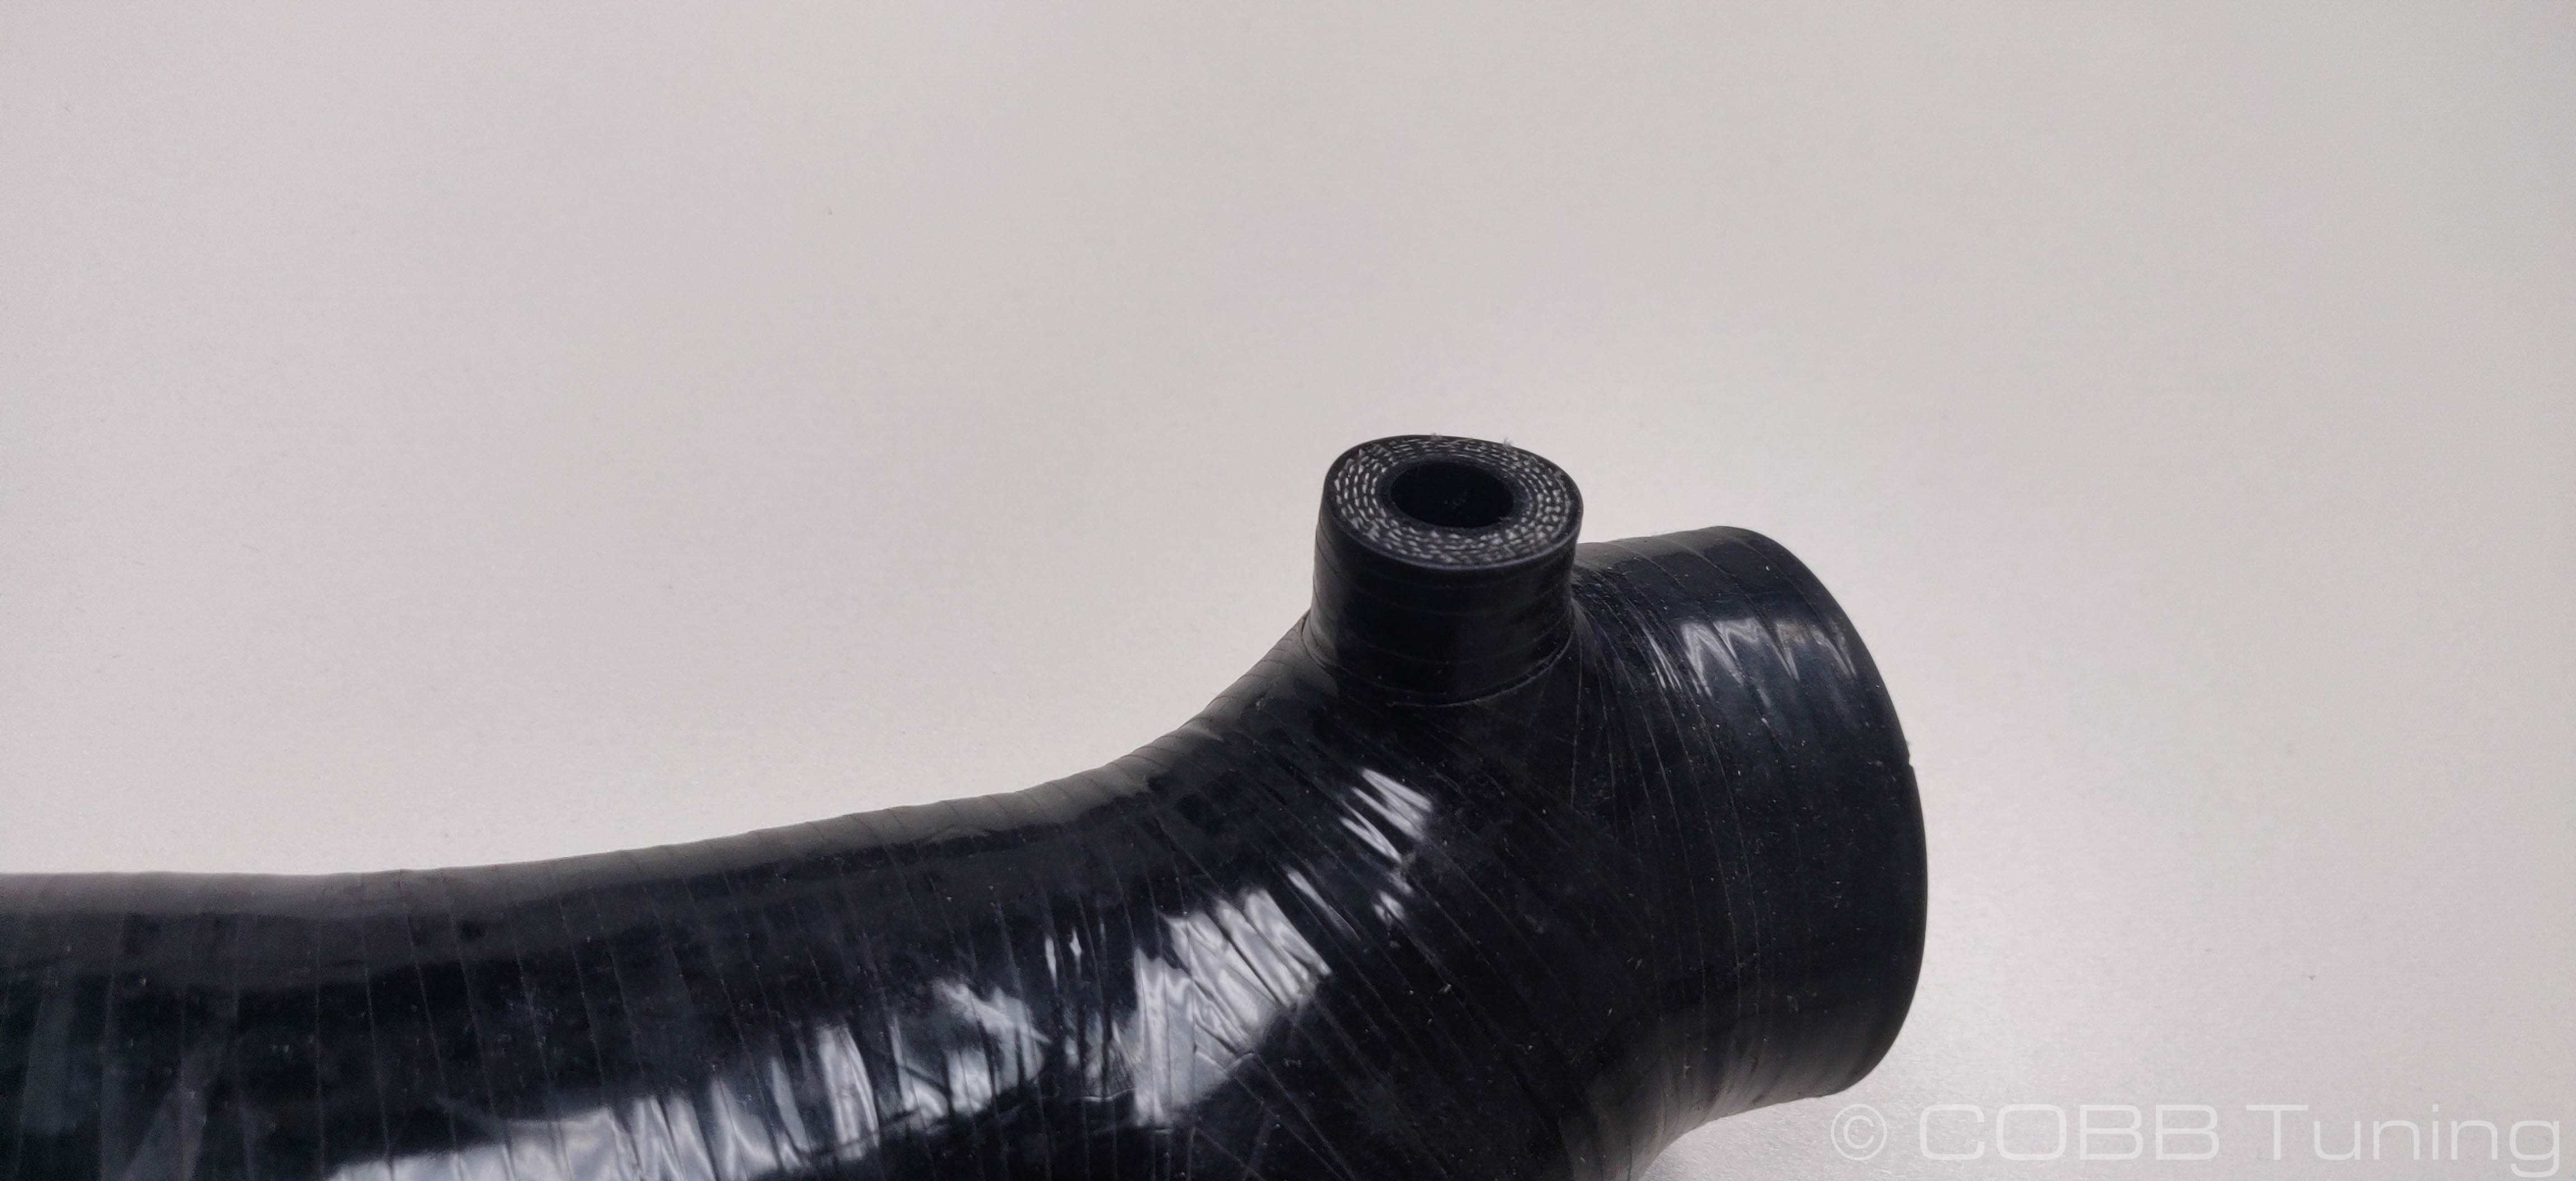
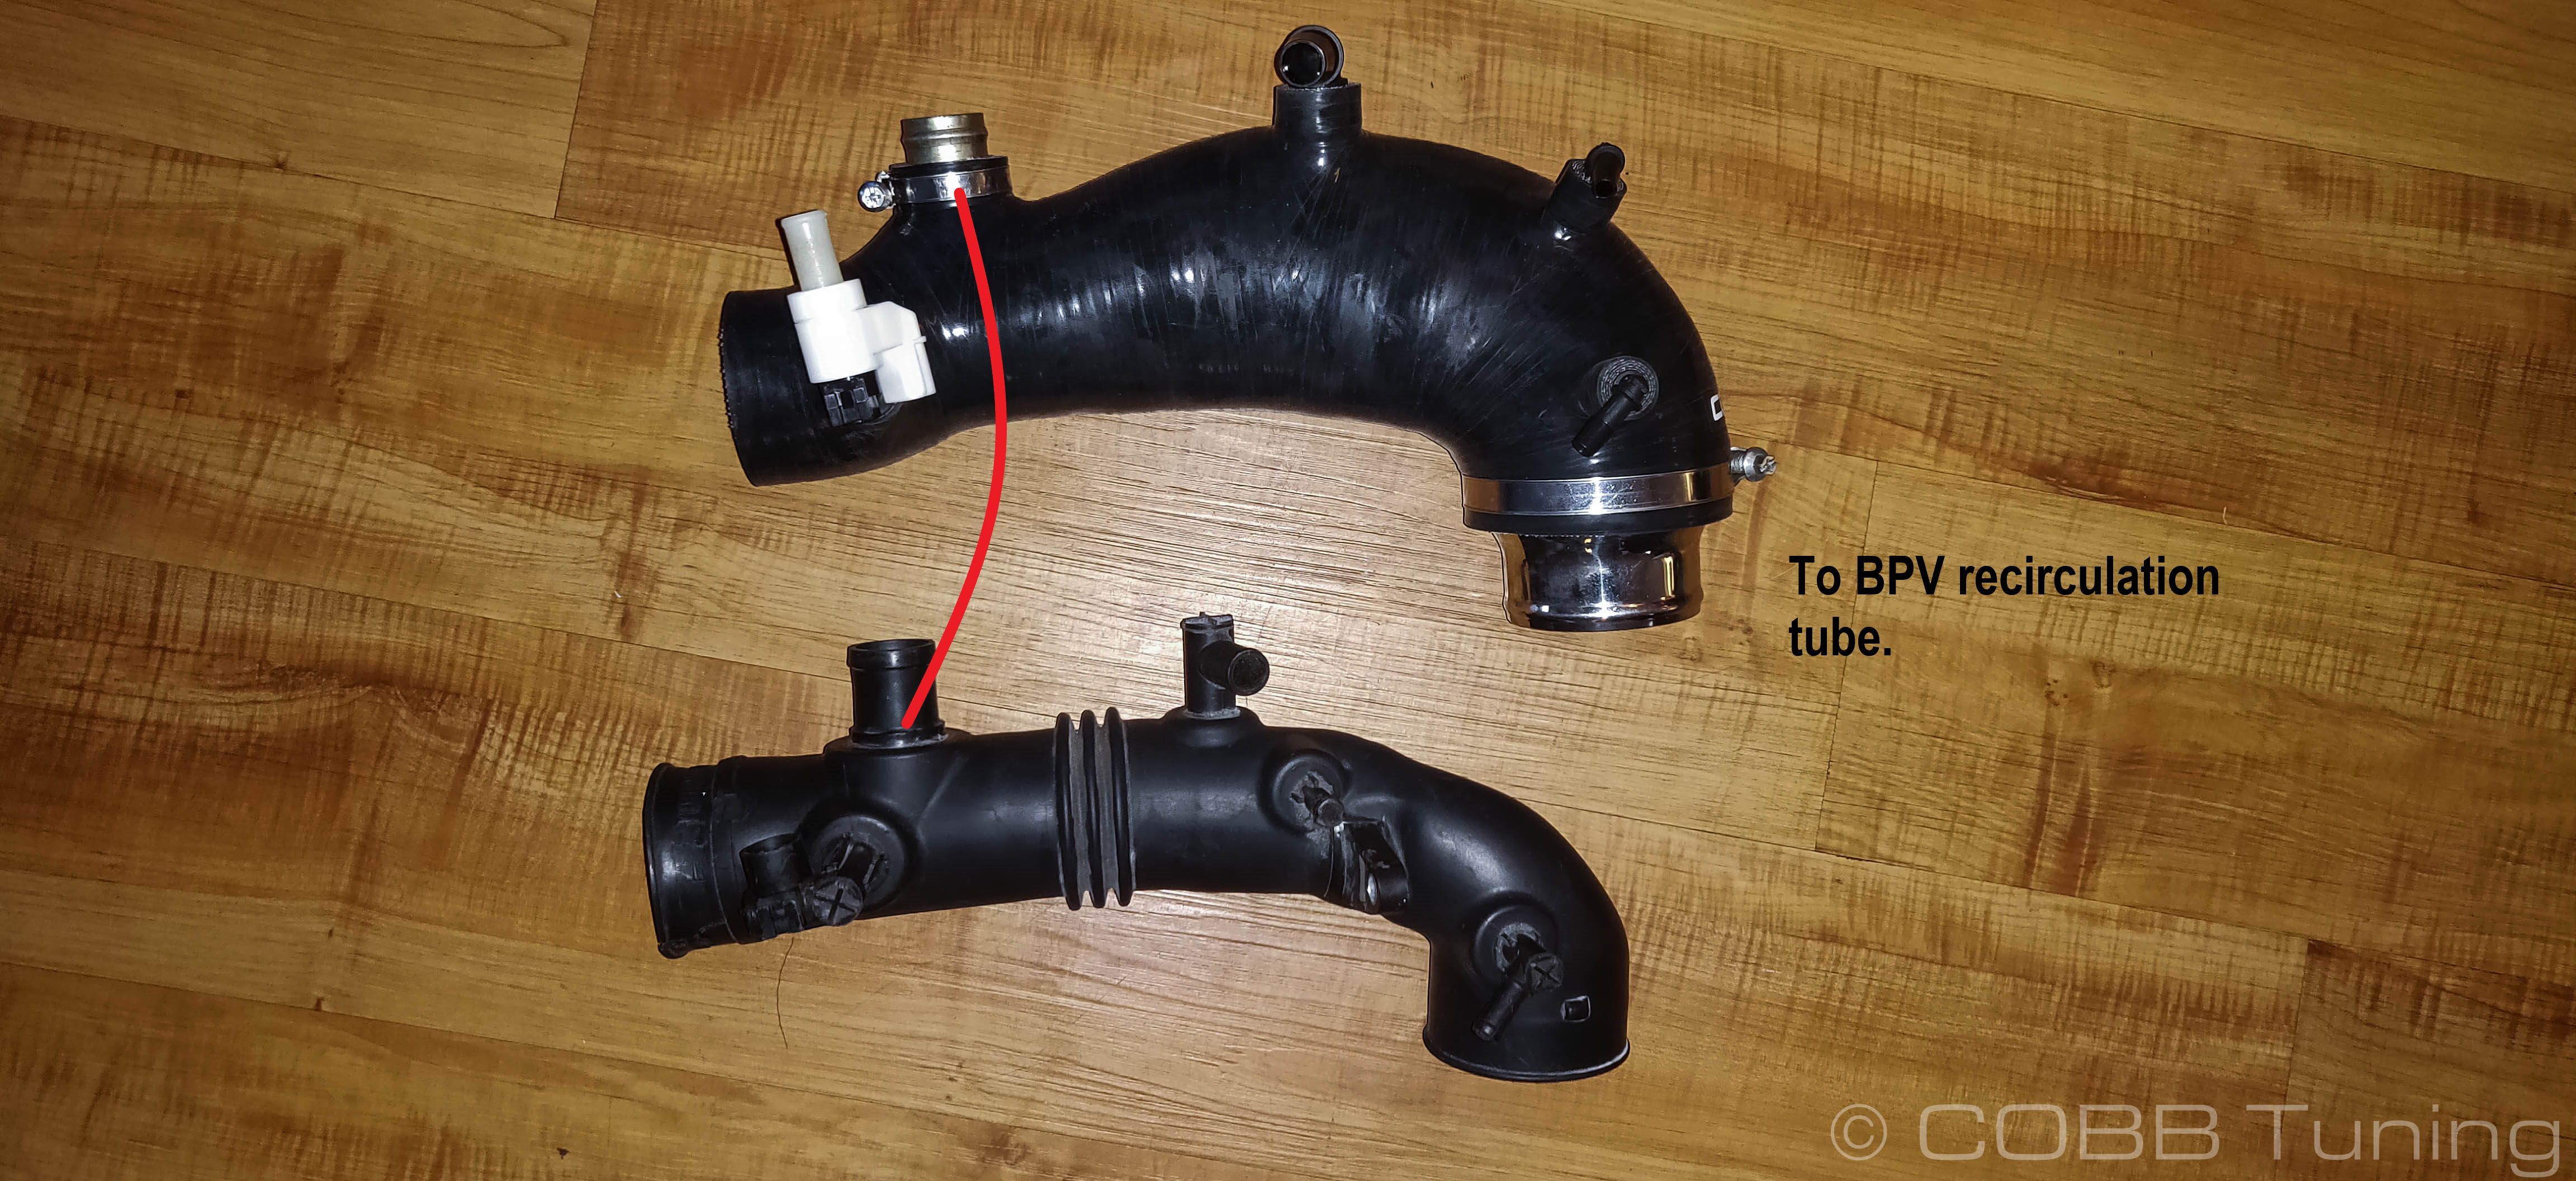
- Install the 2 smaller barbed 90 degree fittings to the front two ports. These are for the EBCS and Purge Solenoid
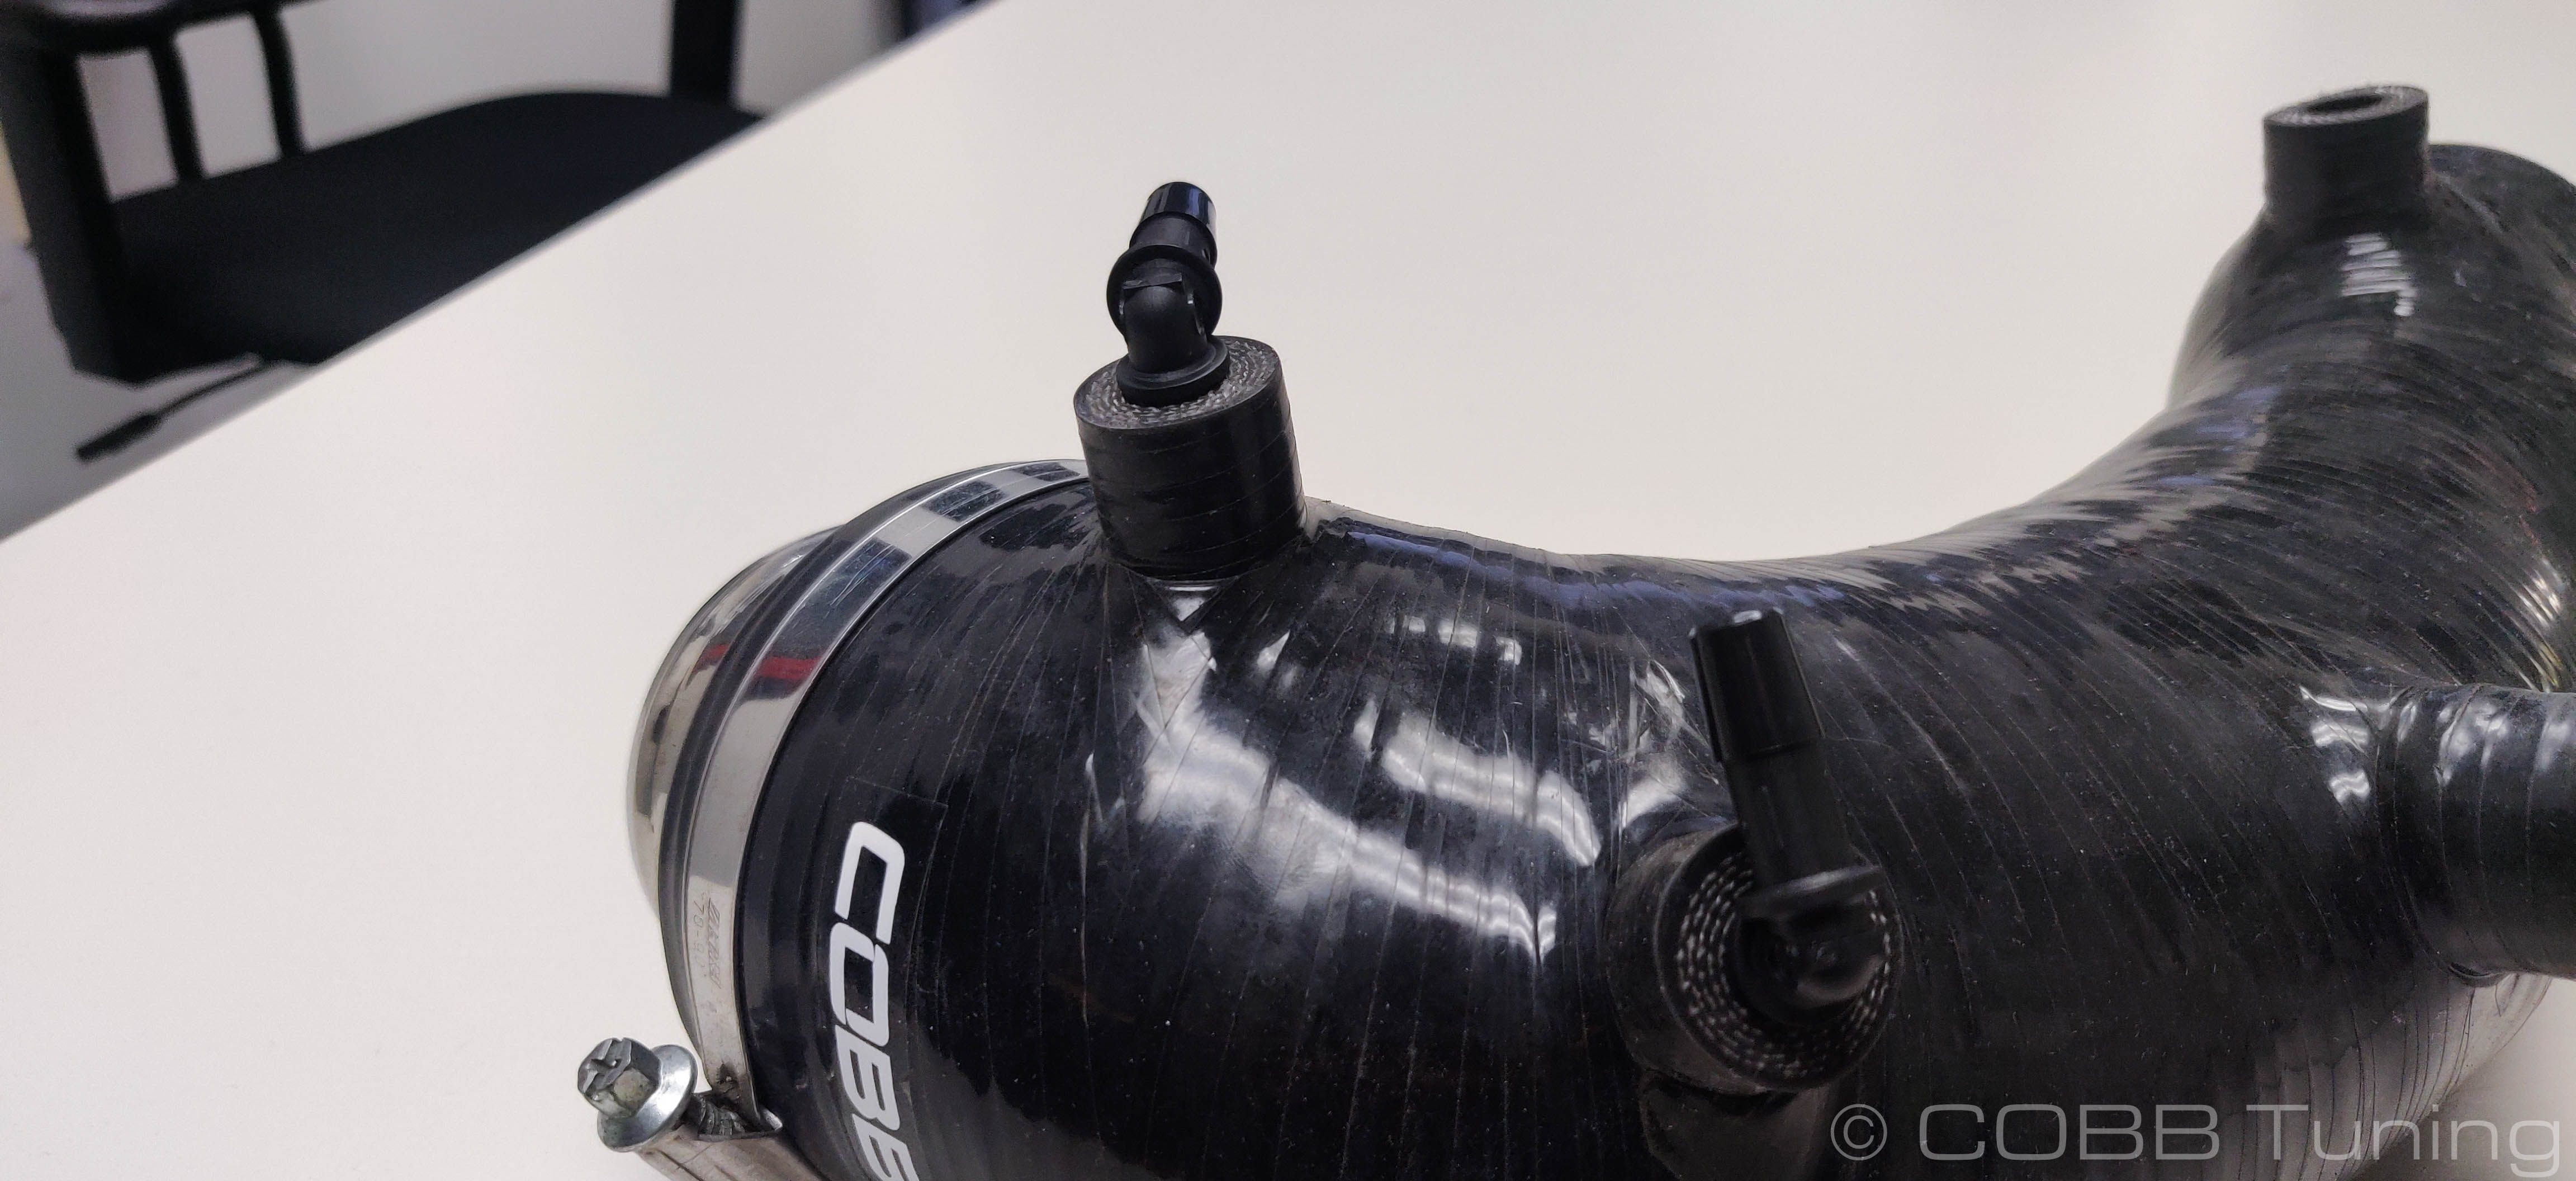
- Install the larger barbed fitting onto the middle port in the side of the inlet.
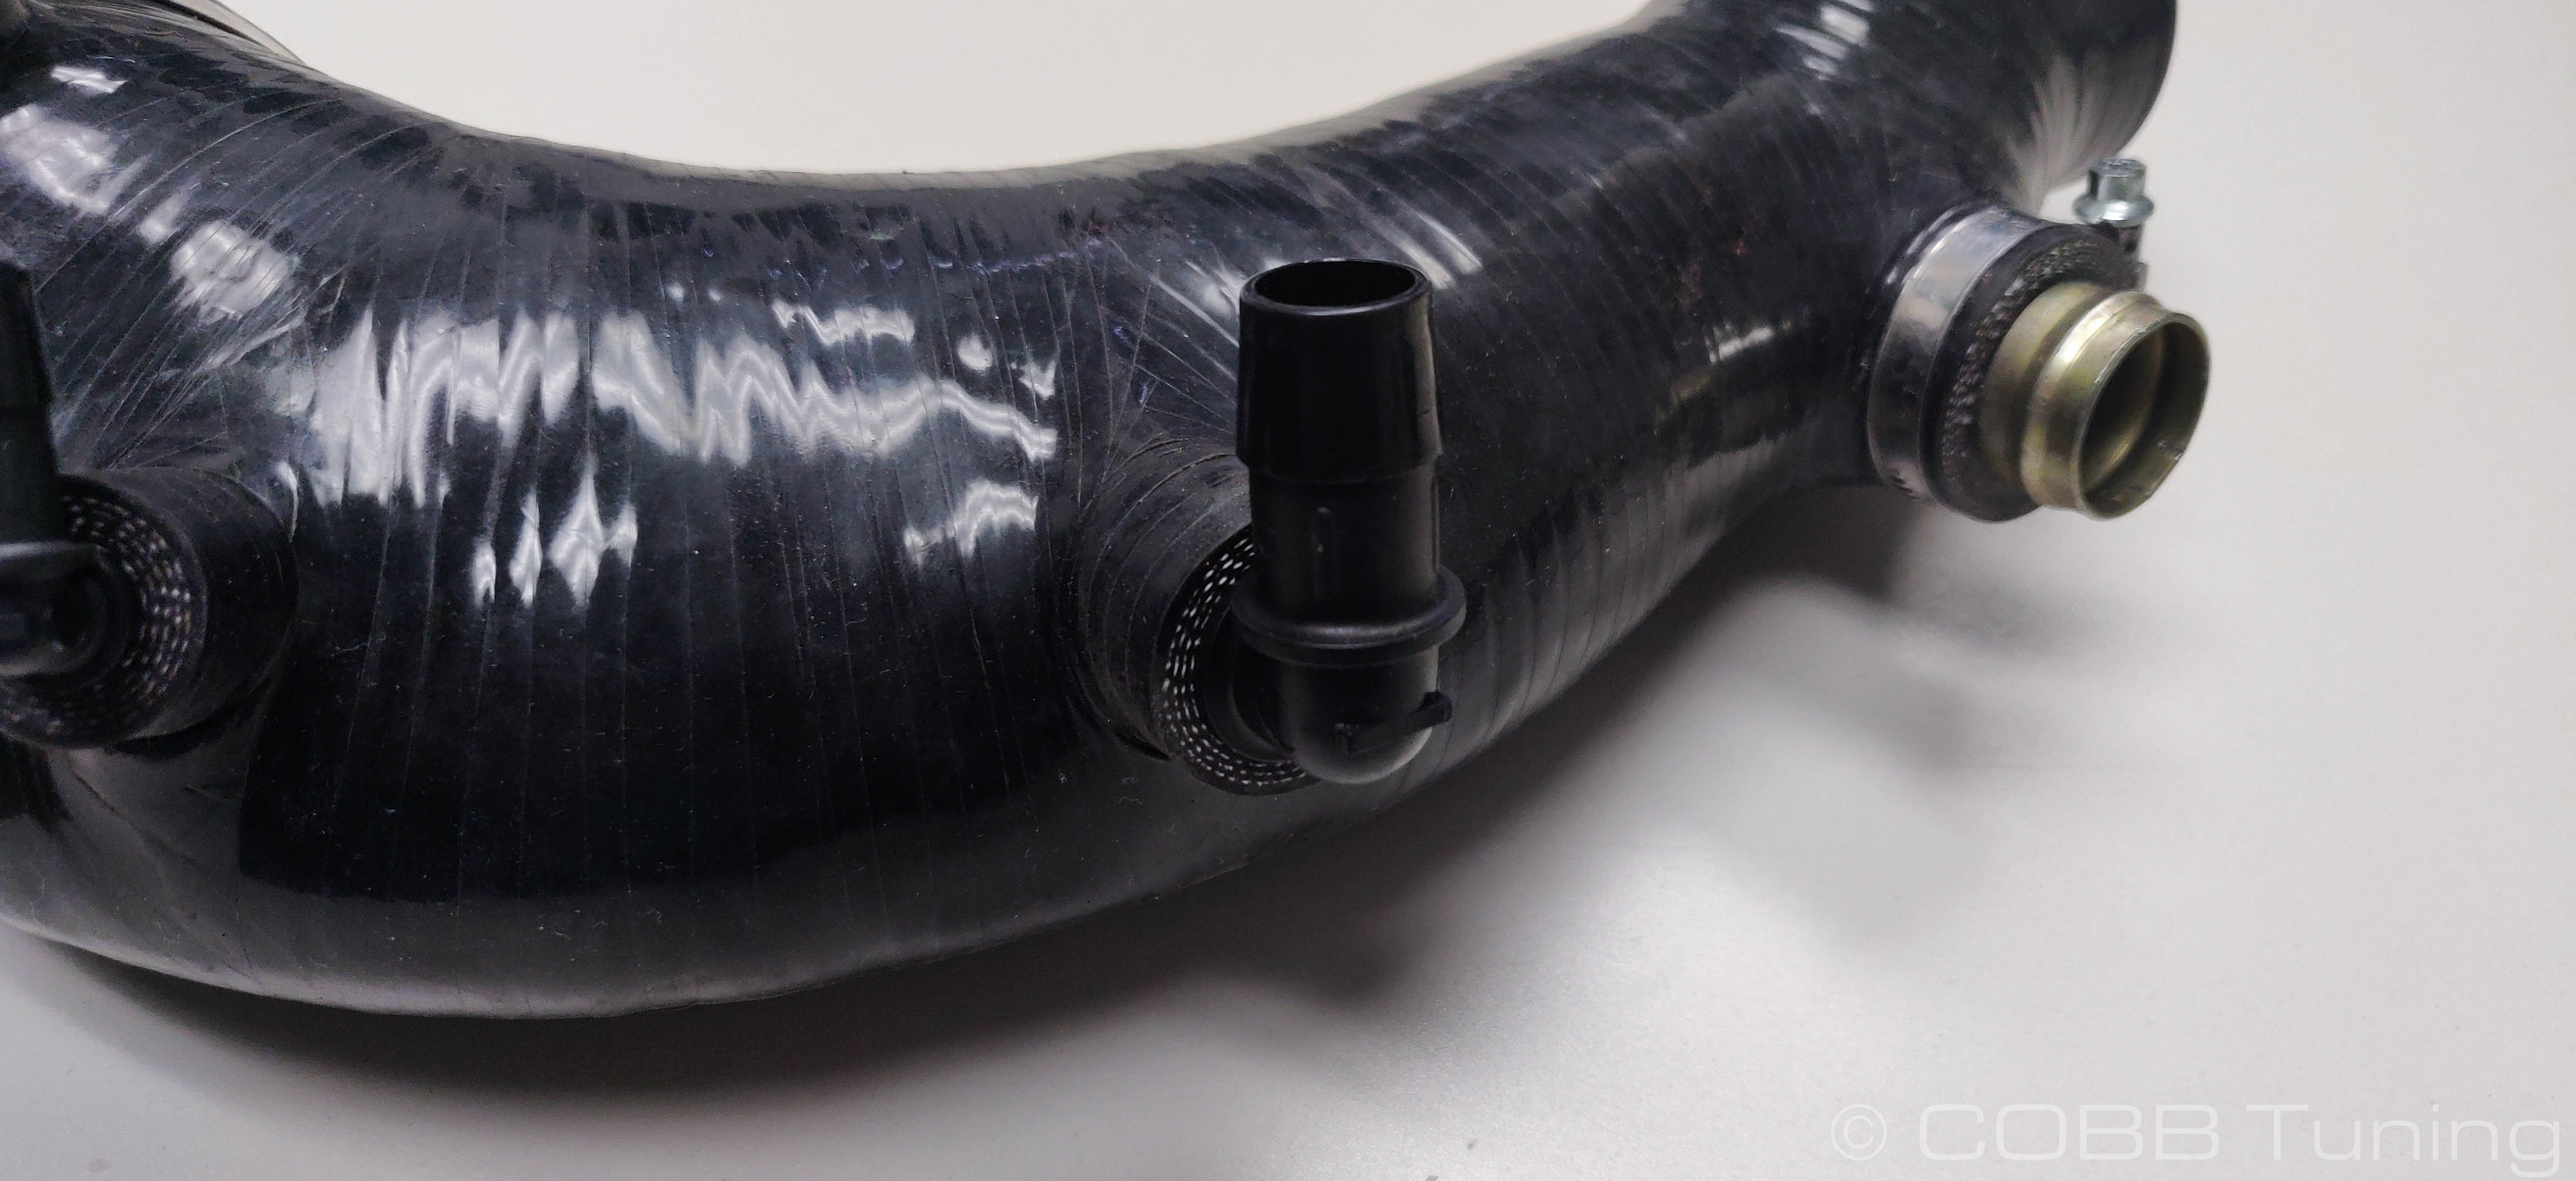
- Install the large metal fitting for the EBCS recirculation into the rear side fitting of the inlet.
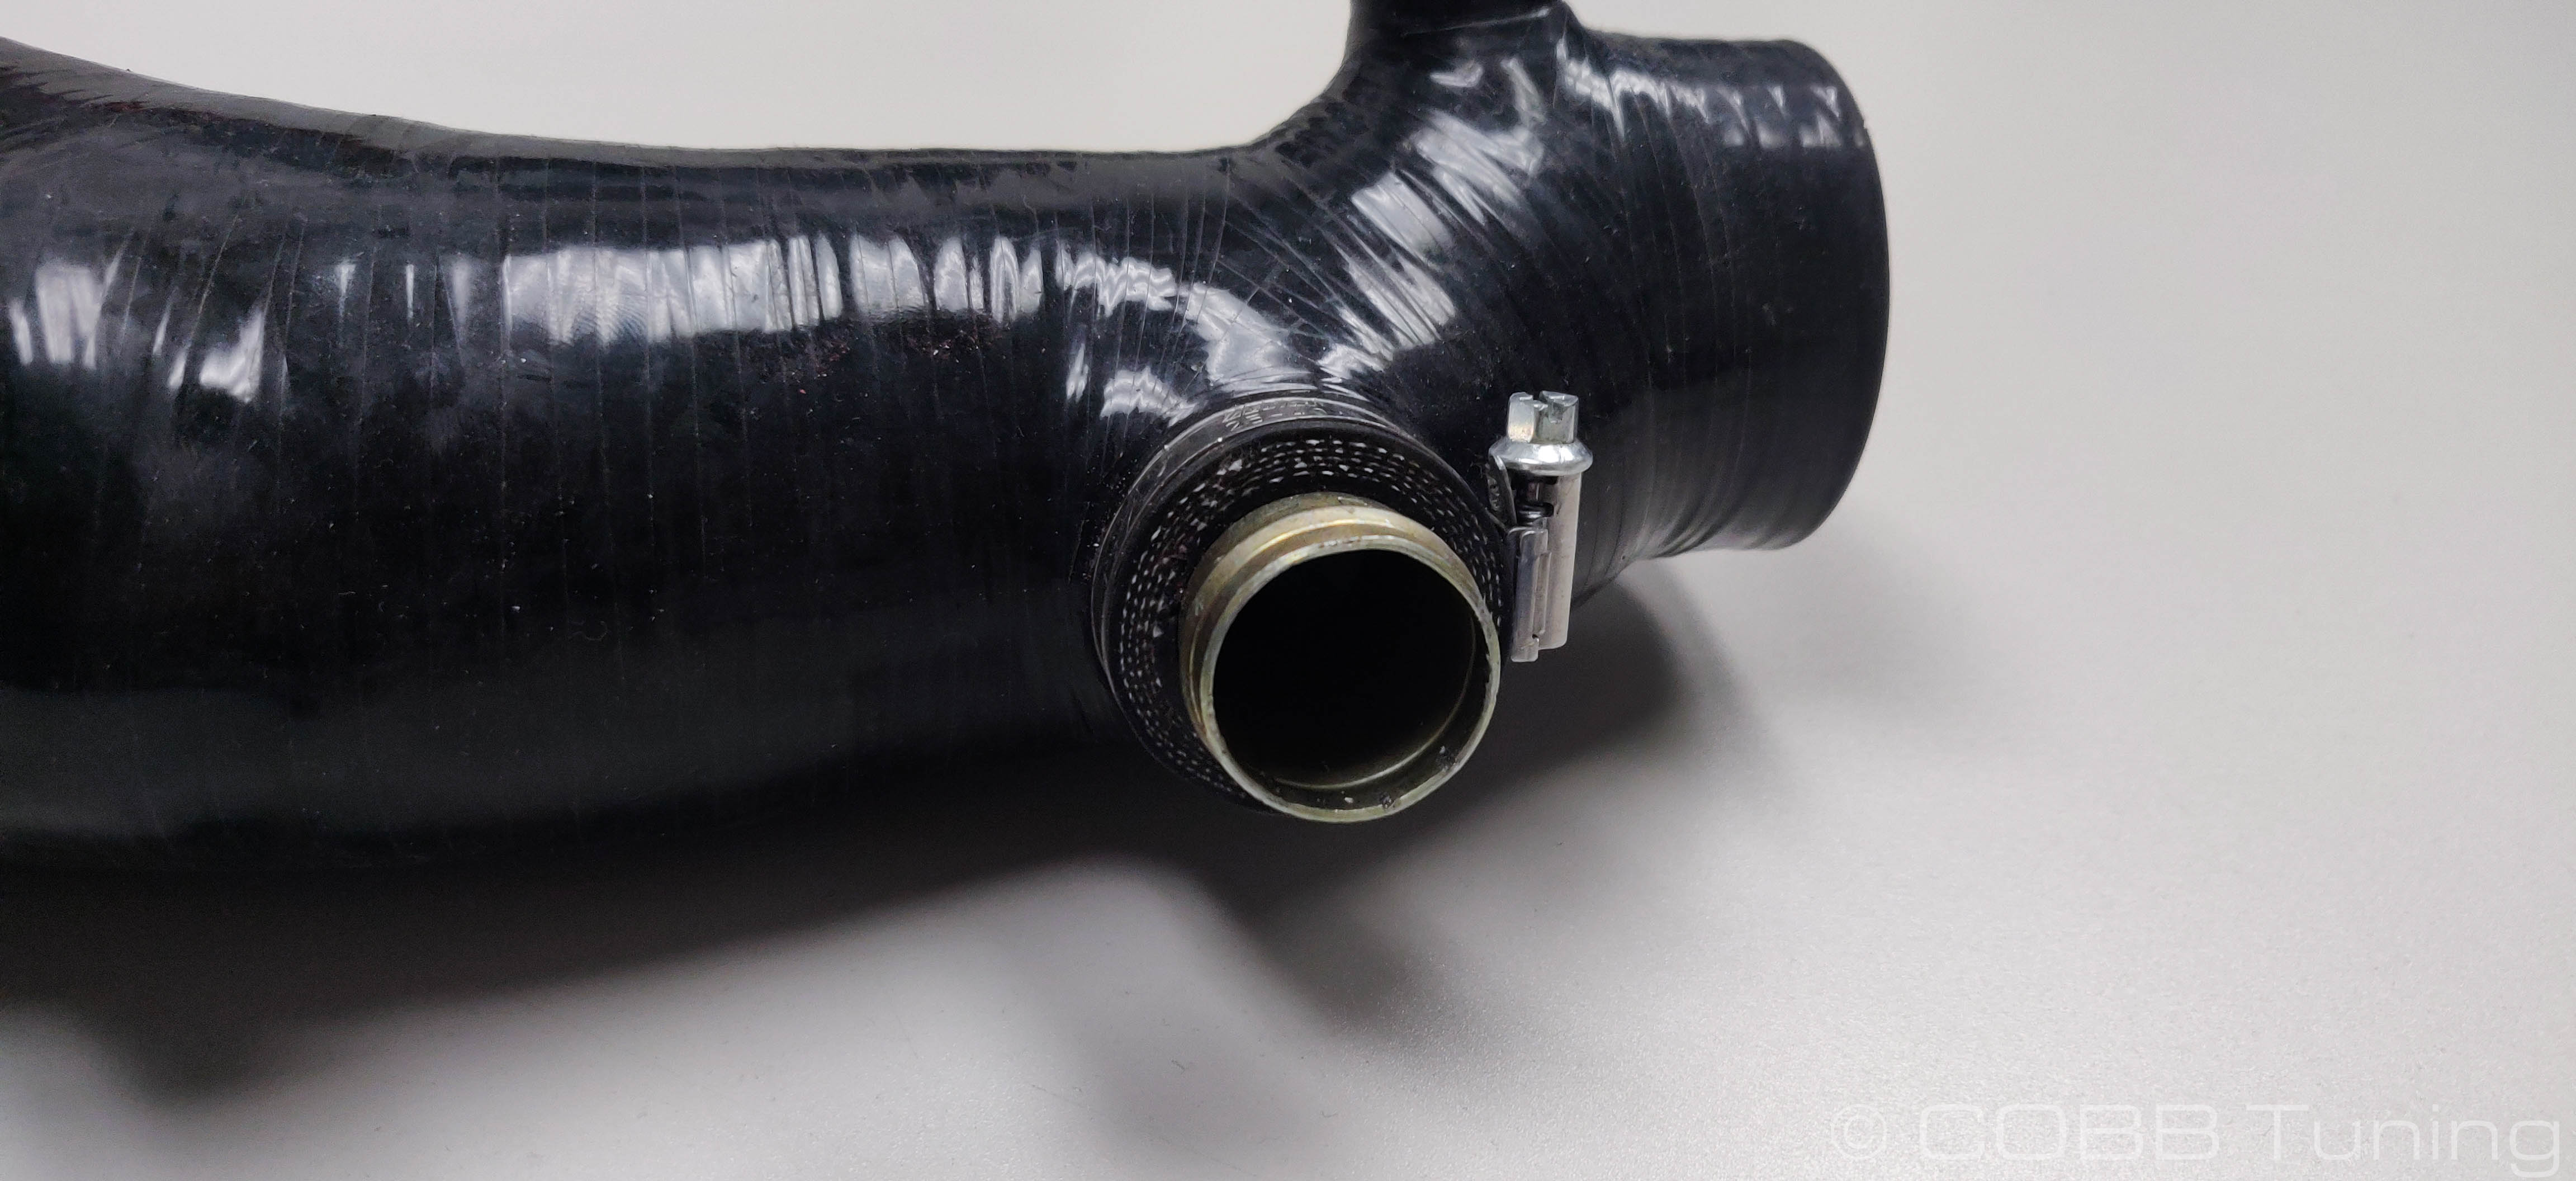
- Leave the top port in the rear empty for now.
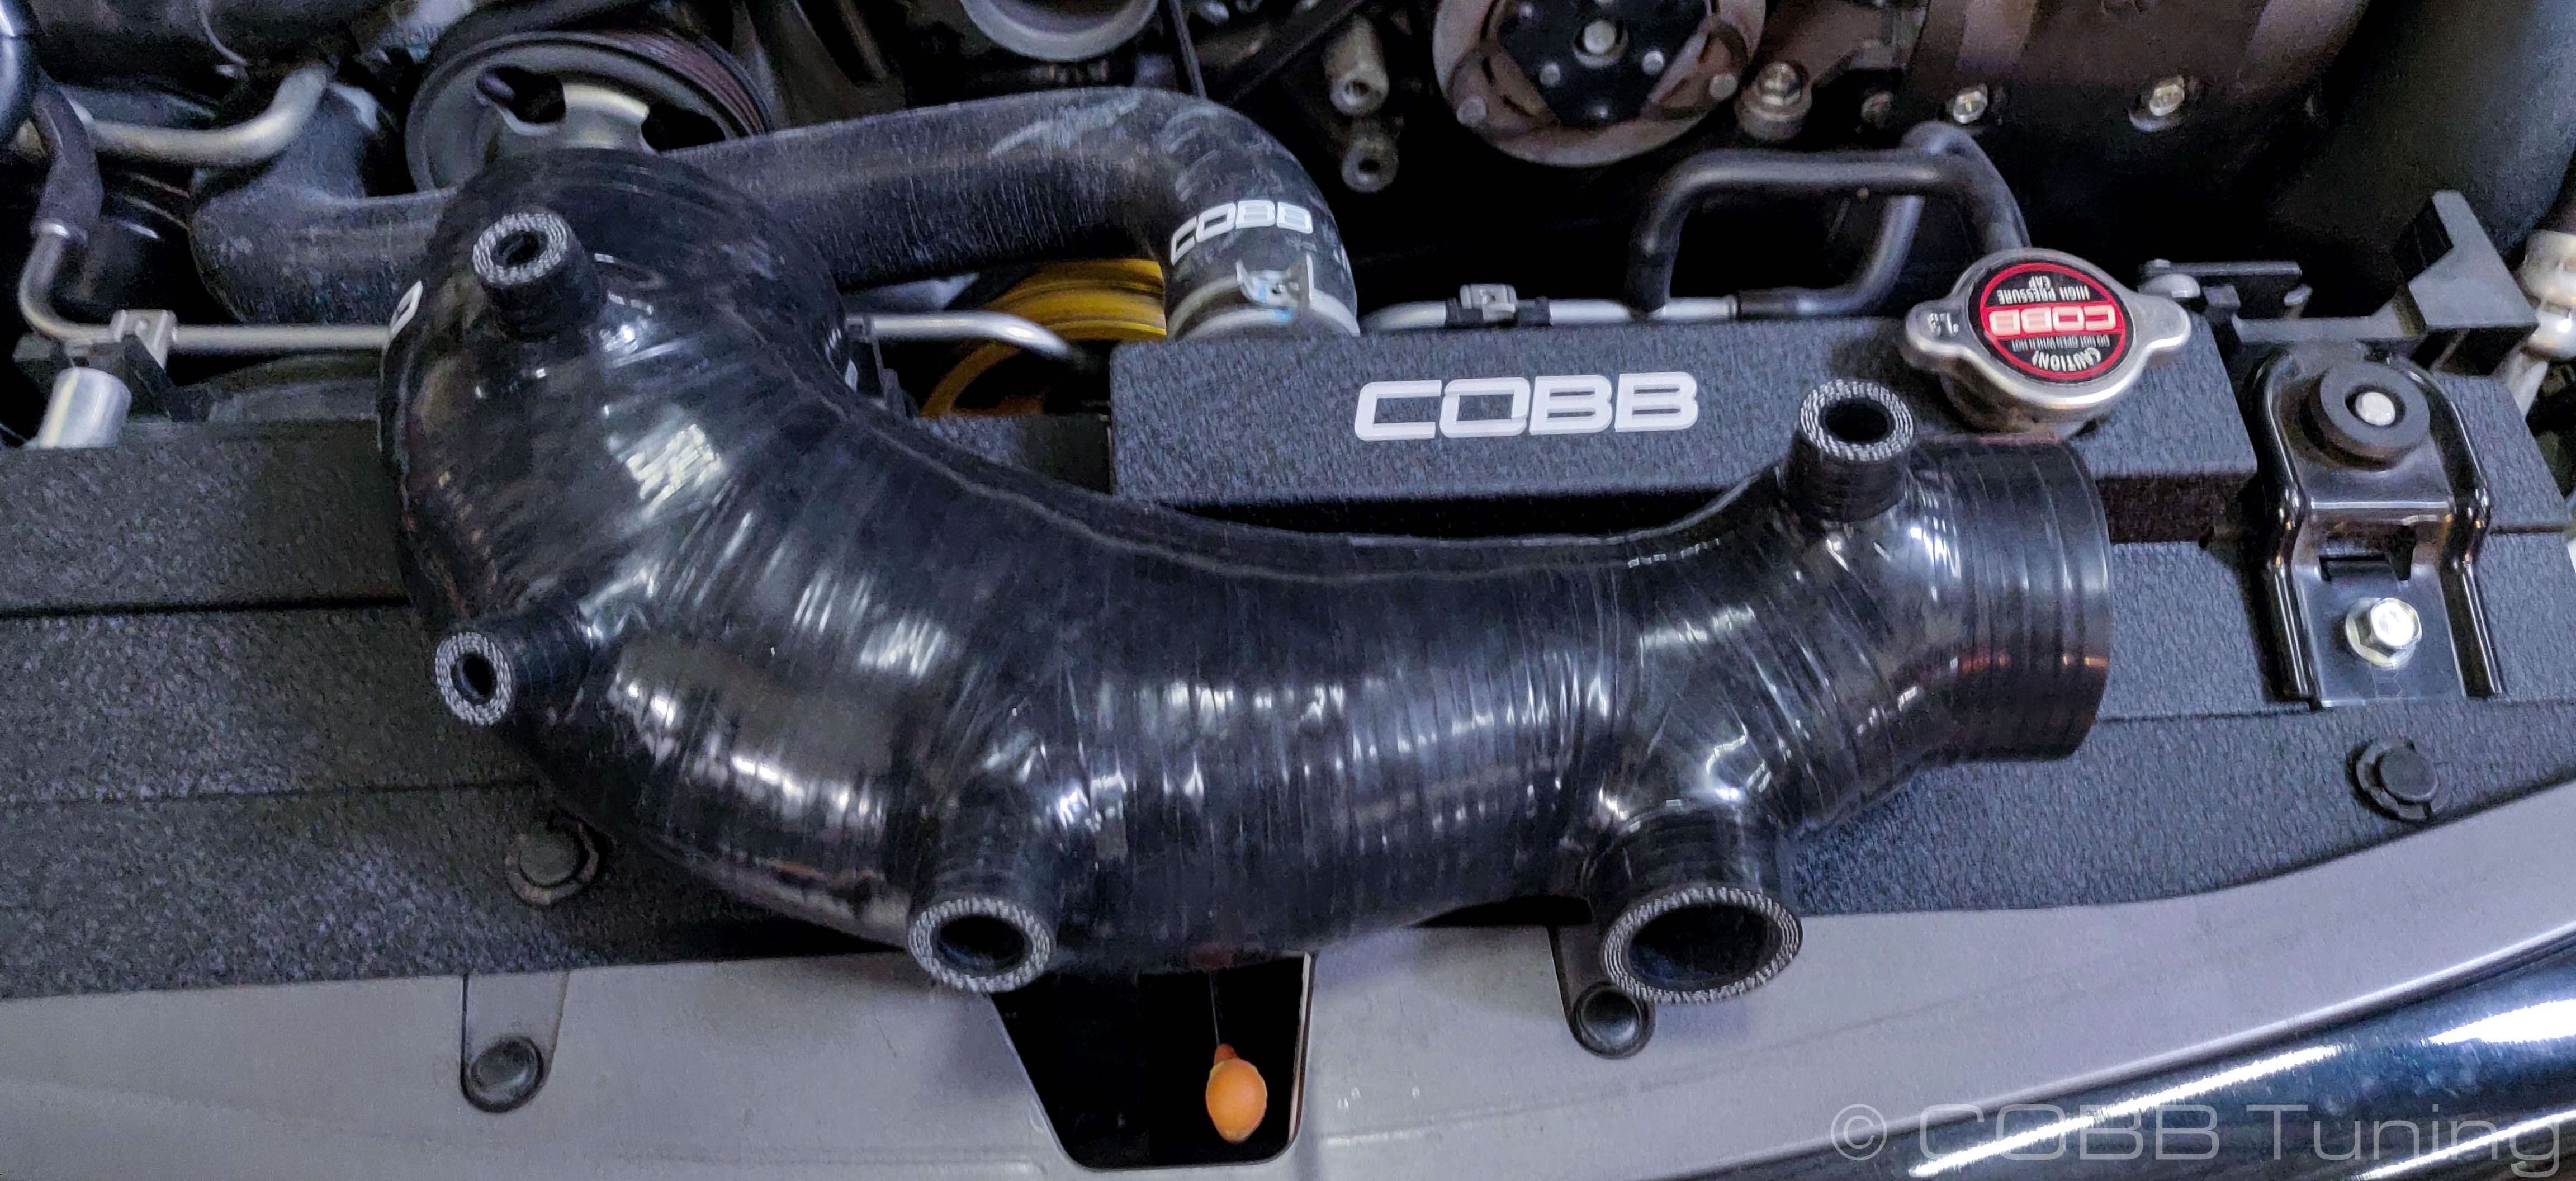
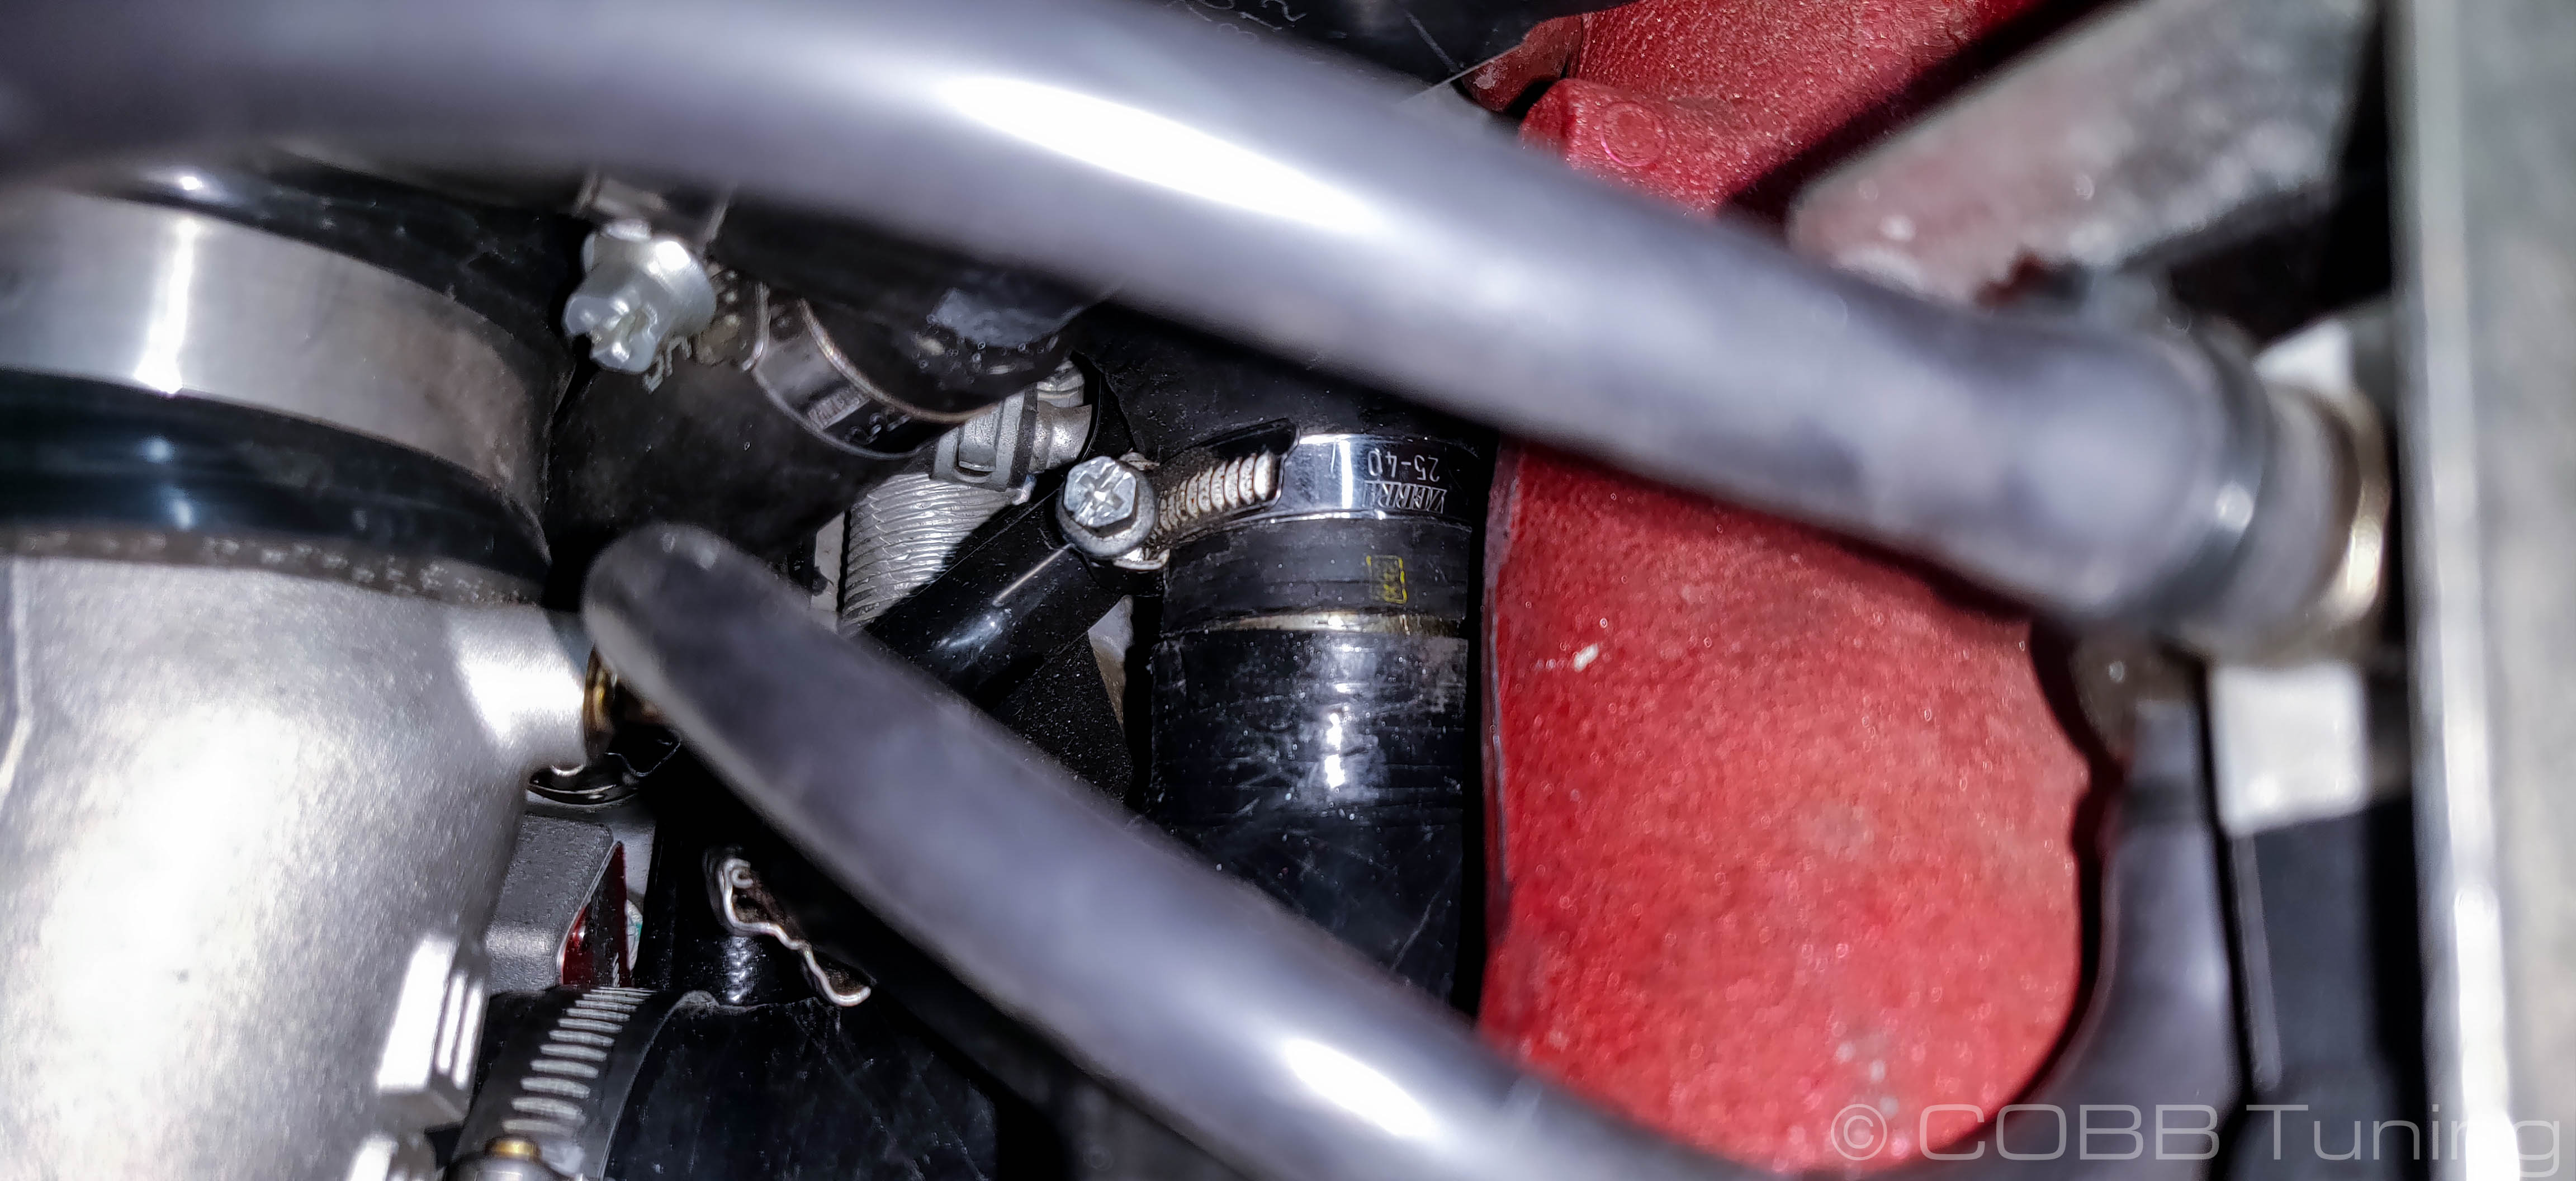
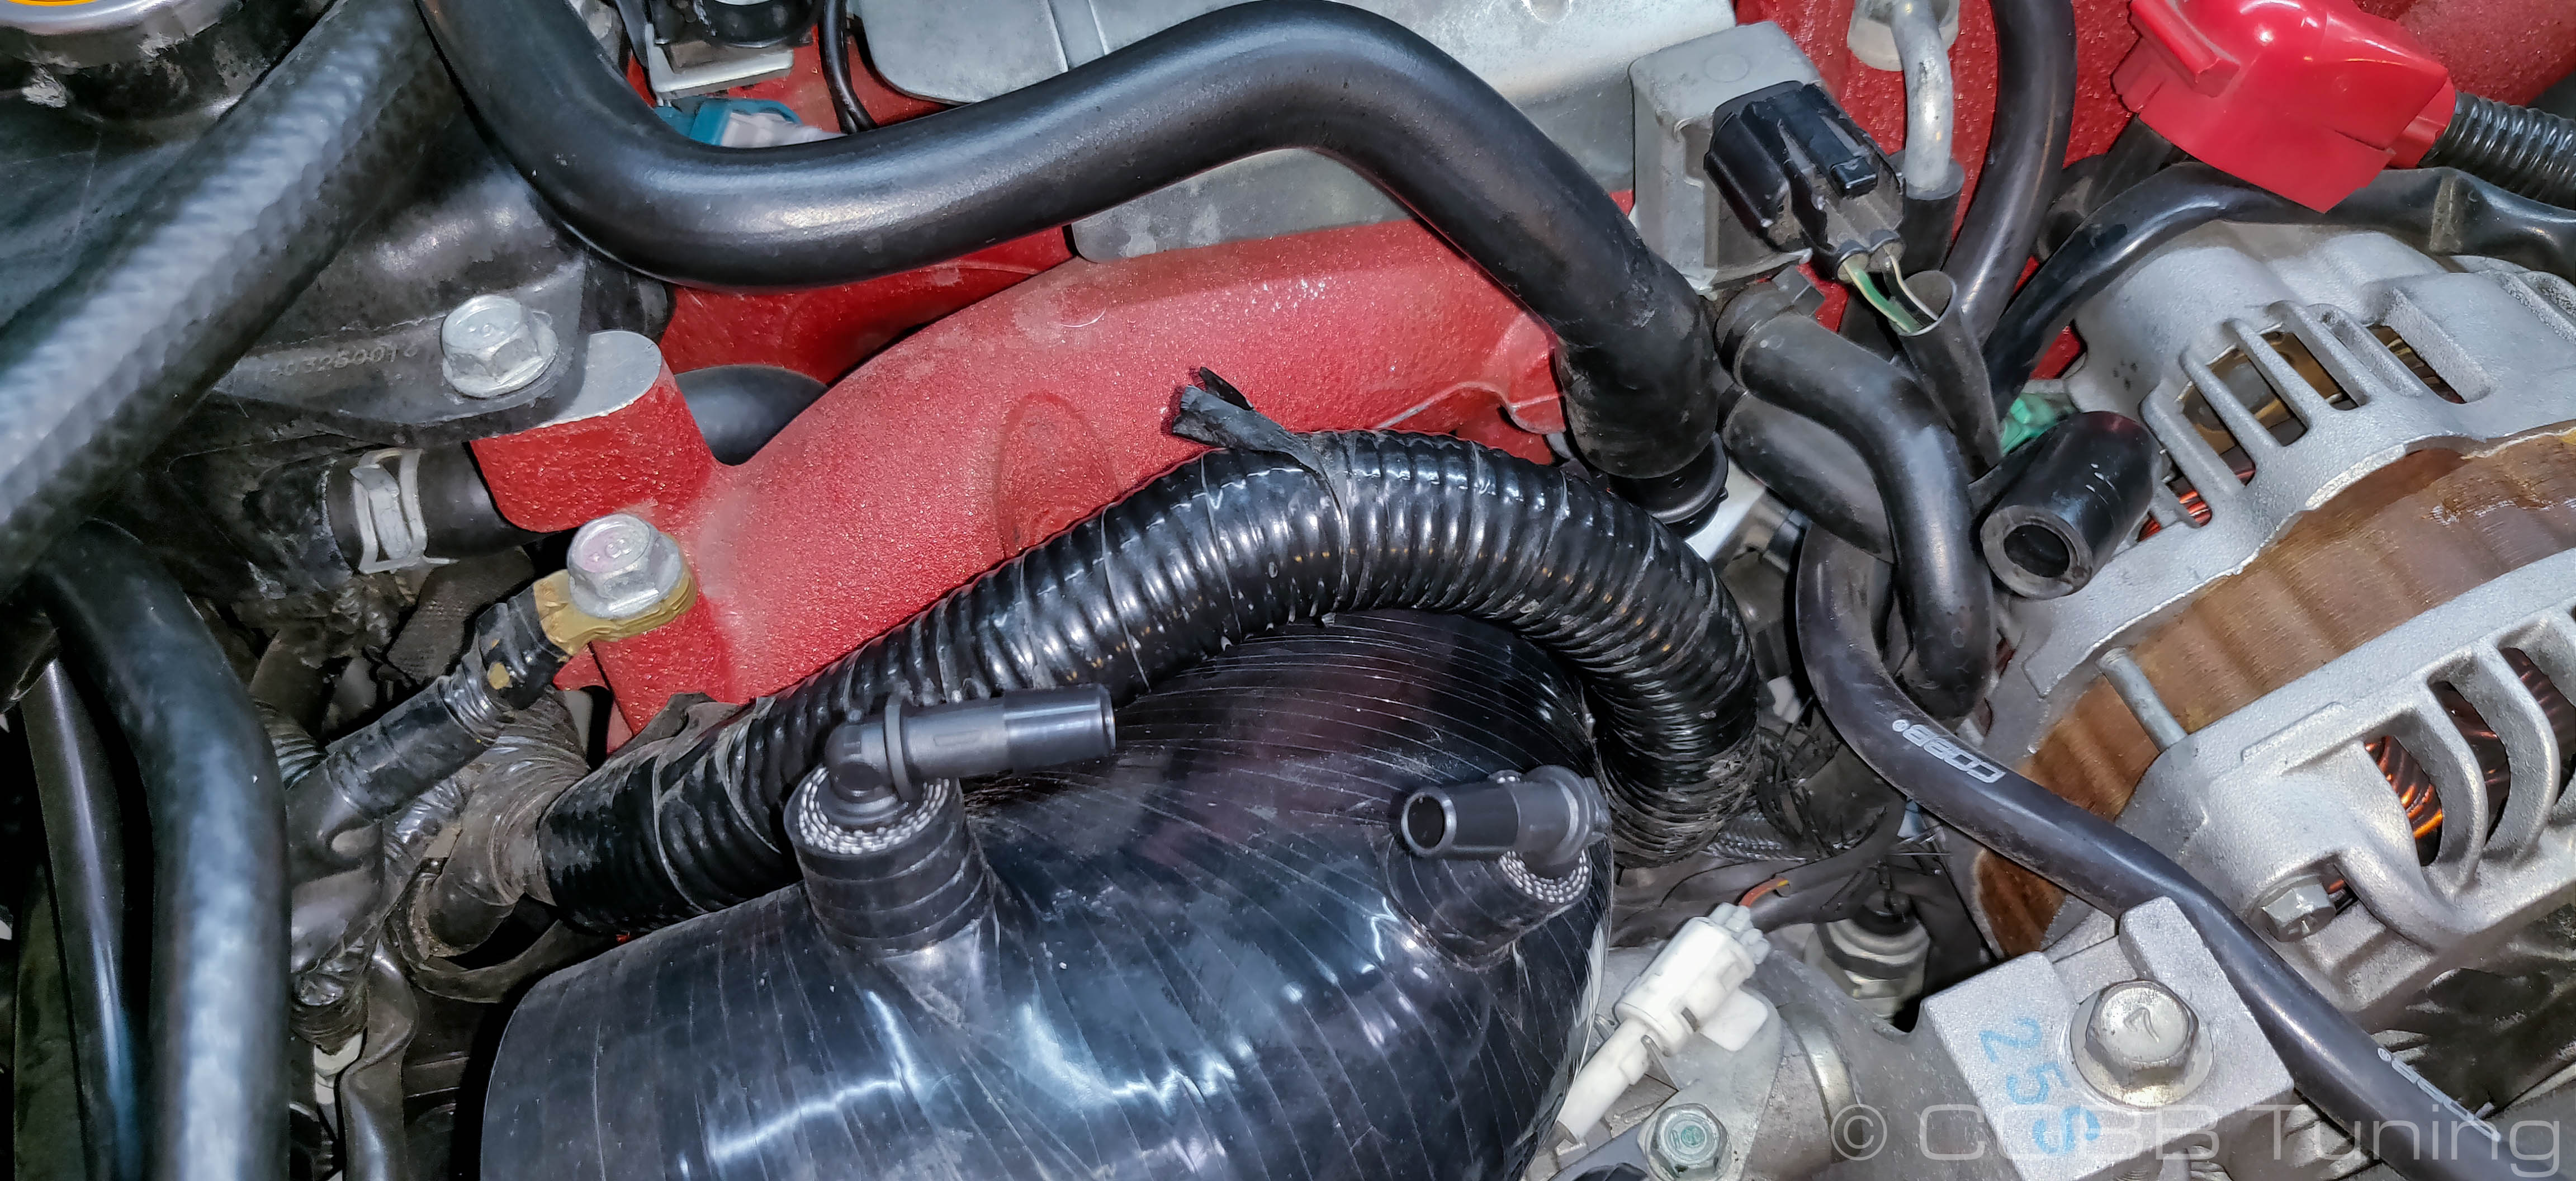
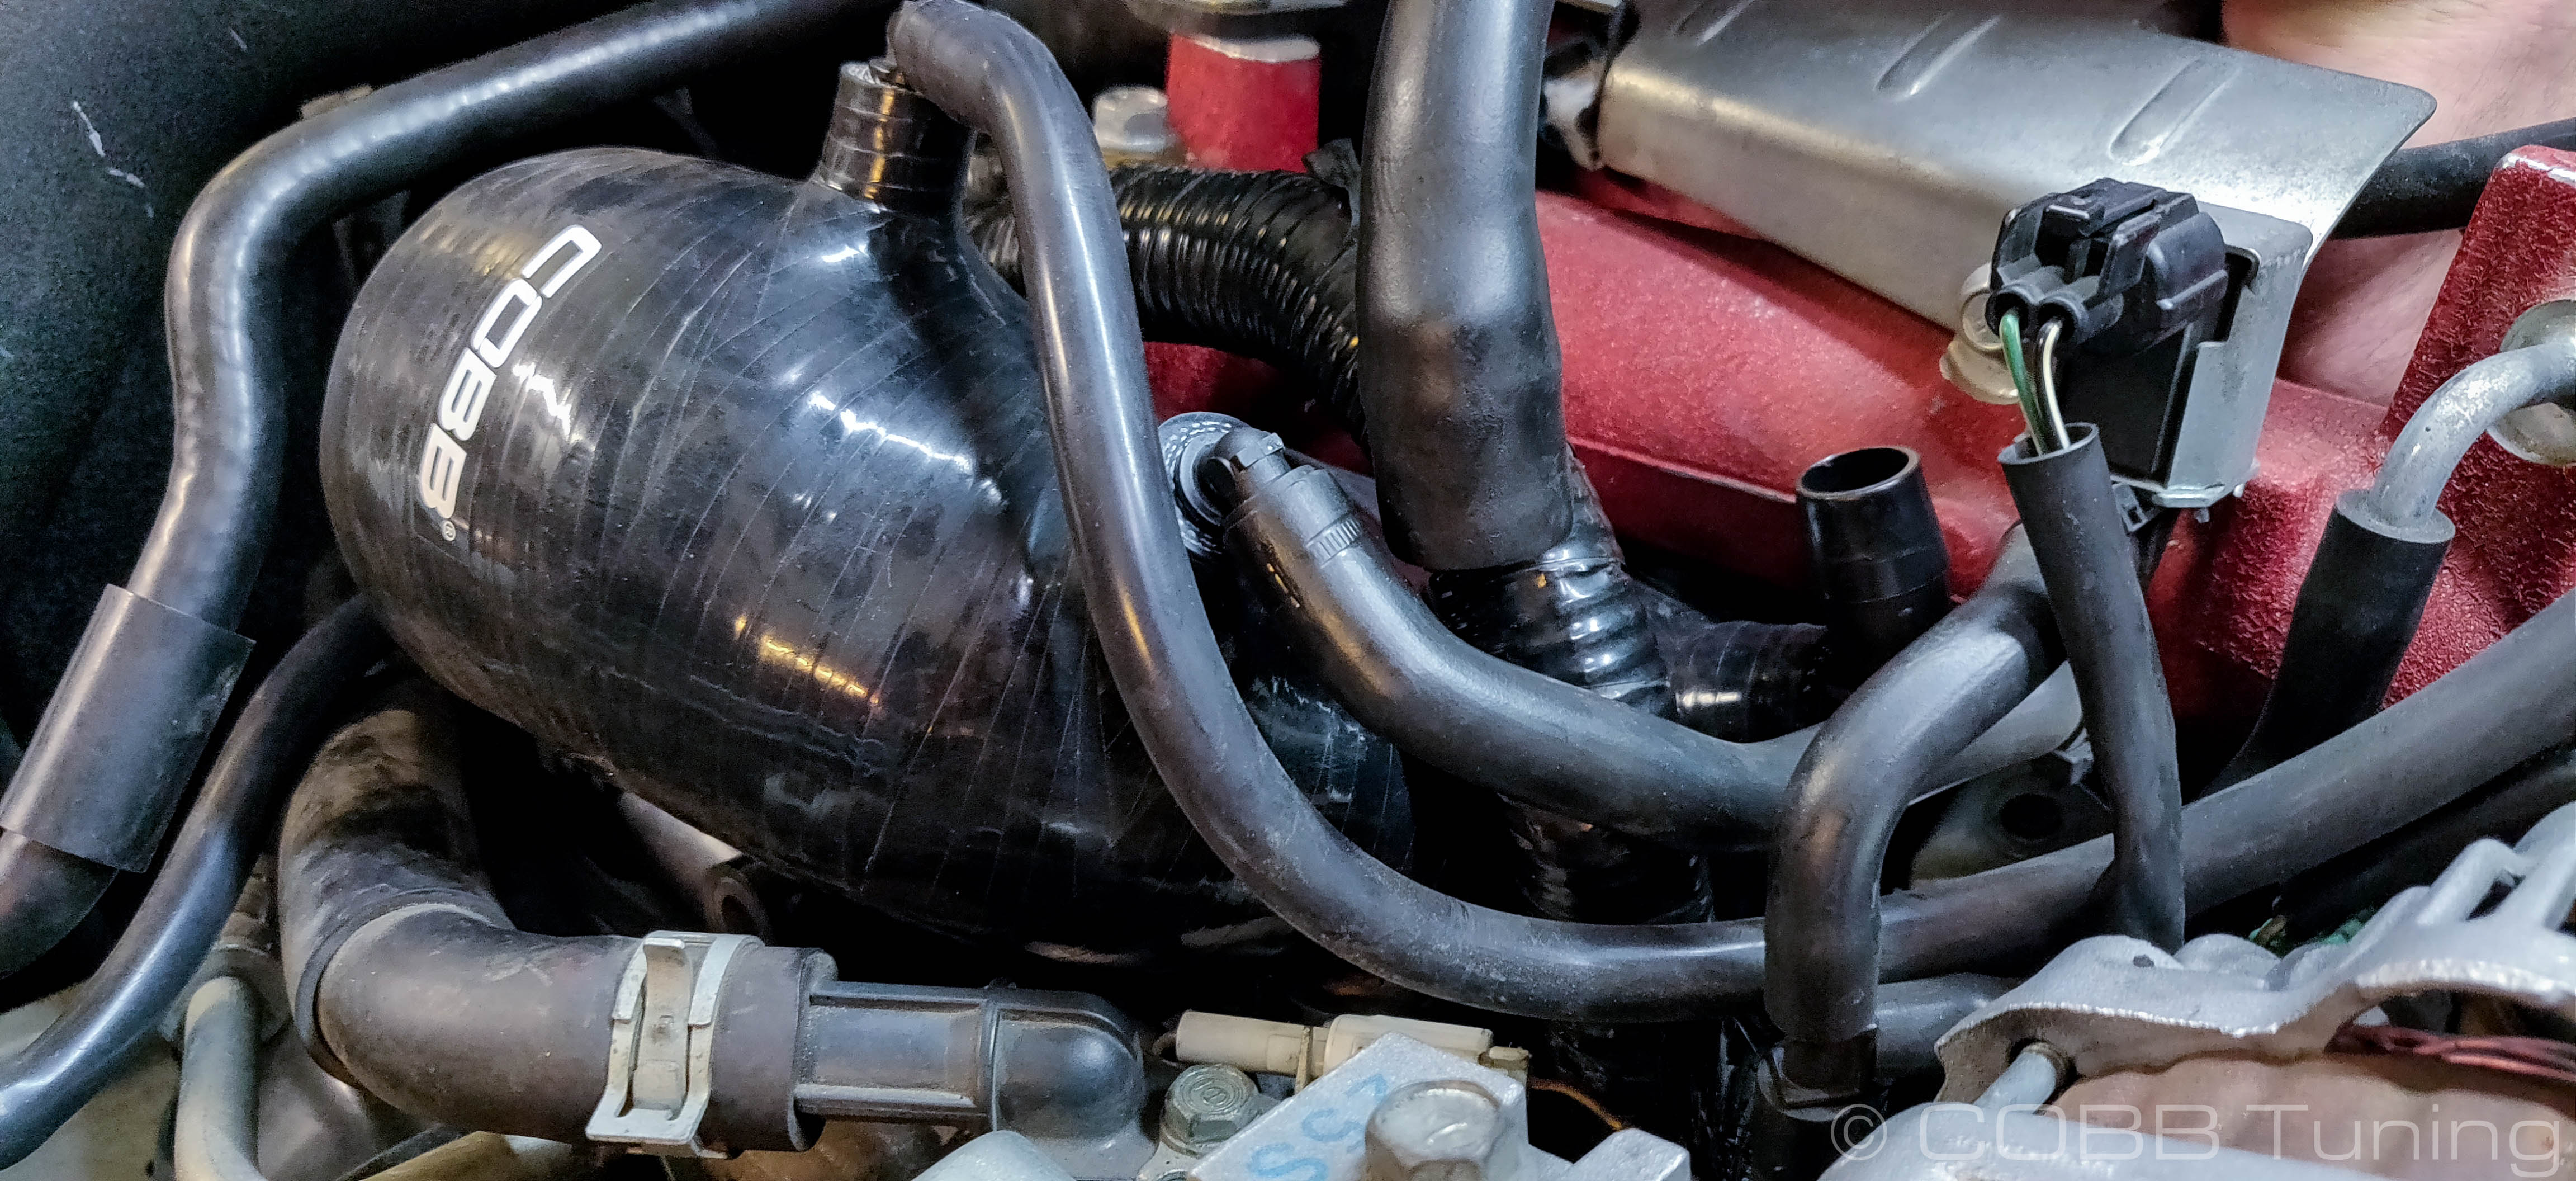
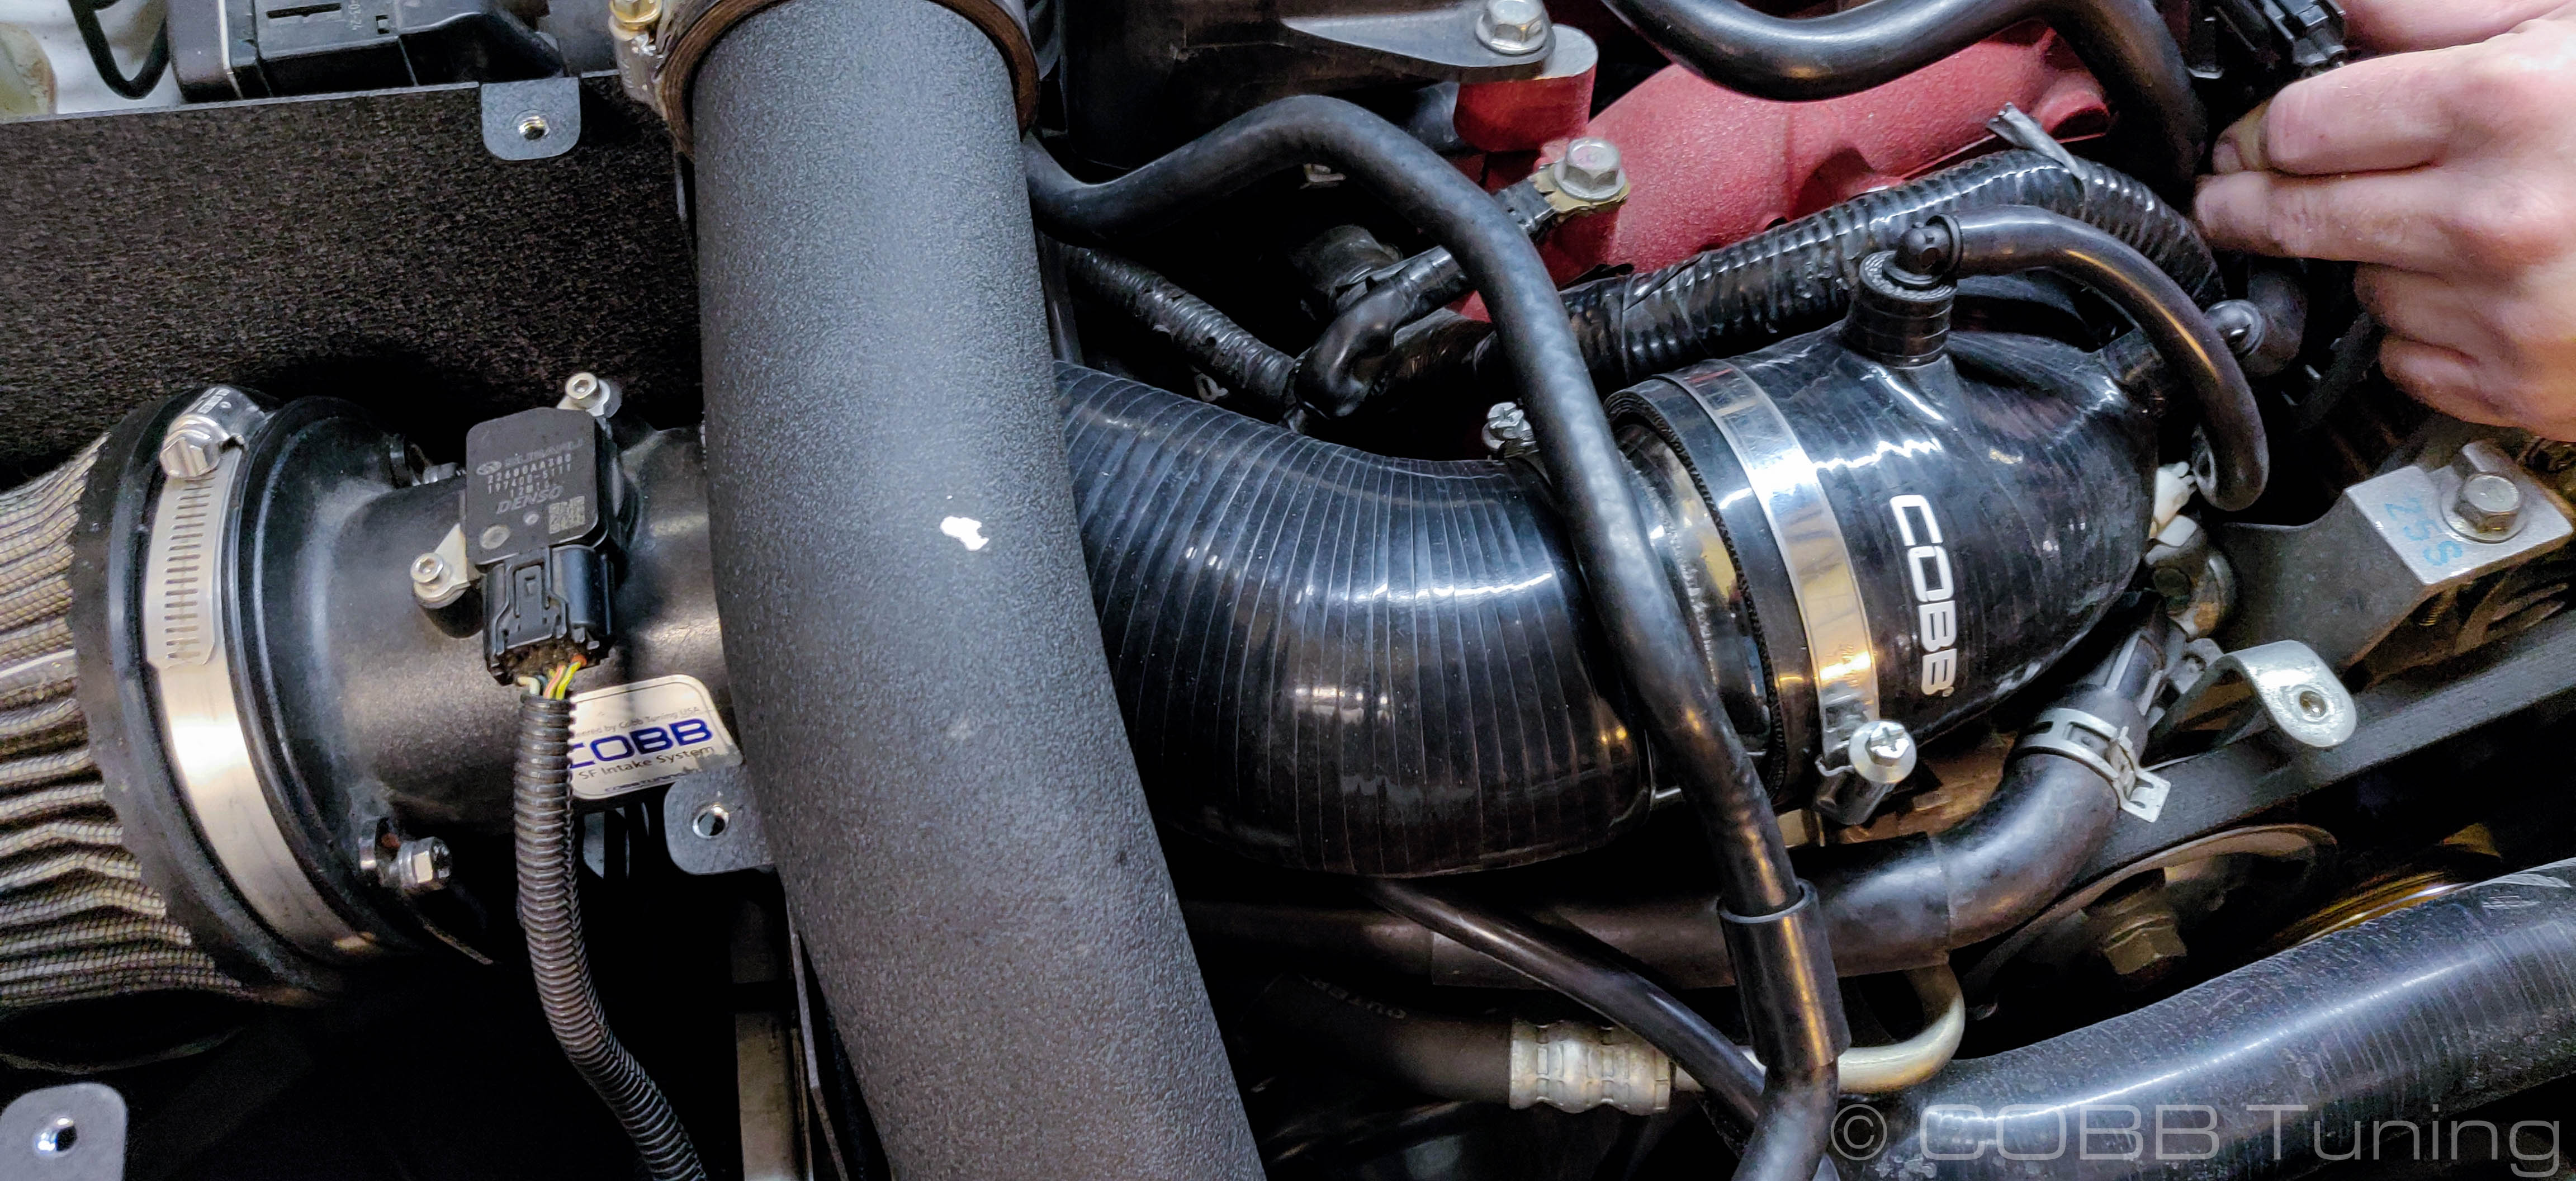
- Making sure to have a hose clamp over the rear of the inlet (we prefer it positioned toward the center of the car facing upwards for ease of access). Finagle the inlet into place over the turbos inlet snout before tightening down the hose clamp with an 8mm socket.
- Re-Install the BPV recirculation hose making sure to route it so it will not interfere with the intercooler when reinstalled (if applicable)
- Install the PCV Crossover tube onto the larger side fitting. The other end goes up to the PCV crossover Tube
- Install the canister purge solenoid line to the rear smaller fitting on the inlet. The other end should go to the bottom port of the canister purge solenoid.
- Install the EBCS line onto the front most fitting of the inlet. After reaching the EBCS this fitting should go on to tee into the wastegate line of the turbo.
- Pop the blow by sensor fitting into the rear of the inlet.
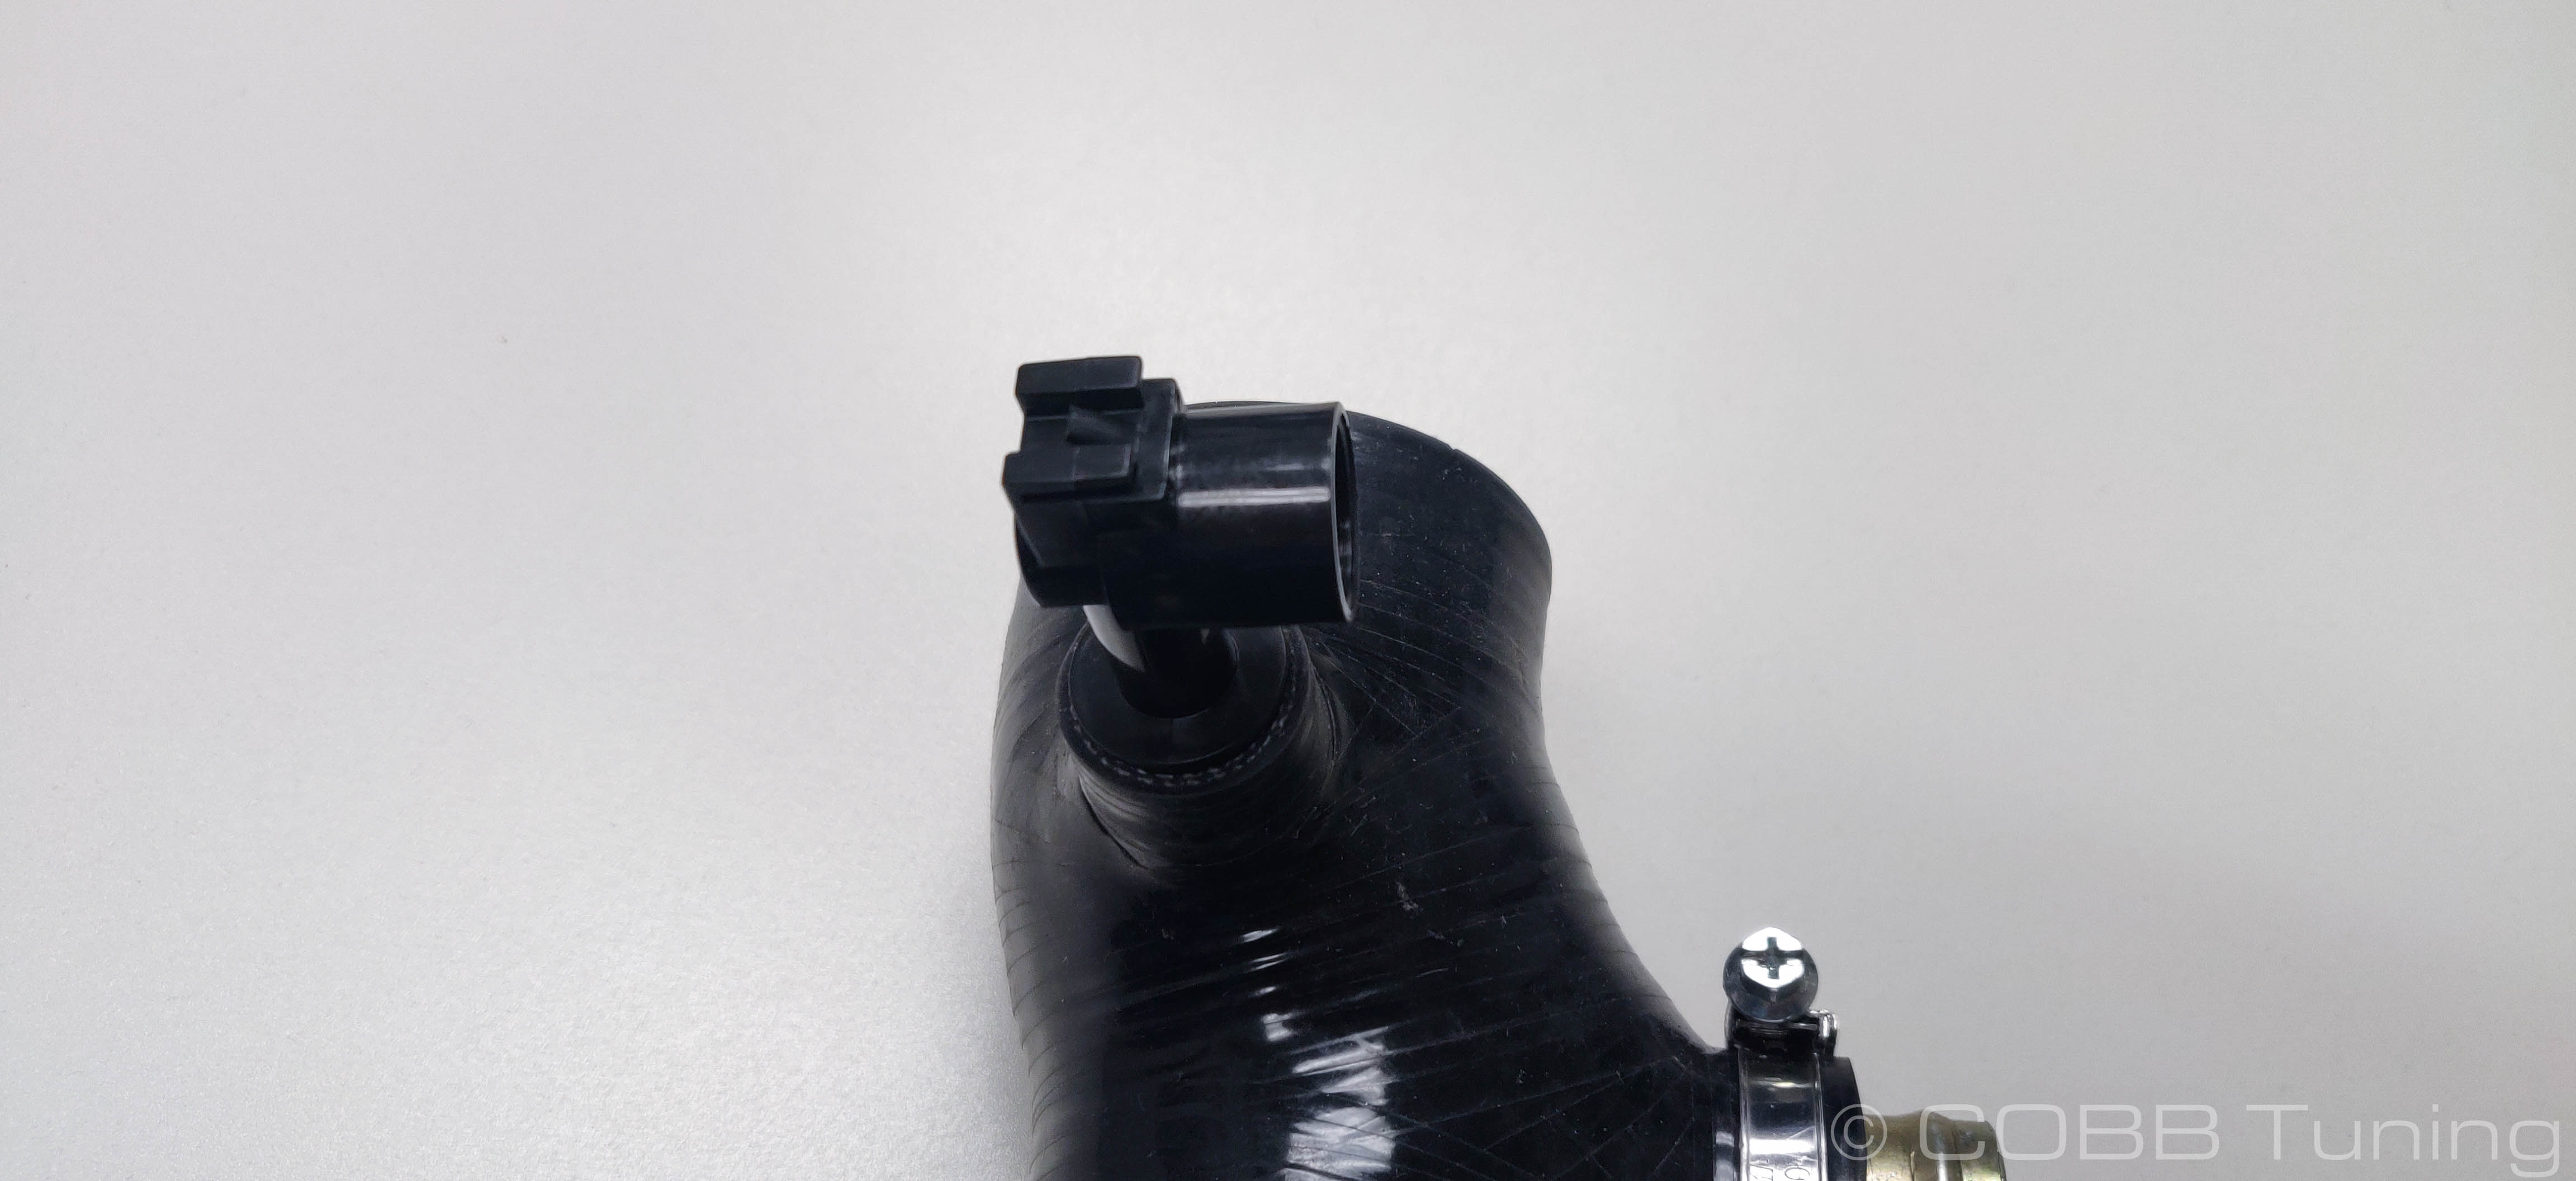
- Install the white blow-by sensor onto the fitting you just installed.
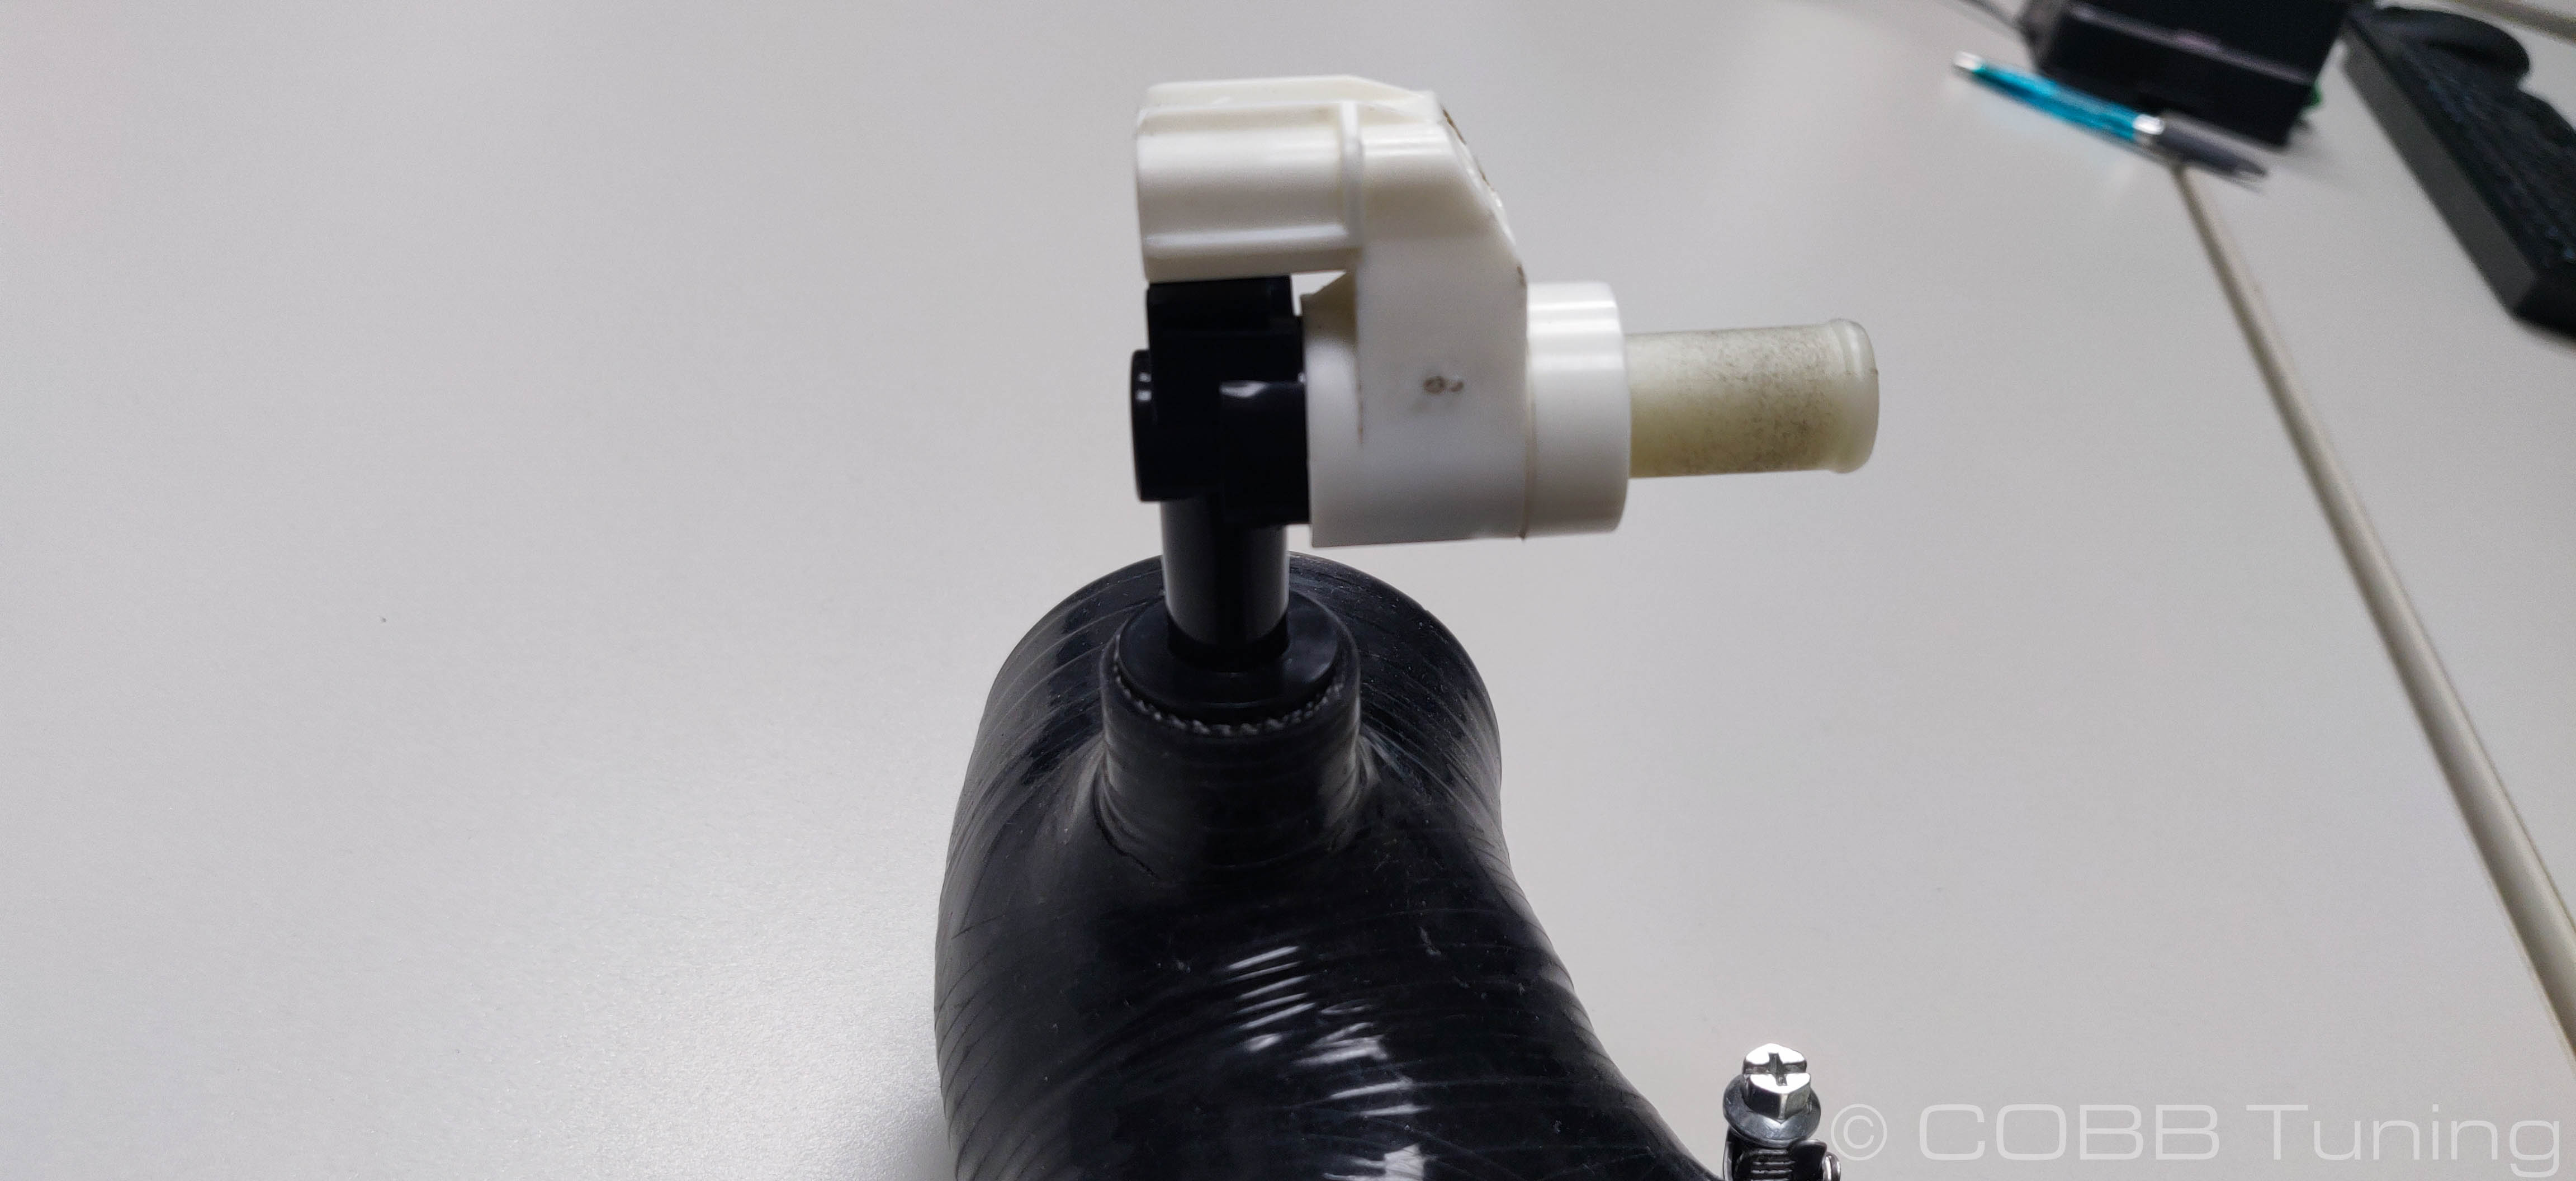
- reinstall the wiring connector onto the sensor.
- Reinstall any stock components you removed
- Check for any leaks from the removed items
- Flash a map that supports the parts you just added.
- You're all good! Go out and enjoy!
CARB Sticker Installation (Where Applicable)
Install the supplied CARB sticker on an easily viewable space that won't be susceptible to large amounts of heat. We recommend on the radiator core support, or the underside of the hood.
Links
Subaru Installation Instructions
Main Installation Instruction Repository for Subaru Parts
Link to Subaru Map Notes to see what map you should be on given the parts you've added
| Insert excerpt | ||||||
|---|---|---|---|---|---|---|
|