
CSF8127 – CSF BMW N54/N55 Intercooler
Vehicle Coverage

The following instructions will assist you through the installation process. Please read them BEFORE beginning the install to familiarize yourself with the steps and tools needed. If you feel you cannot properly perform this installation, we HIGHLY recommend you take the vehicle to a qualified and experienced automotive technician.
IMPORTANT! Installing this kit will require custom tuning or utilizing an appropriate Stage Power Package map if you have a matching mechanical configuration. Please consult with COBB or an authorized ProTuner in your area if you have any questions!
Table of Contents
| Table of Contents |
|---|
Parts List
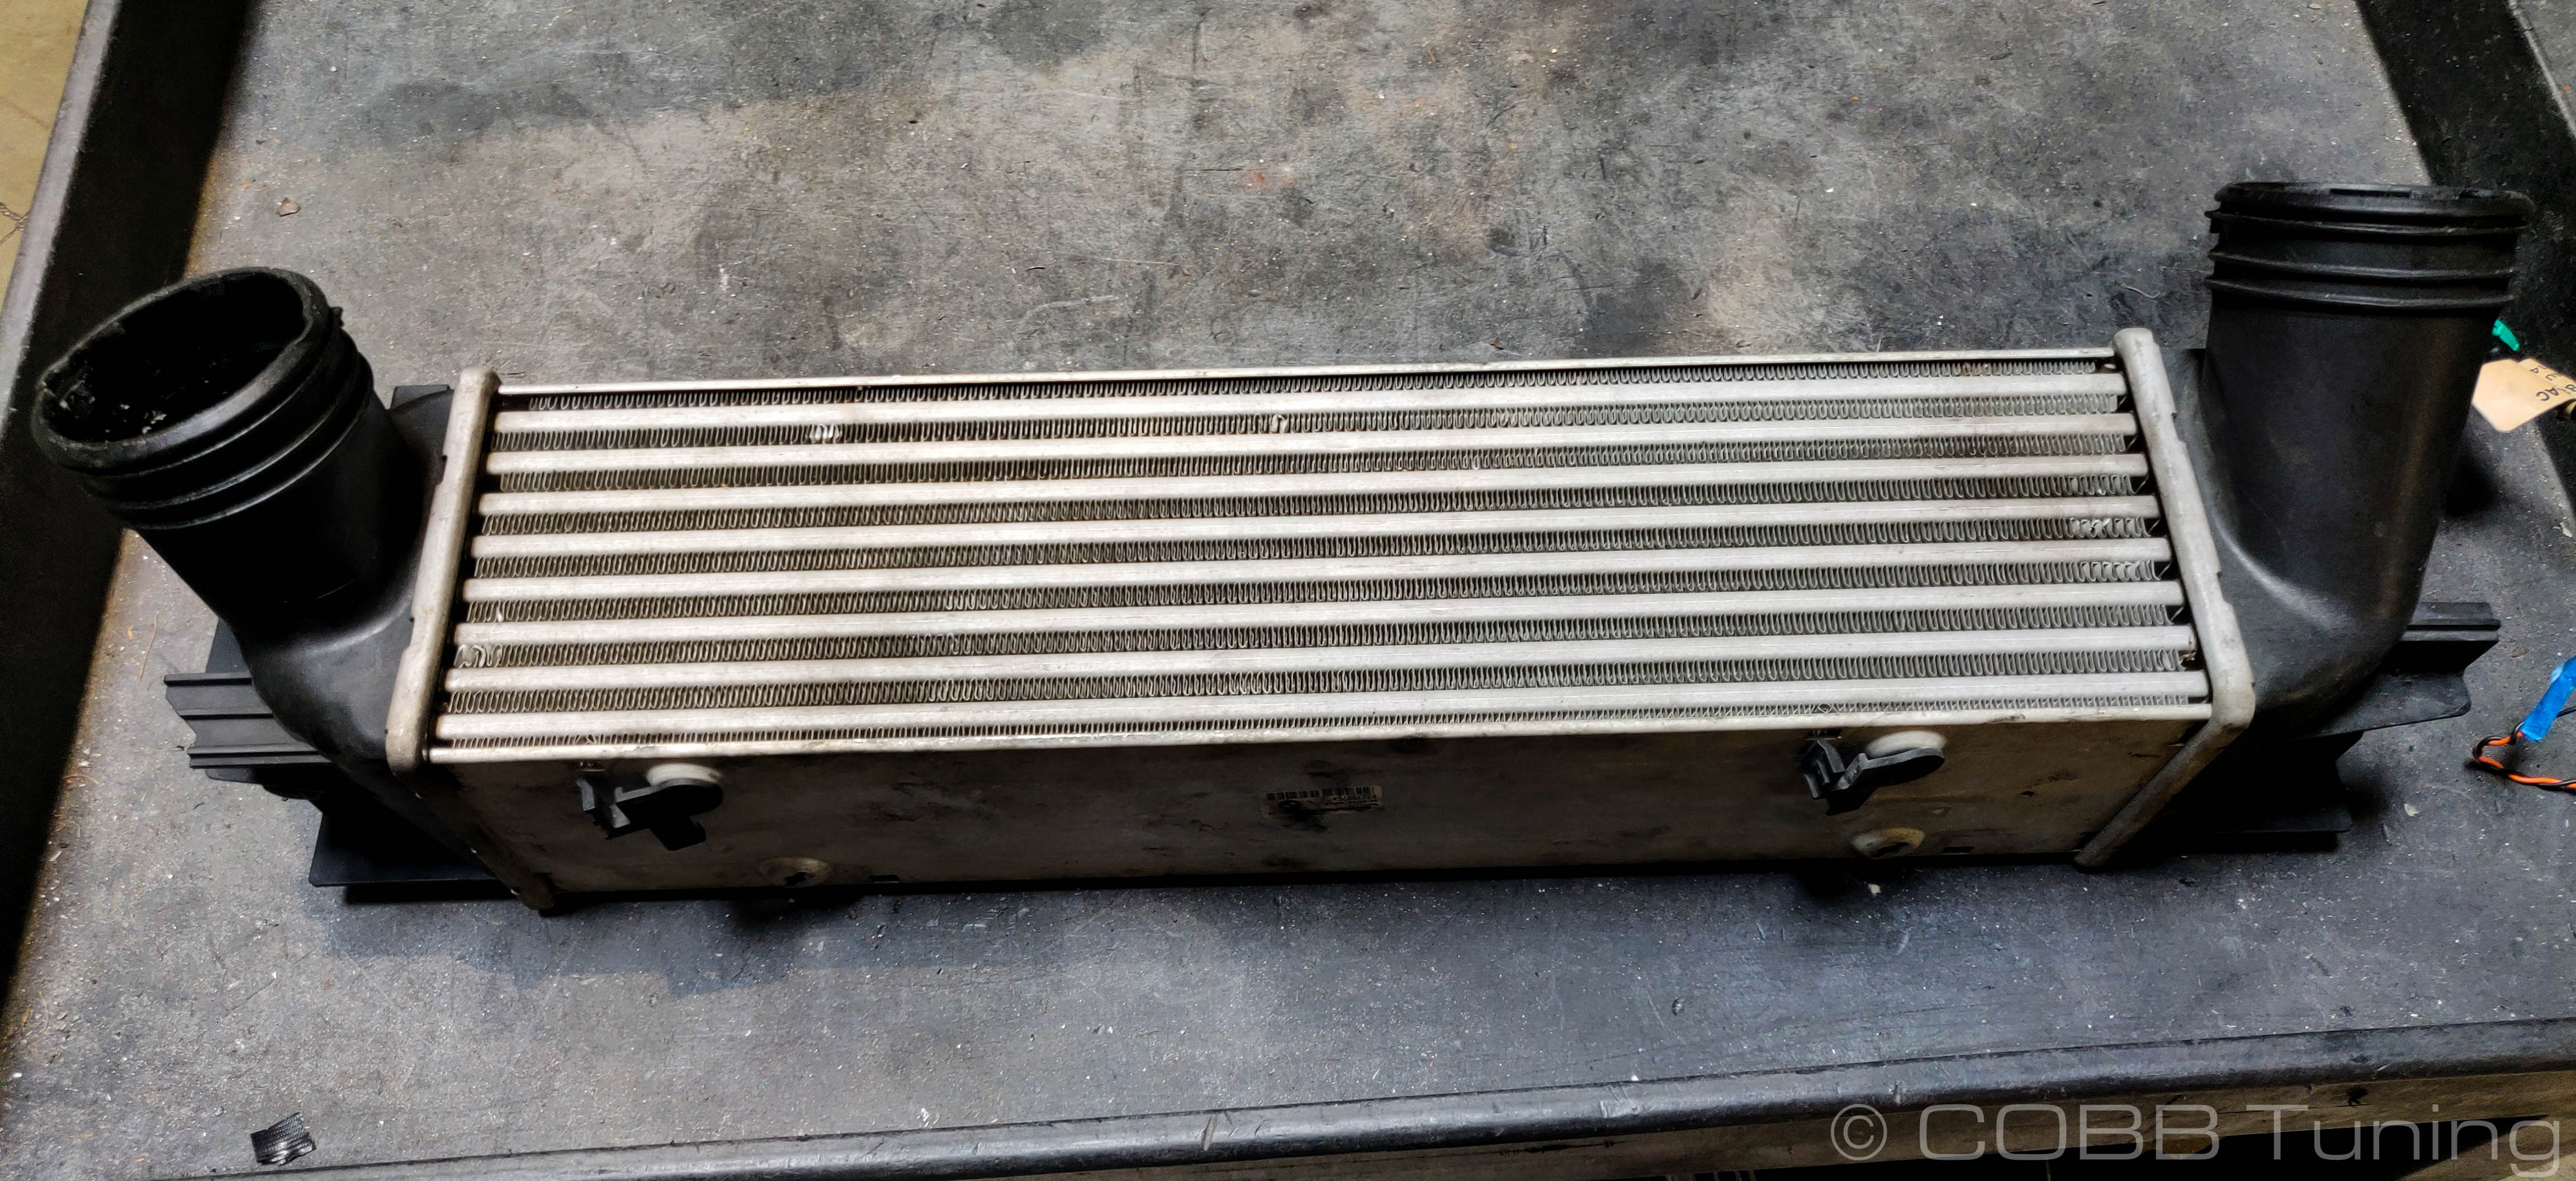
- CSF BMW Intercooler
- (2) Intercooler Pipe Retaining Clip
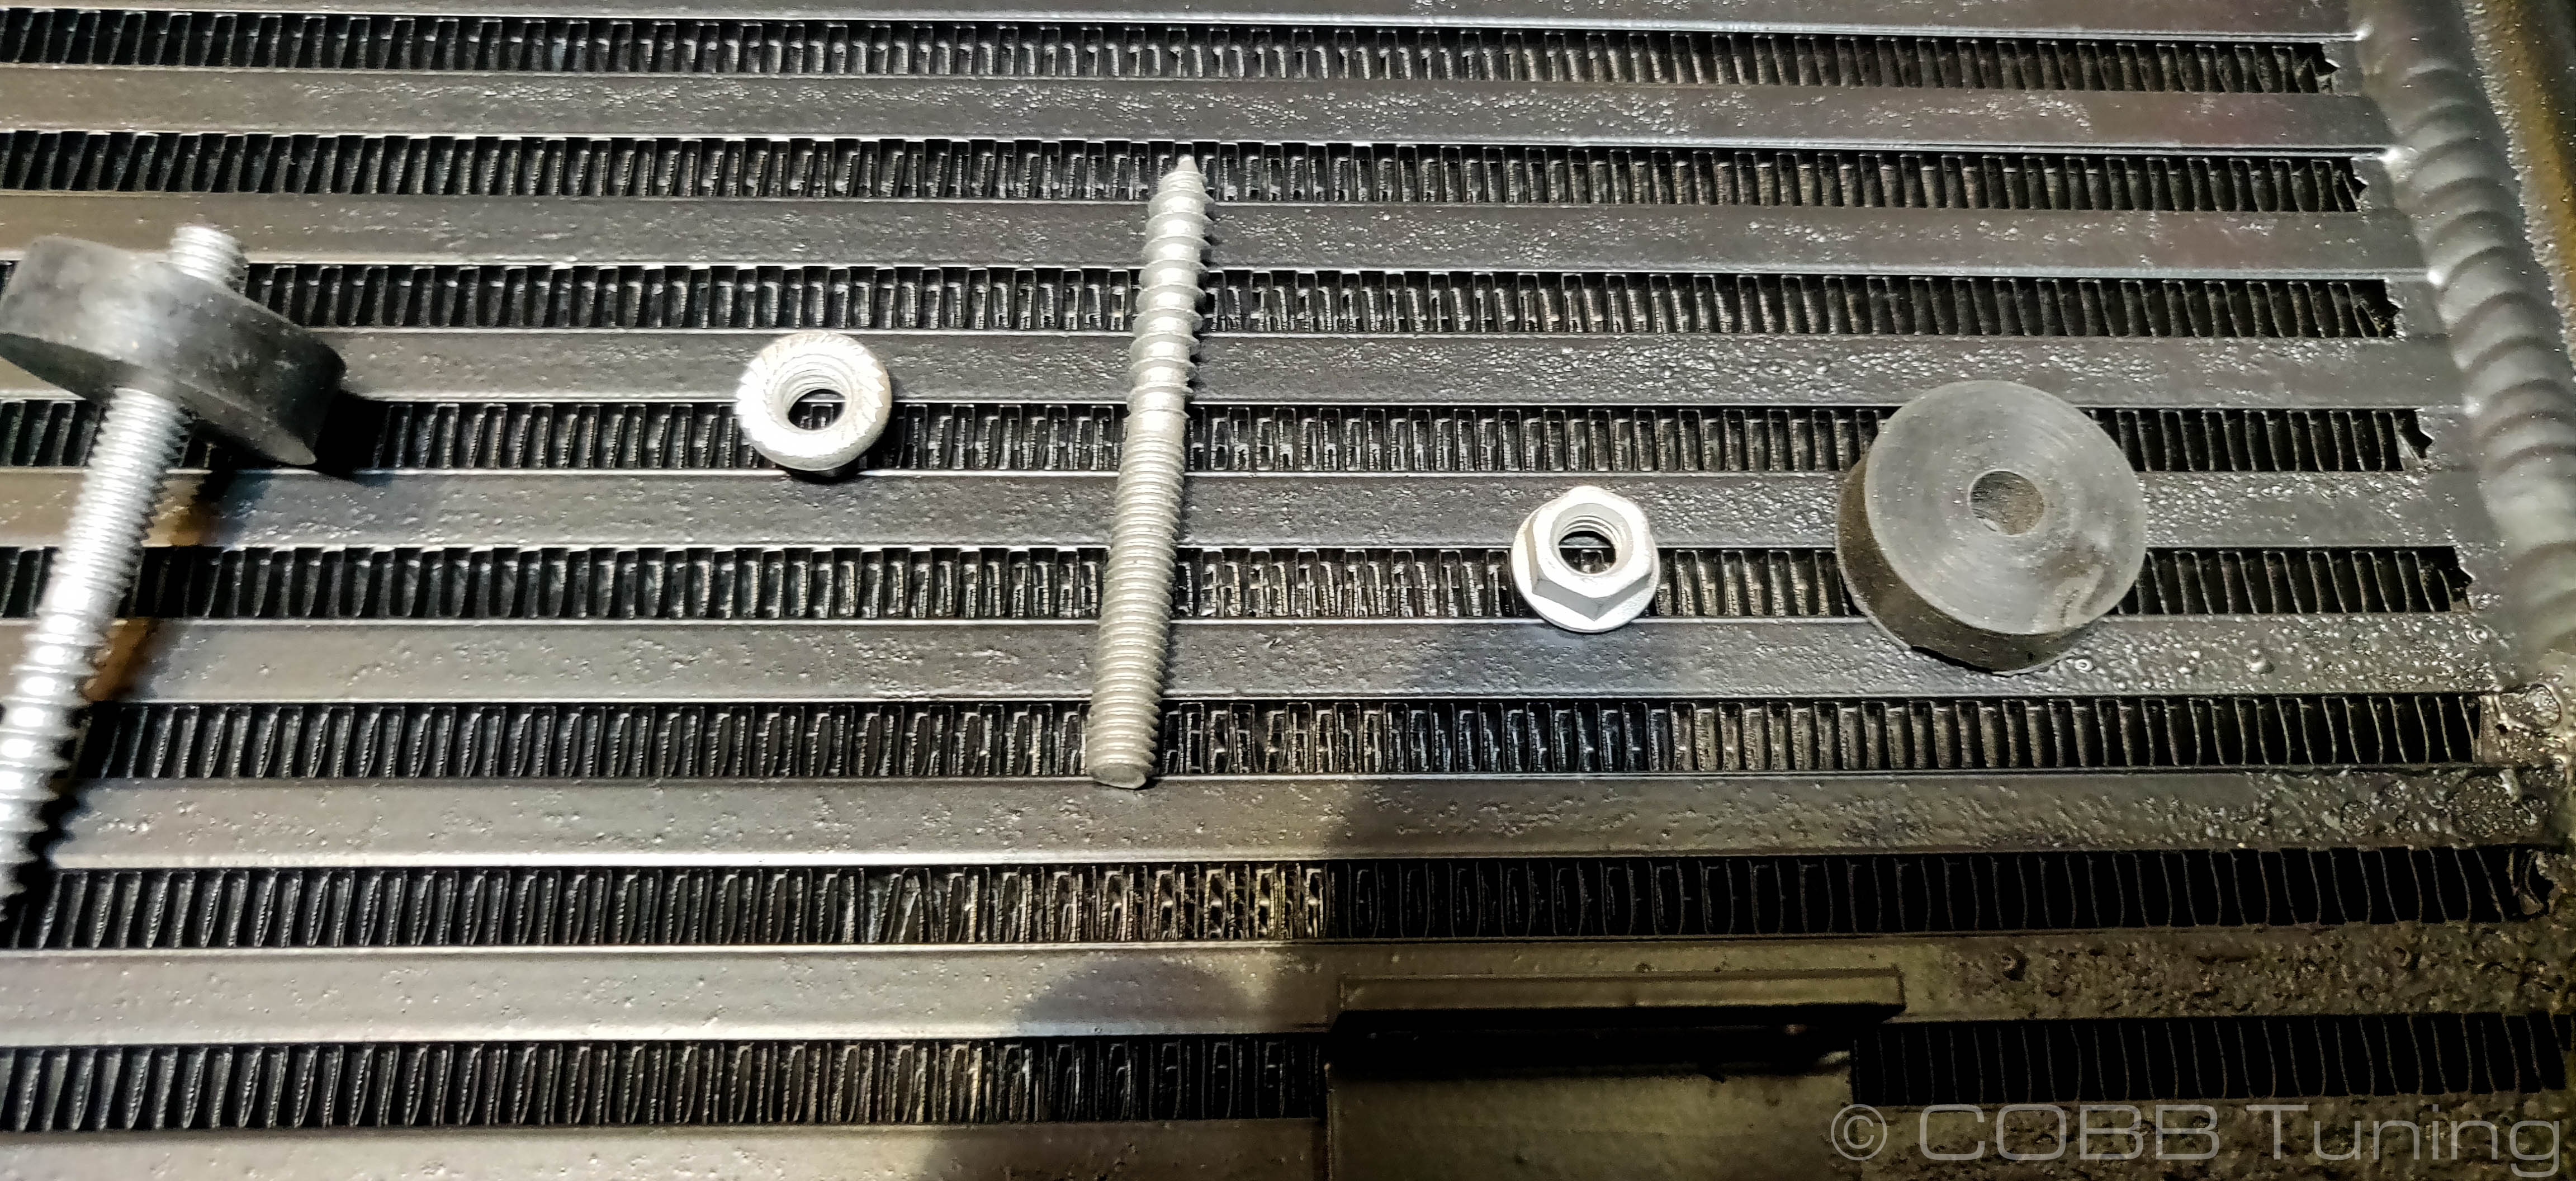
- (2) Mounting Studs
- (2) m6 nuts (non-flanged for use with stud installation)
- (2) m6 nuts (Flanged, for use with intercooler installation)
- (2) m6 fender washers
- (2) Rubber Bumpers
Tools Needed
Sockets
3/8"
Hand Tools
Wrenches
Stock Intercooler Removal
- Park your car in a flat, level area and allow it to cool down.
- Lift and support the car properly.
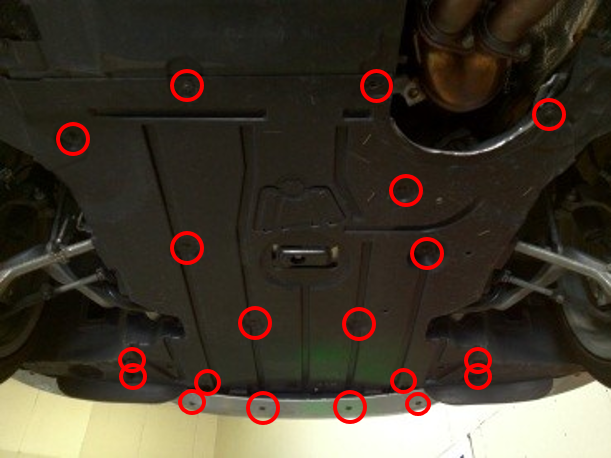
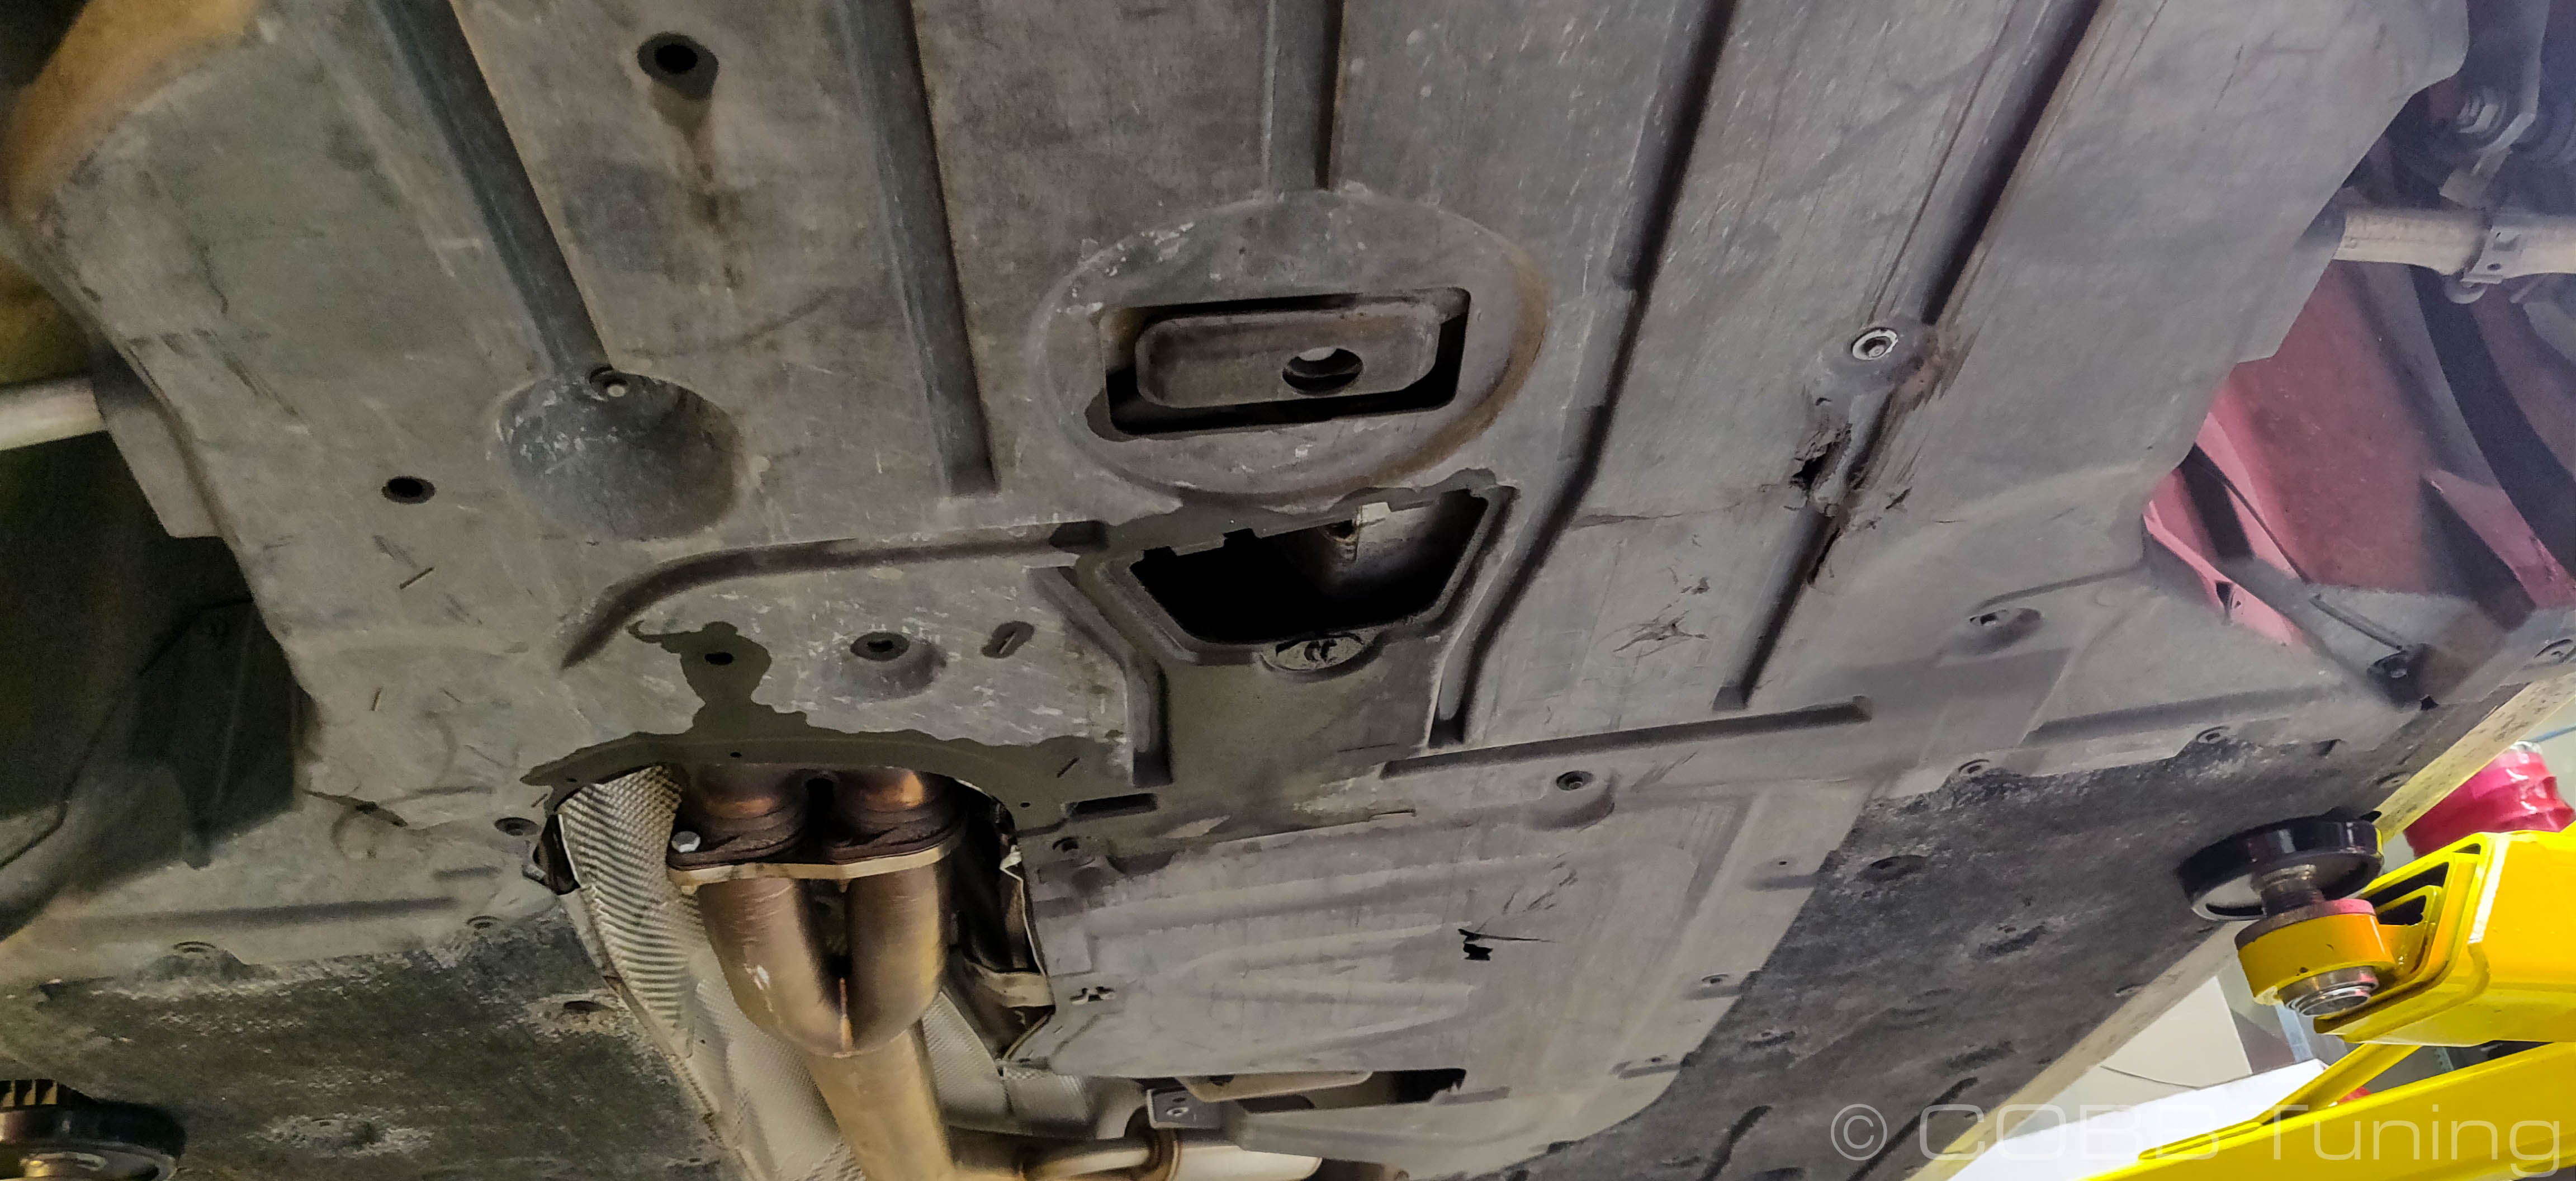
- Remove the 19 8mm bolts holding the under-tray under the car. (Or less if your car was put together incorrectly the last time)
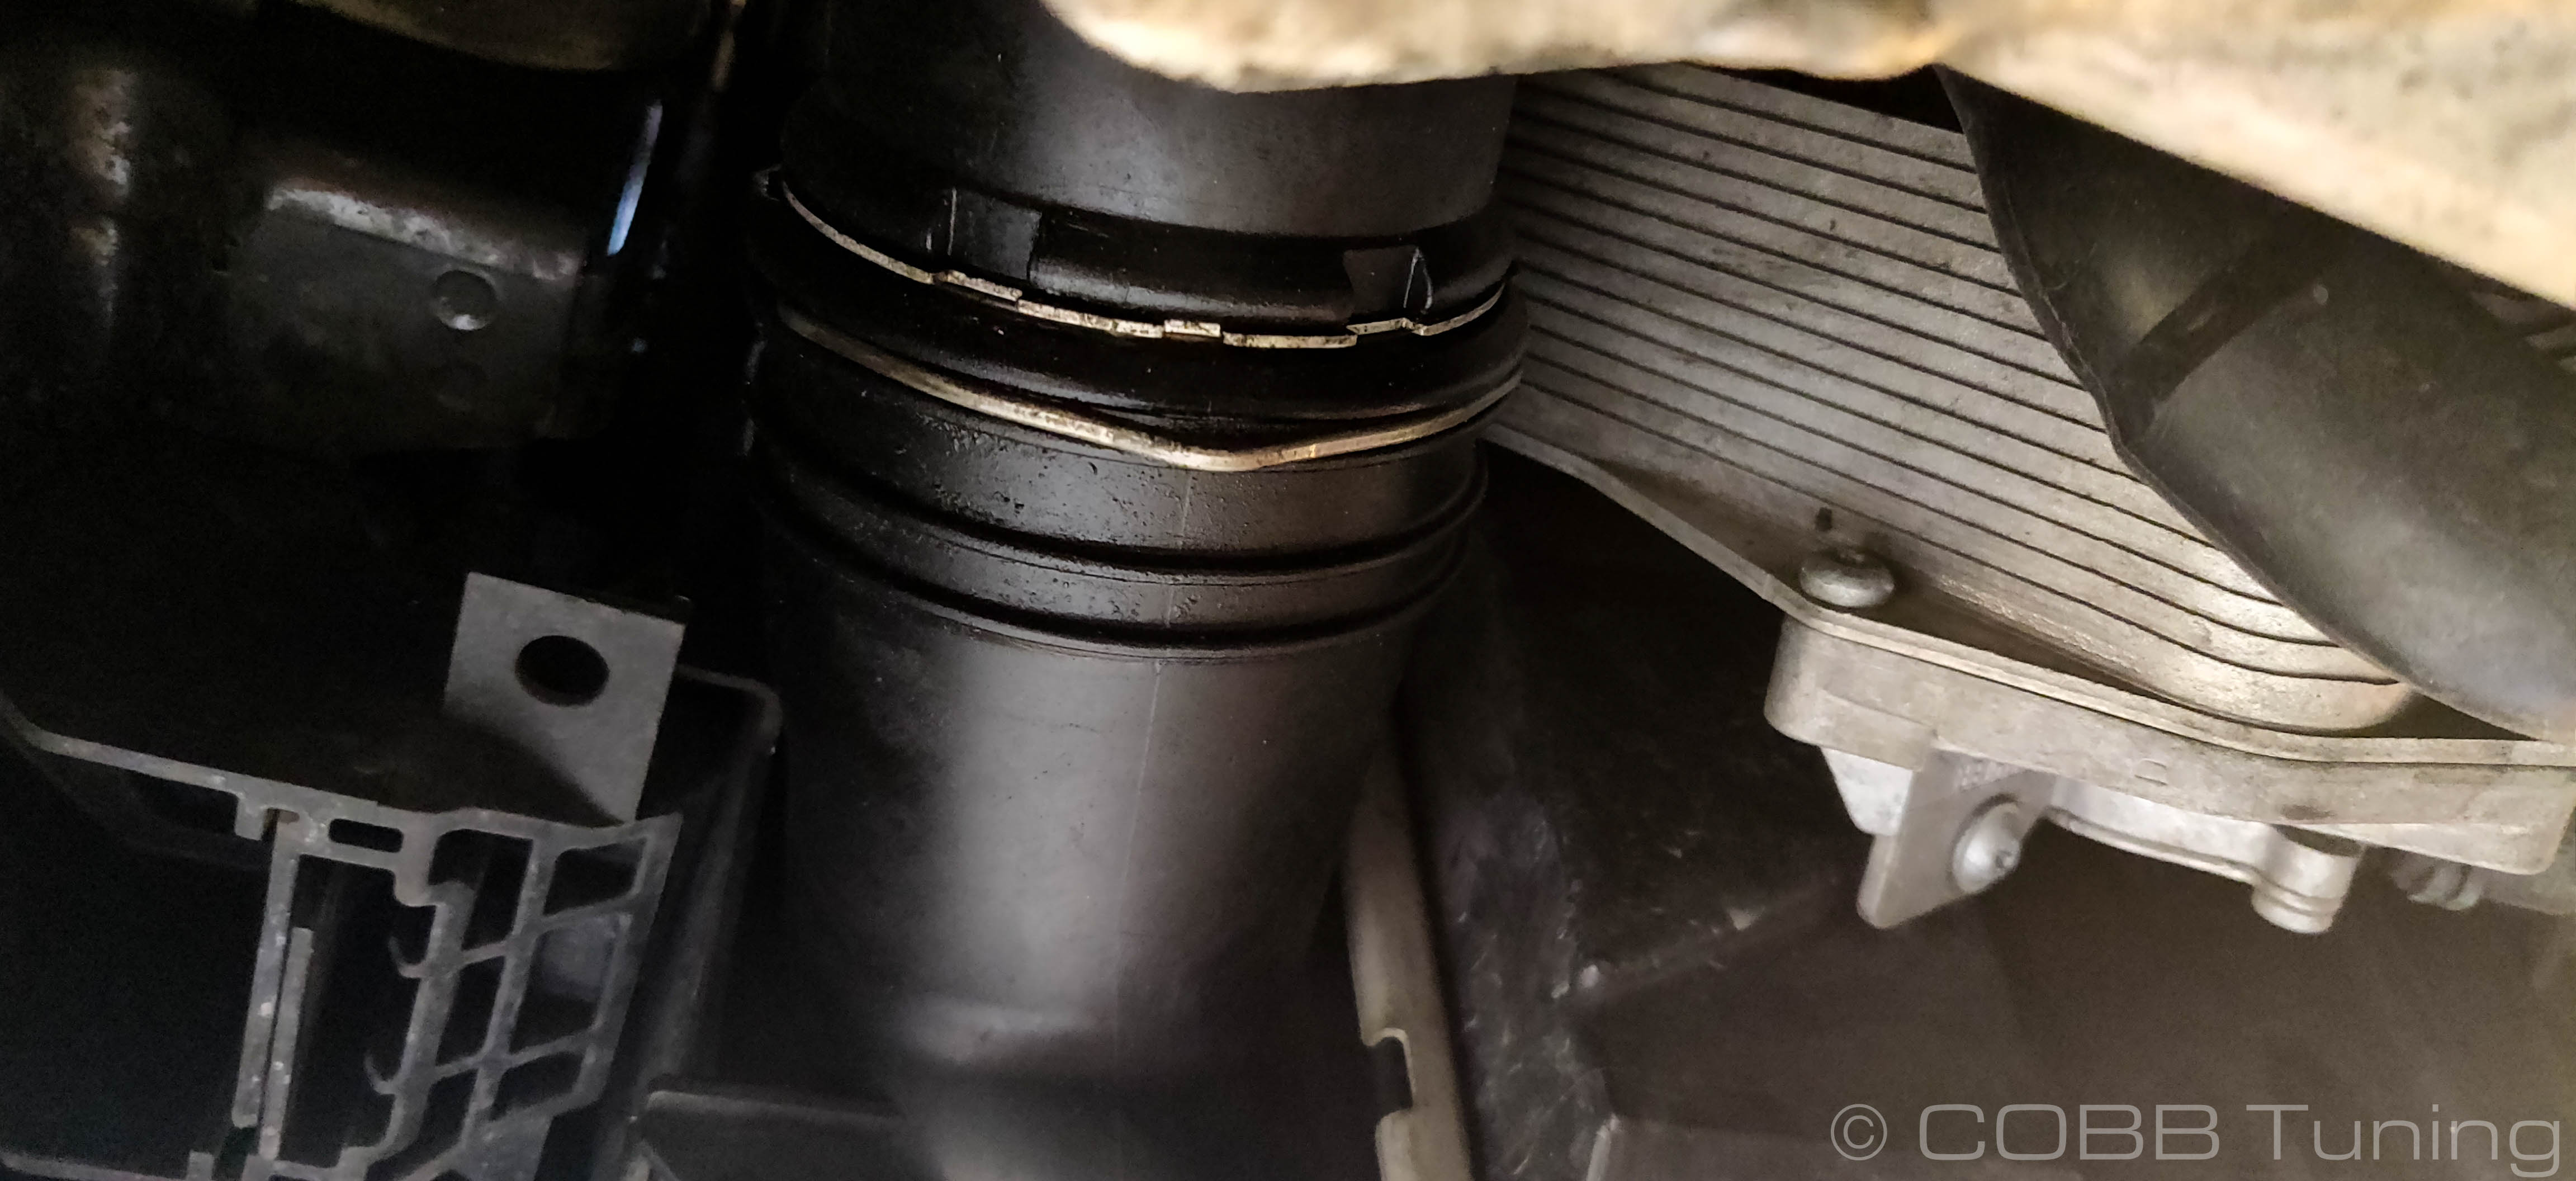
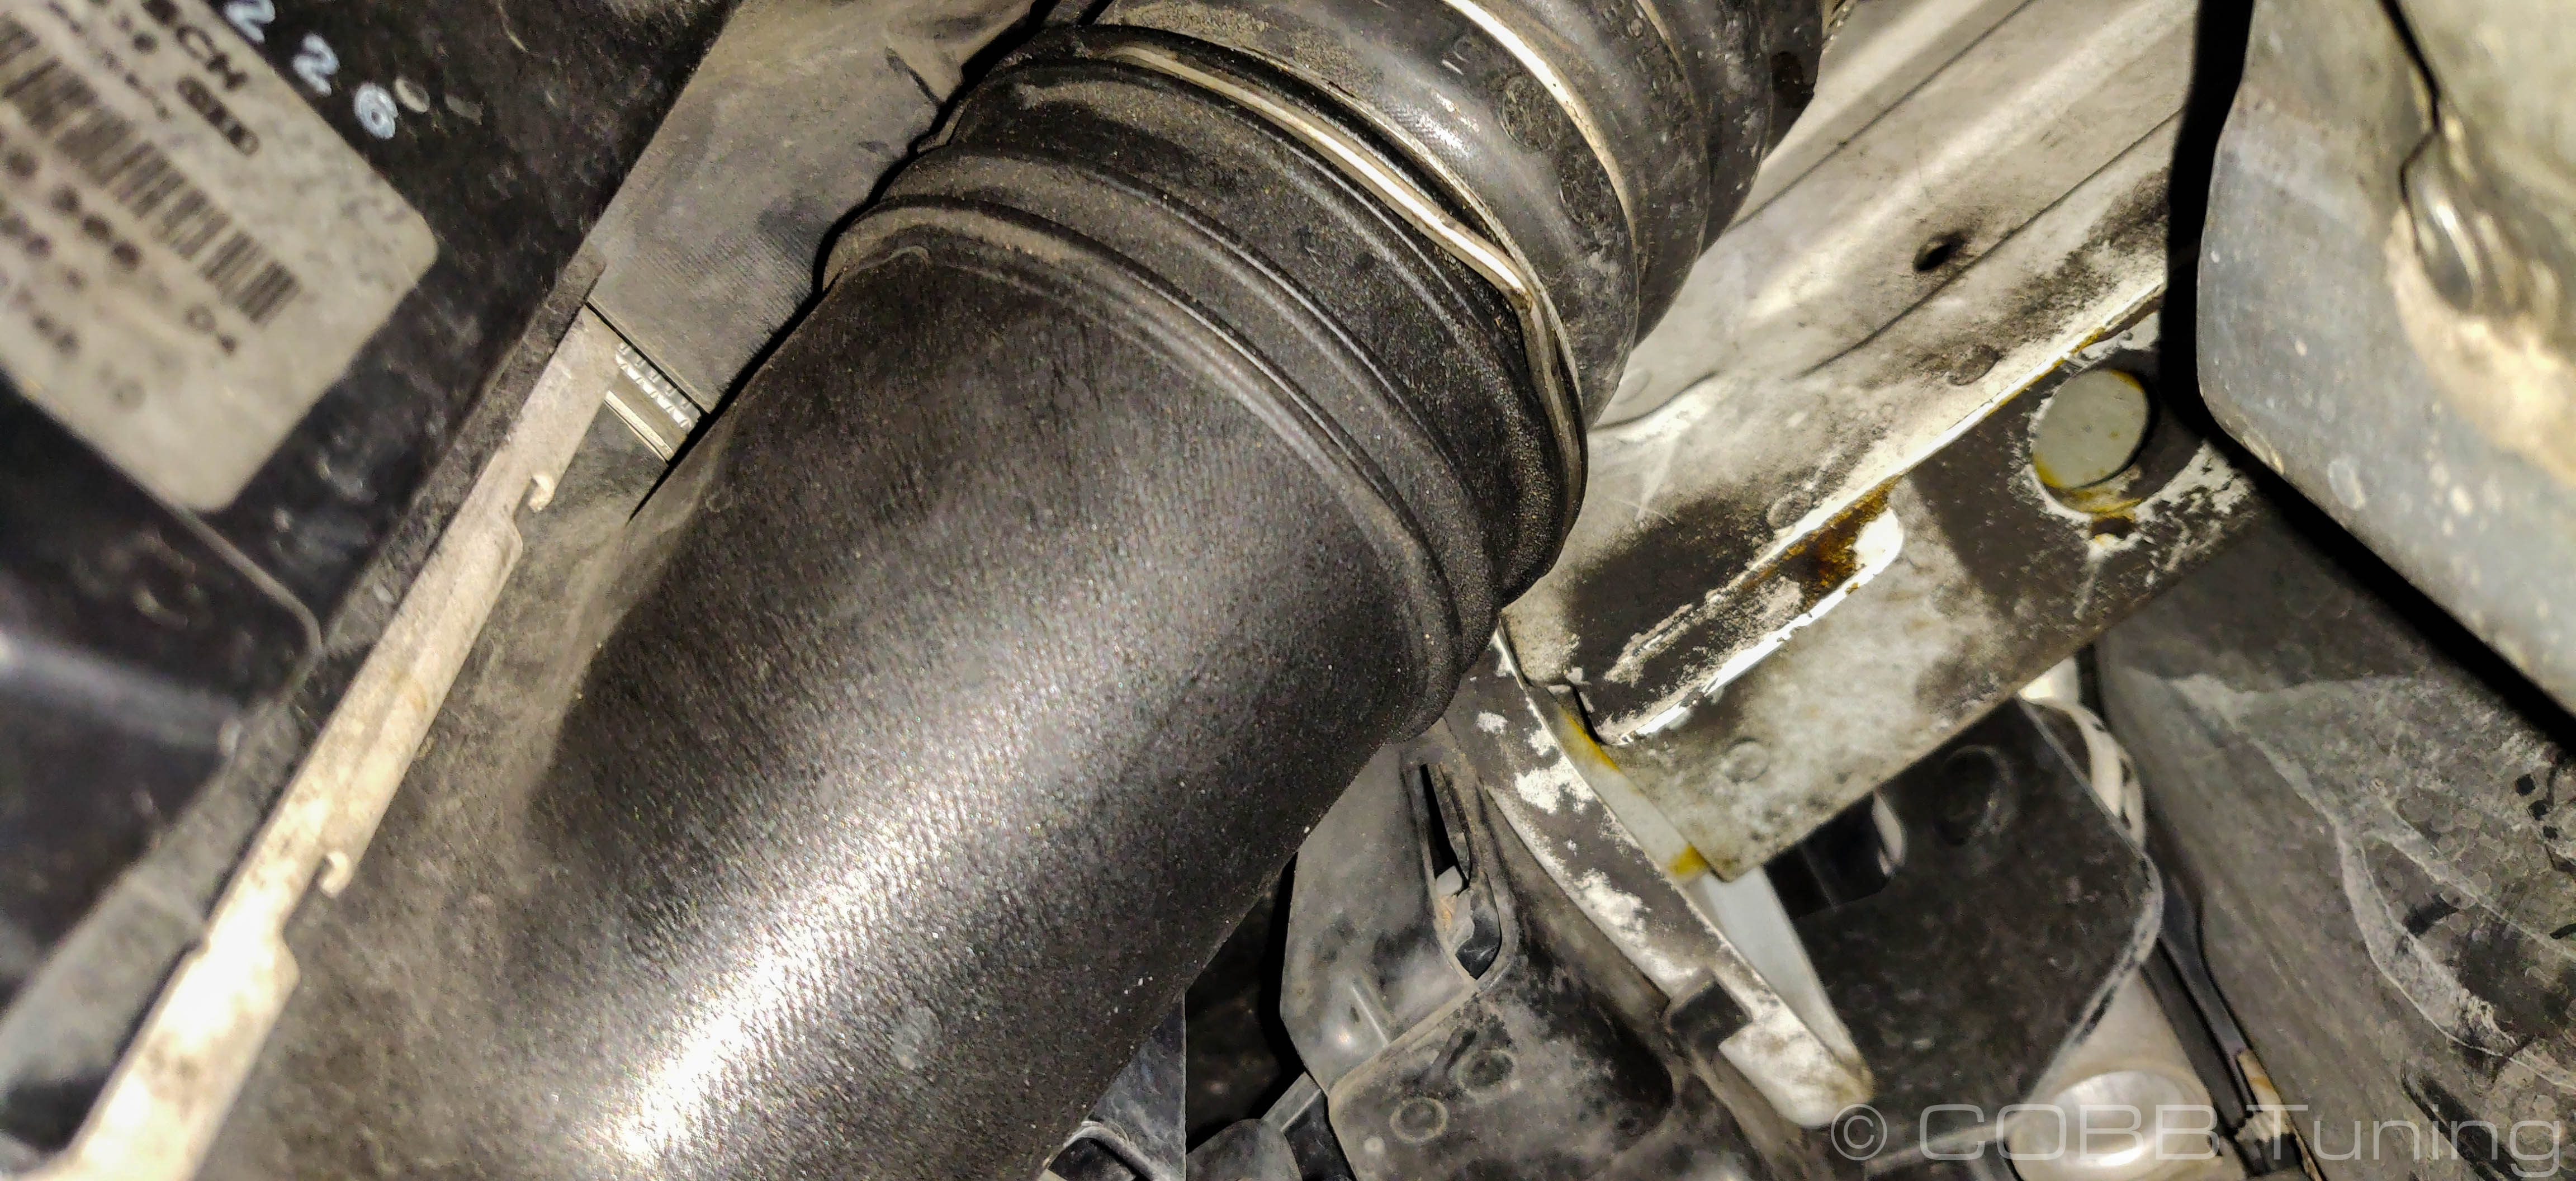
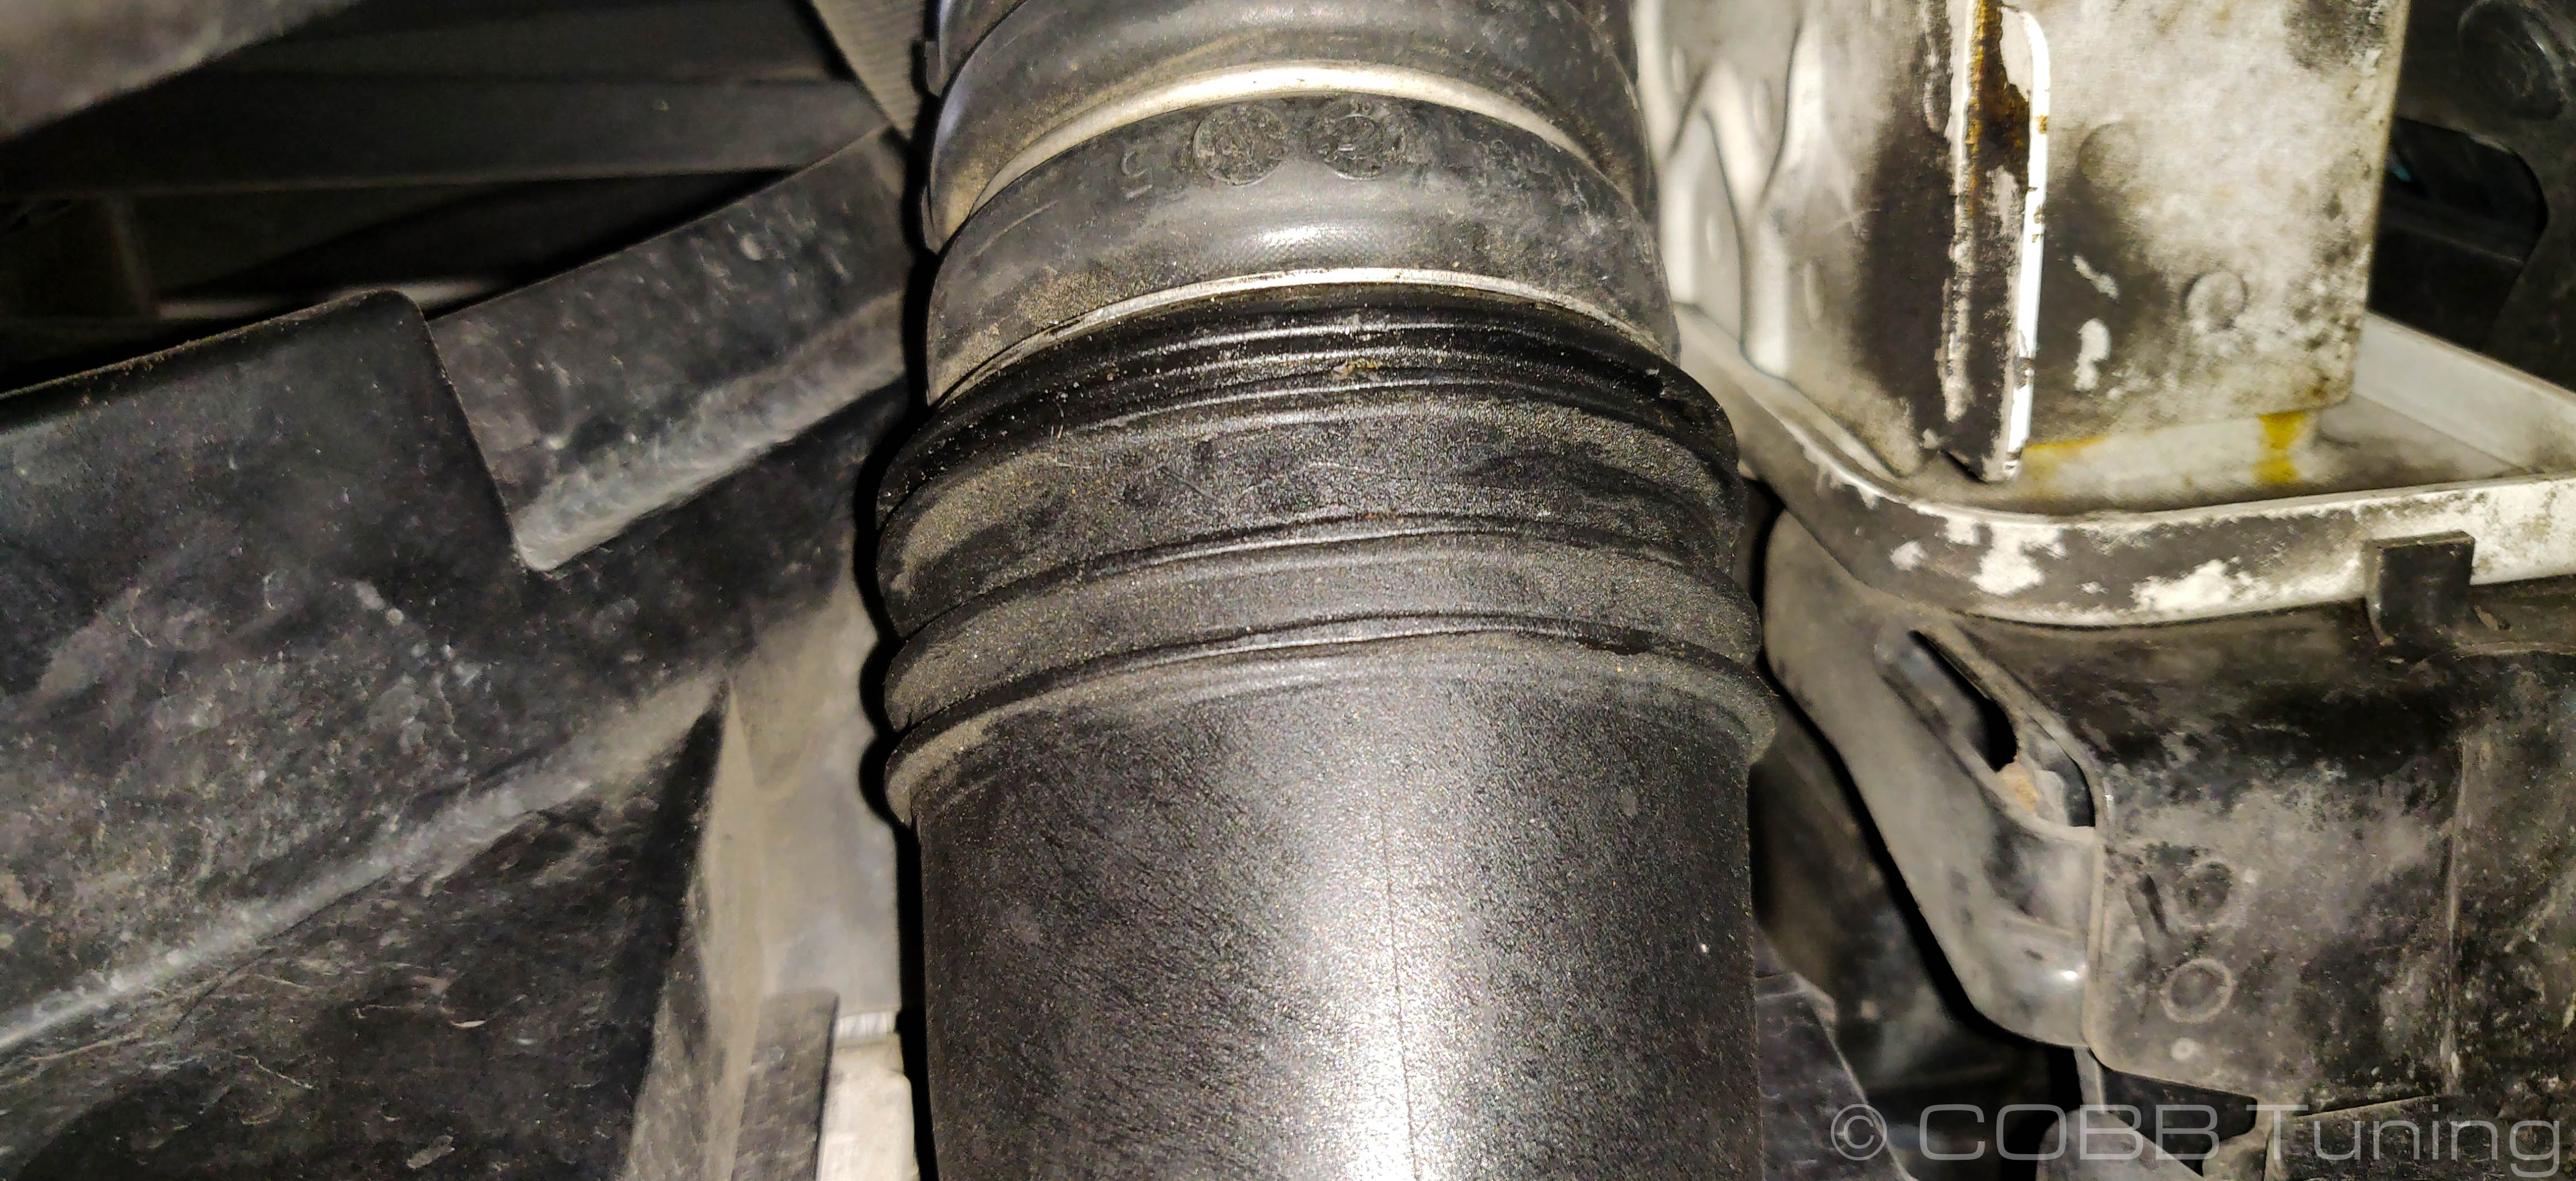
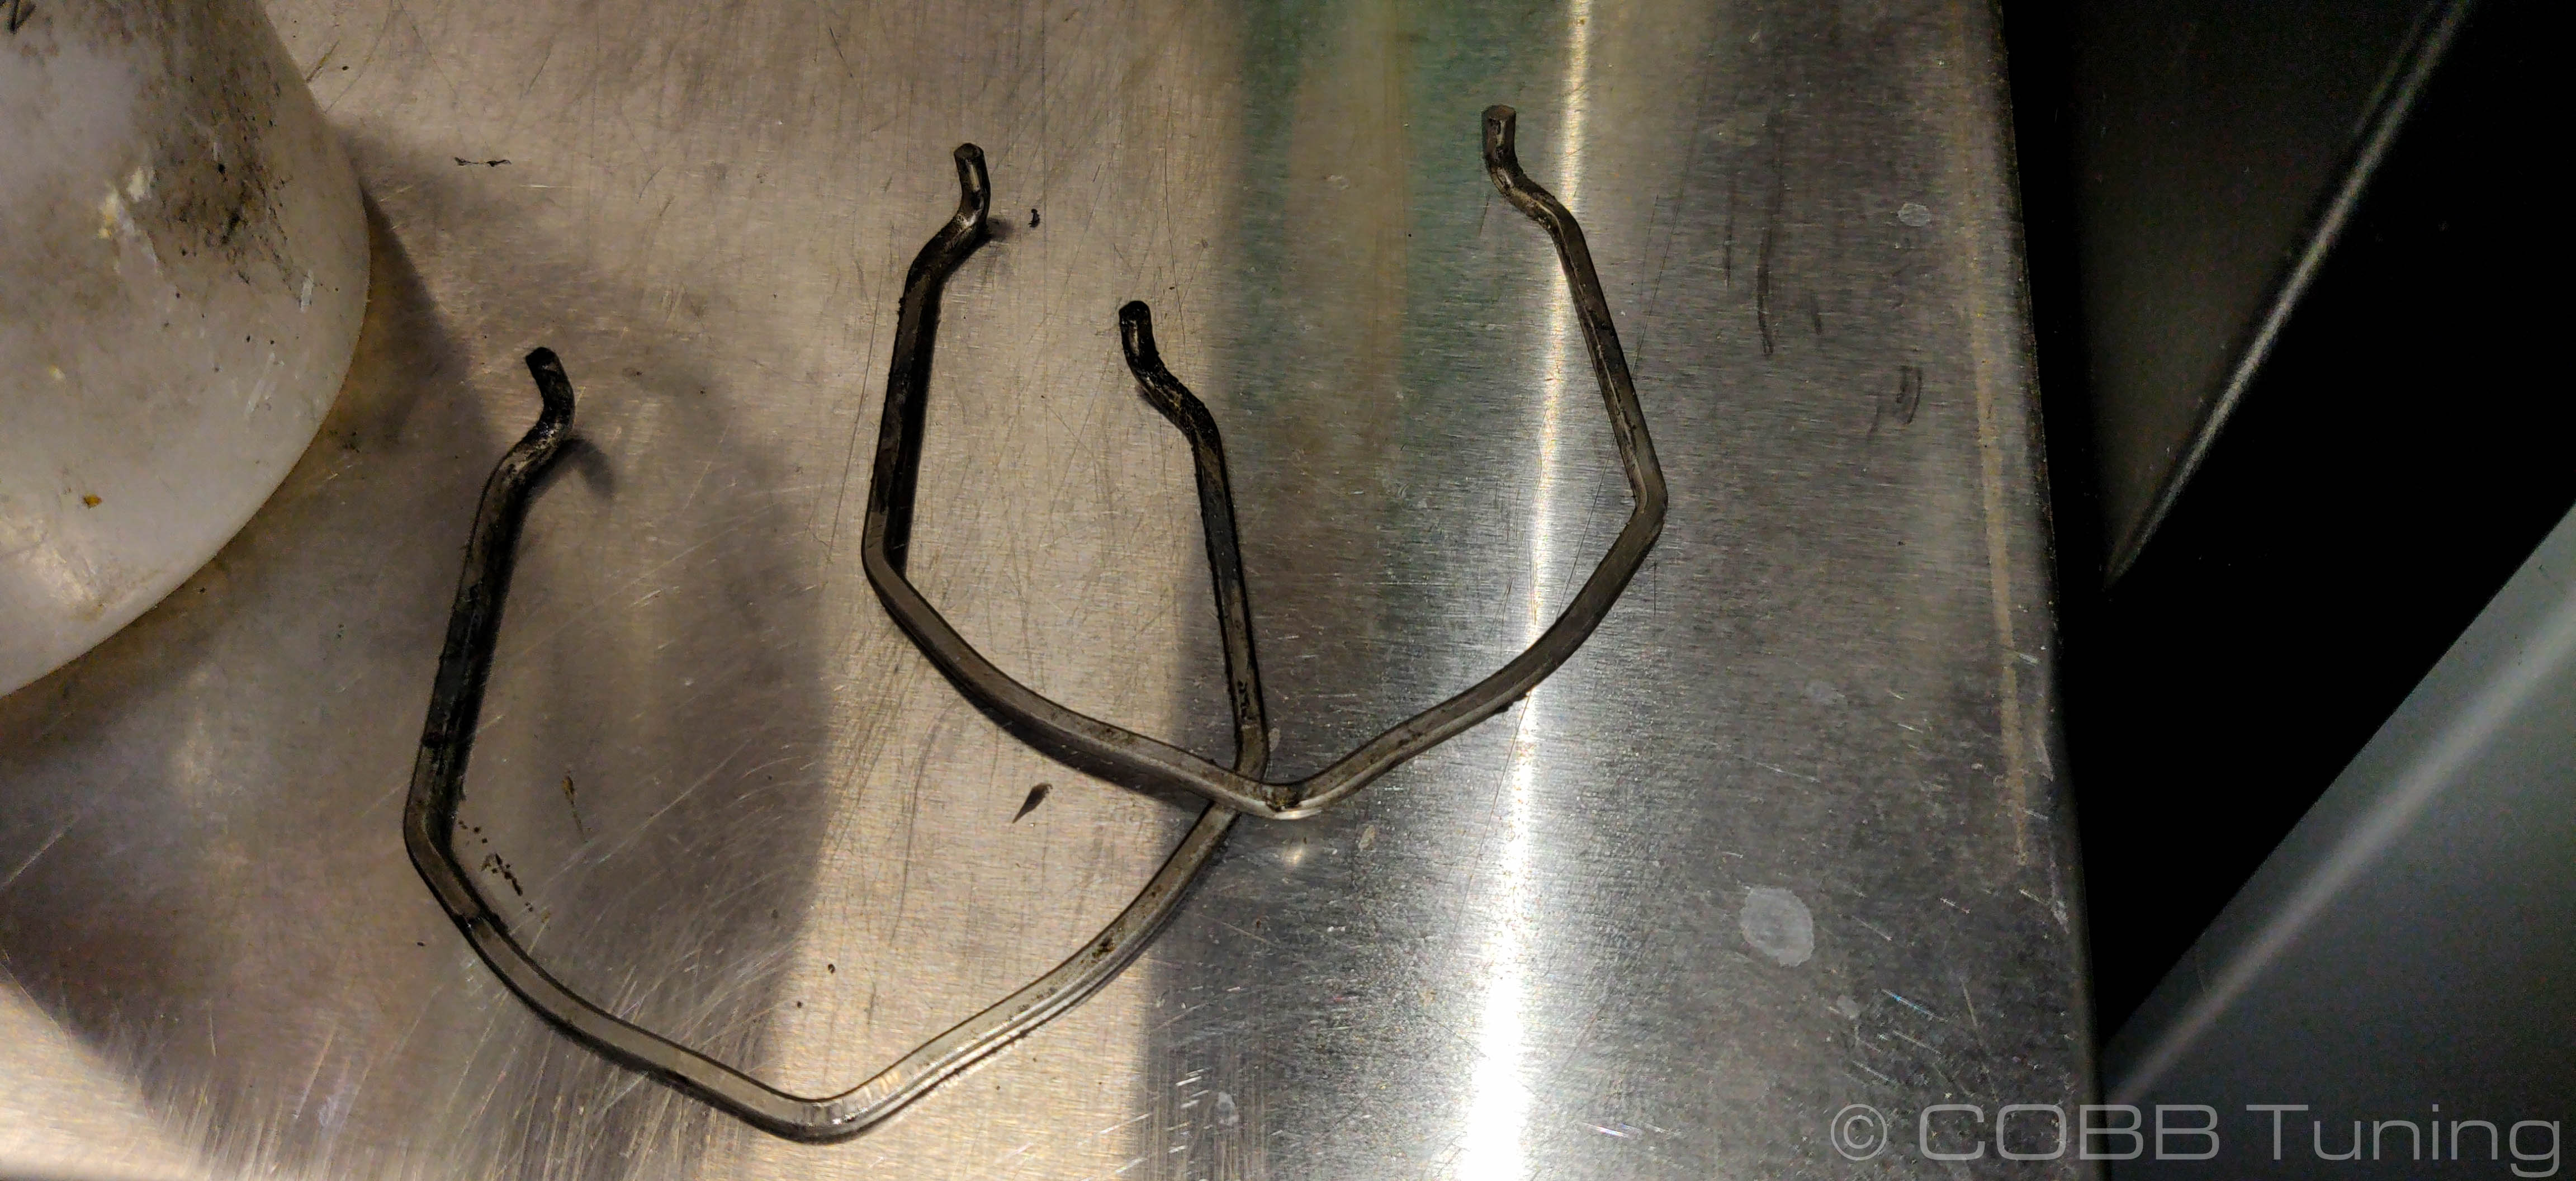
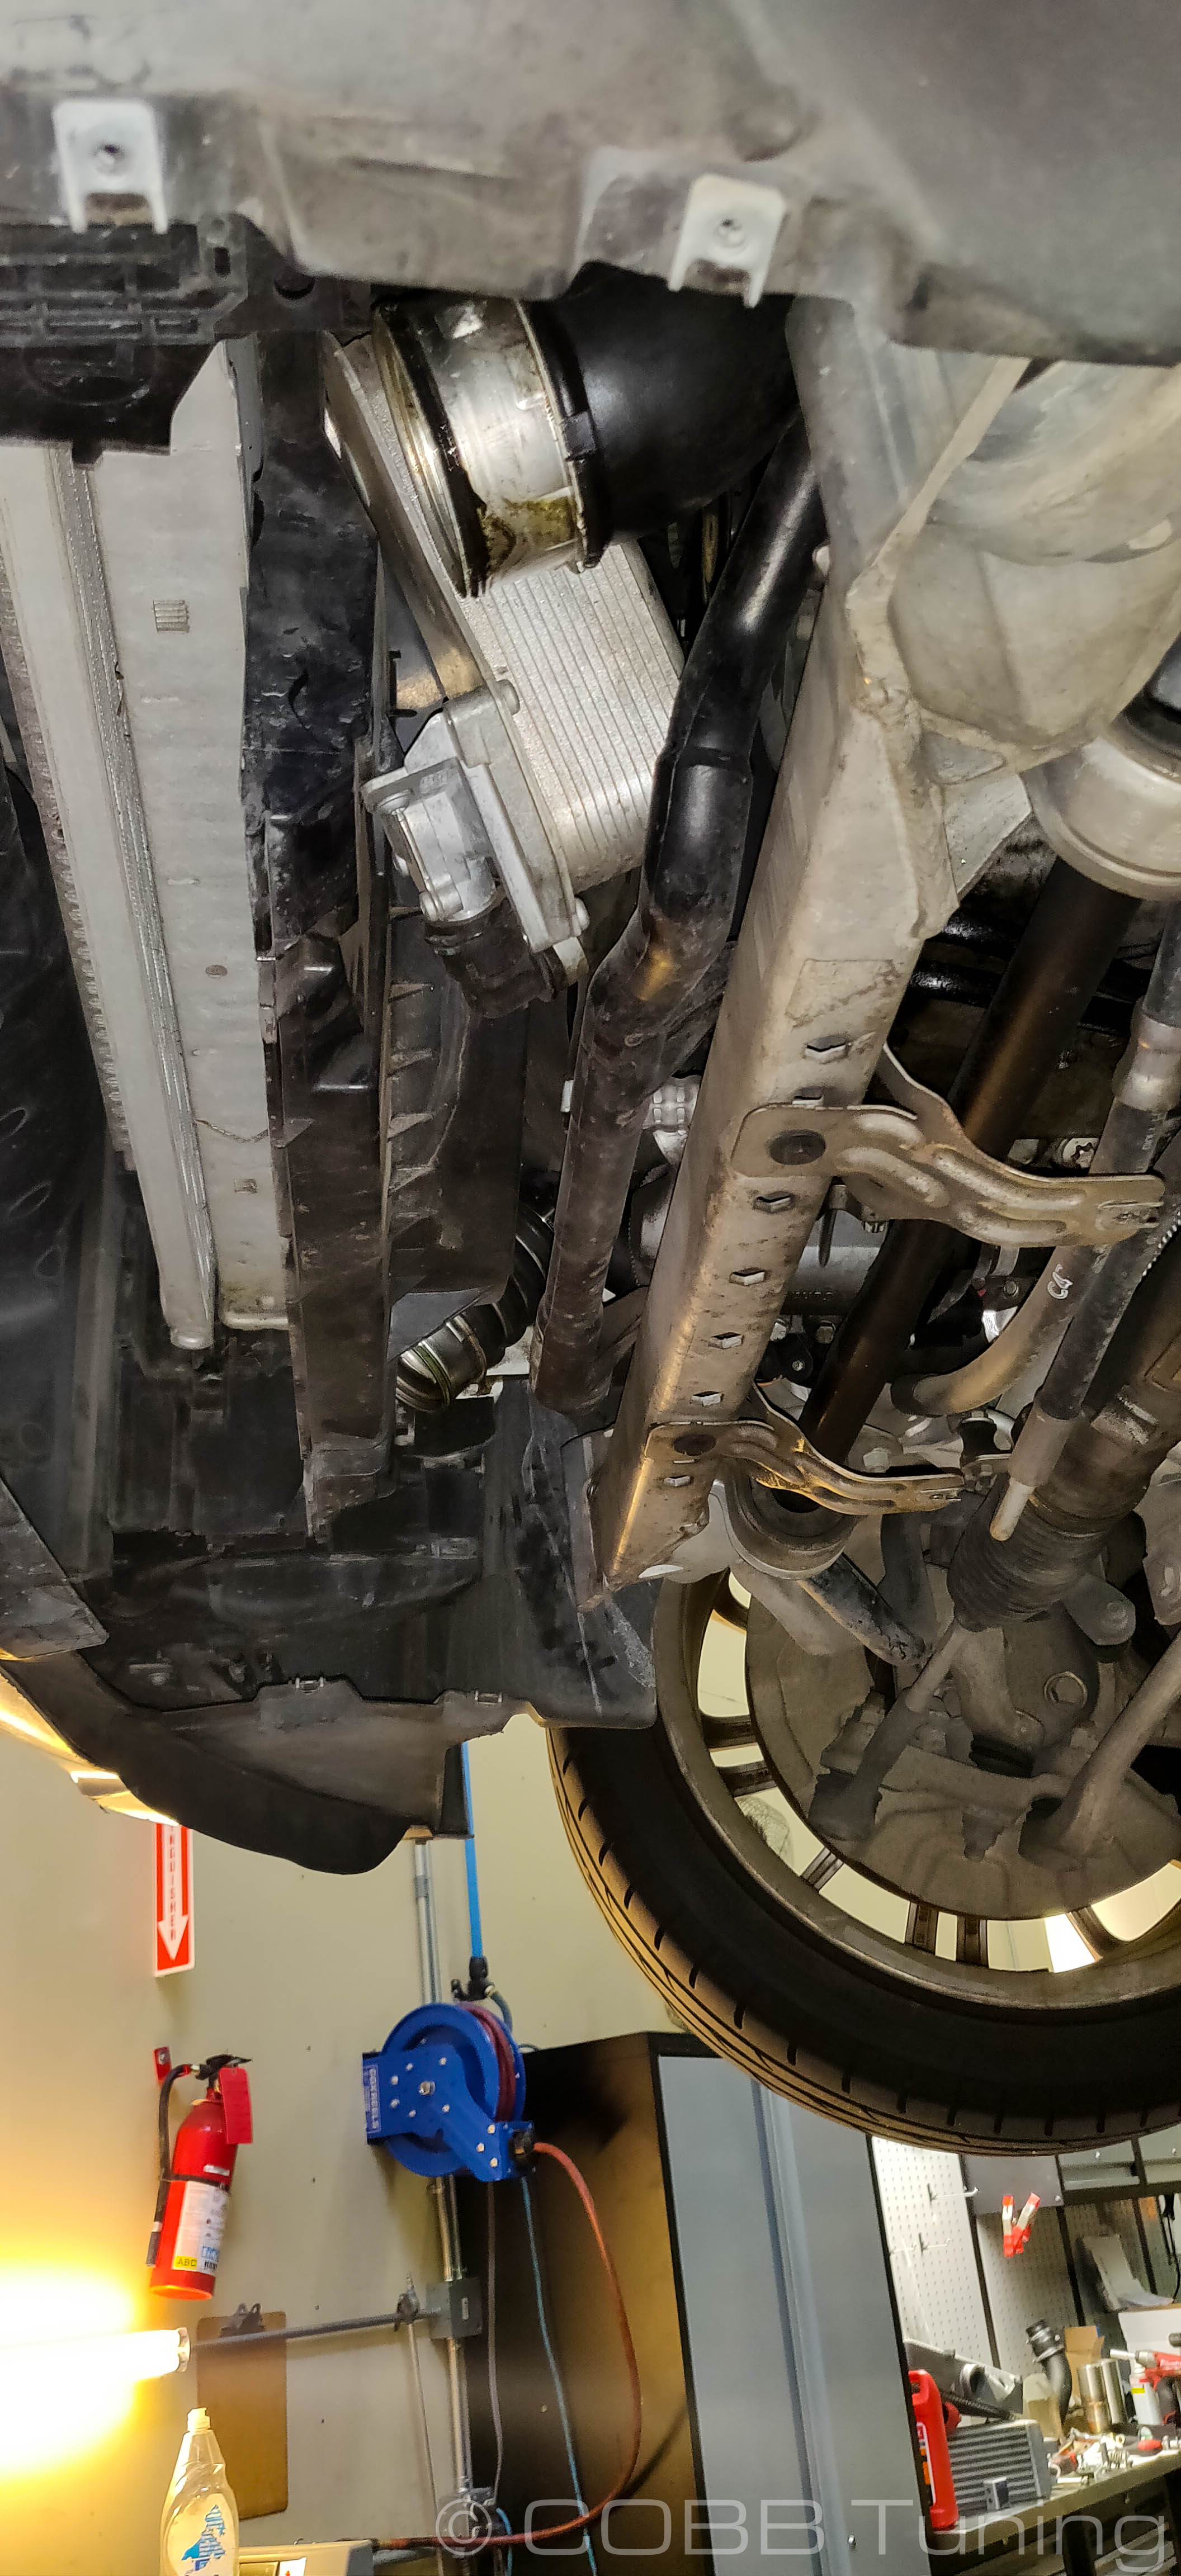
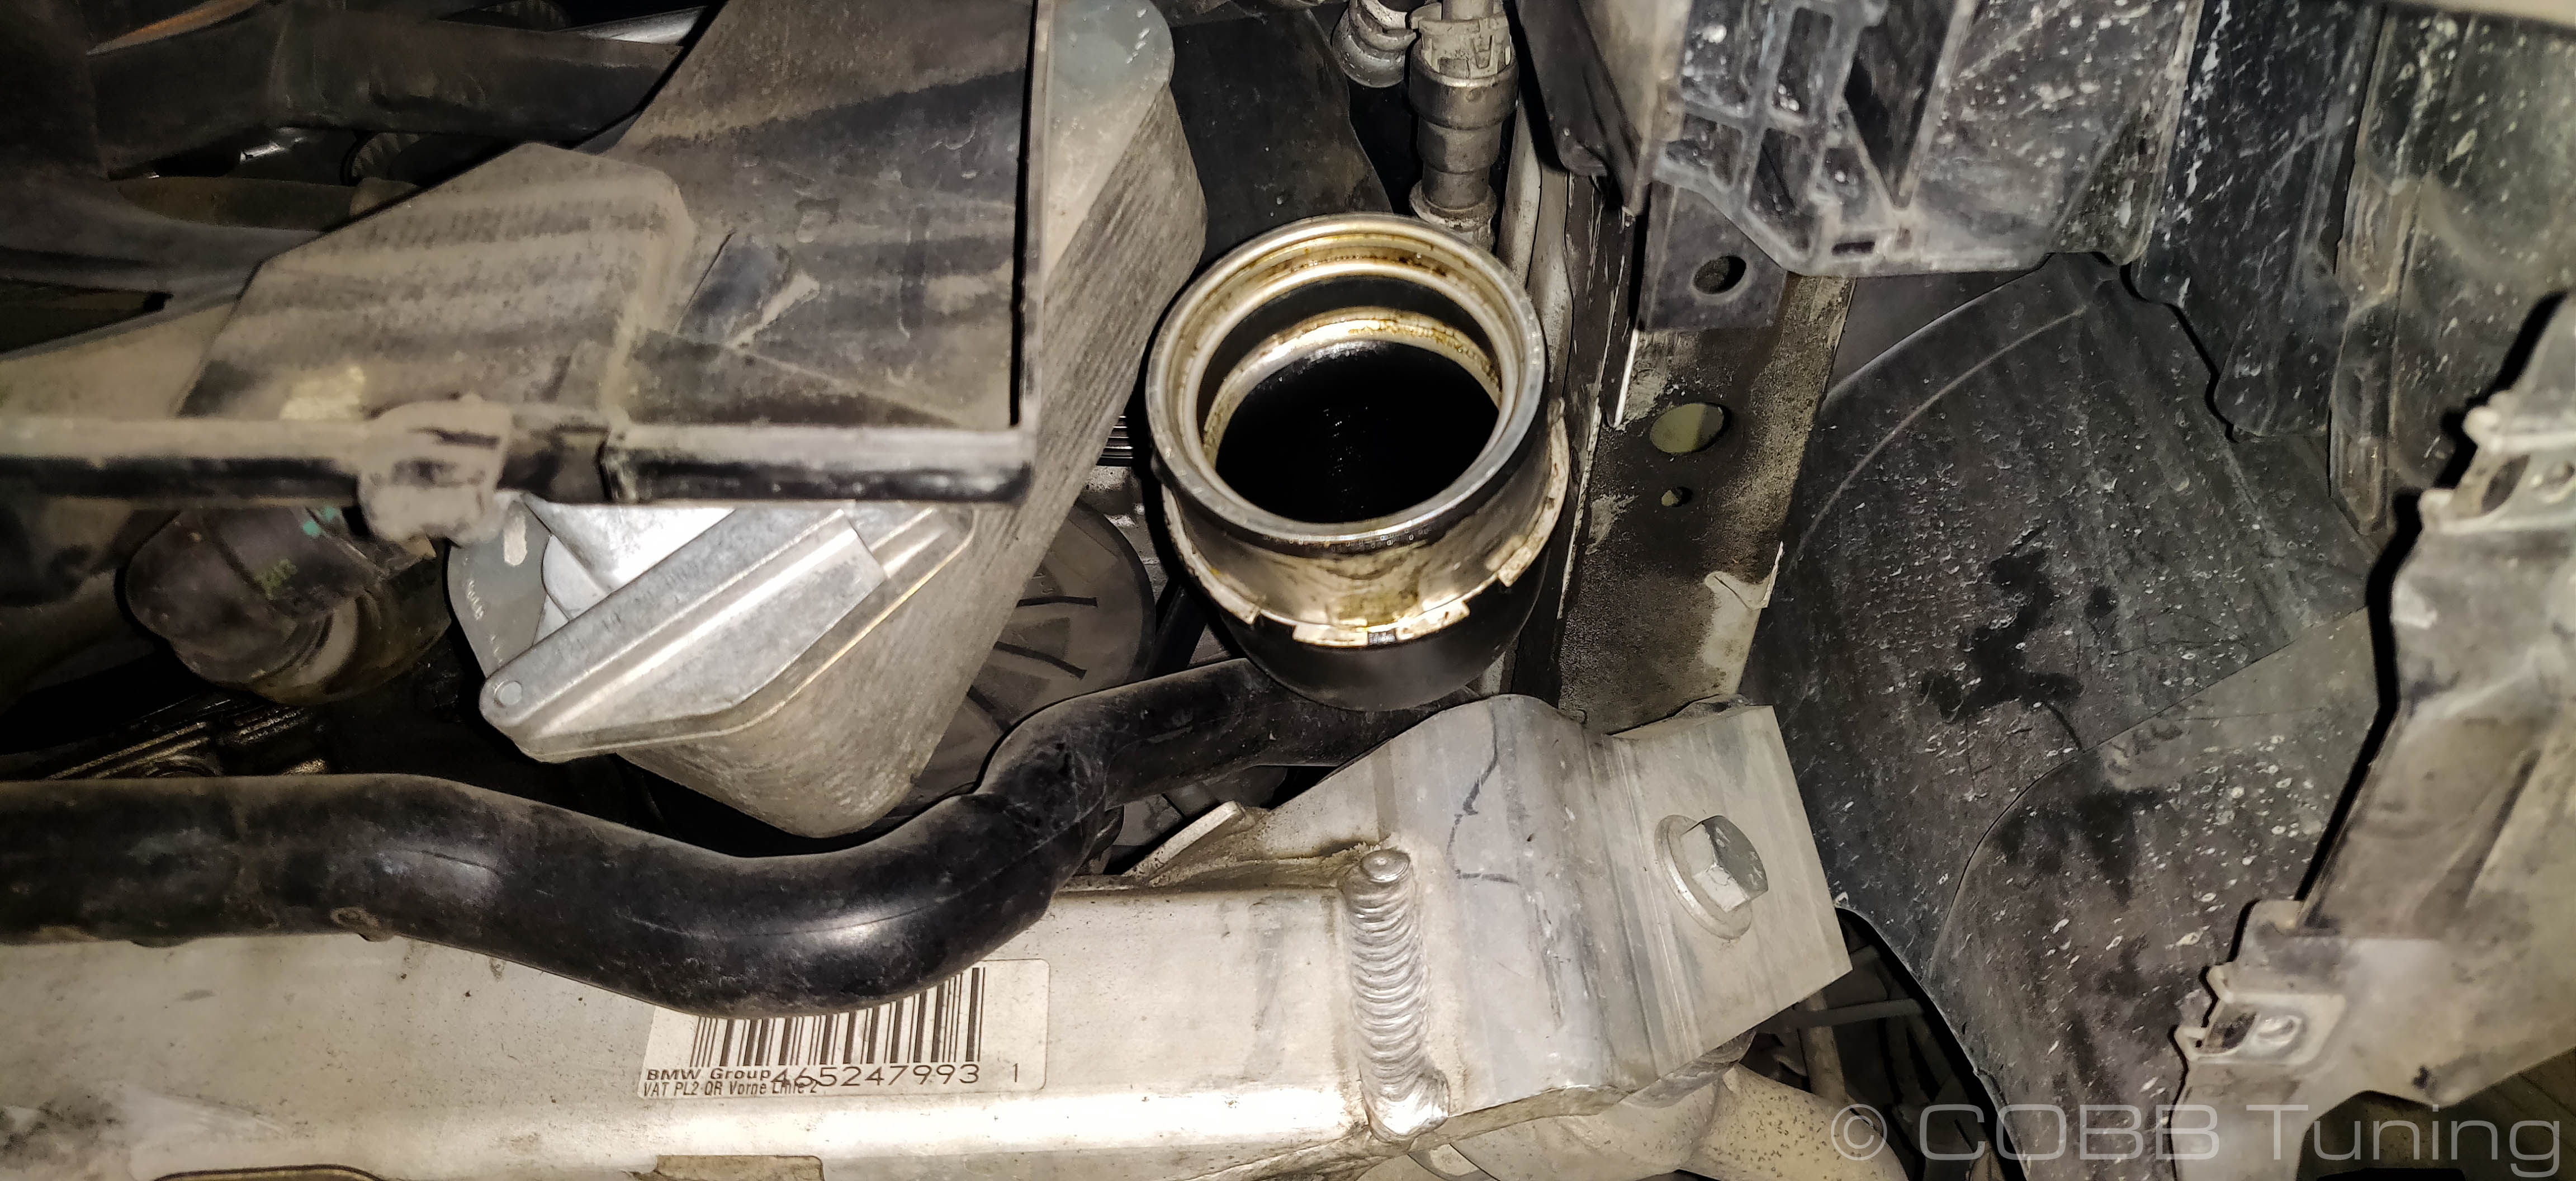
- Remove the two "C" - Clips holding the intercooler pipes in place using a pair of pliers.
- Support the intercooler using a jack or friend.
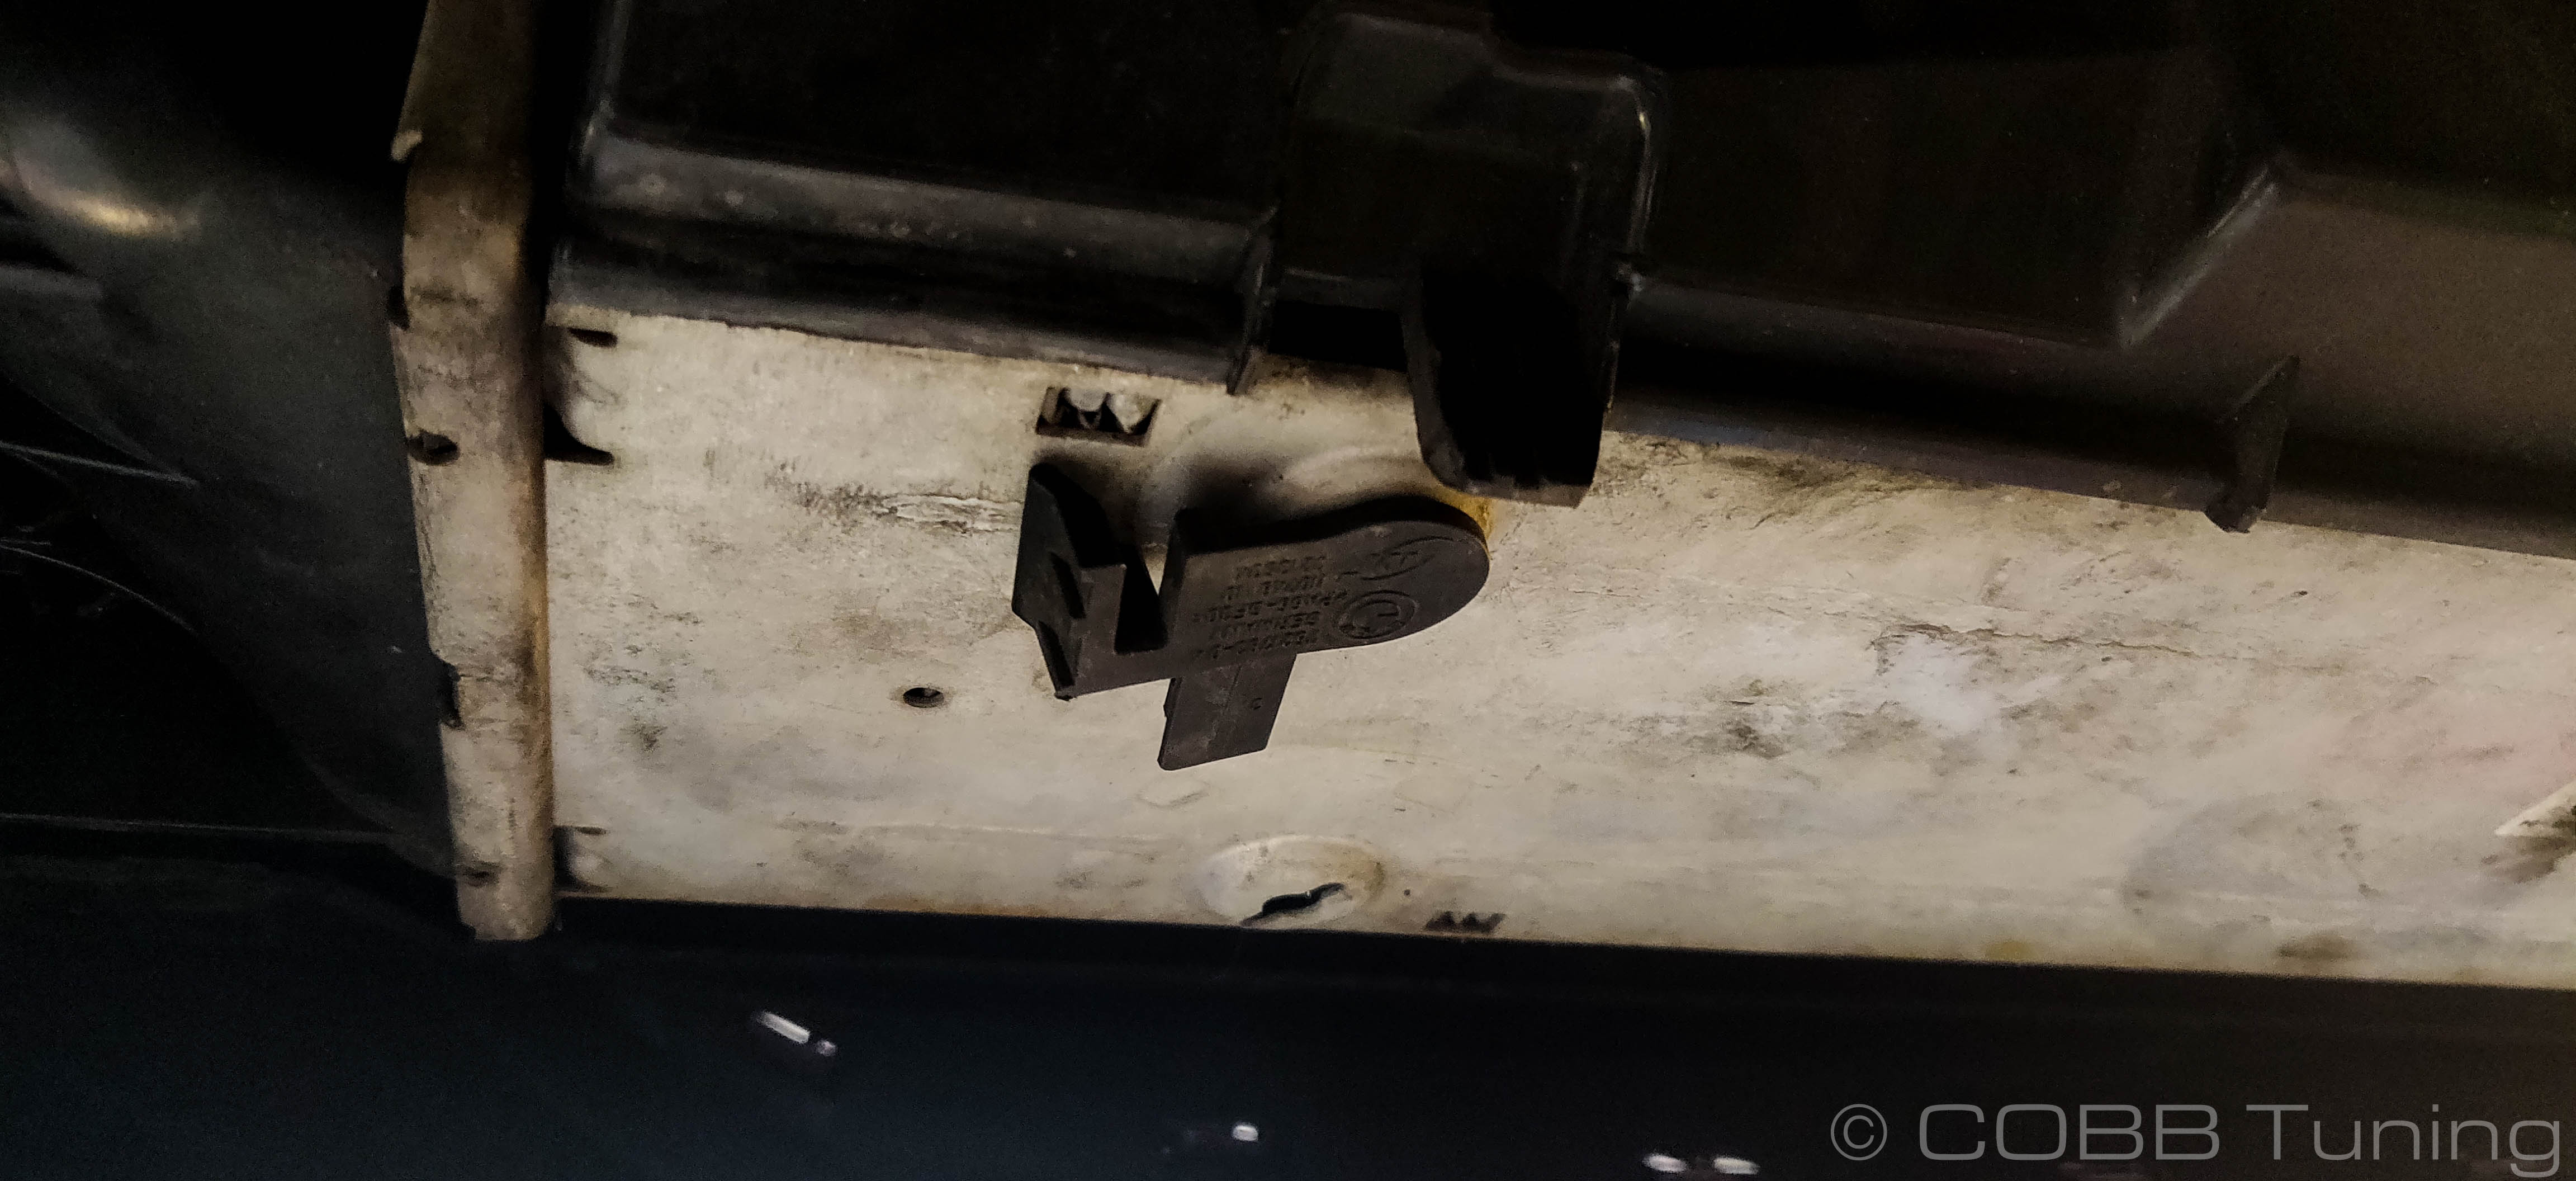
- Turn the fan shroud retainer counter-clockwise and lightly wiggle outward to free the shroud.
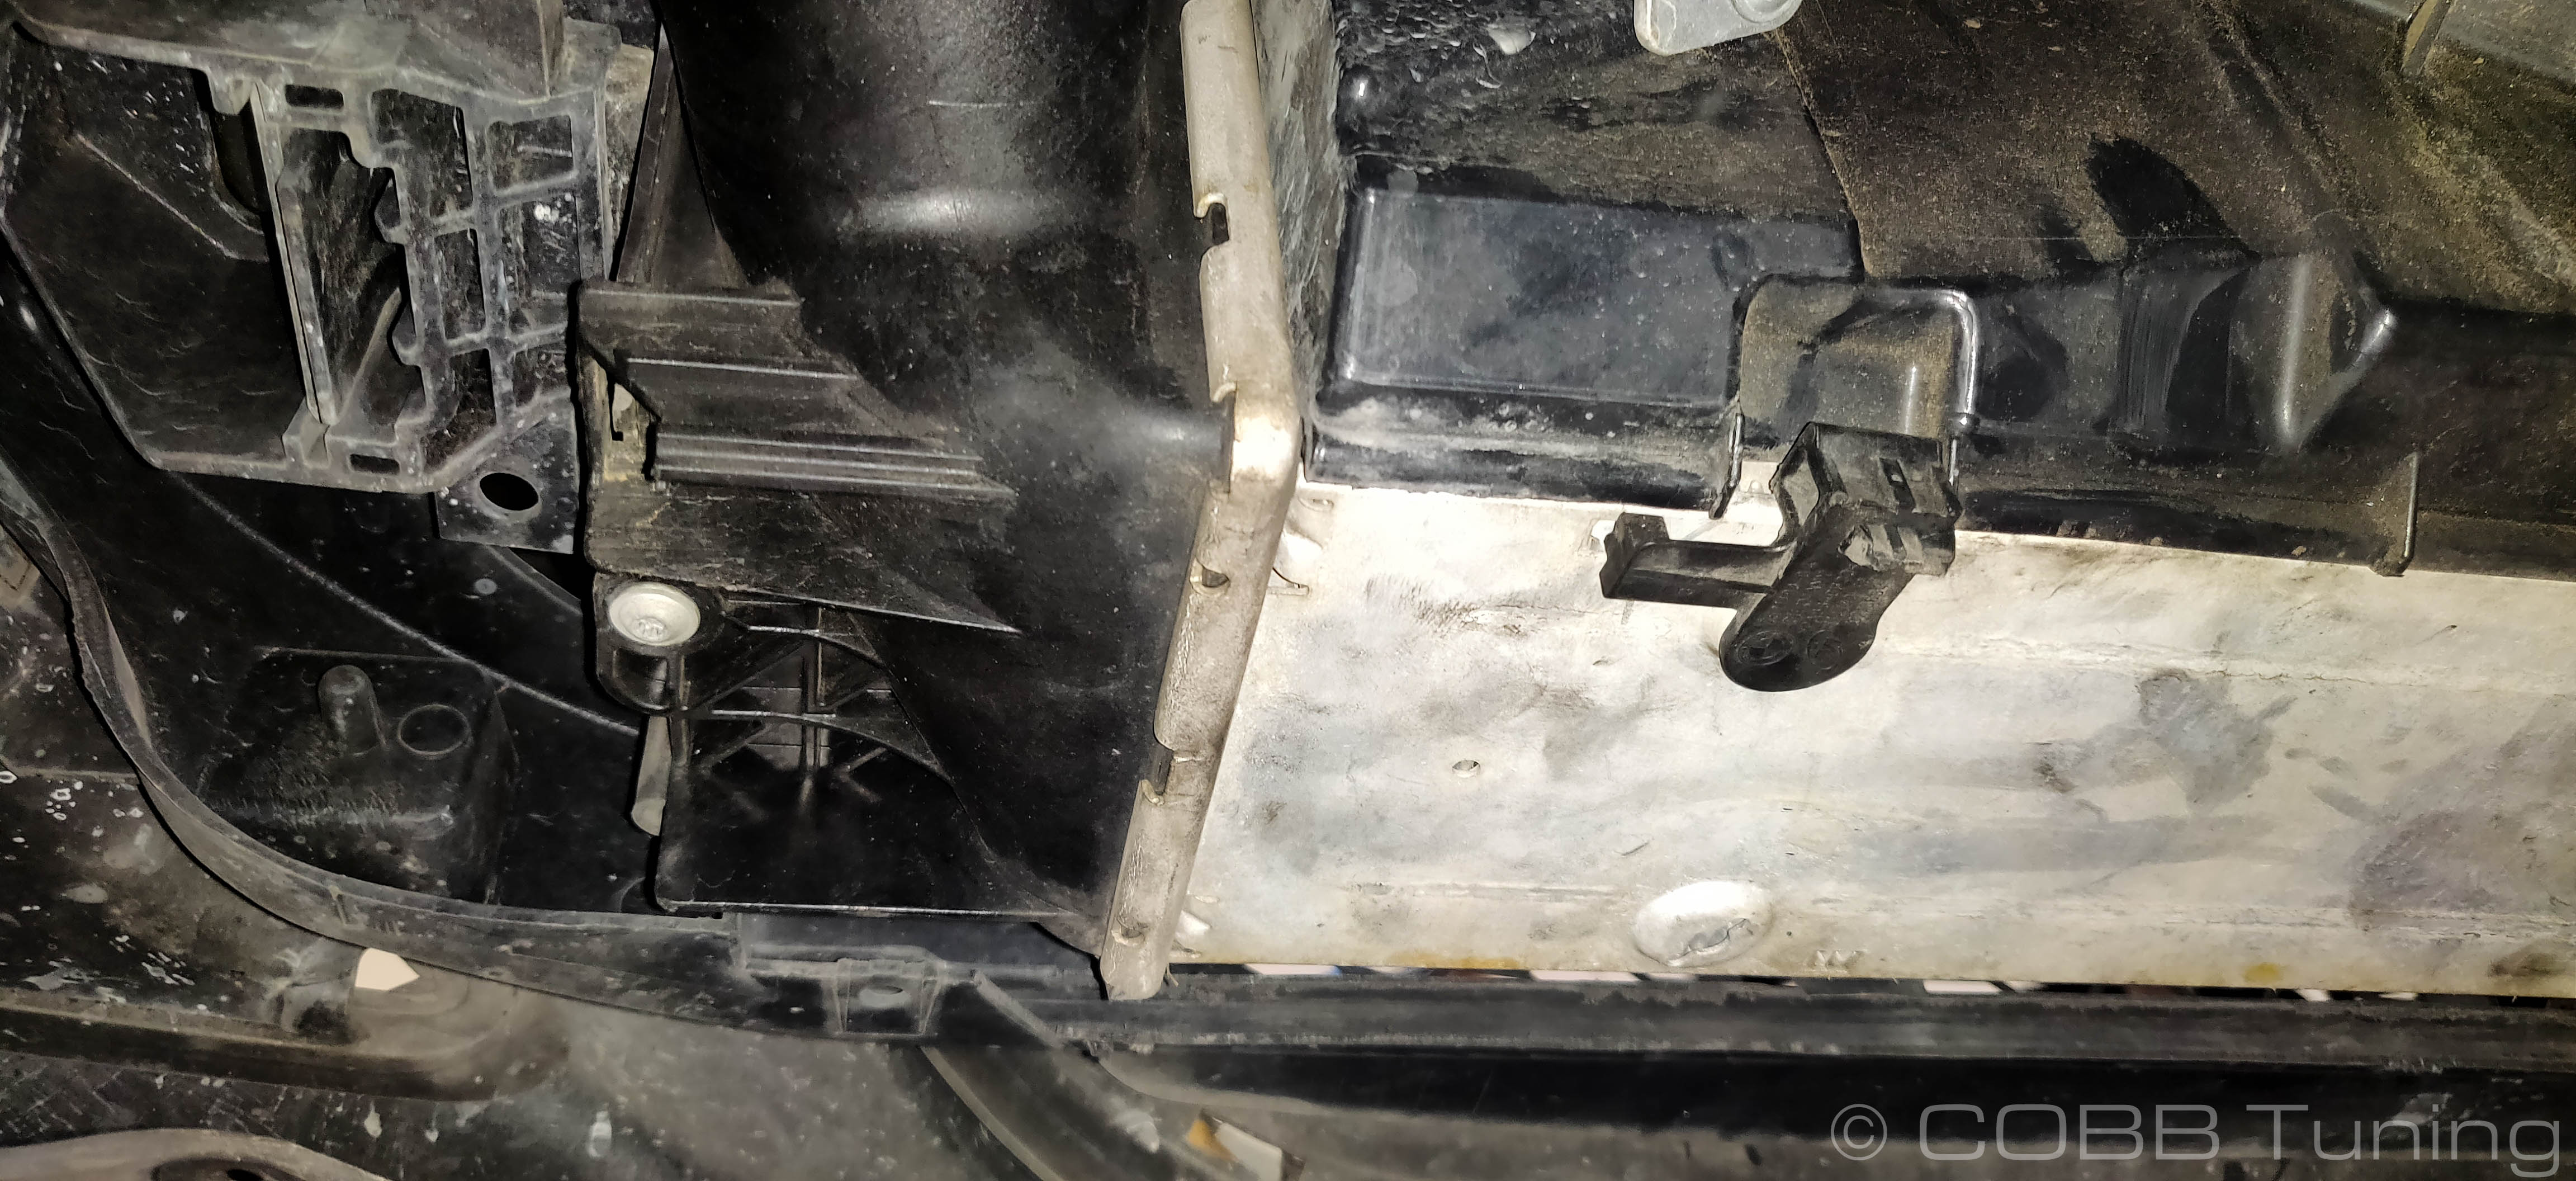
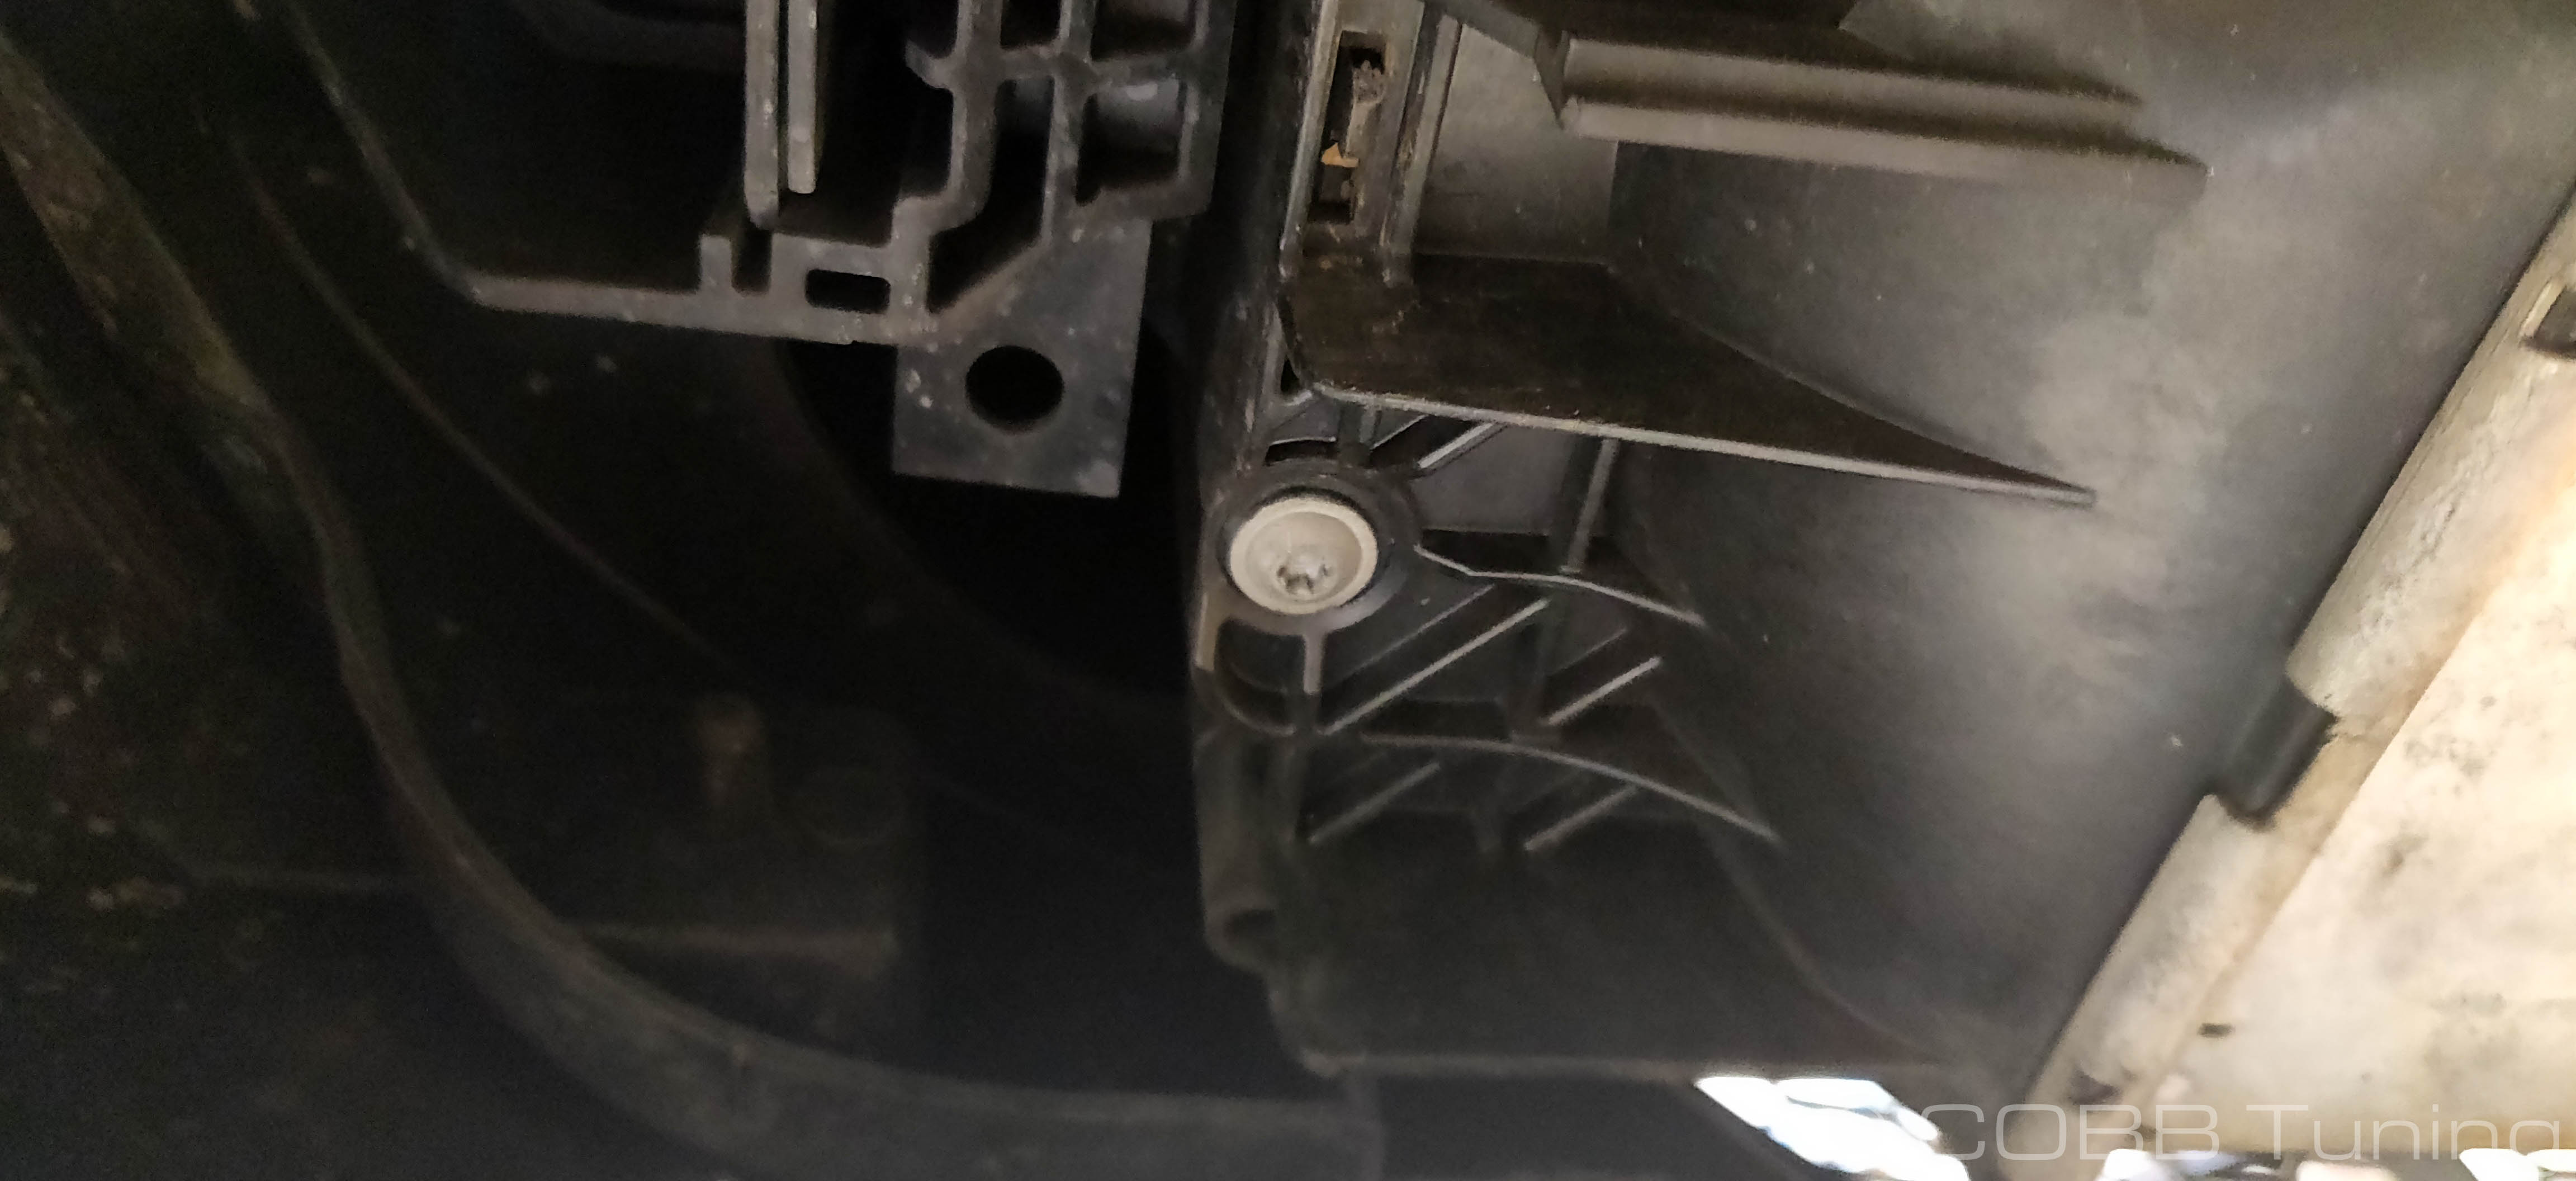
- Using a T-25 torx bit, remove the screw on either side slowly (it threads into plastic). Once they're out the intercooler should drop free.

- Your car should now be intercooler free.
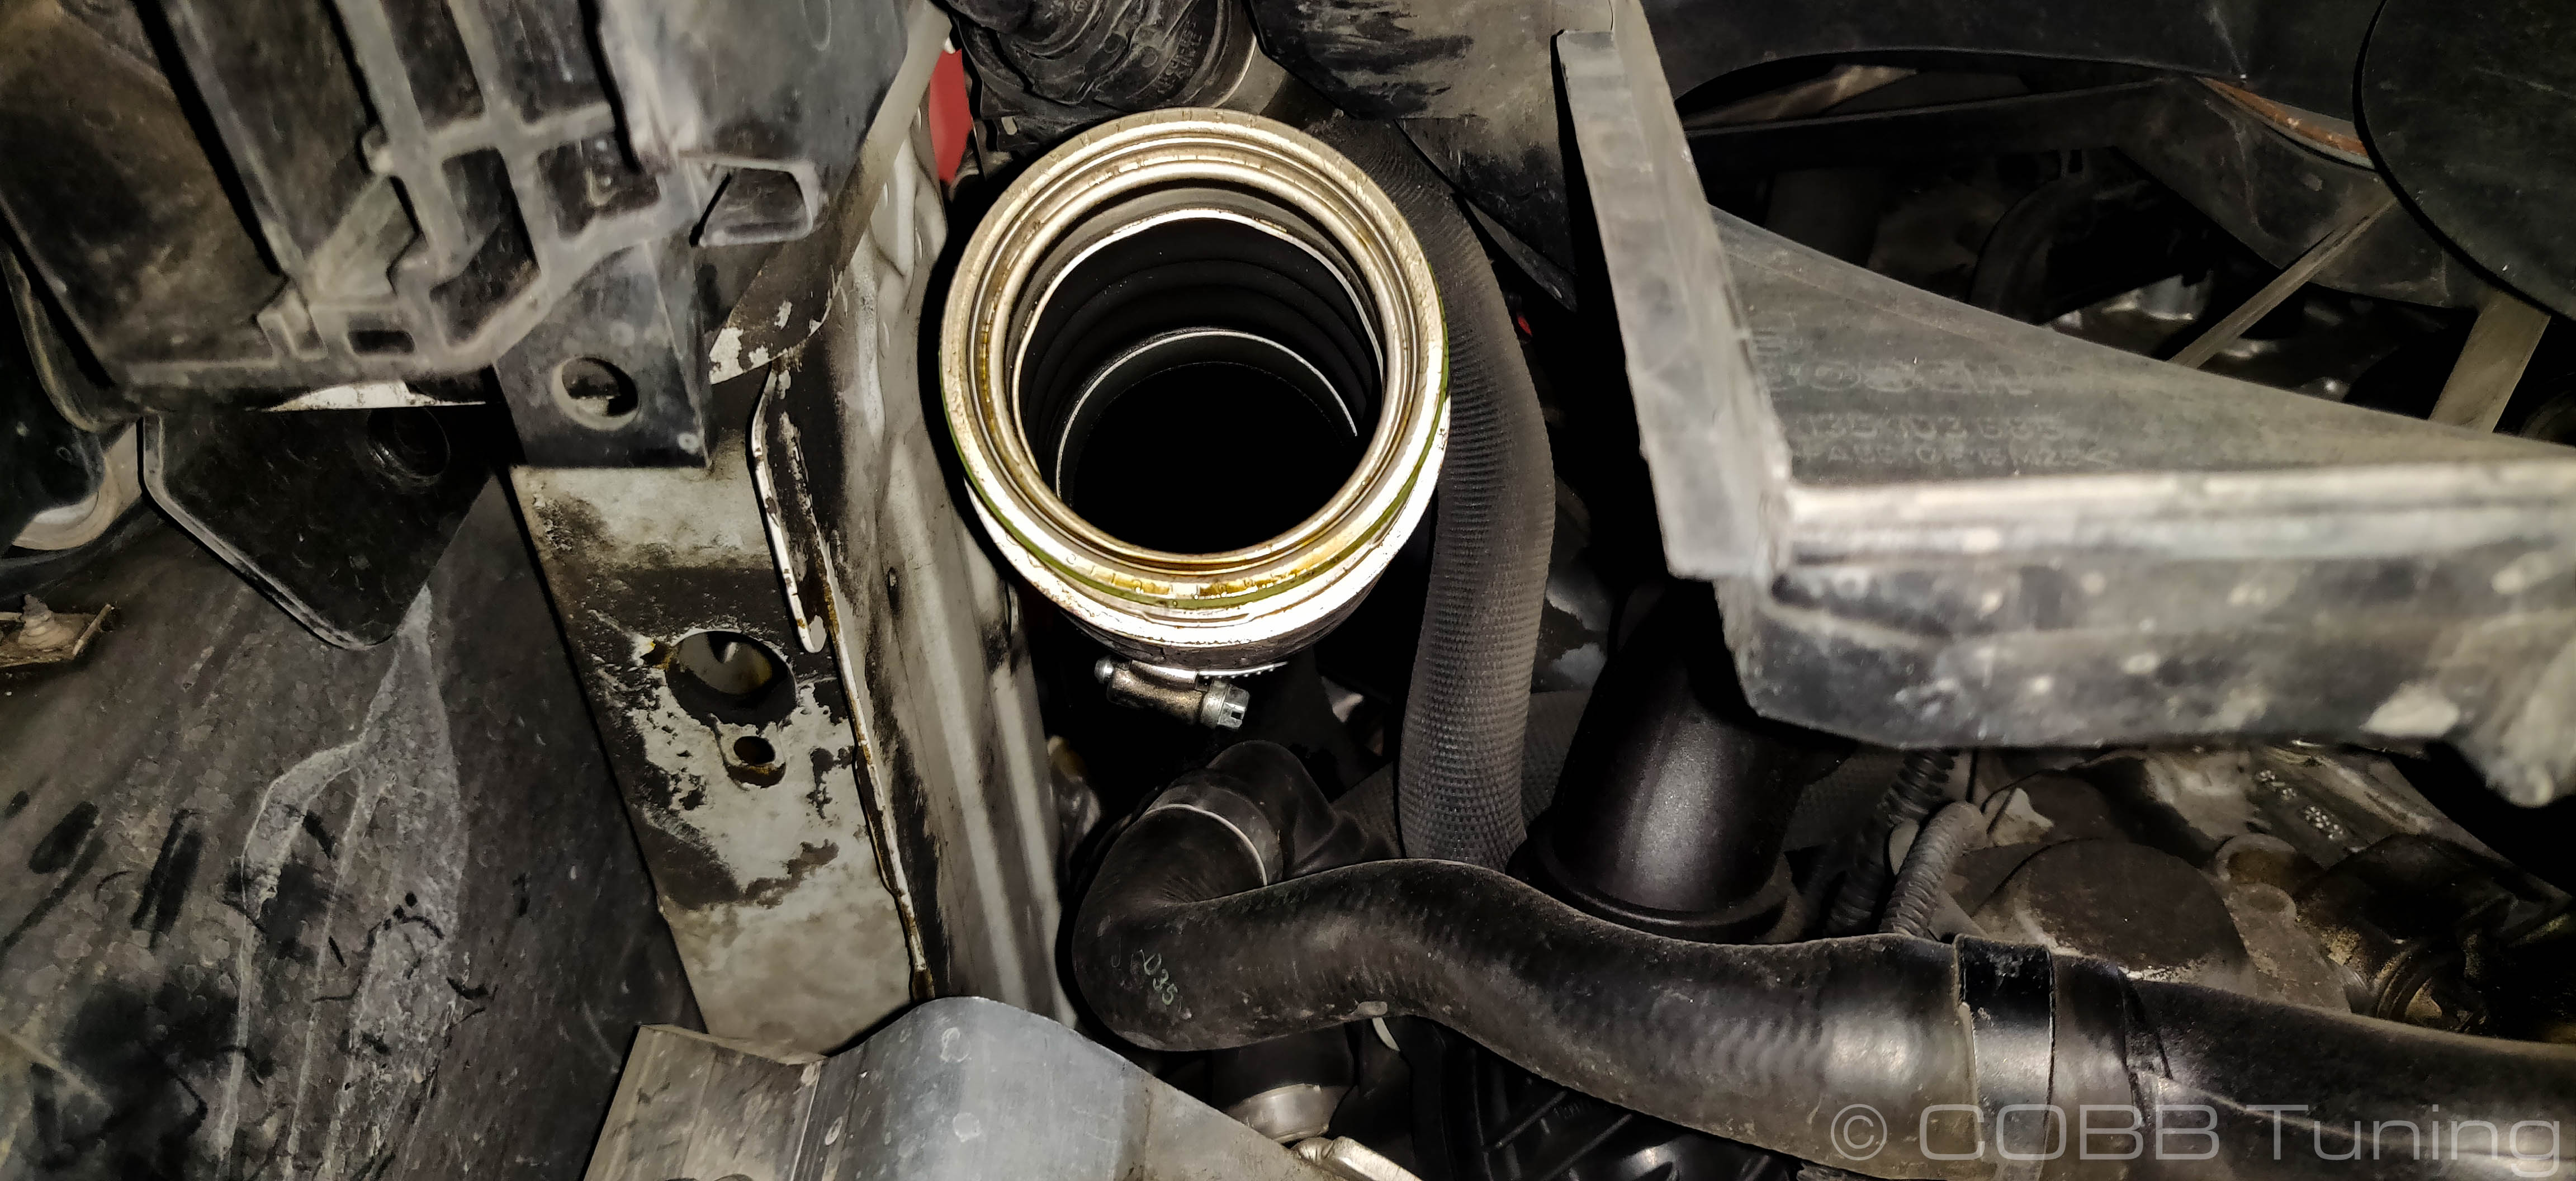
- Take a second and double-check that the o-rings on the charge piping is still in good shape. If they're not in good shape you'll end up with a boost leak.
Intercooler Installation
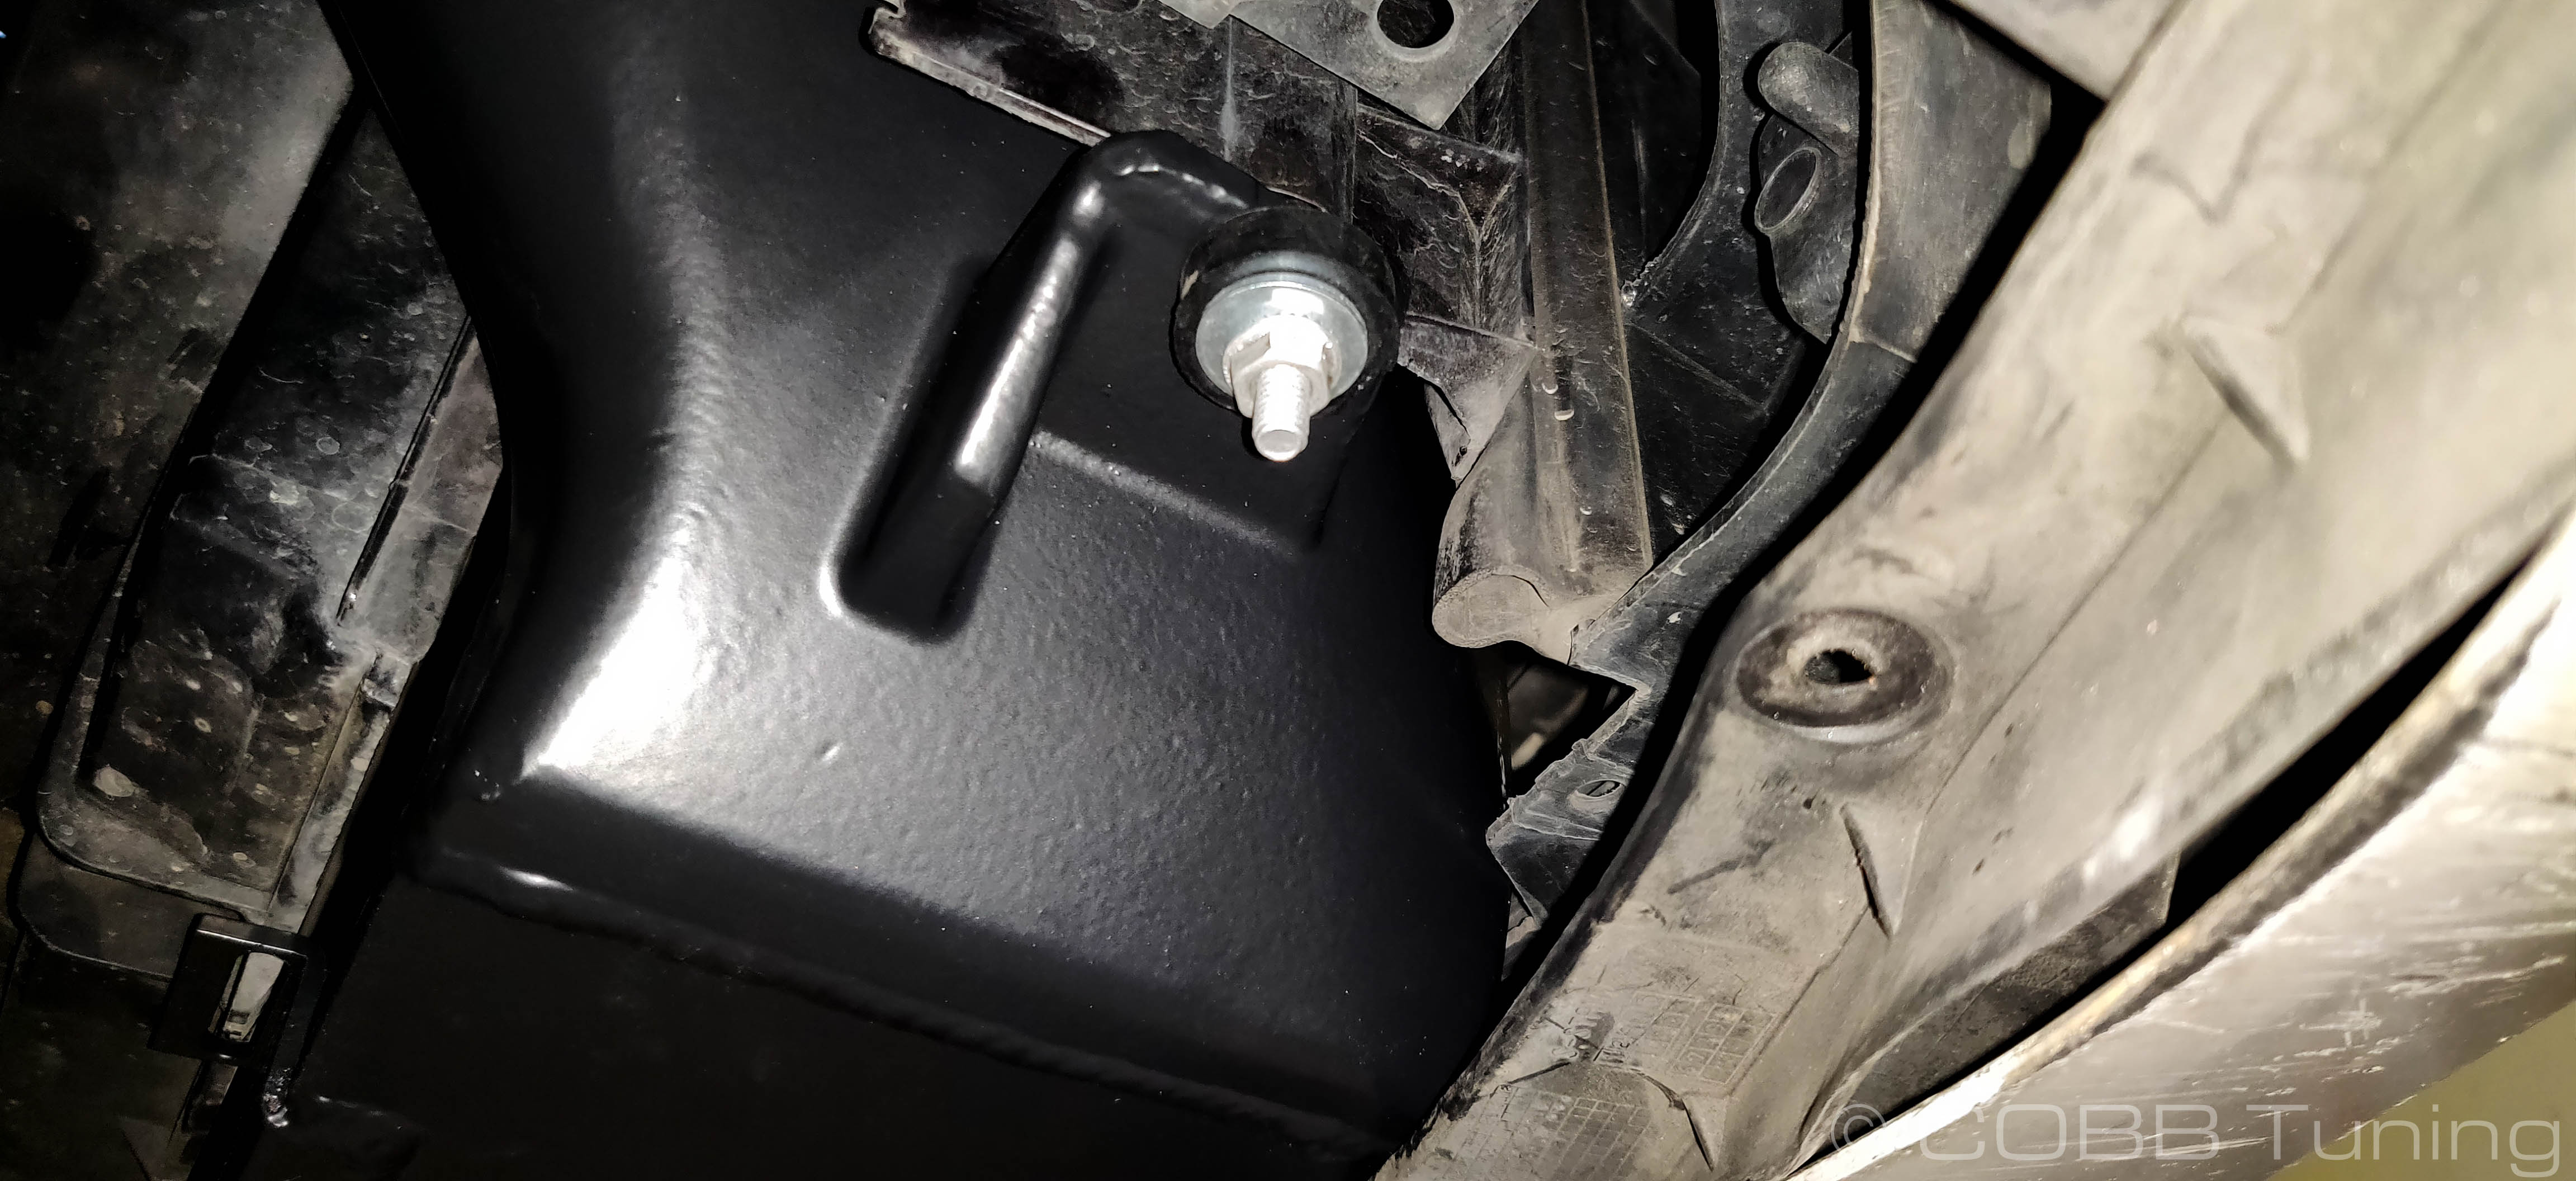
- Take one of the studs and tighten the two non-flanged nuts against each other on the stud portion (not the coarsely threaded screw portion). Use that combination to slowly thread it into the threaded holes on the car that the intercooler was initially installed to. Be careful not to over-tighten as the crew can come out the back-side if you just keep going.
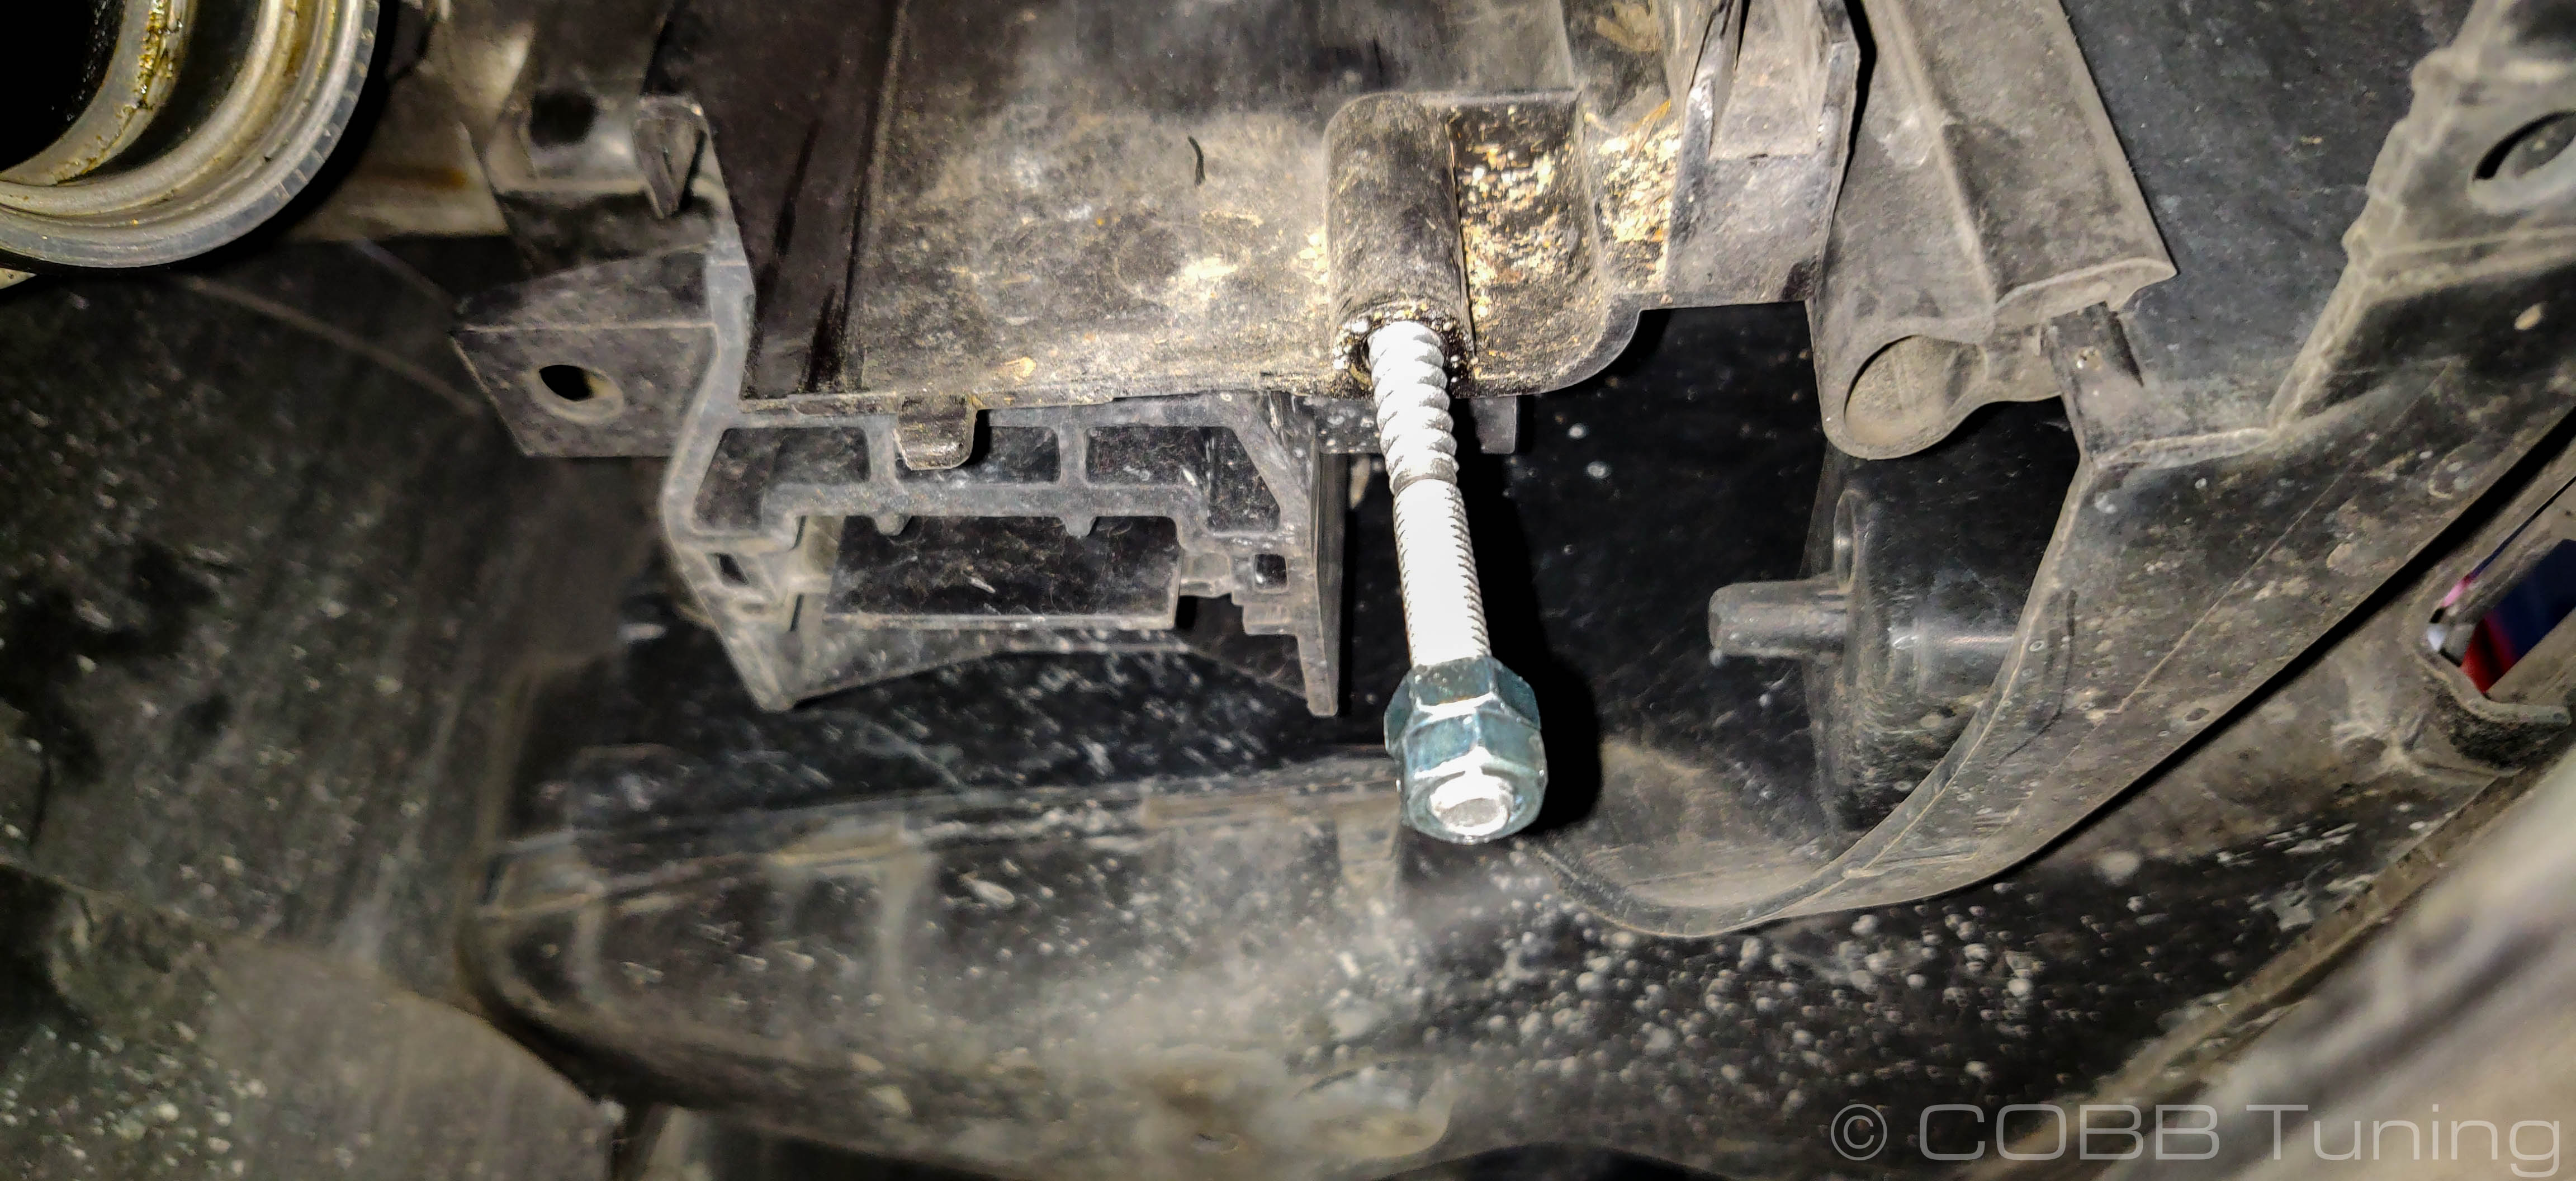
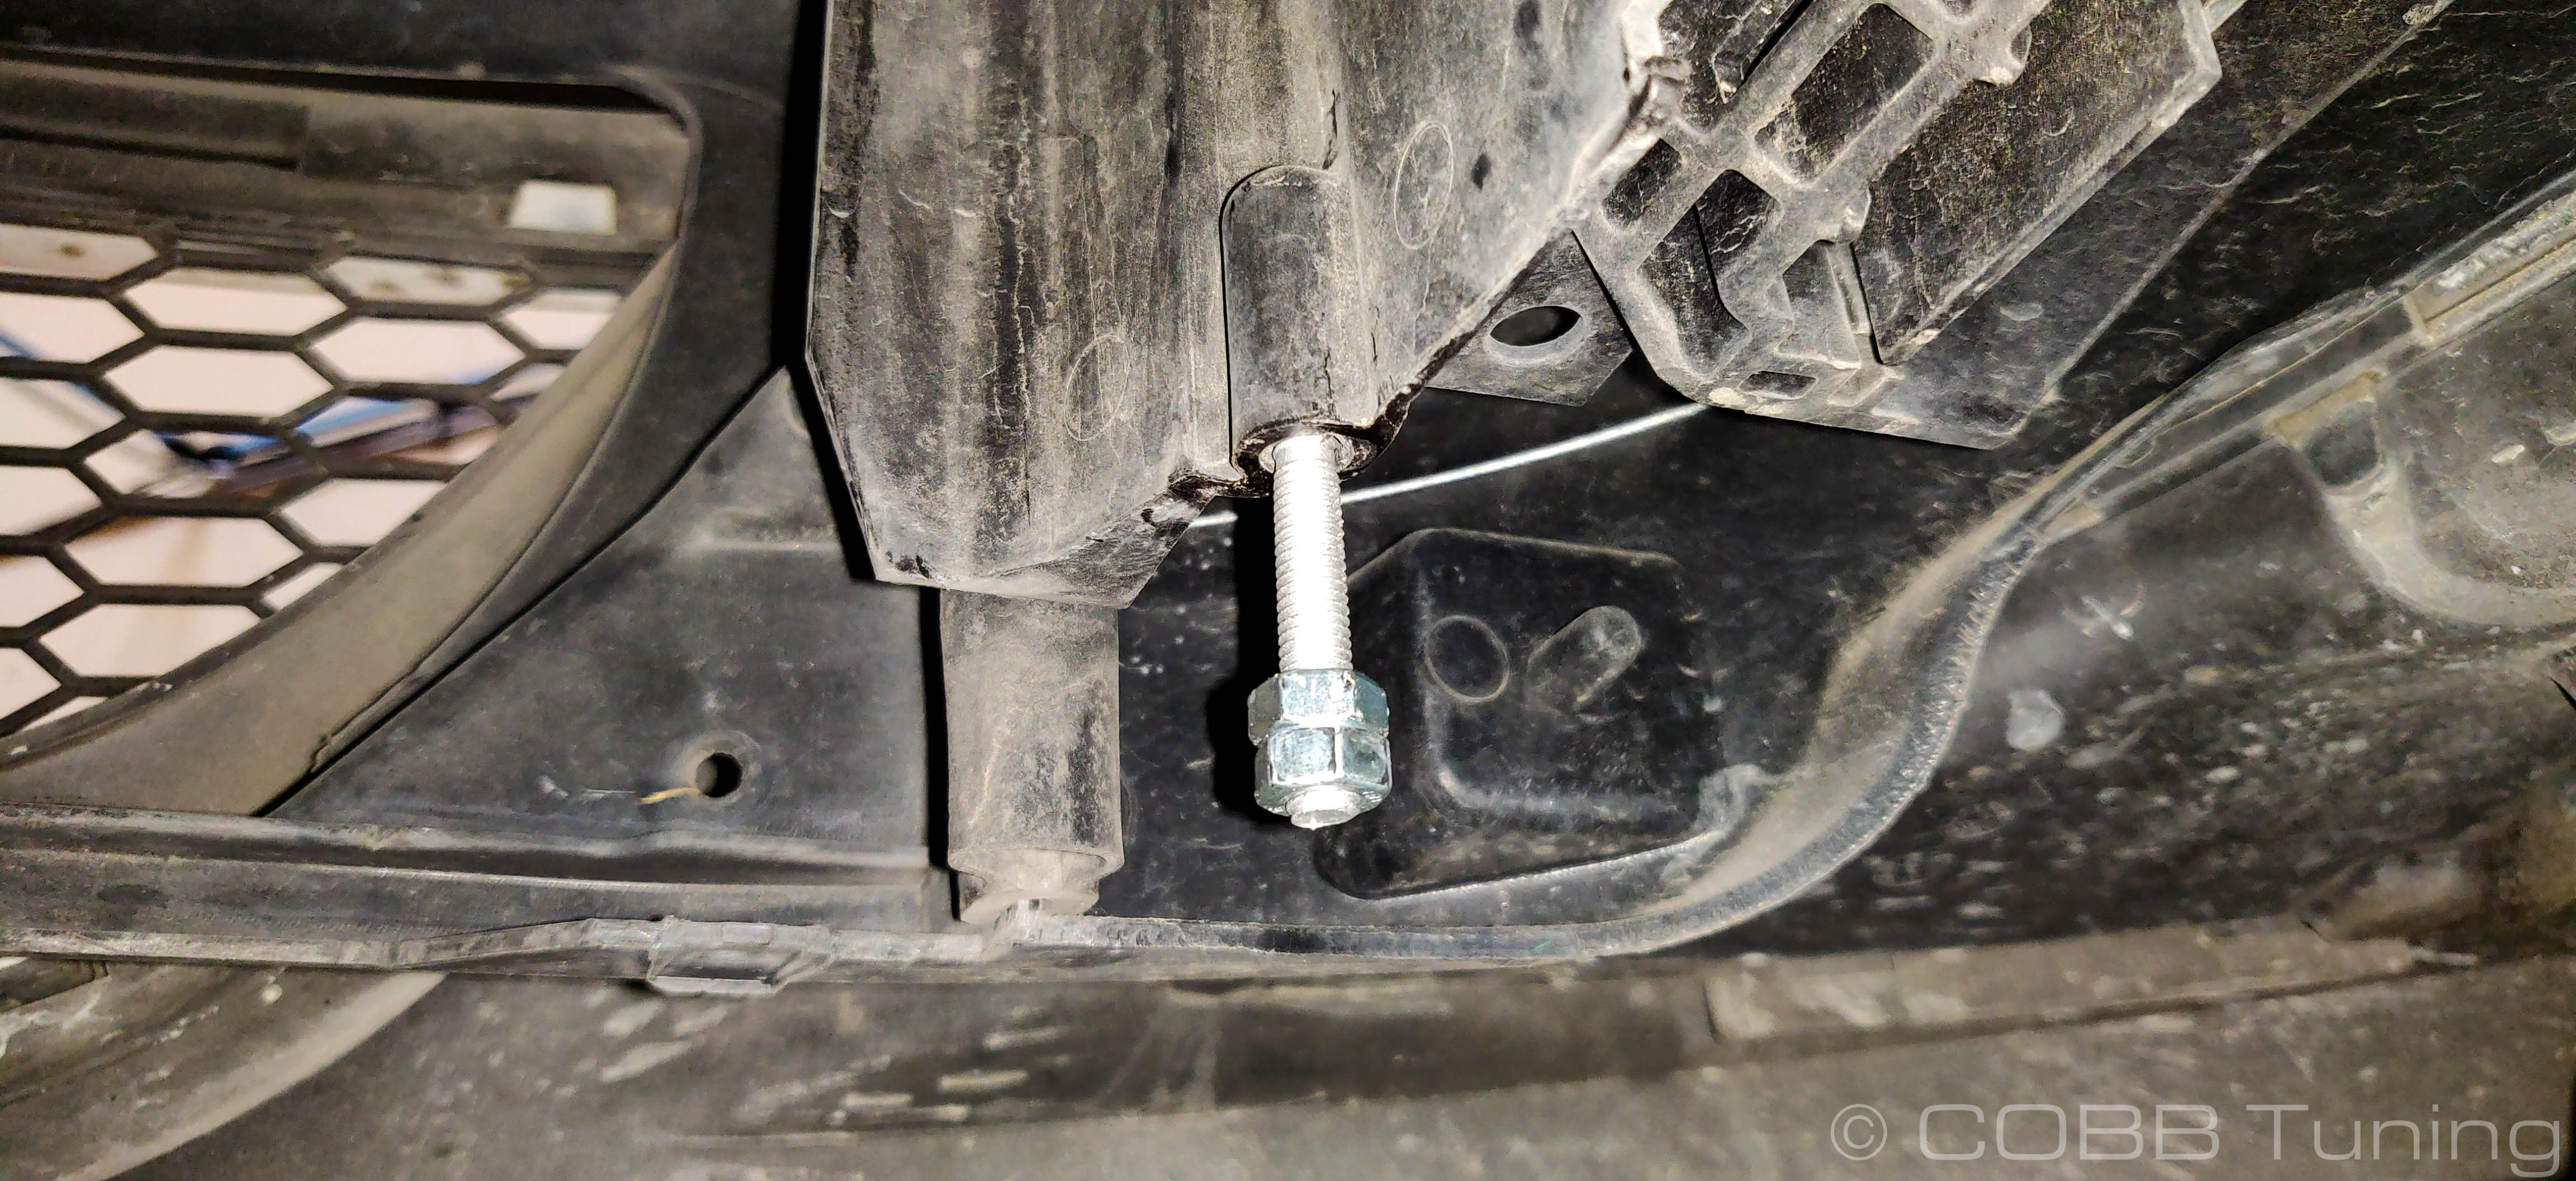
- Take the jam-nuts off of the studs.
- Carefully slide the new front mount intercooler into the car. Having a friend to help and going slow will help it get in smoothly and without damaging anything. Make sure the tabs from the fan shroud drop into place on the intercooler, and that the charge pipes are in place.
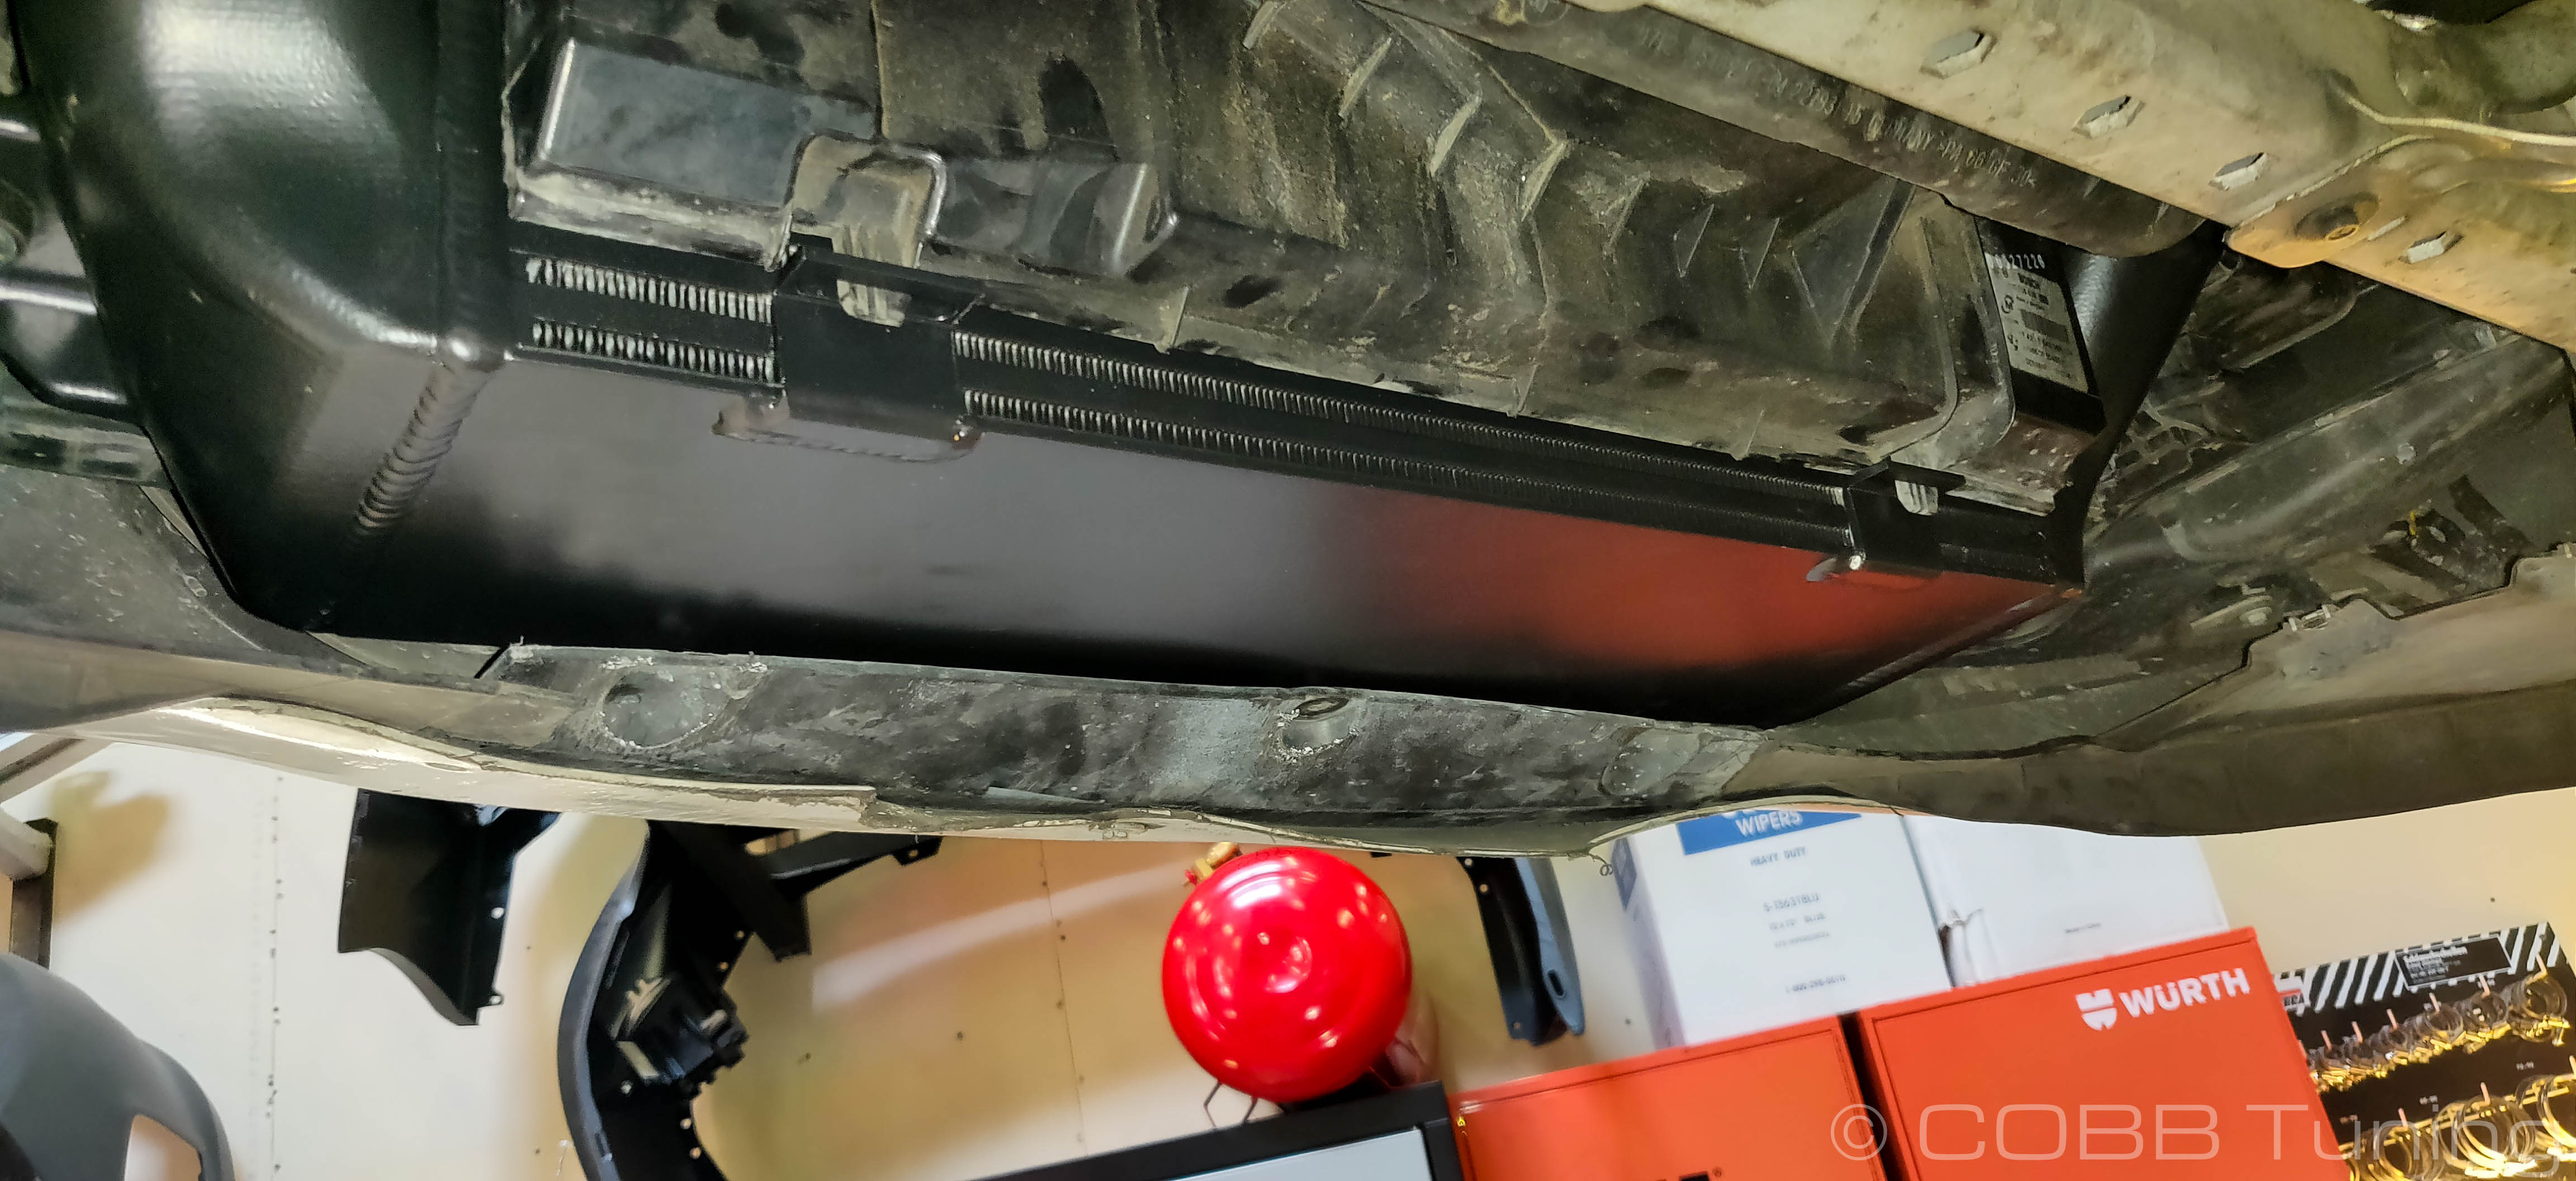
- Add a rubber bumper, then washer, and then a flanged nut on to each stud to hold the intercooler in place. Tighten the nuts down but not so much that the rubber deforms as that will limit the lifespan.
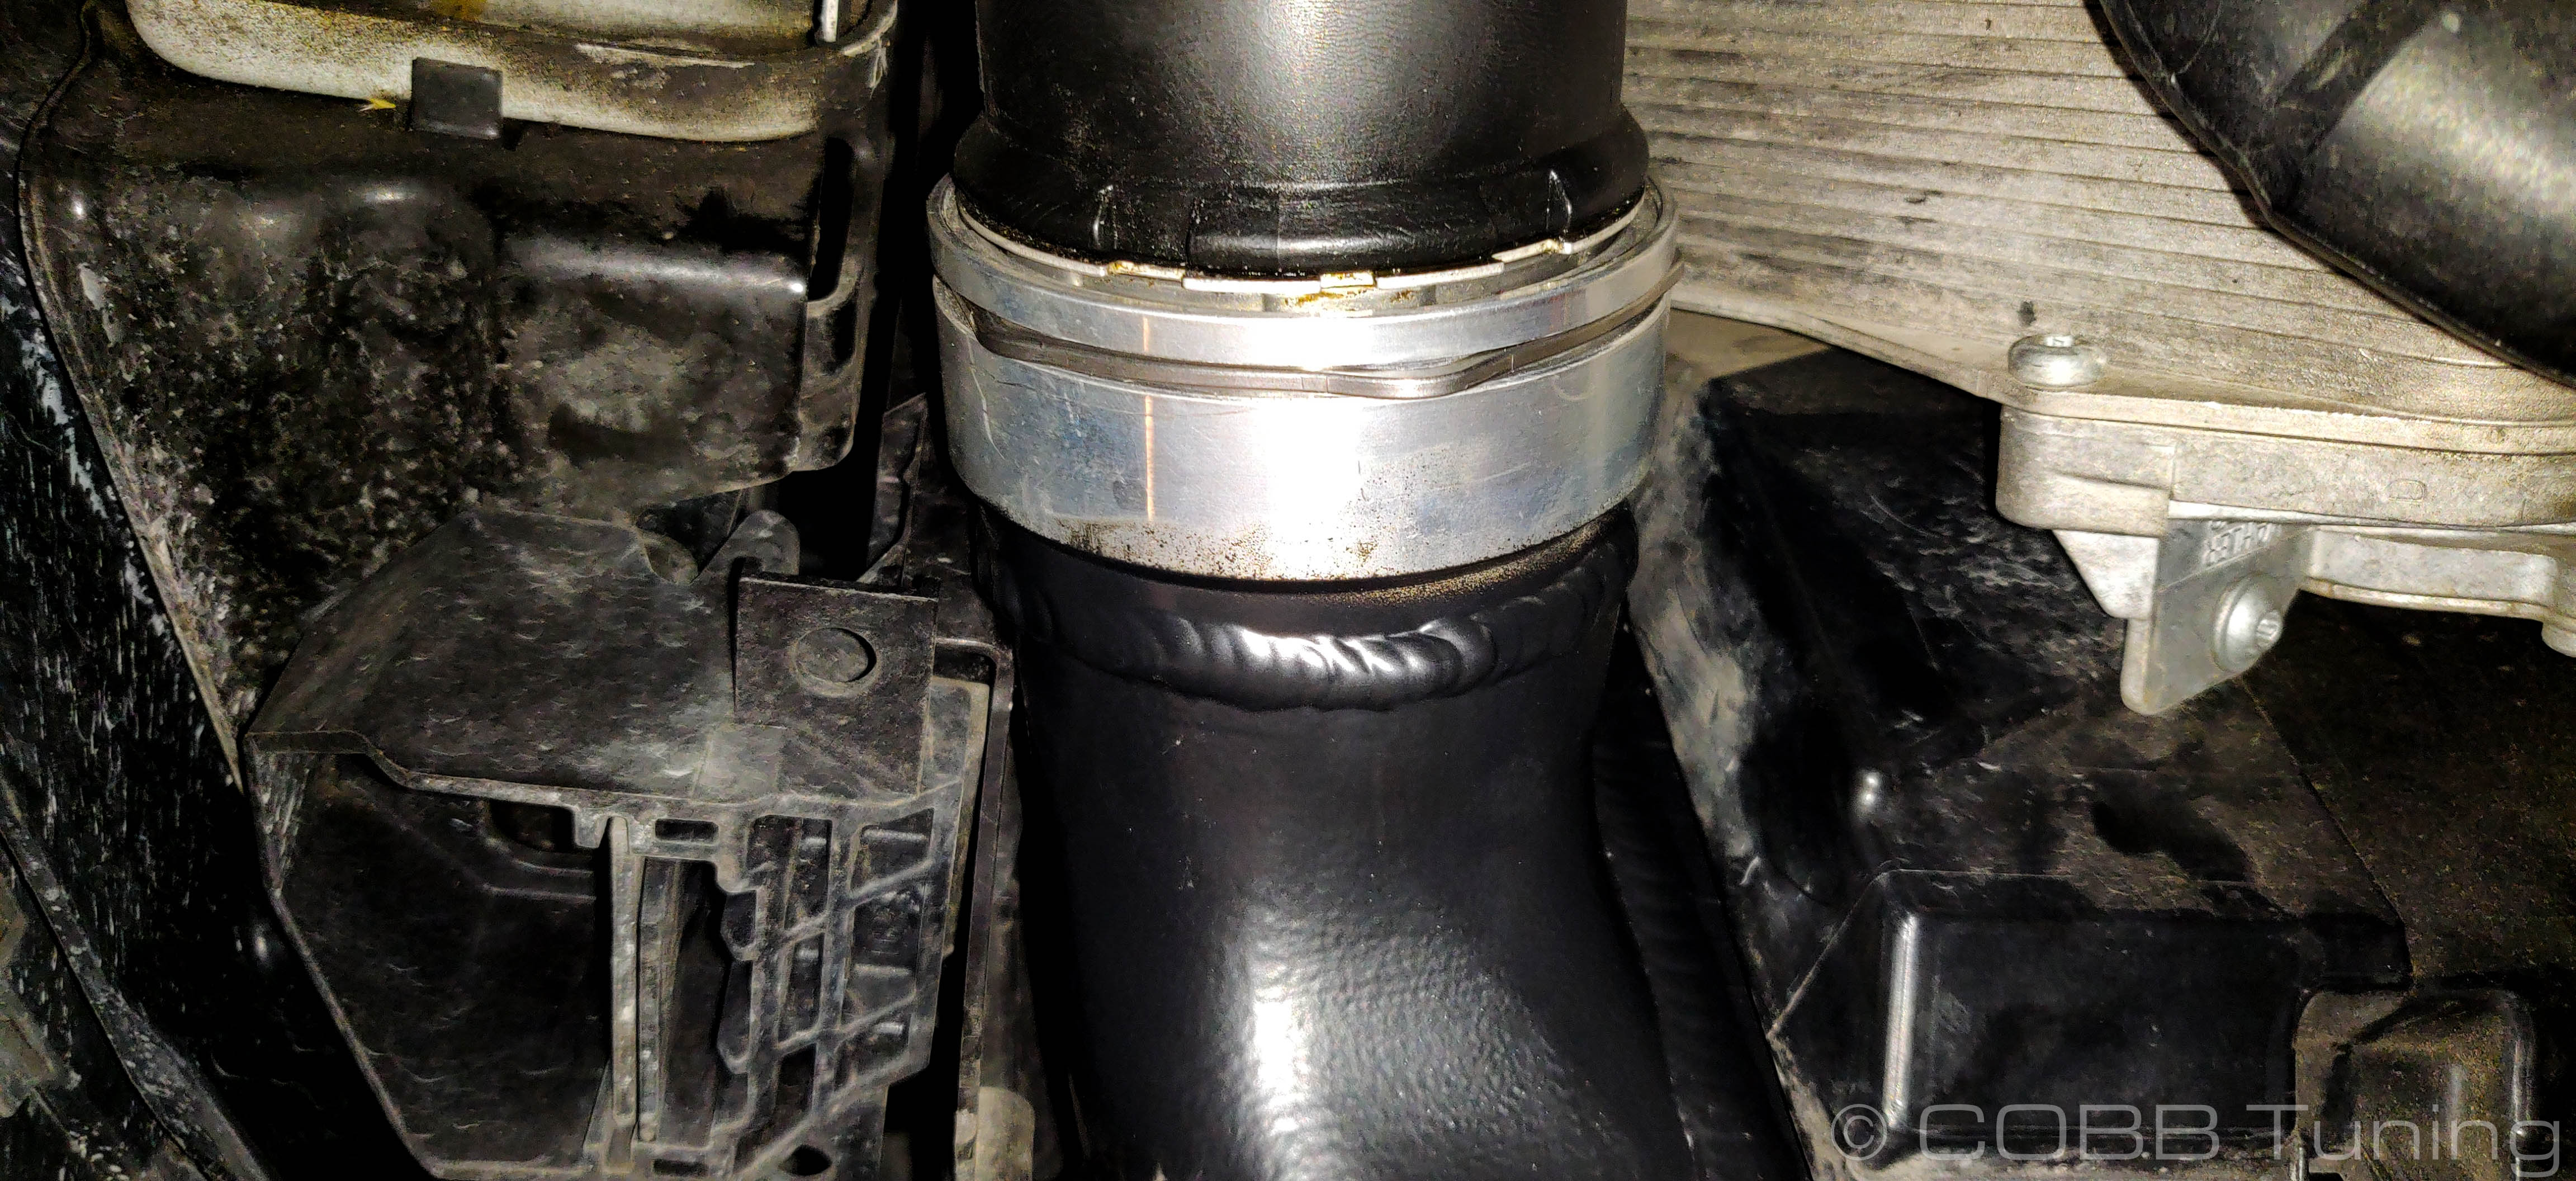
- Grab the new c-clips and pop them into the groove on the intercooler. Seat the piping but wiggling the pipes in and out until they click and no-longer move. Giving them a good tug outwards can help make sure they won't pop off when the car first hits boost.
- Reinstall the under-tray onto the car.
- Flash an appropriate map on the car for the modifications.
- Go out and enjoy!