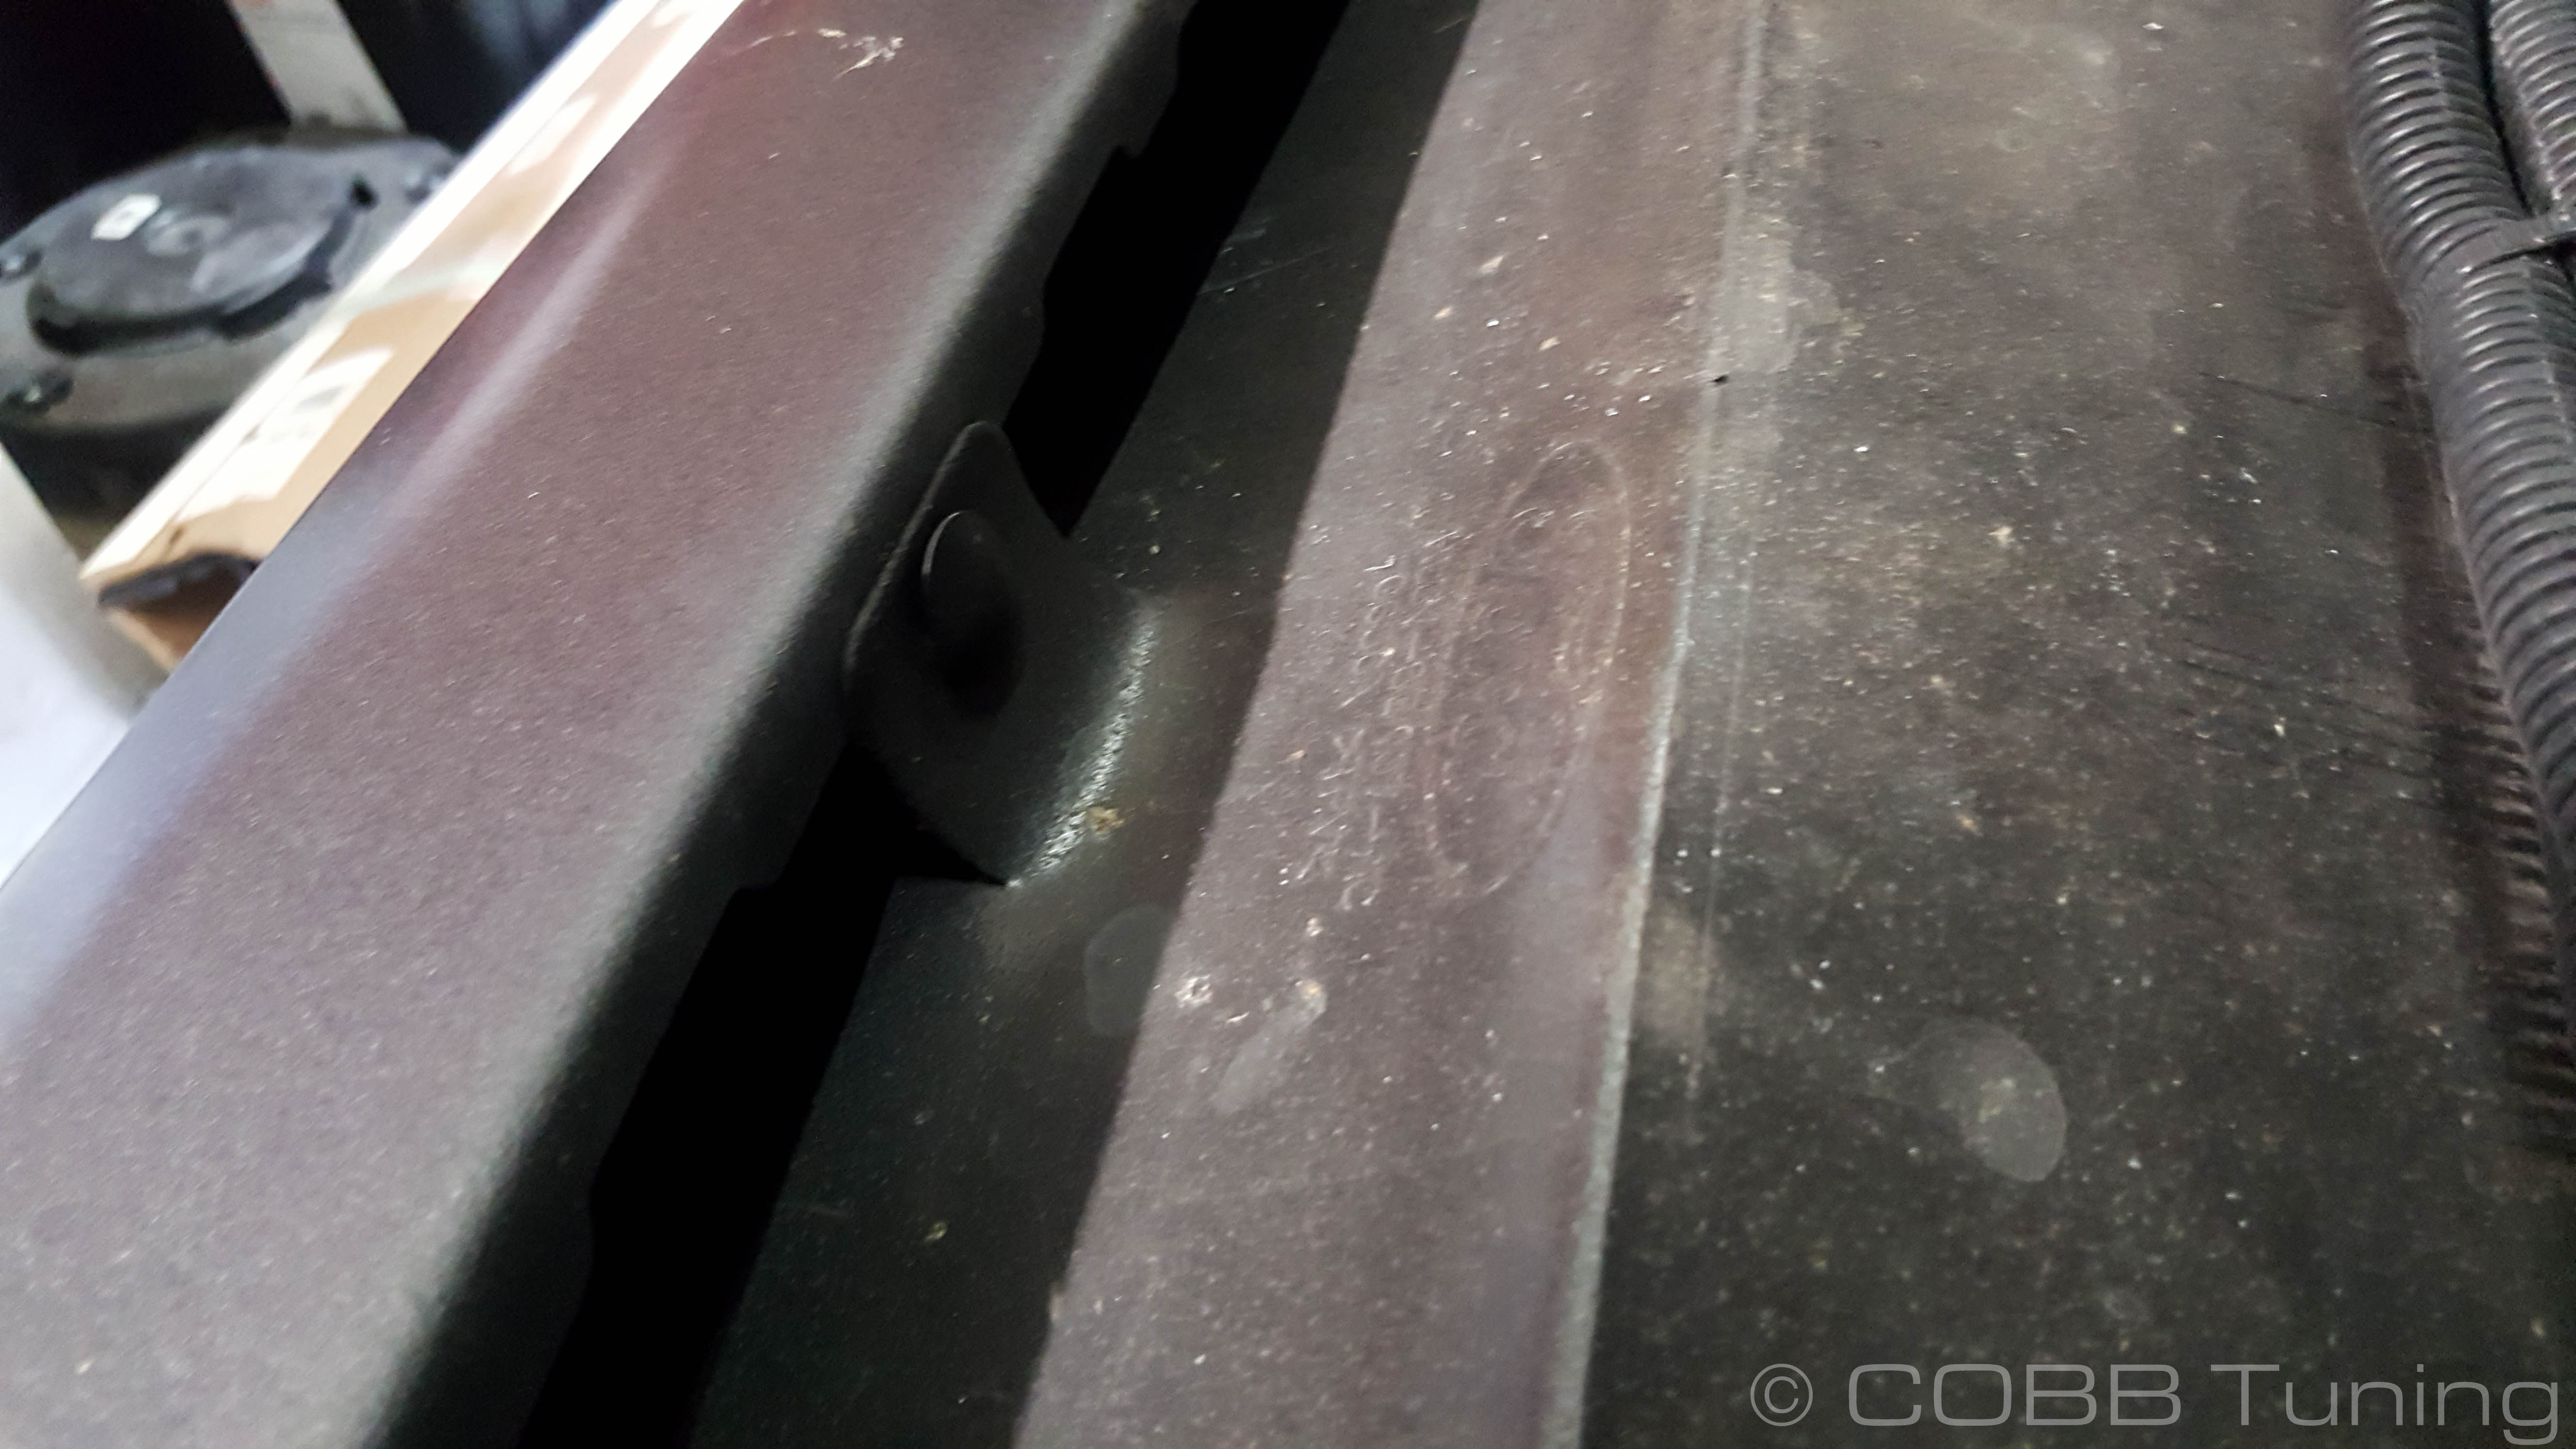
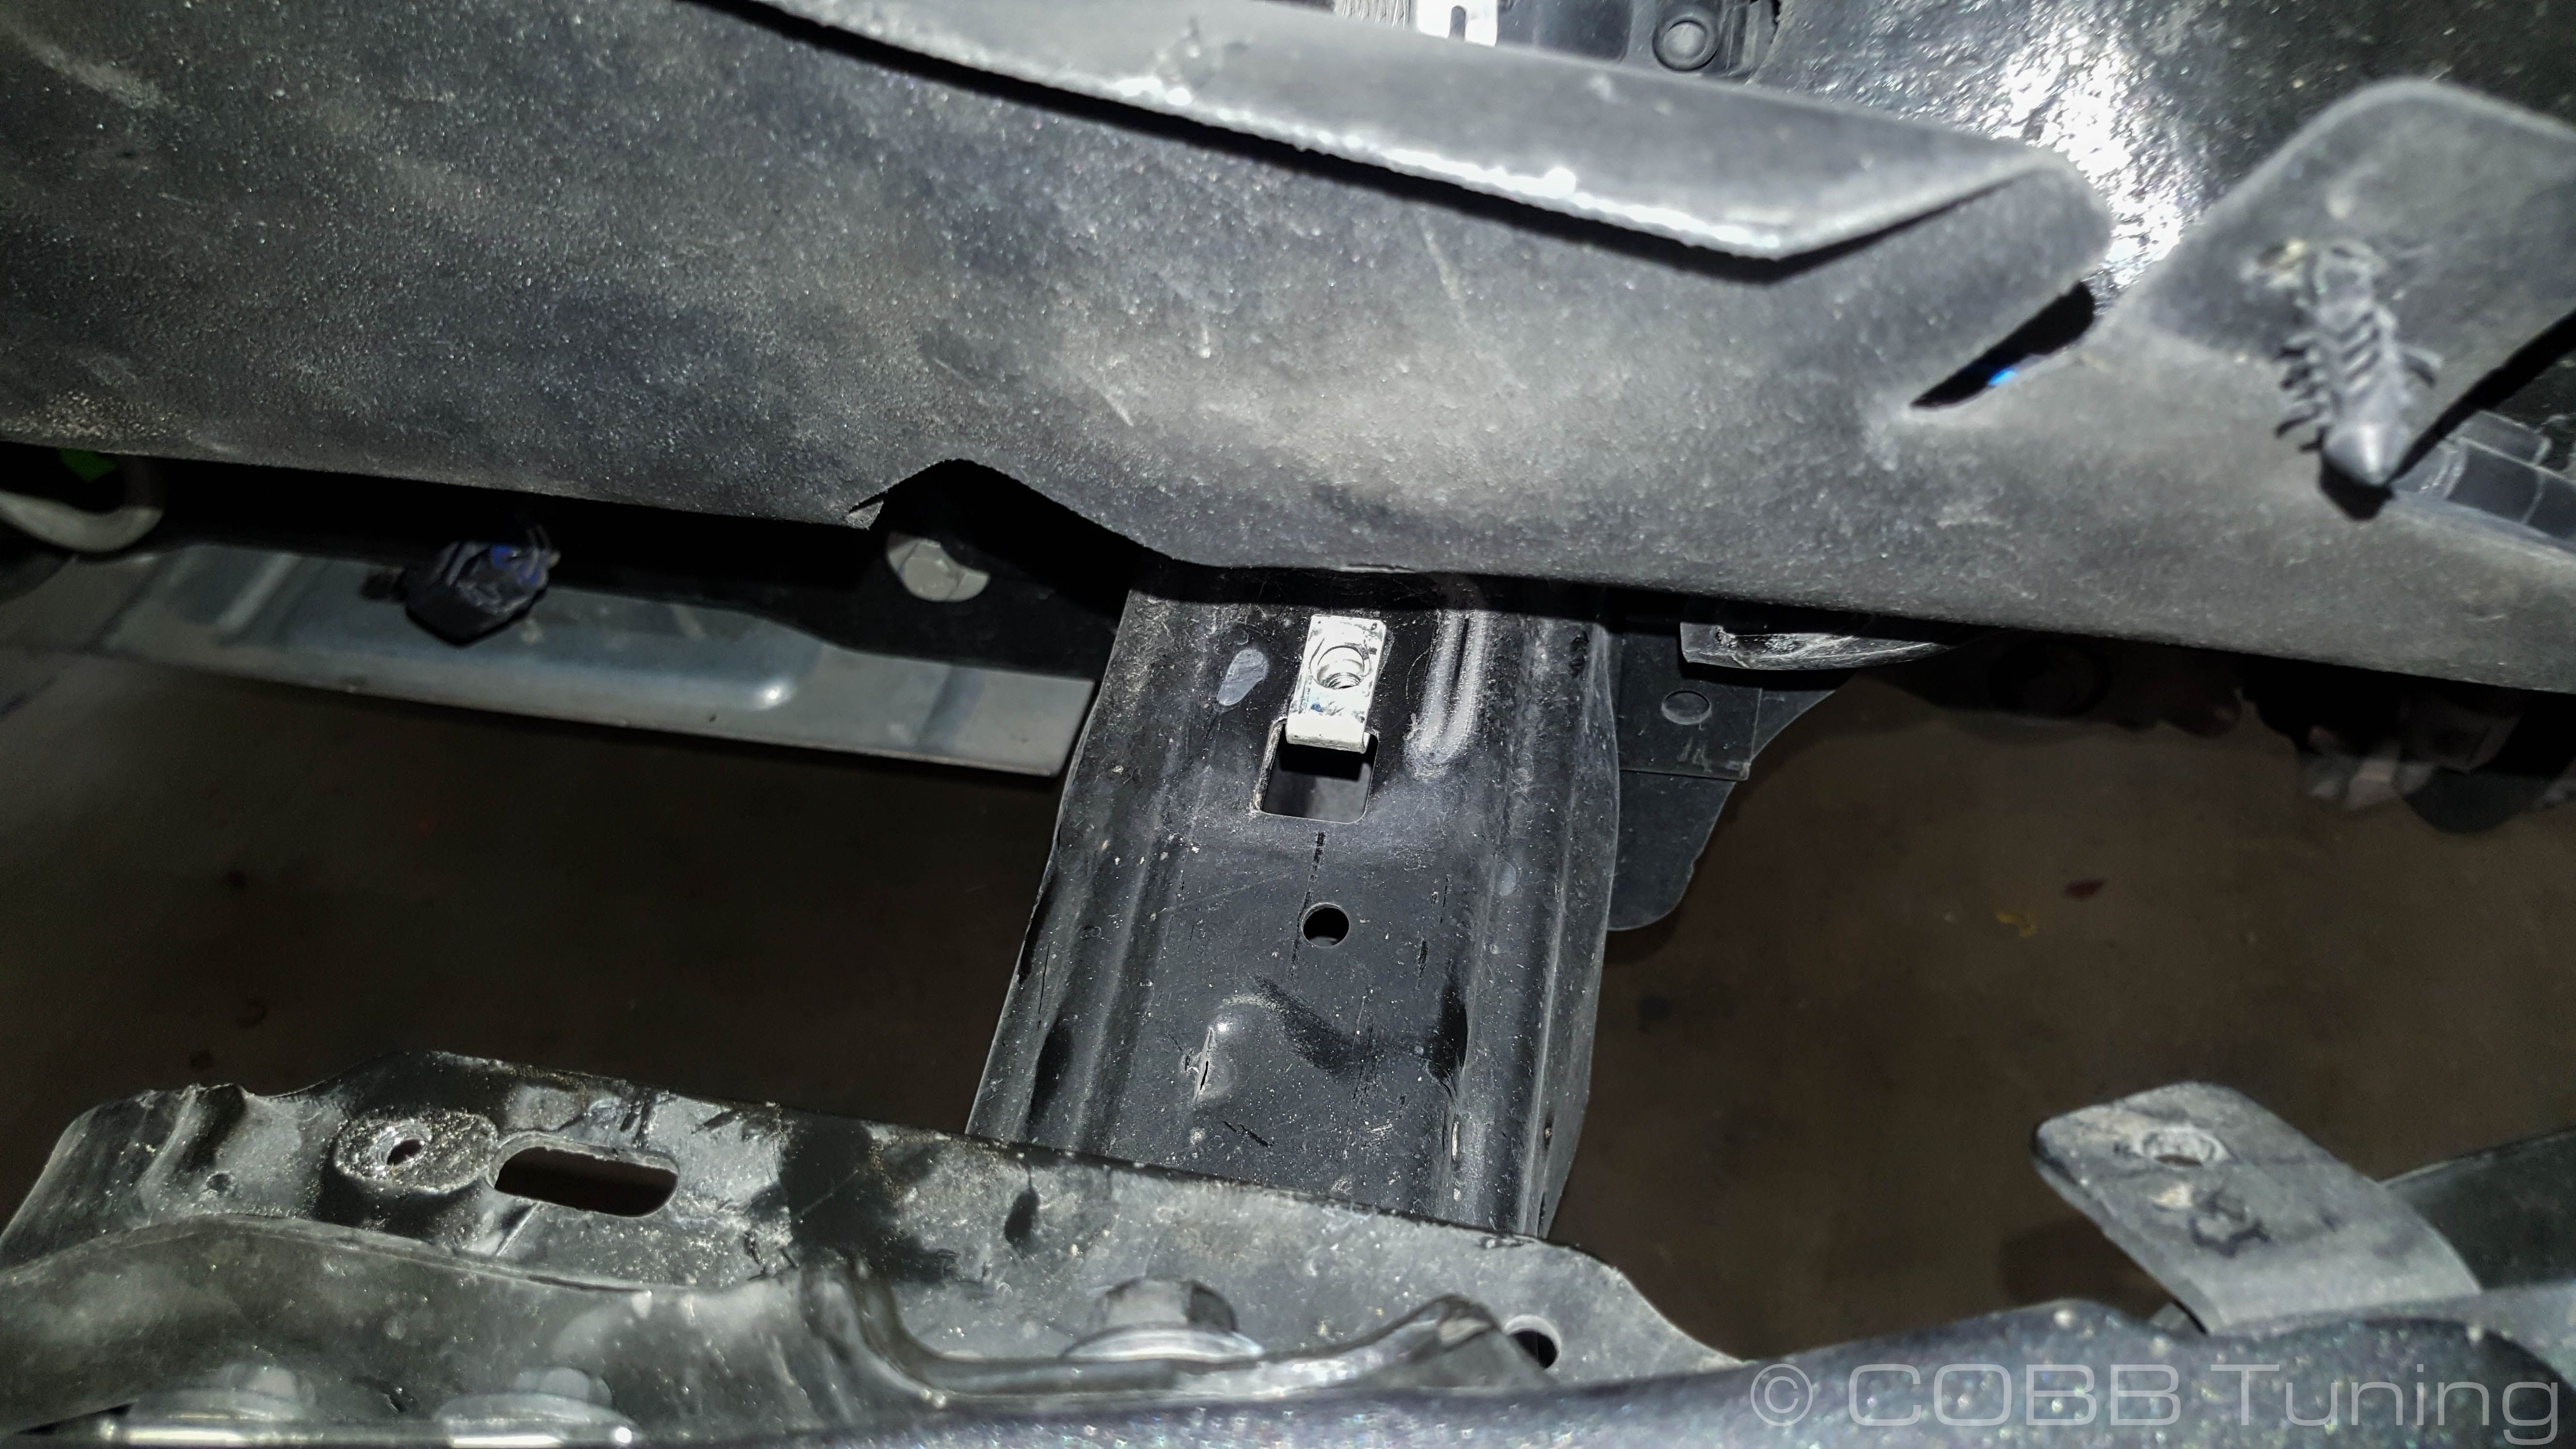
Remove the 4 13mm bolts holding at the front and 2 15mm bolts in the rear of the skid plate in place, watch out for the brace in the rear and note the orientation it was in when removed as it will only fit in that way when you go to reinstall.
Note
The clips with built in nuts found on the frame can fall off easily, so make sure not to lose them!
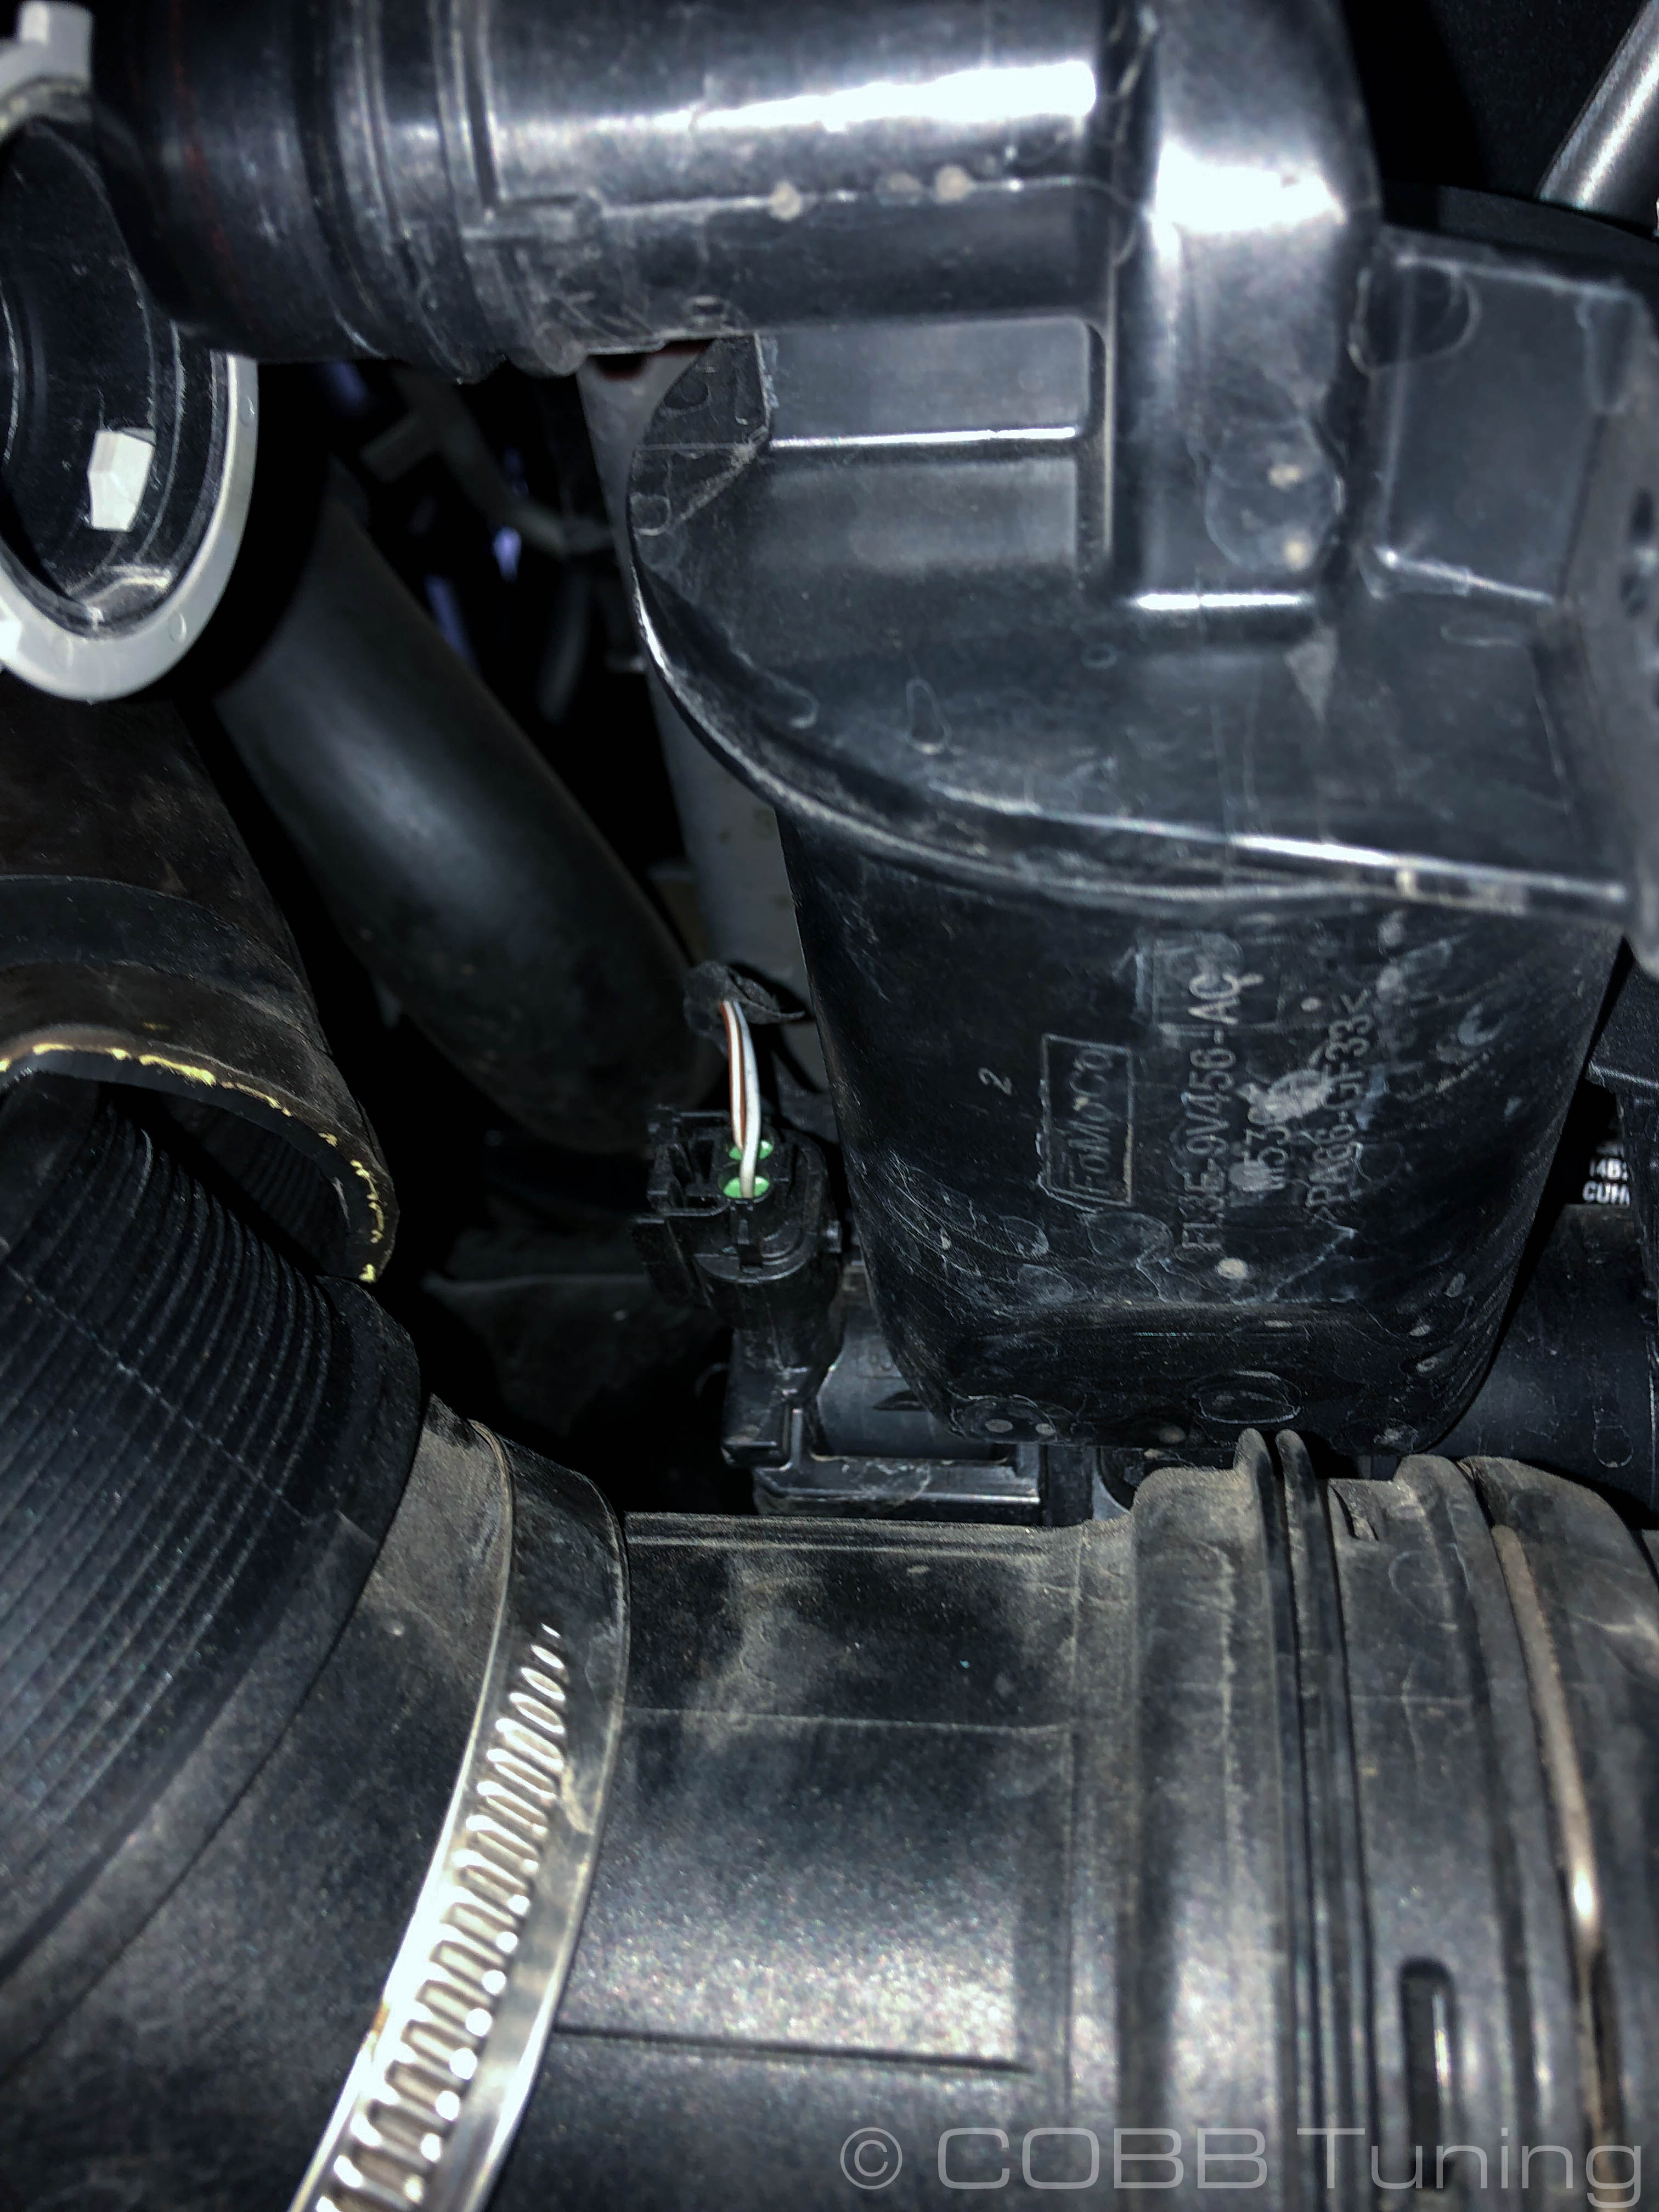
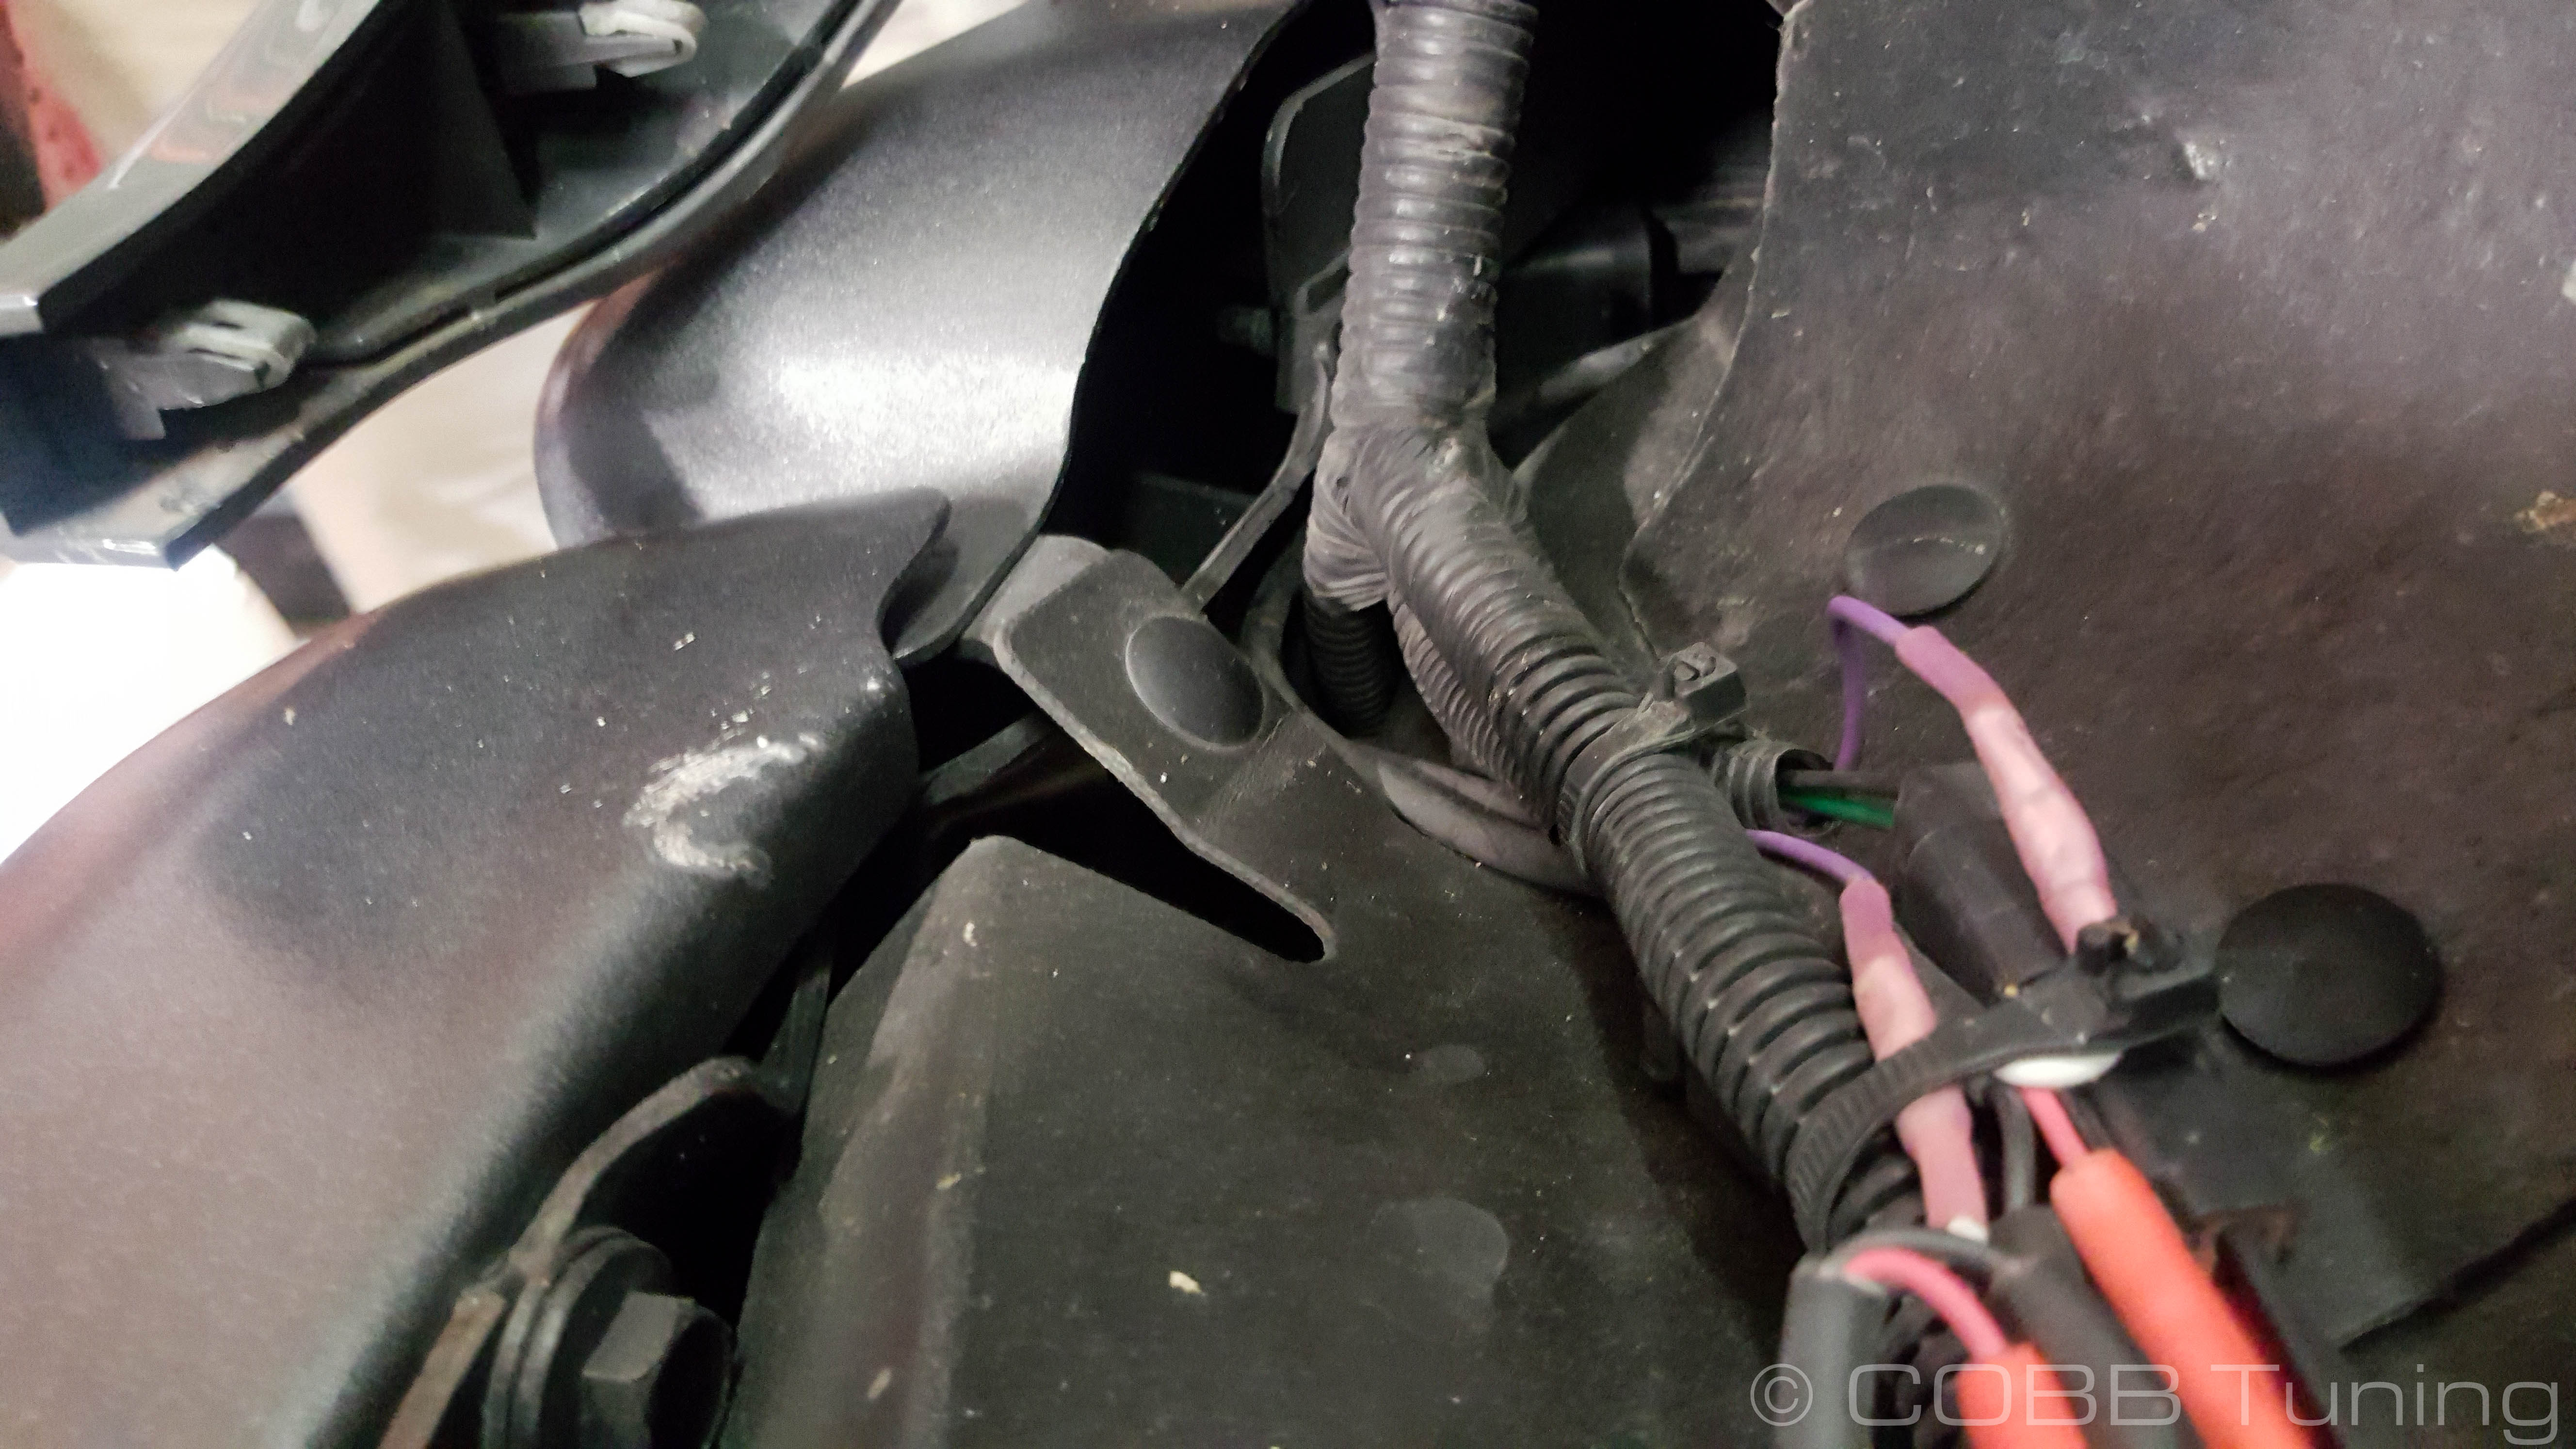
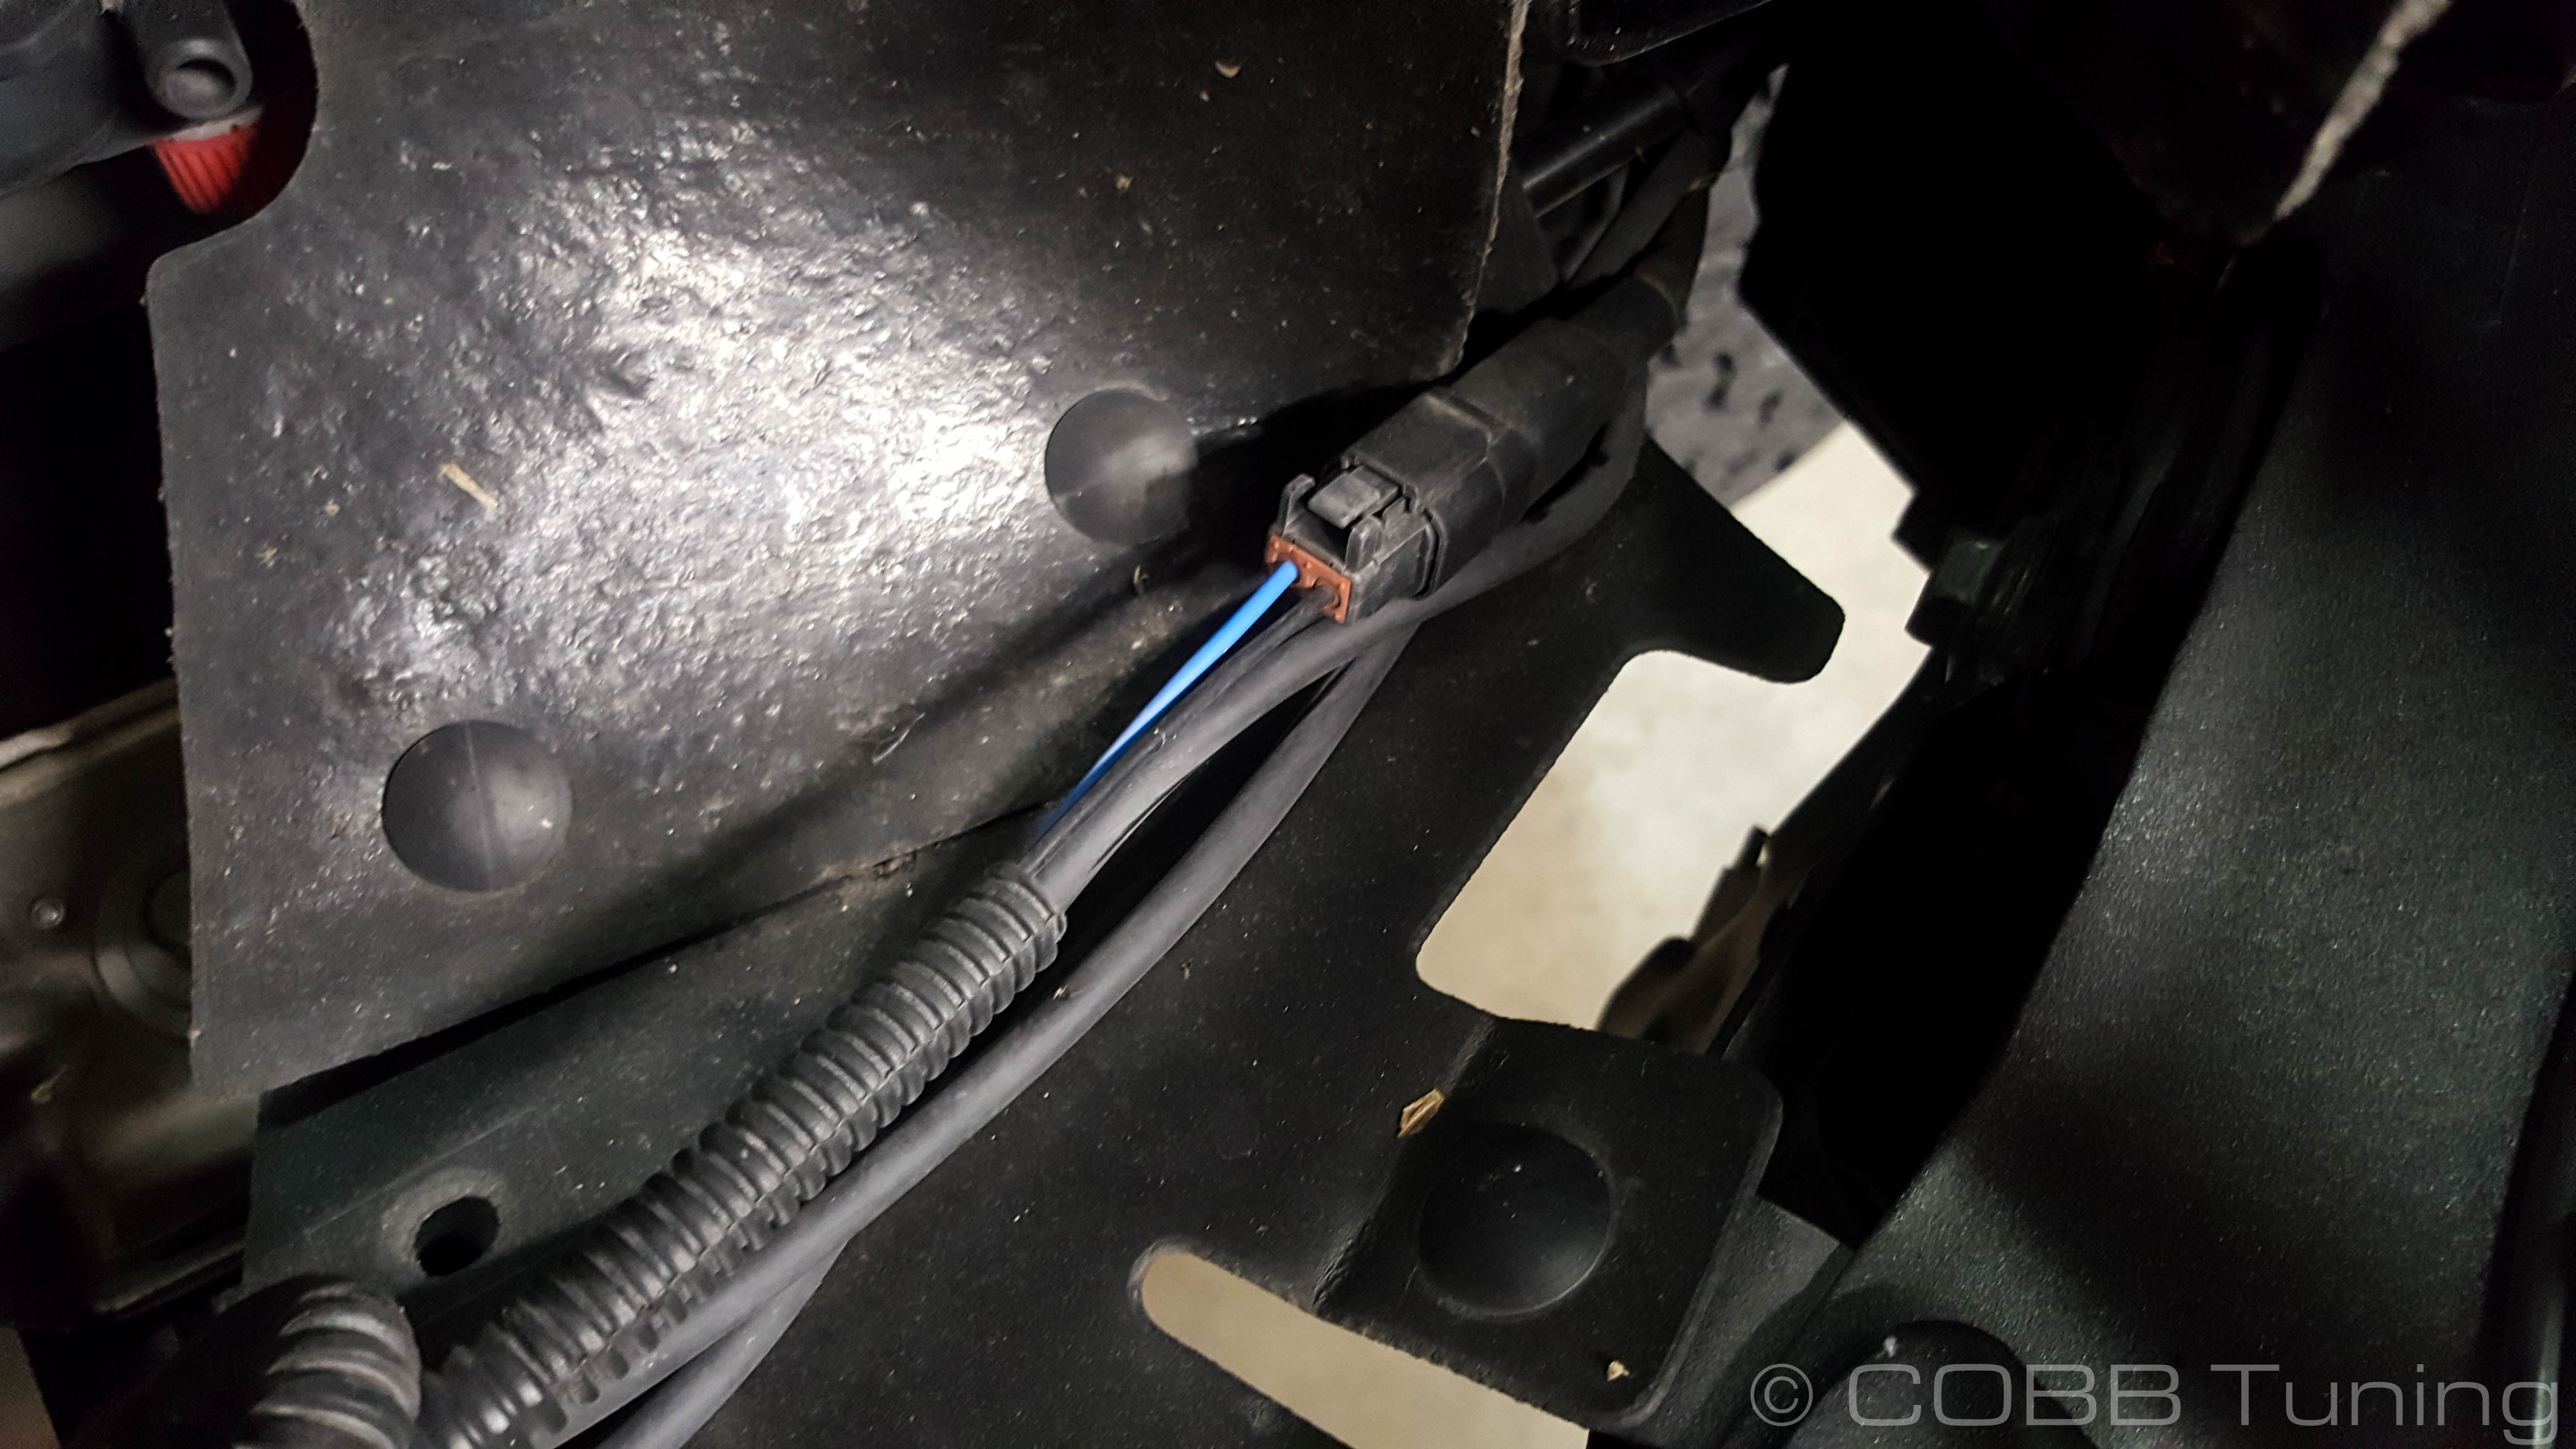
Reach up and undo the wiring to the fans by gently squeezing the clip before disconnecting them. Then disconnect harness from fan using your trim tool.
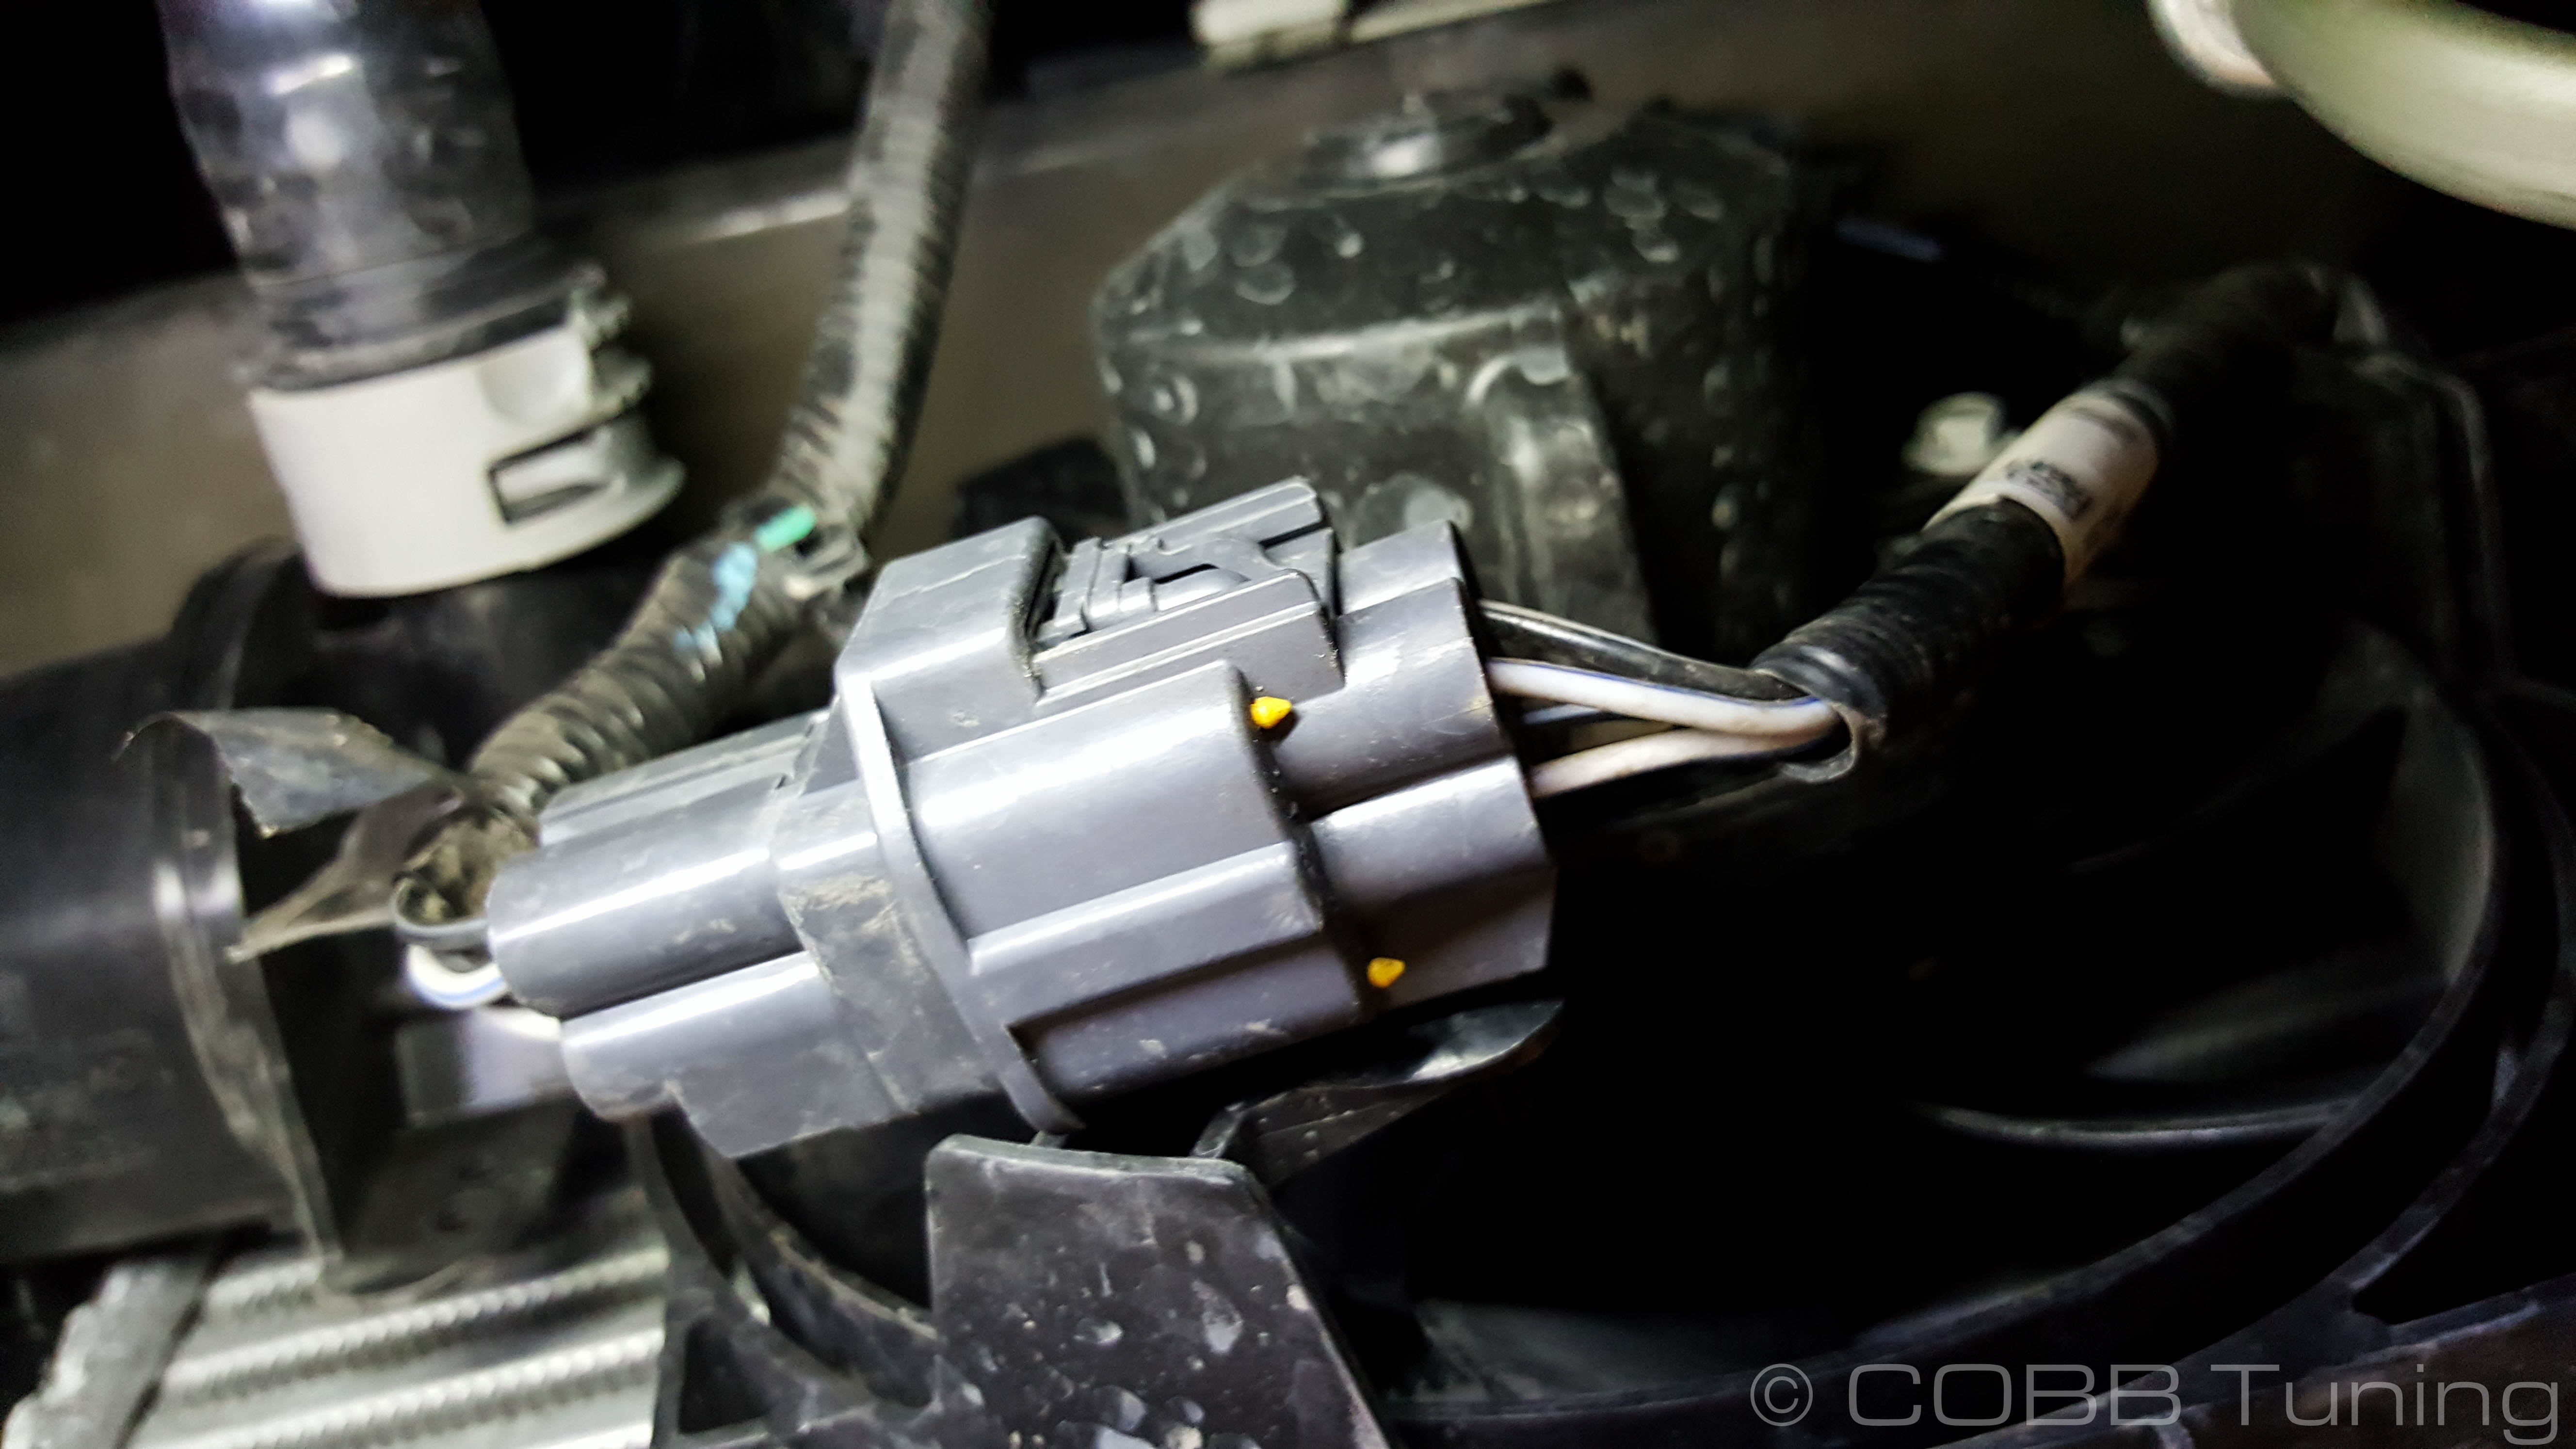
Disconnect electrical plug going to the electronic bypass valve.
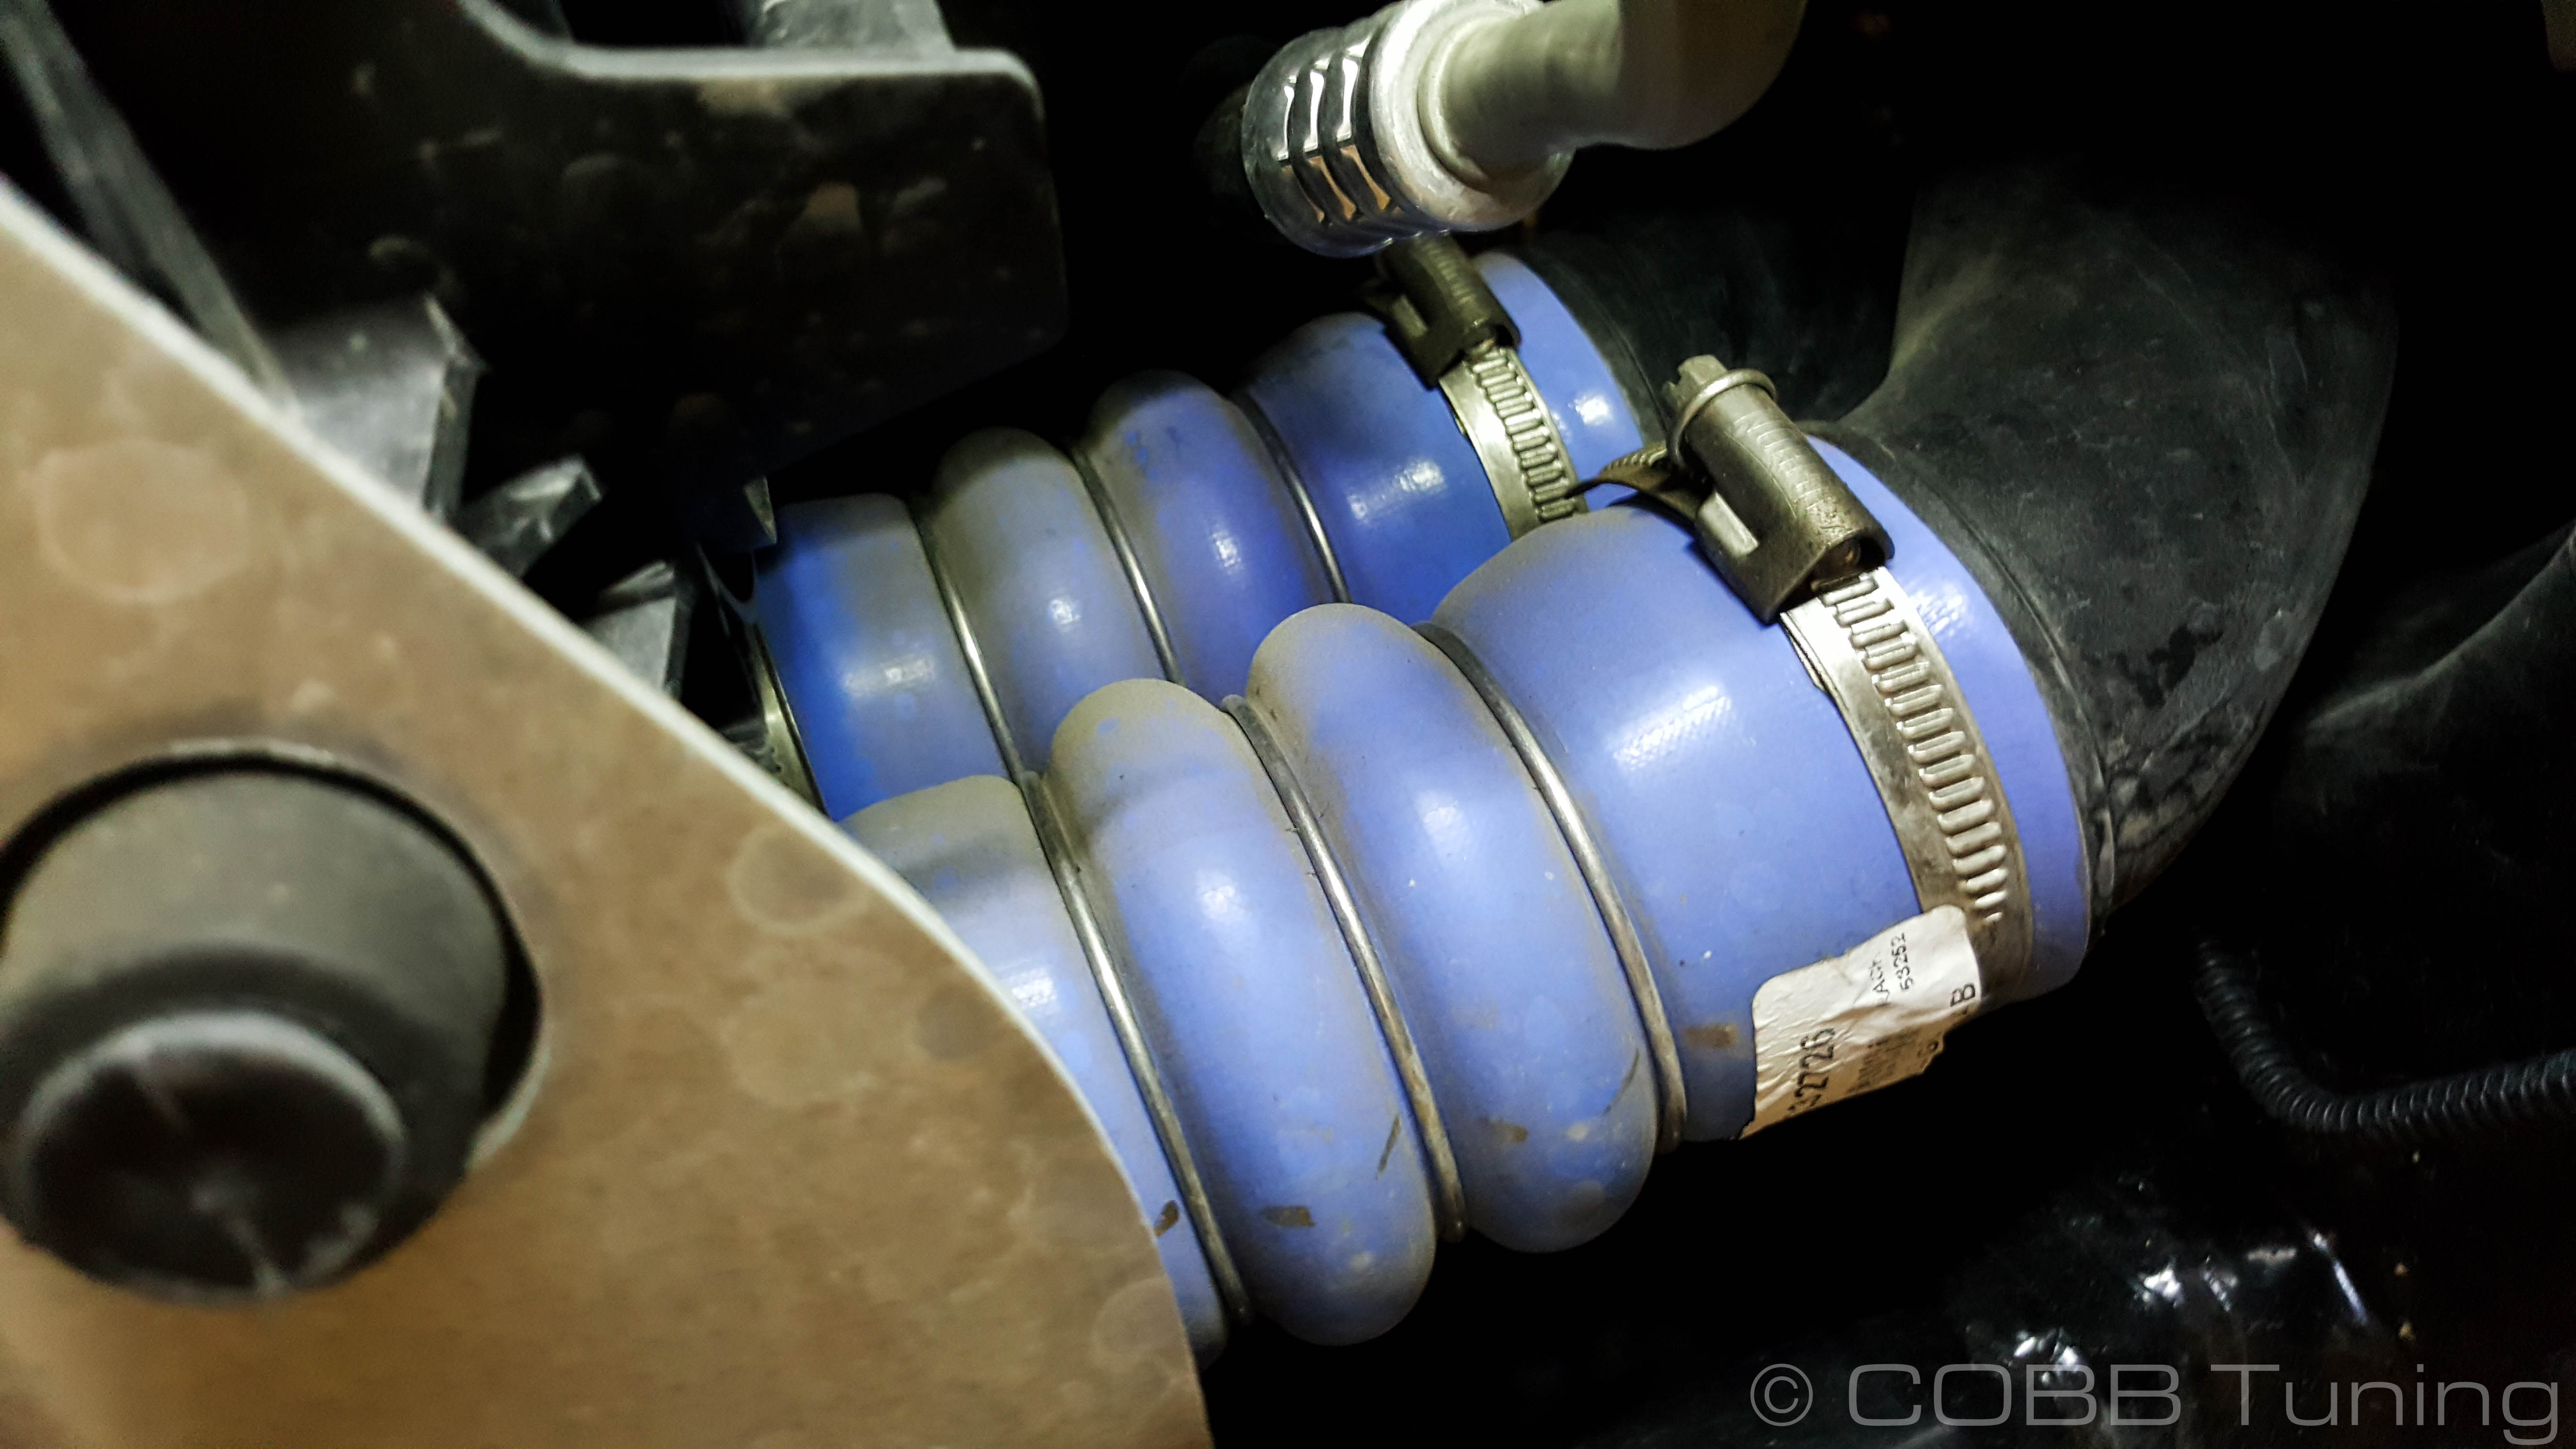
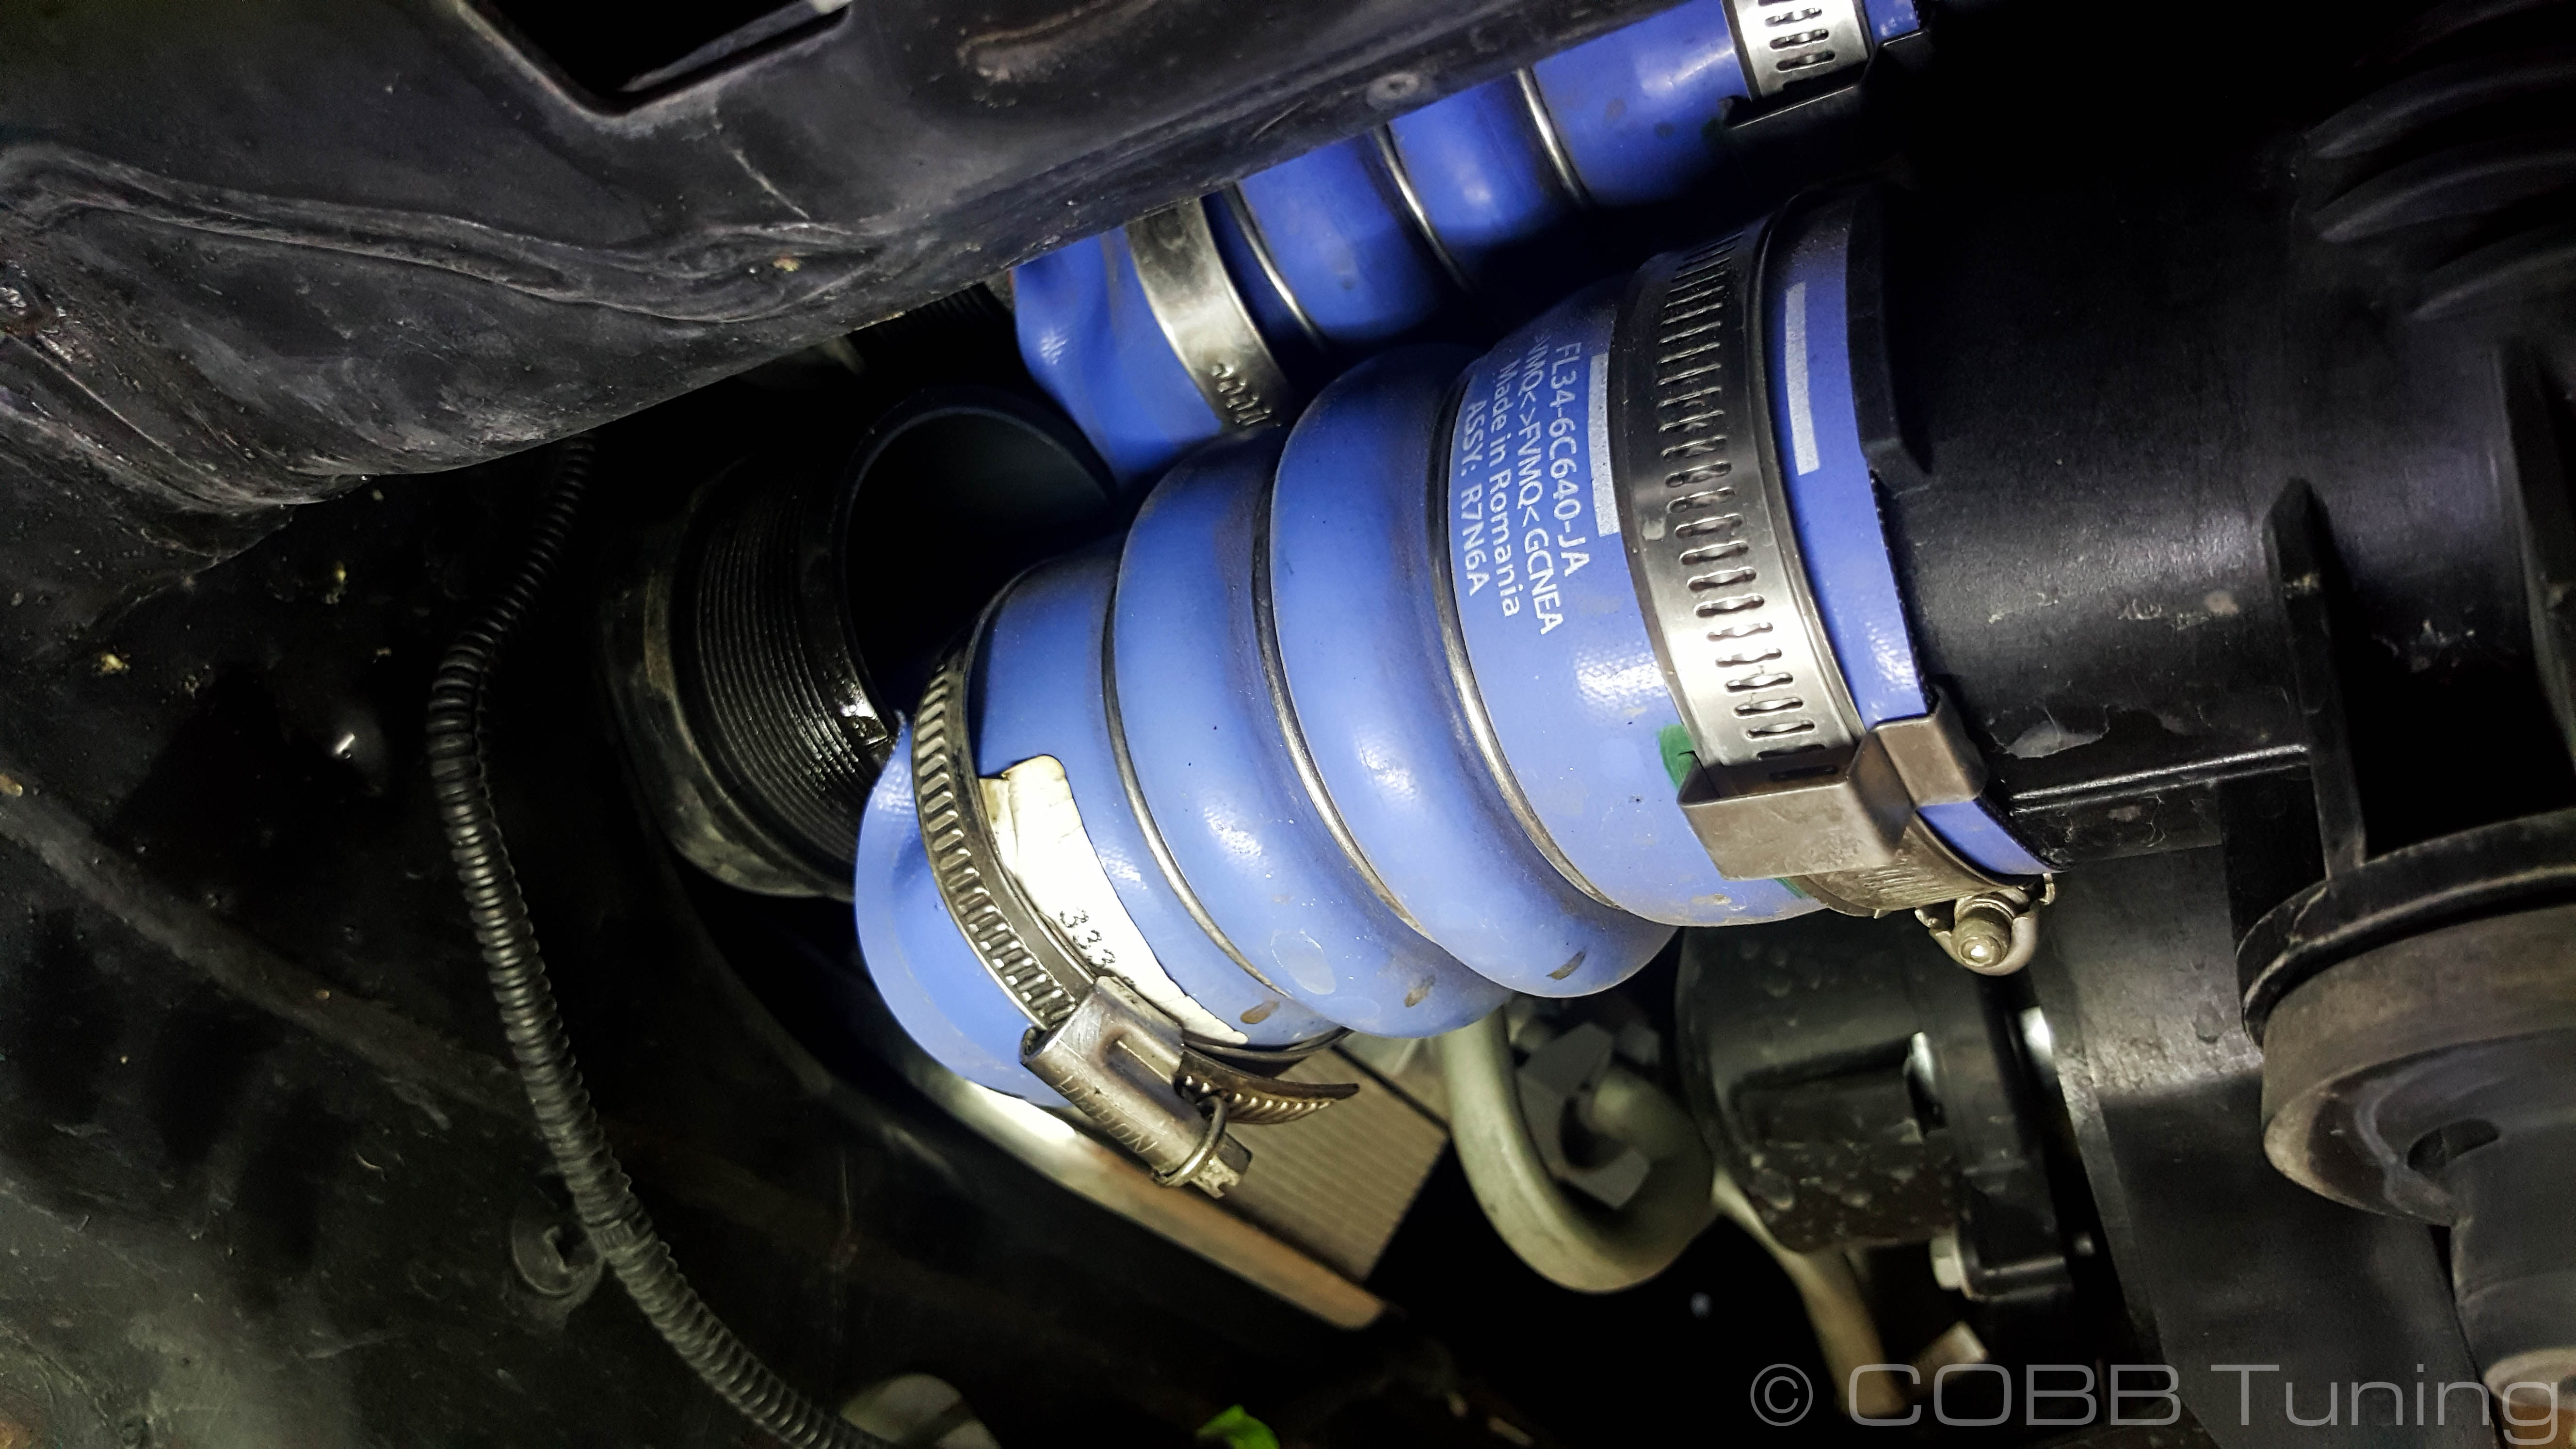
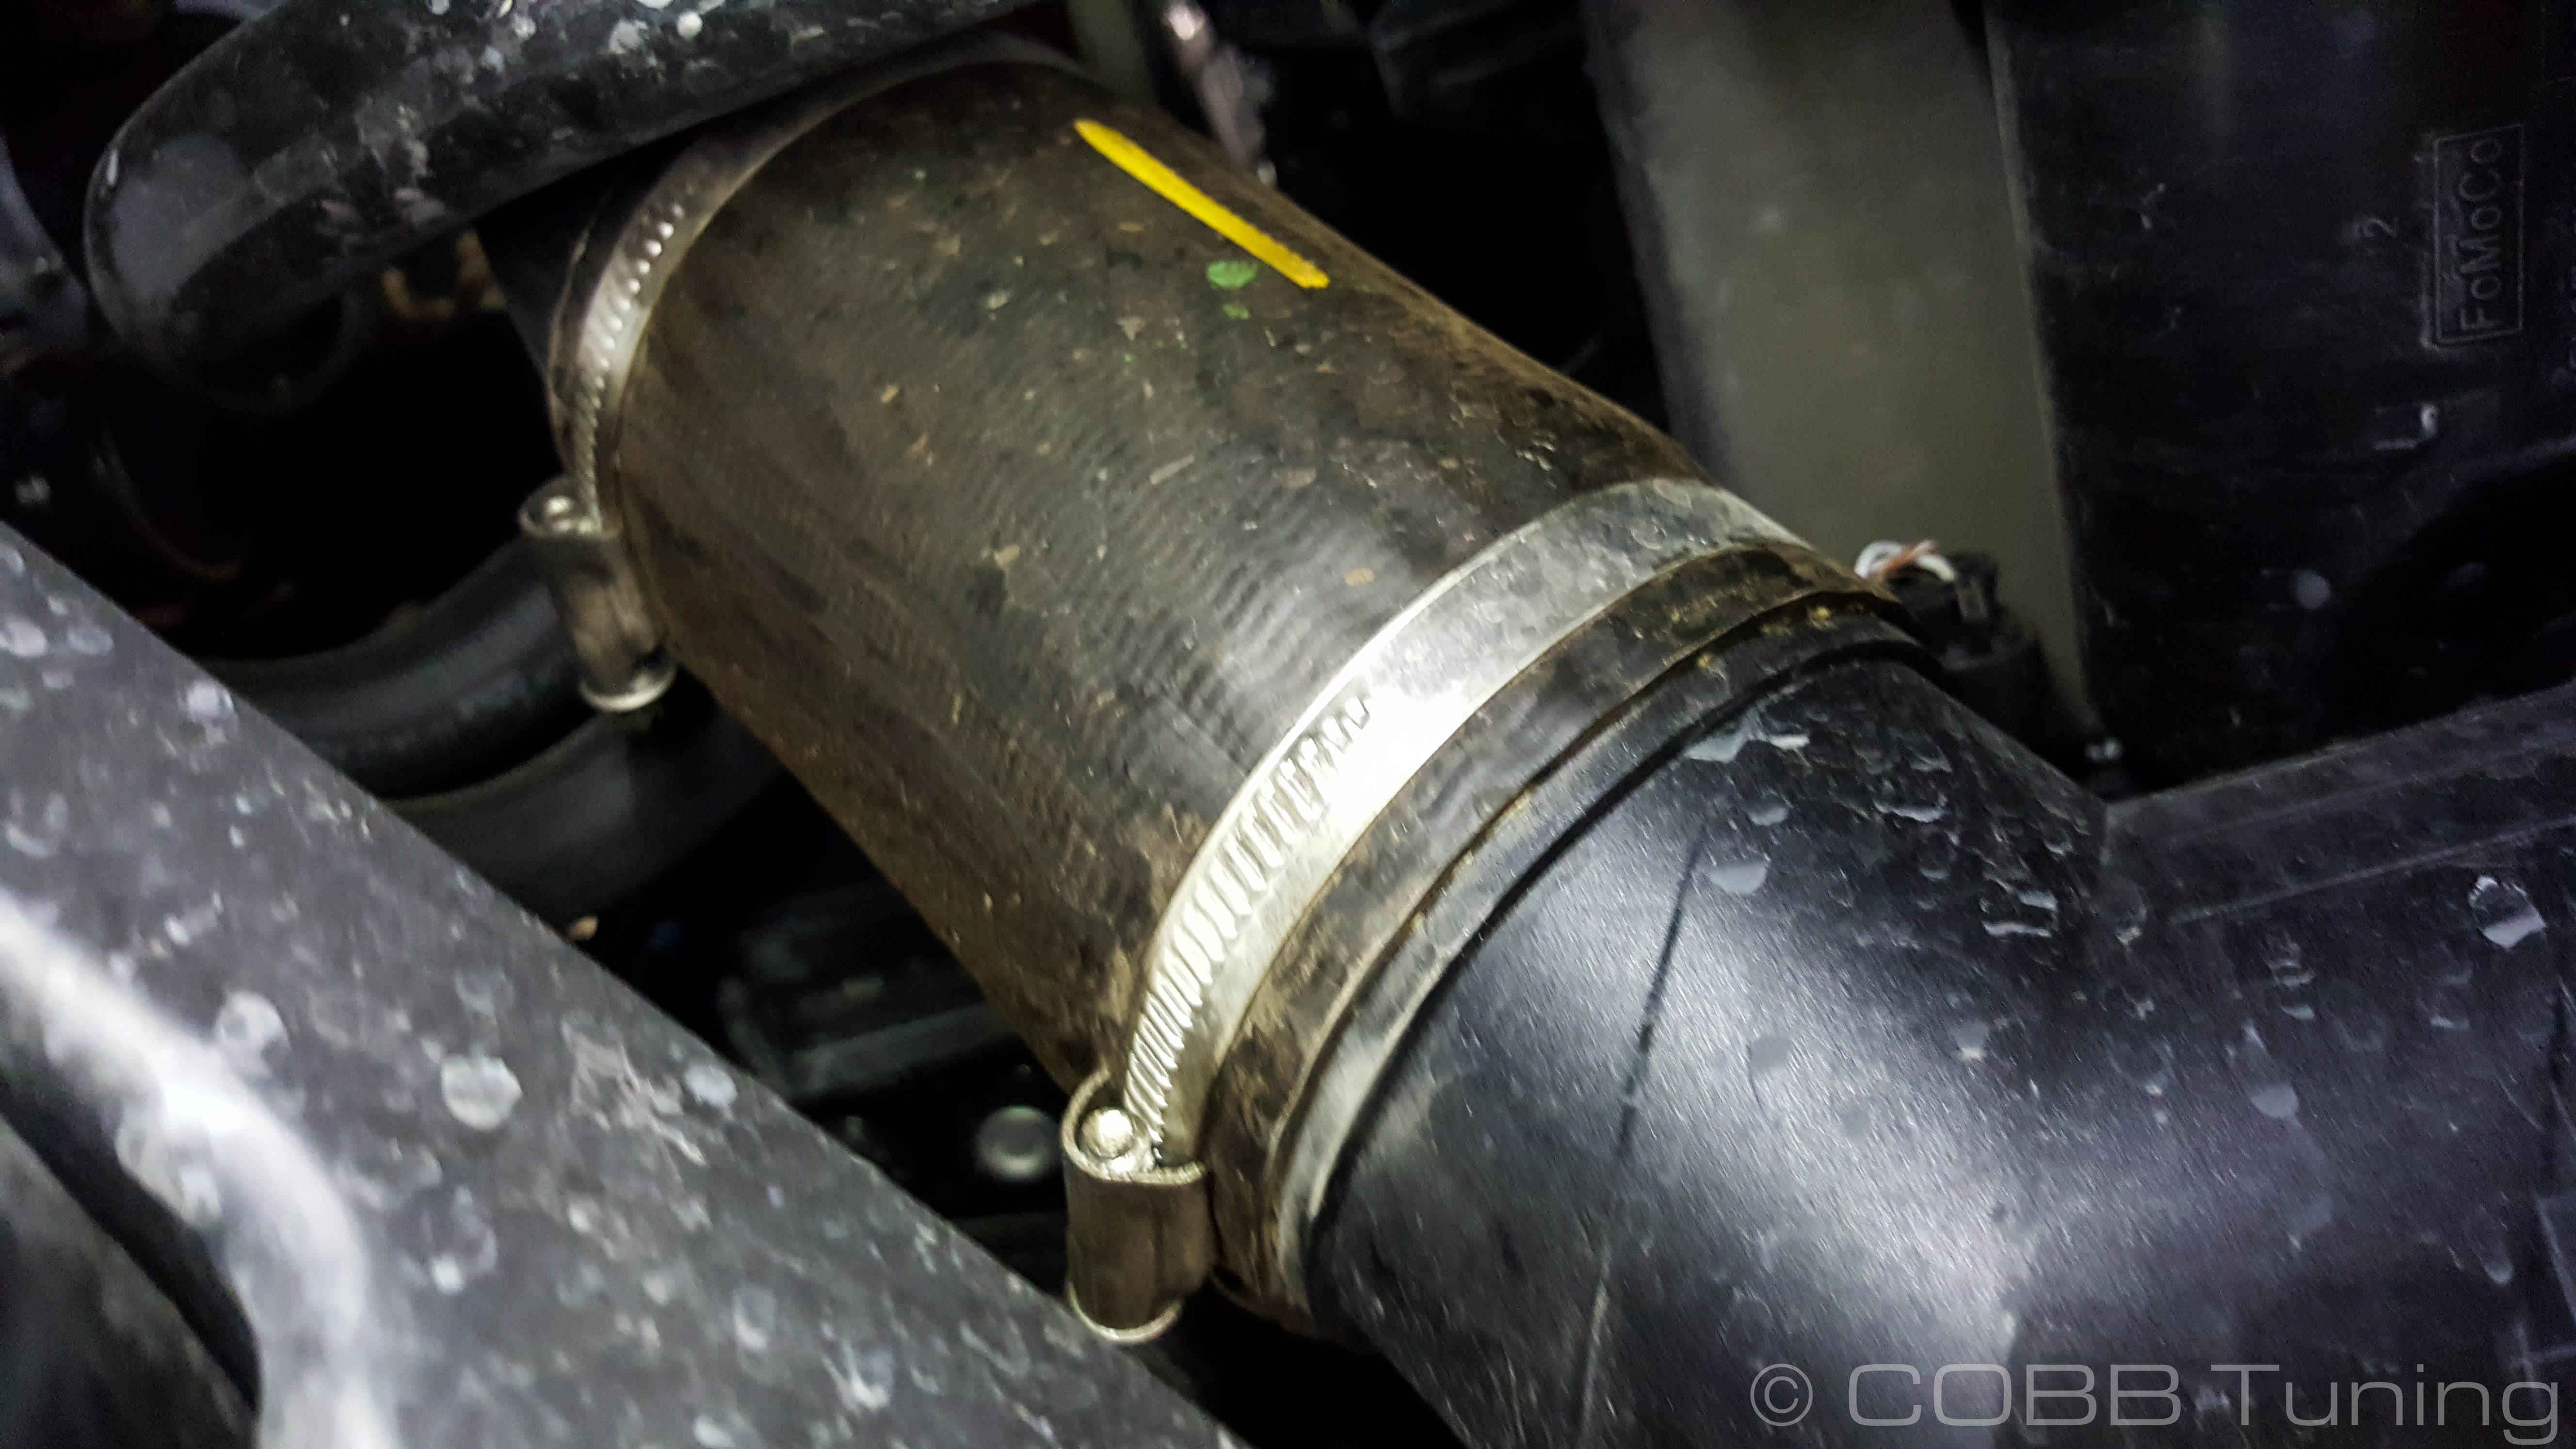
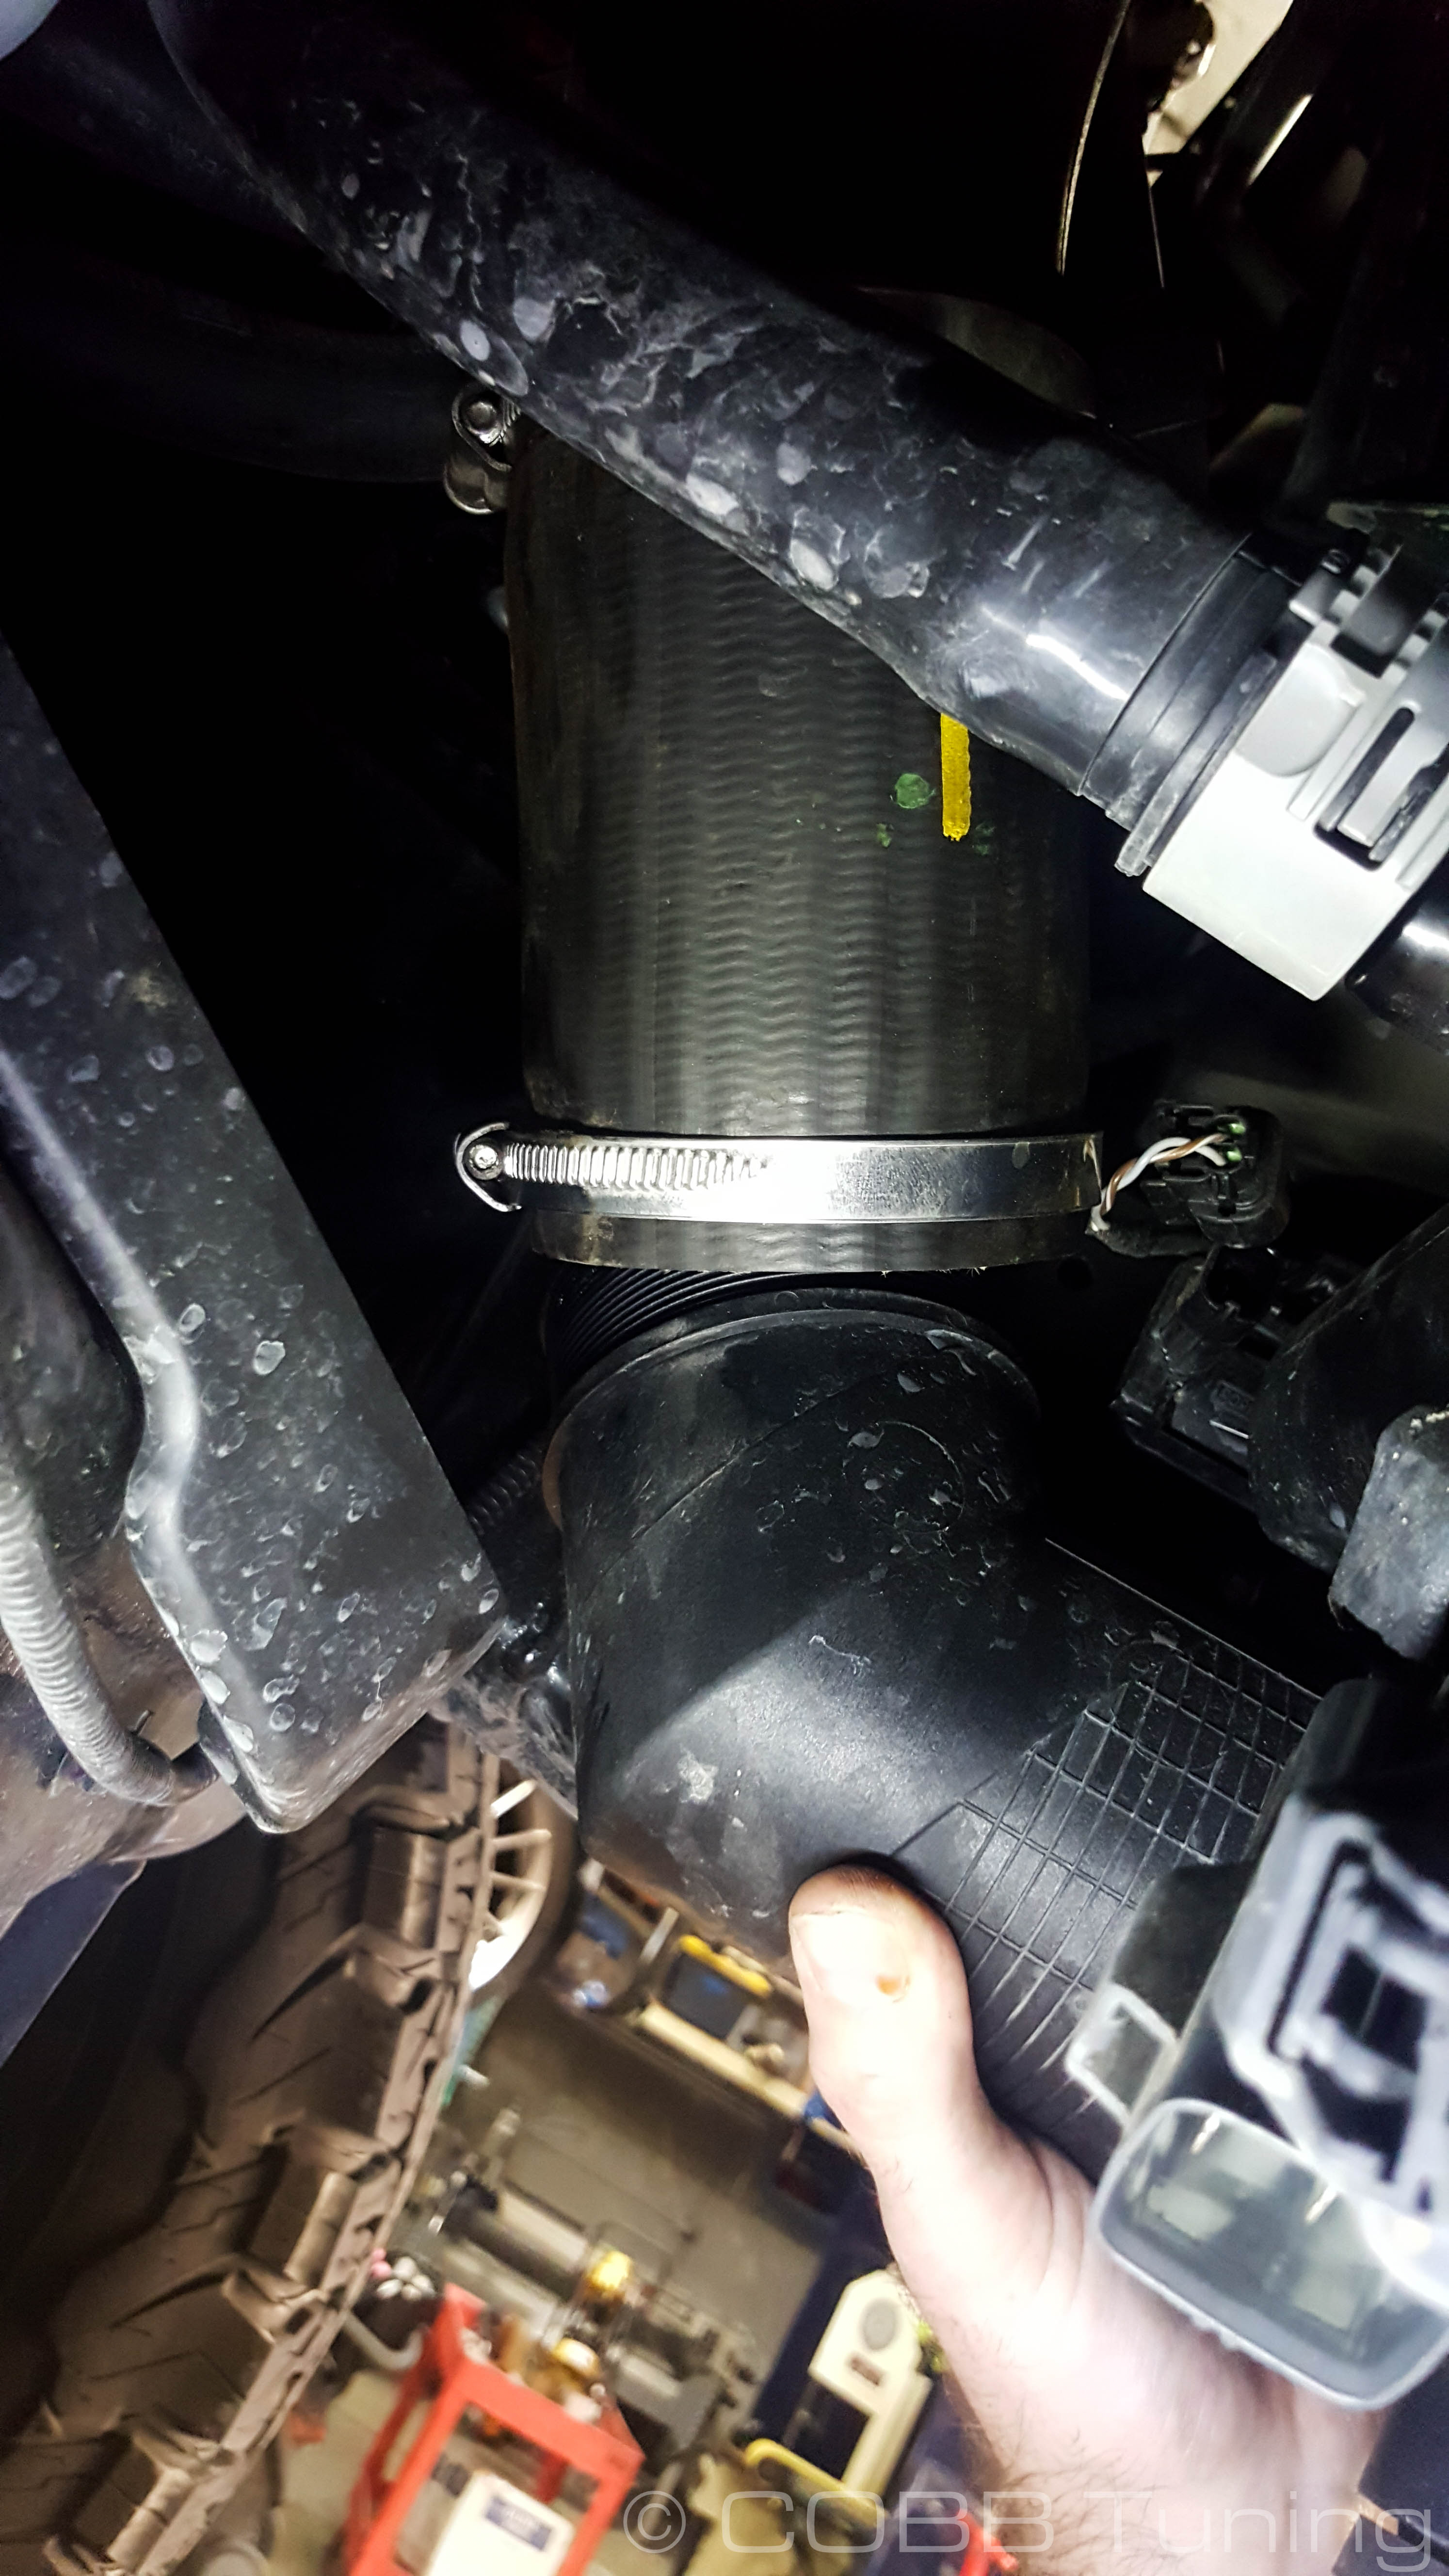
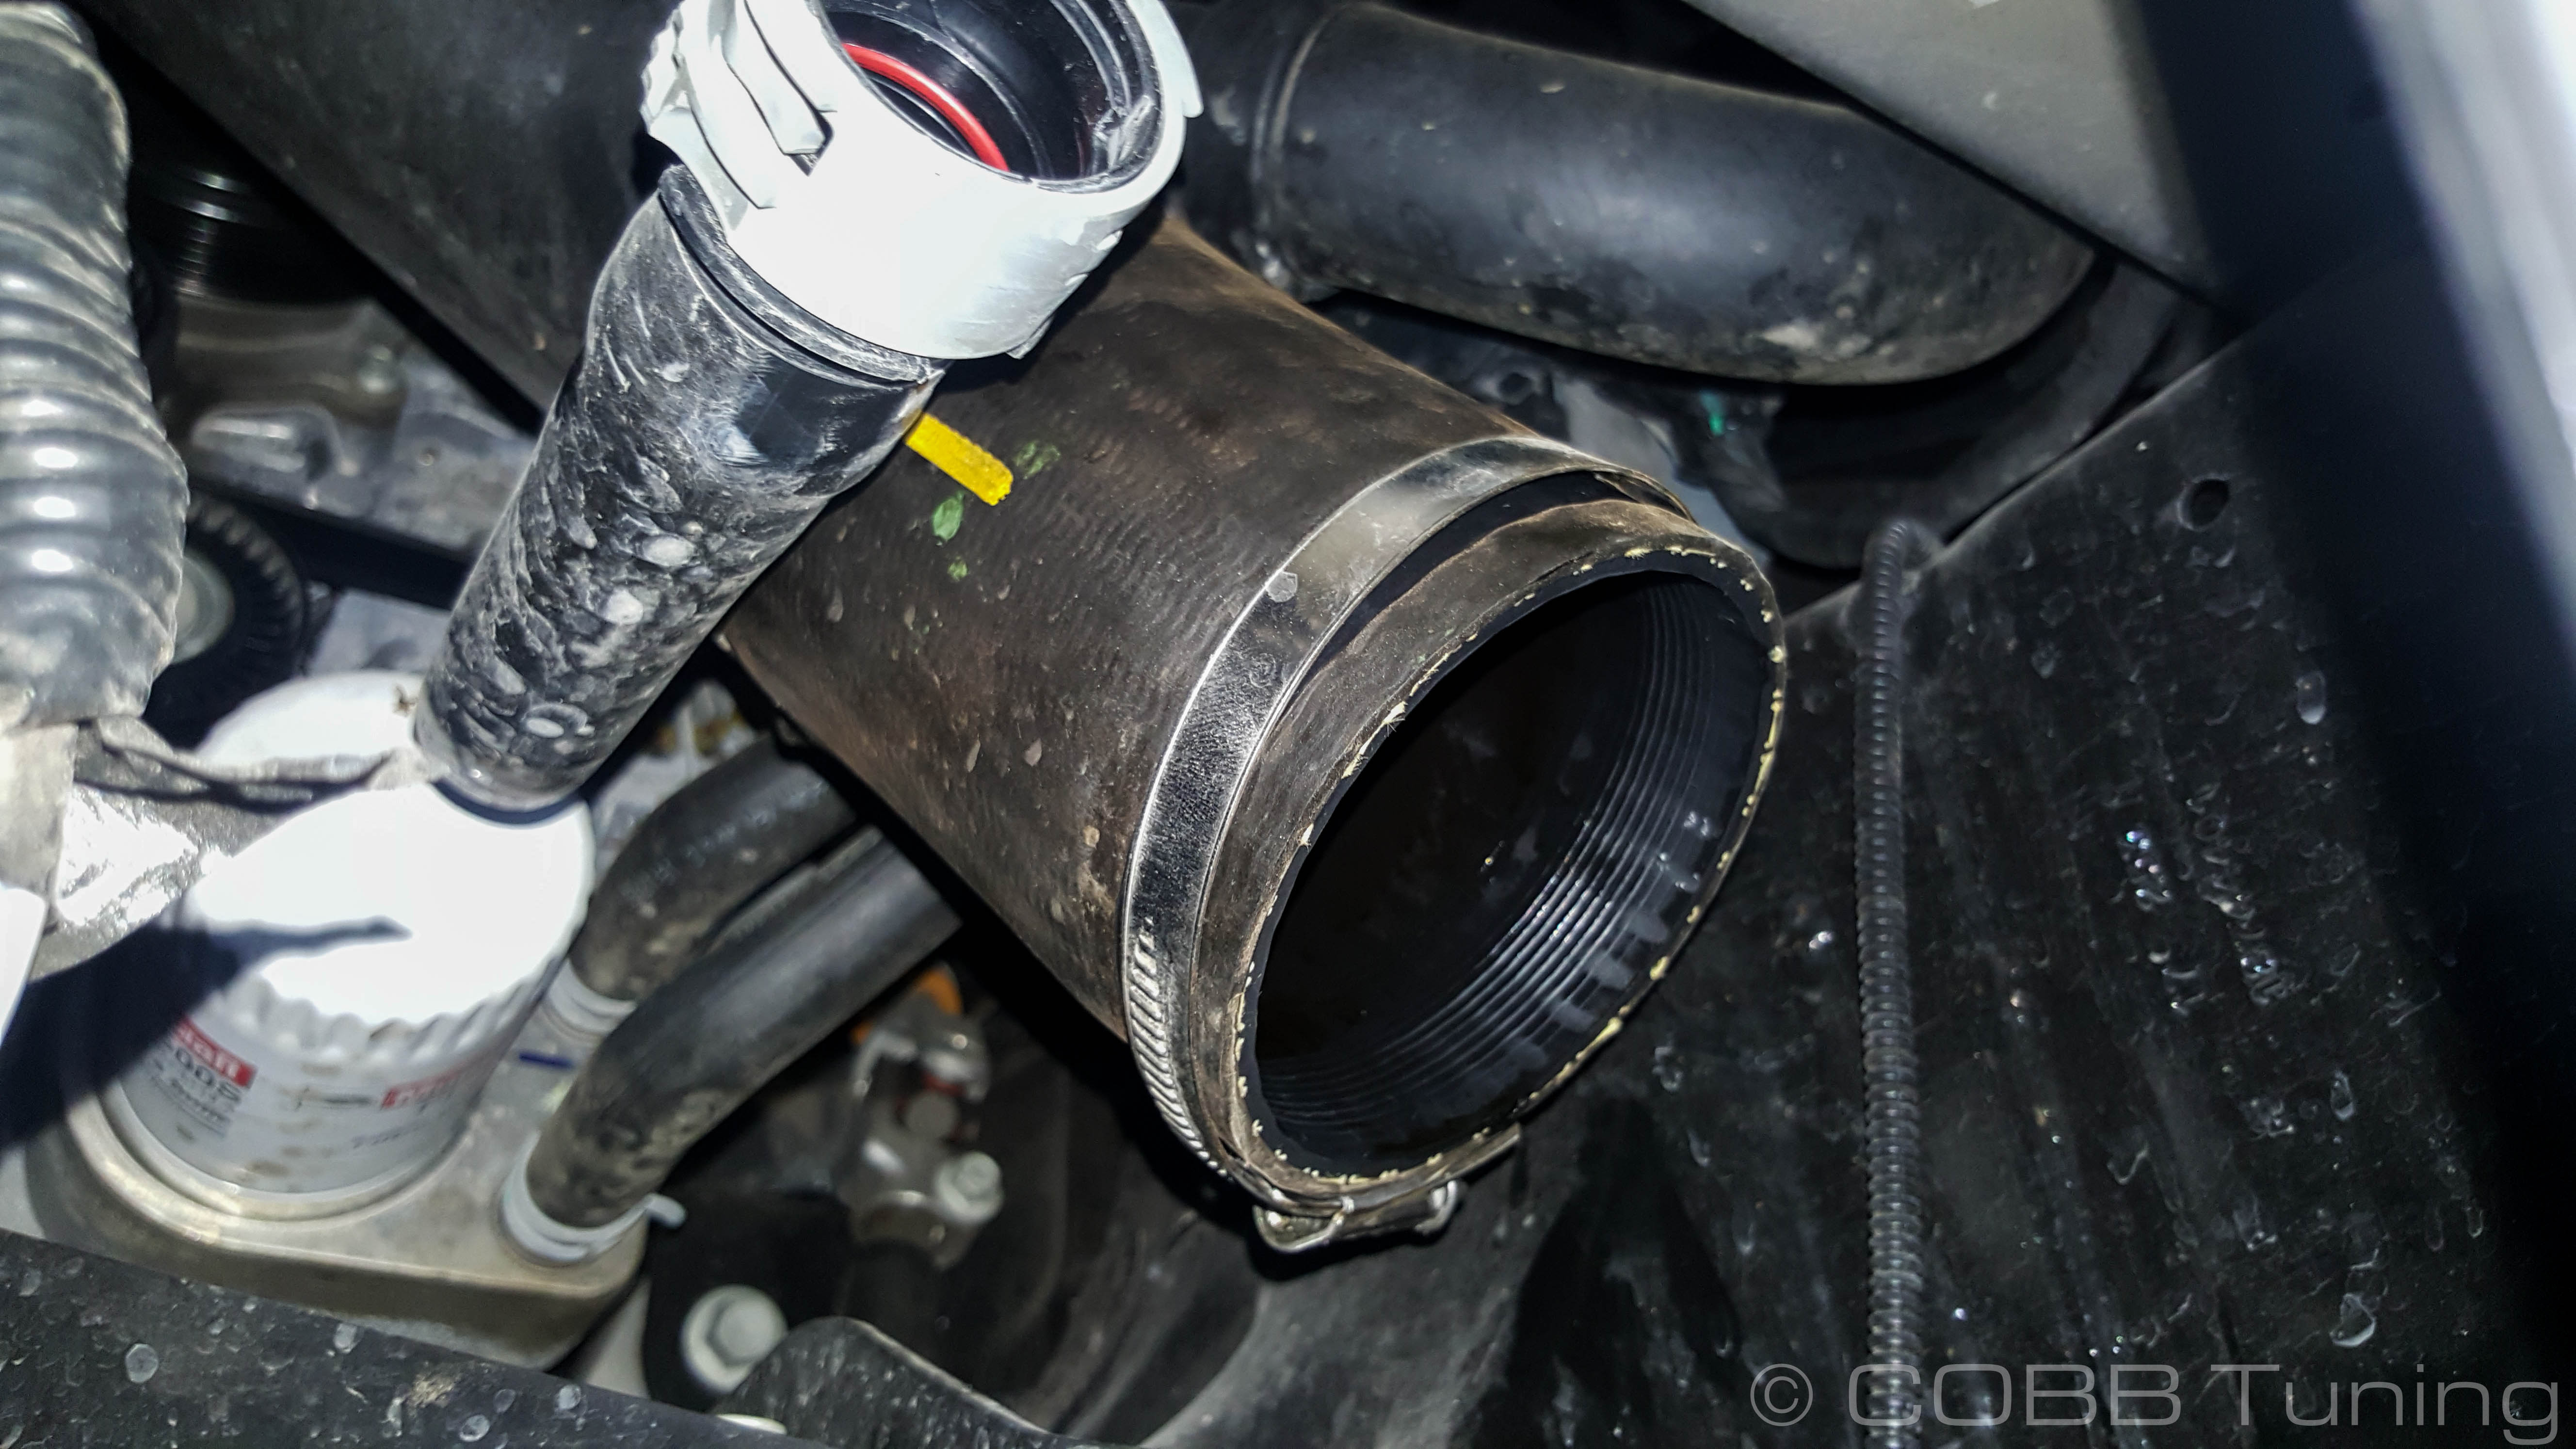
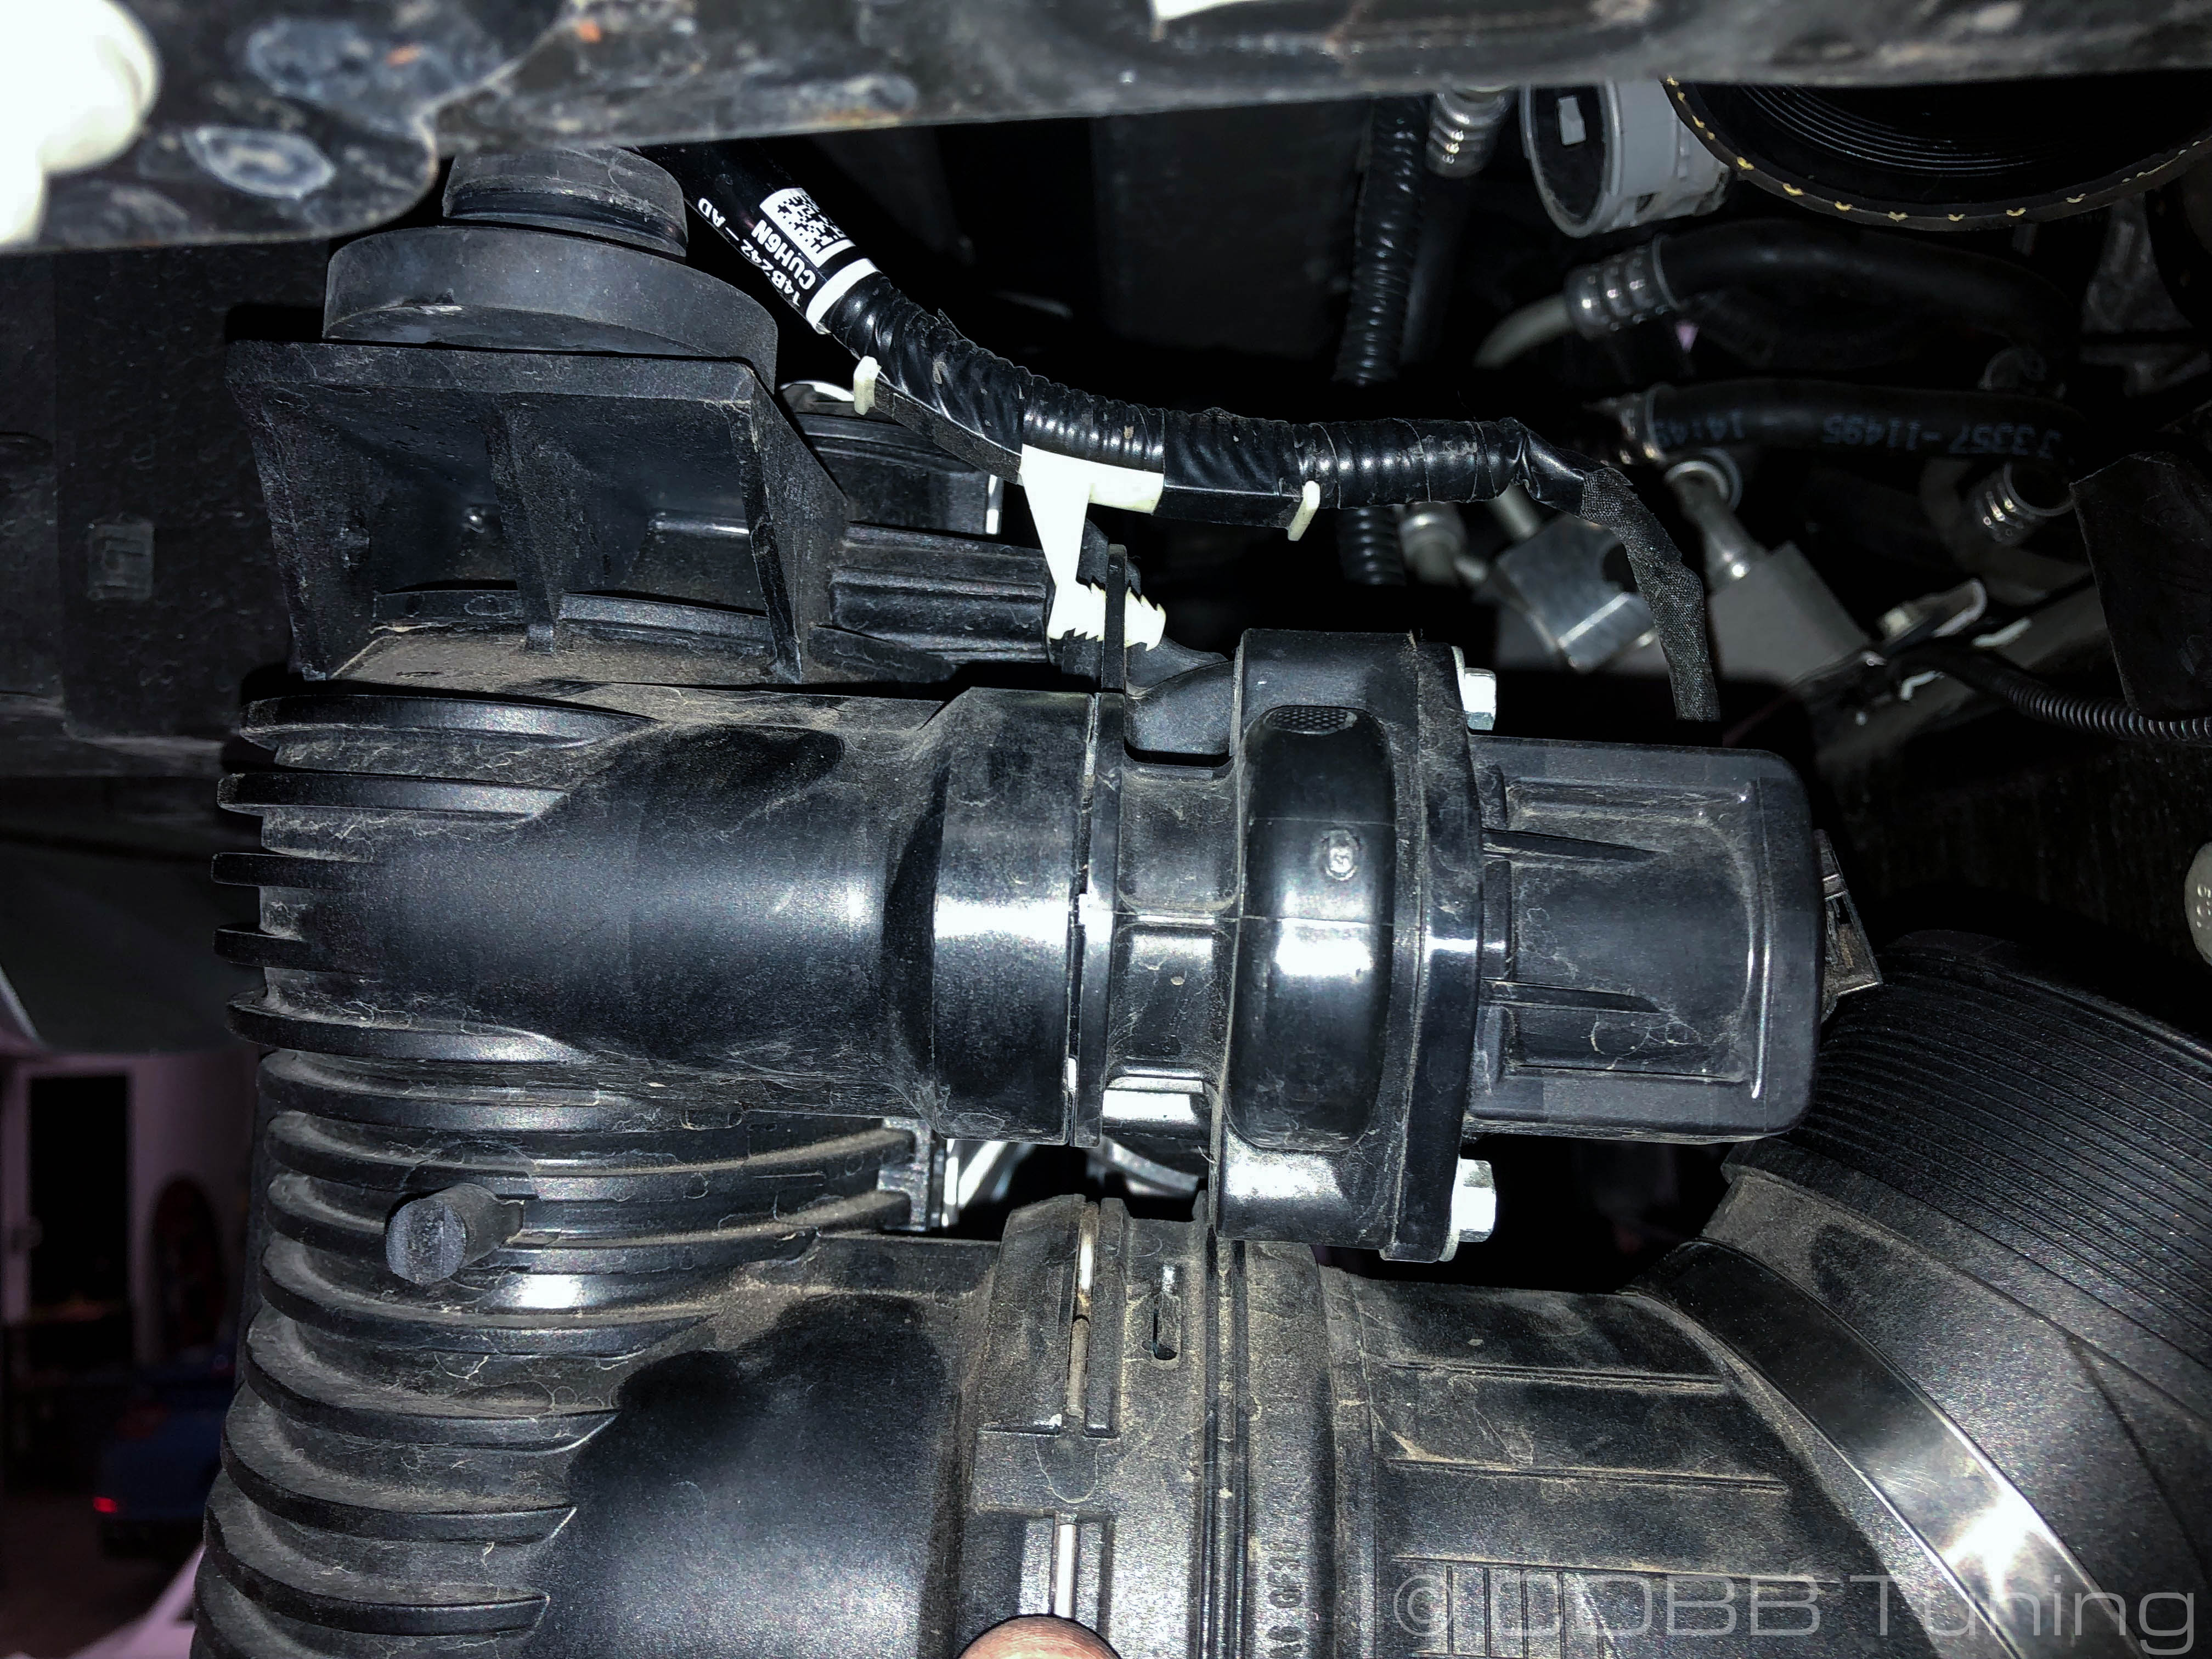
Loosen up the 3 couplers on the front mount intercooler, then pull them free. If you can manage it easily you can also just remove them completely. In order to loosen them you'll either need a screwdriver of a socket (7mm/8mm depending on your vehicle)
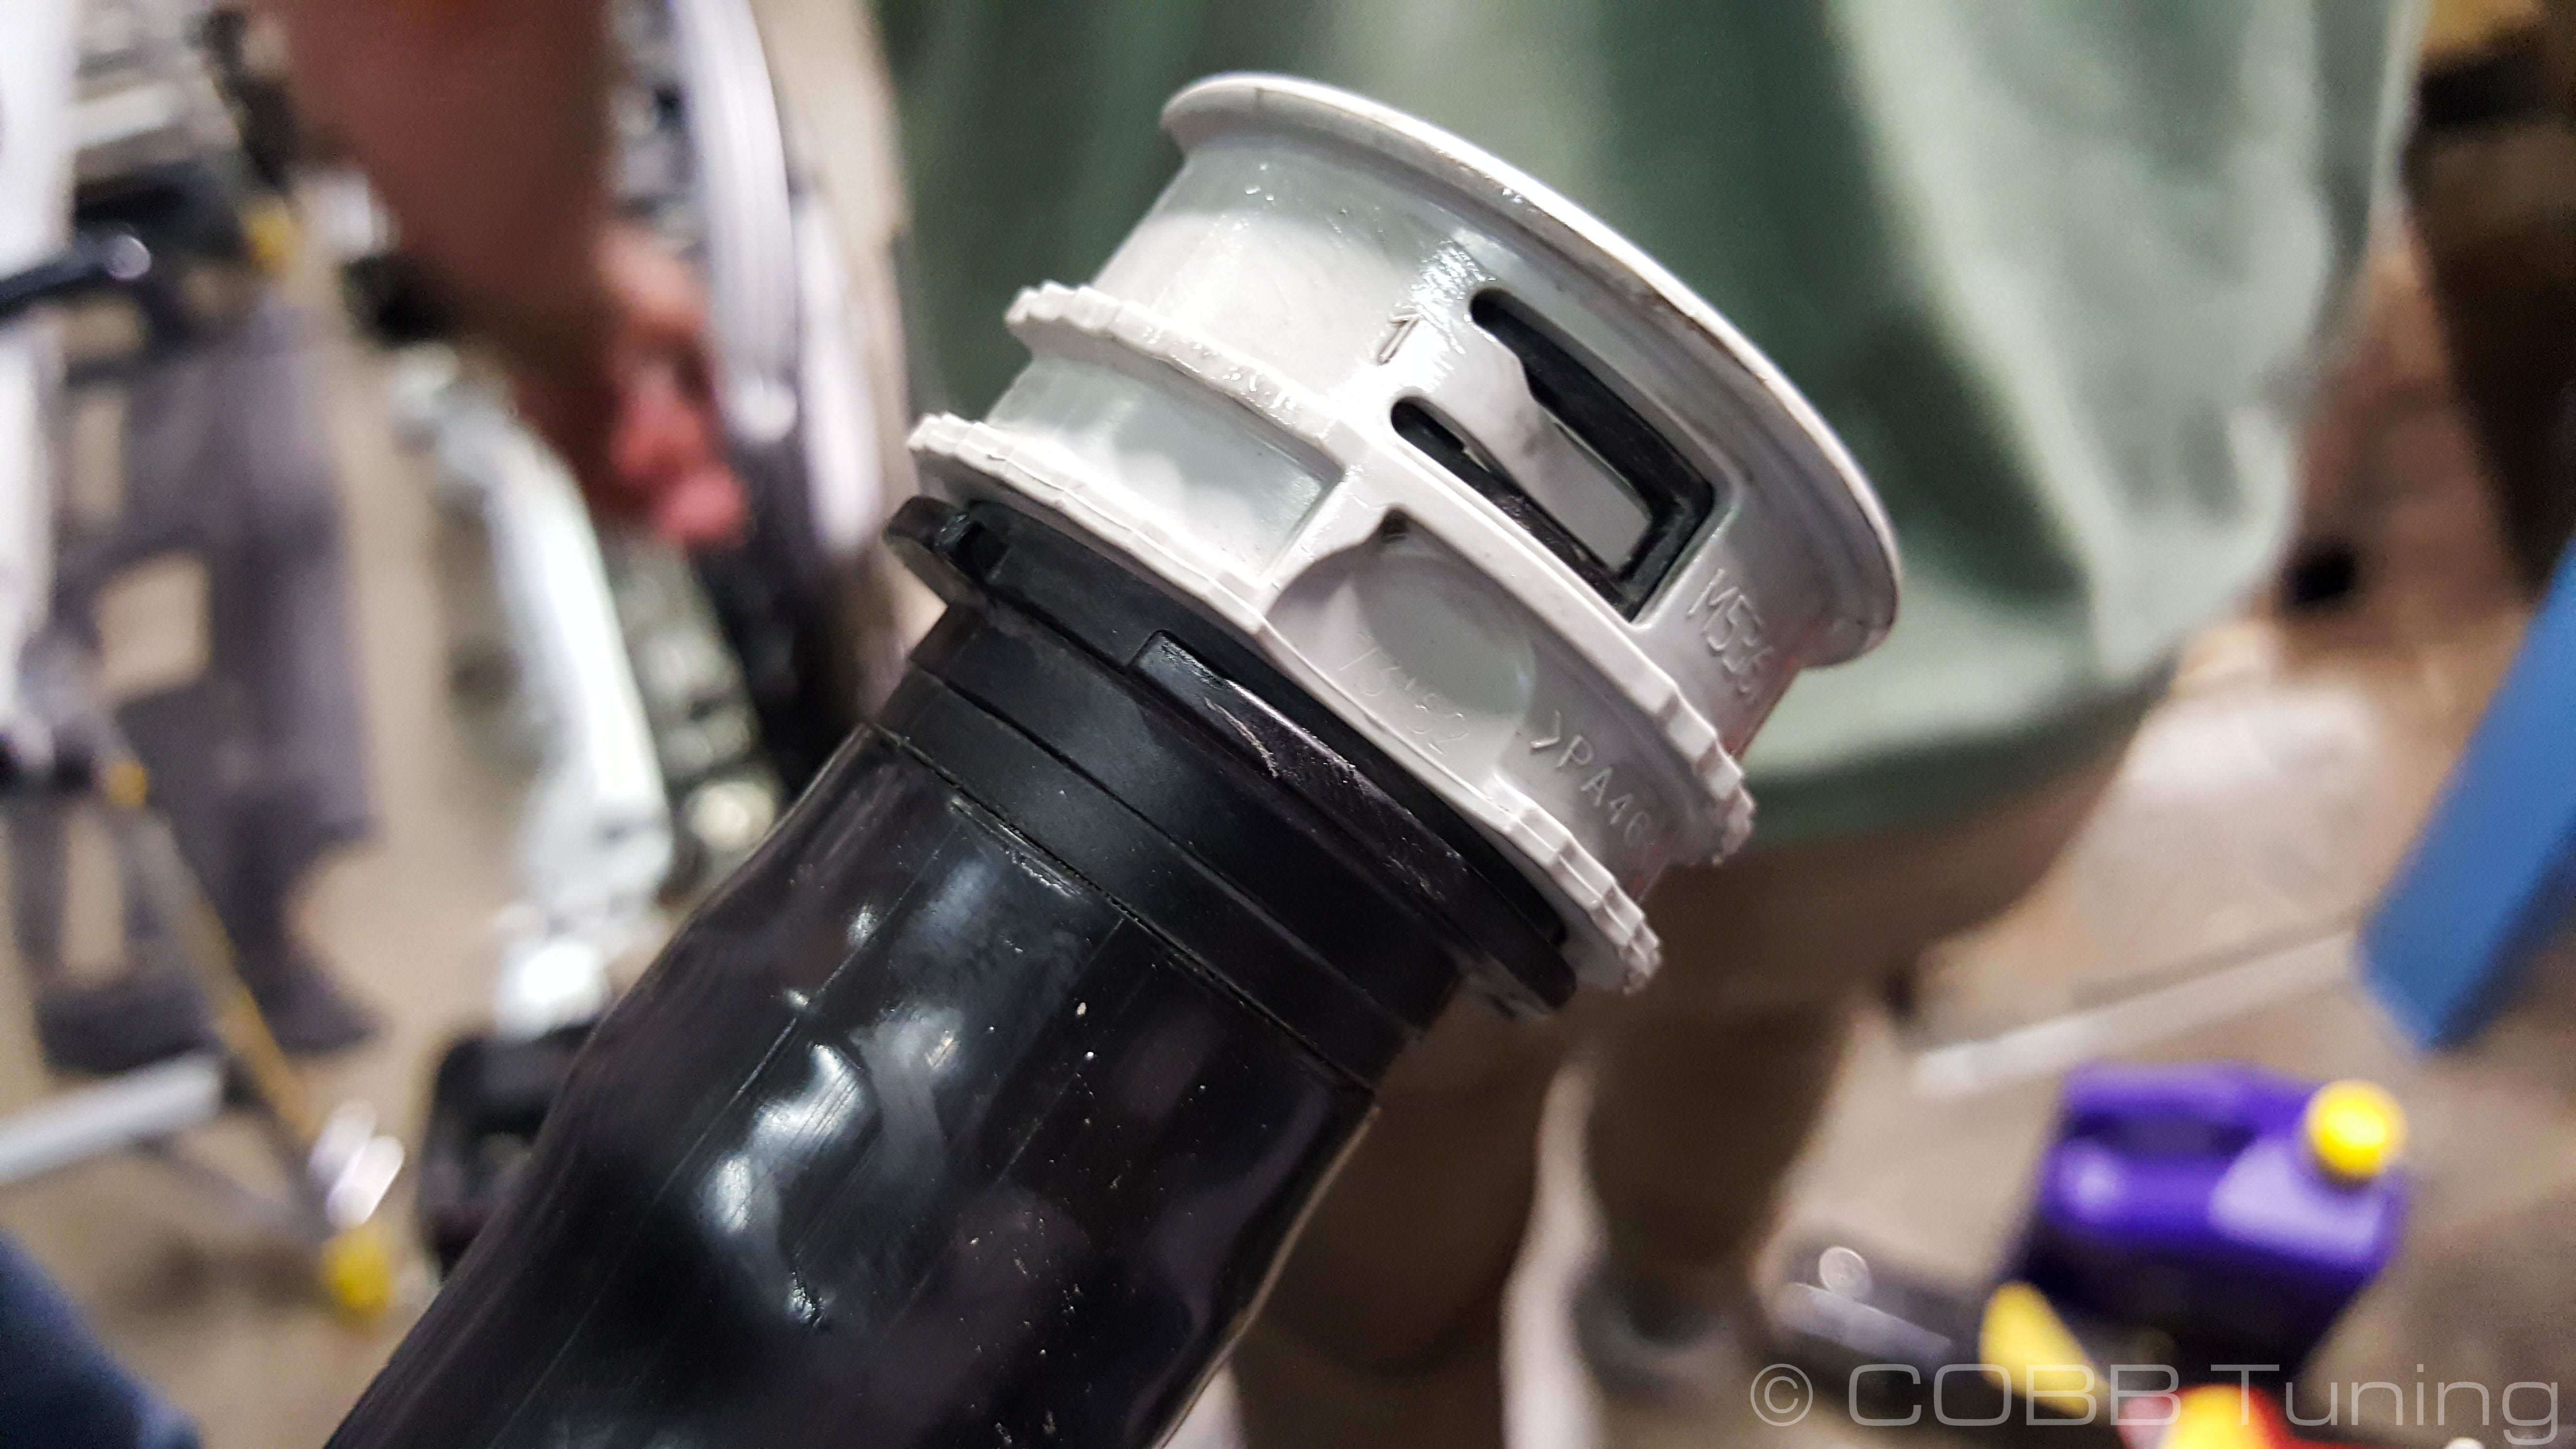
Disconnect the bpv hose from the intake and the BPV itself by turning left 1/4 turn. Sometimes it will be stuck due to dirt or debris getting into the clip. Softening it with some wd40 or water can make this more simple.
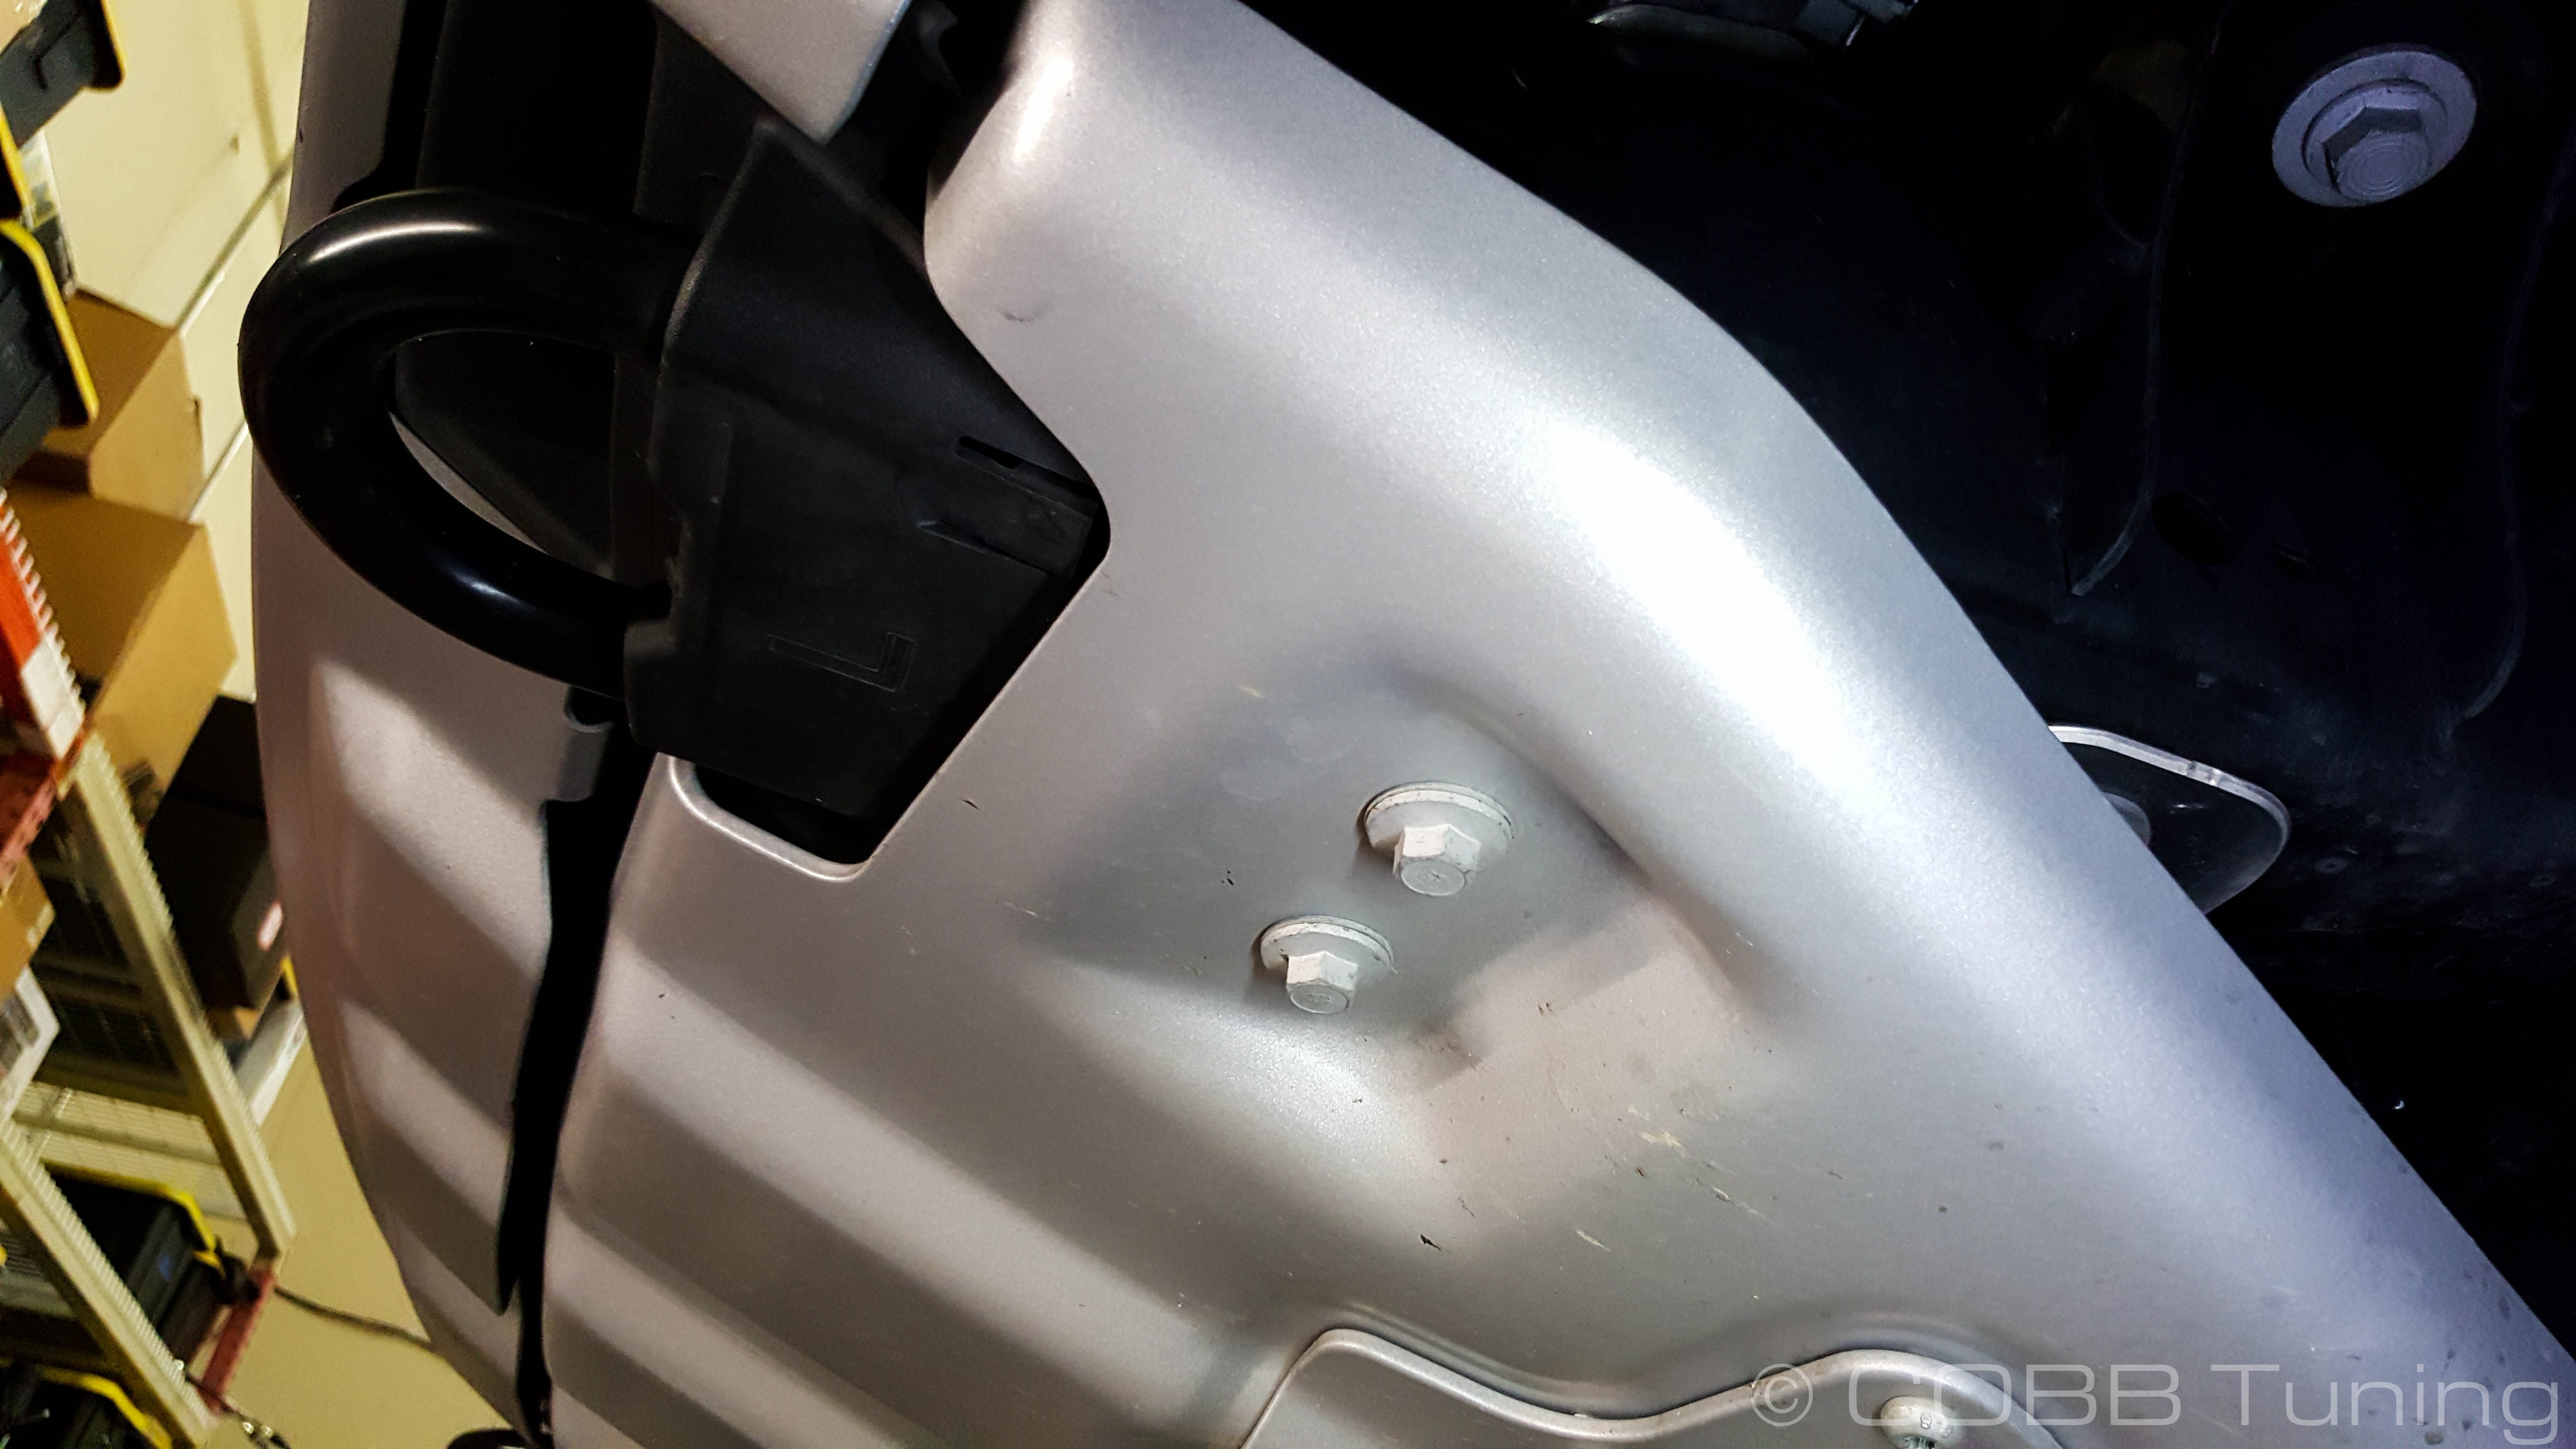
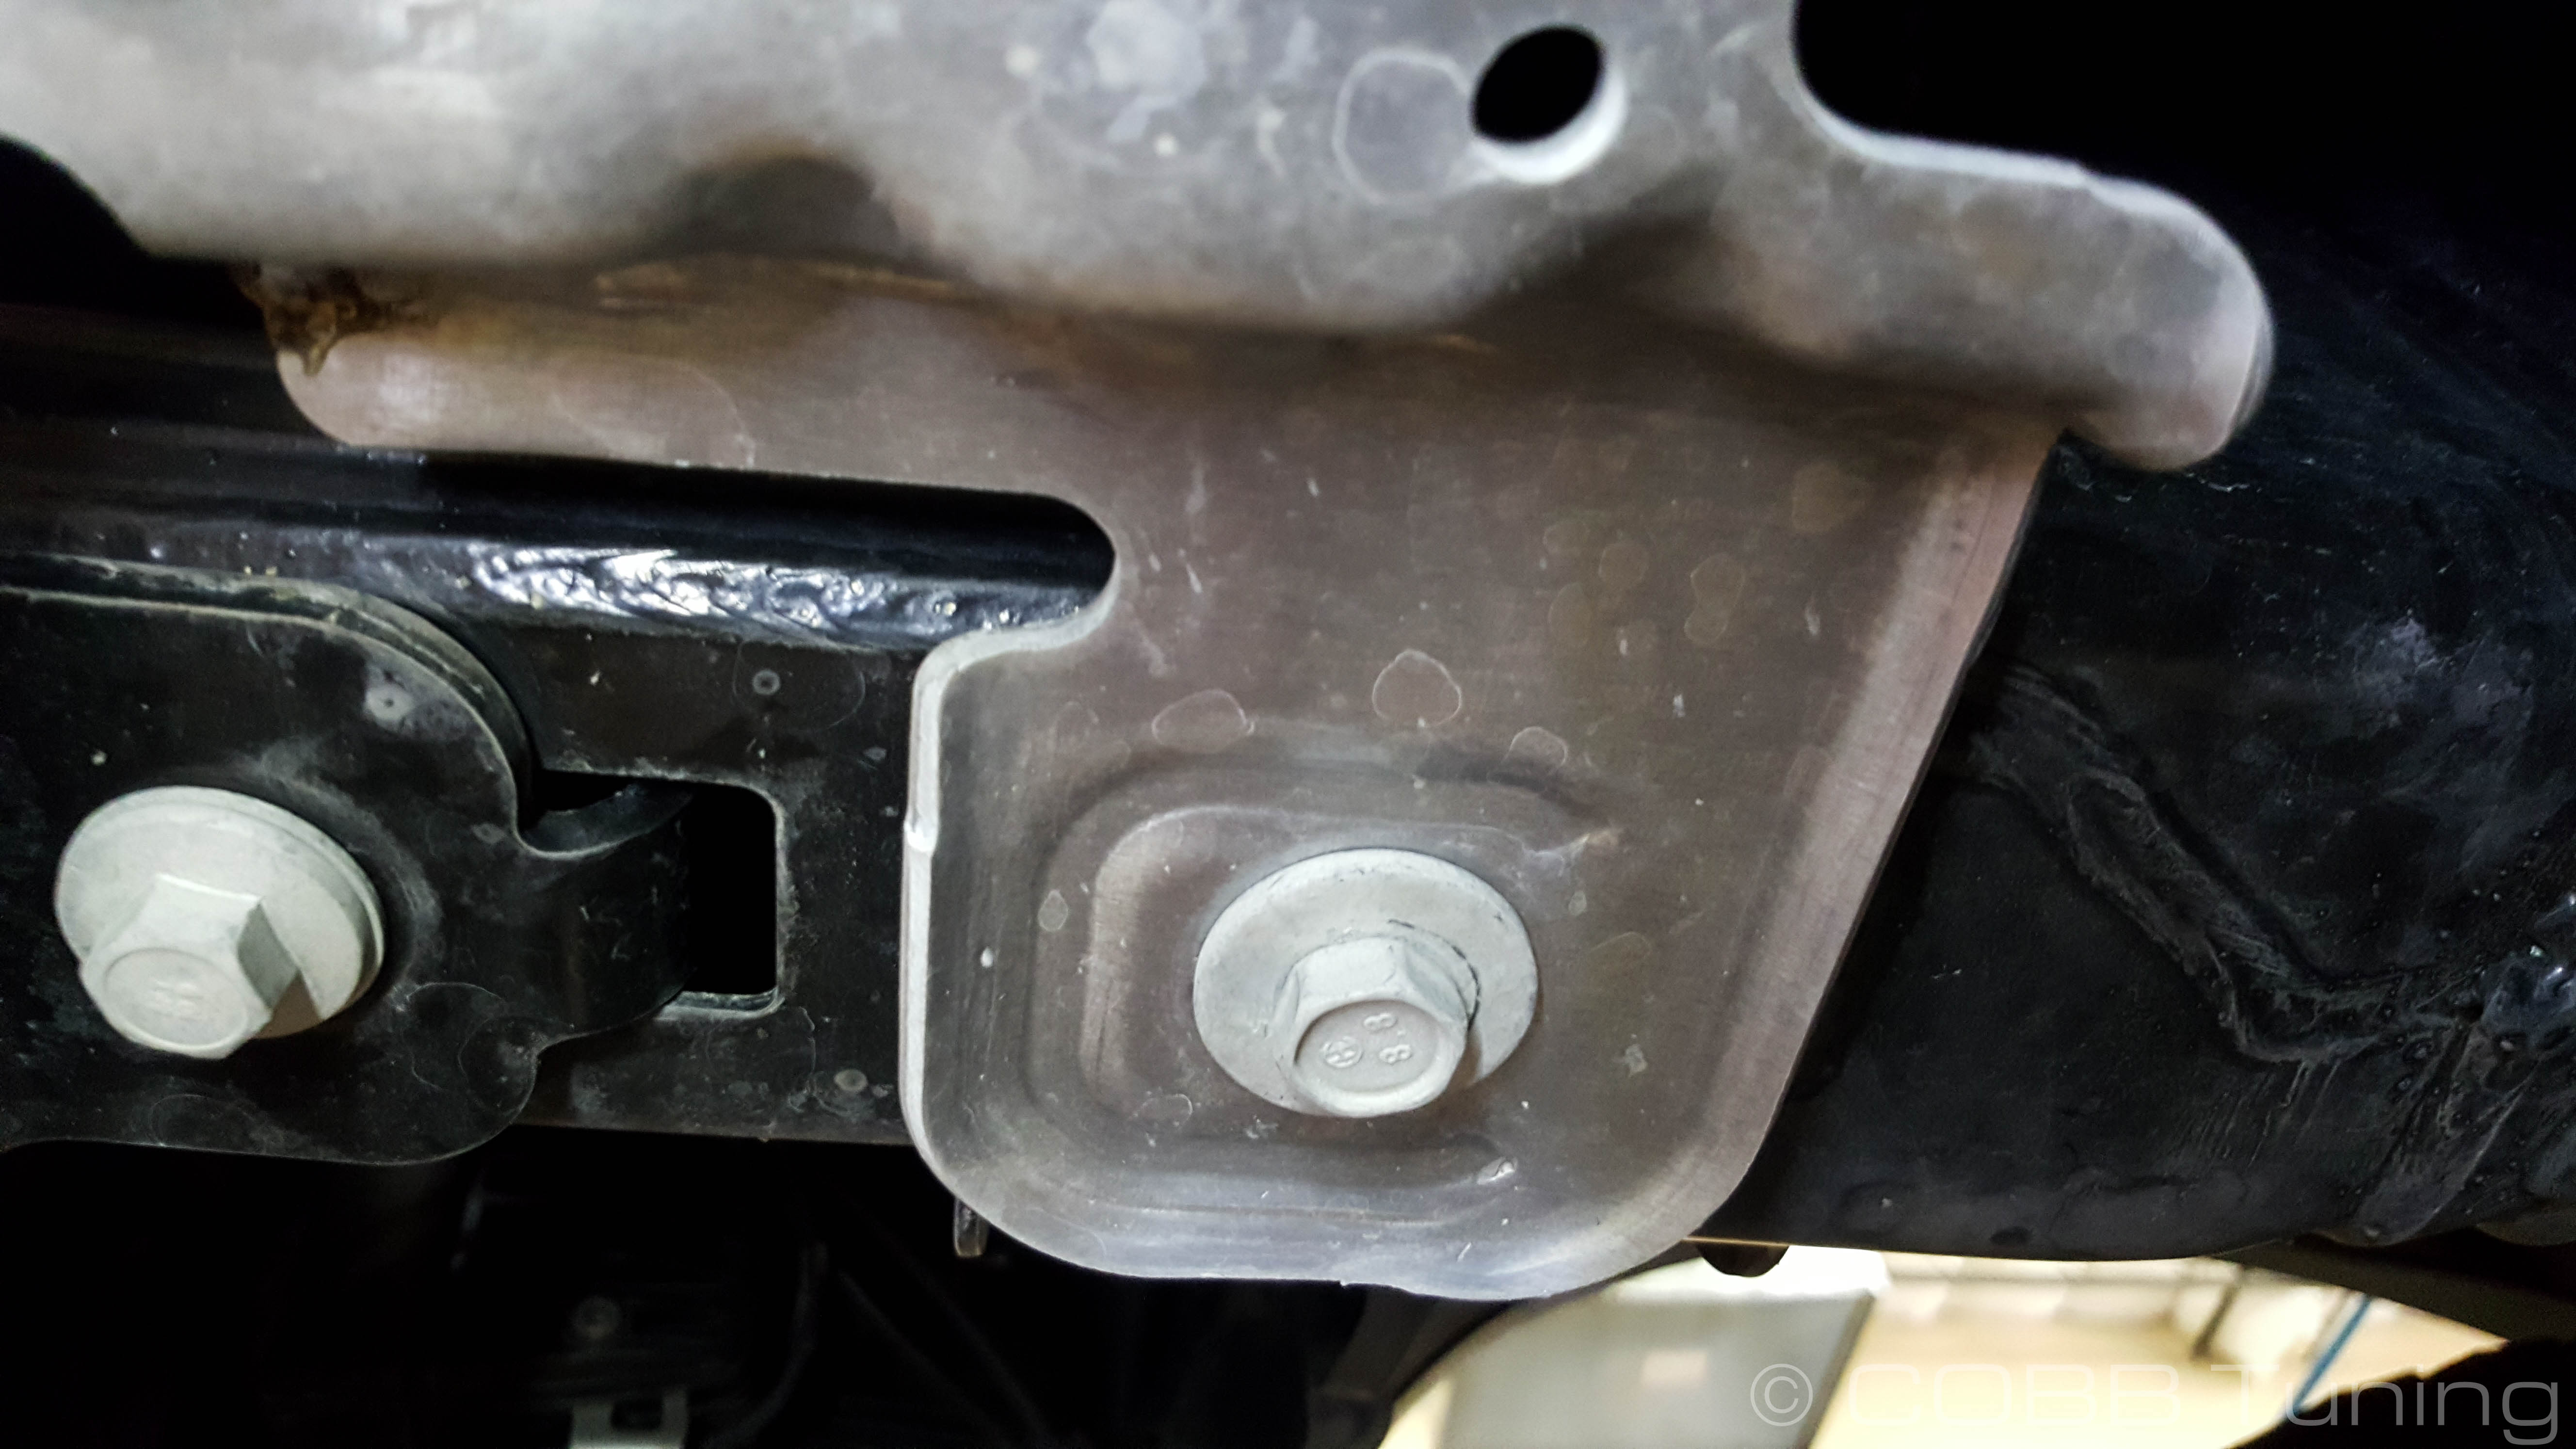
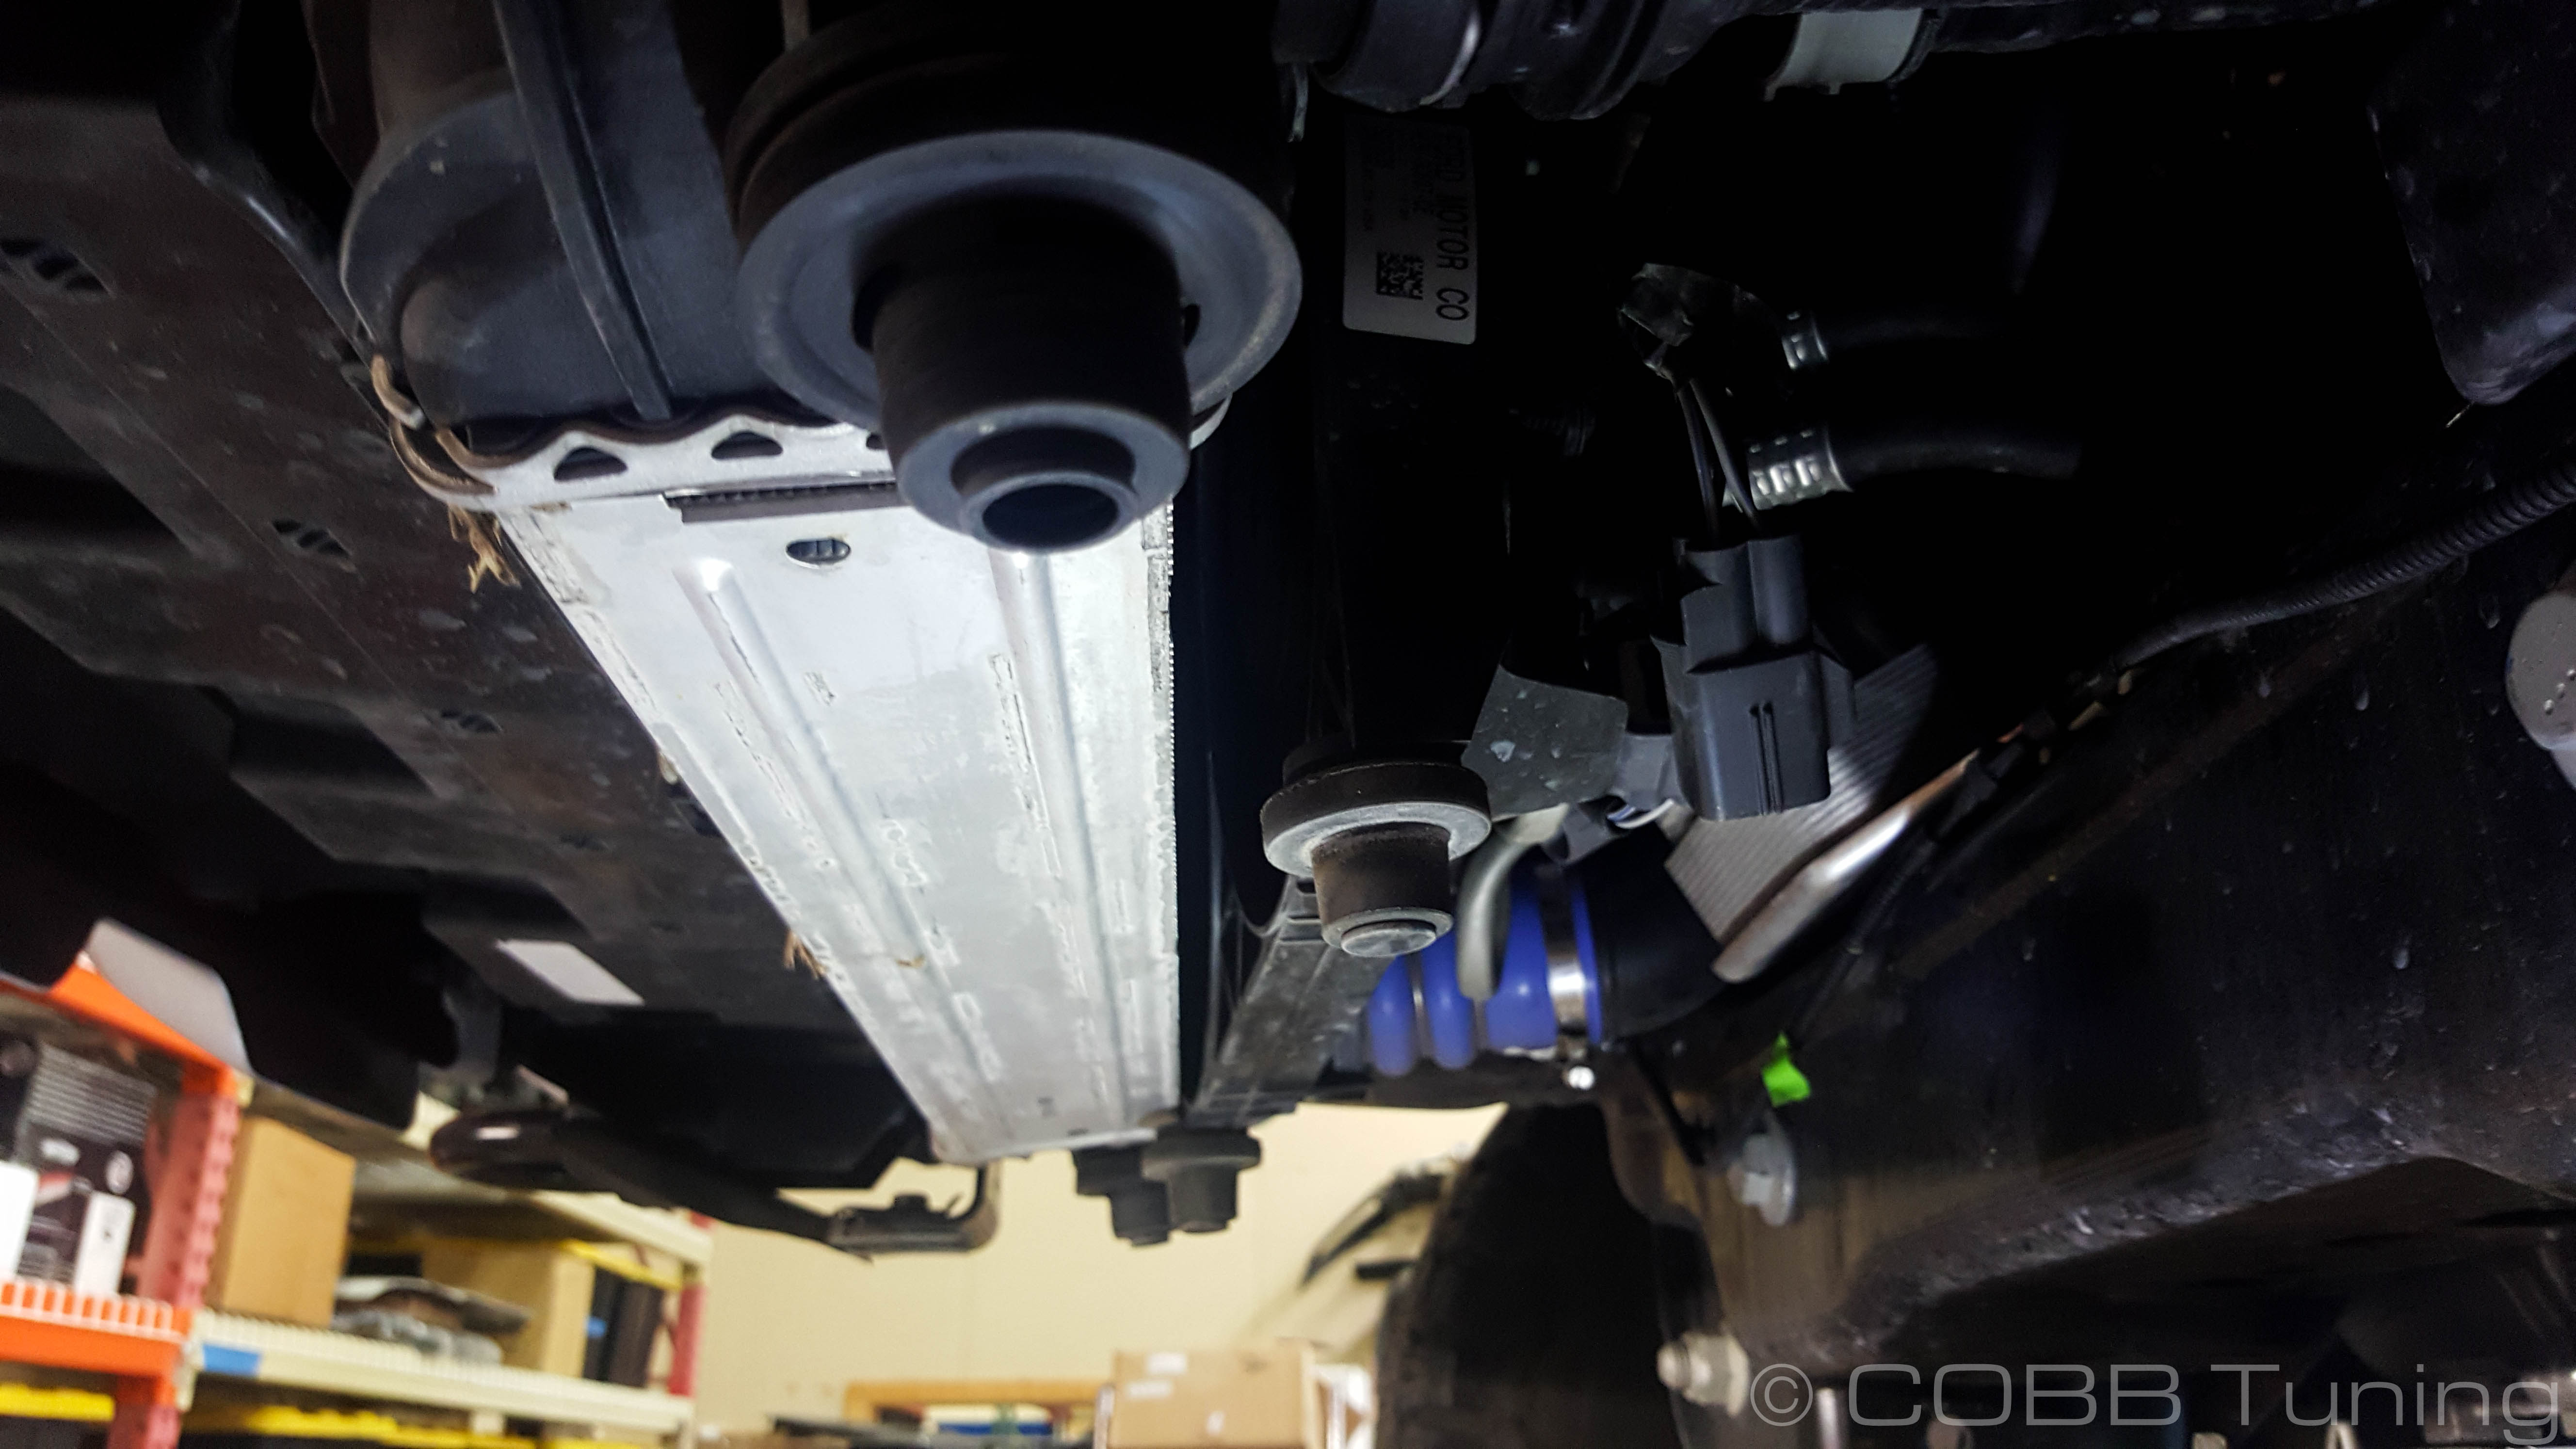
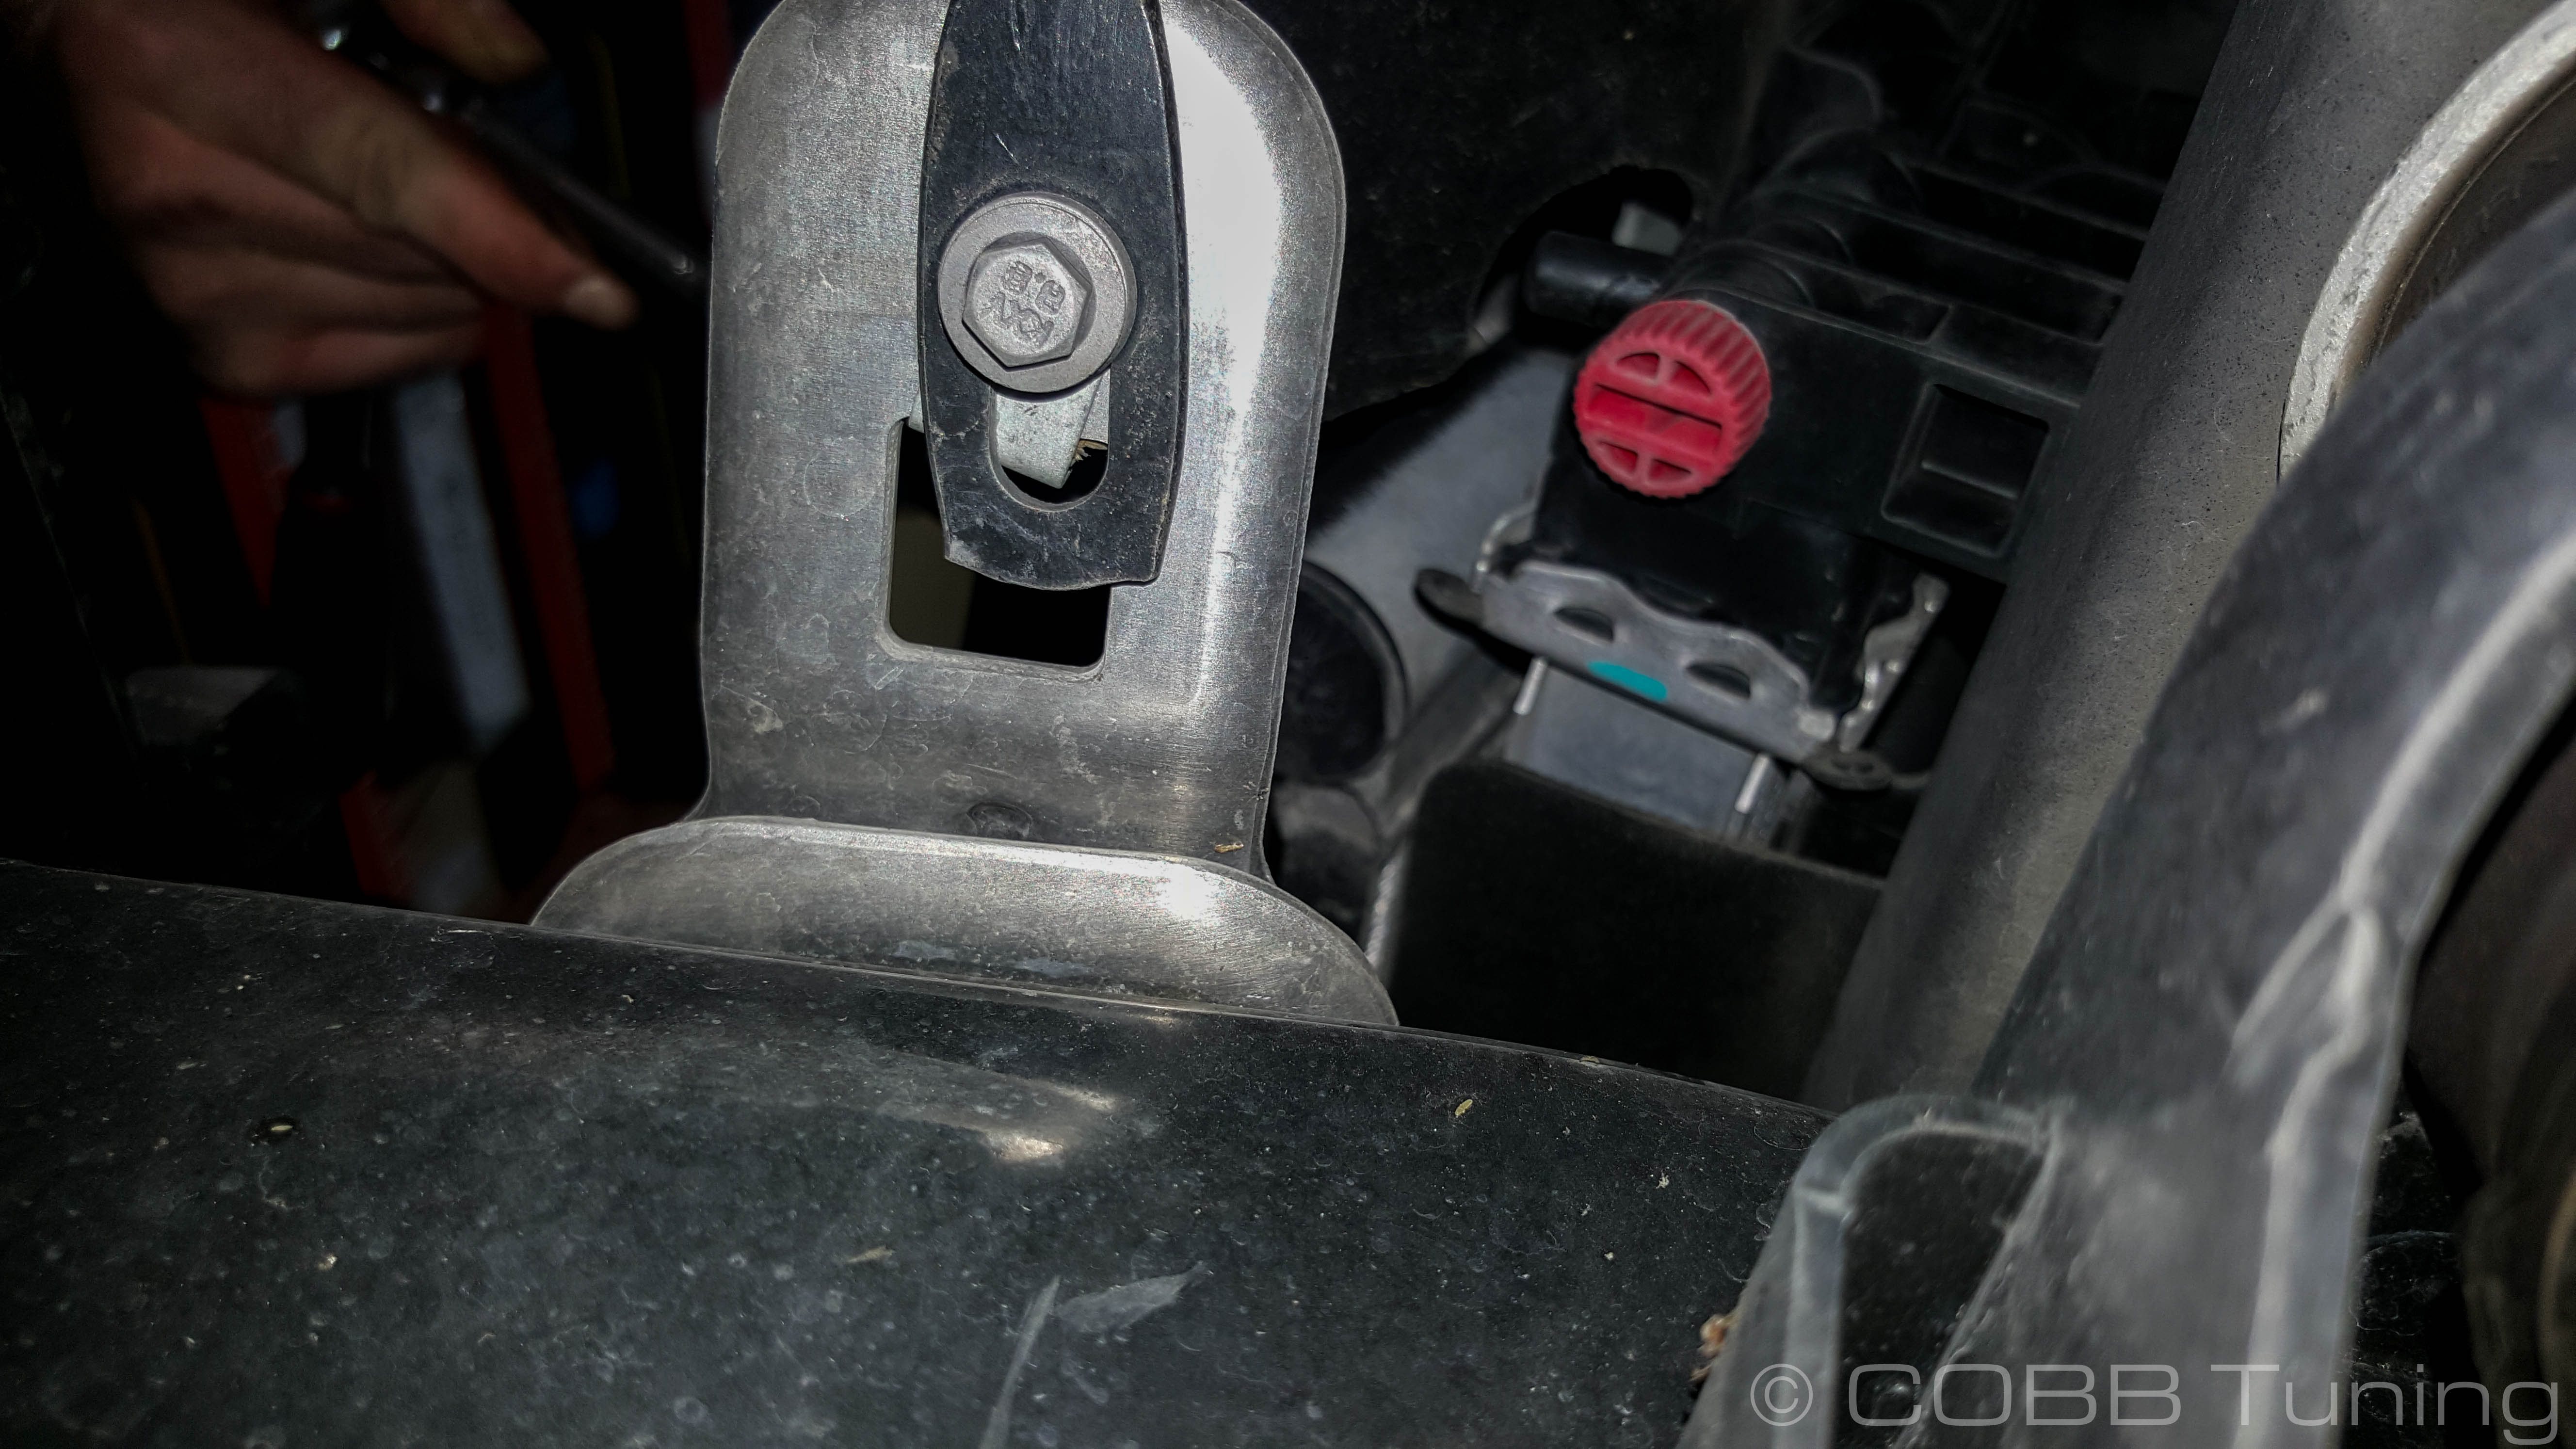
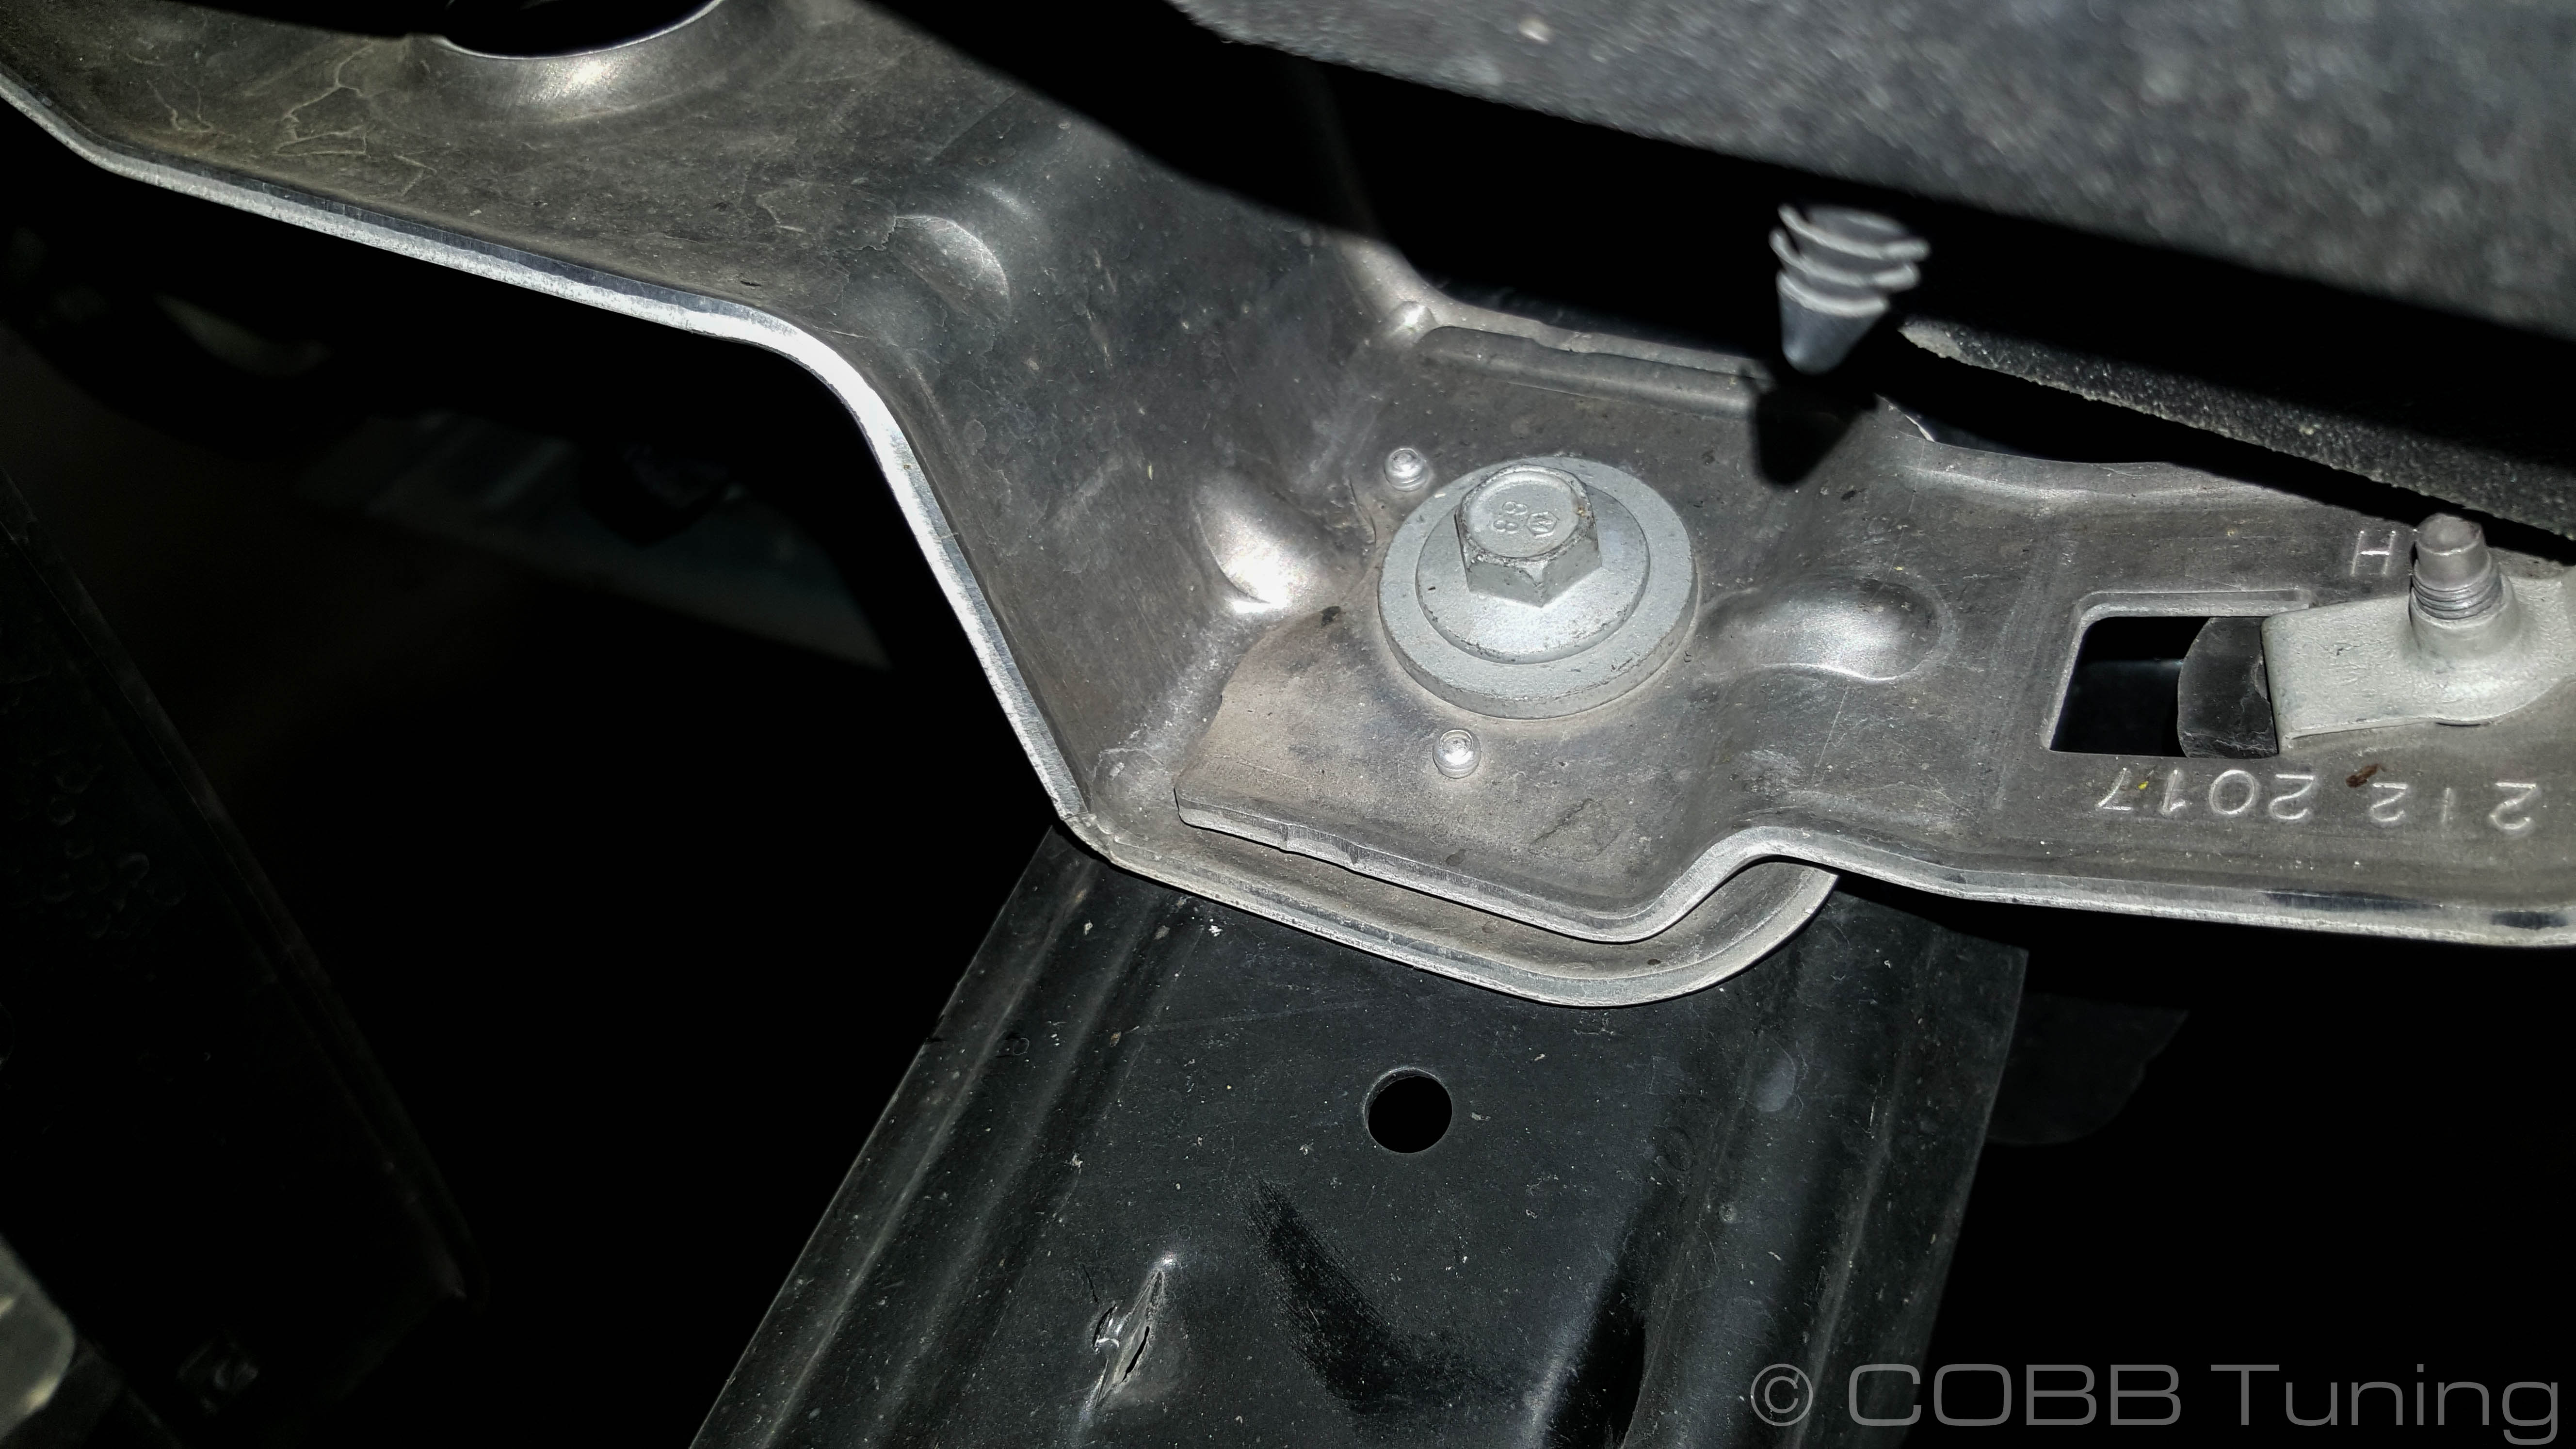
Undo the two 15mm bolts holding the support for the intercooler core in place.
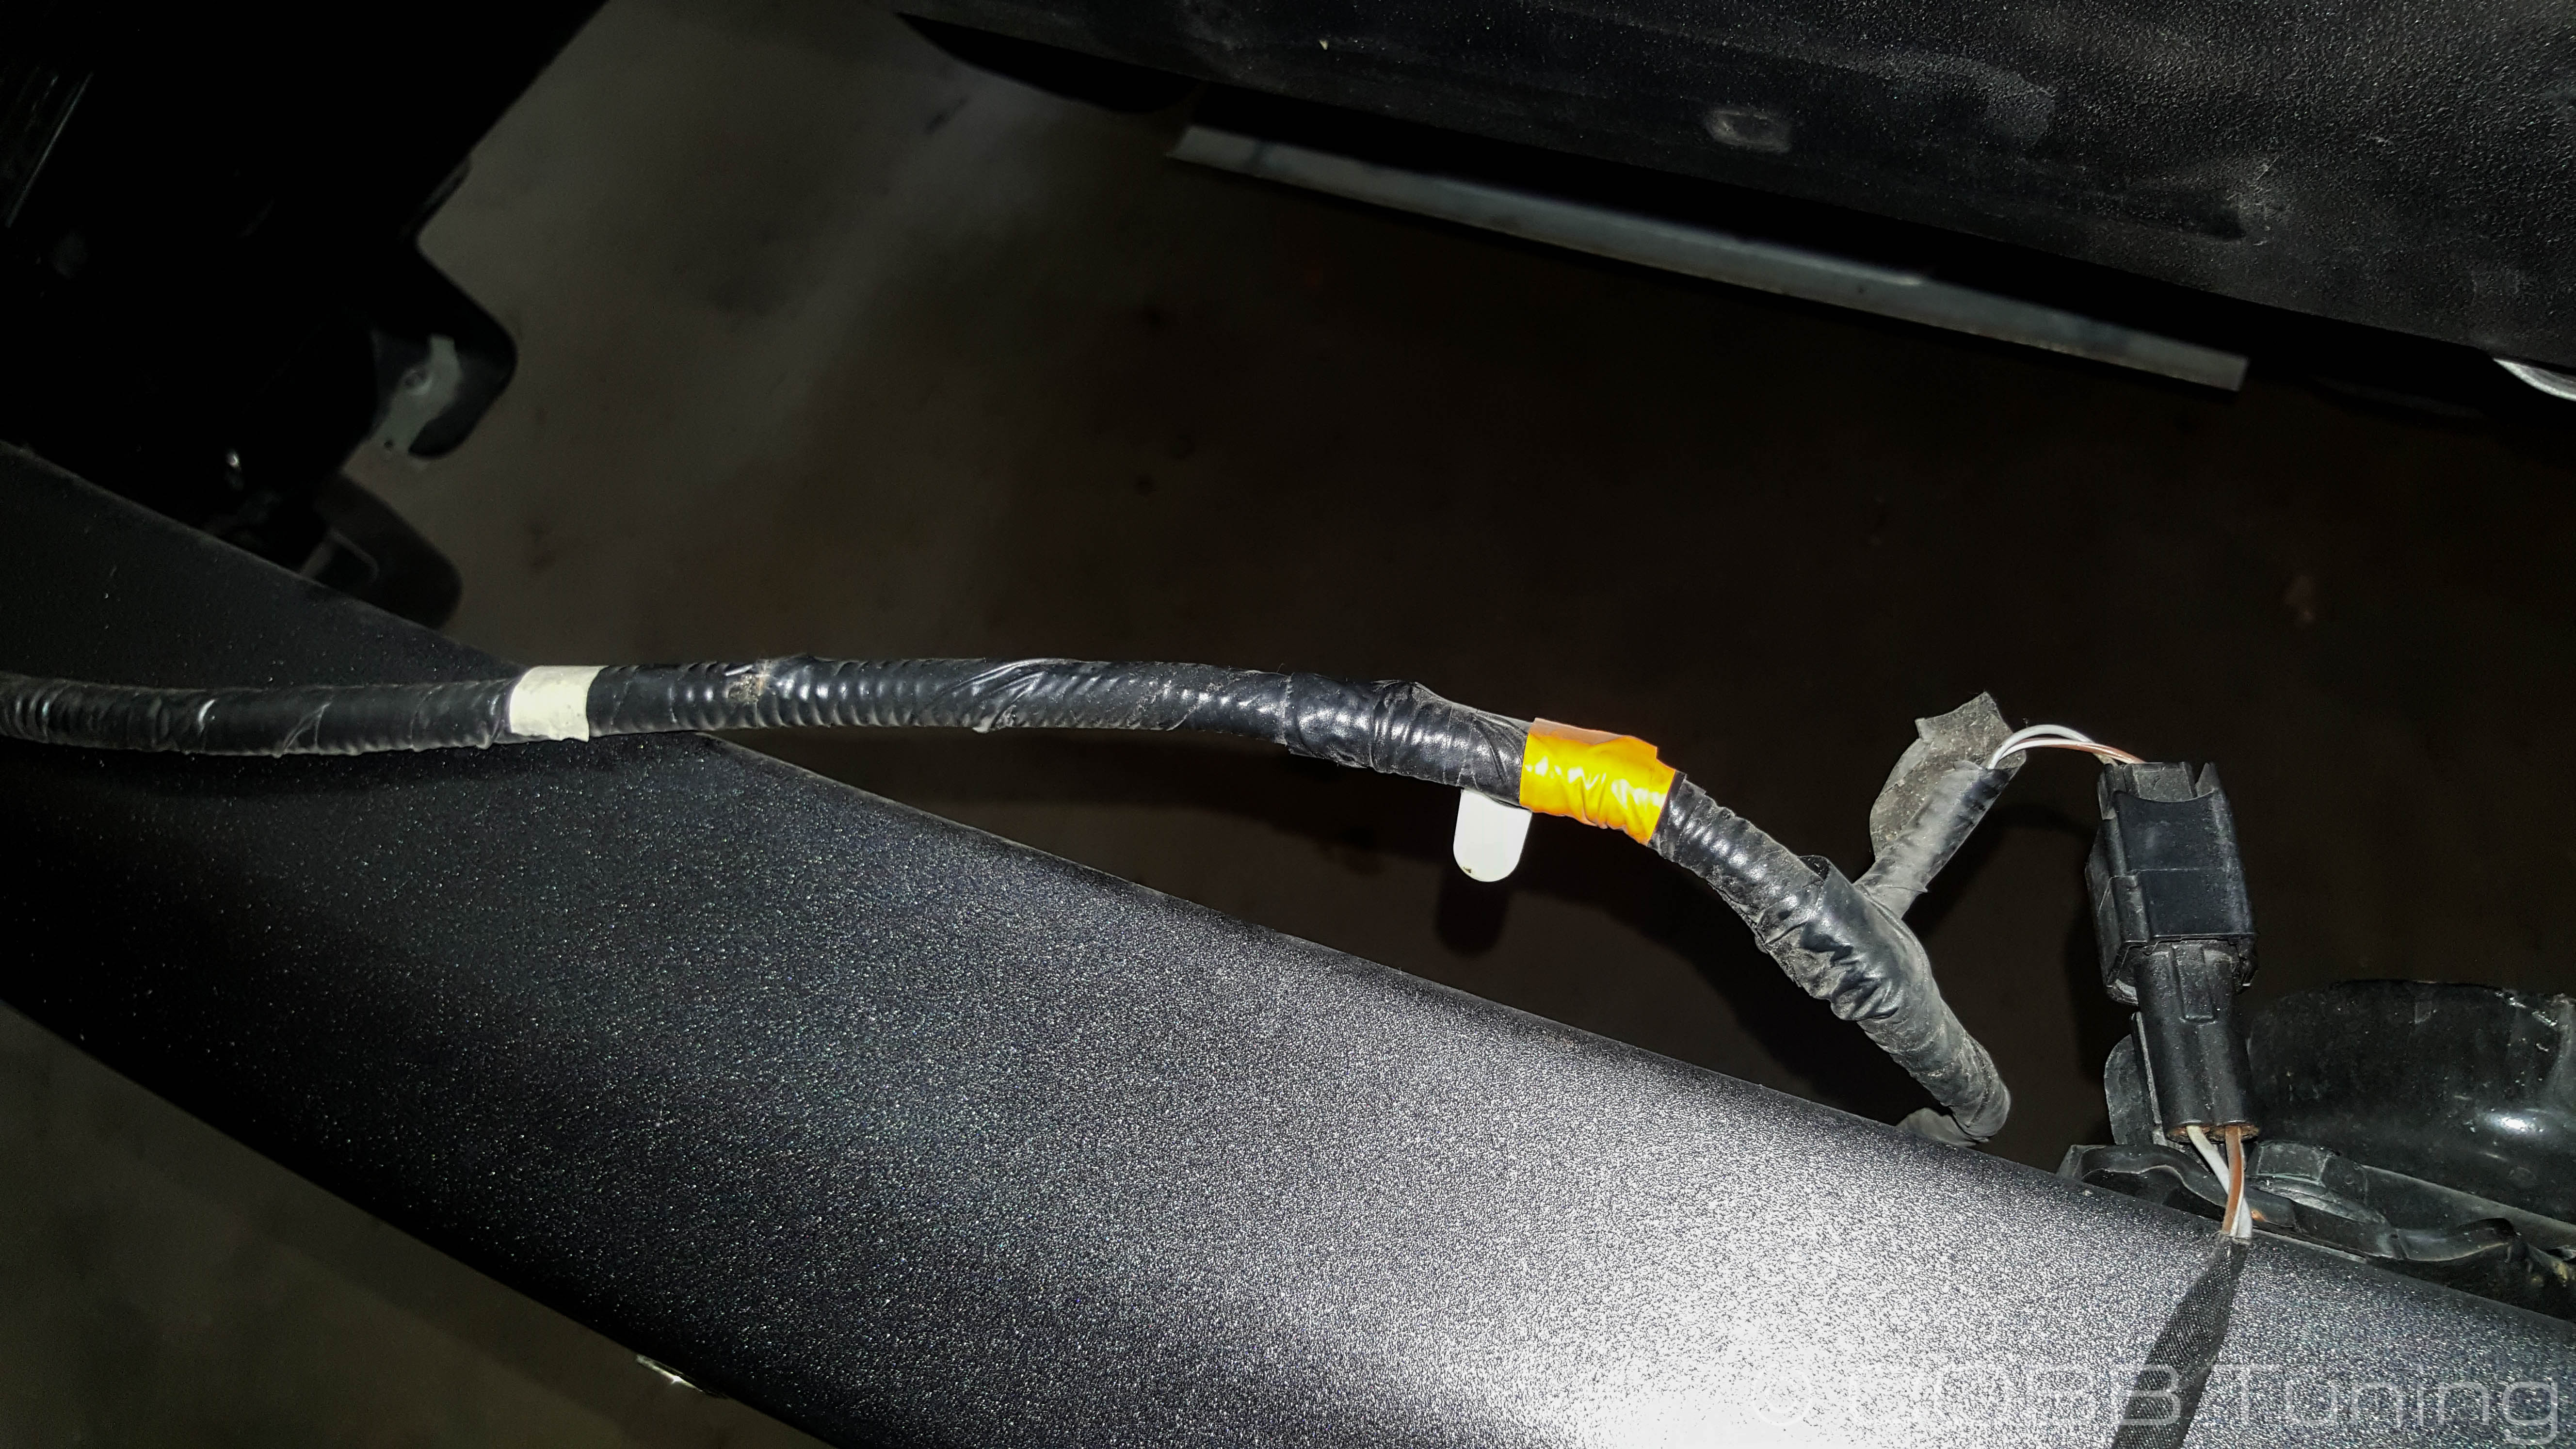
Remove the two wiring connectors on the fan and intercooler where they are attached.
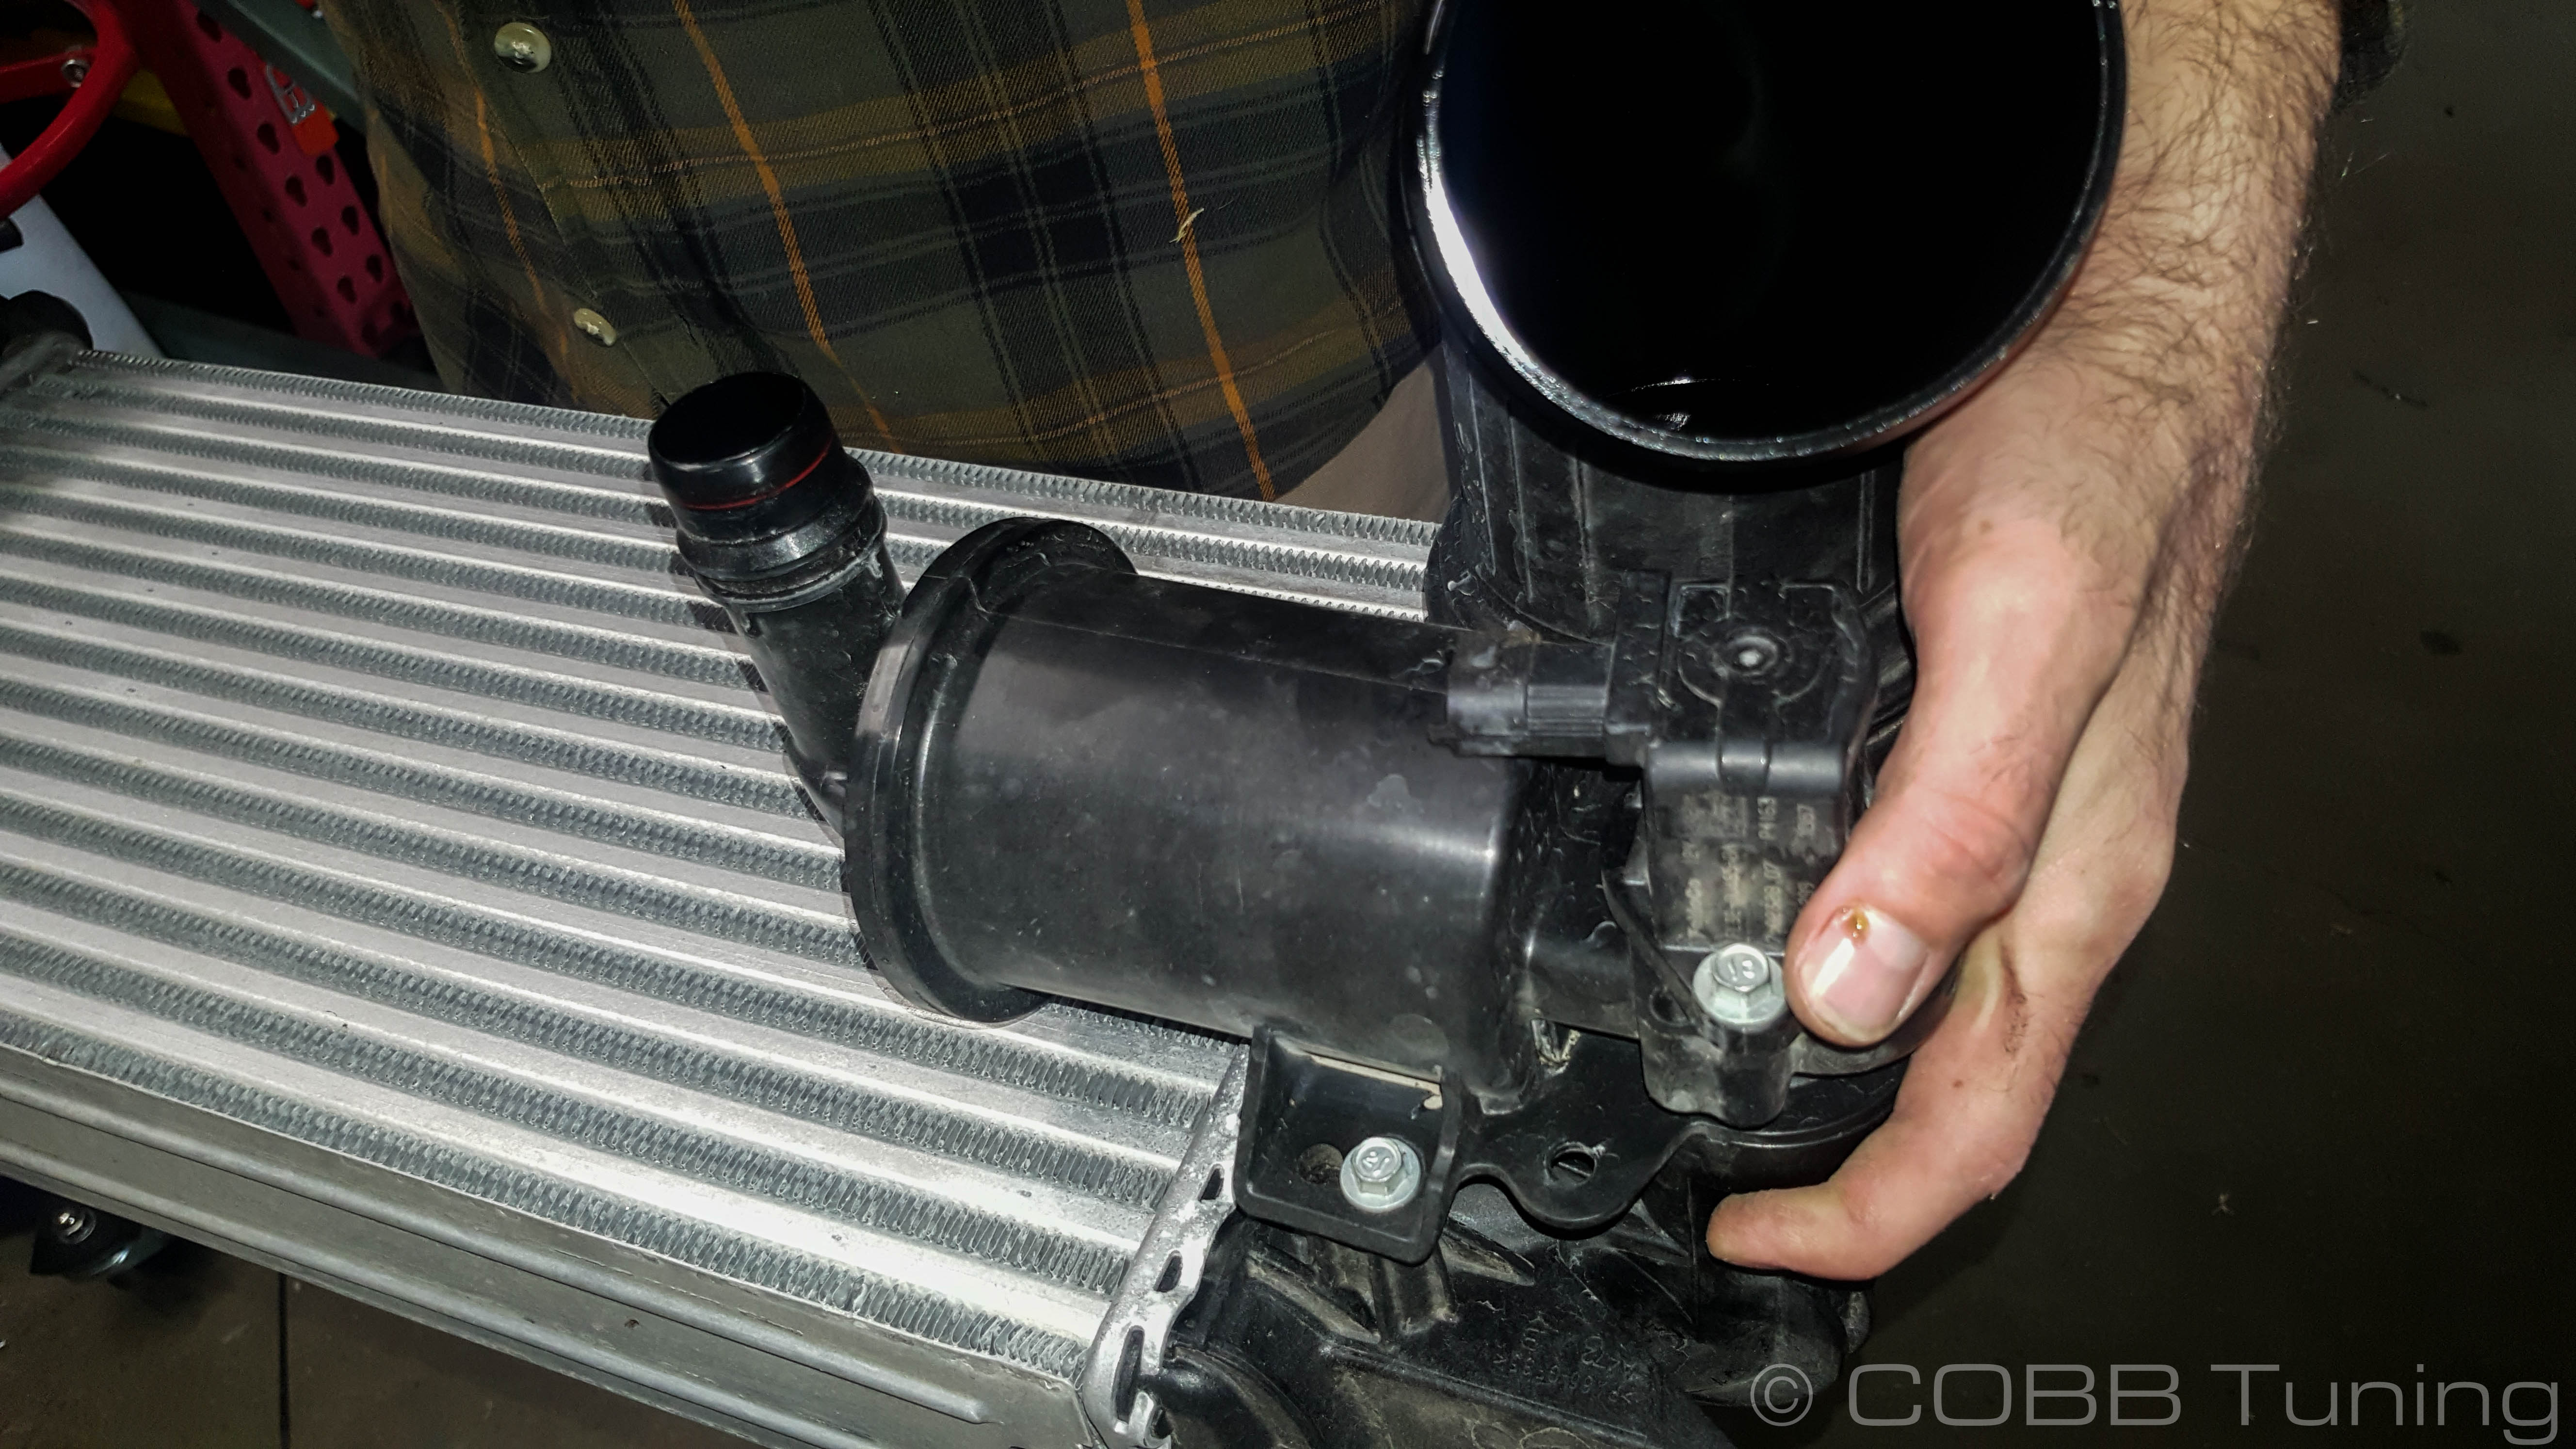
Drop the intercooler and fans out of the frame rails and set somewhere safe.
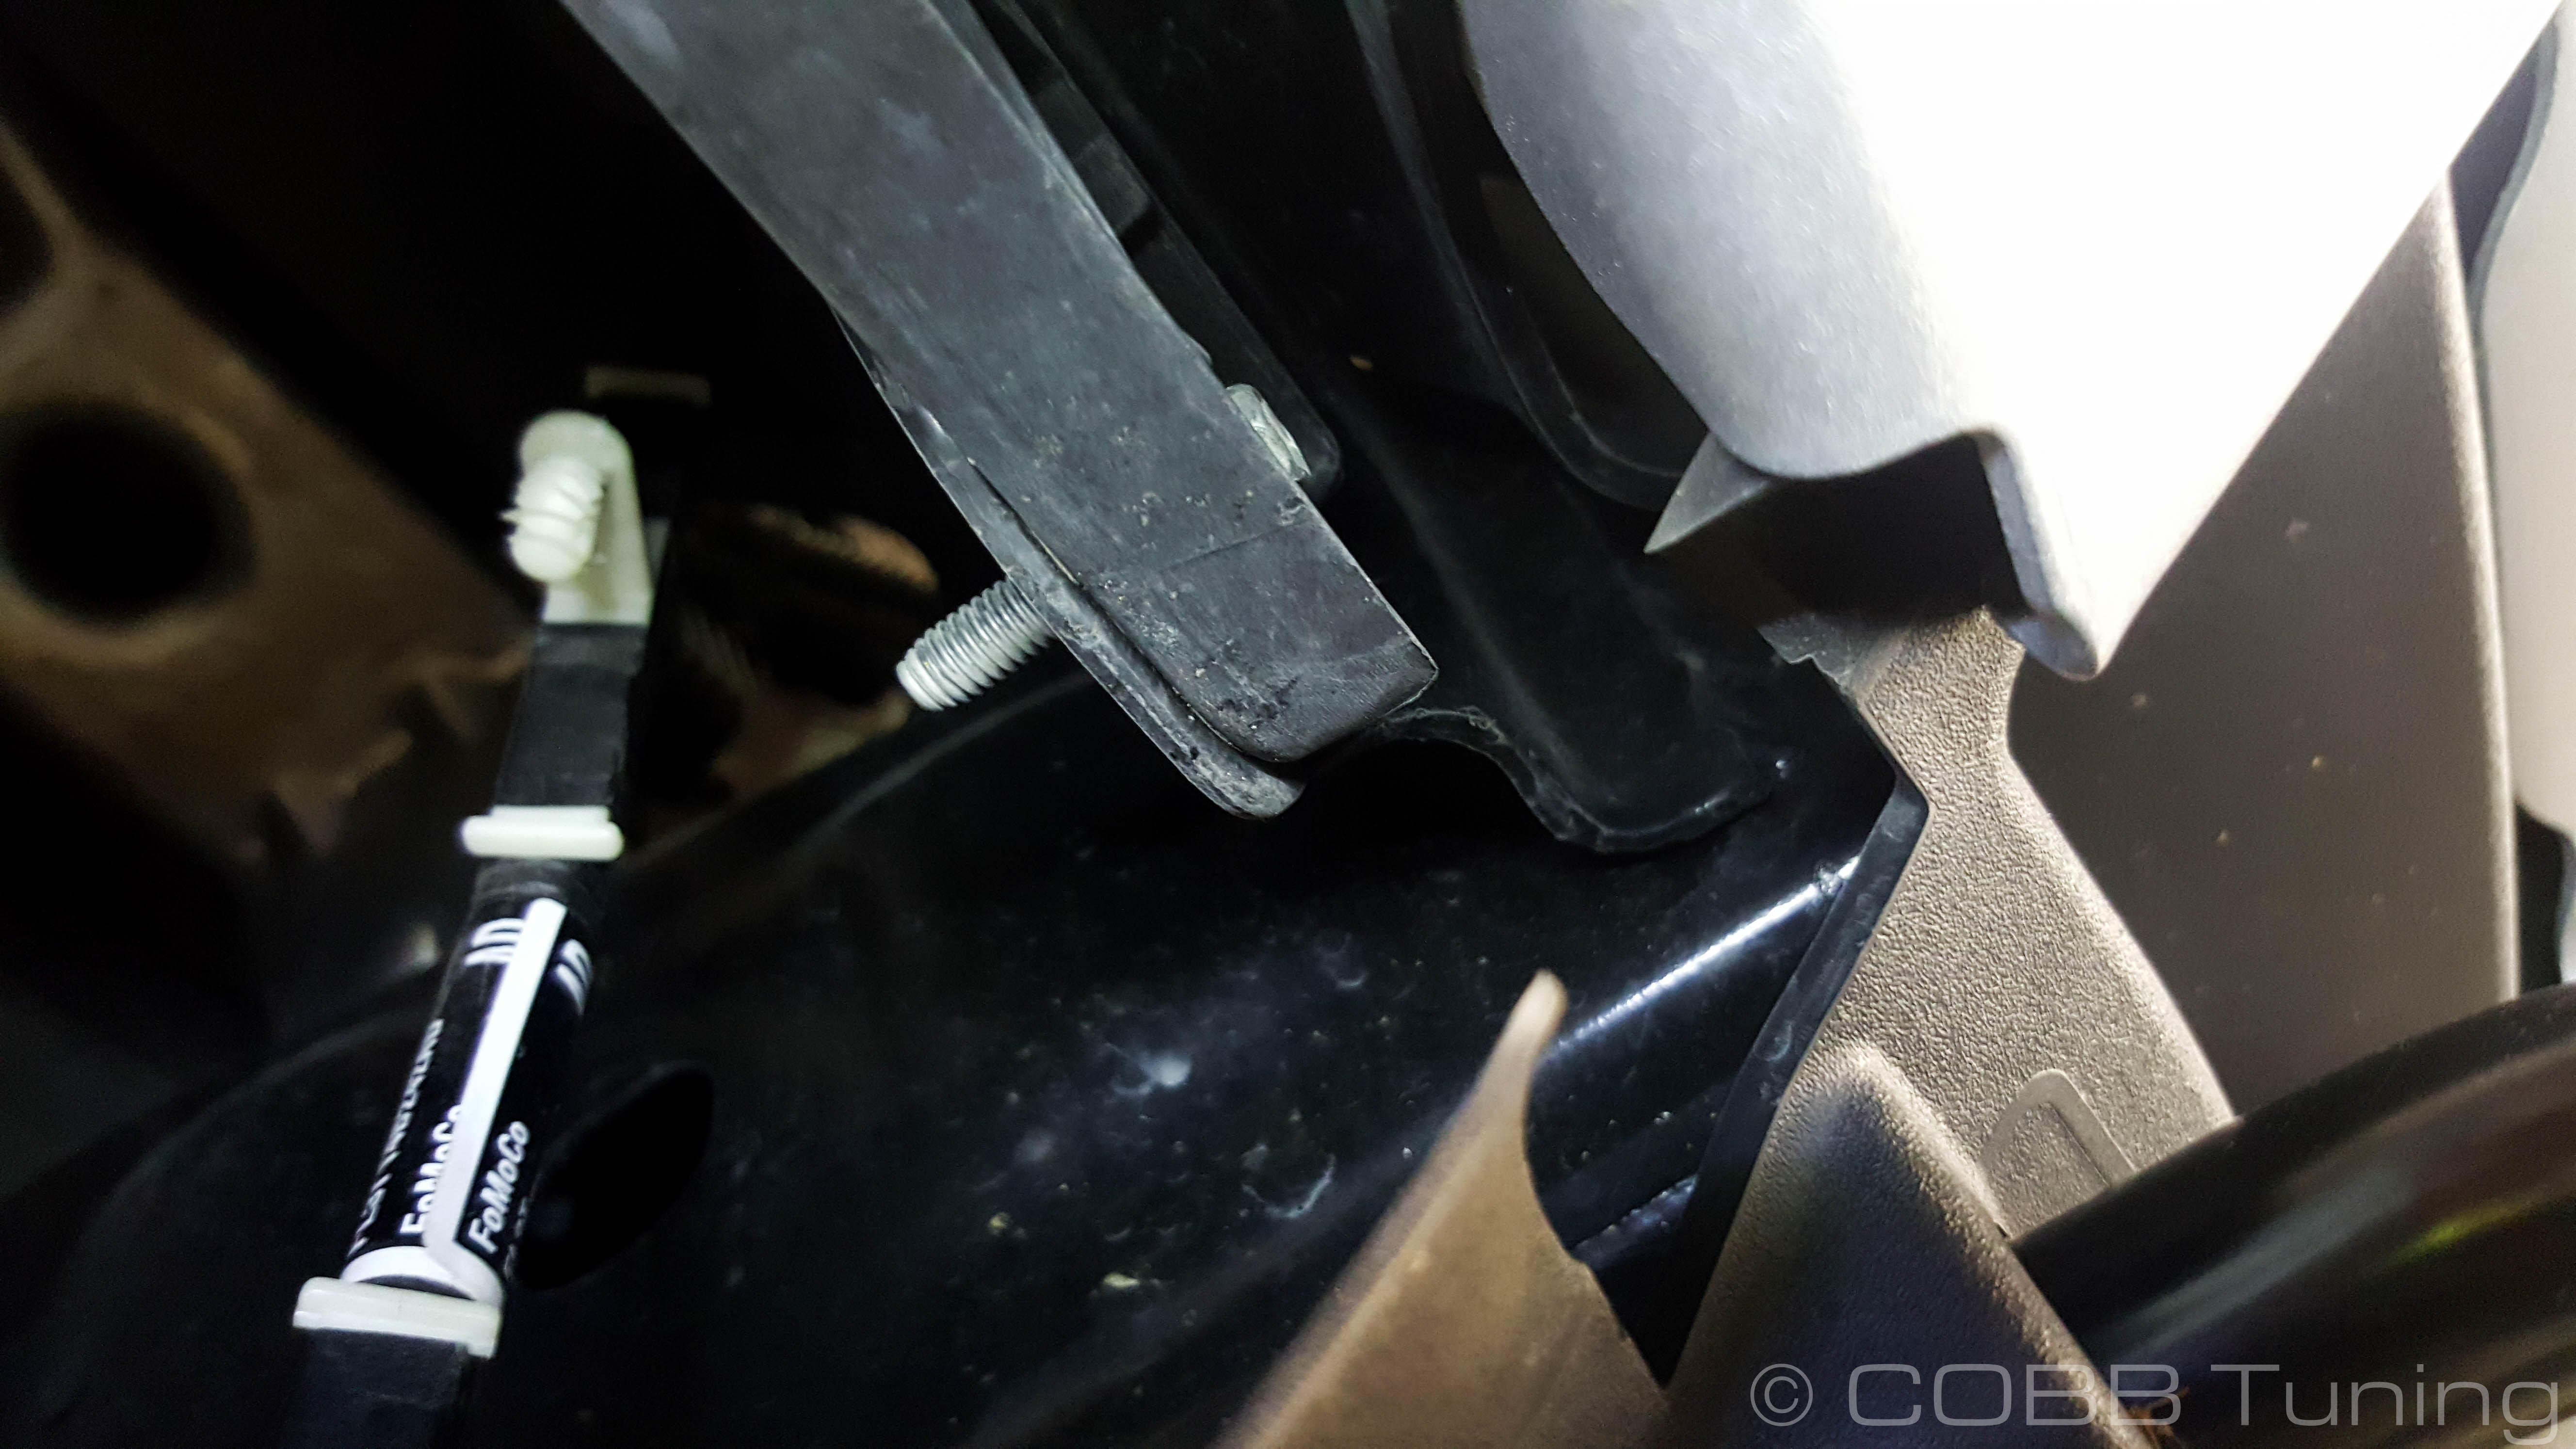
Take out the two lower bolts for intercooler shutters using an offset 8mm wrench. There isn't a lot of room so a ratcheting wrench with an offset head that fits can be handy, otherwise you'll be in for a long haul!
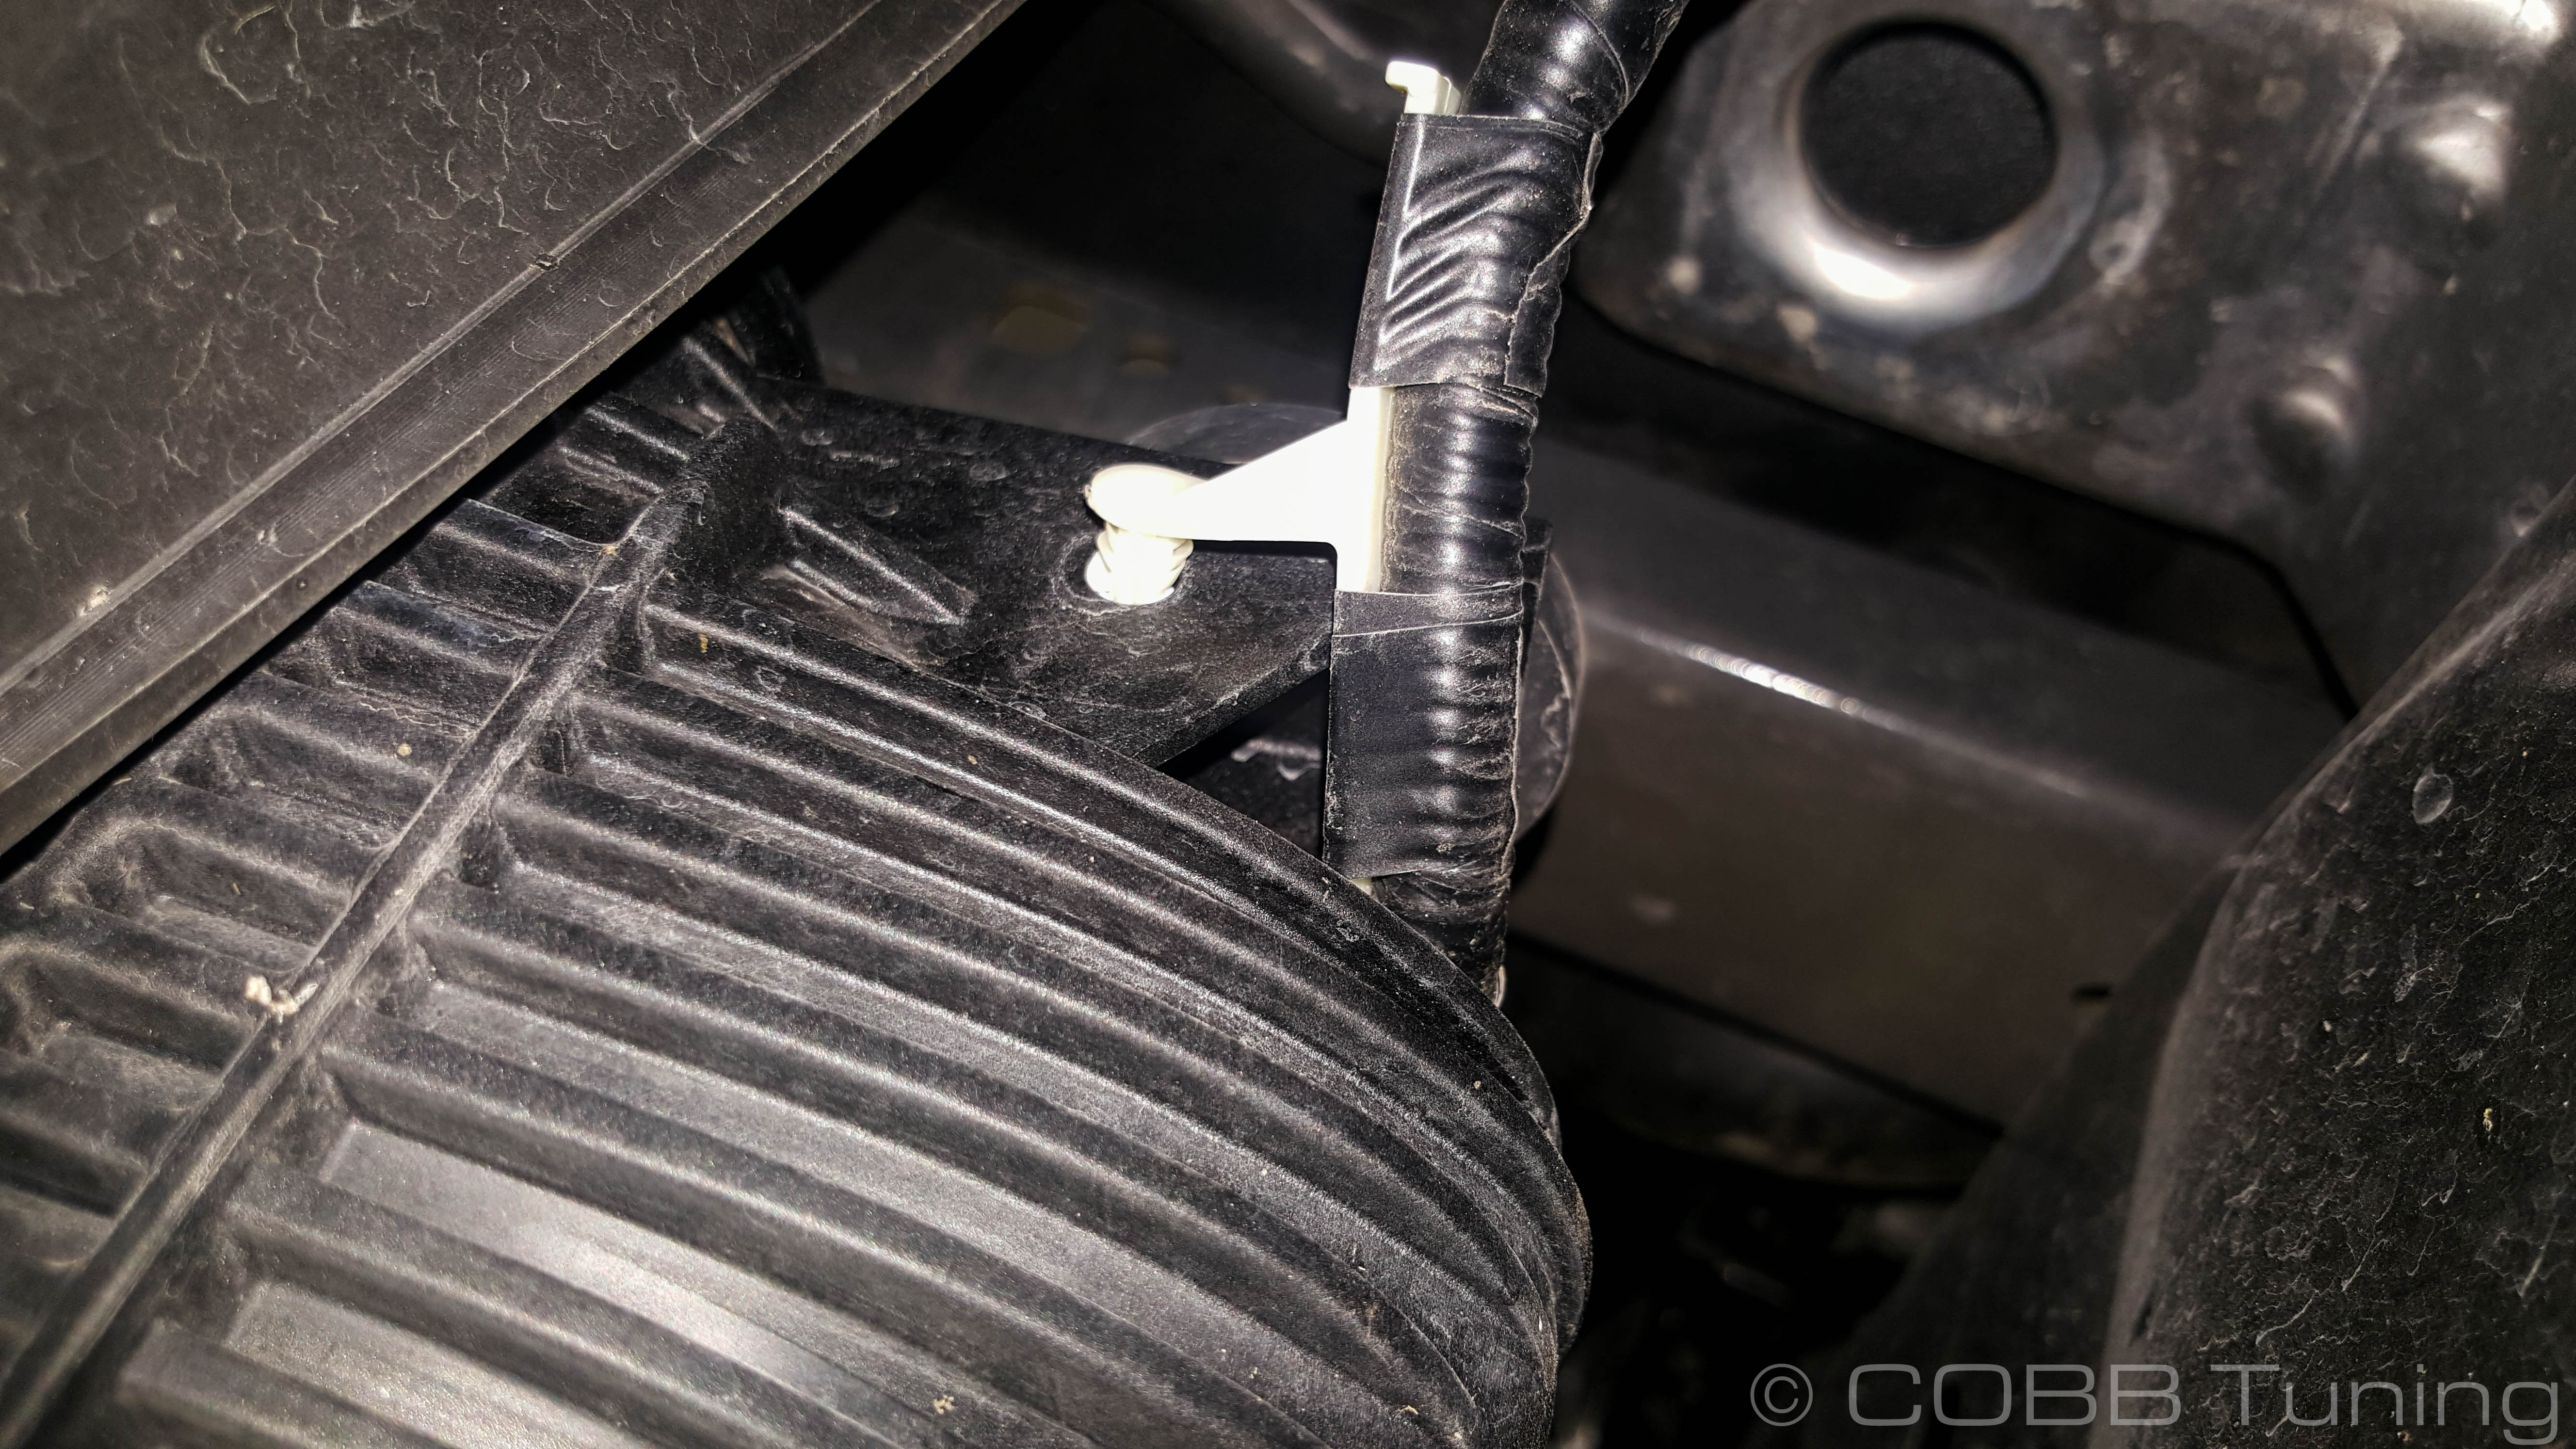
Disconnect the front 3 trim clips to pull up the rubber radiator shroud
Undo the harness clips from shutter assembly so that the harness is free.
Unbolt the shutter assembly with a 8mm socket.
Remove shutter assembly by lifting up and pushing out to release the tension from the pins on the side
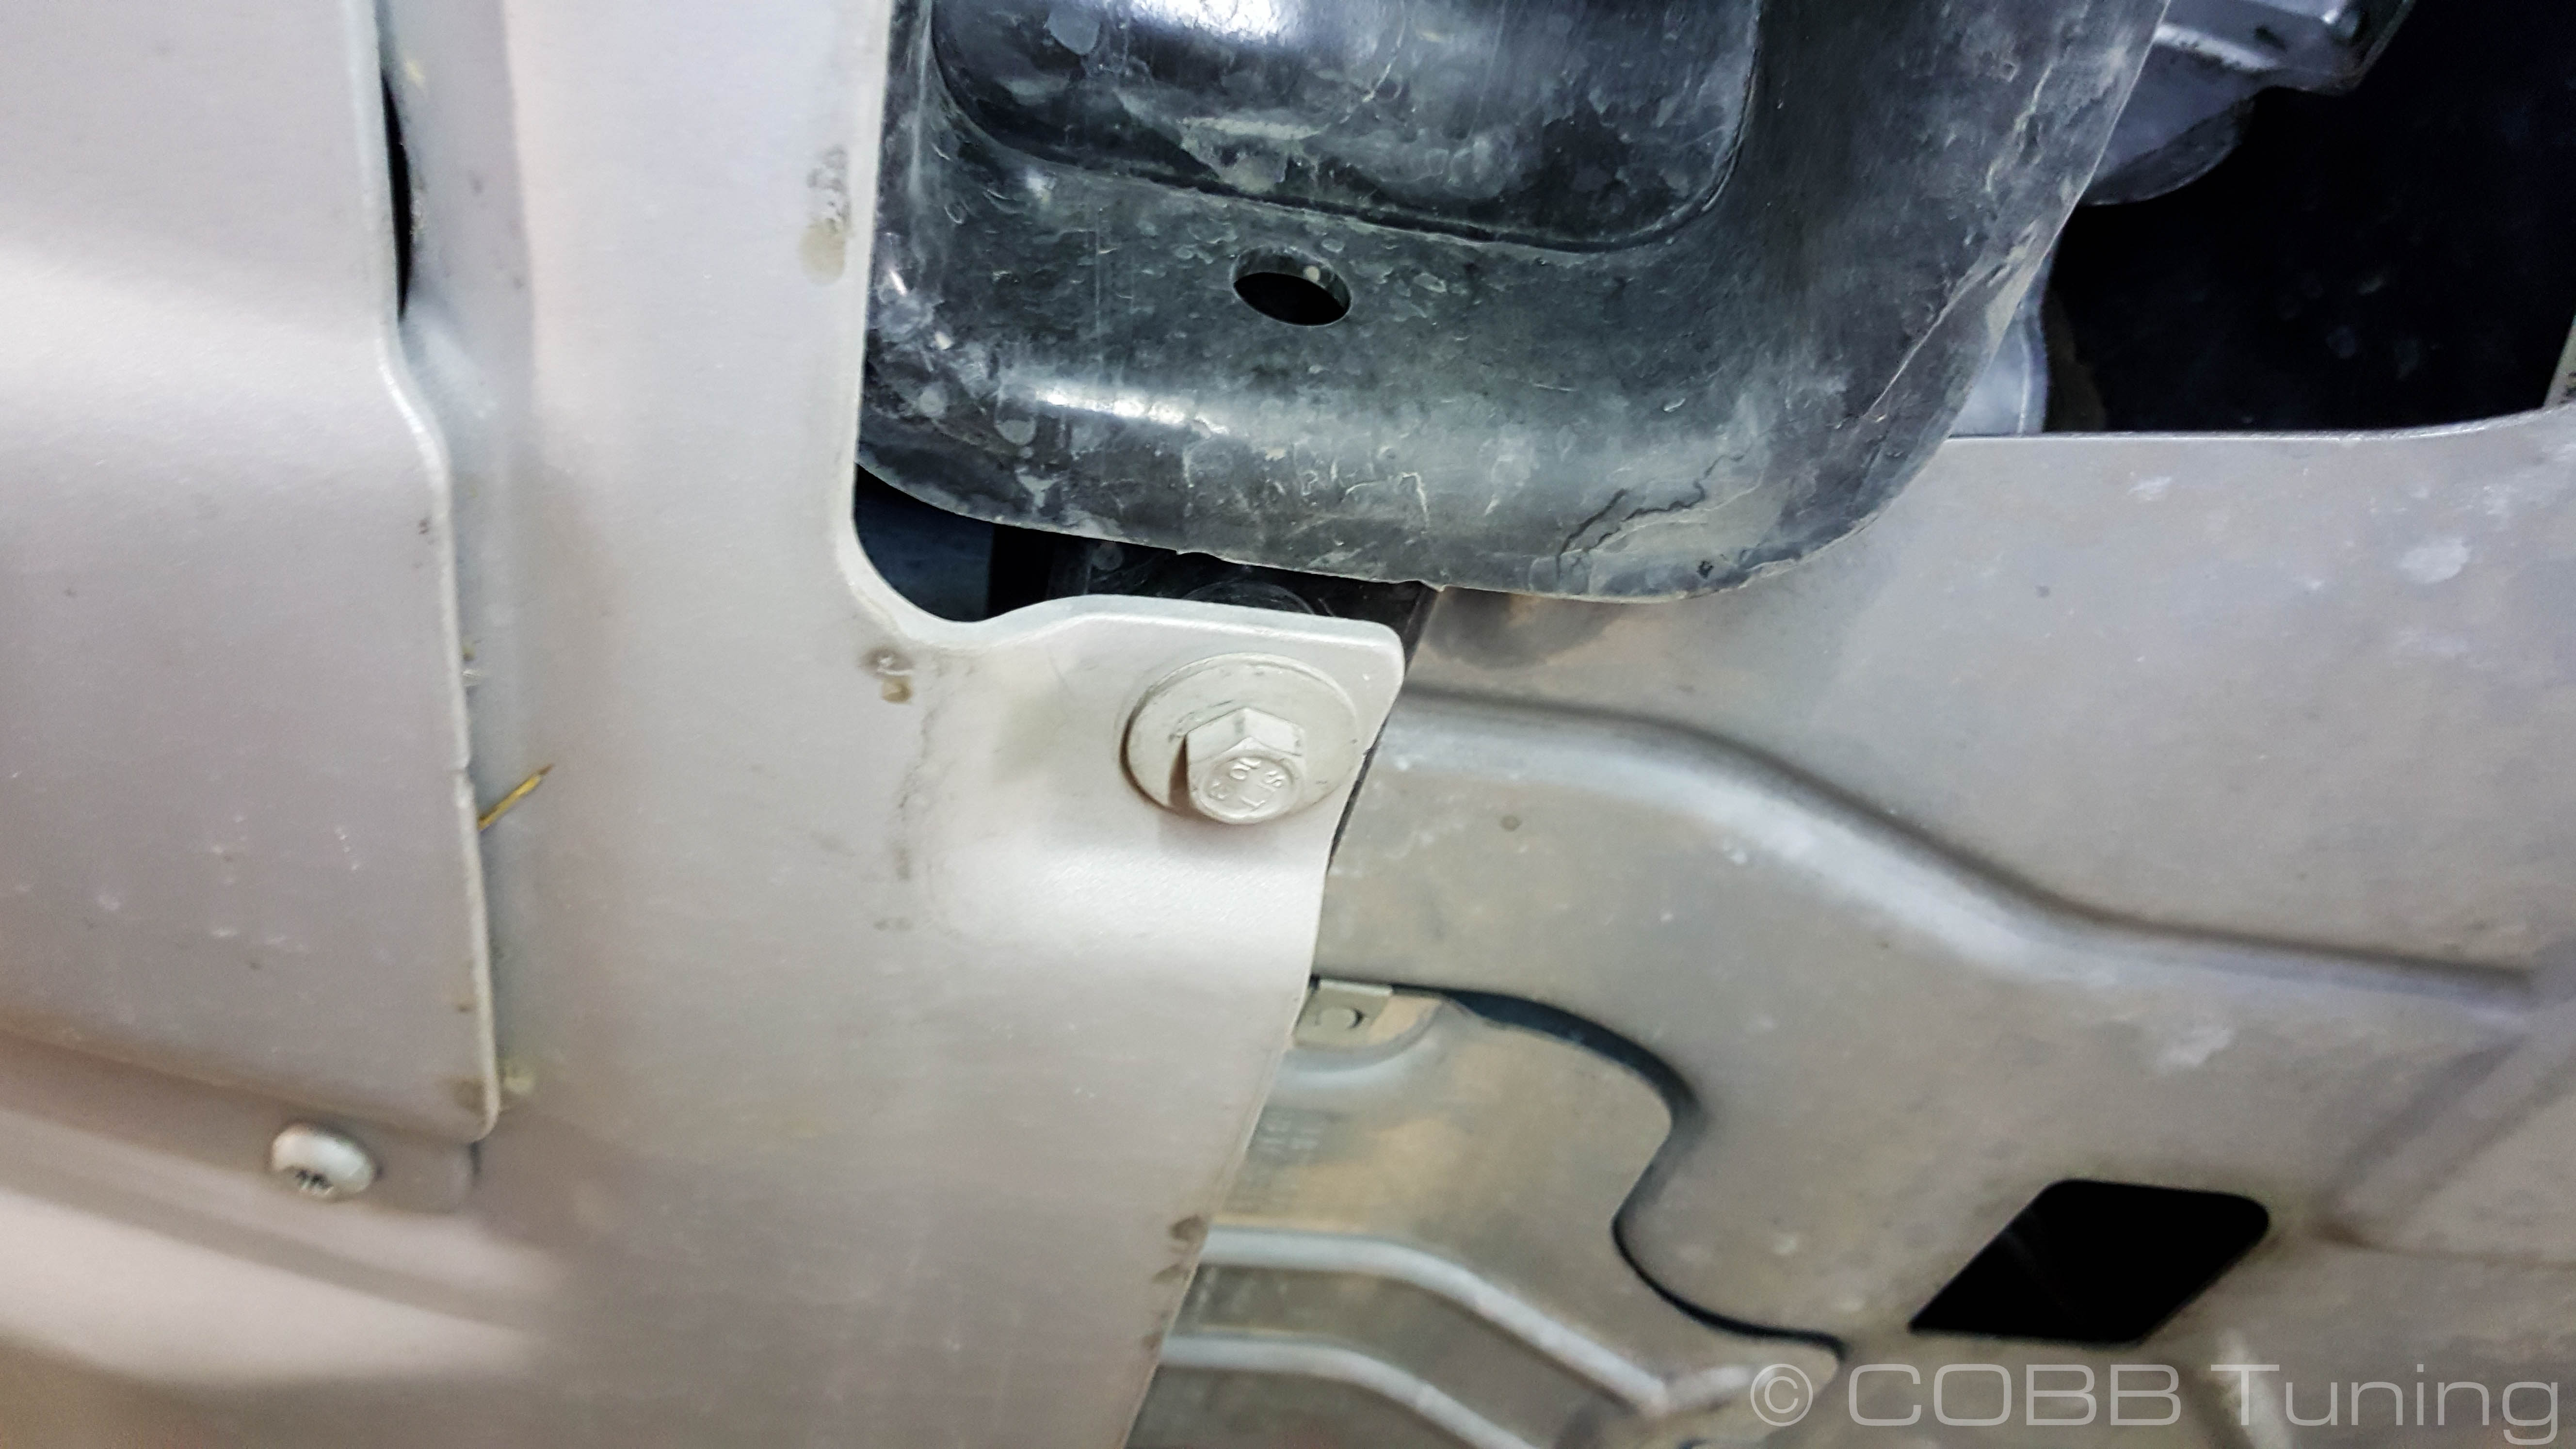
Remove the 8mm bumper supports
Follow up by taking out the 15mm bolts holding bracket in place