
244300 – Subaru Cable Shifter Bushing
Subaru WRX DIT 2015 - 20192020

Congratulations on your purchase of the COBB Tuning Subaru Cable Shifter Bushing! The following instructions will assist you through the installation process. Please read them BEFORE beginning the install to familiarize yourself with the steps and tools needed. If you feel you cannot properly perform this installation, we HIGHLY recommend you take the vehicle to a qualified and experienced automotive technician.
Table of Contents
| Table of Contents |
|---|
Parts List
- 15+ WRX Shifter Cable Bushing
- (3) 4mm x 8mm Hex Screw
- M8 Washer
- M2.5 Allen Key
Tools Needed
Sockets
3/8"
Hand Tools
Subaru DIT Shift Cable Bushing Installation
- Park your car in a flat level area.
- Lift and properly support the car so you can get underneath it.
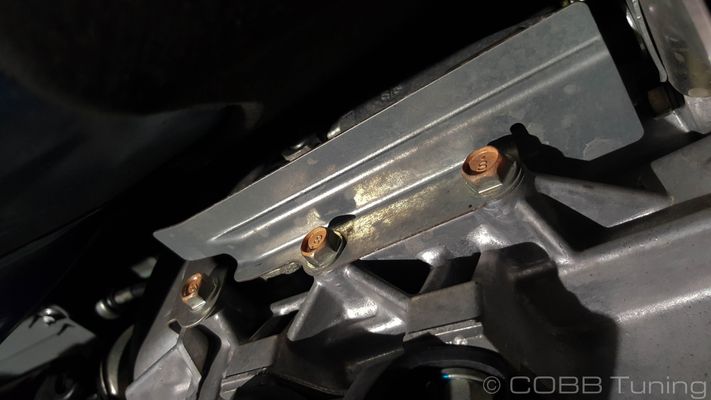
- Remove the two 12mm bolts holding the long cable cover in place.
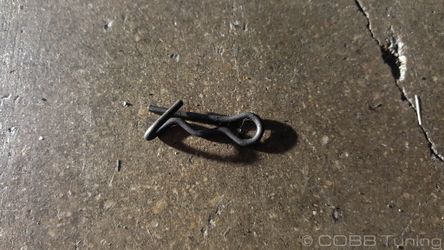
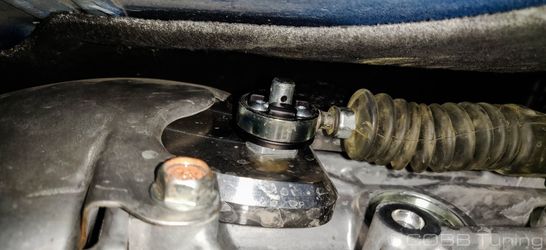
- Remove the clip holding the cable in place and set it with the washer somewhere safe.
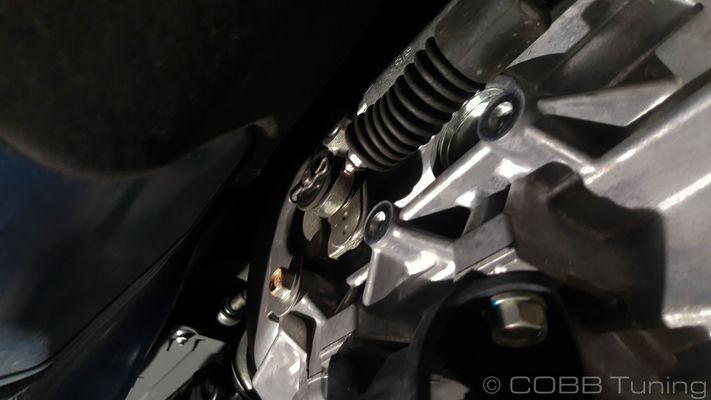
- Pull out the retainer holding the cable in place.
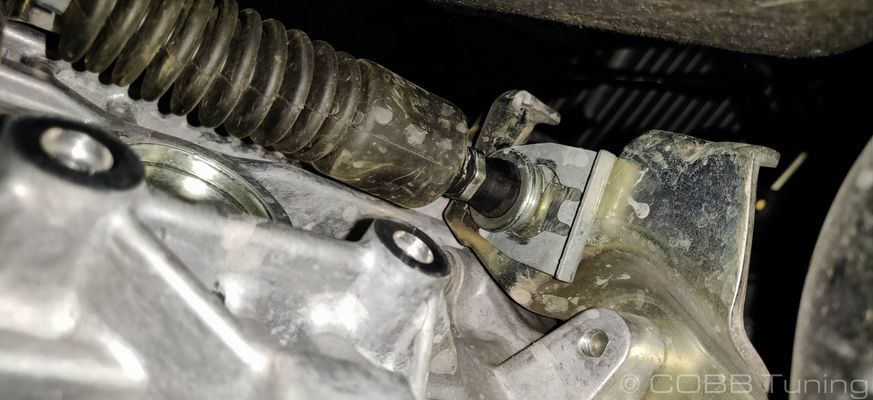
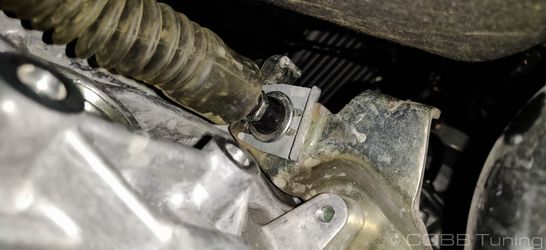
- Pull the cable free from the pin on the shift linkage and cable support bracket.
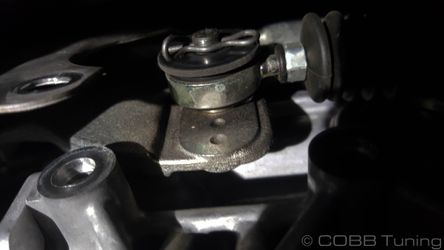
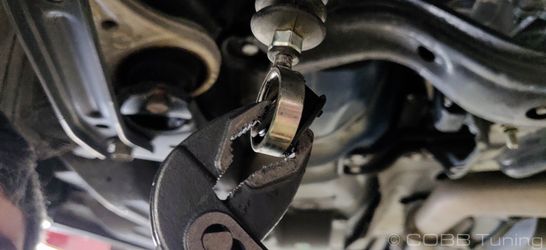
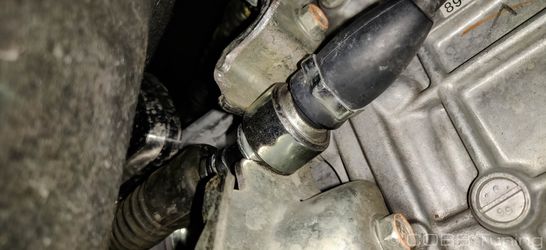
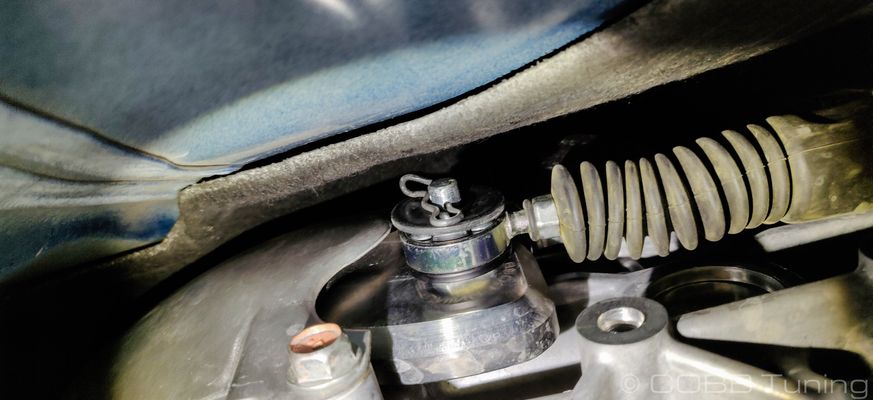
- Now remove the rubber insert from the cable end. In some extreme cases you may need to carefully cut it out, however most of the time you should be able to simply pop it out with a pair of pliers. Grab the center support section of the bearing with the pliers and rotate the bushing out, while holding the cable statiary with your other hand.

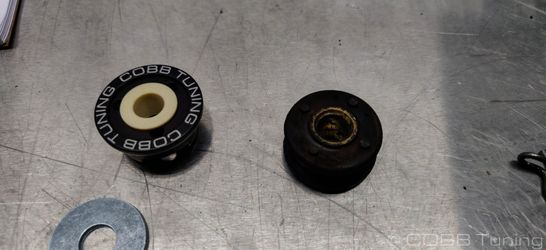
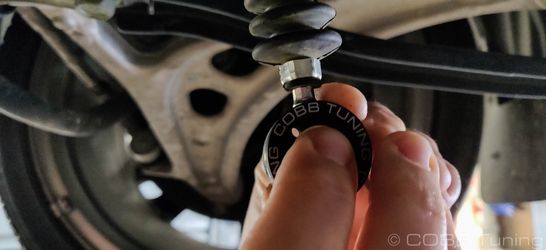
- Pop the new COBB bushing in place. with the cable hanging freely insert the bushing with the COBB logo facing inward.
- Using the provided allen key thread in the new bolts and tighten them all in loosely then tighten them down.
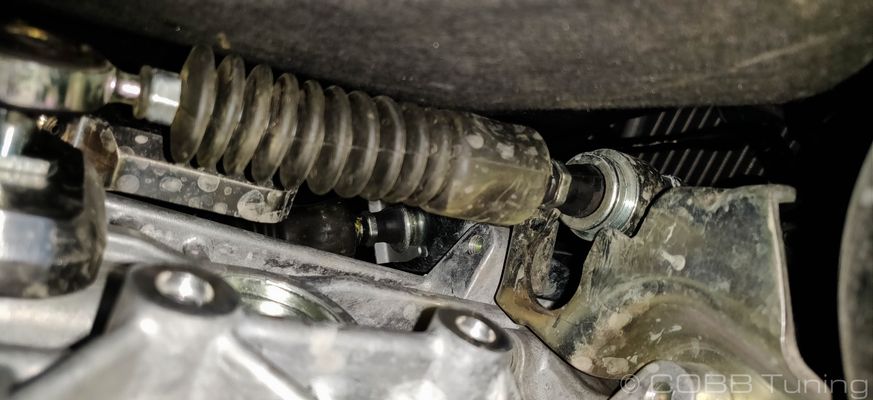
- Install the cable back onto the pin making sure to route the cable back through the support bracket.
- Add the cable retainer back onto the cable, making sure it seats properly in the groove.
- Add the washer back over the pin and the re-install the stock clip back in place.

- Reinstall the shield using the two stock 12mm bolts.
- You're all done! Go out and enjoy!
Links
Related Installations.
244320 - Subaru Shift Plate WRX
244600 - Subaru Shifter Stop WRX
| Insert excerpt | ||||||
|---|---|---|---|---|---|---|
|