COBB Tuning BPV Installation Instructions
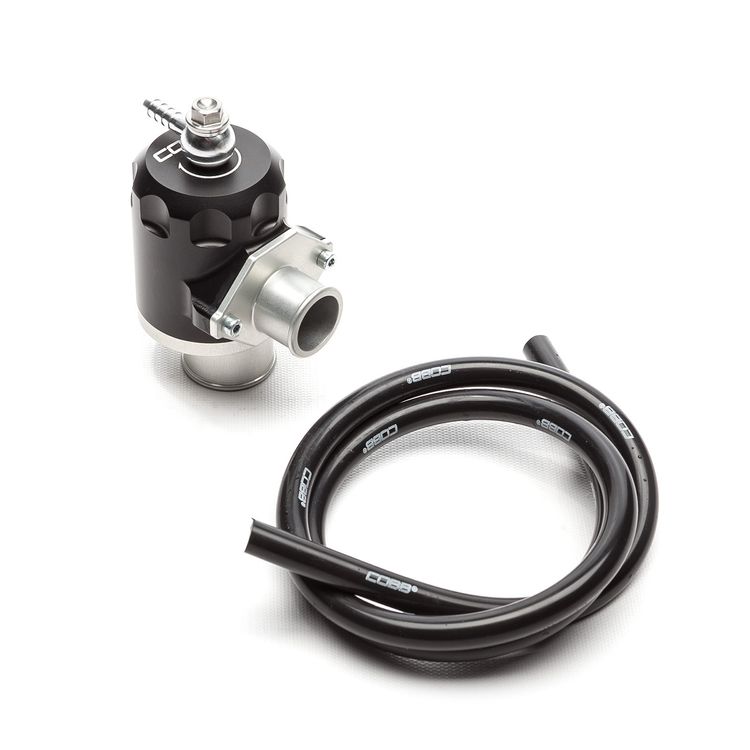
745665 - Subaru DIT LF BPV
2015 - 2021 Subaru WRX
2014-2018 Subaru Forester XT
Congratulations on your purchase of the COBB Tuning Subaru BPV! The following instructions will assist you through the installation process. Please read them BEFORE beginning the install to familiarize yourself with the steps and tools needed. If you feel you cannot properly perform this installation, we HIGHLY recommend you take the vehicle to a qualified and experienced automotive technician.
Parts List
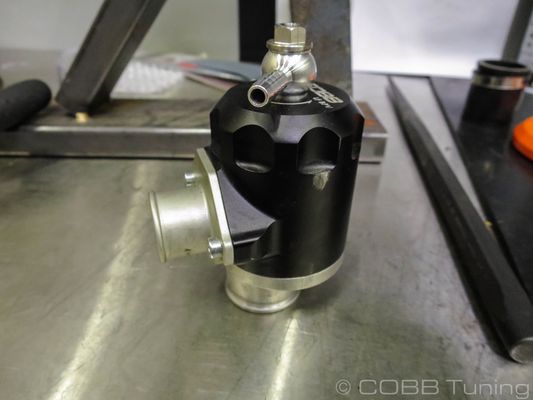
- BPV
- (3) feet of 6mm vacuum hose
- Zip Ties
Tools Needed
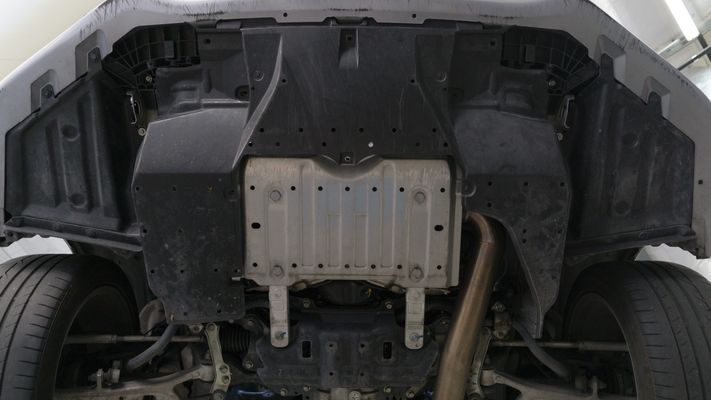
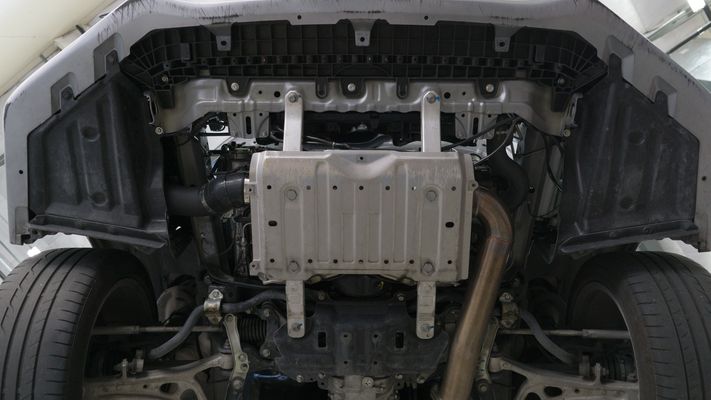
Removal of the Undertray
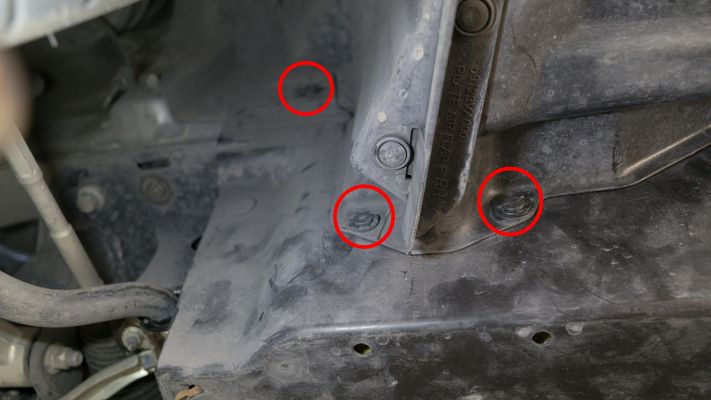
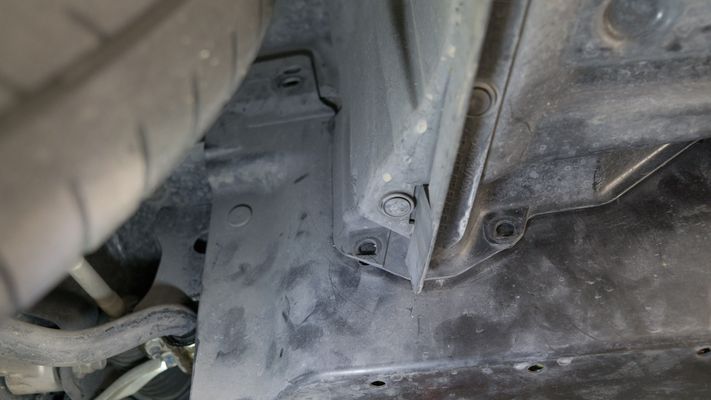
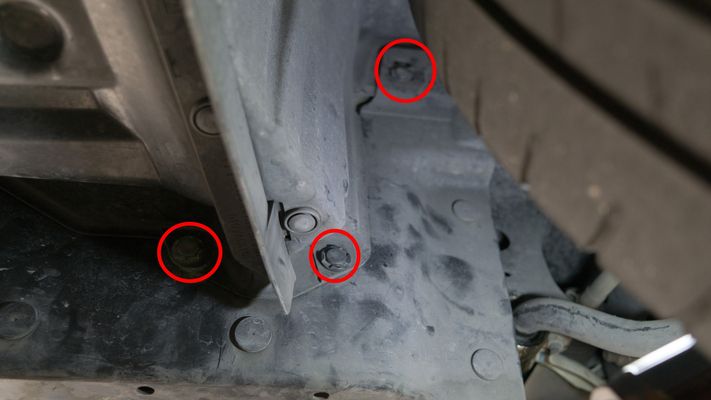
- Release the (3) flathead push-clips from the passenger wheel well.
- Release the (3) flathead push-clips from the driver wheel well.
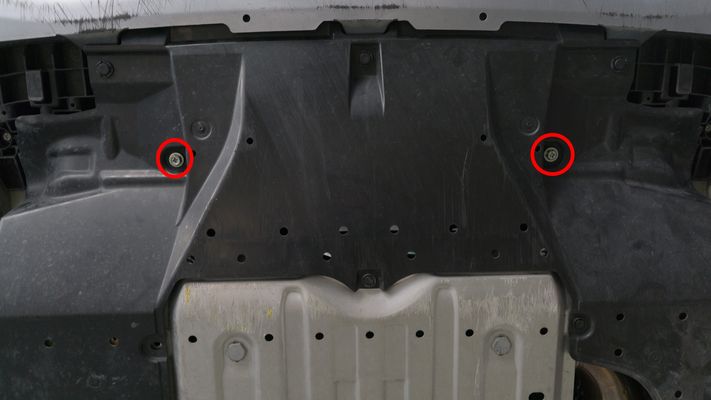
- Remove (2) 12mm bolts.
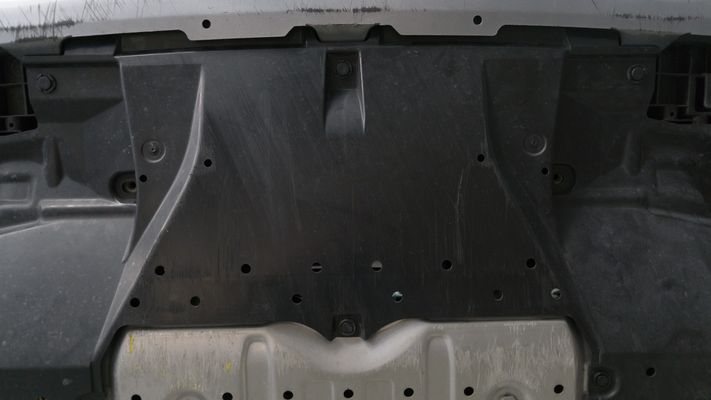
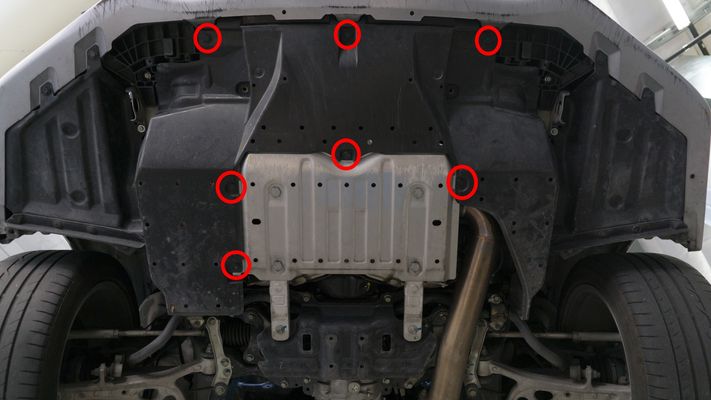
- Remove (7) plastic push type retainers.
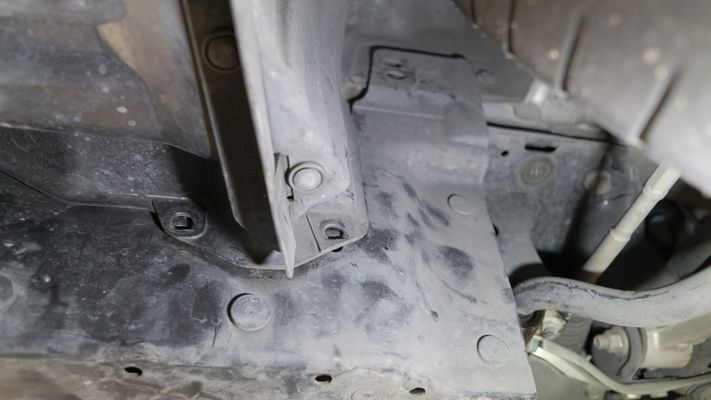
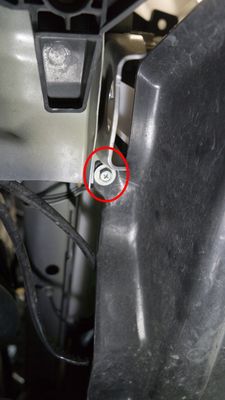
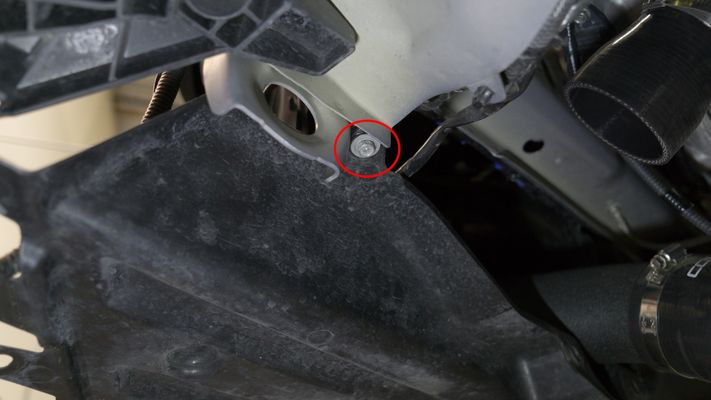
- Remove the lower wheel well tray by unscrewing (1) Phillips head screw on the driver side.
- Remove the lower wheel well tray by unscrewing (1) Phillips head screw on the passenger side.
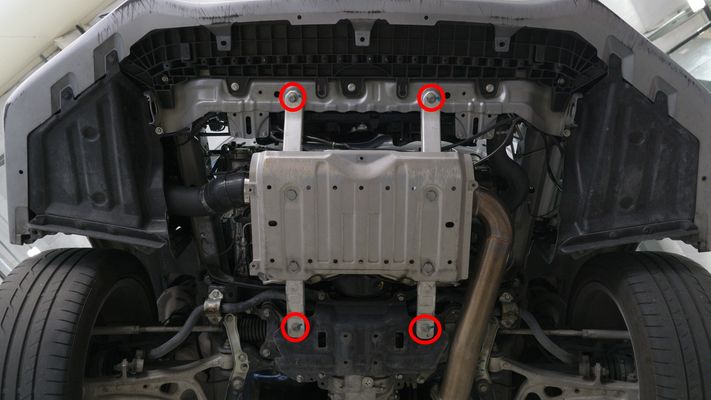
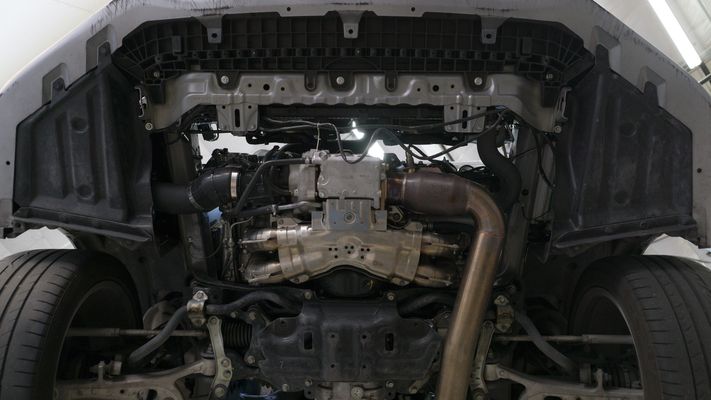
- Remove the skid plate by unbolting (4) 12mm bolts.
Stock BPV Removal
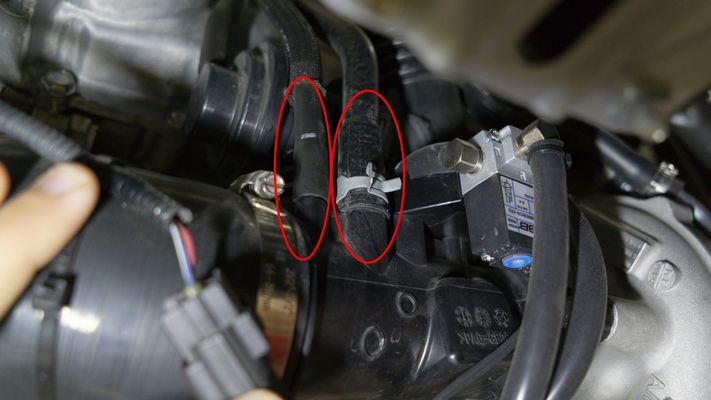
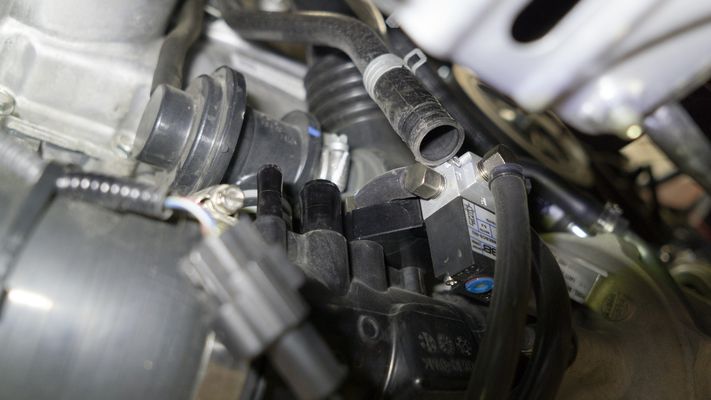
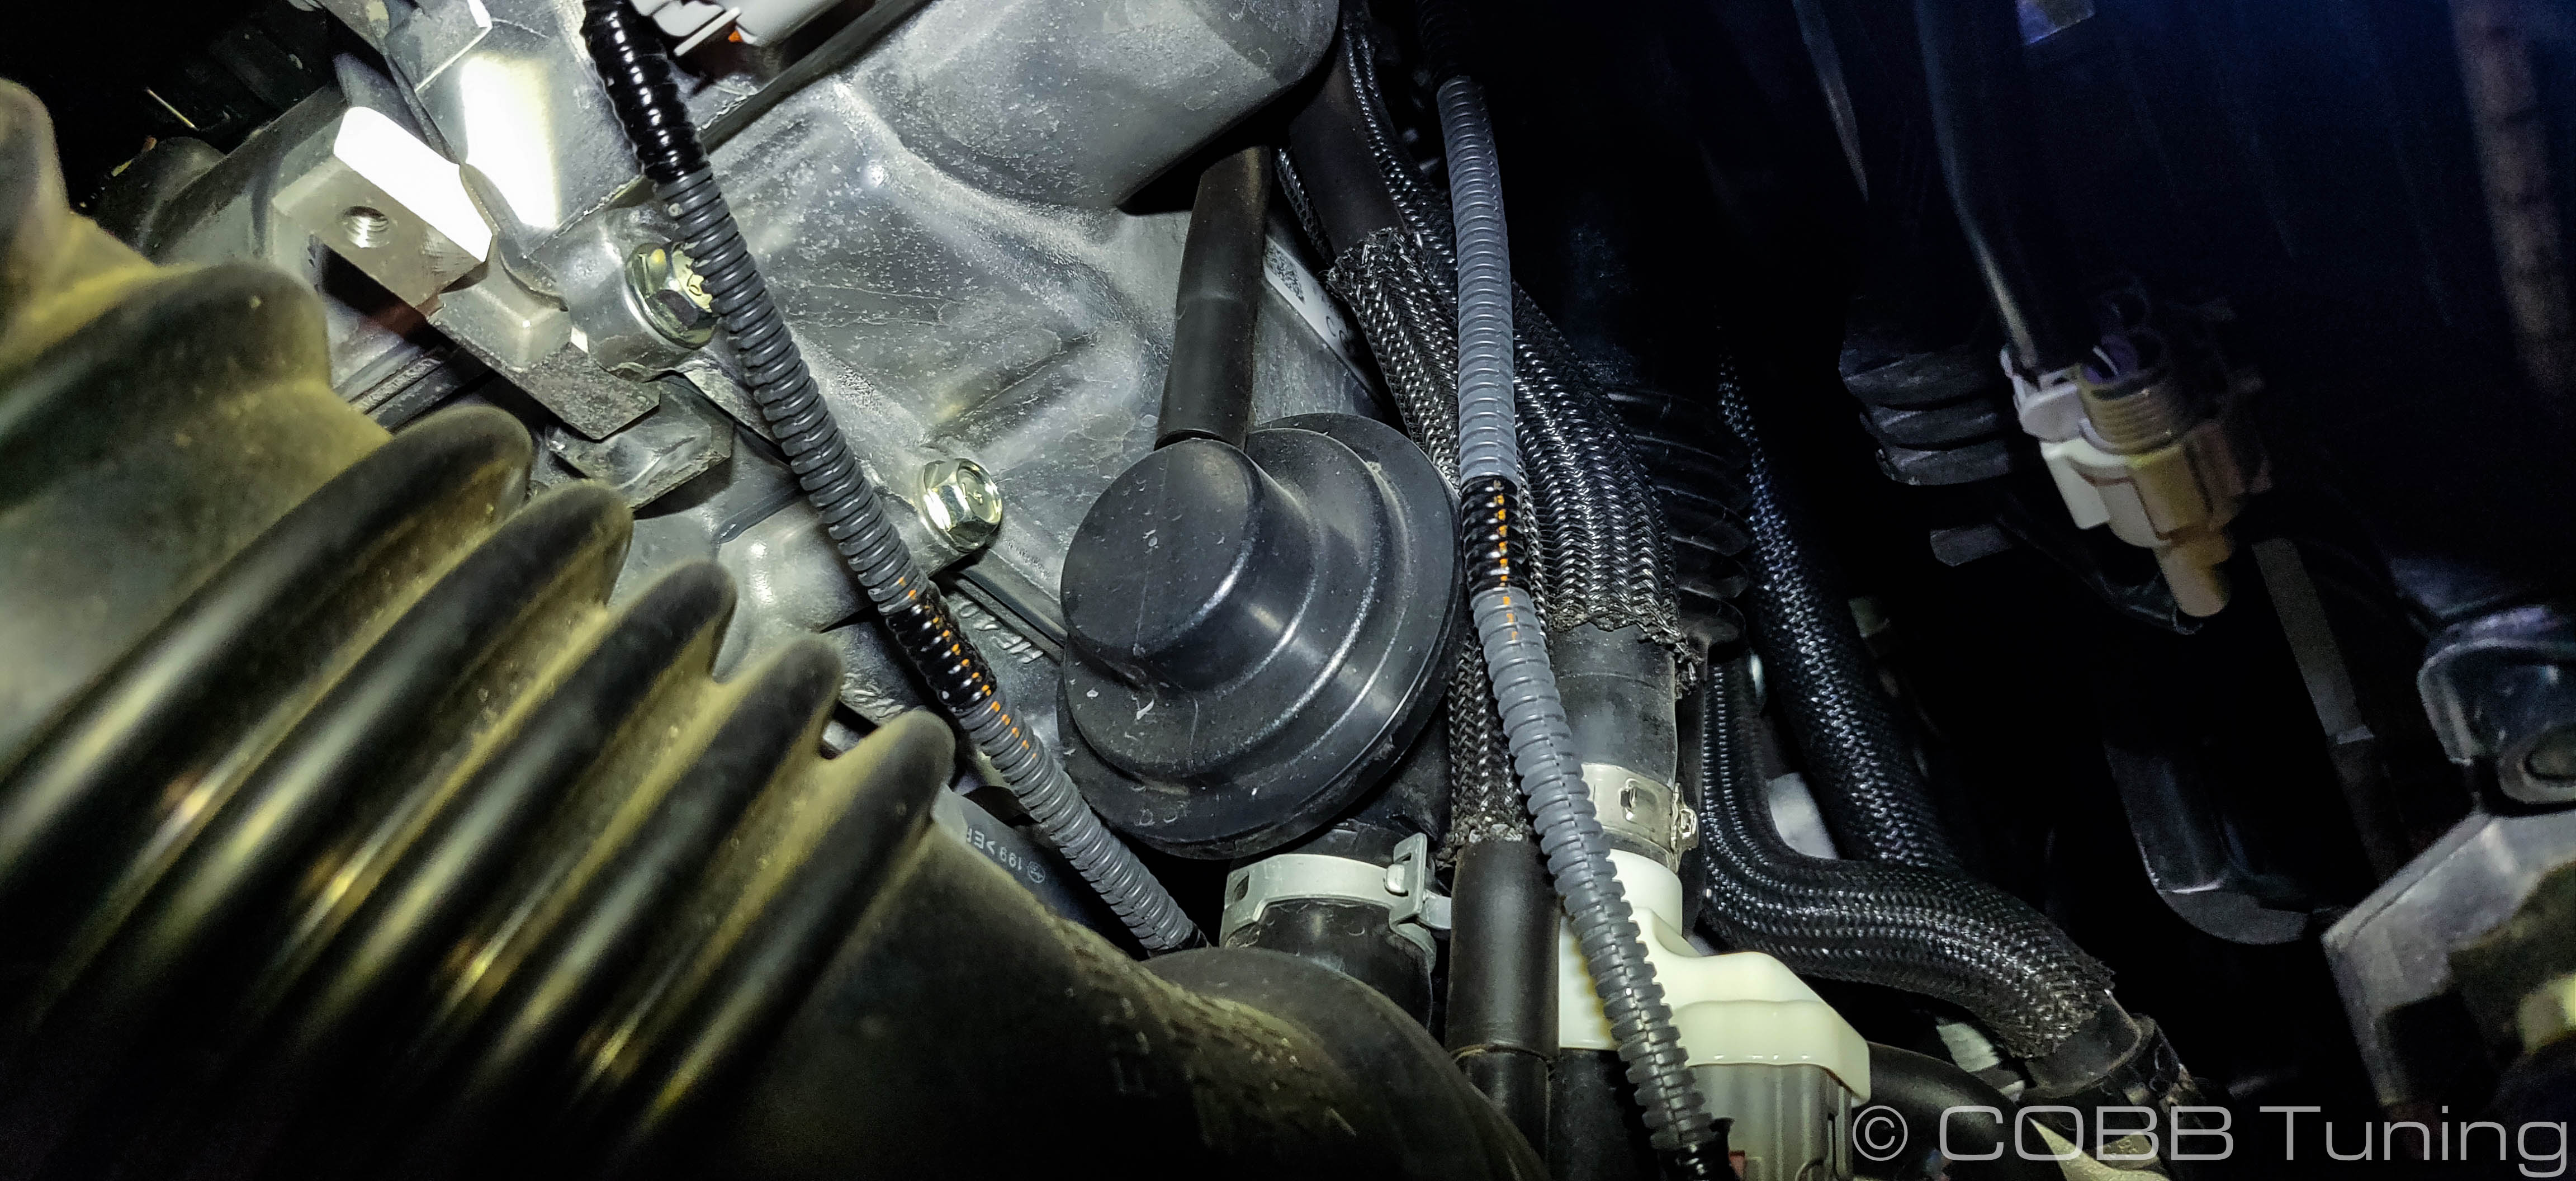
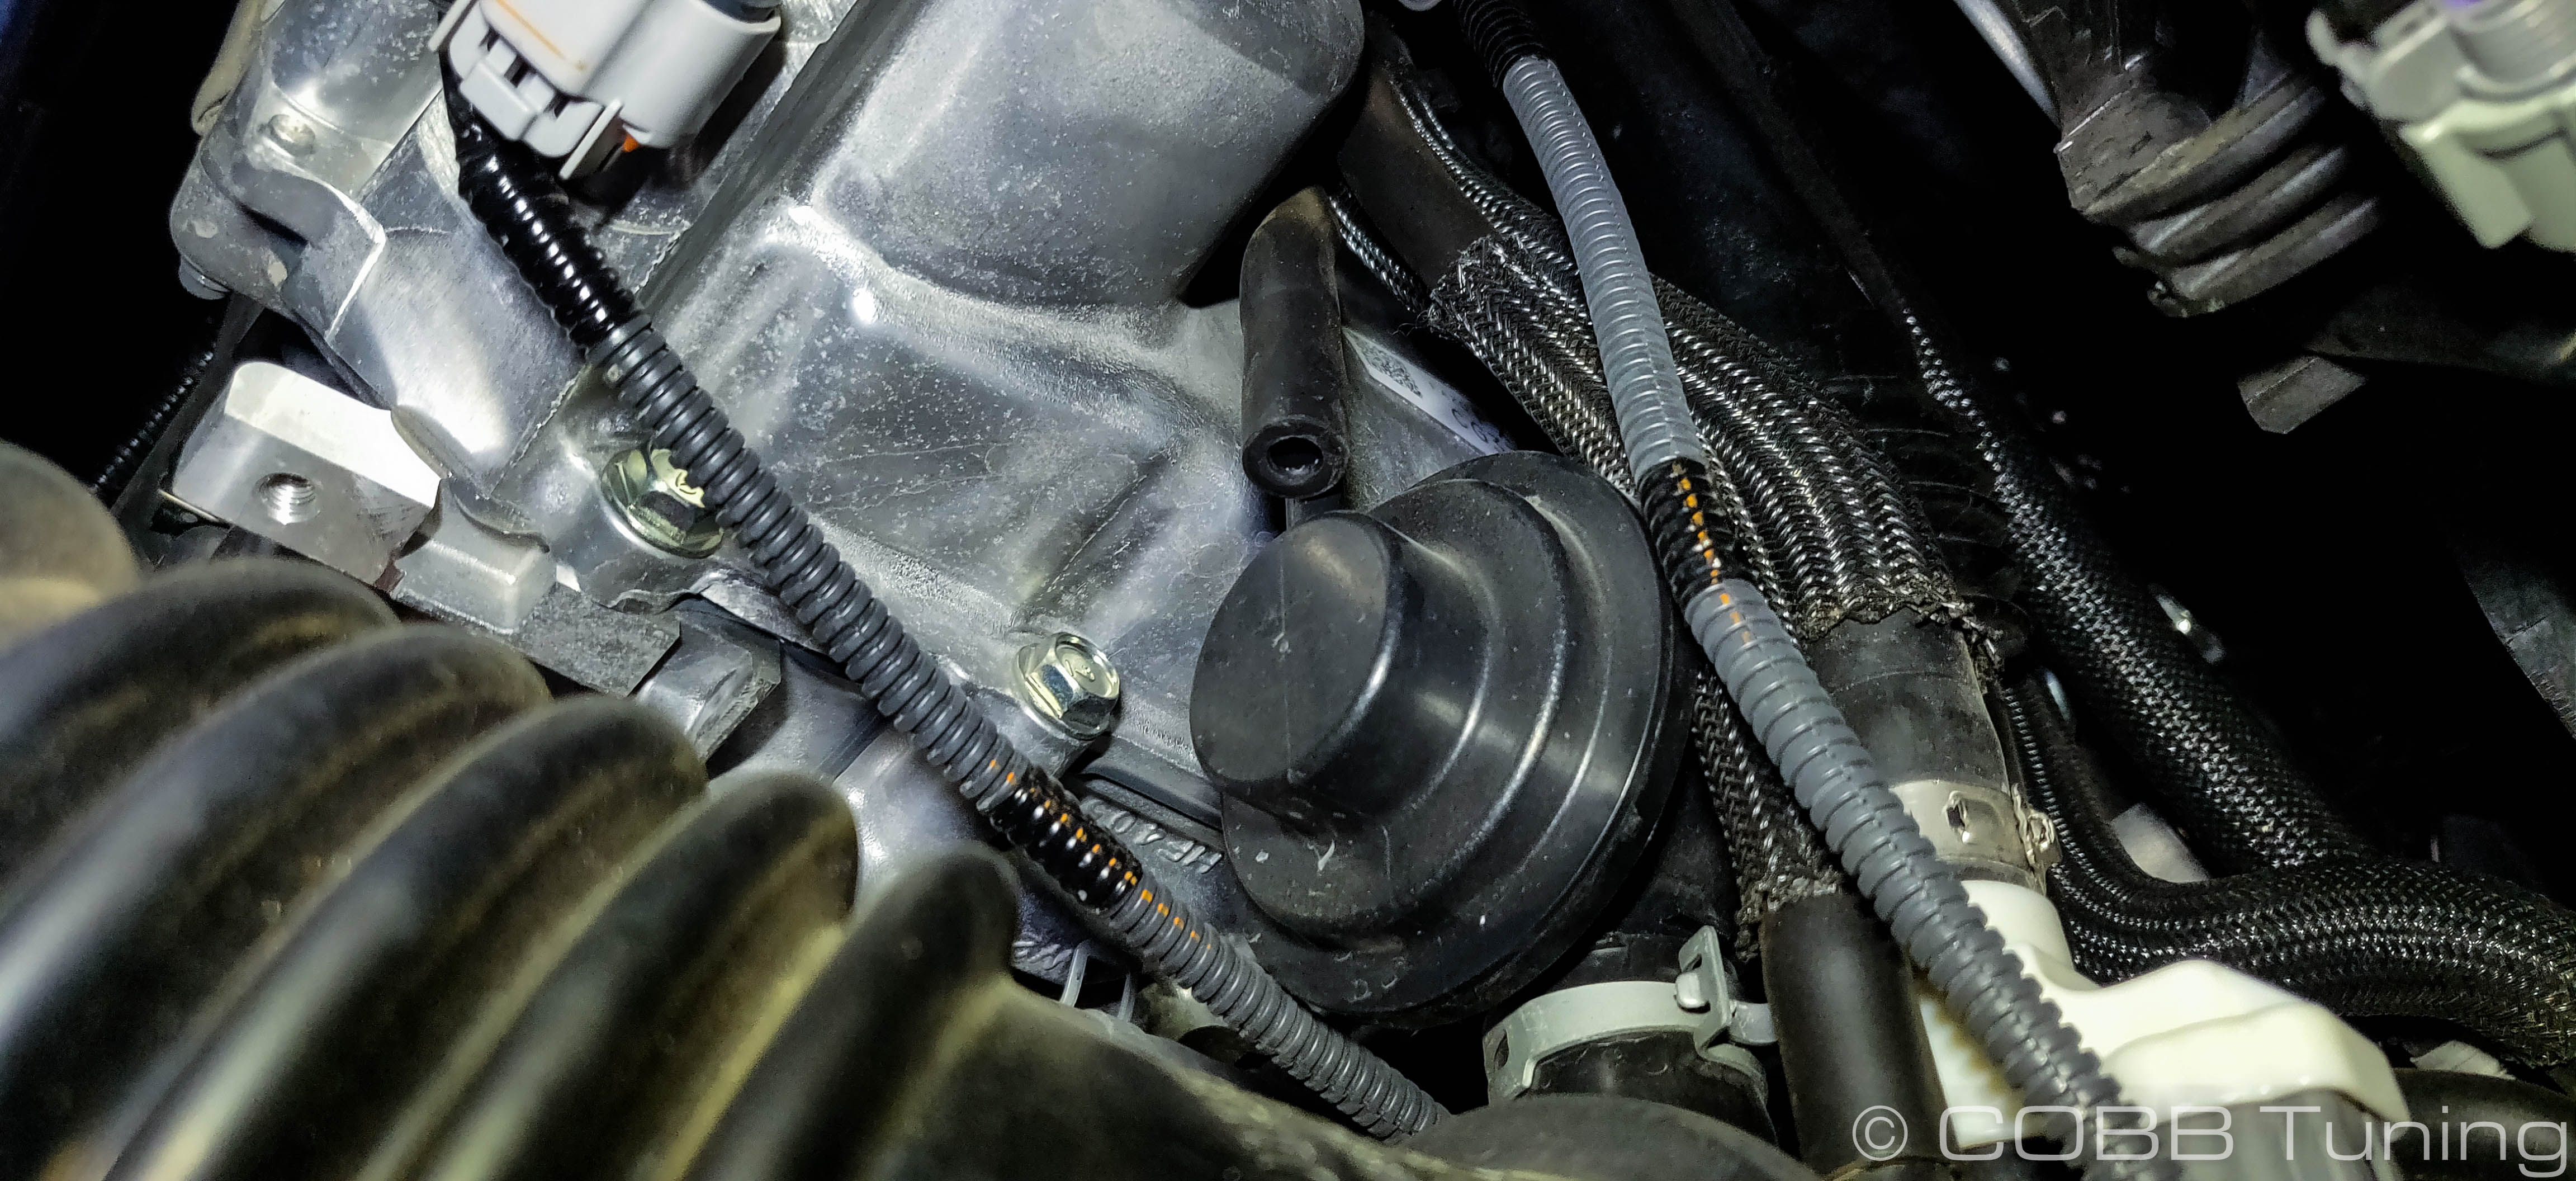
- Under the car, remove (2) breather lines from the intake tube.
- Remove the small vacuum line from the bypass valve itself.
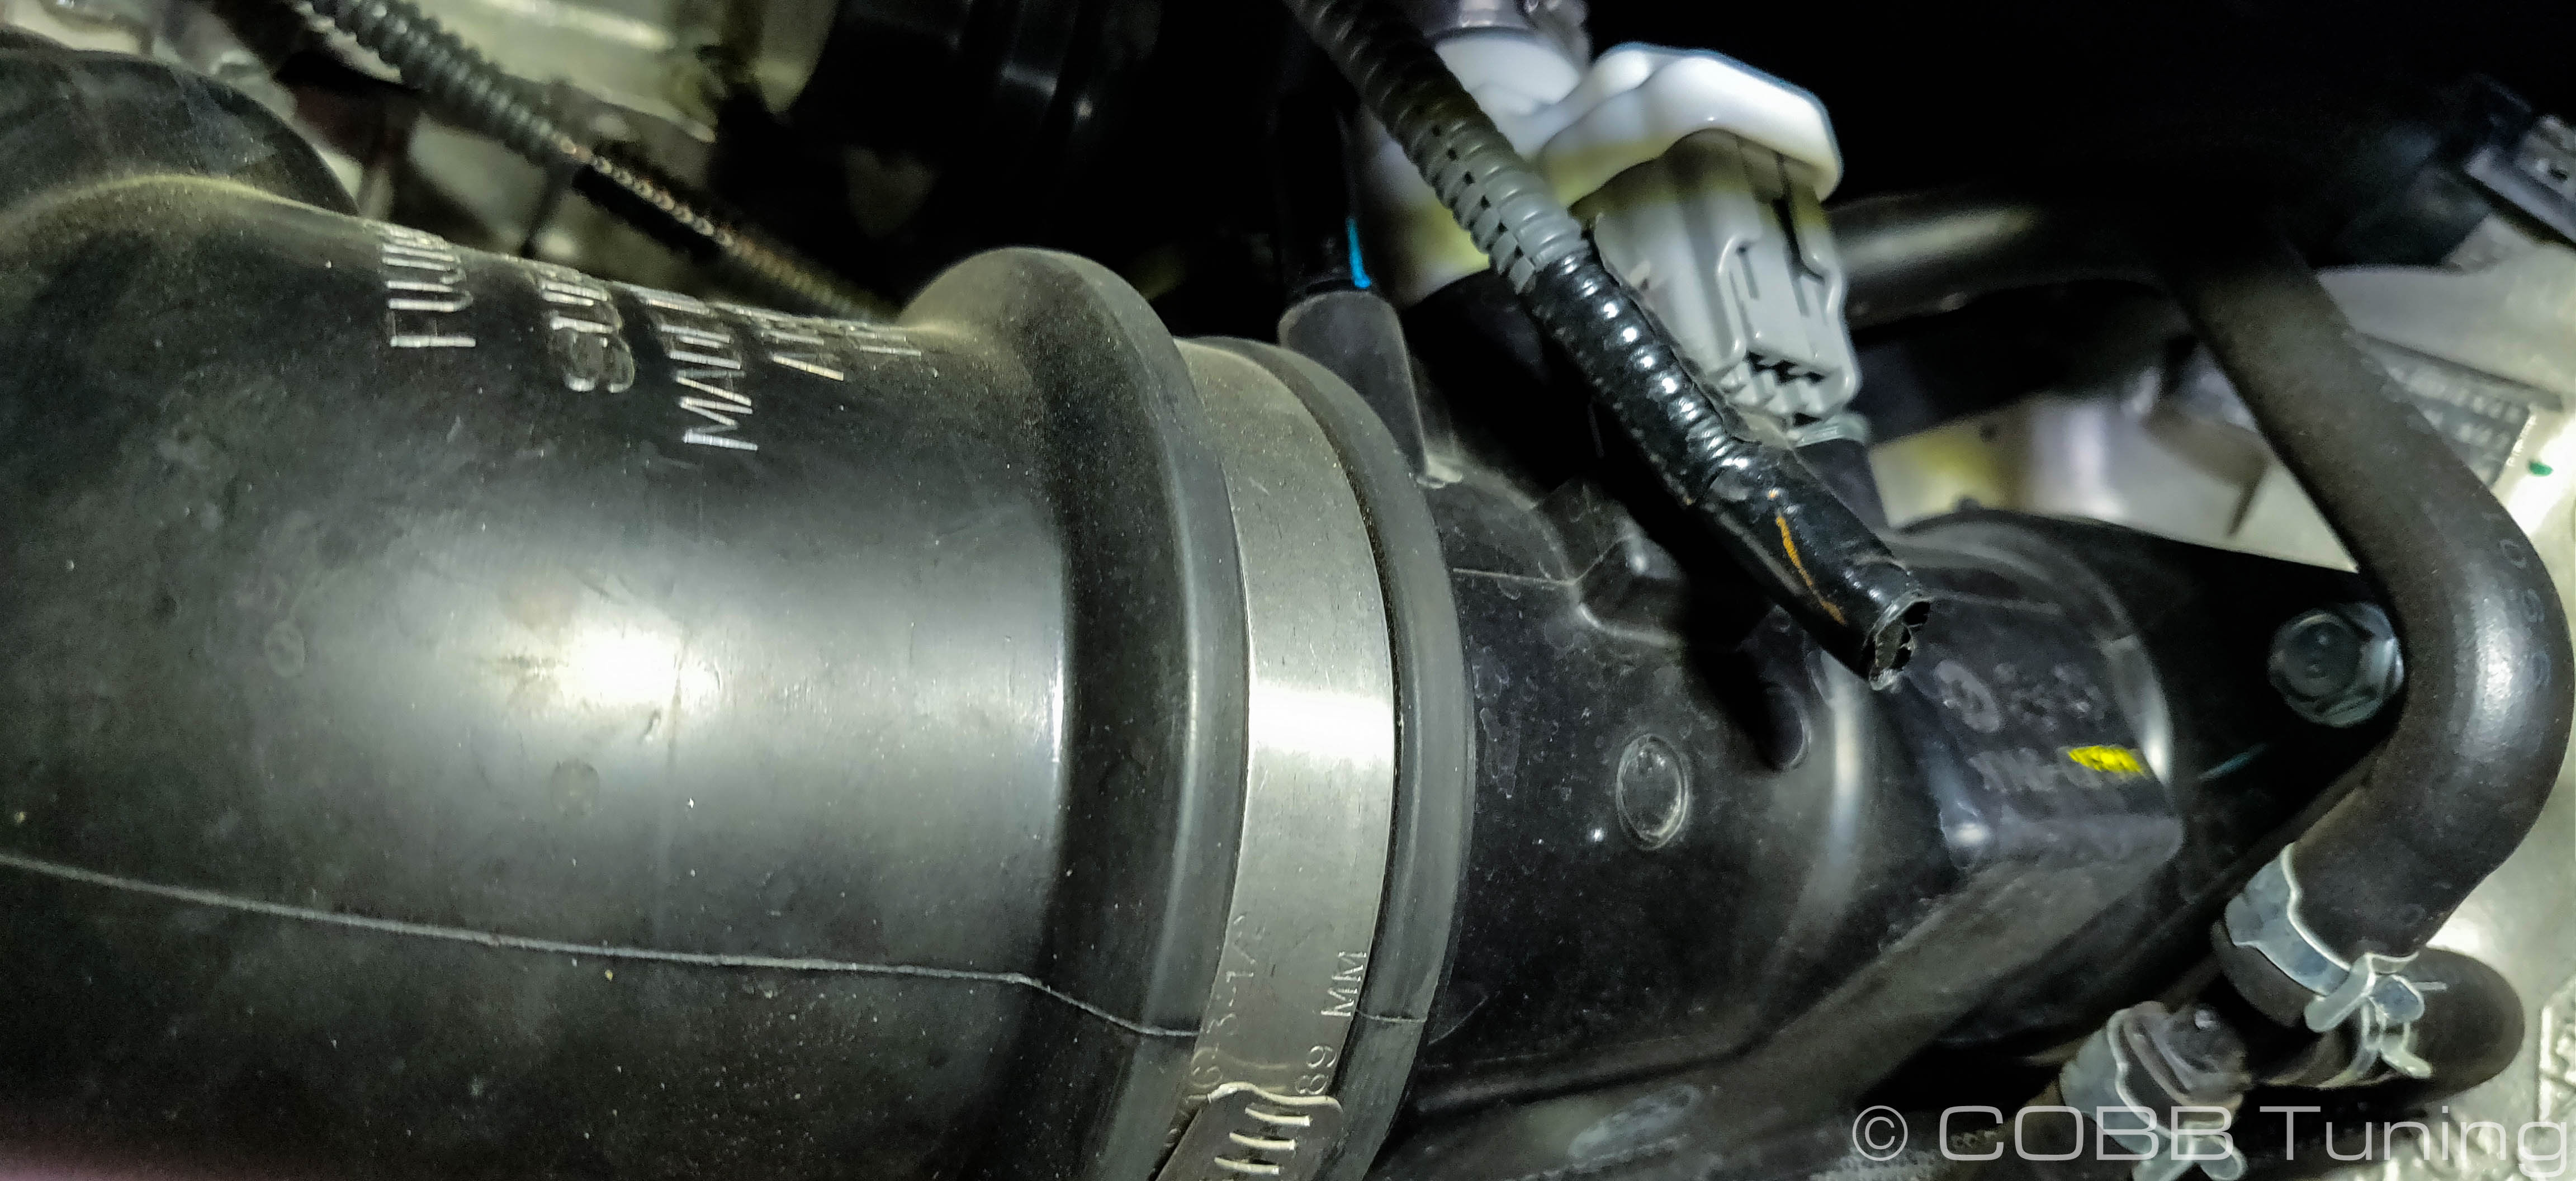
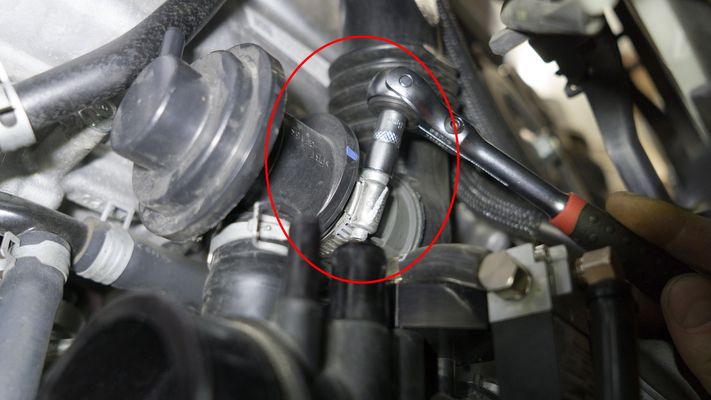
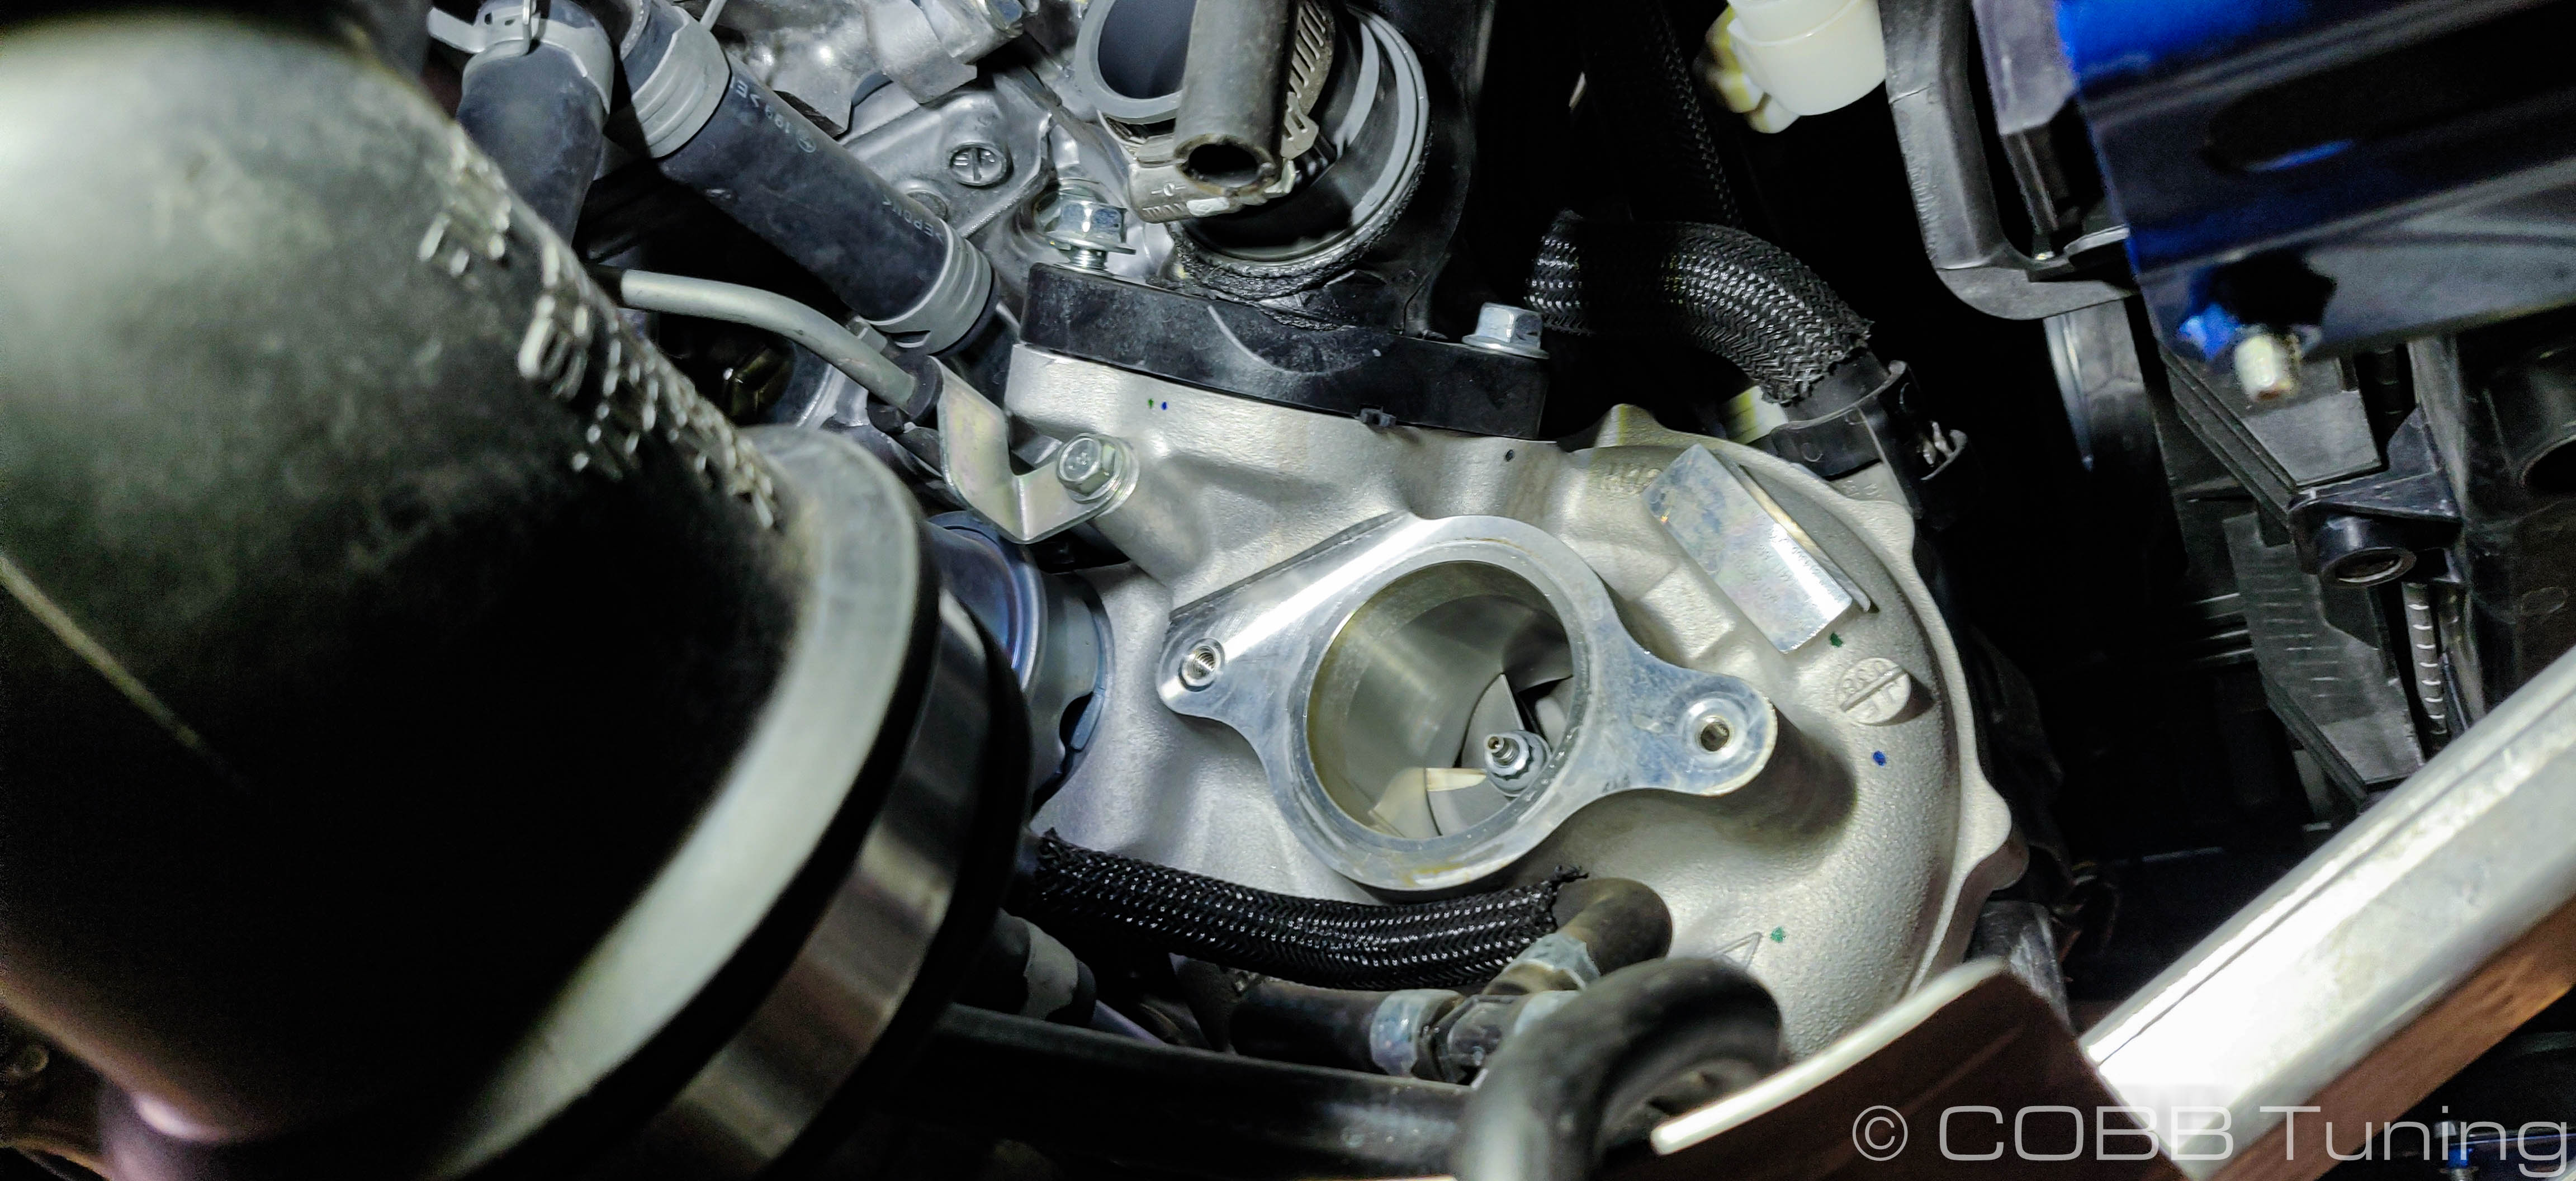
- Loosen the BPV to factory turbo inlet clamp.
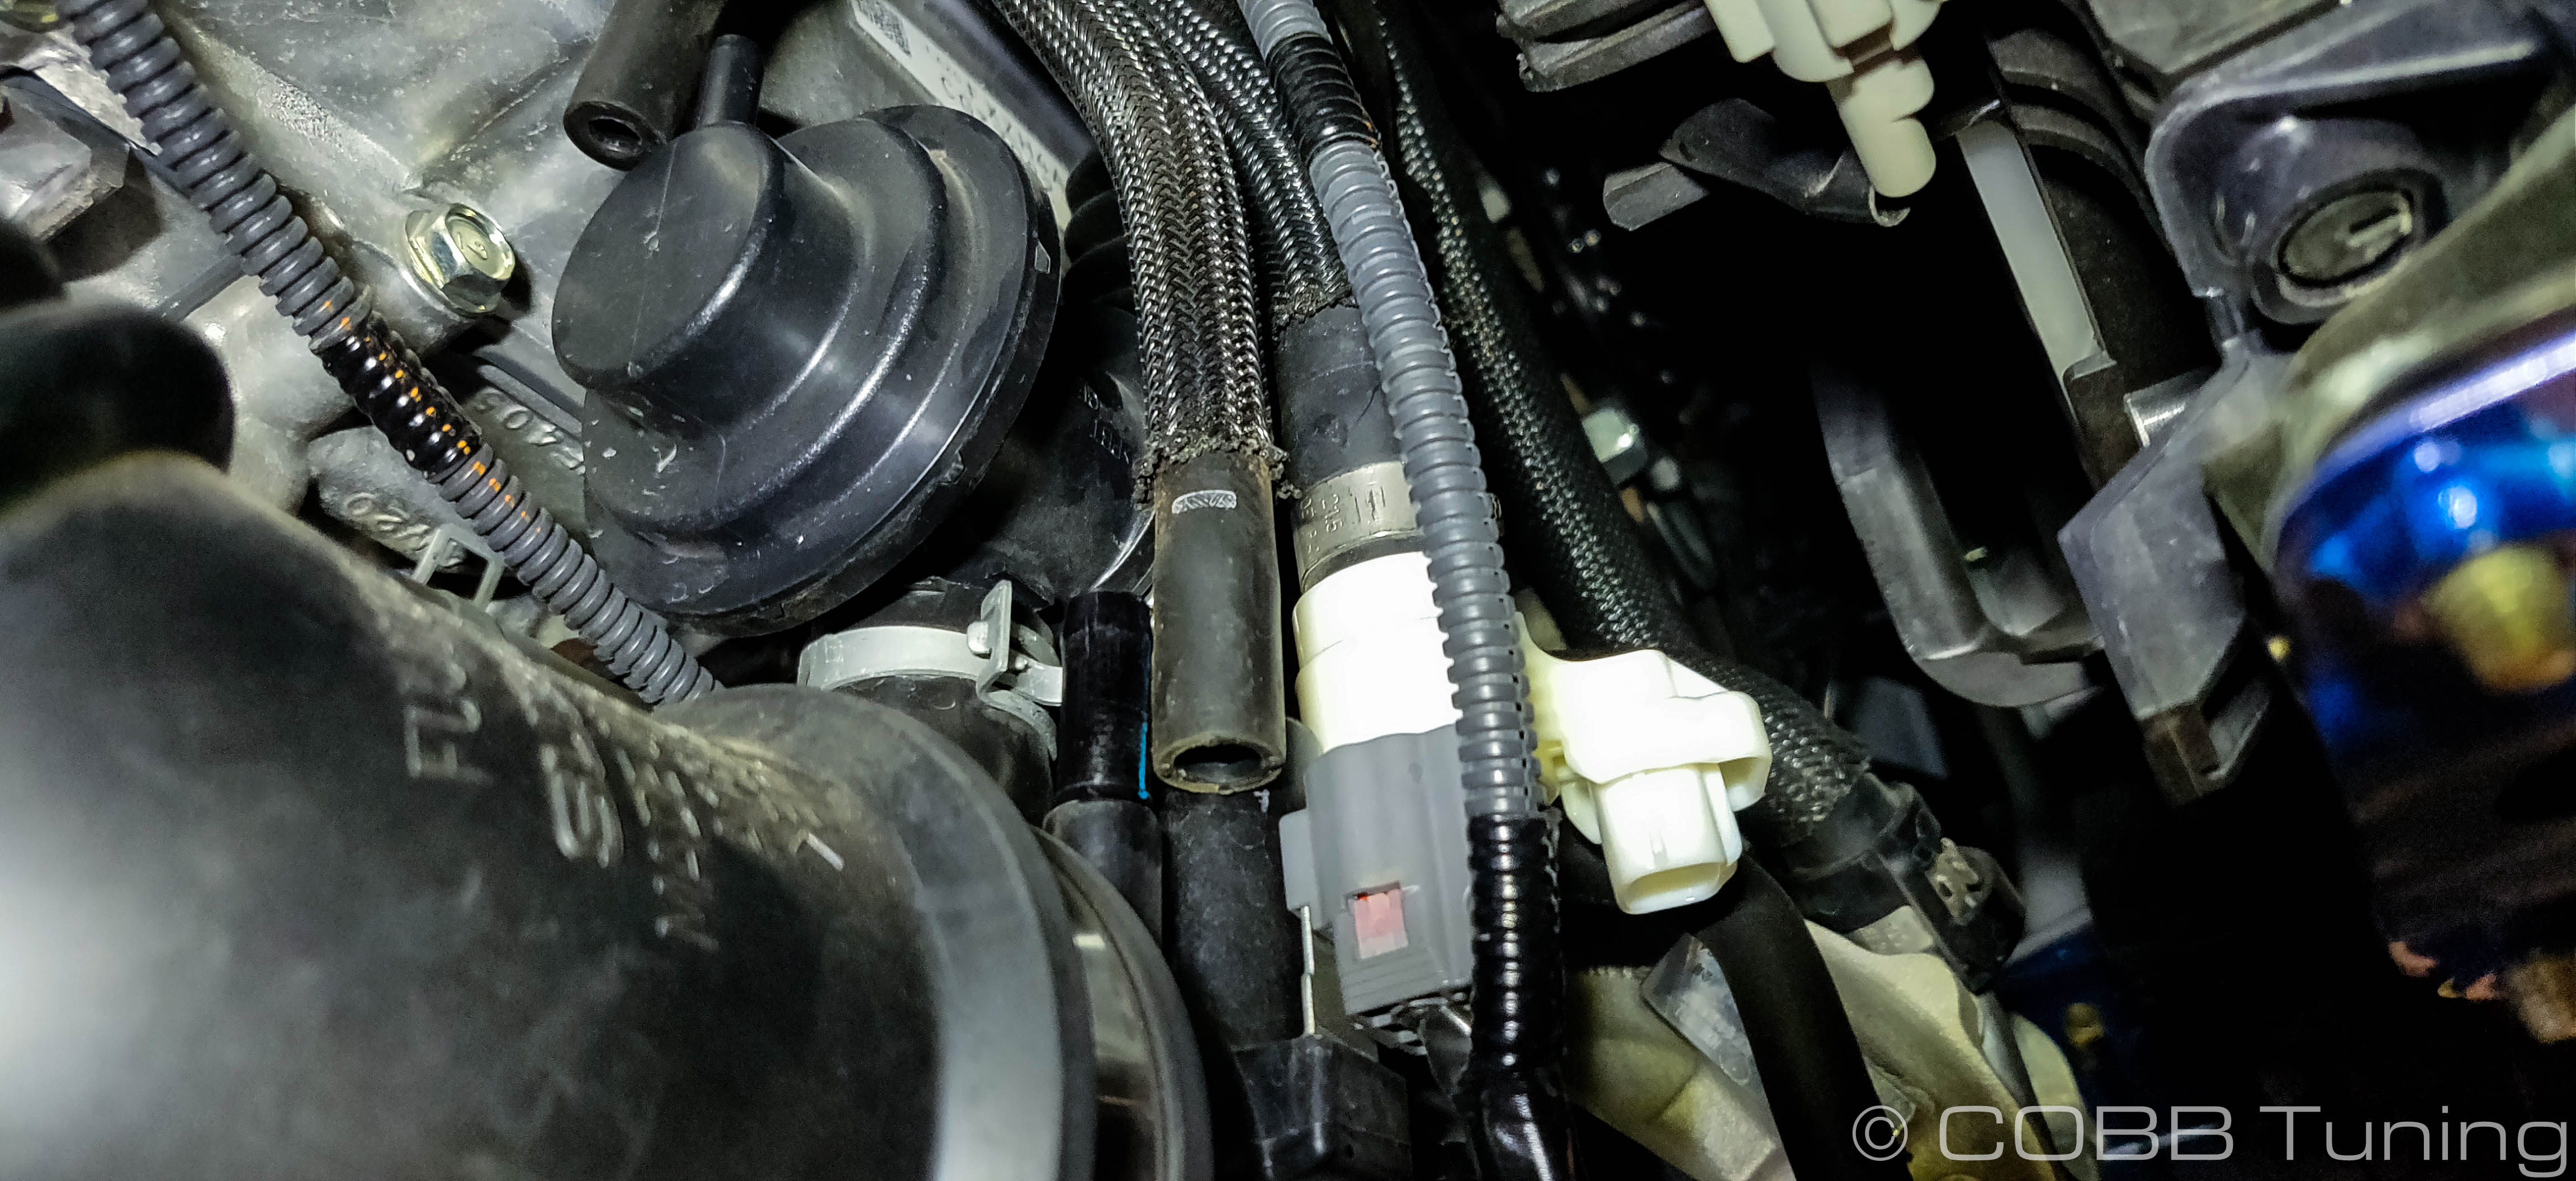
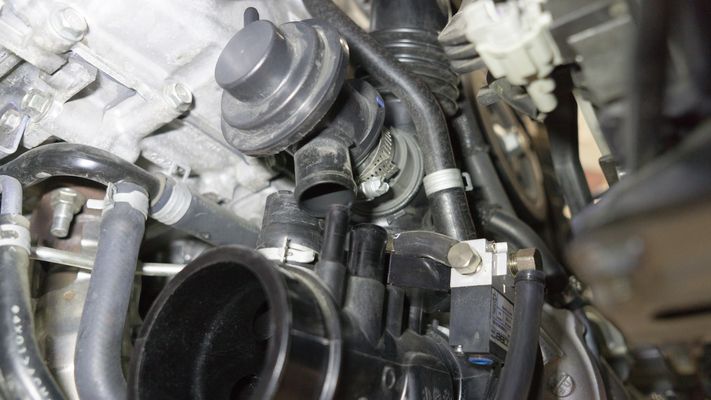
- Squeeze the wiring connector and pull the bypass valve sensor out of the inlet and wiring connector.
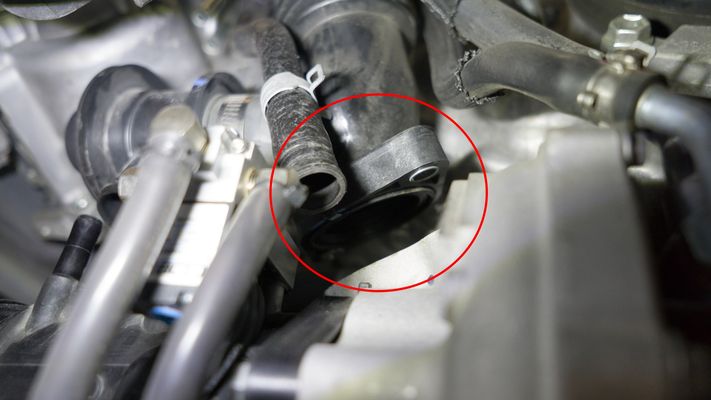
- Loosen the BPV to factory hot pipe clamp.
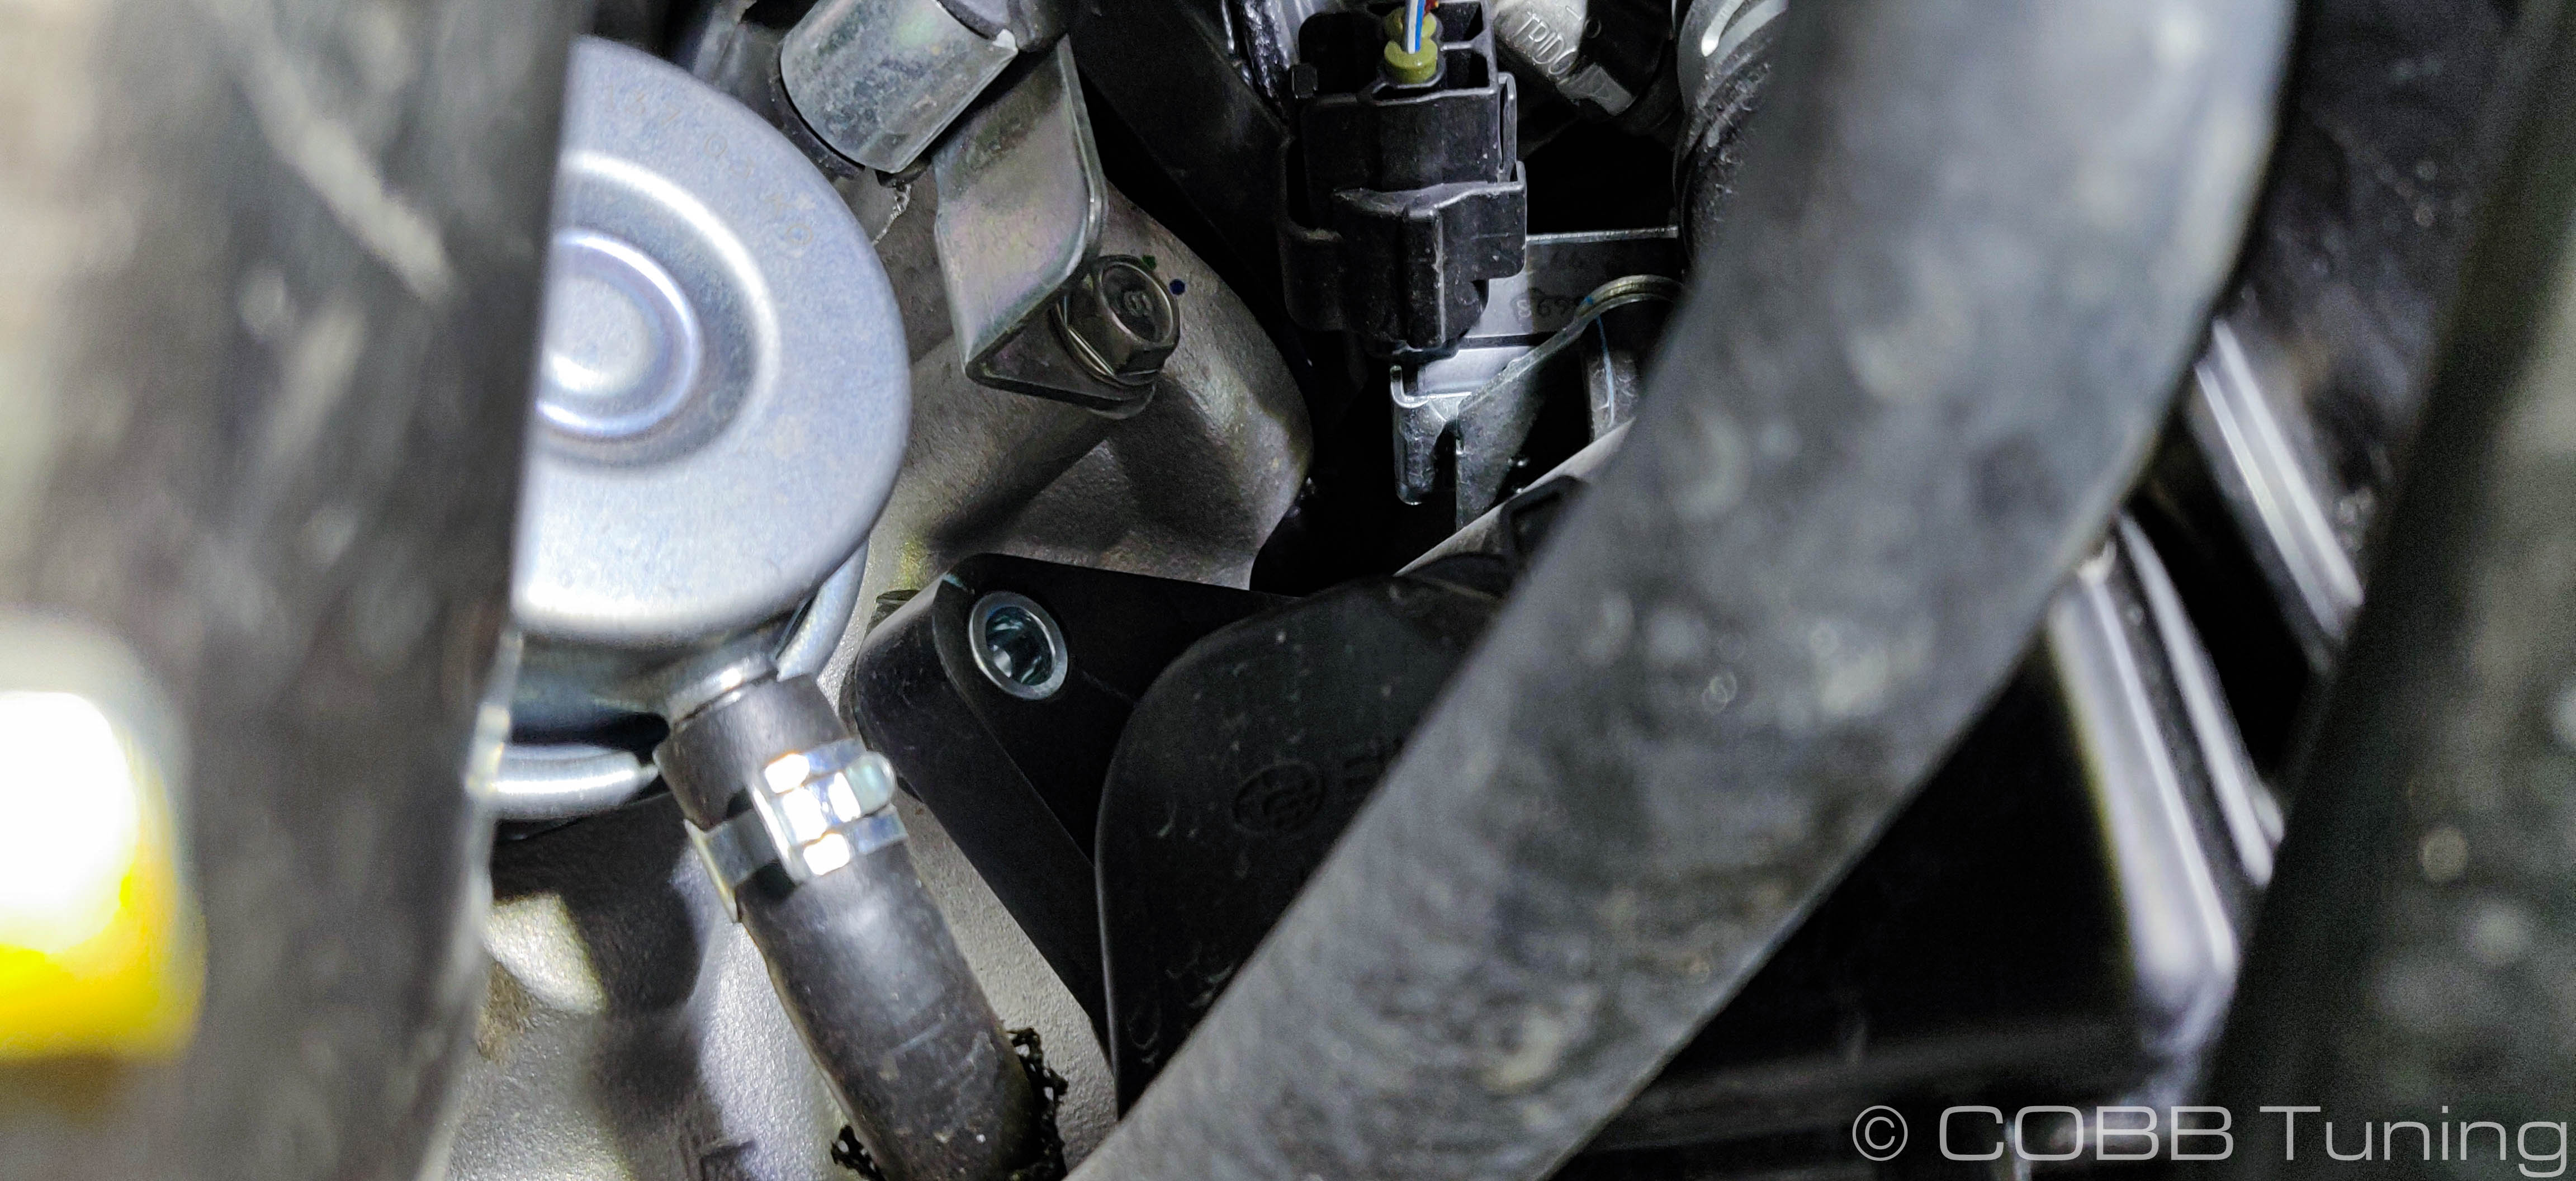
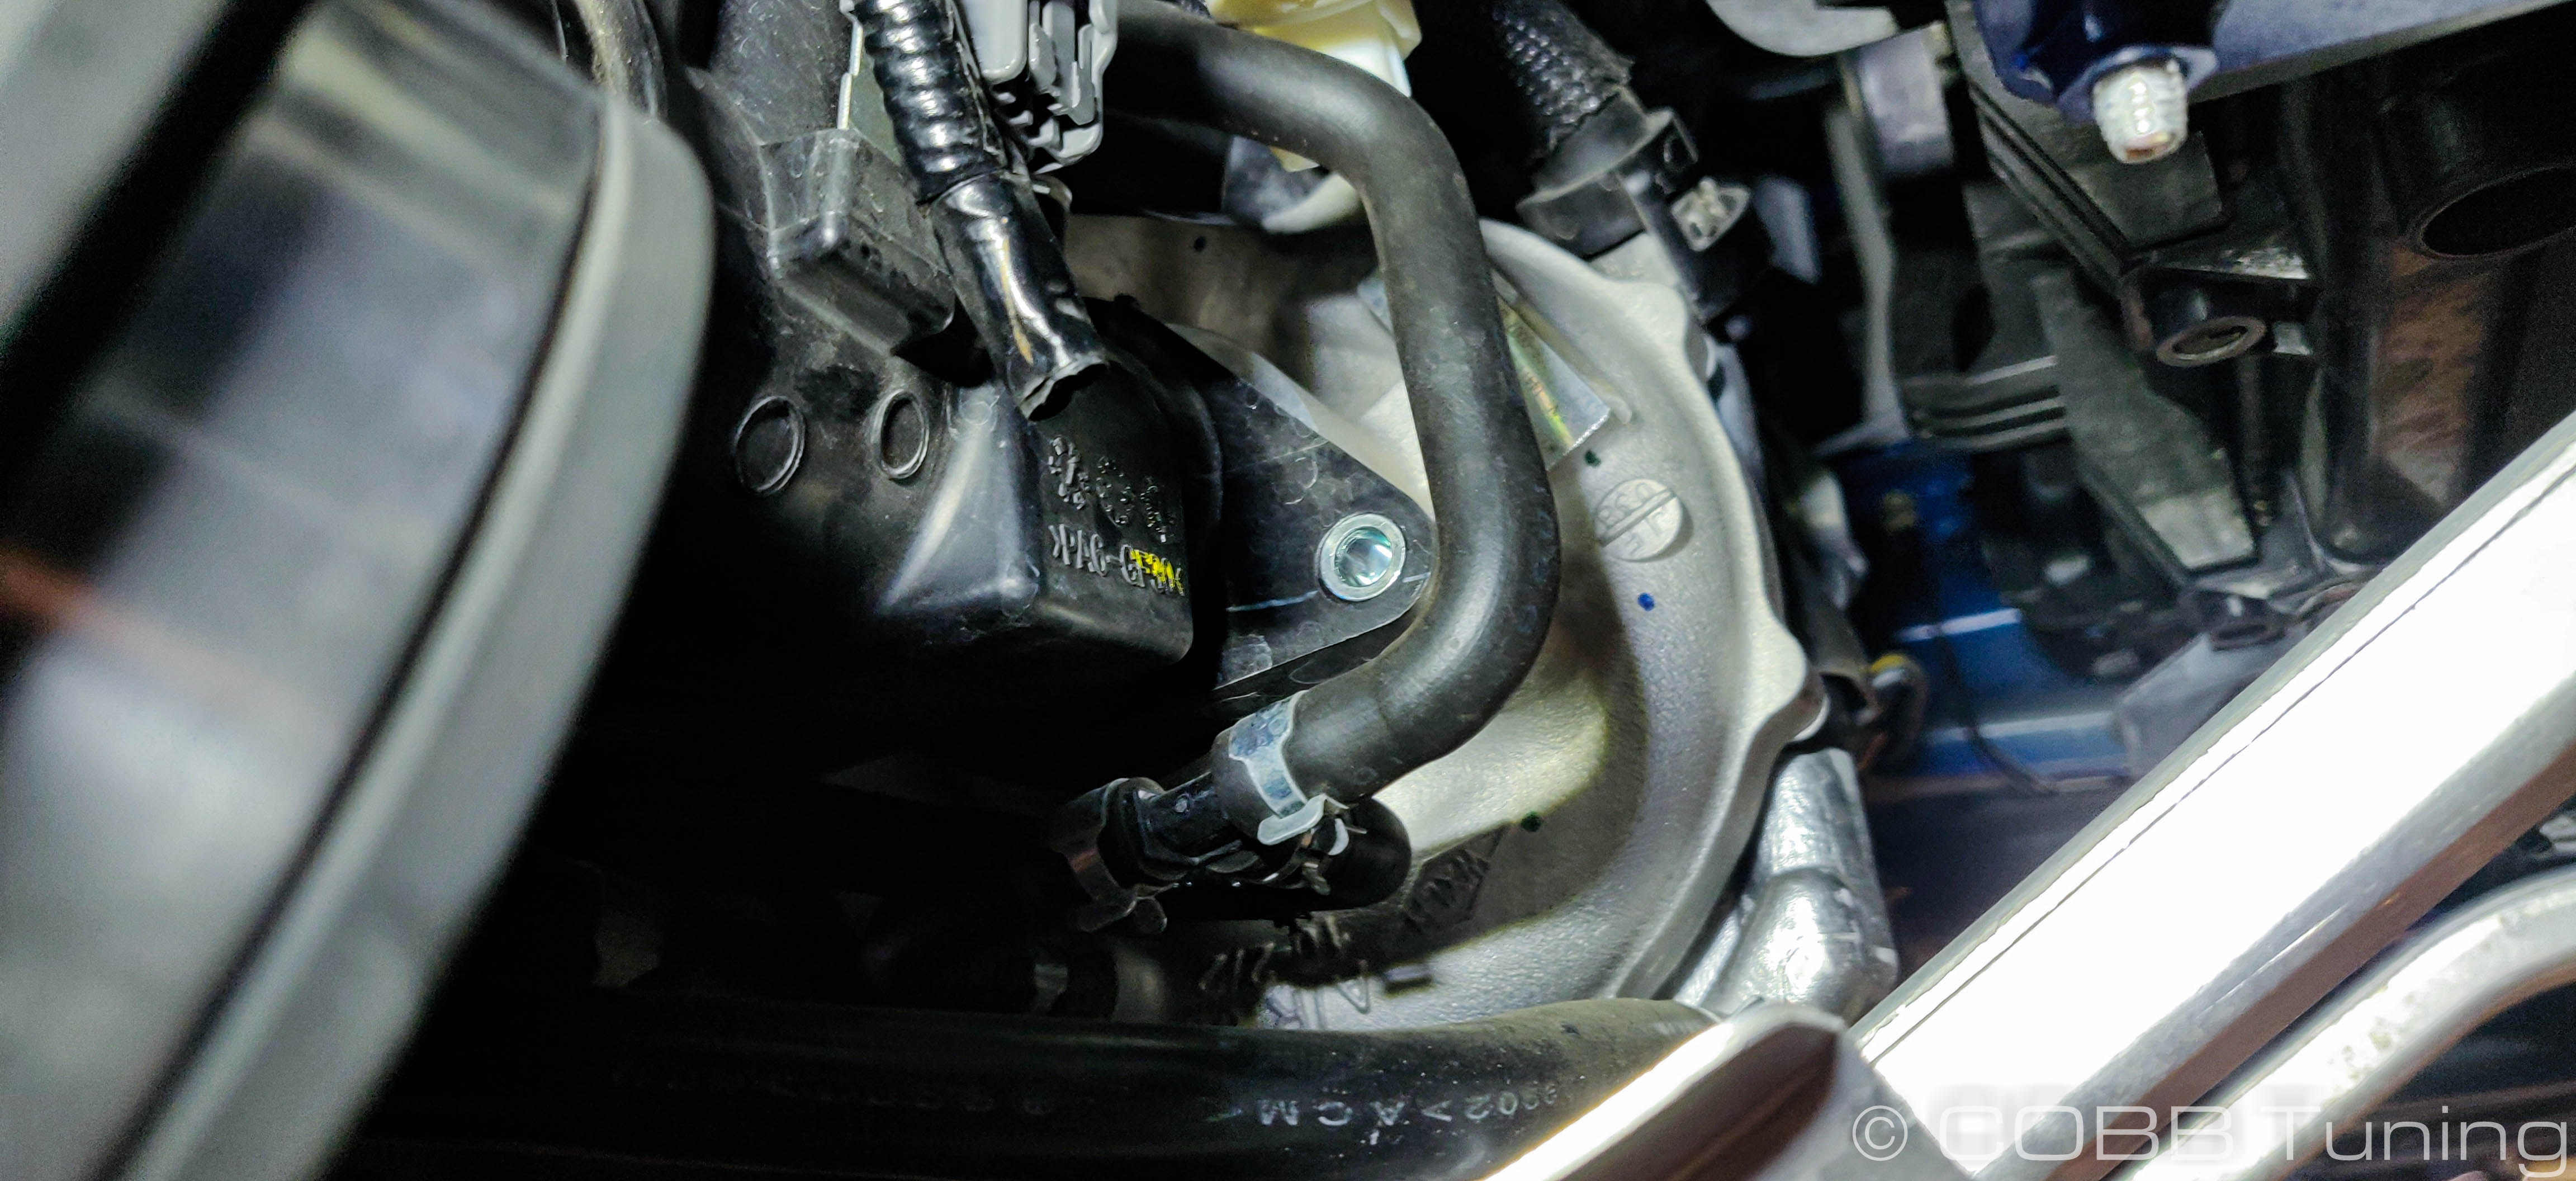
- Remove (2) 10mm bolts on the factory charge pipe to turbo. You will need a 6" extension for one of the bolts.
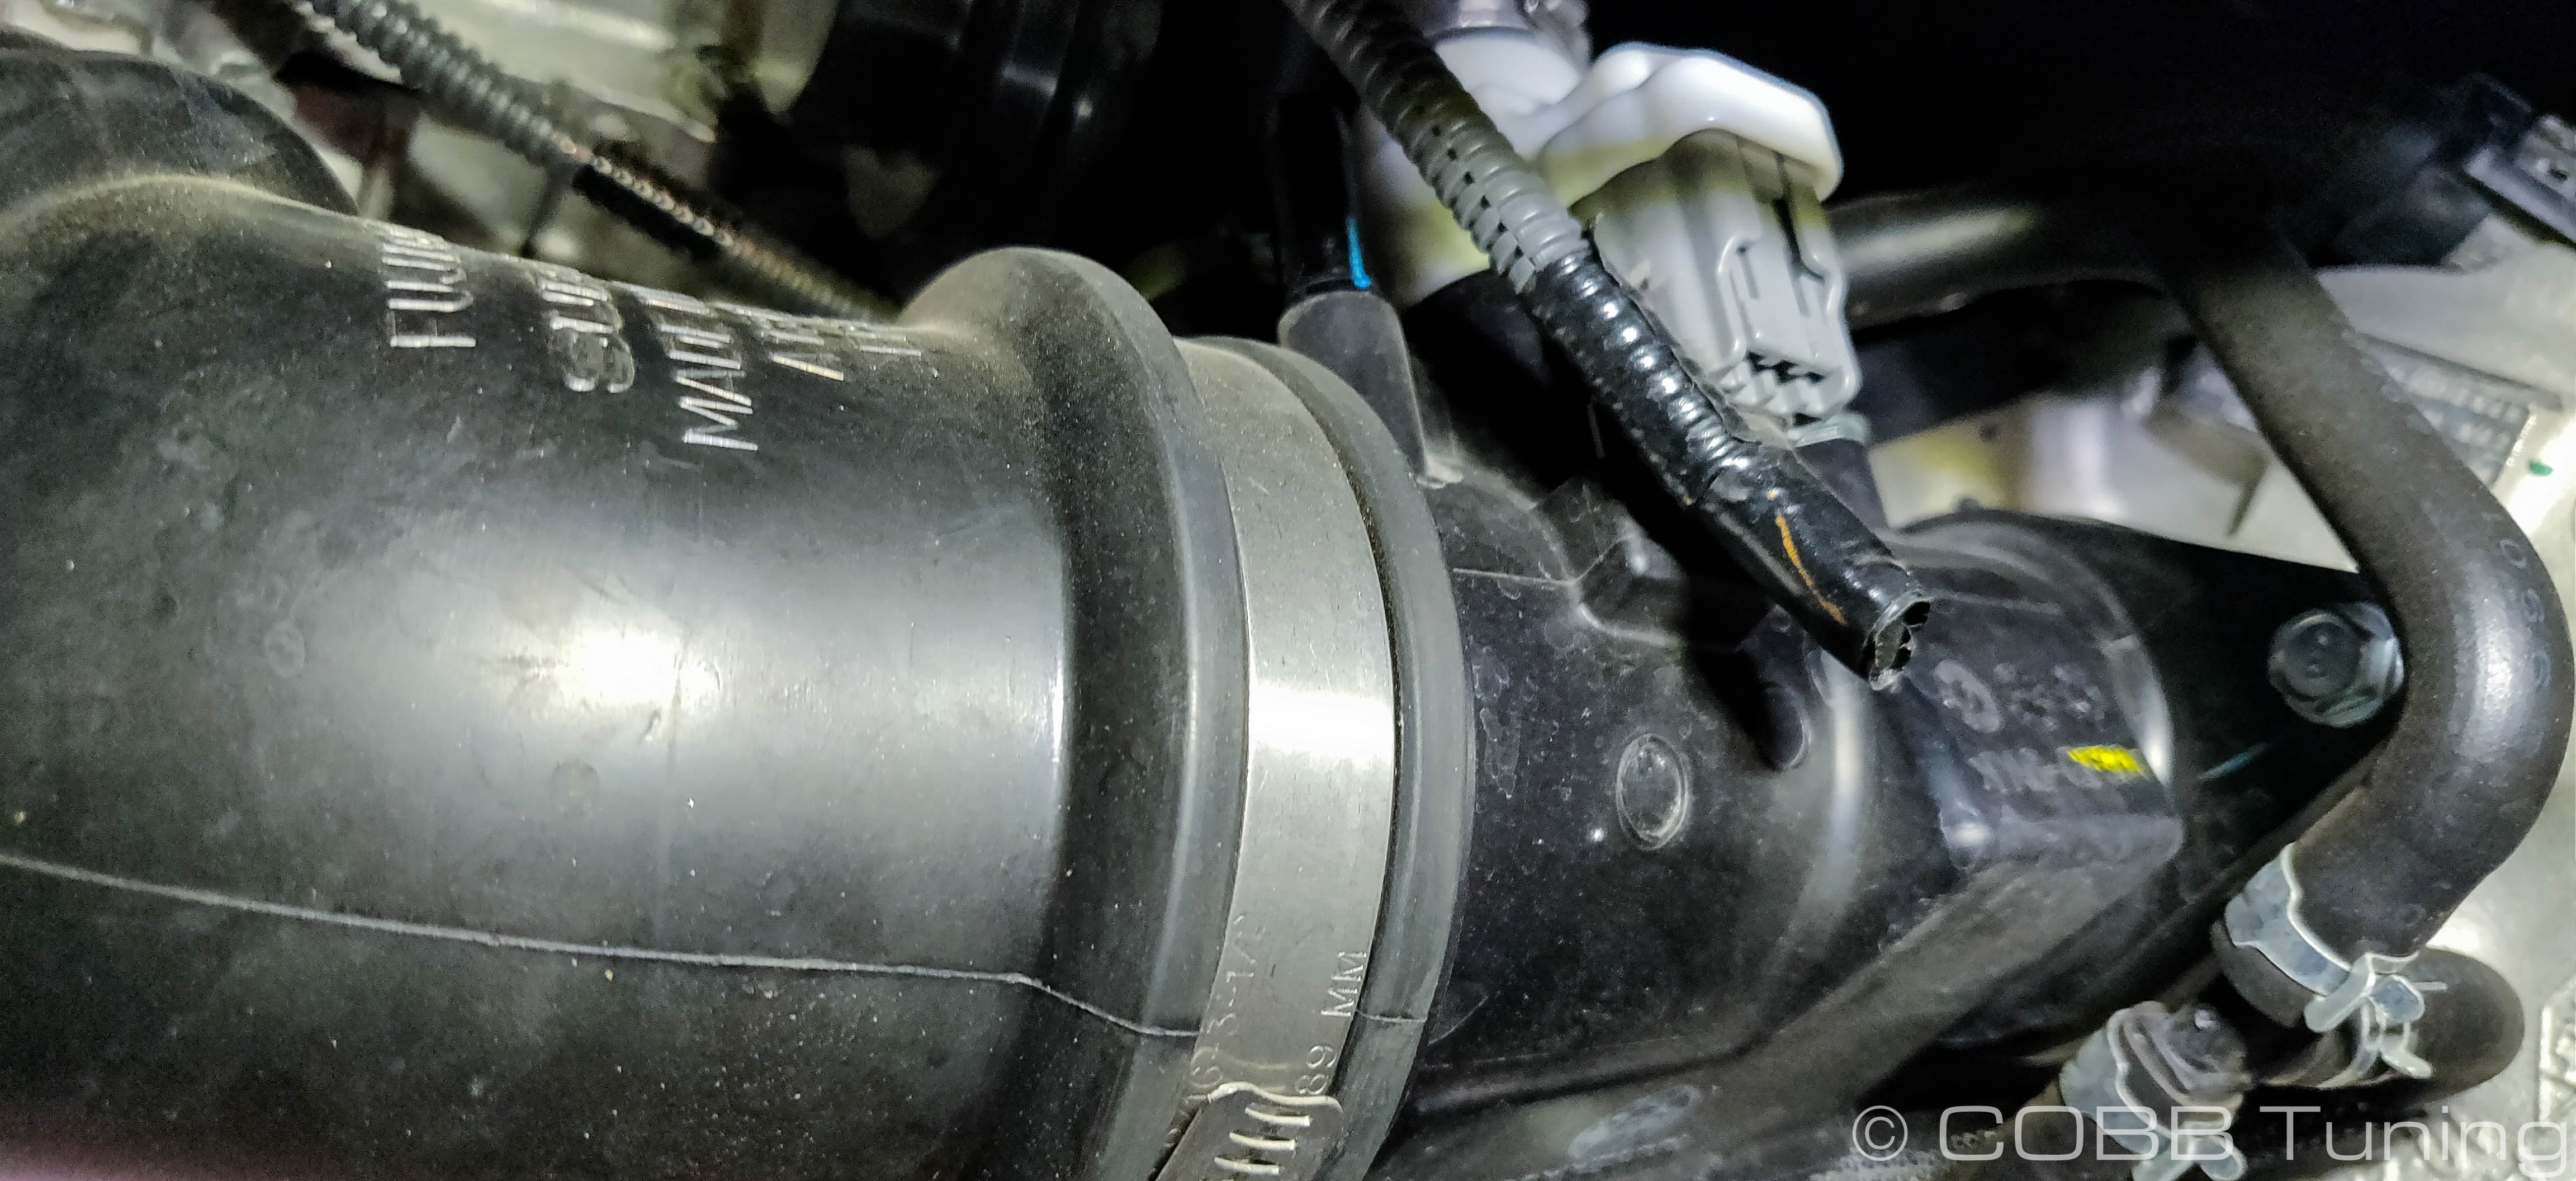
- Unscrew the intake hose clamp.
- Apply a small amount of downward pressure to pull the inlet off of the BPV, then pull it outward from the inlet.
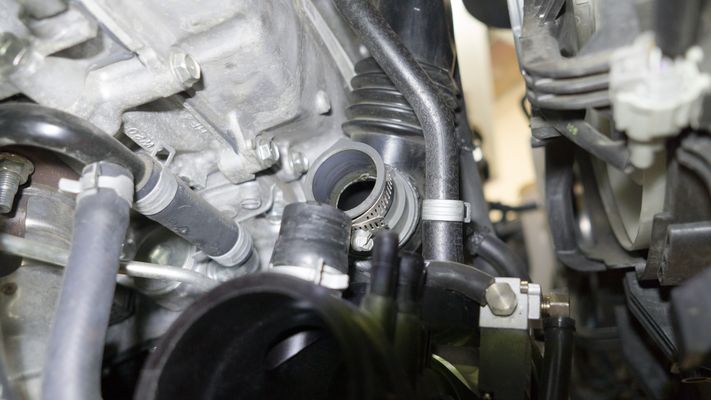
- Applying a small amount of pressure, remove the BPV from the turbo inlet. Be careful not to pull the inlet too far as it still has the sensor attached to it.
- Pull the BPV away from the factory hot pipe.
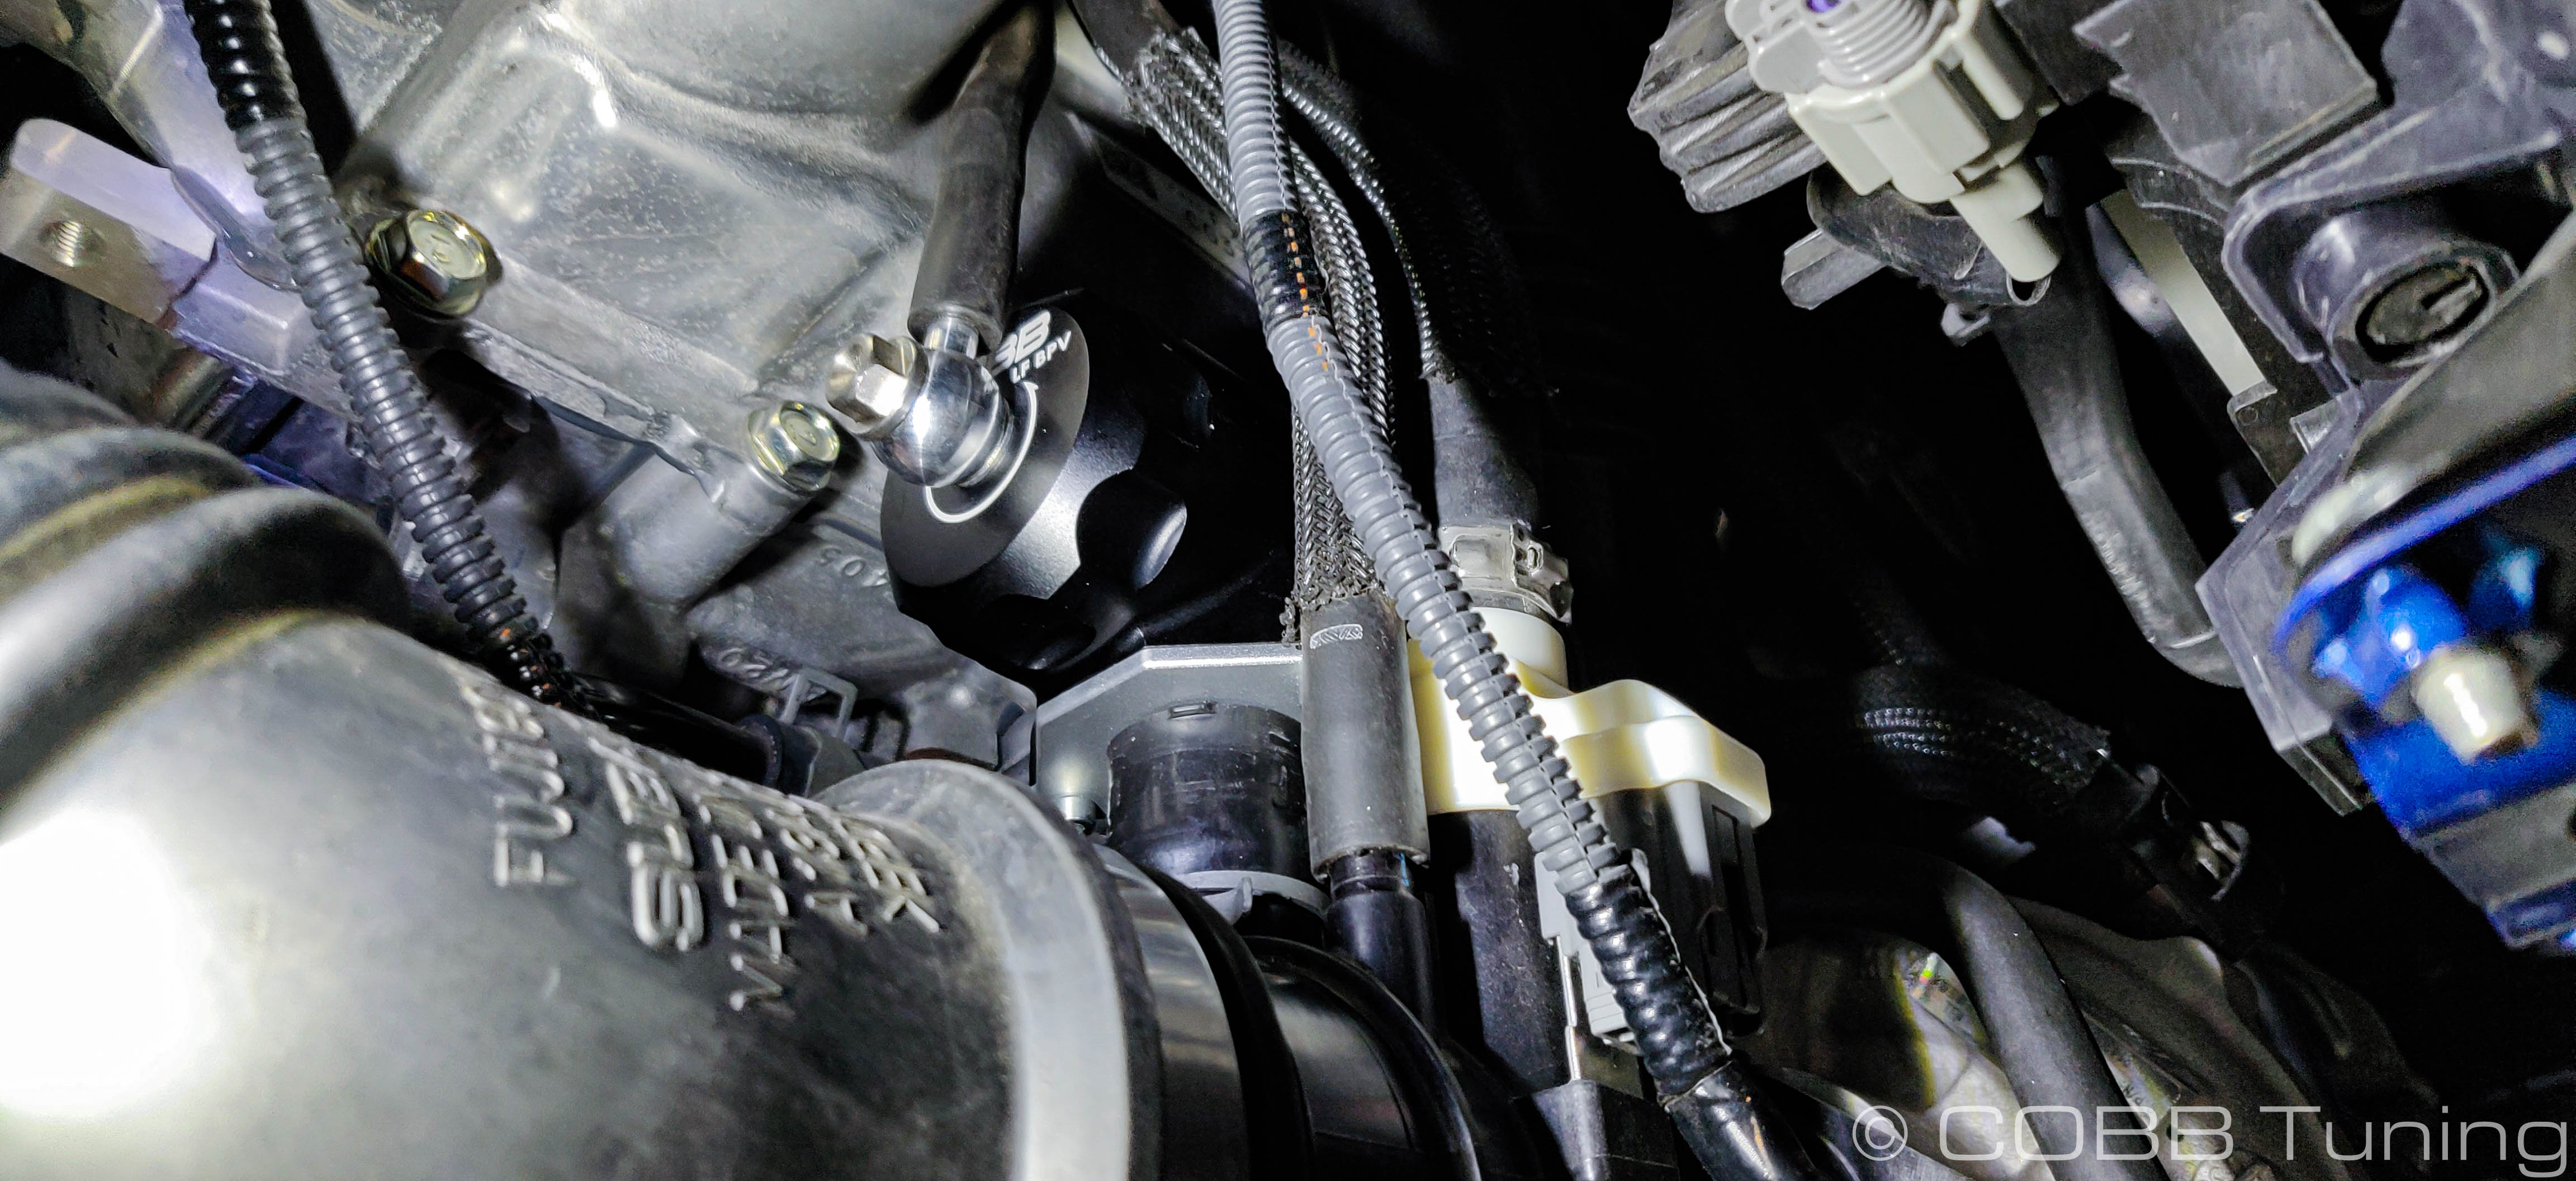
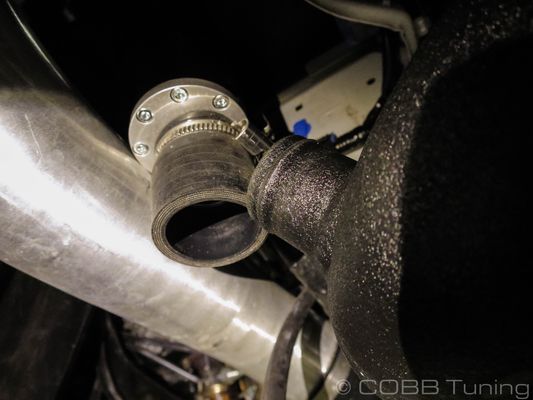
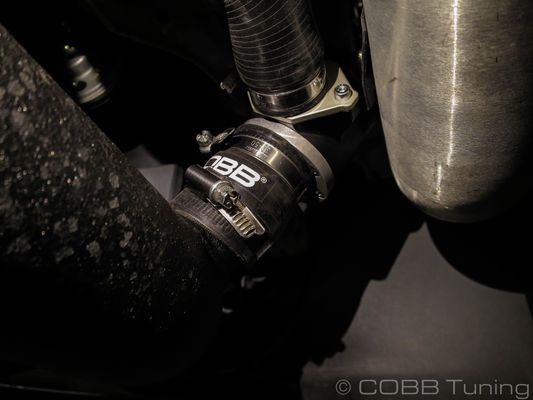
- Push the back portion of the COBB LF BPV into the charge pipe then orient it similar to the factory BPV before pushing the turbo inlet up and on. You can then screw the inlet back in and reconnect the rest of the clamps and hoses.
COBB BPV Installation FMIC
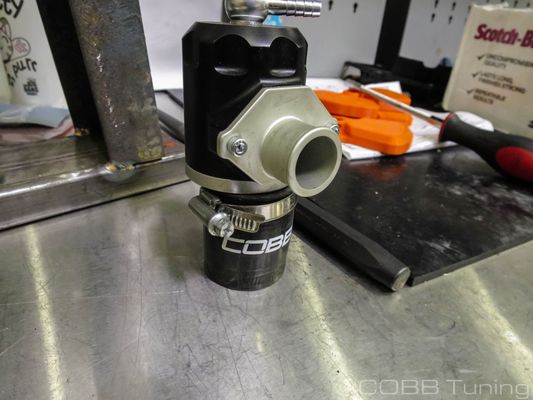
- Install the lower hose portion with a hose clamp in order to allow an easier installation.
- Install the manifold reference line and install a zip tie to keep it in place. If necessary turn the top fitting and re-torque to 60 in-lbs
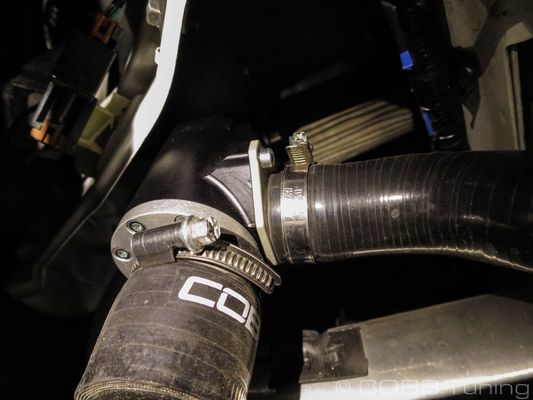
- After adding a hose clamp loosely, go ahead and install the snout end into the recirculation tube.
- Install the remaining loose end onto the hot-pipe with a hose clamp and double check that everything is securely tightened.
Reinstall Undertray
- Install the skid plate by bolting (4) 12mm bolts.
- Install the undertray.
- Secure the lower wheel well tray by screw (1) Phillips head screw on the passenger side.
- Secure the lower wheel well tray by screw (1) Phillips head screw on the driver side.
- Insert (7) plastic push type retainers.
- Secure the (2) 12mm bolts.
- Insert the (3) flathead push-clips from the driver wheel well.
- Insert the (3) flathead push-clips form the passenger wheel well.
- Secure the lower wheel well tray by screw (1) Phillips head screw on the passenger side.
Final Verification
- Conduct a pressurized smoke test to check for any leaks. If there are no leaks present, you are good to go! Enjoy your new COBB BPV!
Contact Us:
COBB Customer Support
Web Support and Tech Articles: COBB Tuning Customer Support Center
Email: support@cobbtuning.com
Phone support available 9am to 6pm Monday-Thursday. 9am to 4pm Friday (CST)
866.922.3059
Links
Subaru Installation InstructionsCOBB Product Install Instructions for Subaru Vehicles
Main Installation Instruction Repository for Subaru Parts
SUBARU CALIBRATION SUPPORTCalibration Map Notes for Subaru Vehicles
Link to Subaru Map Notes to see what map you should be on given the parts you've added
| Insert excerpt | ||||||
|---|---|---|---|---|---|---|
|

