
894600 – Sound Suppression Chamber Focus RS
2016 - 2018 Ford Focus RS
[placeholder]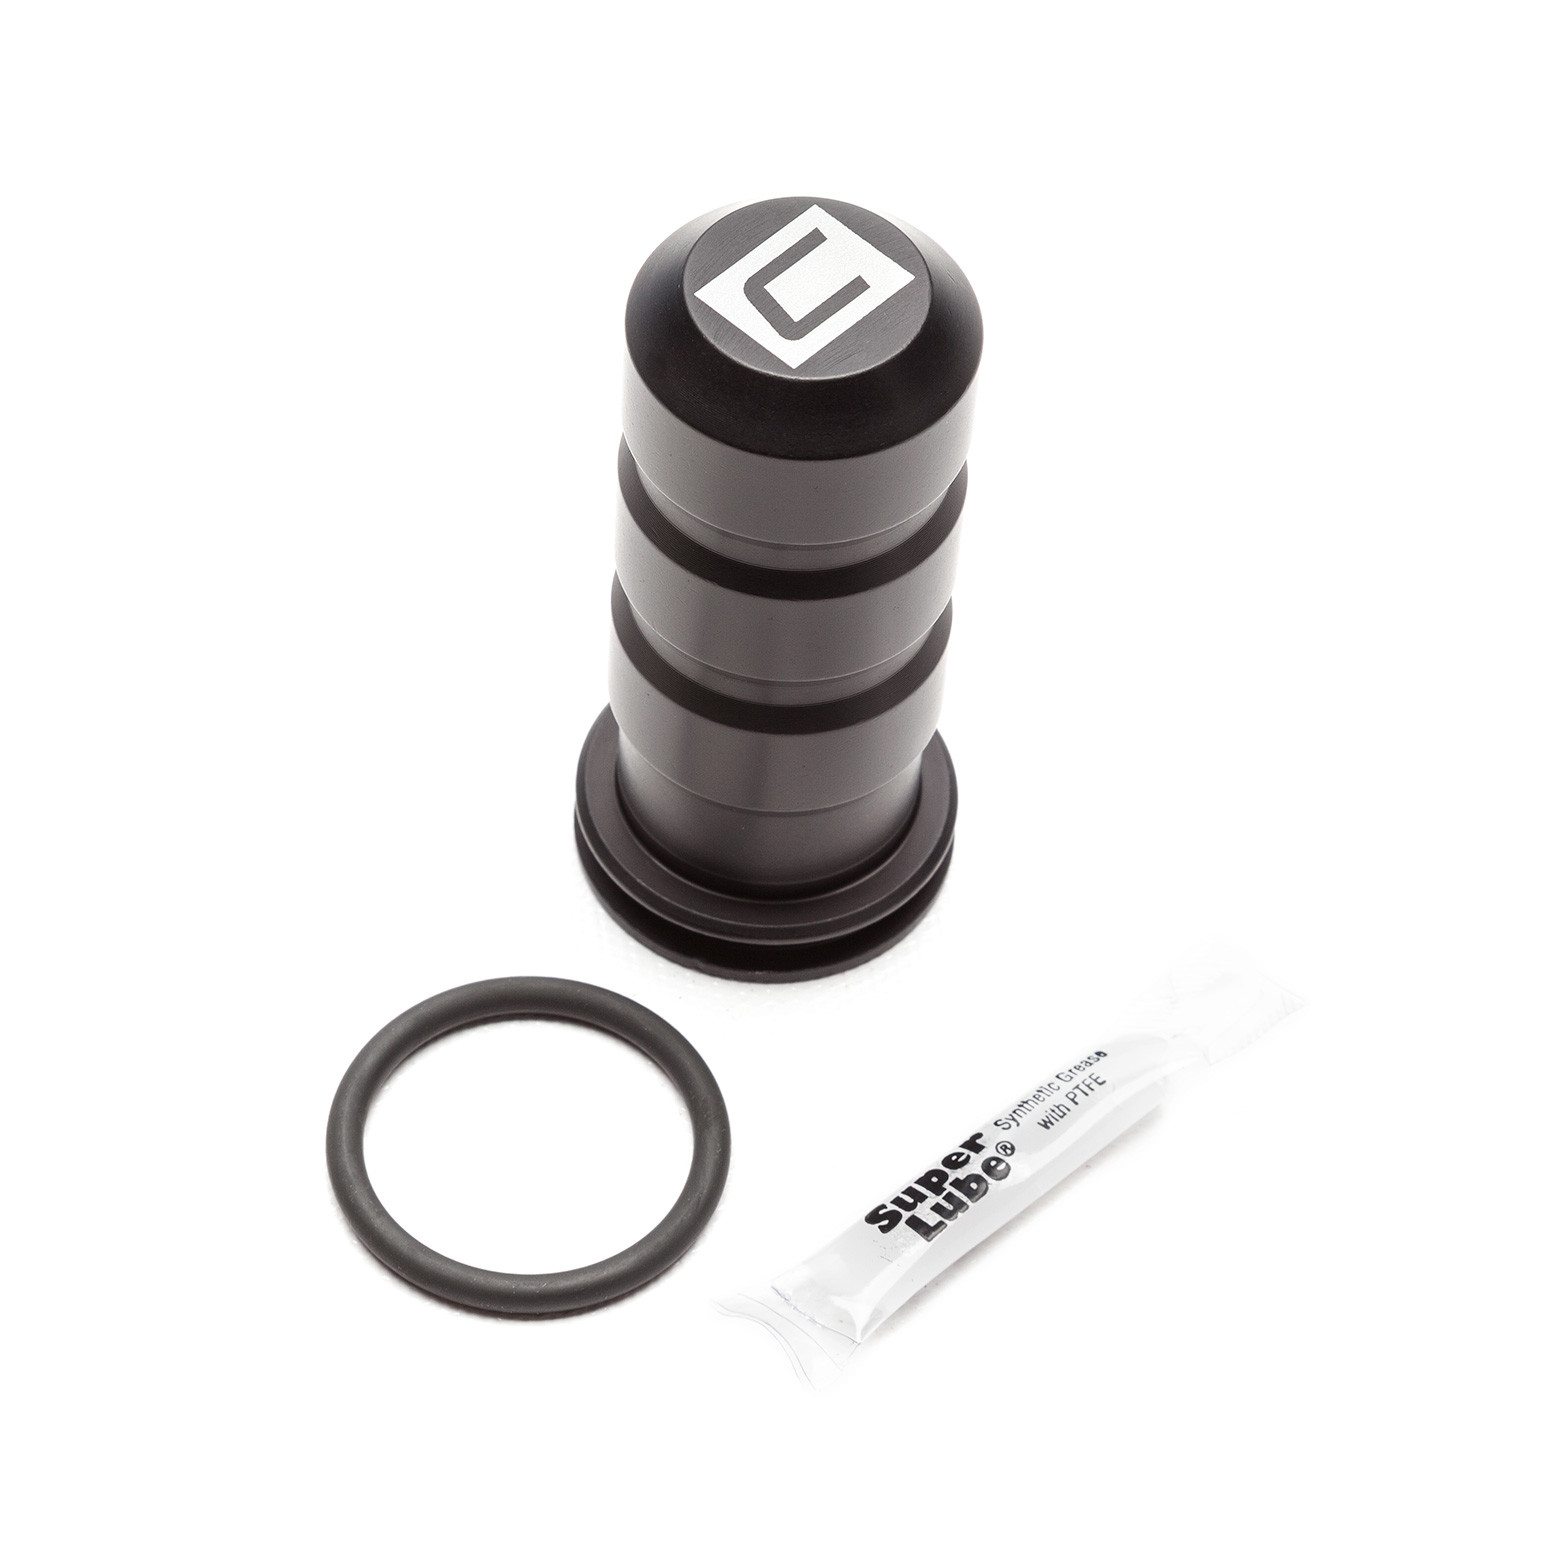
Congratulations on your purchase of the COBB Tuning xxxxxxxxxxxxxSound Suppression Chamber for Focus RS! The following instructions will assist you through the installation process. Please read them BEFORE beginning the install to familiarize yourself with the steps and tools needed. If you feel you cannot properly perform this installation, we HIGHLY recommend you take the vehicle to a qualified and experienced automotive technician.IMPORTANT! Installing this kit will require custom tuning or utilizing an appropriate Stage Power Package map if you have a matching mechanical configuration. Please consult with COBB or an authorized ProTuner in your area if you have any questions!
Table of Contents
| Table of Contents |
|---|
Parts List
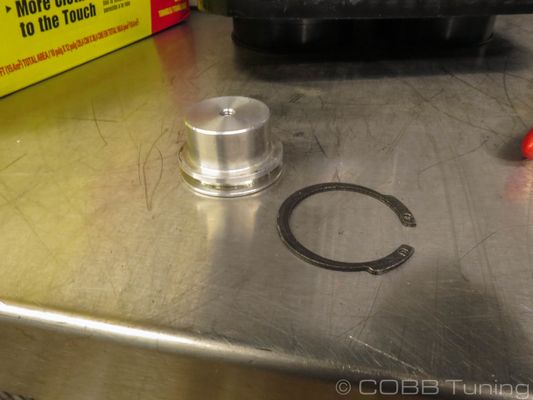
- Focus RS Sound Suppression Chamber
- O-ring
- O-ring lubricant
Tools Needed
Hand Tools
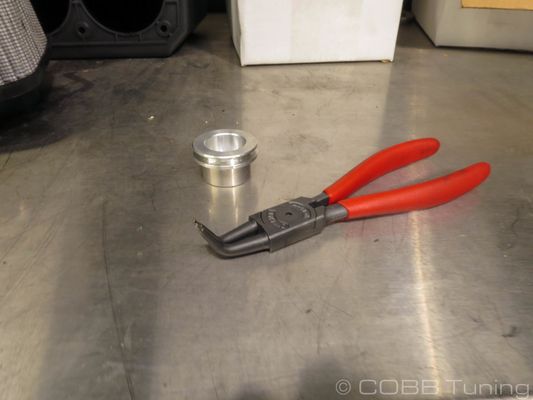
- External Snapring Pliers
Stock Sound Supressor Removal
- Park your car in a smooth level place
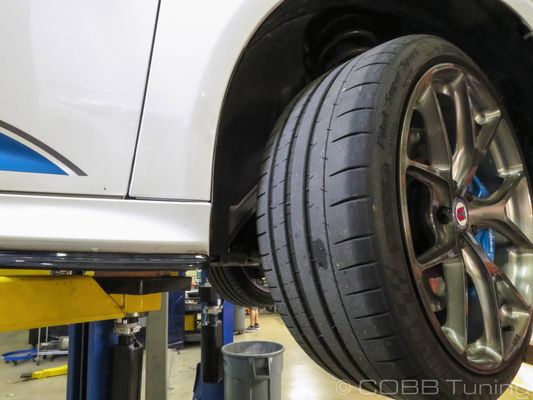
- Jack up your vehicle with the wheels turned to the left
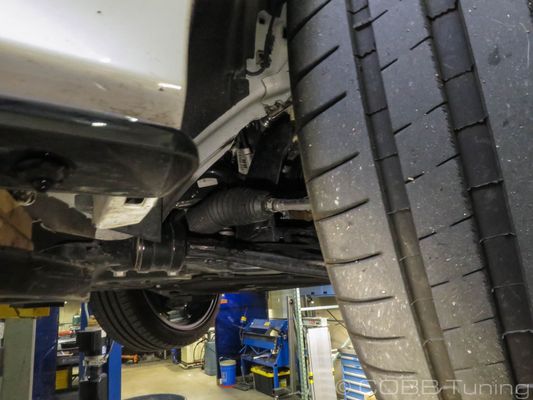
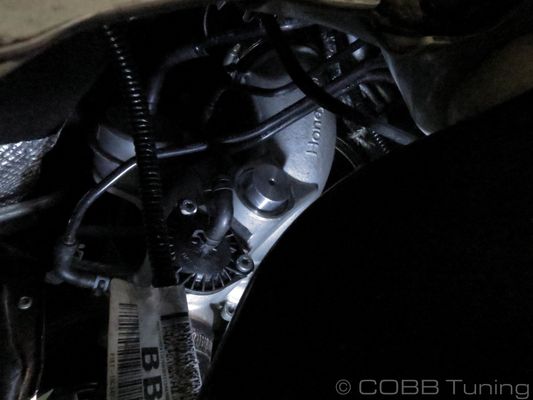
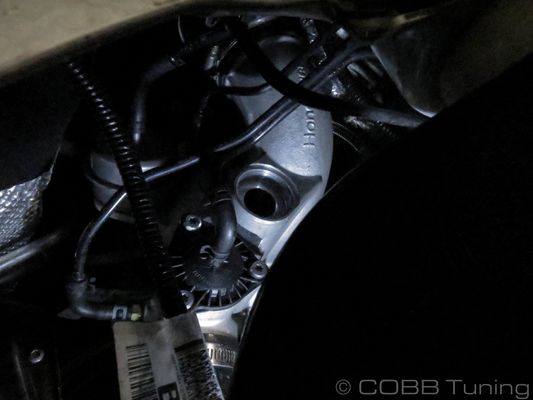
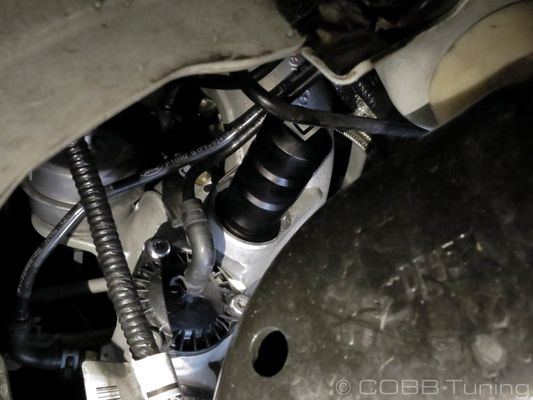
- From the passenger's side you should be able to see the stock sound suppressor
- Once you locate the sound suppressor you'll need to remove the snap-ring. It can take a little bit of twisting to do this and can sometimes be easier with the undertray removed.
- With the snap-ring removed you can easily remove the suppressor, if it's stuck from road grime you can thread a m5 bolt into it and remove it from the turbo.
- Now lubricate the o-ring with the provided lubricant and install it onto the sound suppressor.
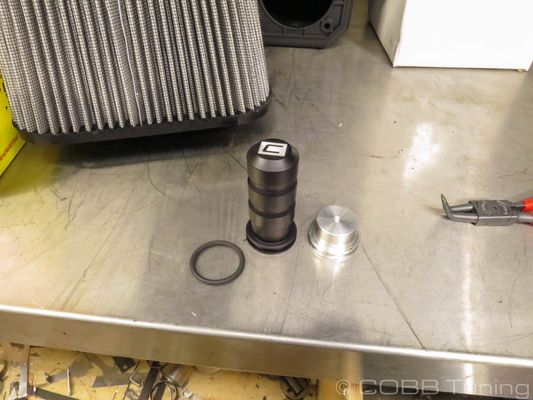
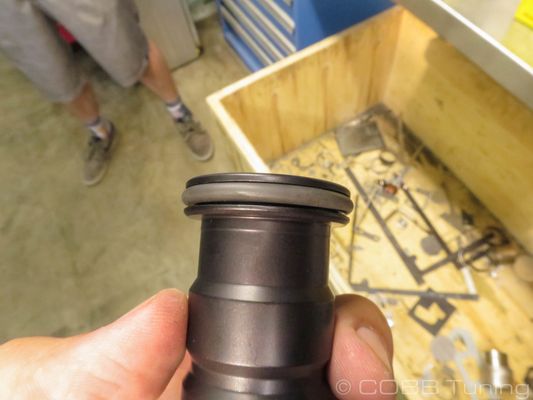
- With the o-ring installed and lubricated you can put the new COBB Sound Suppression Chamber in place.
- Go ahead and re-install the o-ring by placing it over the suppressor and sliding it downwards before expanding it using your snap-ring pliers and pushing down on the back side with a screwdriver to get it to movedown evenly.
- You're all done! Go out and enjoy!
Links
MAP Notes
Helps to figure out which map you should be on given the parts installed to your car
Links for related parts| Insert excerpt | ||||||
|---|---|---|---|---|---|---|
|