
Part Number – Part Name
Vehicle Coverage
[placeholder]
Congratulations on your purchase of the COBB Tuning xxxxxxxxxxxxx! The following instructions will assist you through the installation process. Please read them BEFORE beginning the install to familiarize yourself with the steps and tools needed. If you feel you cannot properly perform this installation, we HIGHLY recommend you take the vehicle to a qualified and experienced automotive technician.
IMPORTANT! Installing this kit will require custom tuning or utilizing an appropriate Stage Power Package map if you have a matching mechanical configuration. Please consult with COBB or an authorized ProTuner in your area if you have any questions!
Table of Contents
| Table of Contents |
|---|
Parts List
Tools Needed
Sockets
3/8"
- 3/8" 7mm socket
3/8" 11mm socket
- 3/8" 16mm socket
- 3/8" 17mm socket
- 3/8" 18mm socket
- 3/8" 19mm socket
- 3/8" 21mm socket
- 3/8" 14mm deep socket
- 3/8" 15mm deep socket
3/8" T30 Torx Bit3/8" T40 Torx Bit
- 3/8" T50 Torx Bit
- 3/8" E10 inverted Torx
- 3/8" E12 inverted Torx
- 3/8" E14 inverted Torx
- 3/8" E18 inverted Torx
- 3/8" 4mm Allen Socket
- 3/8" 5 mm Allen Socket 3/8" 10 mm Allen Socket
1/2"
Hand Tools
Phillips head screwdriverMisc.
Wrenches
- 8mm Ratcheting combination wrench
- 10mm combination wrench
- 11mm combination wrench
- 12mm combination wrench
- 13mm combination wrench
- 14mm combination wrench
- 15mm combination wrench
- 16mm combination wrench
- 17mm combination wrench
- 18mm combination wrench
- 19mm combination wrench
- 21mm combination wrench
Section 1
- Park your car in a flat level area
- Bring the top back 100mm
- Remove the wind screen between the seat backs by depressing the buttons on each side.
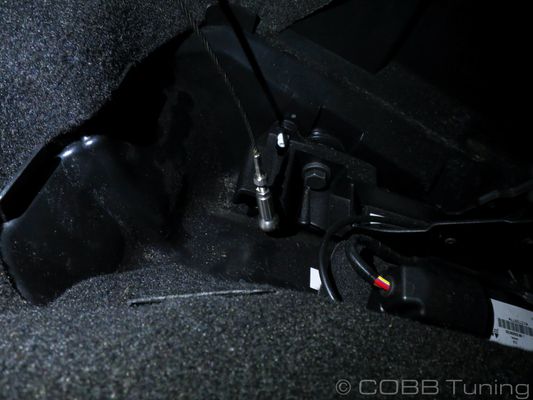
- Peak through the rear corners and find where the cables are attached and unhook them on each side.
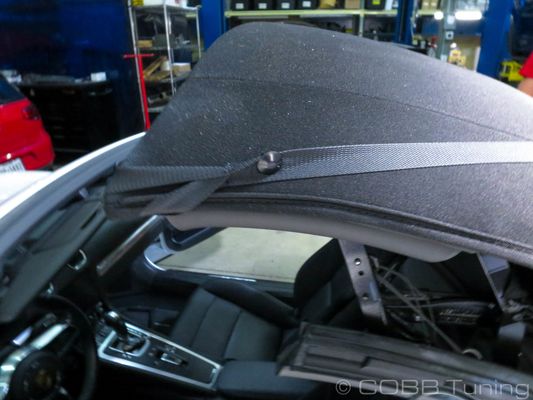
- With the cables uninstalled you can open the lid slightly more and pop the retaining strap free.
- With a friend holding the rear glass up slowly bring the top back until you can get the strap over the corner in order to hold the glass up and out of the way.
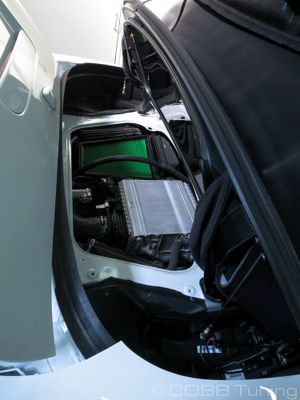
- Now go ahead and pull the carpeting free from the roof storage area.
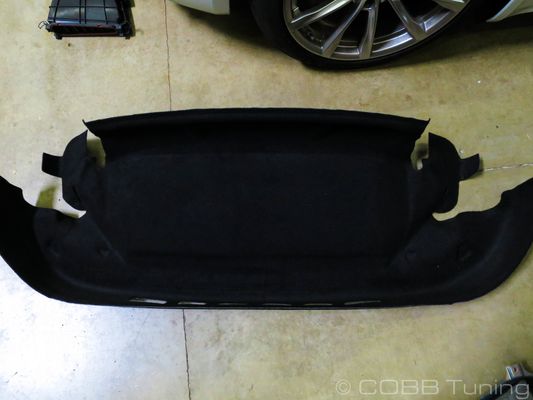
- With the carpeting removed you should now be able to easily see the heat insulating pad, go ahead and remove that as well.
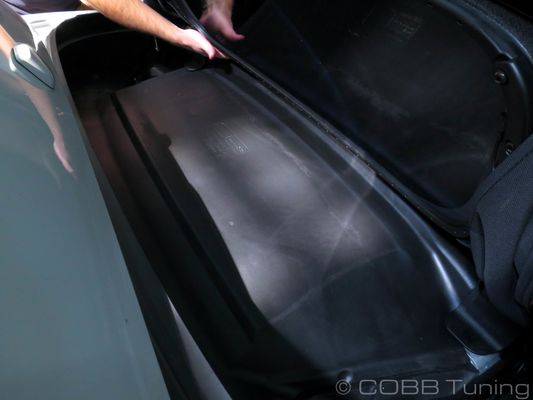
- Remove the 12 T27 bolts holding the hatch in place.
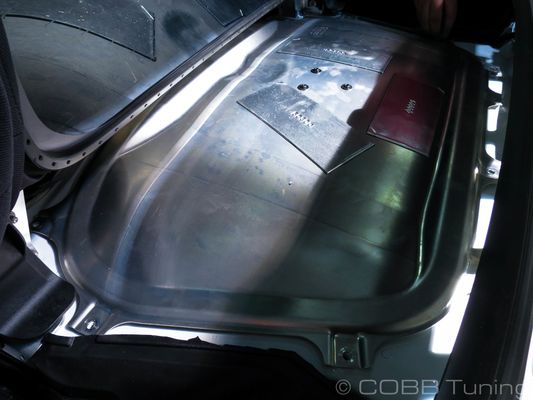
- Remove the hatch from the car.
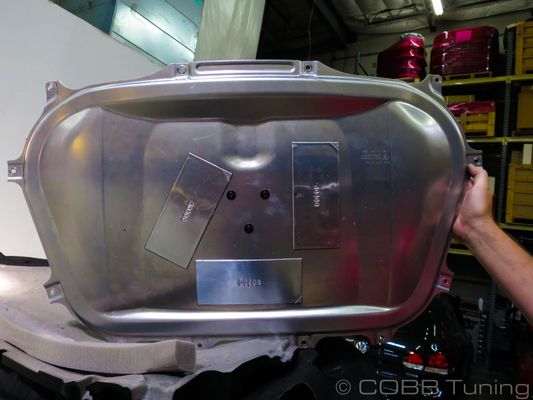
- Remove the T25 screws holding the airbox down and remove the two clips that hold the fresh air intake to it before removing the airbox lid from the car.
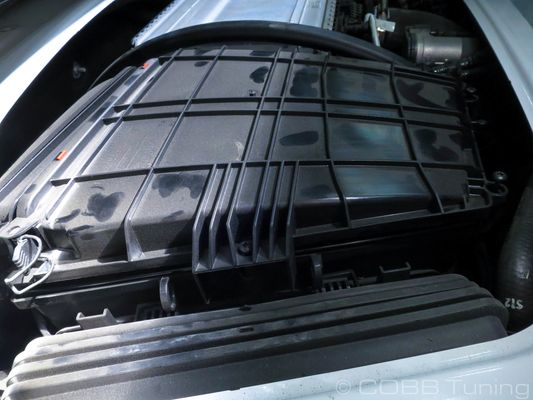
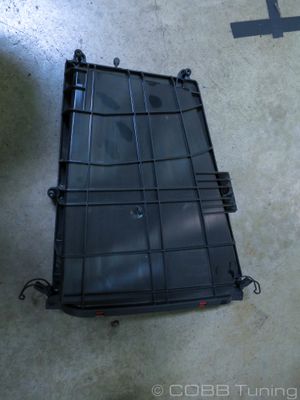
- Pull the old filter out making sure any dirt or debris trapped in it doesn't fall inside.
- Replace the filter with your new one.
- Reinstall everything in the reverse order of removal.
Links
Porsche 718 (982) Map Notes
Helps to figure out which map you should be on given the parts installed to your car
Customer Support
COBB Tuning Customer Support Center
Phone support available 9am to 6pm Monday-Thursday. 9am to 4pm Friday (CST)
866.922.3059