
571100 - MAZDASPEED3 Gen1 SS Cat-Back Exhaust
Mazda3 MPS 2007 - 2009
Mazdaspeed Axela 2007 - 2009
Mazdaspeed3 2007 - 2009
Congratulations on your purchase of the COBB Tuning Mazdaspeed3 cat-back exhaust!! The following instructions will assist you through the installation process. Please read them BEFORE beginning the install to familiarize yourself with the steps and tools needed. If you feel you cannot properly perform this installation, we HIGHLY recommend you take the vehicle to a qualified and experienced automotive technician.
Table of Contents
| Table of Contents |
|---|
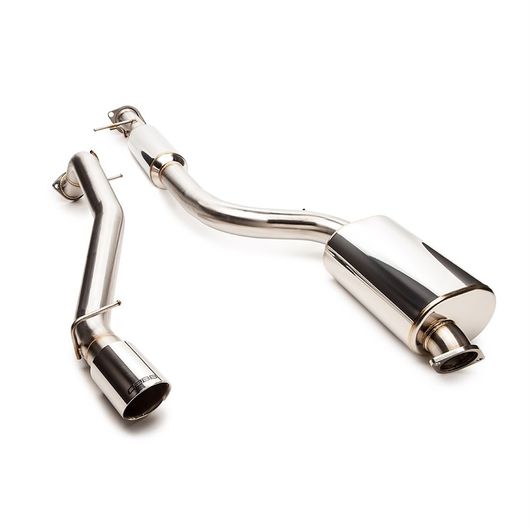
Parts List
- Forward exhaust section
- Middle exhaust section
- Rear exhaust section
- (2) 14mm Headed bolt
- (2) 14mm Headed flange nut
- (1) Exhaust gasket
Tools Needed
3/8" ratchet
3/8" 12mm socket socket
3/8" 14mm socket
- 14mm combination wrench
- Exhaust hanger pliers
- Silicone spray lubricant
- Safety glasses
Removal of Stock Exhaust
| Warning |
|---|
Before removing your stock exhaust system, make sure it is completely cool, failure to do so can result in burning yourself on hot components. |
| Note |
|---|
This installation will require cutting of the factory exhaust or removal of the entire rear subframe and suspension. If you do a clean job cutting it you'll be able to add a flange or slip fit in place to reinstall your stock exhaust more easily later on. |
- Securely lift your car either on a lift or jack stands on a flat level surface. Make sure it is secure before going under the vehicle.
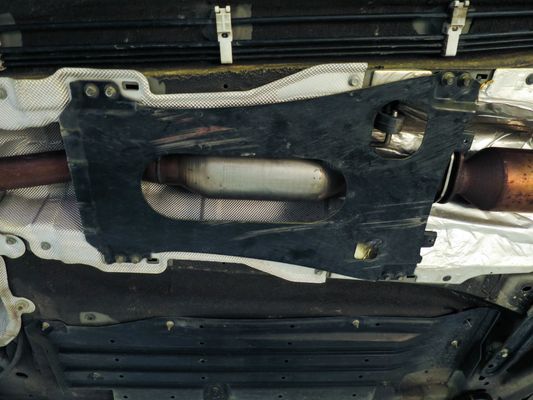
- Remove the eight 12mm bolts holding the mid-chassis brace to the car and set it aside. It is quite heavy so make sure to support it when removing the last bolt.
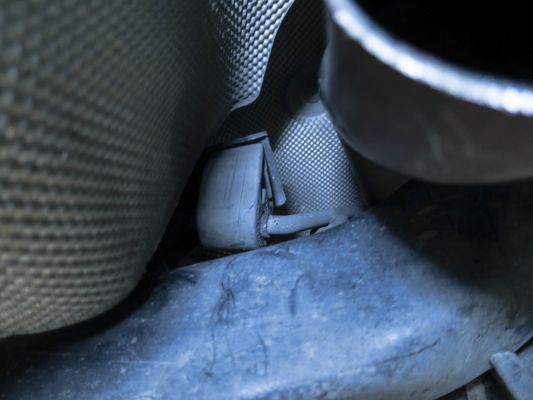
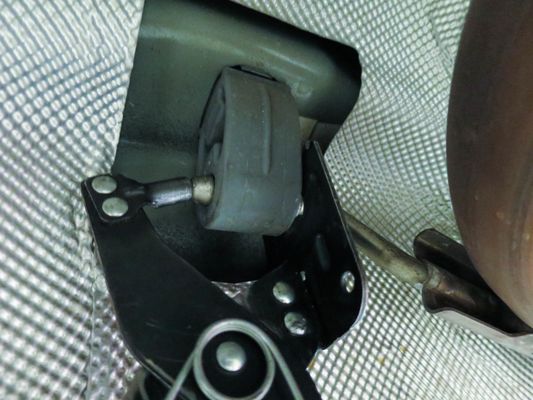
- Spray all of the exhaust hangers with silicone lubricant to help your exhaust slide out more easily.

- Remove the two 14mm nuts and springs holding the mid-pipe to the front of the exhaust system. Set the hardware aside as it will be reused along with the factory donut gasket.
If the stock exhaust gasket is damaged or worn now is a good time to replace it with a new one from the dealer.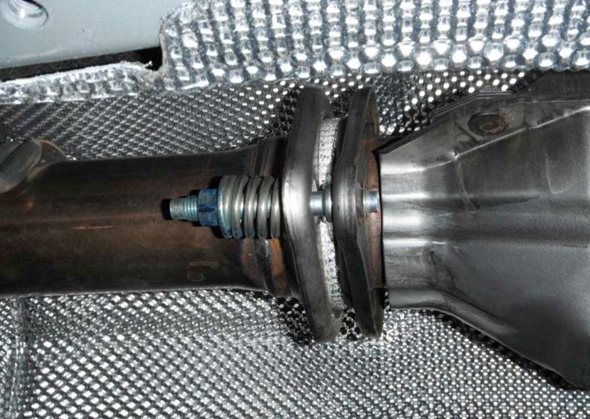
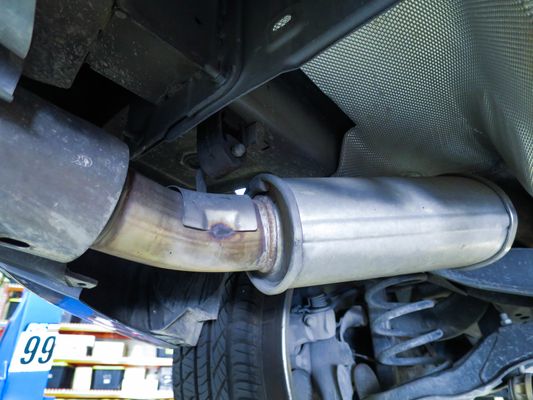
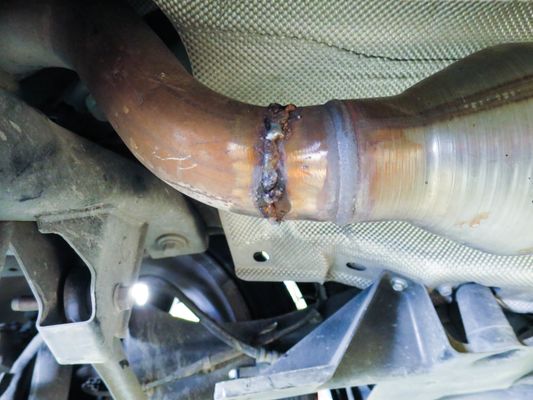
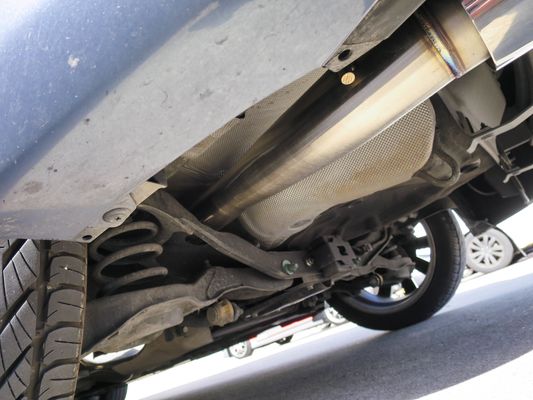
- Take a look at the stock exhaust, we typically cut it near the rear subframe to allow it to slip over easily. As you can tell, this one has been cut previously and welded back together less than perfectly.
- Go ahead and make the cut using a sawzall, exhaust pipe cutter, or other device.
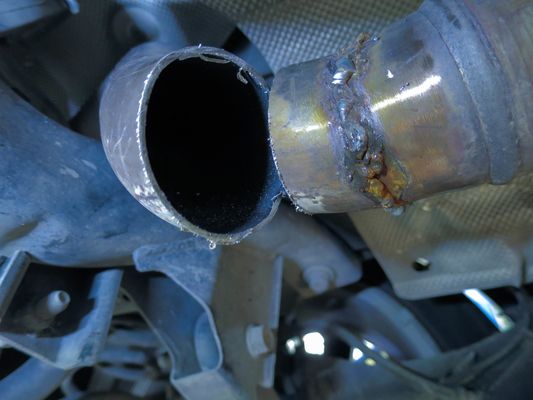
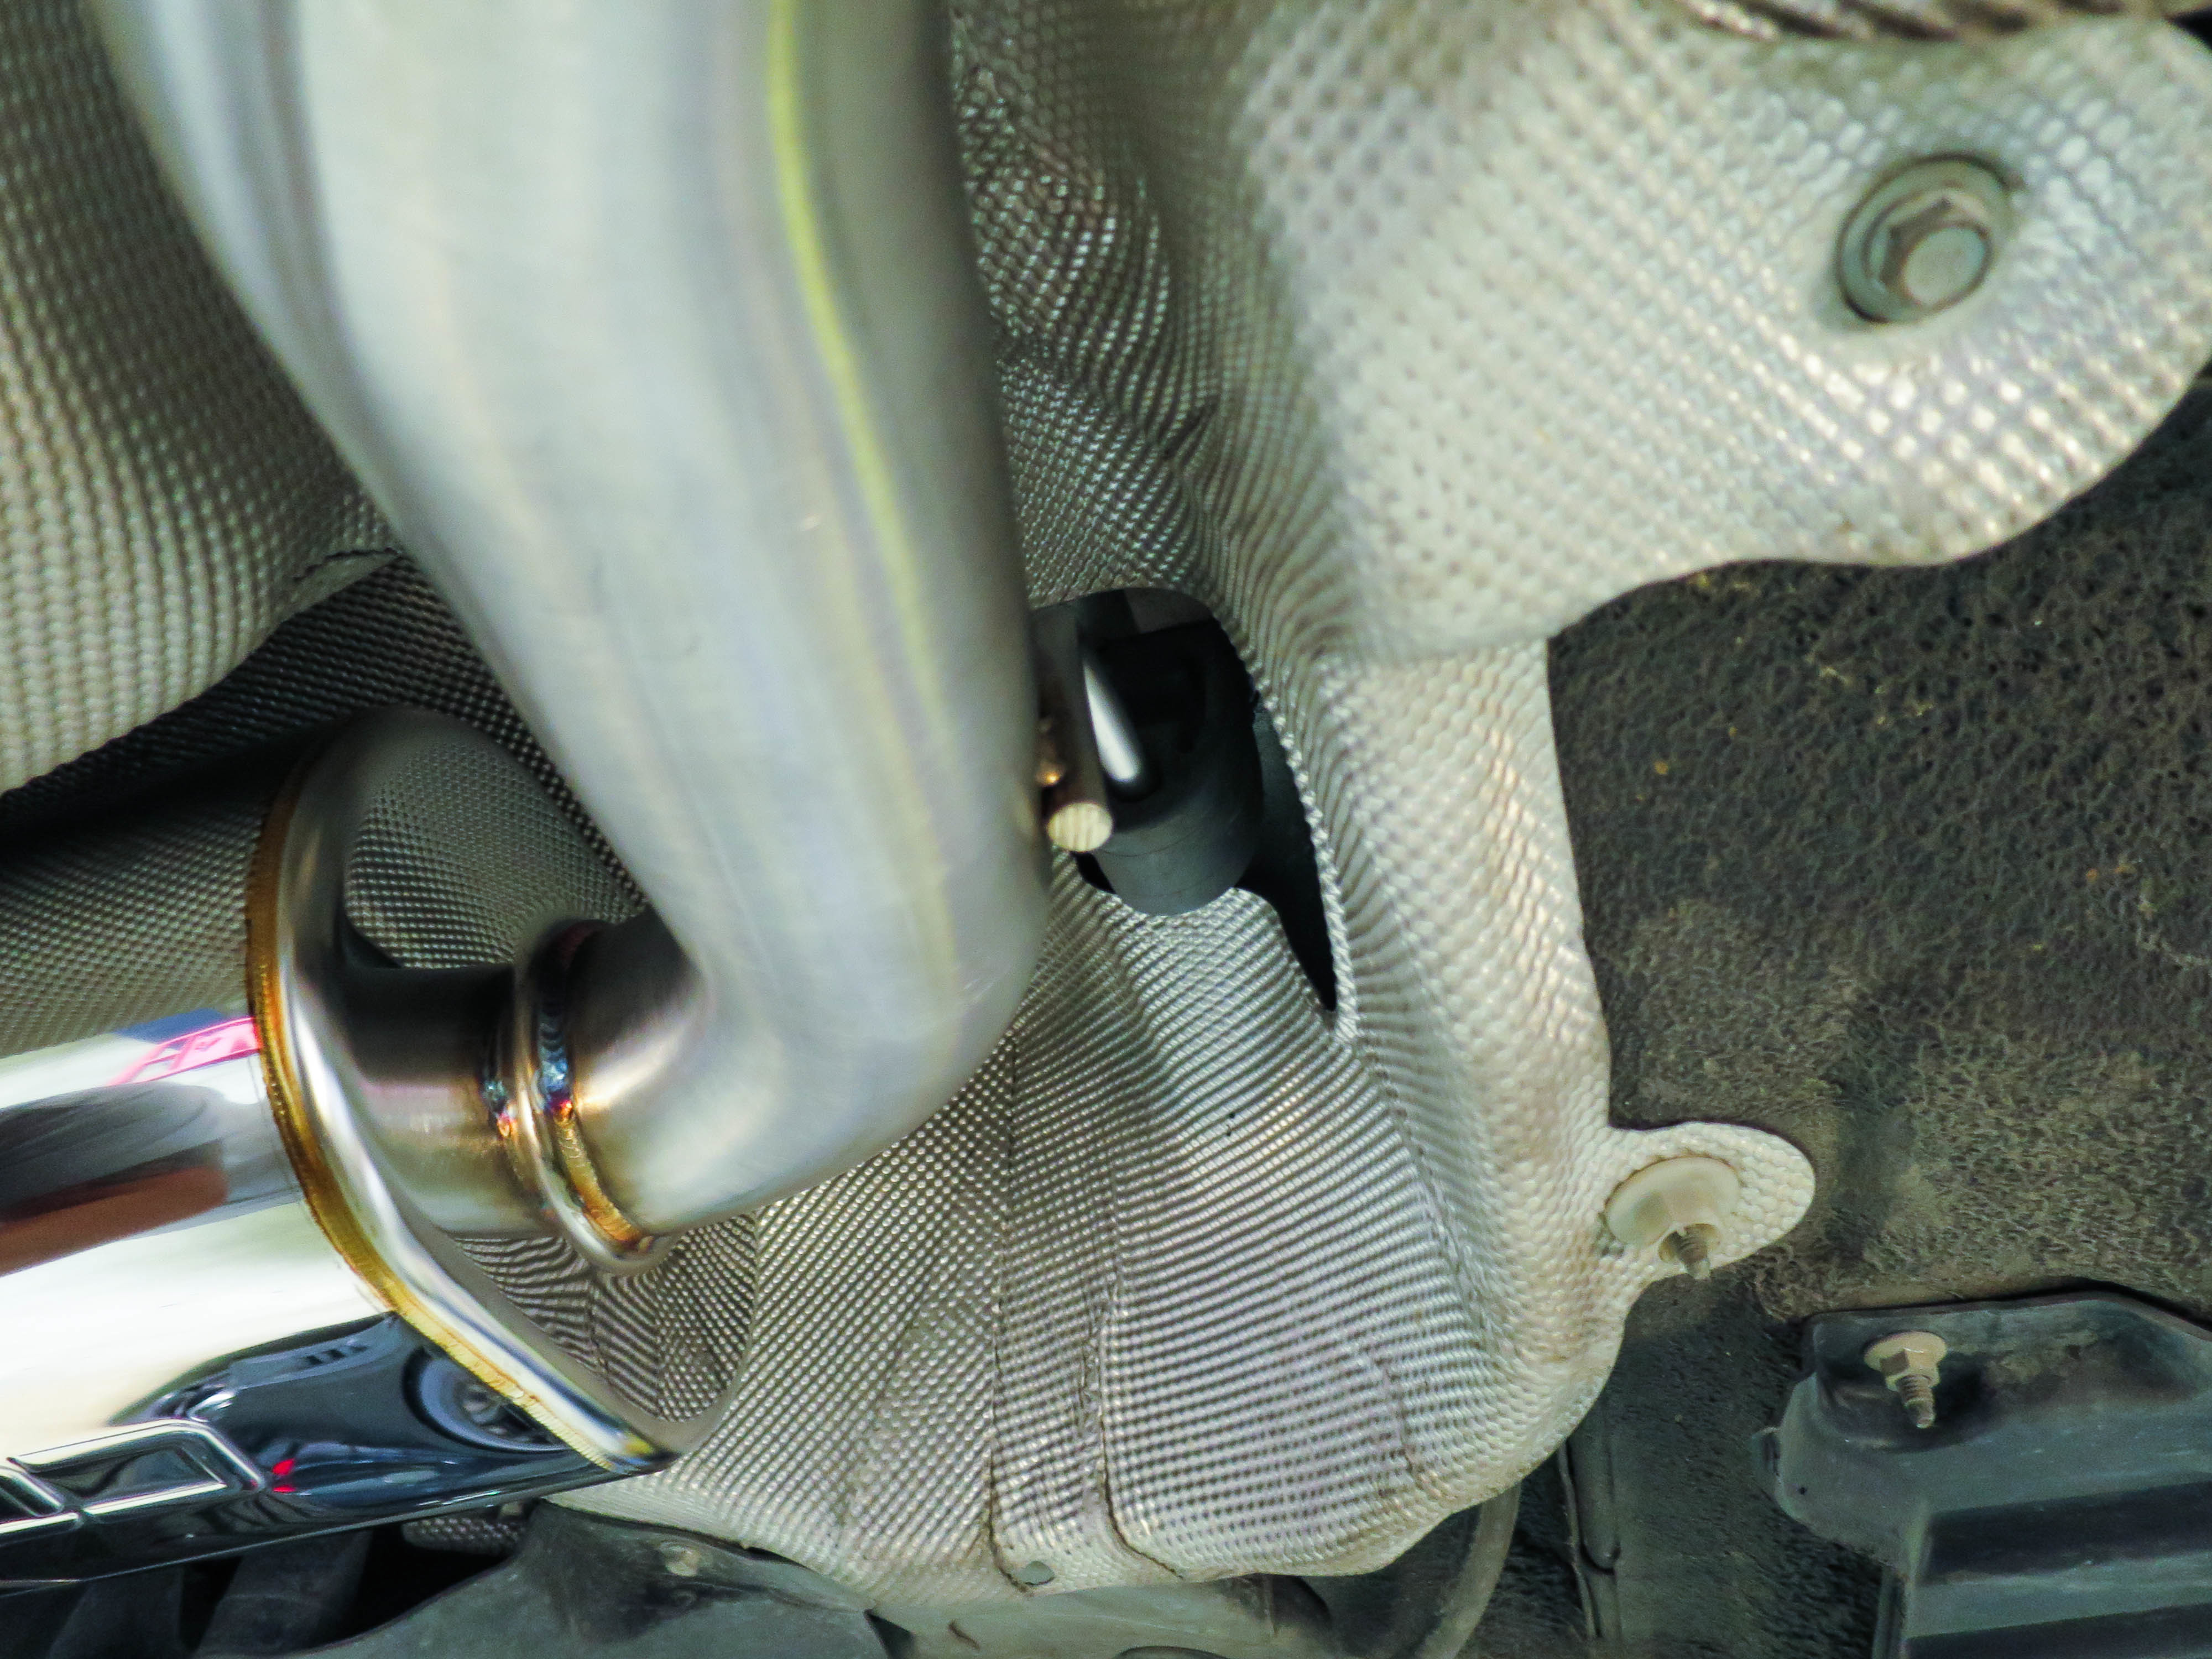
- Now go ahead and remove the rear section from the car. Use your exhaust hanger pliers to remove the exhaust carefully from the car, making sure to suppot it as you go as it is pretty heavy. You may need to bend or remove some of the factory heat shielding to remove it completely.

- When the rear section is out you can go ahead and pull the mid section out of the car as well using the same method.

COBB Cat-back Installation
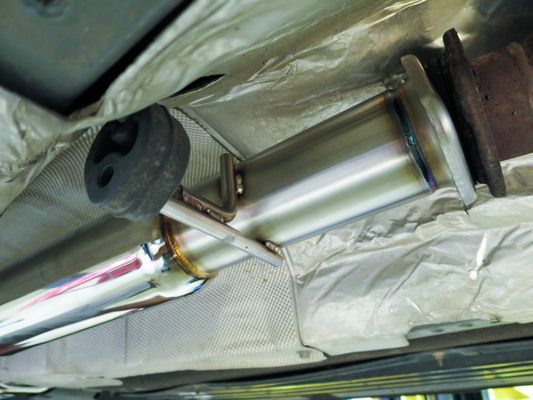
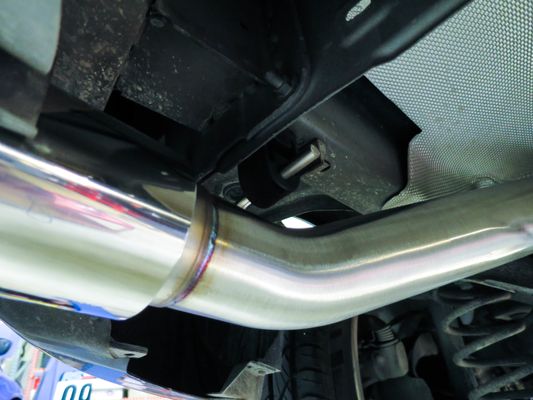
- Raise the front section of the COBB cat-back into place on the hangers, loosely installing them at the front with the factory springs and bolts but don't tighten them down all the way.
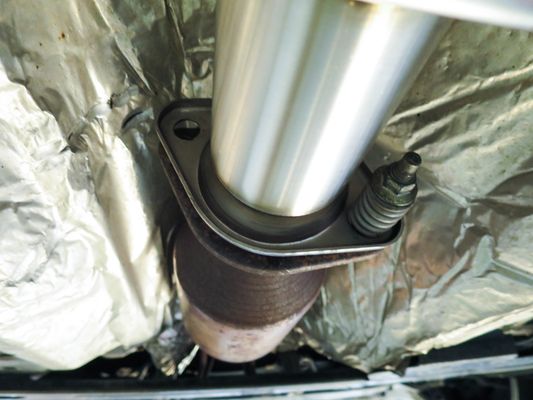
- Do the same with the rear section, hooking it over the subframe before attaching it to the exhaust hangers. Loosely connect it to the mid-pipe using the supplied bolts, nuts and gasket.
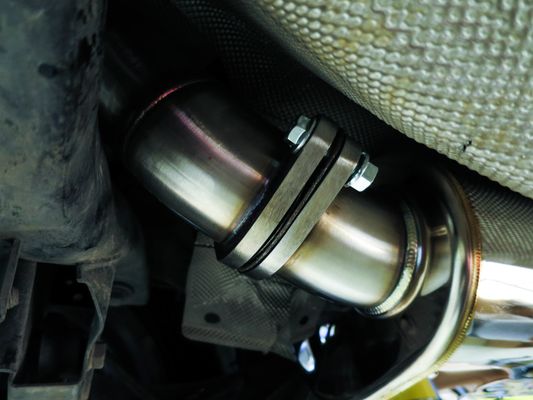
- Now add in the rear tip section of the cat-back into place attaching it to the factory hangers, and using the supplied hardware and gasket to attach it to the mid section.
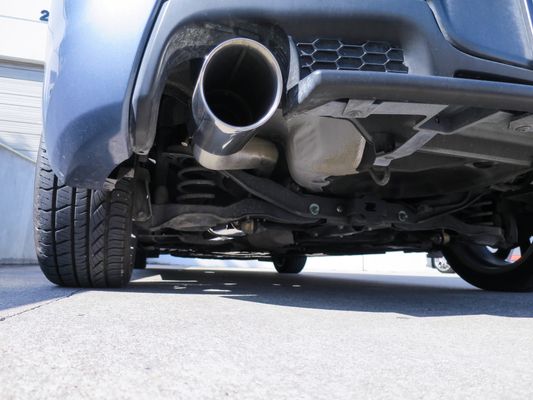
- With the entire exhaust in place, shift things around in order to get the exhaust tip in place and centered. Then go through and tighten things in place starting from the rear and working forward. Keep in mind the flanges may not be lined up perfectly in line with each other to get the tips looking perfect as every vehicle is slightly different.
- Now start it up and check for exhaust leaks, tightening as needed.
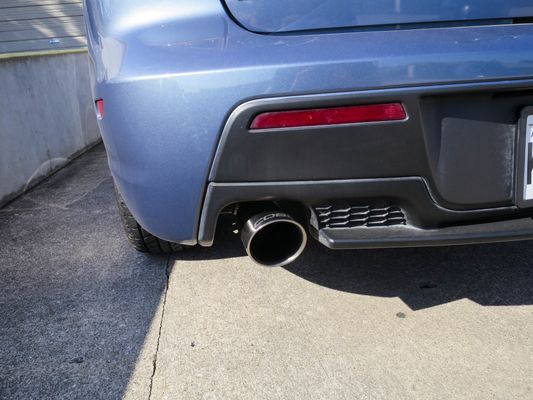
- Now go out and enjoy! You're all done!
Links
COBB Product Install Instructions for Mazda Vehicles
Main Installation Instruction Repository for Mazda Parts
Link to Mazda Map Notes to see what map you should be on given the parts you've added
| Insert excerpt | ||||||
|---|---|---|---|---|---|---|
|