
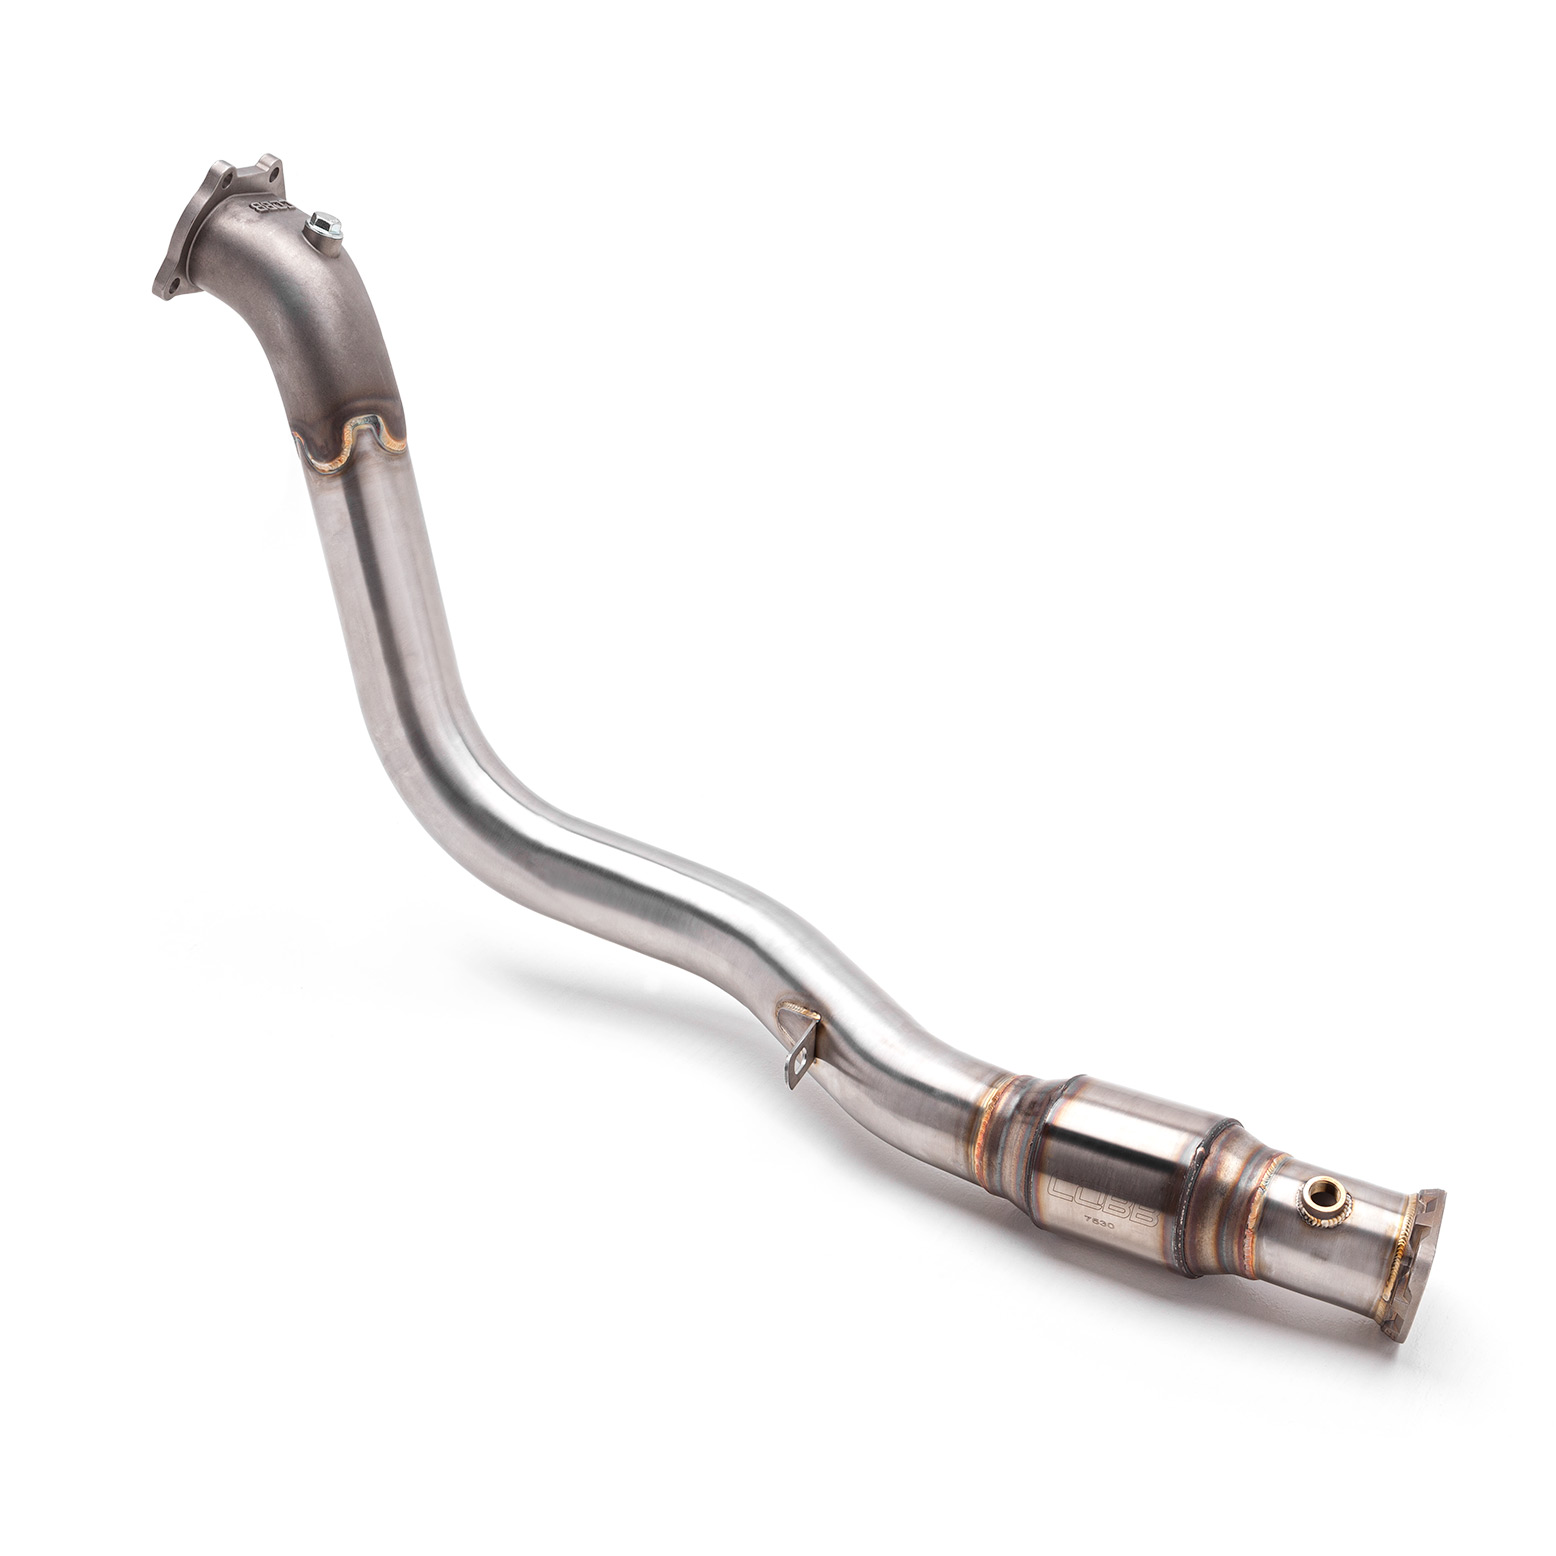
512210 – SUBARU GESI CATTED 3" DOWNPIPE WRX/STI 2002-2007, FORESTER XT 2004-2008
WRX, WRX STI 2002 - 2007
Forester XT 2004 - 2008
Congratulations on your purchase of the COBB Tuning Subaru SS WRX/STO/FXT 3" Downpipe! The following instructions will assist you through the installation process. Please read them BEFORE beginning the install to familiarize yourself with the steps and tools needed. If you feel you cannot properly perform this installation, we HIGHLY recommend you take the vehicle to a qualified and experienced automotive technician.
IMPORTANT! Installing this kit will require custom tuning or utilizing an appropriate Stage Power Package map if you have a matching mechanical configuration. Please consult with COBB or an authorized ProTuner in your area if you have any questions!
Table of Contents
| Table of Contents |
|---|
Parts List
- COBB Catted Downpipe
- O2 Sensor Bung Plug
- Rear Exhaust Adapter
- Rear 3" Gasket
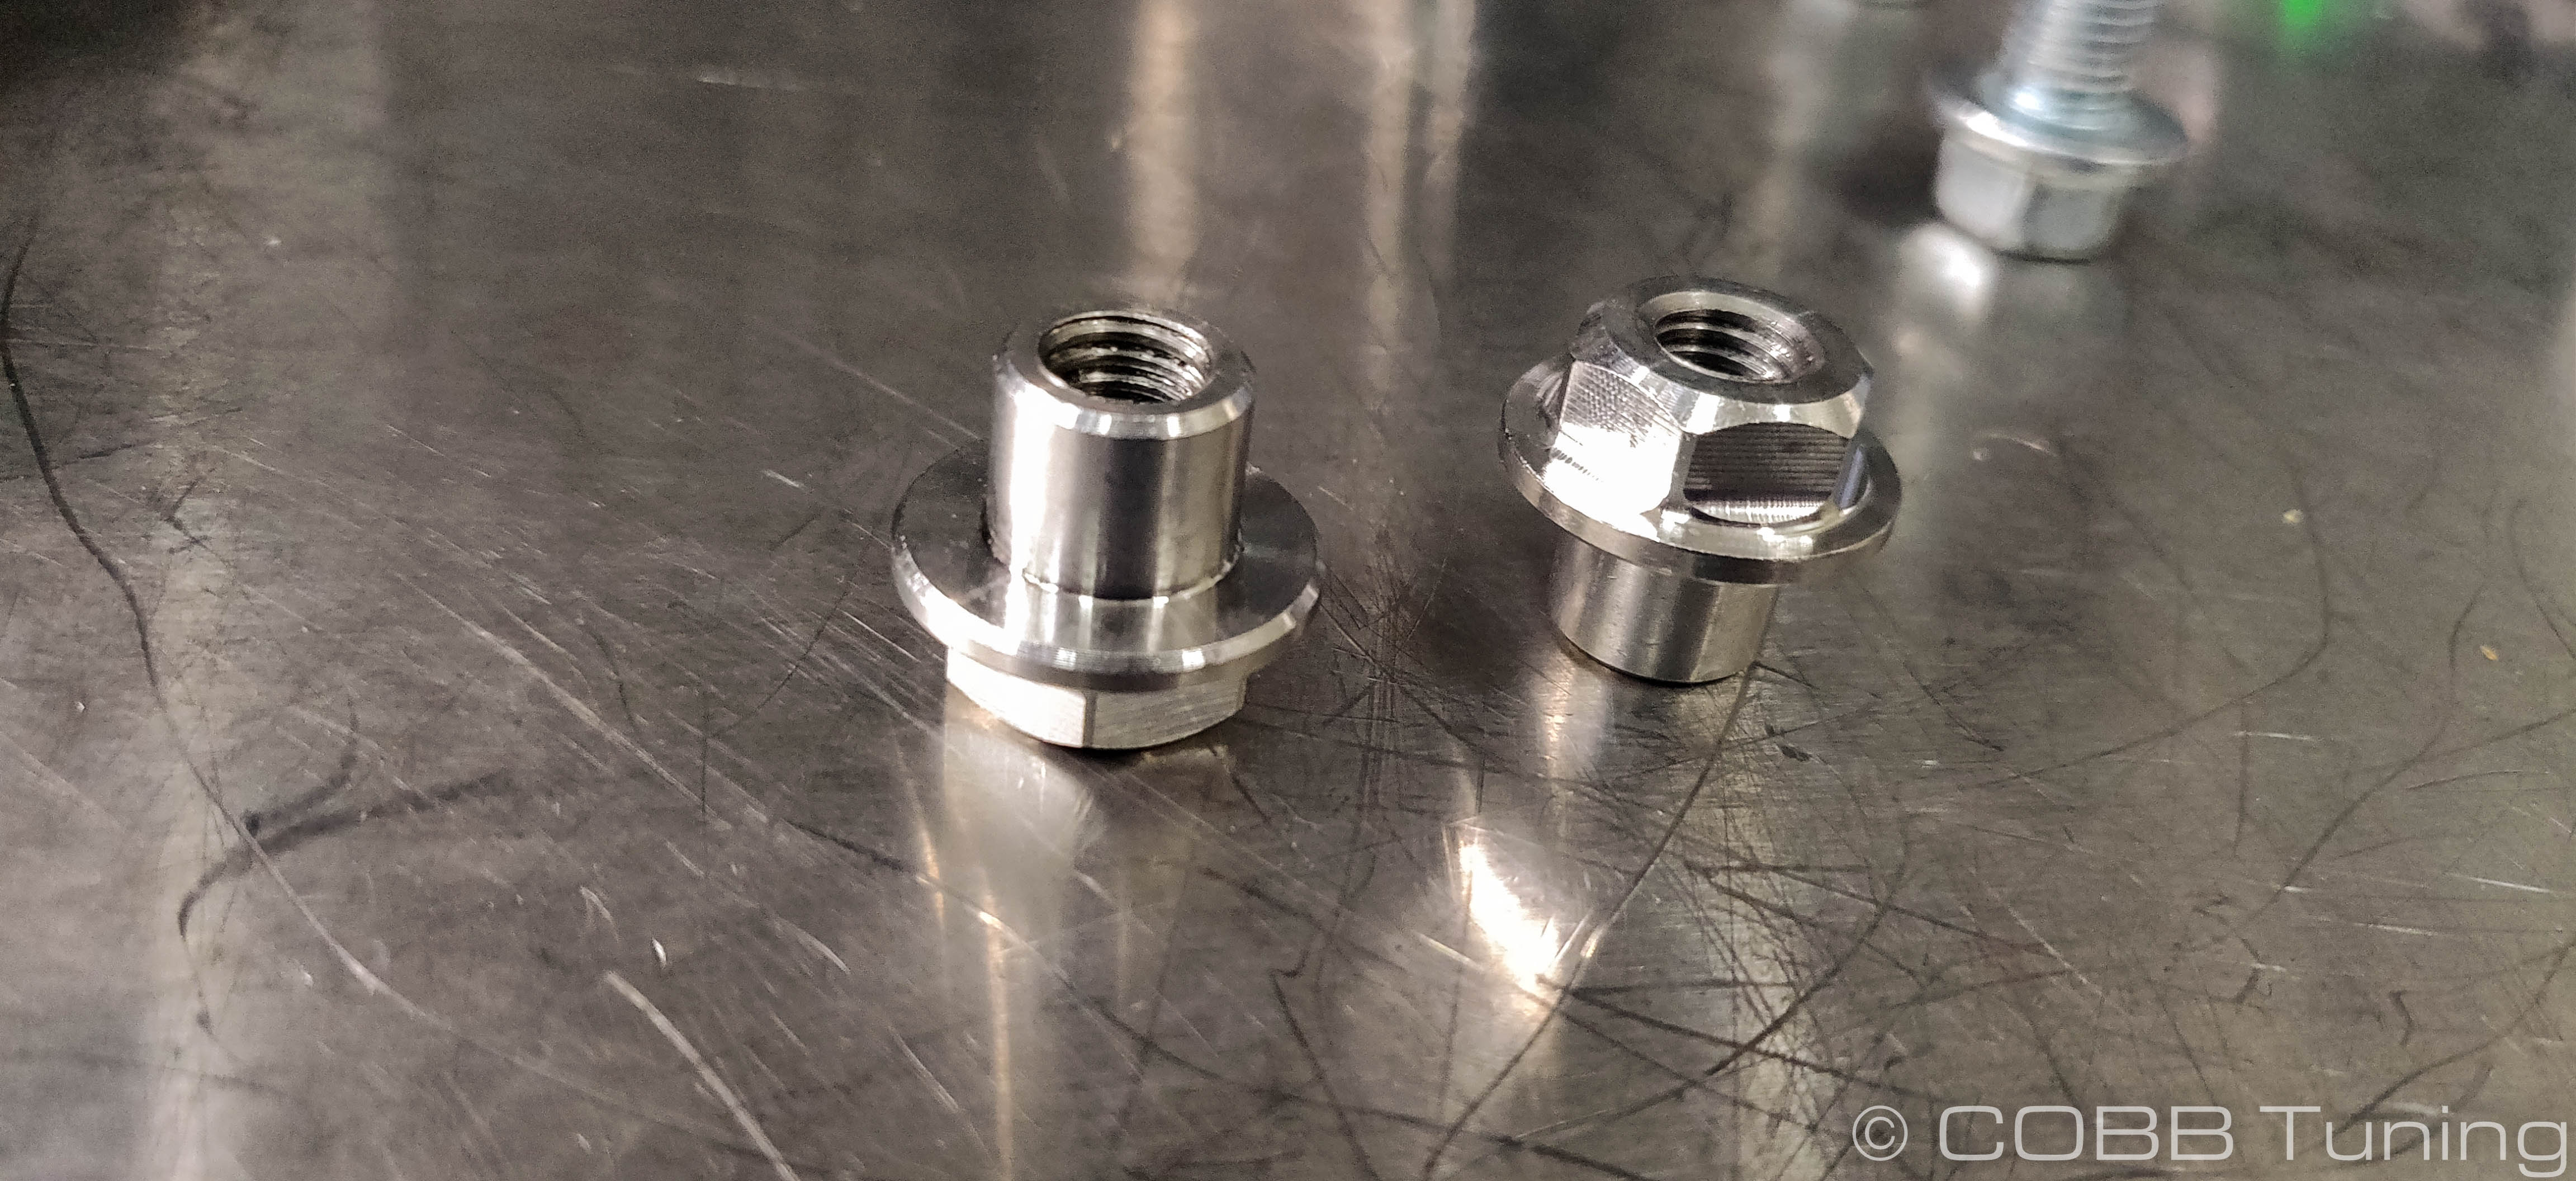
- COBB Downpipe Nuts
OEM Parts (as needed)
- Rear Downpipe Donut Gasket
- Subaru PN 44022AA123
- Subaru PN 44022AA123
- Downpipe to Turbo Gasket
- Subaru PN 44022AA180
- Subaru PN 44022AA180
- Front Spring Bolts
- Subaru PN 44059AA010
- Subaru PN 44059AA010
- Front Bolt Springs
- Subaru PN 44044AA010
Tools Needed
Vehicle Prep.
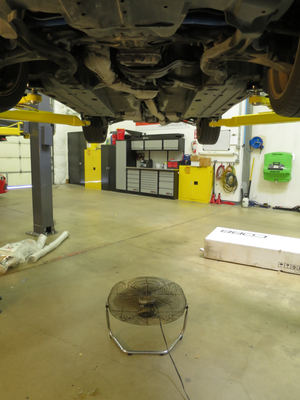
- In a flat, level area, put the car up on jack stands
- Allow the vehicle to cool down.
- Once it's cool, go ahead and spray penetrating fluid on all of the bolts for the downpipe where it meets the exhaust and all of the heat shield bolts. Allow it to sit for 30 minutes or more. (These bolts are very prone to breakage so take your time! In many cases letting it set with the fluid on the bolts overnight is recommended.)
Intercooler Removal
| Insert excerpt | ||||
|---|---|---|---|---|
|
Heatshield Removal
| Insert excerpt | ||||
|---|---|---|---|---|
|
Downpipe Removal
- Apply penetrating oil to the bolts on the downpipe. Allow it to sit for a reasonable amount of time before removing.
- Using a 14mm wrench remove the two 14mm nuts and bolts as well as the three 14mm nuts attaching the downpipe to the turbo. Save these as well as the bracket that held the heatshield for reuse with the COBB Downpipe.
- Remove the 14mm bolt holding the downpipe to the transmission under the car. This bolt is not used on the COBB downpipe. On some vehicle there may be additional heat shielding preventing access to the bolt, these can be removed.
- Remove the spring bolts holding the downpipe to your cat-back. Save them for reuse later.
- Disconnect the rear O2 sensor wiring harness from the connector attached to the transmission.
- Now that the downpipe is completely loose you should be able to remove it from the car with a little wiggling. If you're having a hard time you can remove the rear piece and remove it in two sections.
- Using a 22mm oxygen sensor wrench or socket remove the stock O2 sensor (This may also be a good candidate for some penetrating oil).
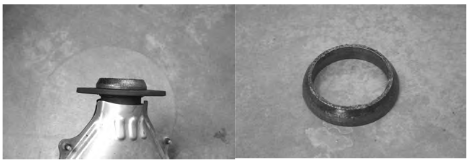
Replacement of Donut Gasket
- In most cases you should be able to reuse the stock donut gasket. To do so slide a flat blade screwdriver under the rear of the gasket and gently pry outwards or turn the screwdriver. Go in little steps all the way around and work it out evenly. Eventually it will pop off.

- If damaged (like ours was) replace the gasket.

- The new gasket should simply slide into place on the new downpipe.
Optional Step: Heat Shield Modification
If you'd like, at this time you can modify the factory heat shield in order to get it to fit with the COBB Downpipe. In order to do so cut off the lower portion of the heatshield along the lines dictated below.
Installation of COBB Downpipe
The COBB Downpipe replaces both of the catalytic converter sections after the turbo with a one piece unit.
- Install the factory O2 sensor in the rear bung of the COBB Downpipe. Use a little anti-seize on the threads, but do not get any on the probe of the sensor.
- Make sure that the bung plug on the cast section of the downpipe is in place and tight. It uses a 10mm Allen-head tool and should be torqued to at least 25 ft-lbs of torque.
- Remove the rear doughnut gasket form the factory downpipe and install it in the same position on the COBB Downpipe. A picture is below for identification purposes. Note: Some aftermarket cat-backs do not use the factory style doughnut gasket . You will use the gasket that should have been provided with that system. Our cat-back retains use of the stock doughnut gasket.
- Place the downpipe into position. It is easiest to slide the cast portion onto the studs first and swing the rear into position, then let the downpipe bracket click into the bracket hanging down from the transmission. You may have to swing the cat-back toward the rear of the car so that the downpipe can swing into position. The downpipe should stay in place while you install the hardware because of the brackets and studs on the turbo.
- Reinstall the bolt that holds the downpipe to the bracket hanging down from the transmission. Leave itloose so that you can install the rest of the hardwareReinstall the bolt that holds the downpipe to the bracket hanging down from the transmission. Leave it loose so that you can install the rest of the hardware.
- If using The COBB 3" catback or stock exhaust you'll take the rear donut gasket off of the factory downpipe and add it on to the provided adapter then insert the expanding end into the downpipe with the supplied 3" gasket. If using a different aftermarket 3" exhaust, you'll use just the provided hardware and supplied 3" MLS gasket.
COBB Catback, Factory Catback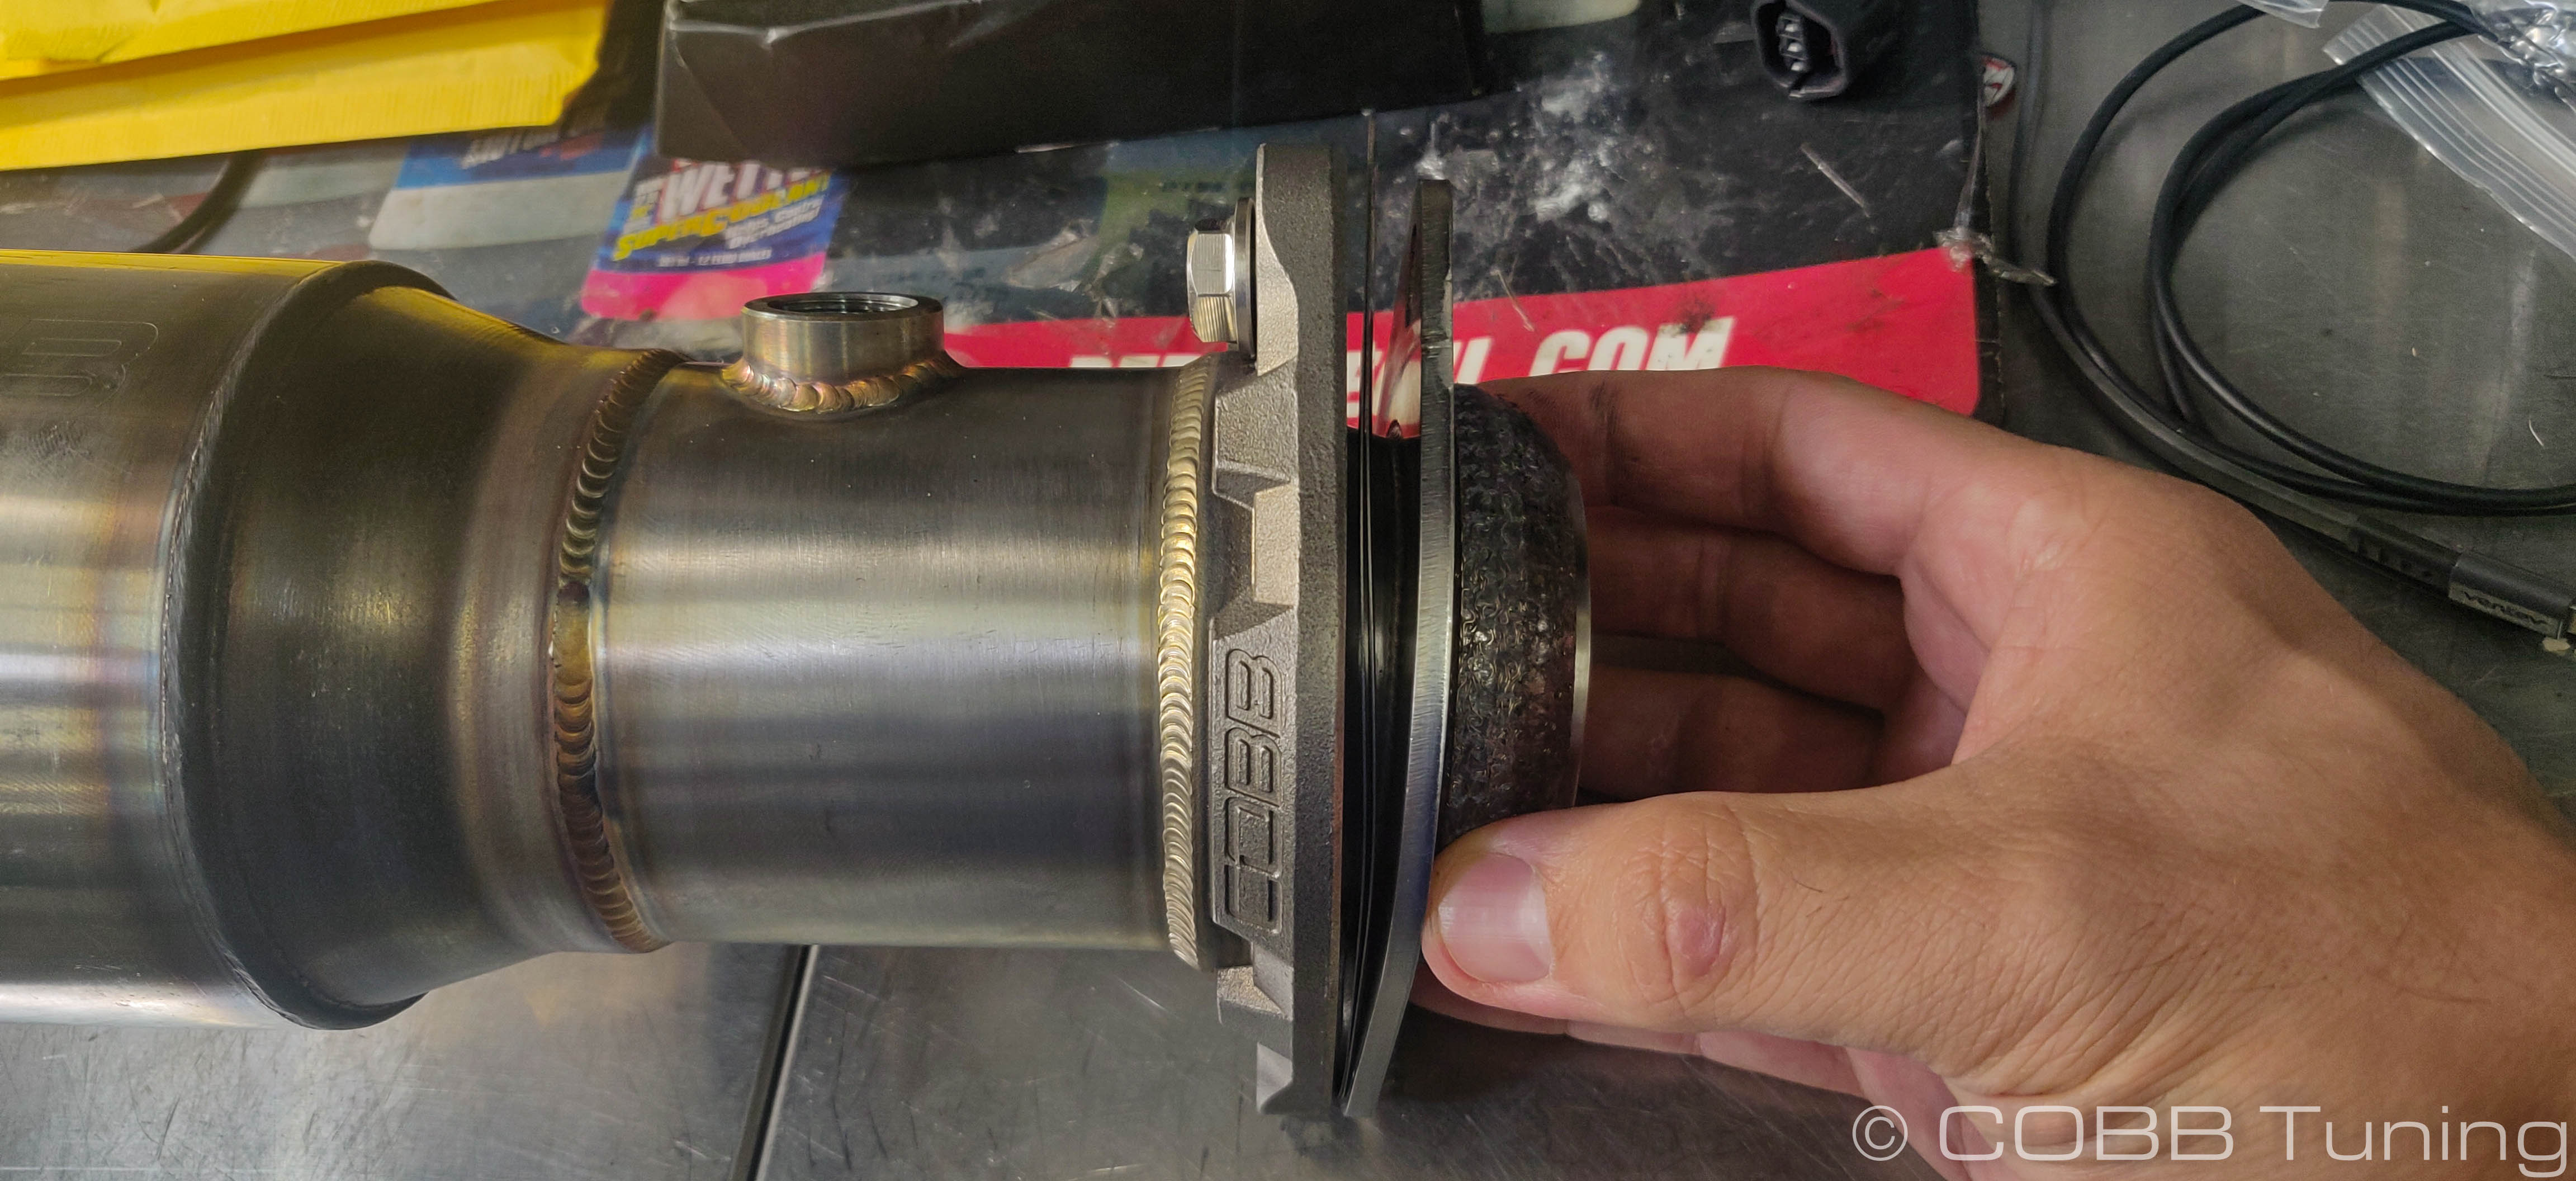

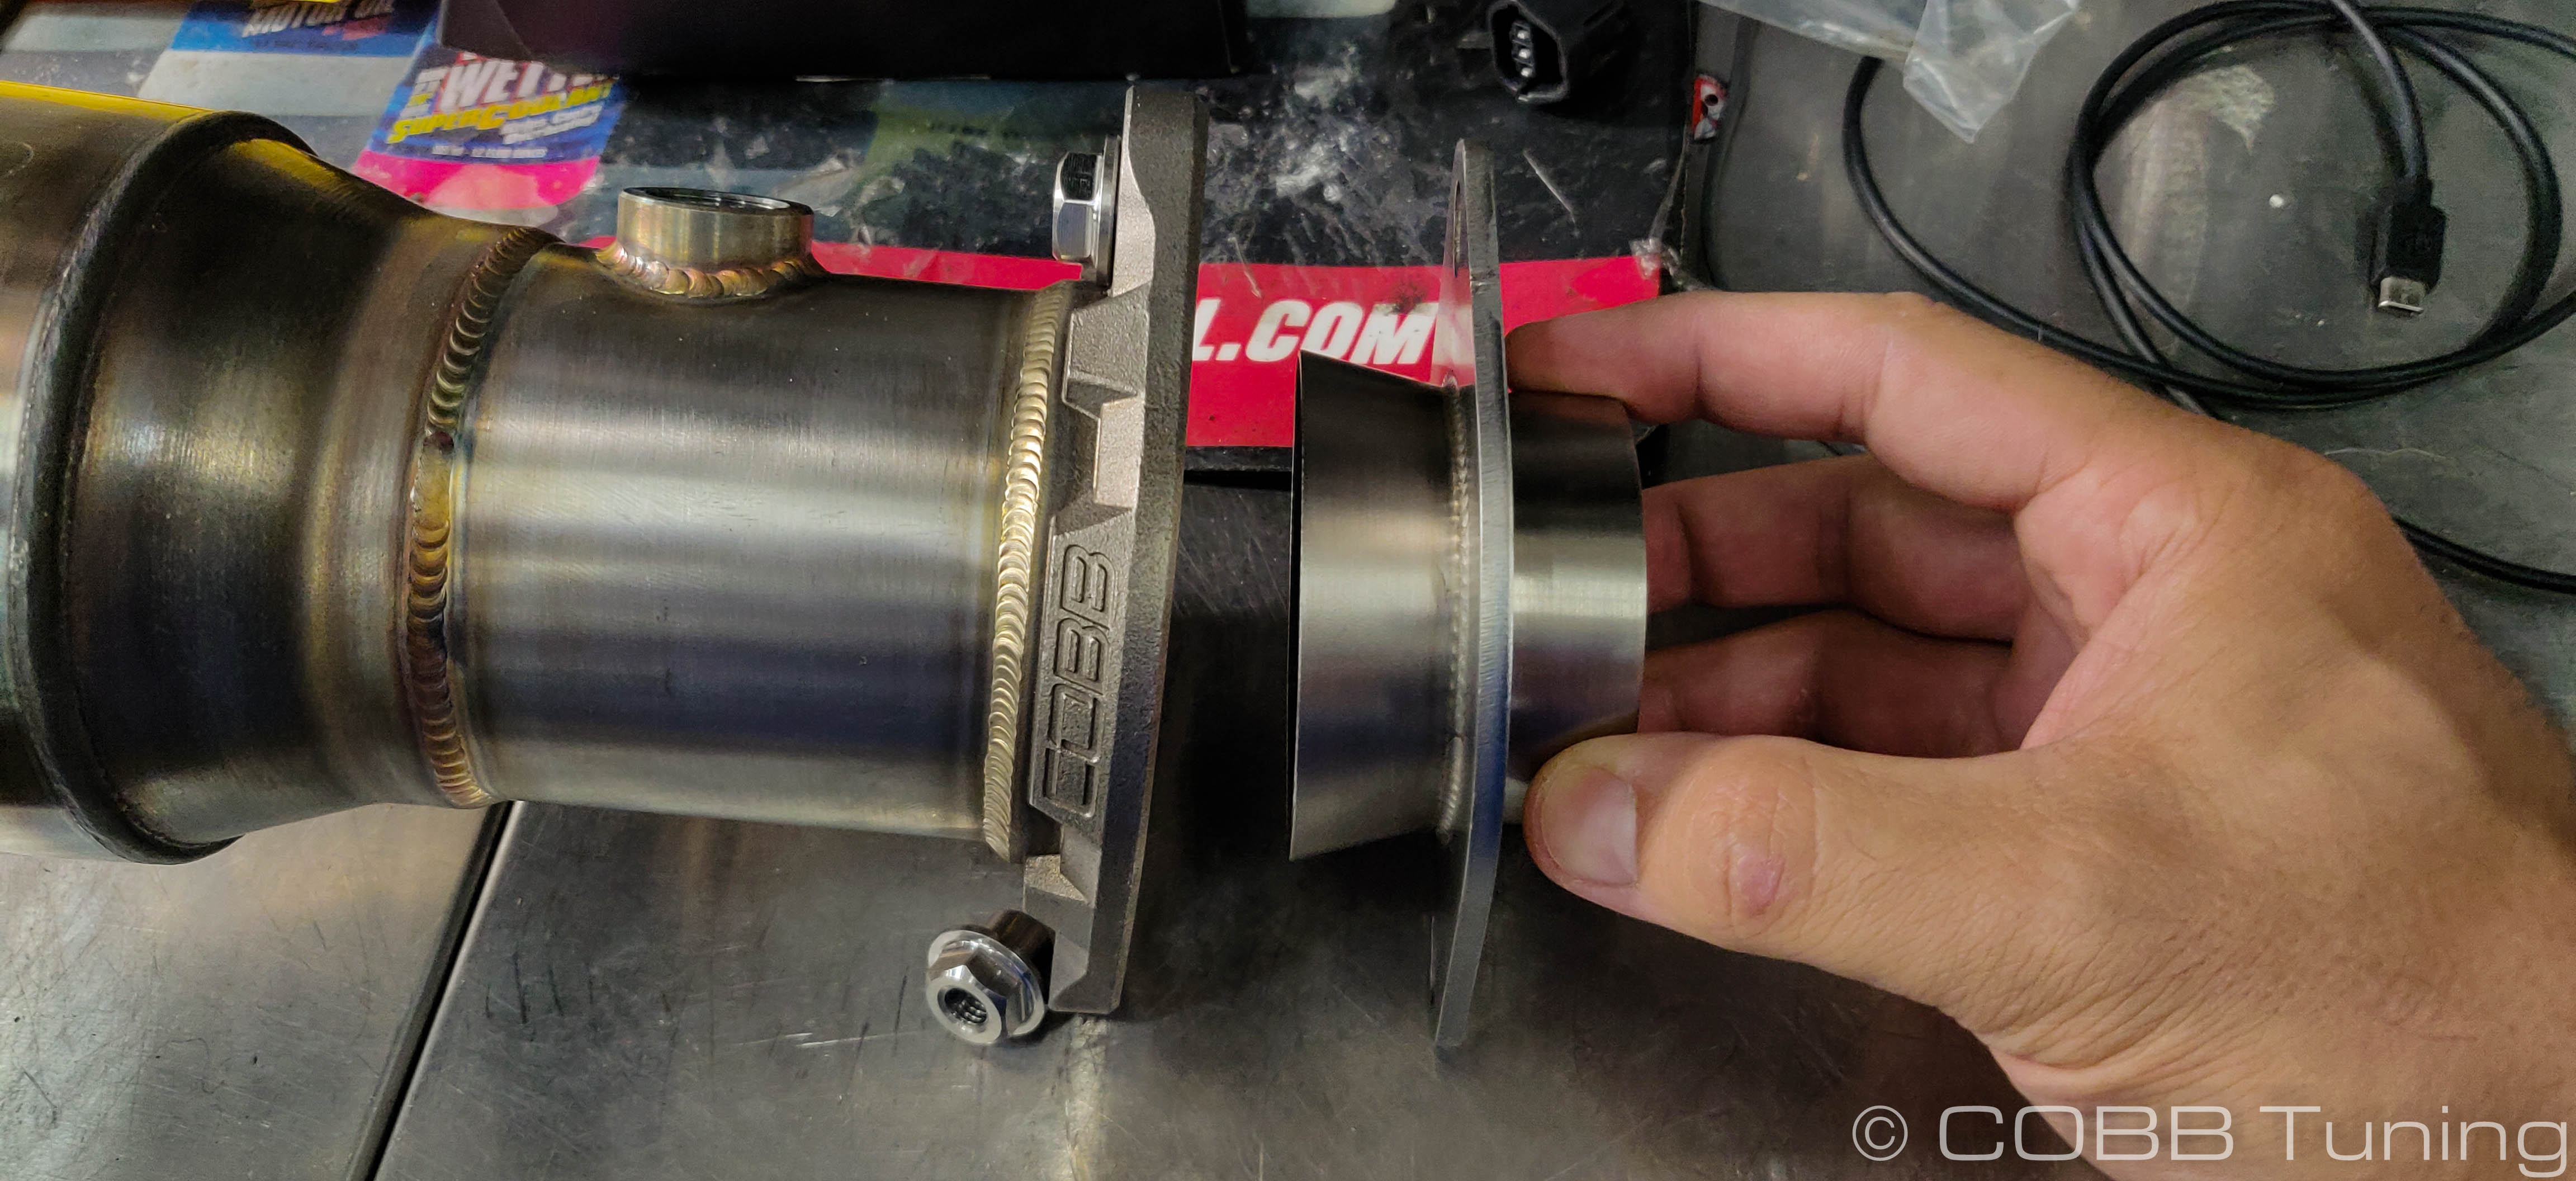
3" Catback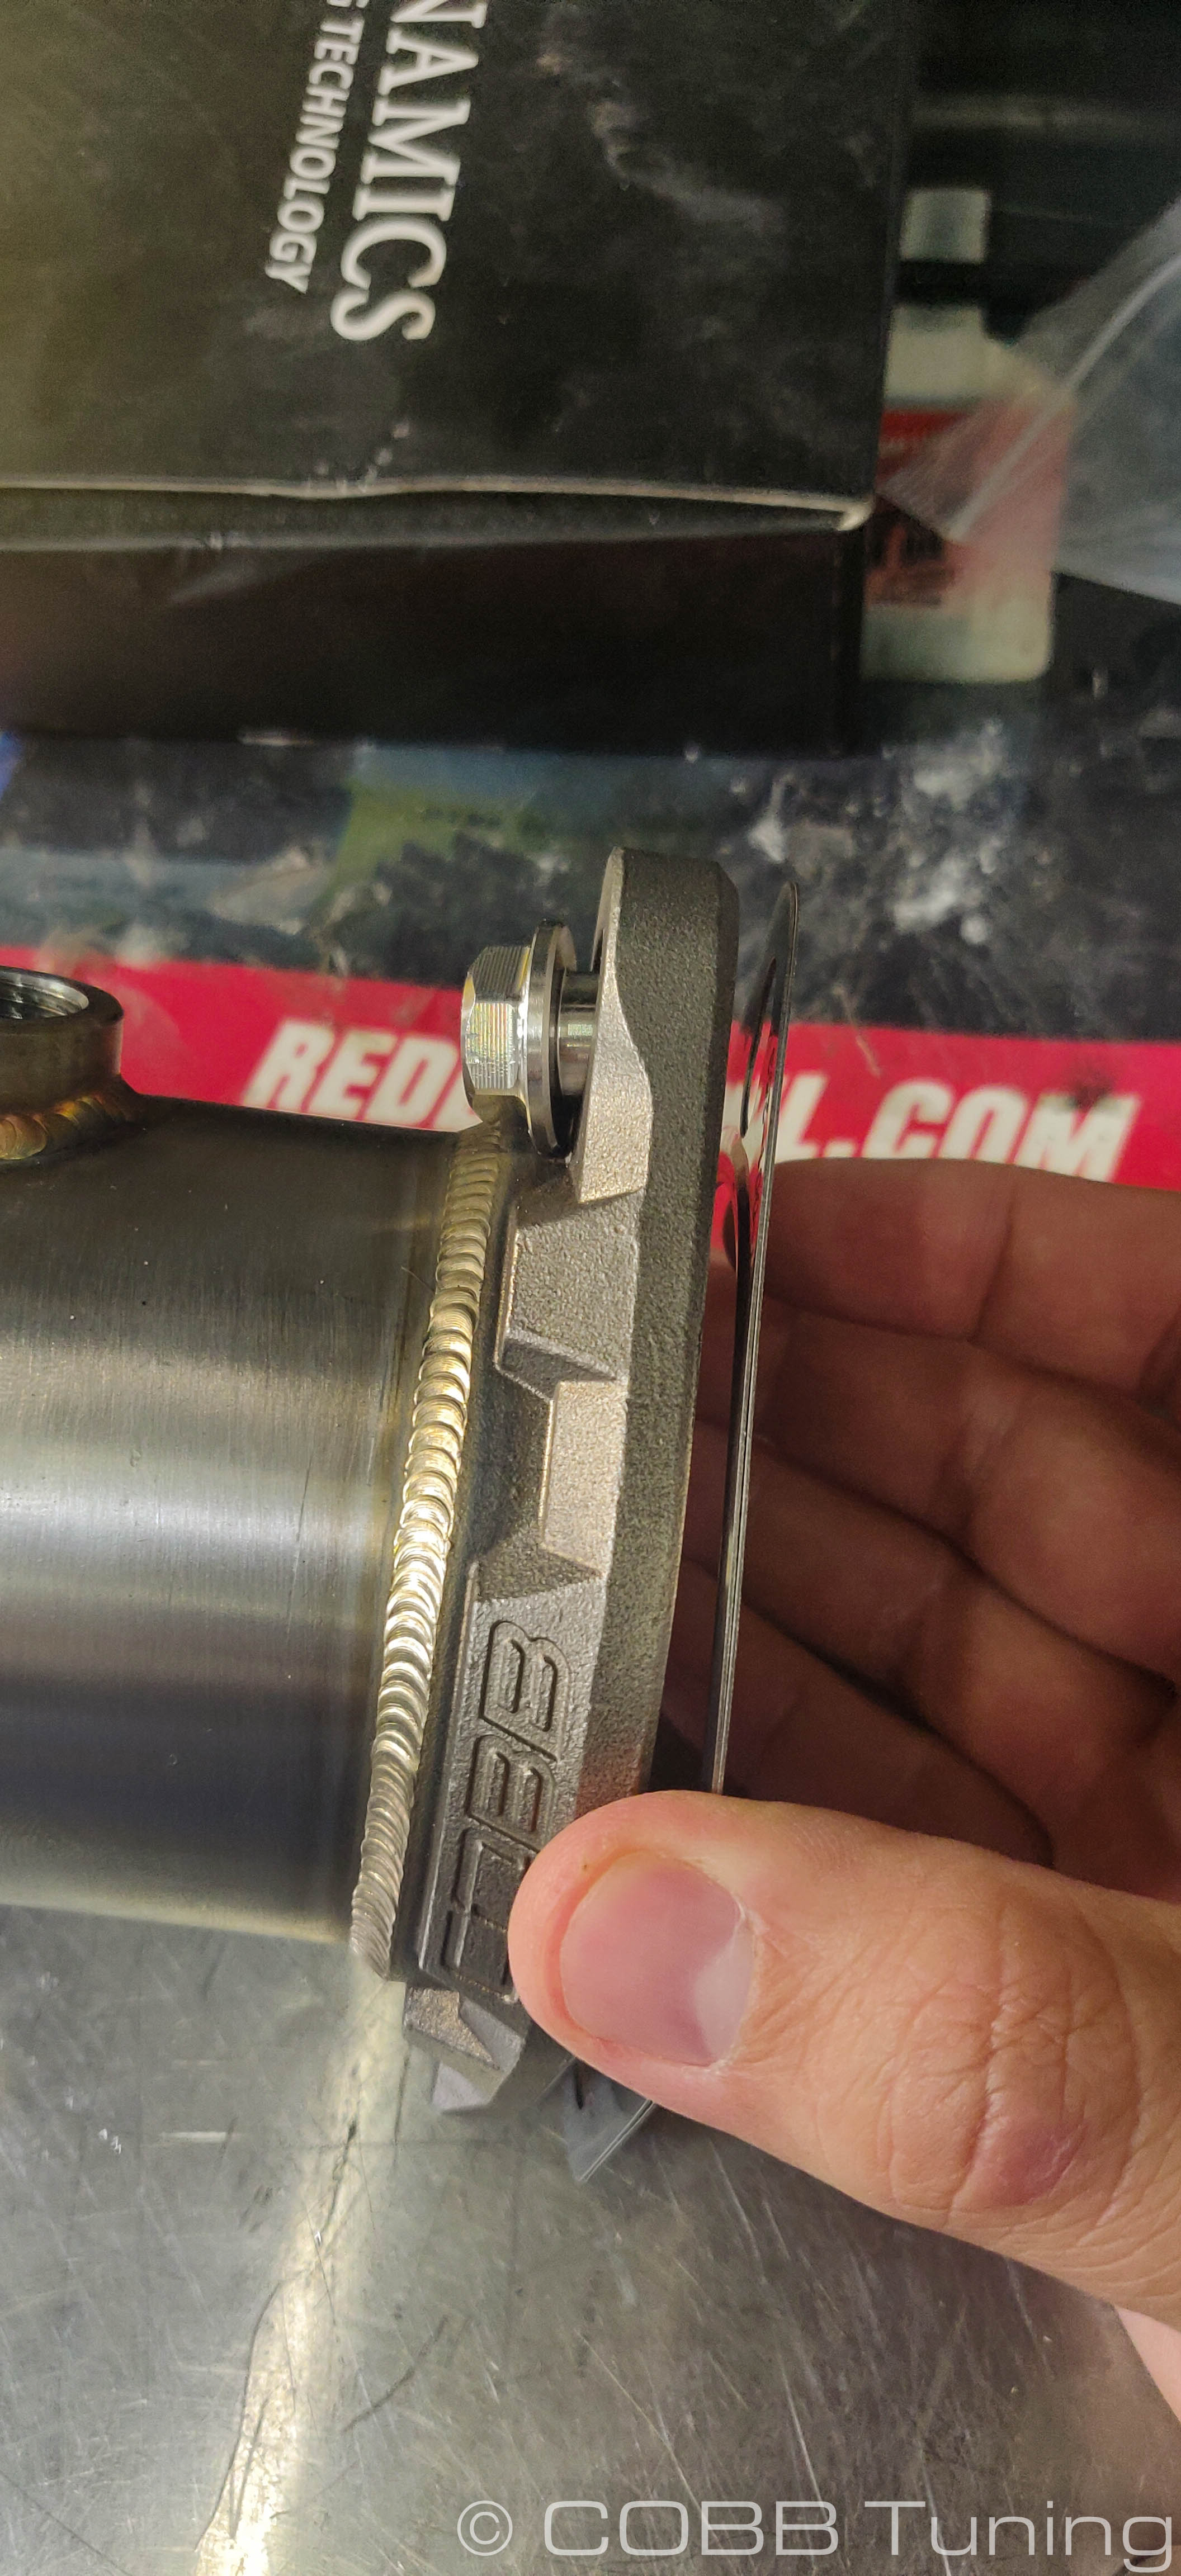
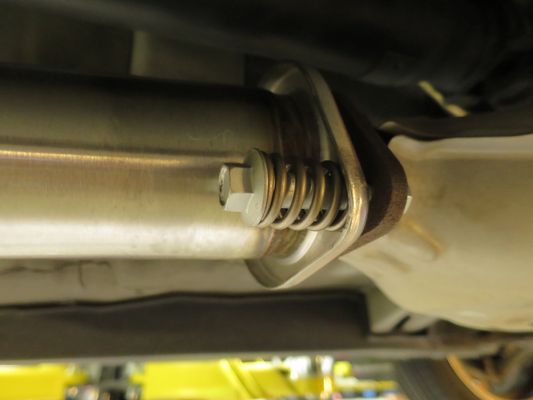
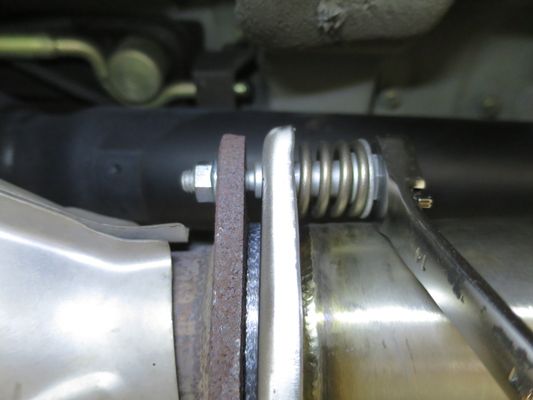
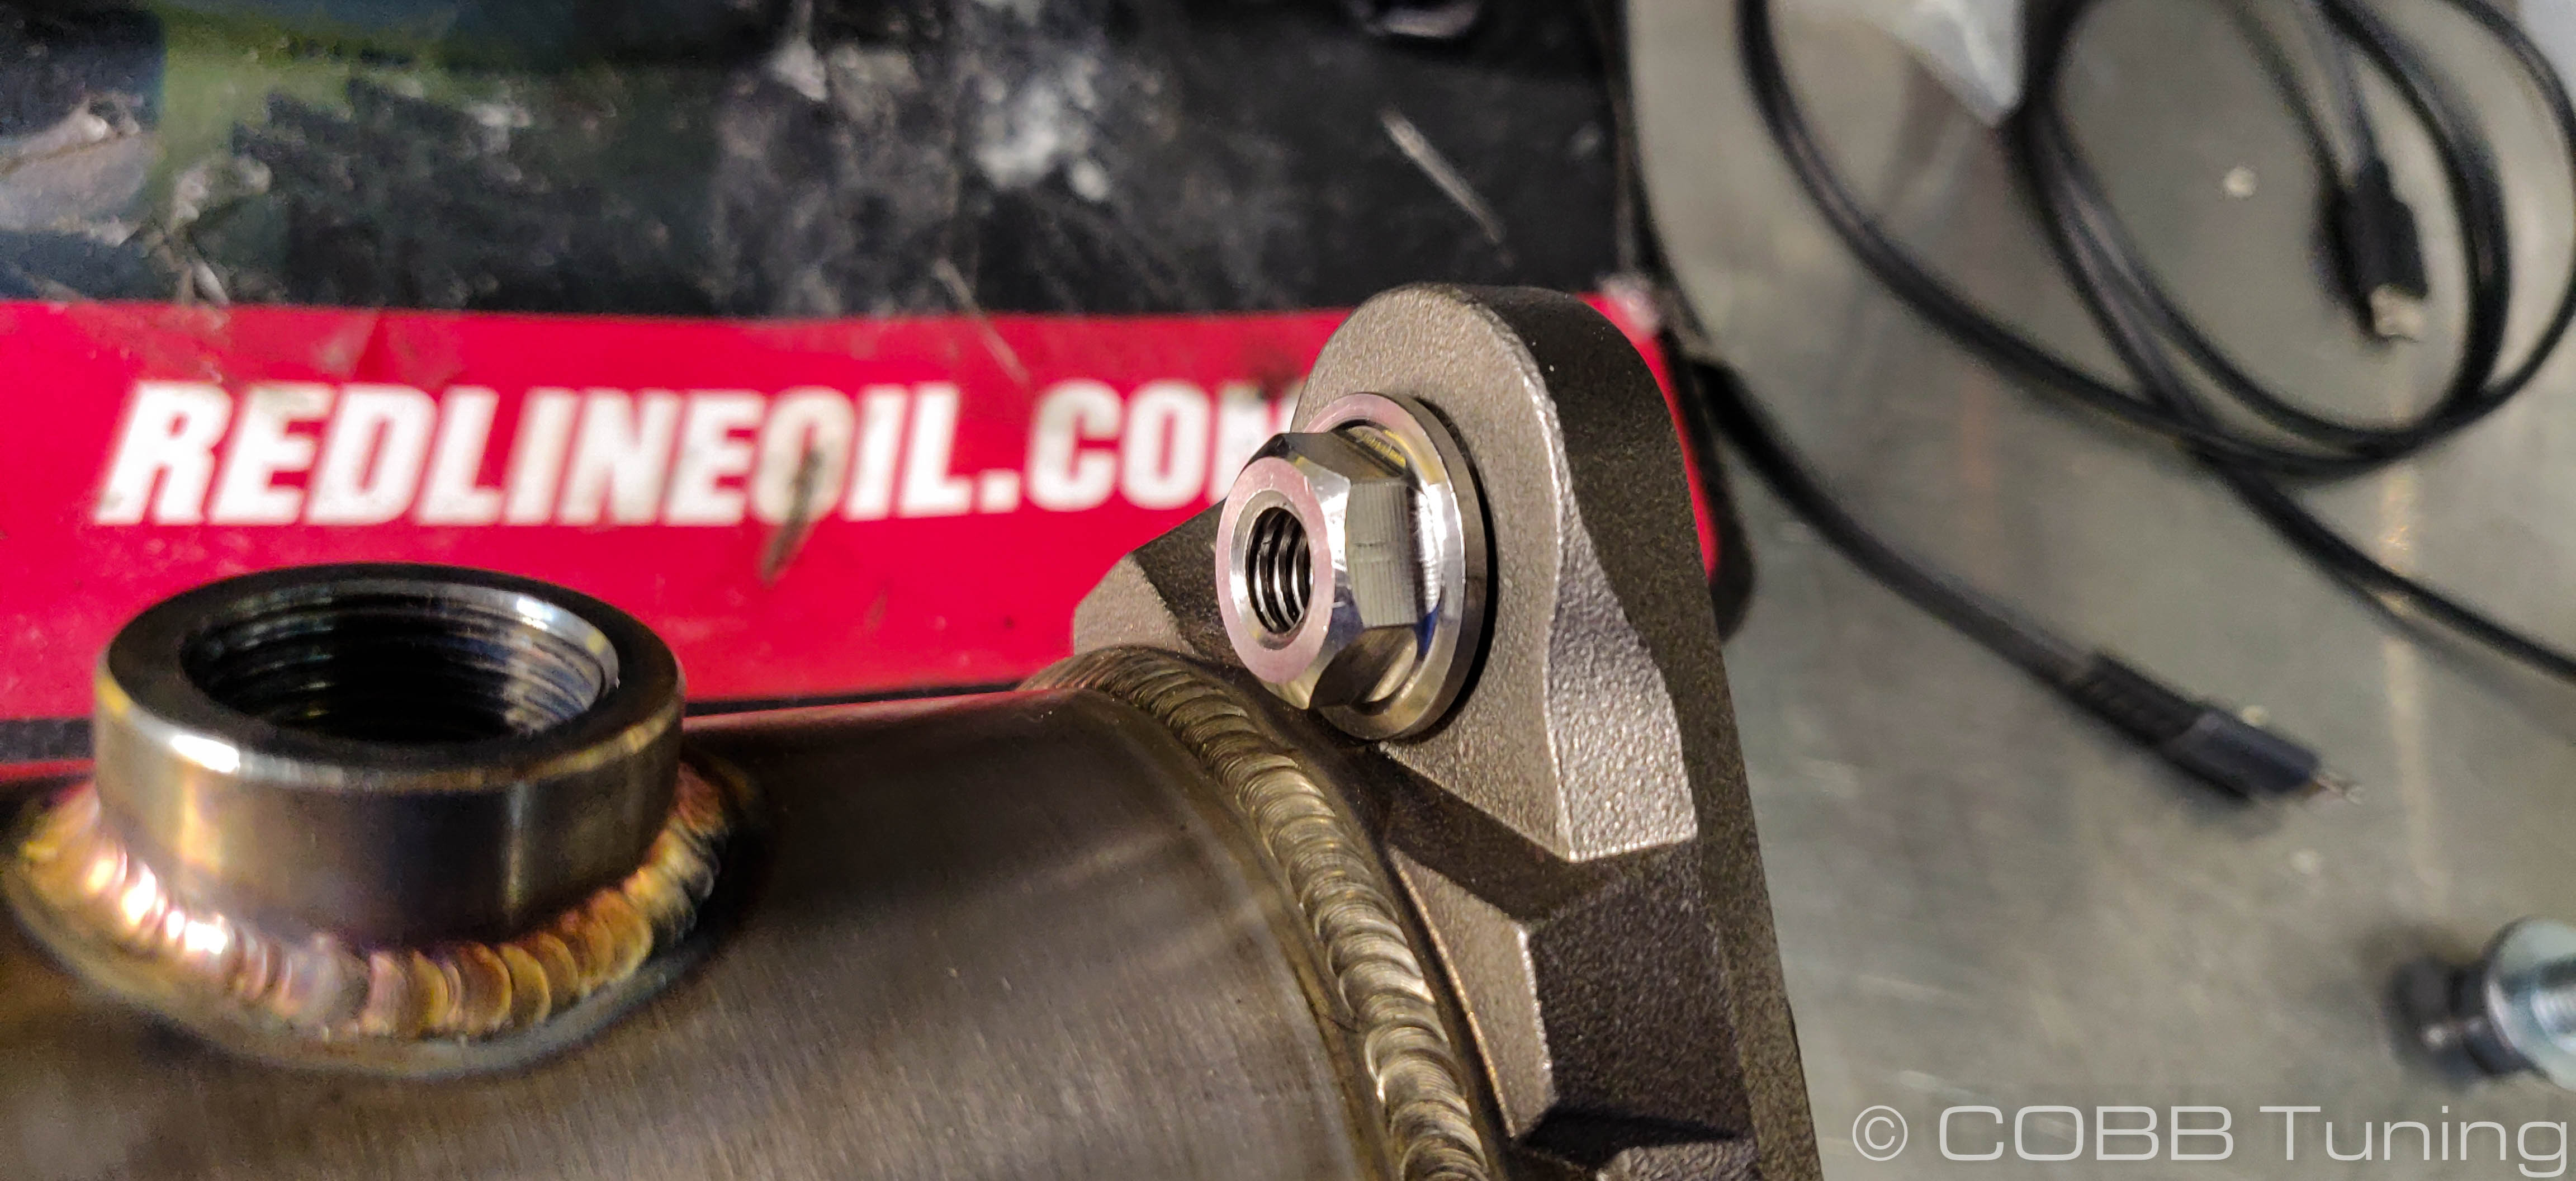
- Reinstall the spring-loaded hardware that holds the downpipe to the cat-back using the supplied custom shoulder bolts. The bolts and springs go on the cat-back side and the nuts slip into the slot on the custom flange of the downpipe. Tighten the nuts to approximately 12-13 ft-lbs.
- Reinstall the hardware that holds the downpipe to the turbo. Use some anti-seize lubricant on the threads if possible. If you plan on reinstalling the heatshield, make sure to place the heatshield bracket into position. It goes on the back of the cast flange on the COBB Downpipe with the “angled down”part of the bracket toward the center of the car. Torque the hardware holding the downpipe to the turbo to approximately 26 ft-lbs.
- Torque the hardware holding the downpipe bracket to the bracket hanging down from the transmission to approximately 26 ft-lbs of torque.
- Reconnect the Oxygen Sensor. With the new position you'll need to forgo use of the stock wiring harness clips on the underside of the car and use a zip-tie to keep it up and out of the way of any heat sources and moving parts before plugging it in to the connector.
- Reinstall your COBB heatshield or trimmed factory heatshield if you are doing so. Torque the bolts to approximately 12 ft-lbs. Trimming examples are below.
- Reinstall the intercooler (if removed) in reverse order of removal. Make sure the clamps are tight and there are no air leaks.
- Enjoy your new COBB Tuning Downpipe!
Links
Subaru Installation Instructions
Main Installation Instruction Repository for Subaru Parts
Link to Subaru Map Notes to see what map you should be on given the parts you've added
| Insert excerpt | ||||||
|---|---|---|---|---|---|---|
|