
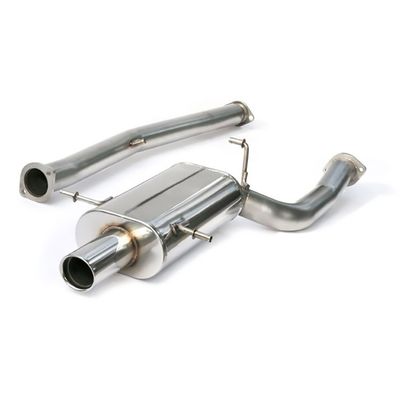
512100 - WRX / STI SS 3" Cat-back Exhaust
Subaru WRX, WRX STI 2002 - 2007
Congratulations on your purchase of the COBB Tuning WRX / STI SS 3" Cat-back Exhaust! The following instructions will assist you through the installation process. Please read them BEFORE beginning the install to familiarize yourself with the steps and tools needed. If you feel you cannot properly perform this installation, we HIGHLY recommend you take the vehicle to a qualified and experienced automotive technician.
Table of Contents
| Table of Contents |
|---|
Parts List
- Rear Muffler Section
- Midpipe
- (2) Hex Bolts M10
- (2) Hex Nuts M10
- 3" Exhaust Gasket
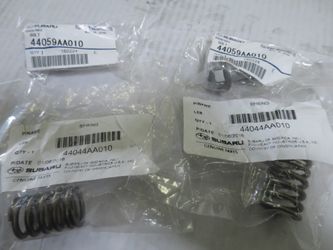
OEM Parts (as needed)
- Rear Downpipe Donut Gasket
- Subaru PN 44022AA123
- Subaru PN 44022AA123
- Front Spring Bolts
- Subaru PN 44059AA010
- Subaru PN 44059AA010
- Front Bolt Springs
- Subaru PN 44044AA010
Tools Needed
- 14mm combination wrench
- Exhaust Hanger Pliers
Stock Exhaust Removal
- Park your car in a flat,level area and allow it to cool down thoroughly. Sometimes a fan can aid in this process.
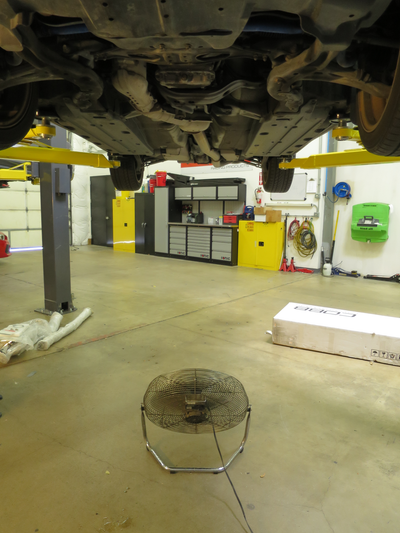
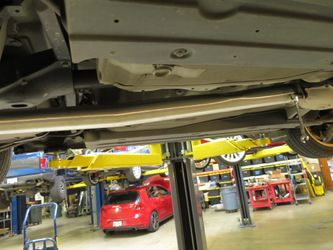
- Go ahead and properly lift and support your vehicle at this time.
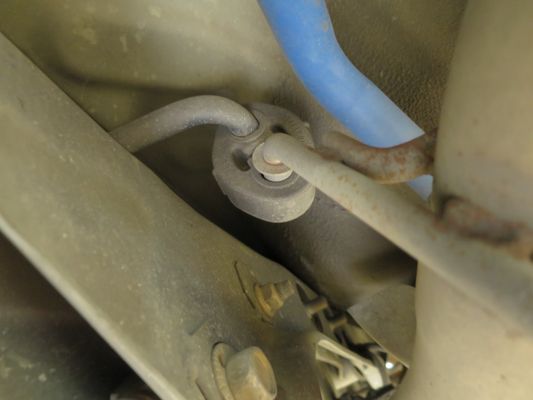
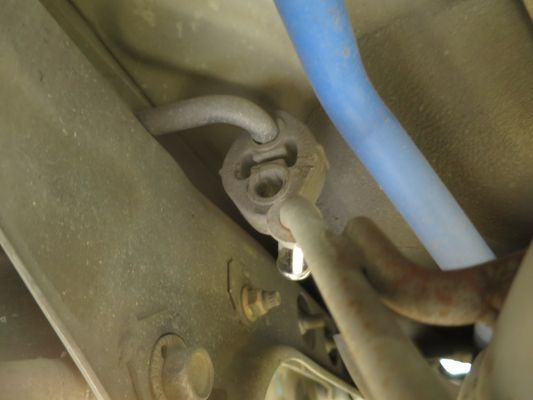
- Go around and lubricate your exhaust hangers with silicon lube (one on the mid pipe and three on the rear muffler) and all the exhaust bolts with a penetrating oil to allow for easy removal.
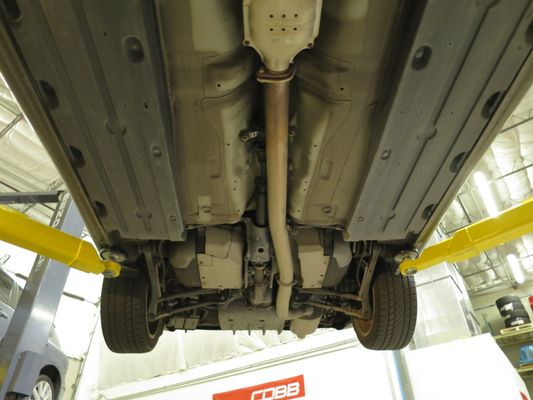
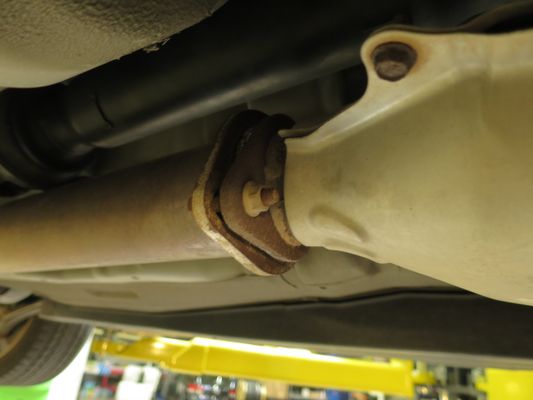
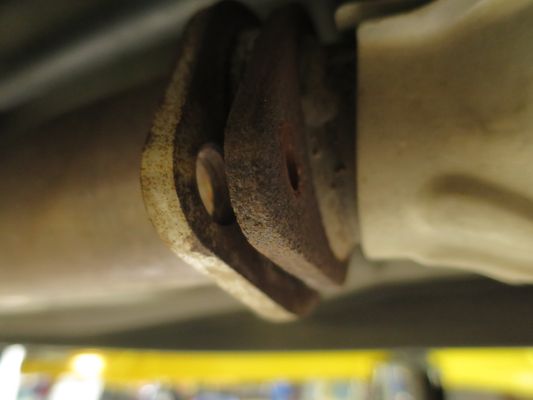
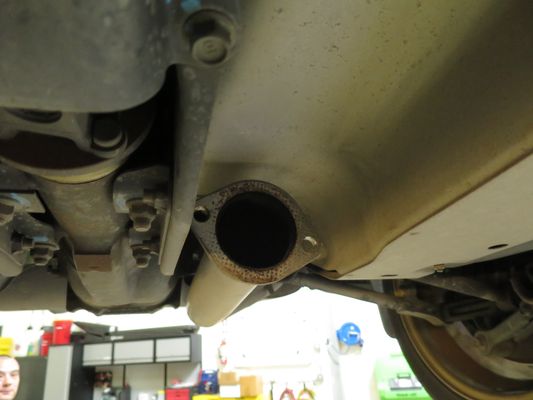
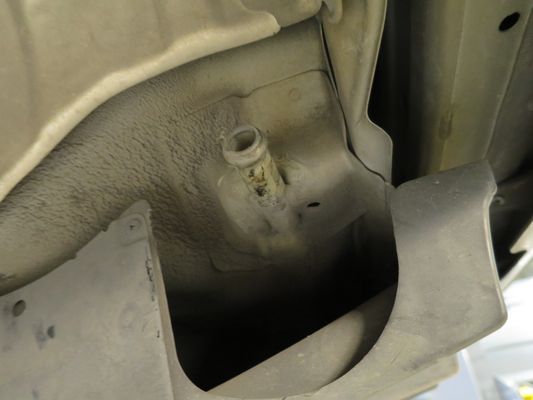
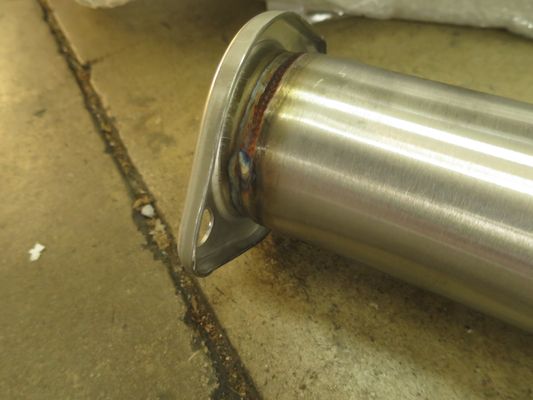
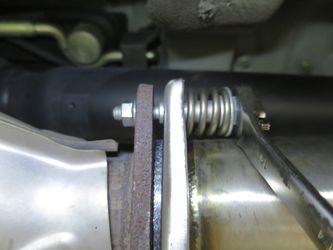
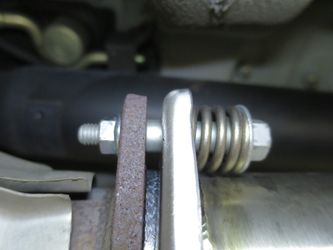
- Using your 14mm socket or wrench, loosen up the stock spring bolts in the front. At this point most 02-07 WRXs have been modified, as you can see here, the previous owner took a flat flange and clamped it down on the donut with no spring bolts. This not only won't seal properly and cause damage to the donut gasket, but it will also remove the one point the exhaust has to allow expansion and movement and can lead to cracking the exhaust, downpipe or even the turbine housing.
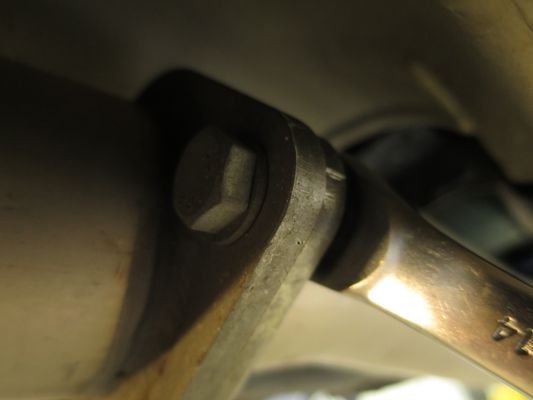
- Using two 14mm wrenches or a 14mm wrench and socket take one of the rear bolts from the midpipe and leave the other one hand tight.
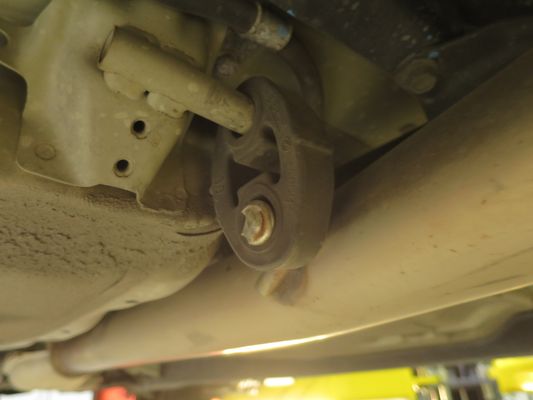
- With the one bolt in the rear supporting the exhaust support the mid-pipe with your hand and undo the exhaust hanger. Hanger pliers make this job infinitely easier.
- With the center hanger removed go ahead and pull the remaining bolt on the mid-pipe and remove it from the car.
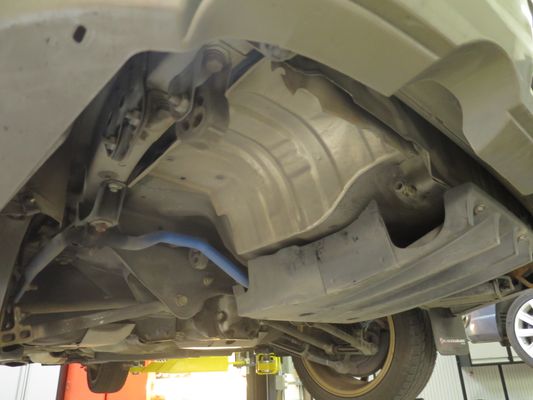
- Middle section removed, we can turn our attention to the rear section. Start by removing the rear hanger close to the differential and swaybar.
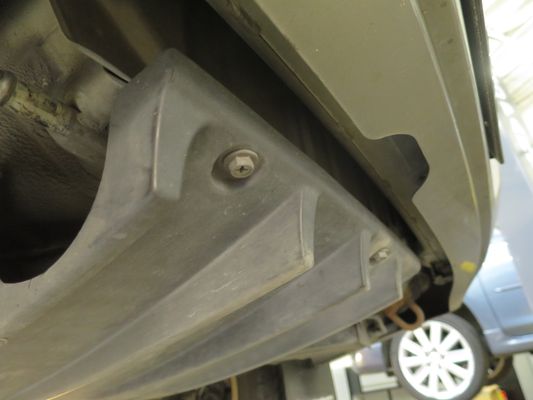
- Now remove the hanger towards the inside of the car (USDM Passenger). If it doesn't come off easily you may need to remove the rear diffuser (if equipped). Make sure to support your exhaust at this point to ensure it doesn't drop.
- Go on to remove the final hanger and remove the exhaust from your car.
Rear Downpipe Gasket Replacement
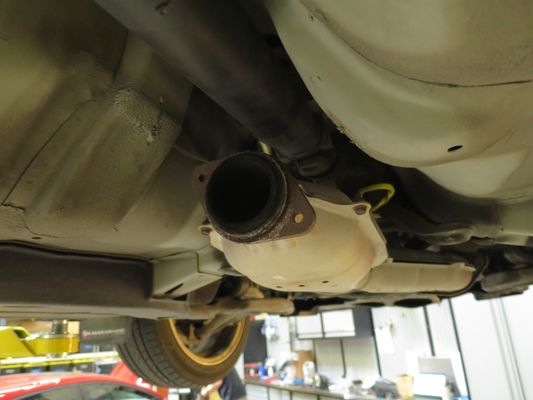
As in the case with our sample car, you may need to replace your rear donut gasket if it's damaged. To do so slip a screwdriver between the gasket and flange at the back and wiggle back and forth small amounts in several places a few times. Eventually the gasket will come free.
Warning Wear eye protection. Old gaskets can have all sorts of pieces come off as well as pieces of metal, graphite and carbon which can feel pretty terrible in your eye.

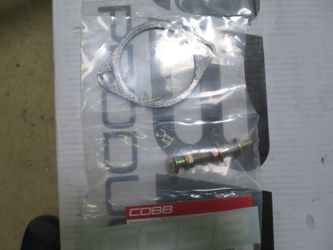
- Open up your new gasket for installation. OEM Subaru PN 44022AA123.

- The new gasket should just slip in place on the downpipe.

Exhaust Install
- Now wash your hands (seriously) you don't want to get greasy fingerprints all over your exhaust, and the cleaner your hands are, the less cleaning you'll need to do later.
- Unwrap your COBB Catback Exhaust
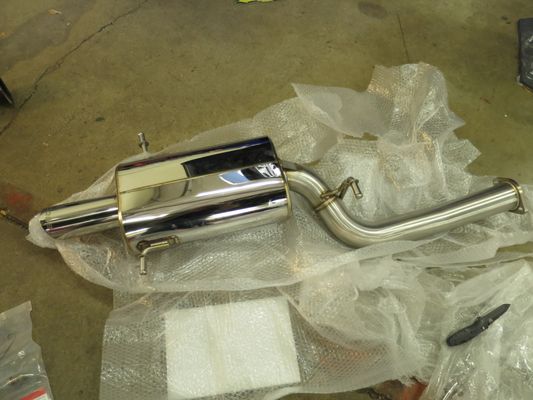
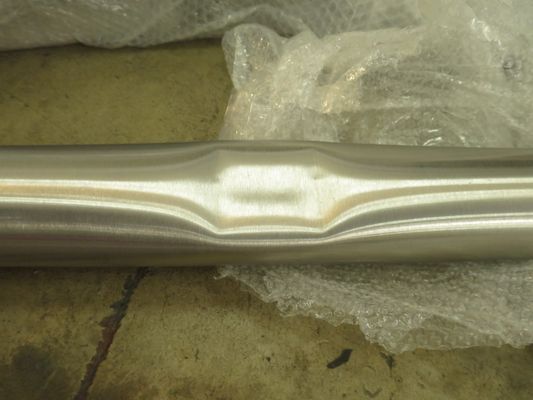
- The dent in the midpipe is intentional for clearance.
- push the new midpipe into the middle exhaust hanger and line things up with the downpipe. This end of the flange should be towards the downpipe.
- If noone ruined your downpipe flange previously, you should be able to reuse the OEM spring bolts and thread them into the downpipe and leave them loose. If someone ruined your flange previously, you'll need to add exhaust or locking nuts on the back side to get things held in.

- The muffler section is next, it's usually easiest to start with the inside hanger first, then the outside, then the rear.
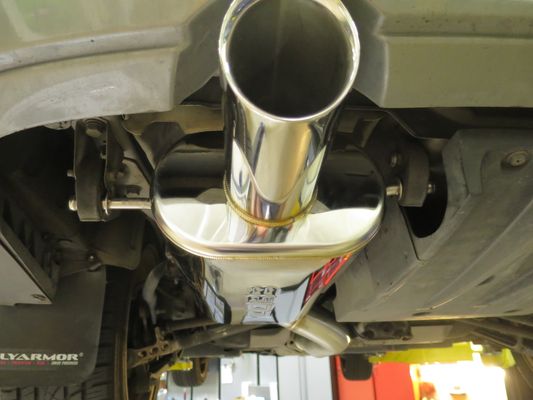
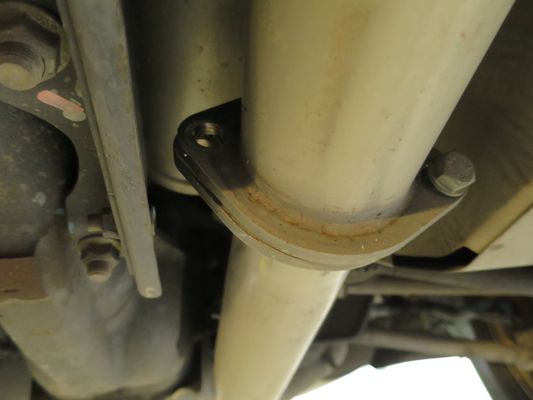
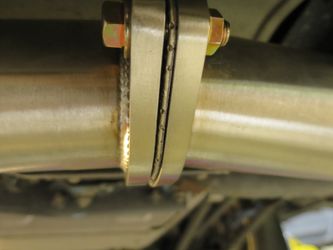
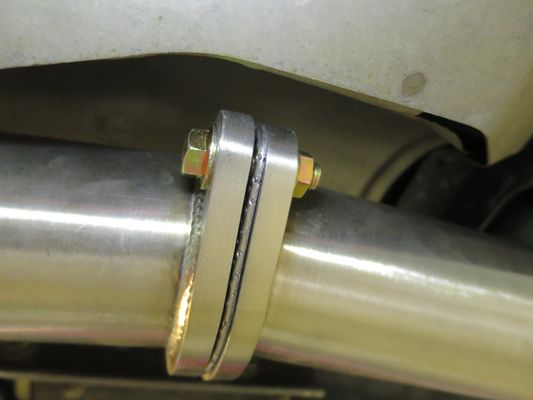
- Once everything is in, use the provided hardware and gasket between the midpipe and muffler, and leave hand tight.
- Go ahead and check where your muffler sits and get it centered the way you want it in the opening by moving it around in the hangers.
- Once it's where you want it, tighten things down starting in the front. The spring bolts naturally bottom out at a certain point so don't over tighten them with your 14mm socket. And remember, this flange is designed to allow some movement.
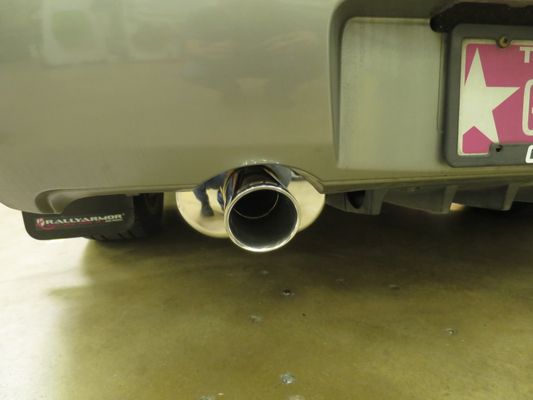
- With that tightened, you'll want to tighten the rear flange. Keep in mind that due to differences in manufacturing (both the car and the exhaust) as well as the age of the vehicle, getting your muffler to look perfect will most likely not leave the flanges lined up perfectly, however the exhaust will seal regardless so you should be good to go.
- With everything tightened down, wipe it down with a paper towel and brake cleaner to remove all the dust and finger prints. If you don't clean it up now they'll burn in when you start up the car.
- Start the car up and make sure you don't have any exhaust leaks.
- If you're leak free you're all done! If not go back and tighten things up a little more.
- Go out and enjoy!
Links
Can help to figure out what map you need
Customer Support
COBB Tuning Customer Support Center
Phone support available 9am to 6pm Monday-Thursday. 9am to 4pm Friday (CST)
866.922.3059
| Insert excerpt | ||||||
|---|---|---|---|---|---|---|
|