
7G4600 - Redline Carbon Fiber Air Scoop F-150 / Raptor
2017 - 2022 Ford F150
| Expand | ||
|---|---|---|
| ||
|
Congratulations on your purchase of the COBB Tuning Redline Carbon Fiber Air Scoop! The following instructions will assist you through the installation process. Please read them BEFORE beginning the install to familiarize yourself with the steps and tools needed. If you feel you cannot properly perform this installation, we HIGHLY recommend you take the vehicle to a qualified and experienced automotive technician.
| Table of Contents |
|---|
Parts List
| Expand | ||
|---|---|---|
| ||
 |
| Expand | ||
|---|---|---|
| ||
 |
| Expand | ||
|---|---|---|
| ||
 |
| Expand | ||
|---|---|---|
| ||
 |
| Expand | ||
|---|---|---|
| ||
 |
Tools Needed
Hand Tools
4mm Allen Key
Wrenches
8mm combination wrench
Stock Component Removal and Intake Brace Installation
Stock Intake Scoop Removal
Park your car in a safe area that is flat and level.
Remove the two trim clips holding the snorkel in place on the core support. Pull the center part of the clips out with your trim tool until they click and then pull out the lower part.


Remove the other trim clips that hold the plastic cover over the upper grill area. That cover can then be removed.


Grab your 8mm socket or wrench and remove the small bolt holding the intake scoop to the intake, then the snorkel can be removed from the engine bay.

COBB Intake Brace Installation
The silver lower half of the brace will line up in front of the AC condensor with the short bent tabs on the top grabbing the lip of the core support. You’ll slip it in front, flexing it a little bit with your fingers to get it around the round part. It’s usually easiest to get both legs into position and then gently push towards yourself in the middle to get it around the AC condensor.


Line the leg on the driver’s side up with the push clip holding the rubber airflow panel to the core support. Supporting the back side of the brace with a finger push it on to the clip to hold it in place. If you see the start of the threaded hole through the hole on top you’ll know you’re on the right track for meeting up with the clip. In some cases it can be easier to remove the clip and reinstall with


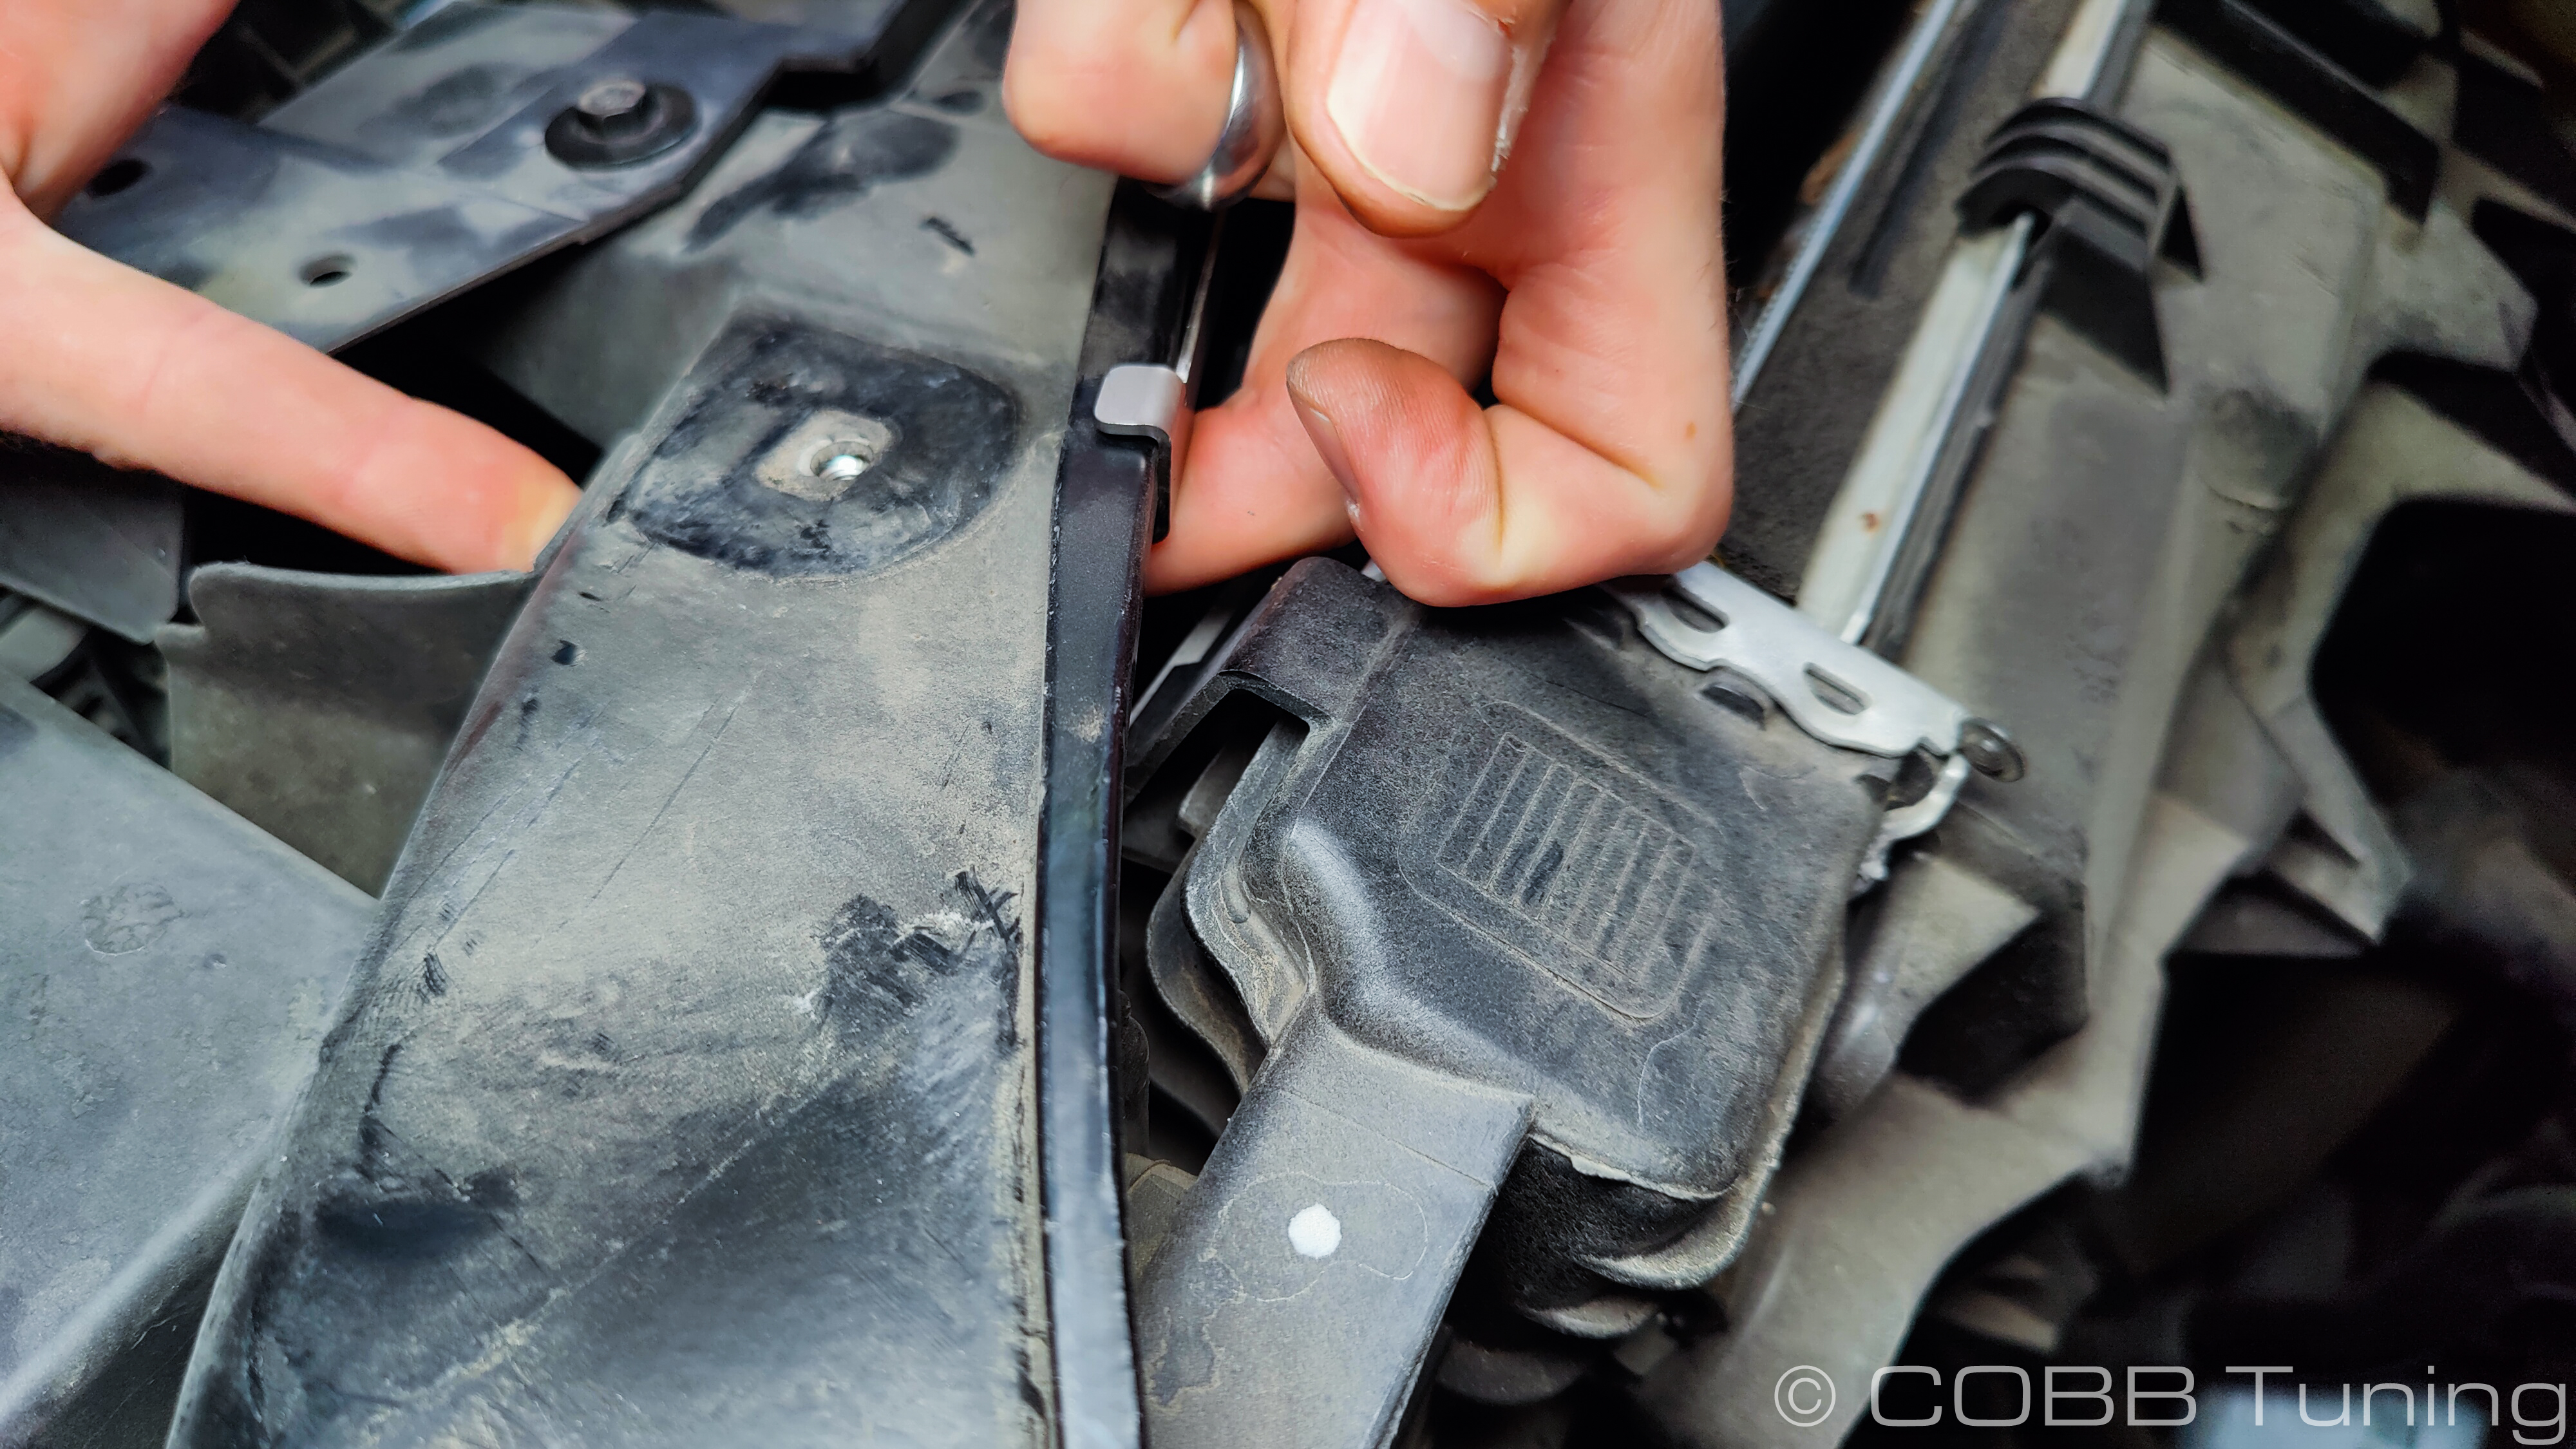


The threads should now line up with the two holes in the core support, with the tabs on the back holding it onto the core support.

You can now reinstall the cover but leave the trim clips off for now so you can get things lined up.
Carbon Scoop Installation
Slide the carbon scoop into place, wiggling left and right until the scoop clips into the airbox.


Using the plastic washers and Allen bolts, line up the holes in the scoop with the radiator support and loosely bolt them into place with the support bracket.


Install the stock 8mm headed screw with the remaining plastic washer to snug the scoop into the airbox.

Reinstall the trim clips into the radiator shroud as well as the 4 x 10mm bolts.
You can go ahead and snug up the allen bolts for the scoop using an m4 allen wrench.

You’re all done! Go out and enjoy!
CARB Sticker Application
D-660-129
(Where Applicable)
Apply the supplied CARB sticker in a clear, easy to find location. Typically underhood, or on the radiator core support.
Links
MAP Notes
Helps to figure out which map you should be on given the parts installed to your car
Links for related parts