
272300 - MazdaSpeed Shifter Bushings
2007-2012 Mazda3 MPS
2007-2012 Mazda3 Axela
2007-2013 MazdaSpeed 3
Congratulations on your purchase of the Mazda Shifter Cable Bushings! The following instructions will assist you through the installation process. Please read them BEFORE beginning the install to familiarize yourself with the steps and tools needed. If you feel you cannot properly perform this installation, we HIGHLY recommend you take the vehicle to a qualified and experienced automotive technician.
IMPORTANT! Installing this kit will require custom tuning or utilizing an appropriate Stage Power Package map if you have a matching mechanical configuration. Please consult with COBB or an authorized ProTuner in your area if you have any questions!
Table of Contents
| Table of Contents |
|---|
Parts List
- (2) Male bushing Halves
- (2) Female Bushing Halves
- Blue Loctite
Tools Needed
Stock Intake Removal
- Park your car in a flat level area.
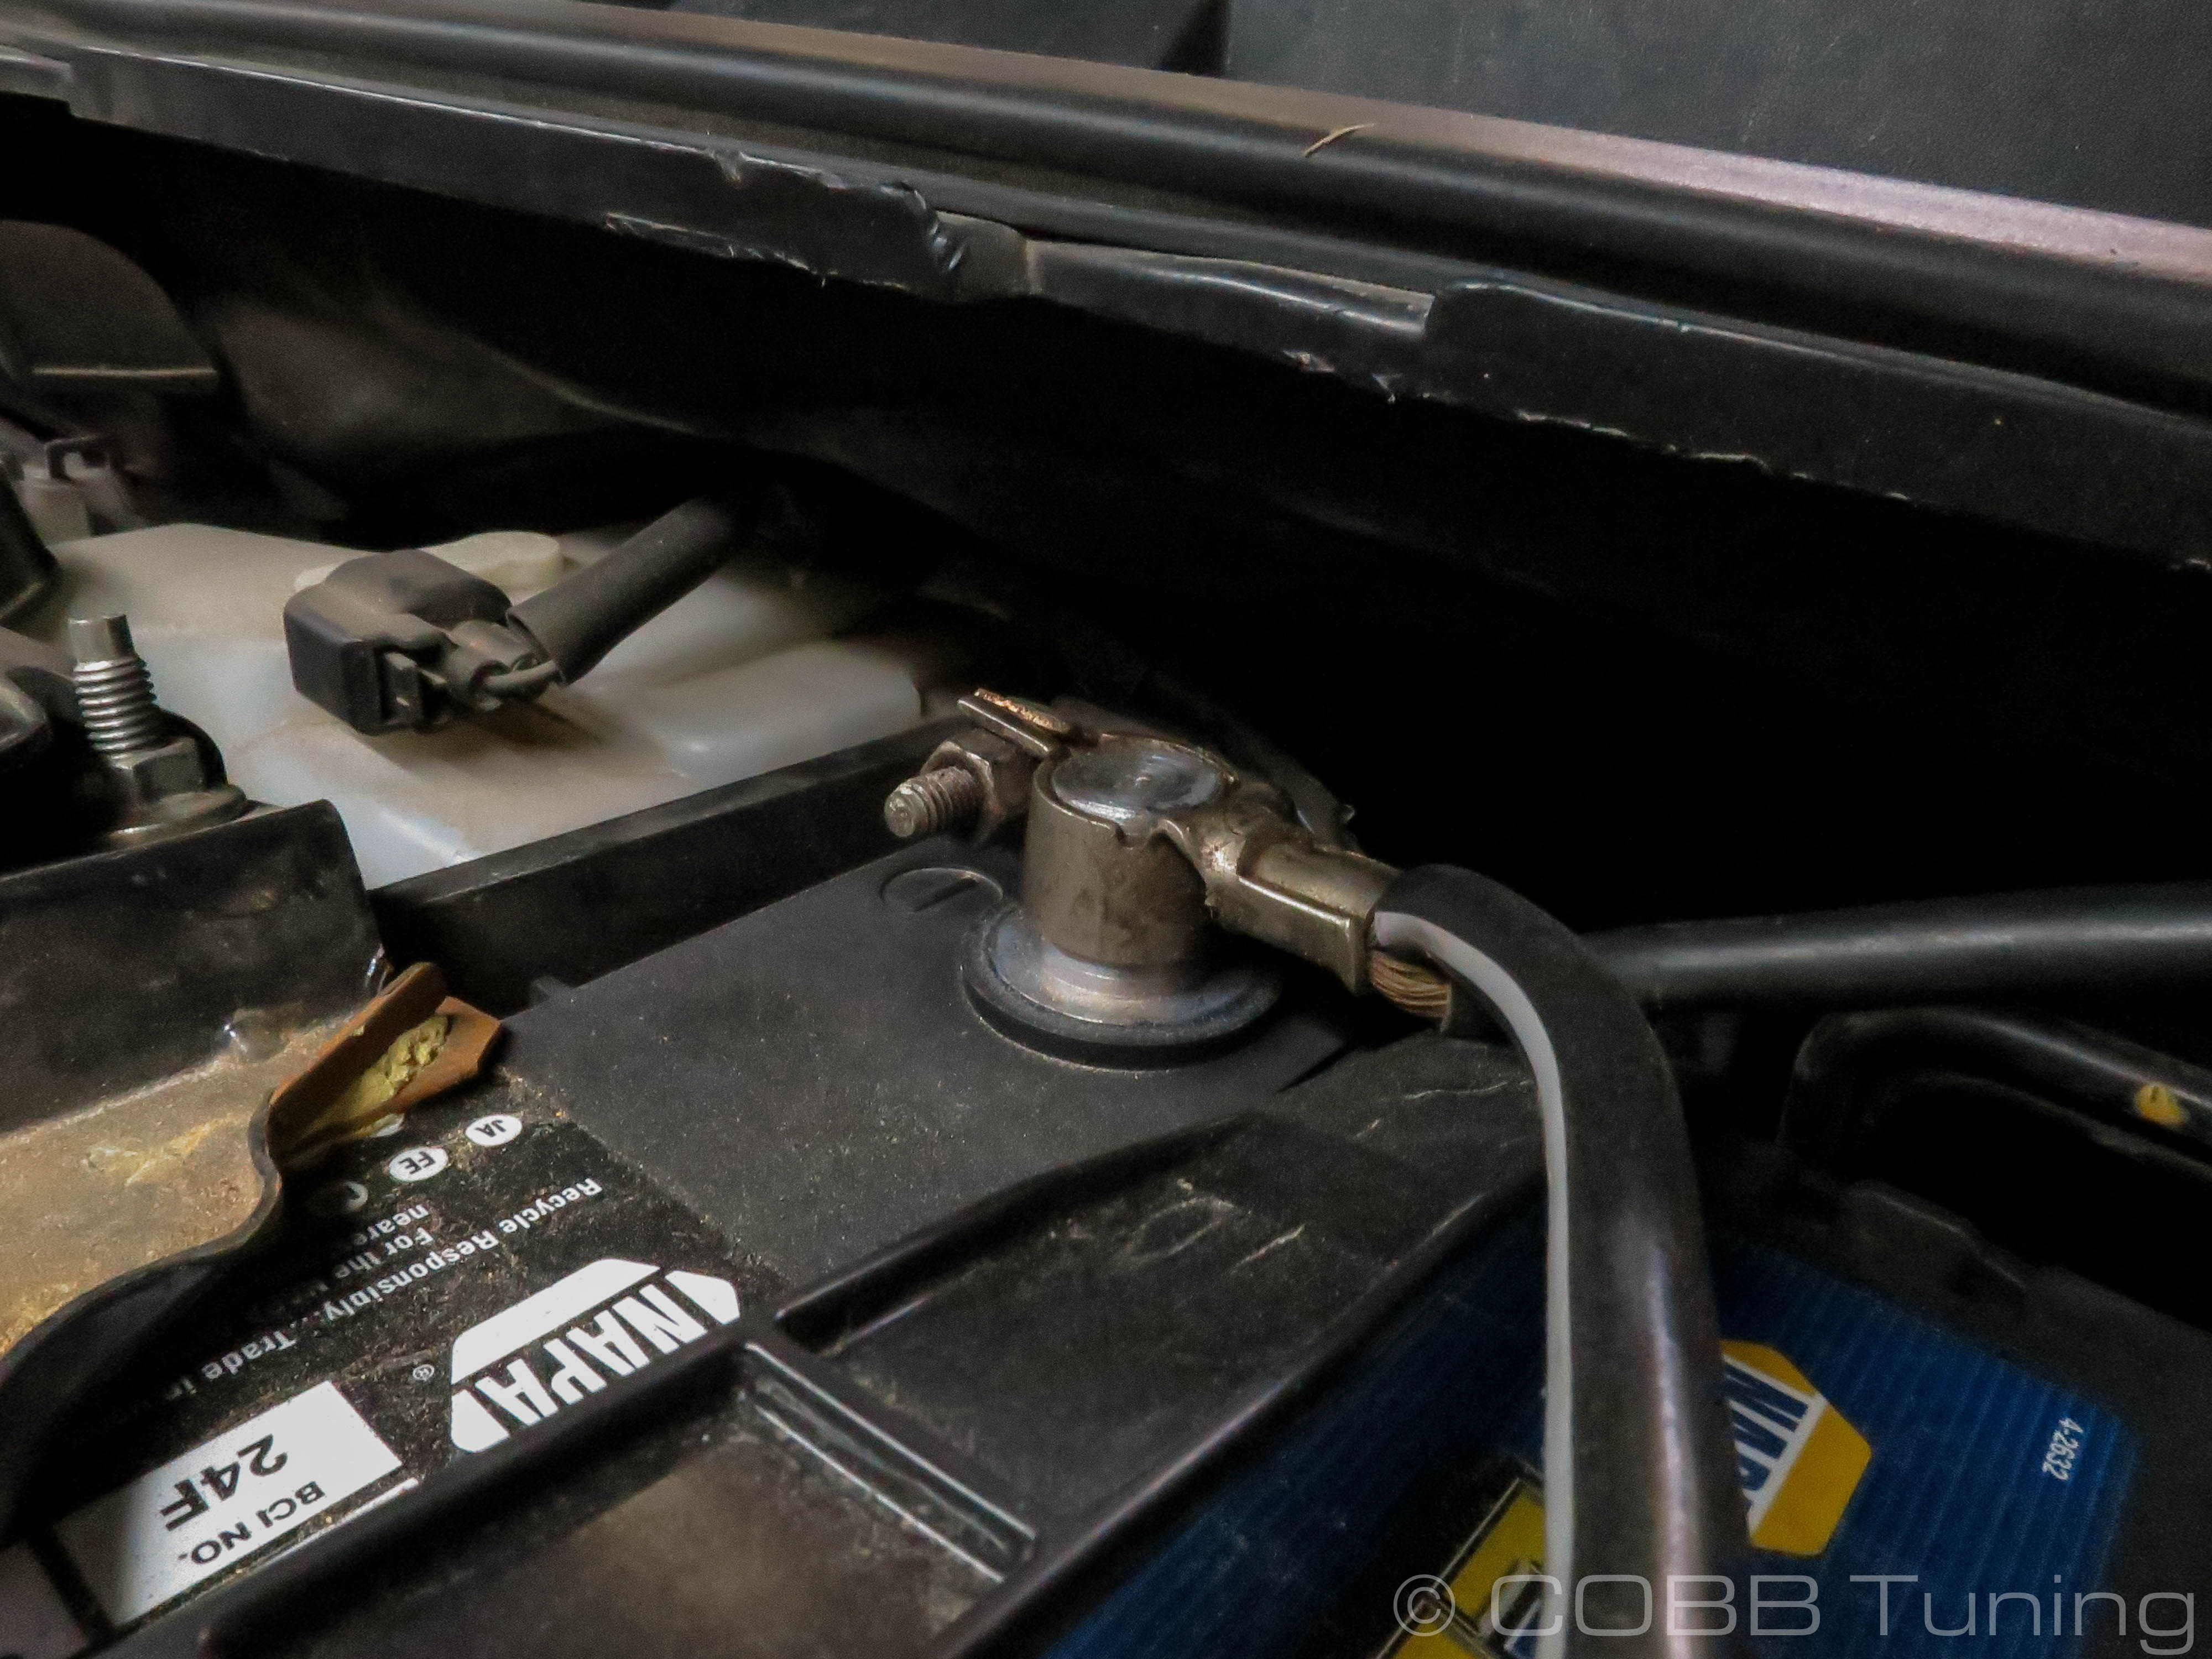
- Using a 10mm socket remove the negative battery terminal.
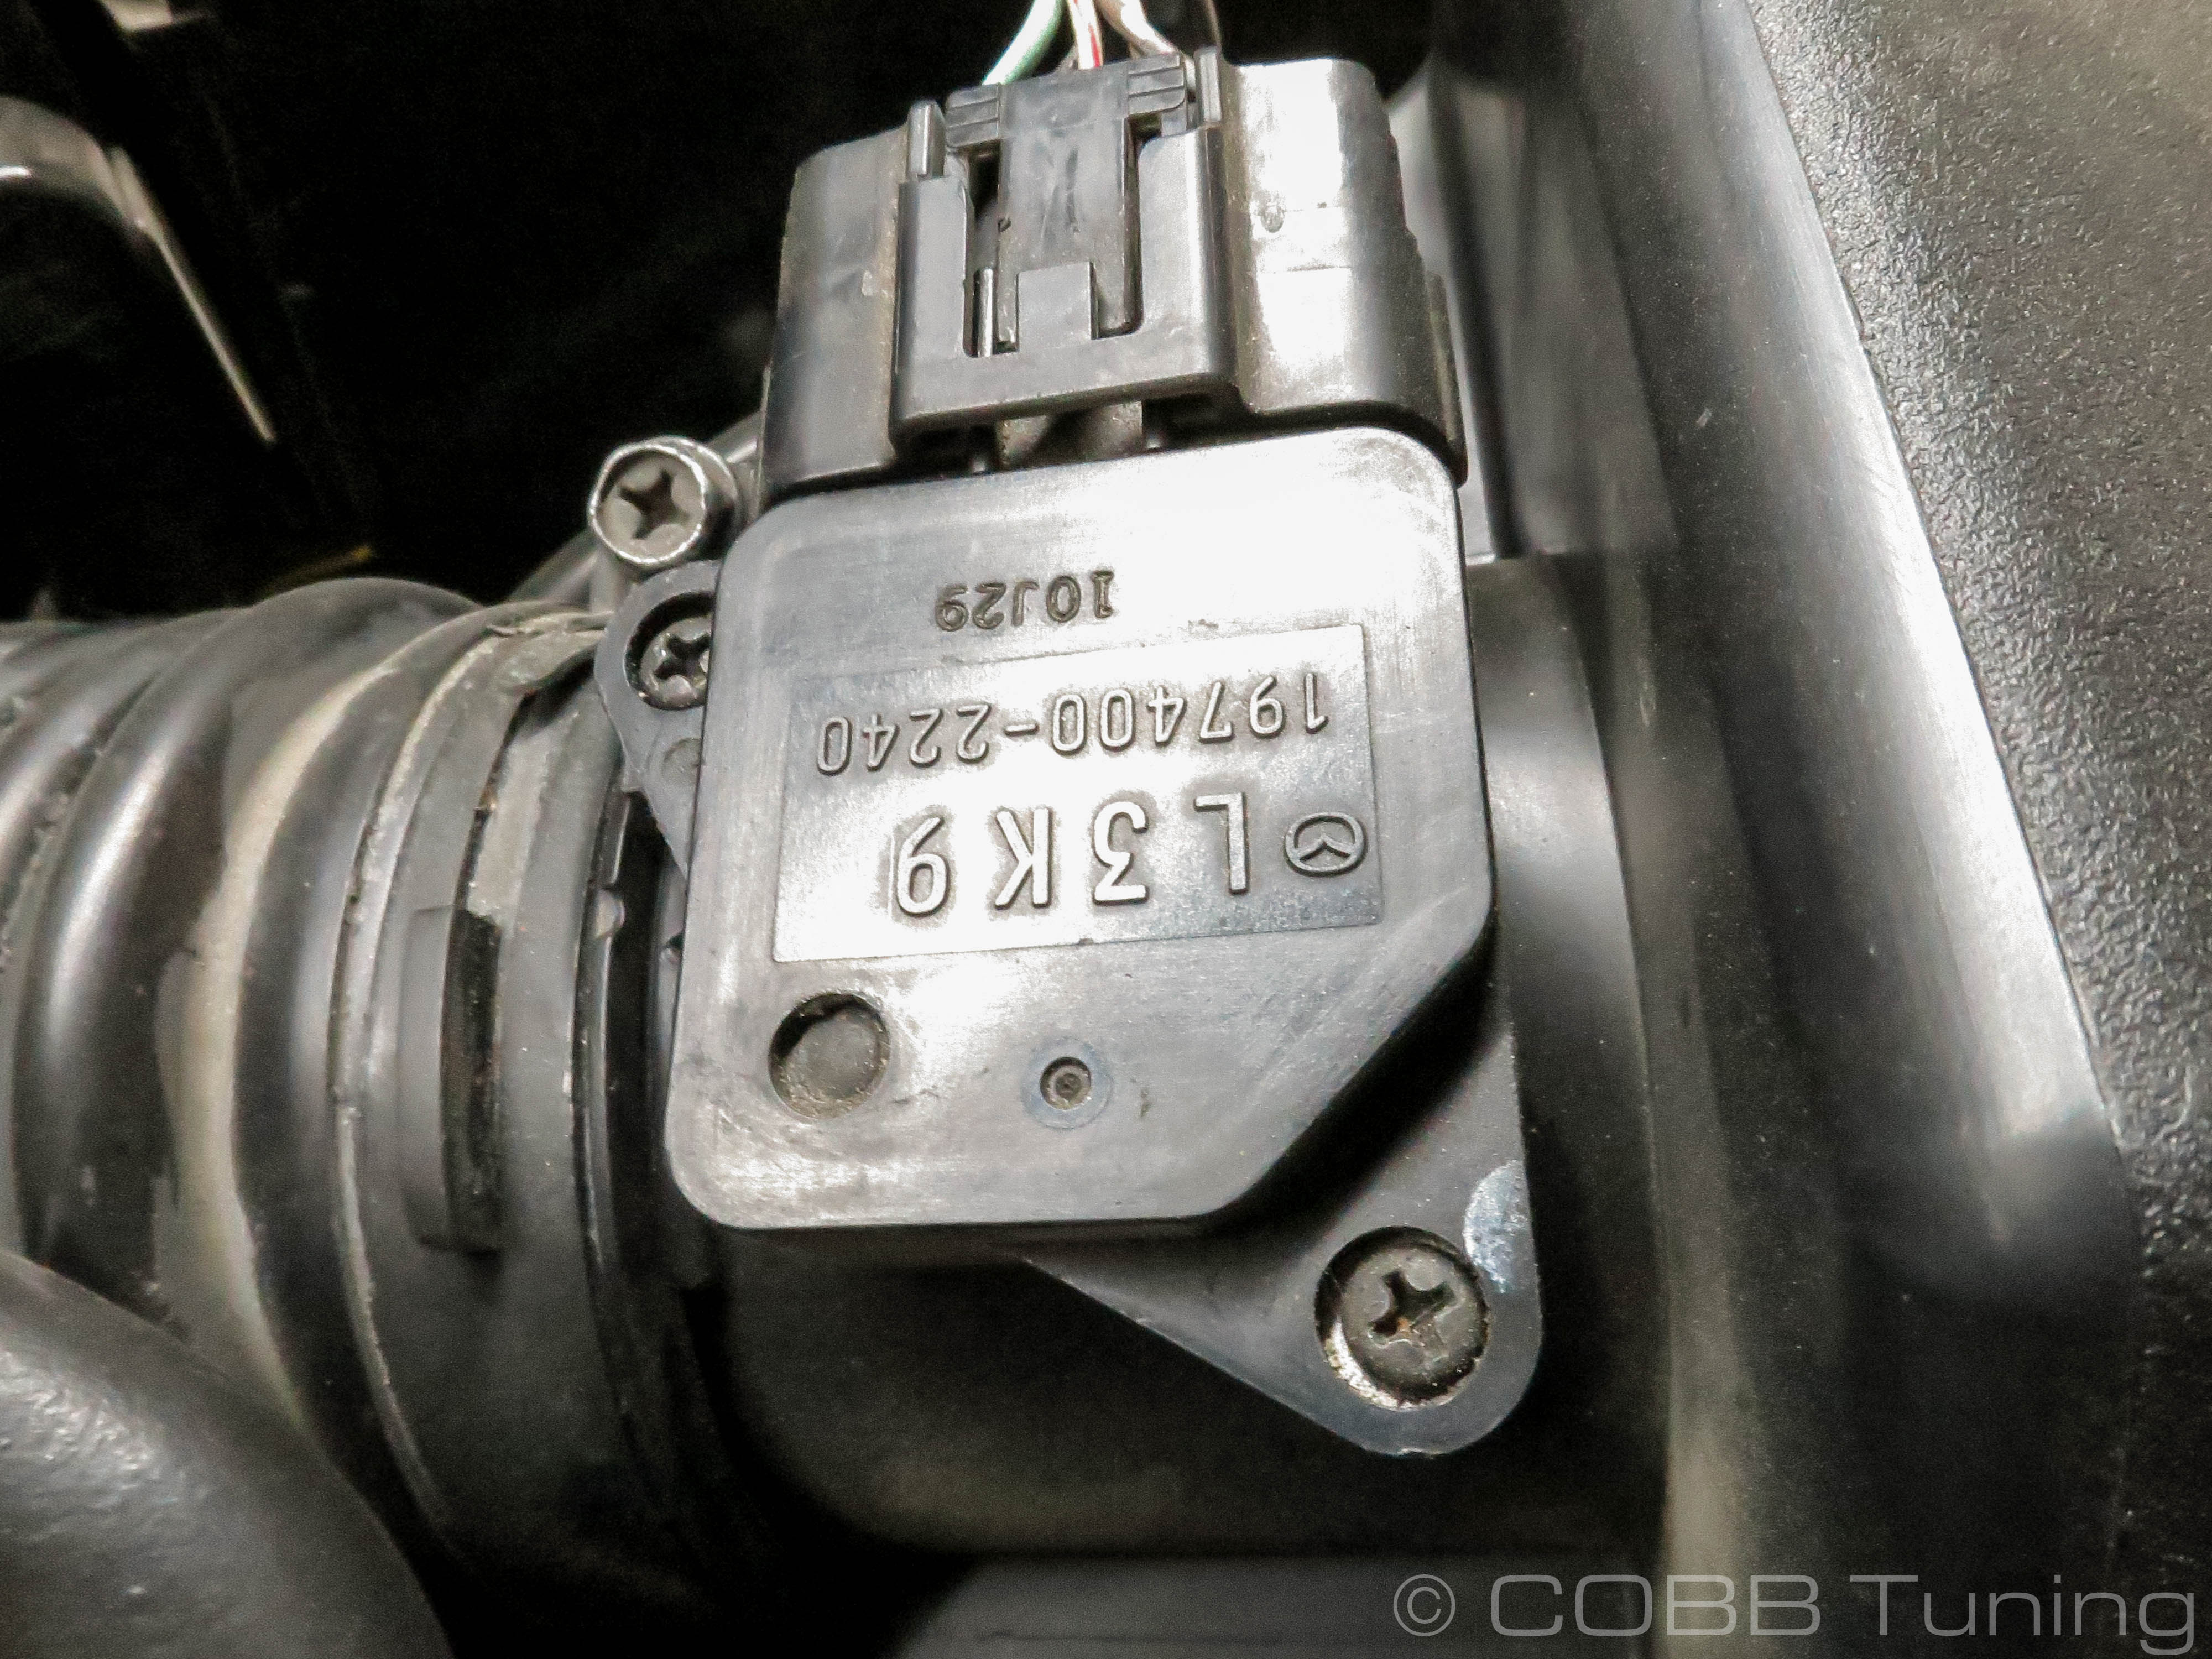
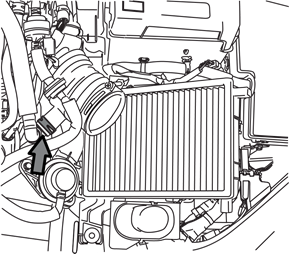
- Press in the release tab of the MAF connector and unplug the MAF sensor.
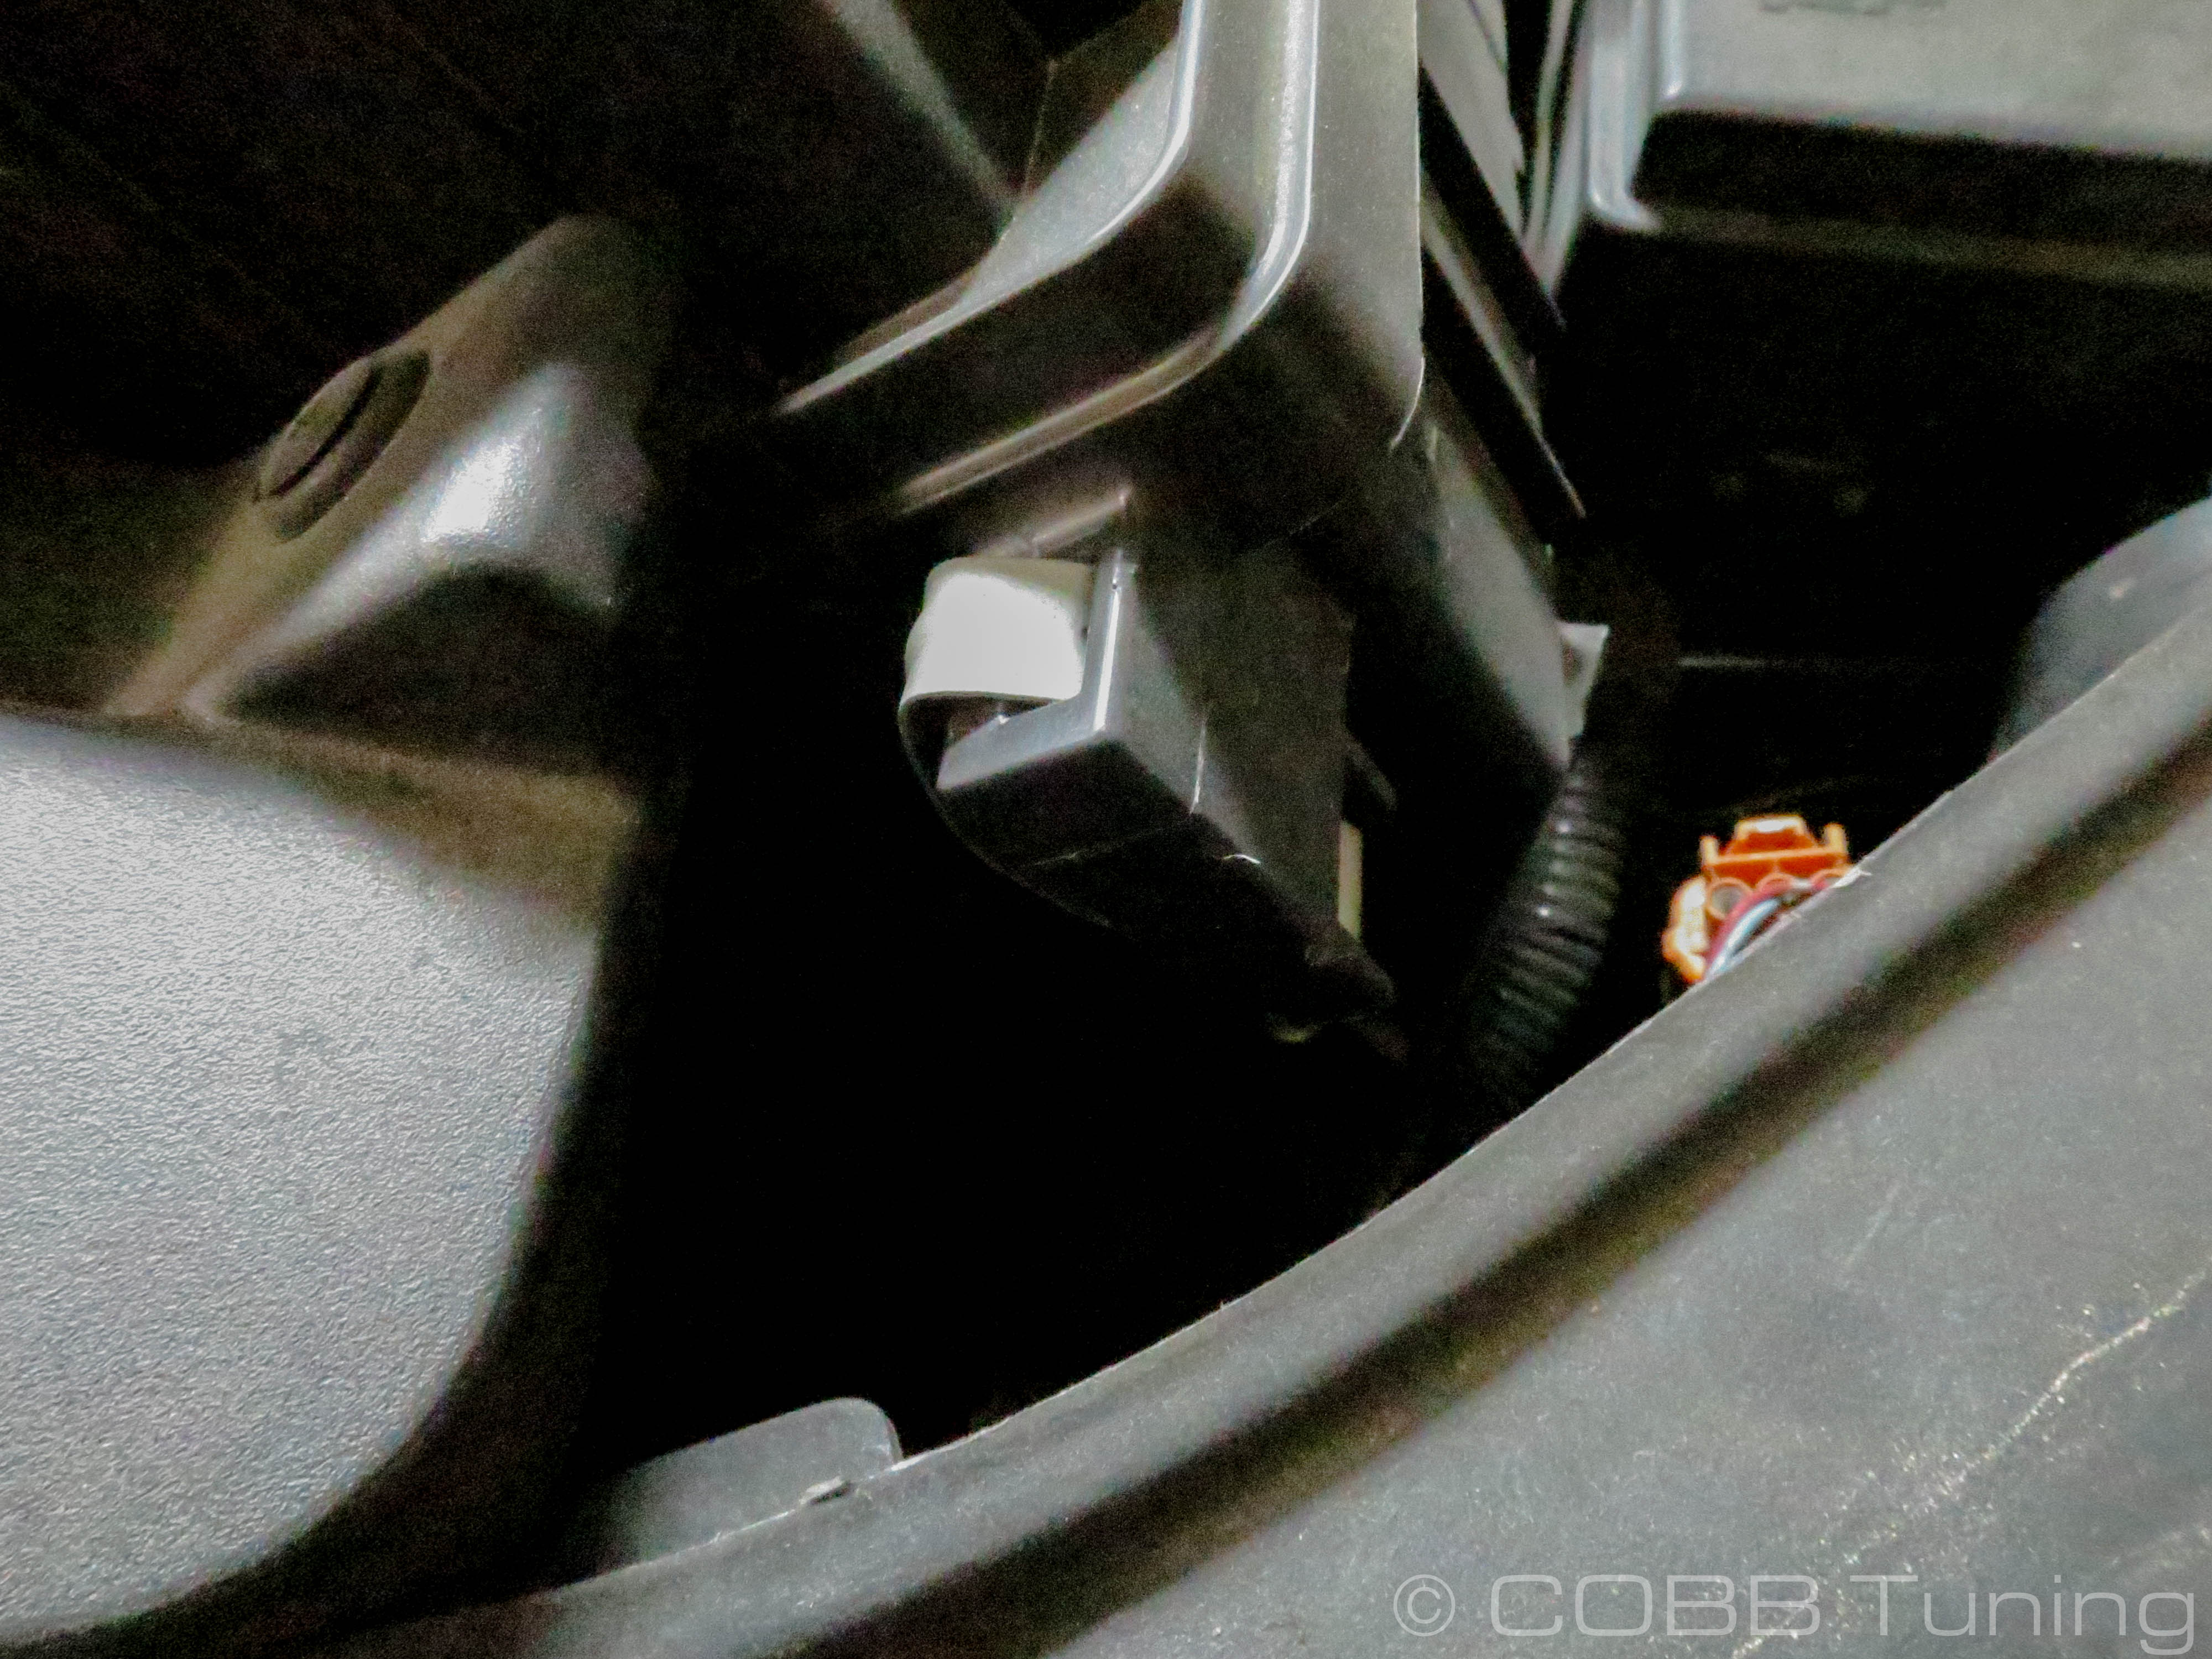
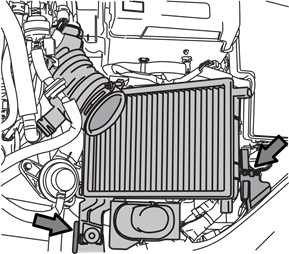
- Undo the two clips from the airbox.
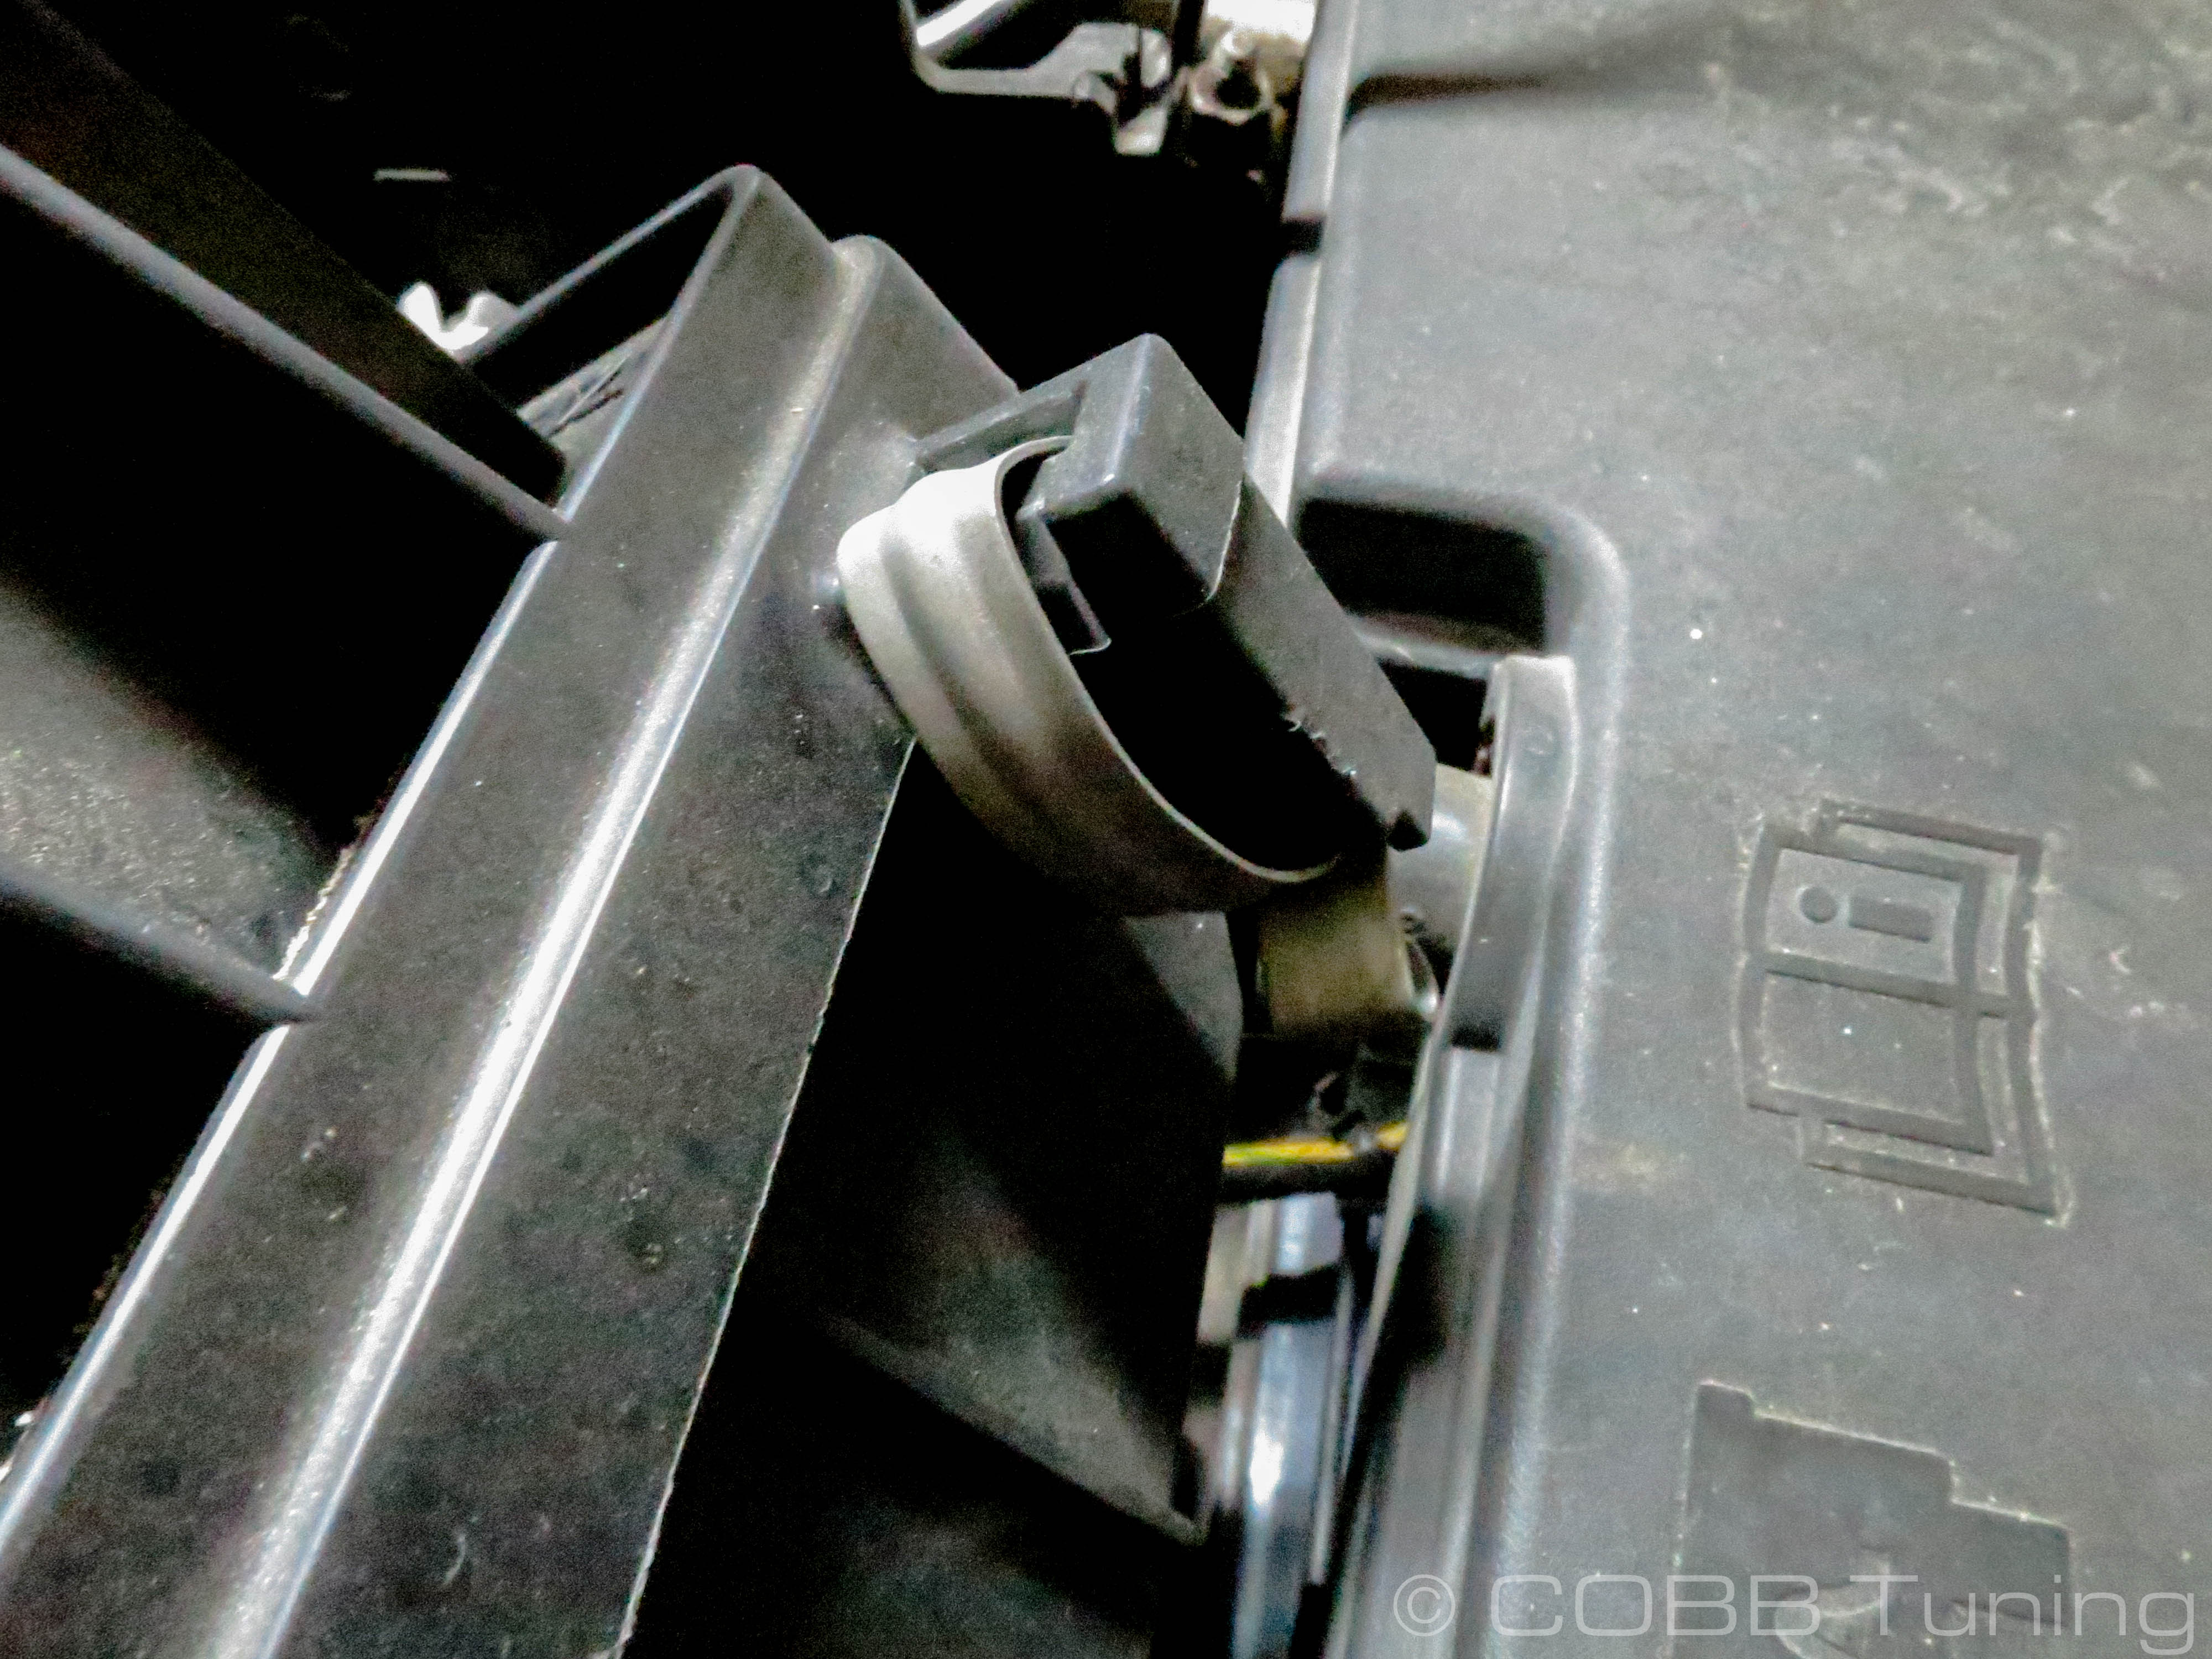
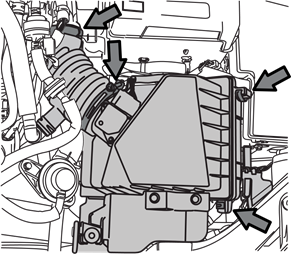
- Using a 10mm socket loosen the intake clamp and remove the airbox lid from the car.
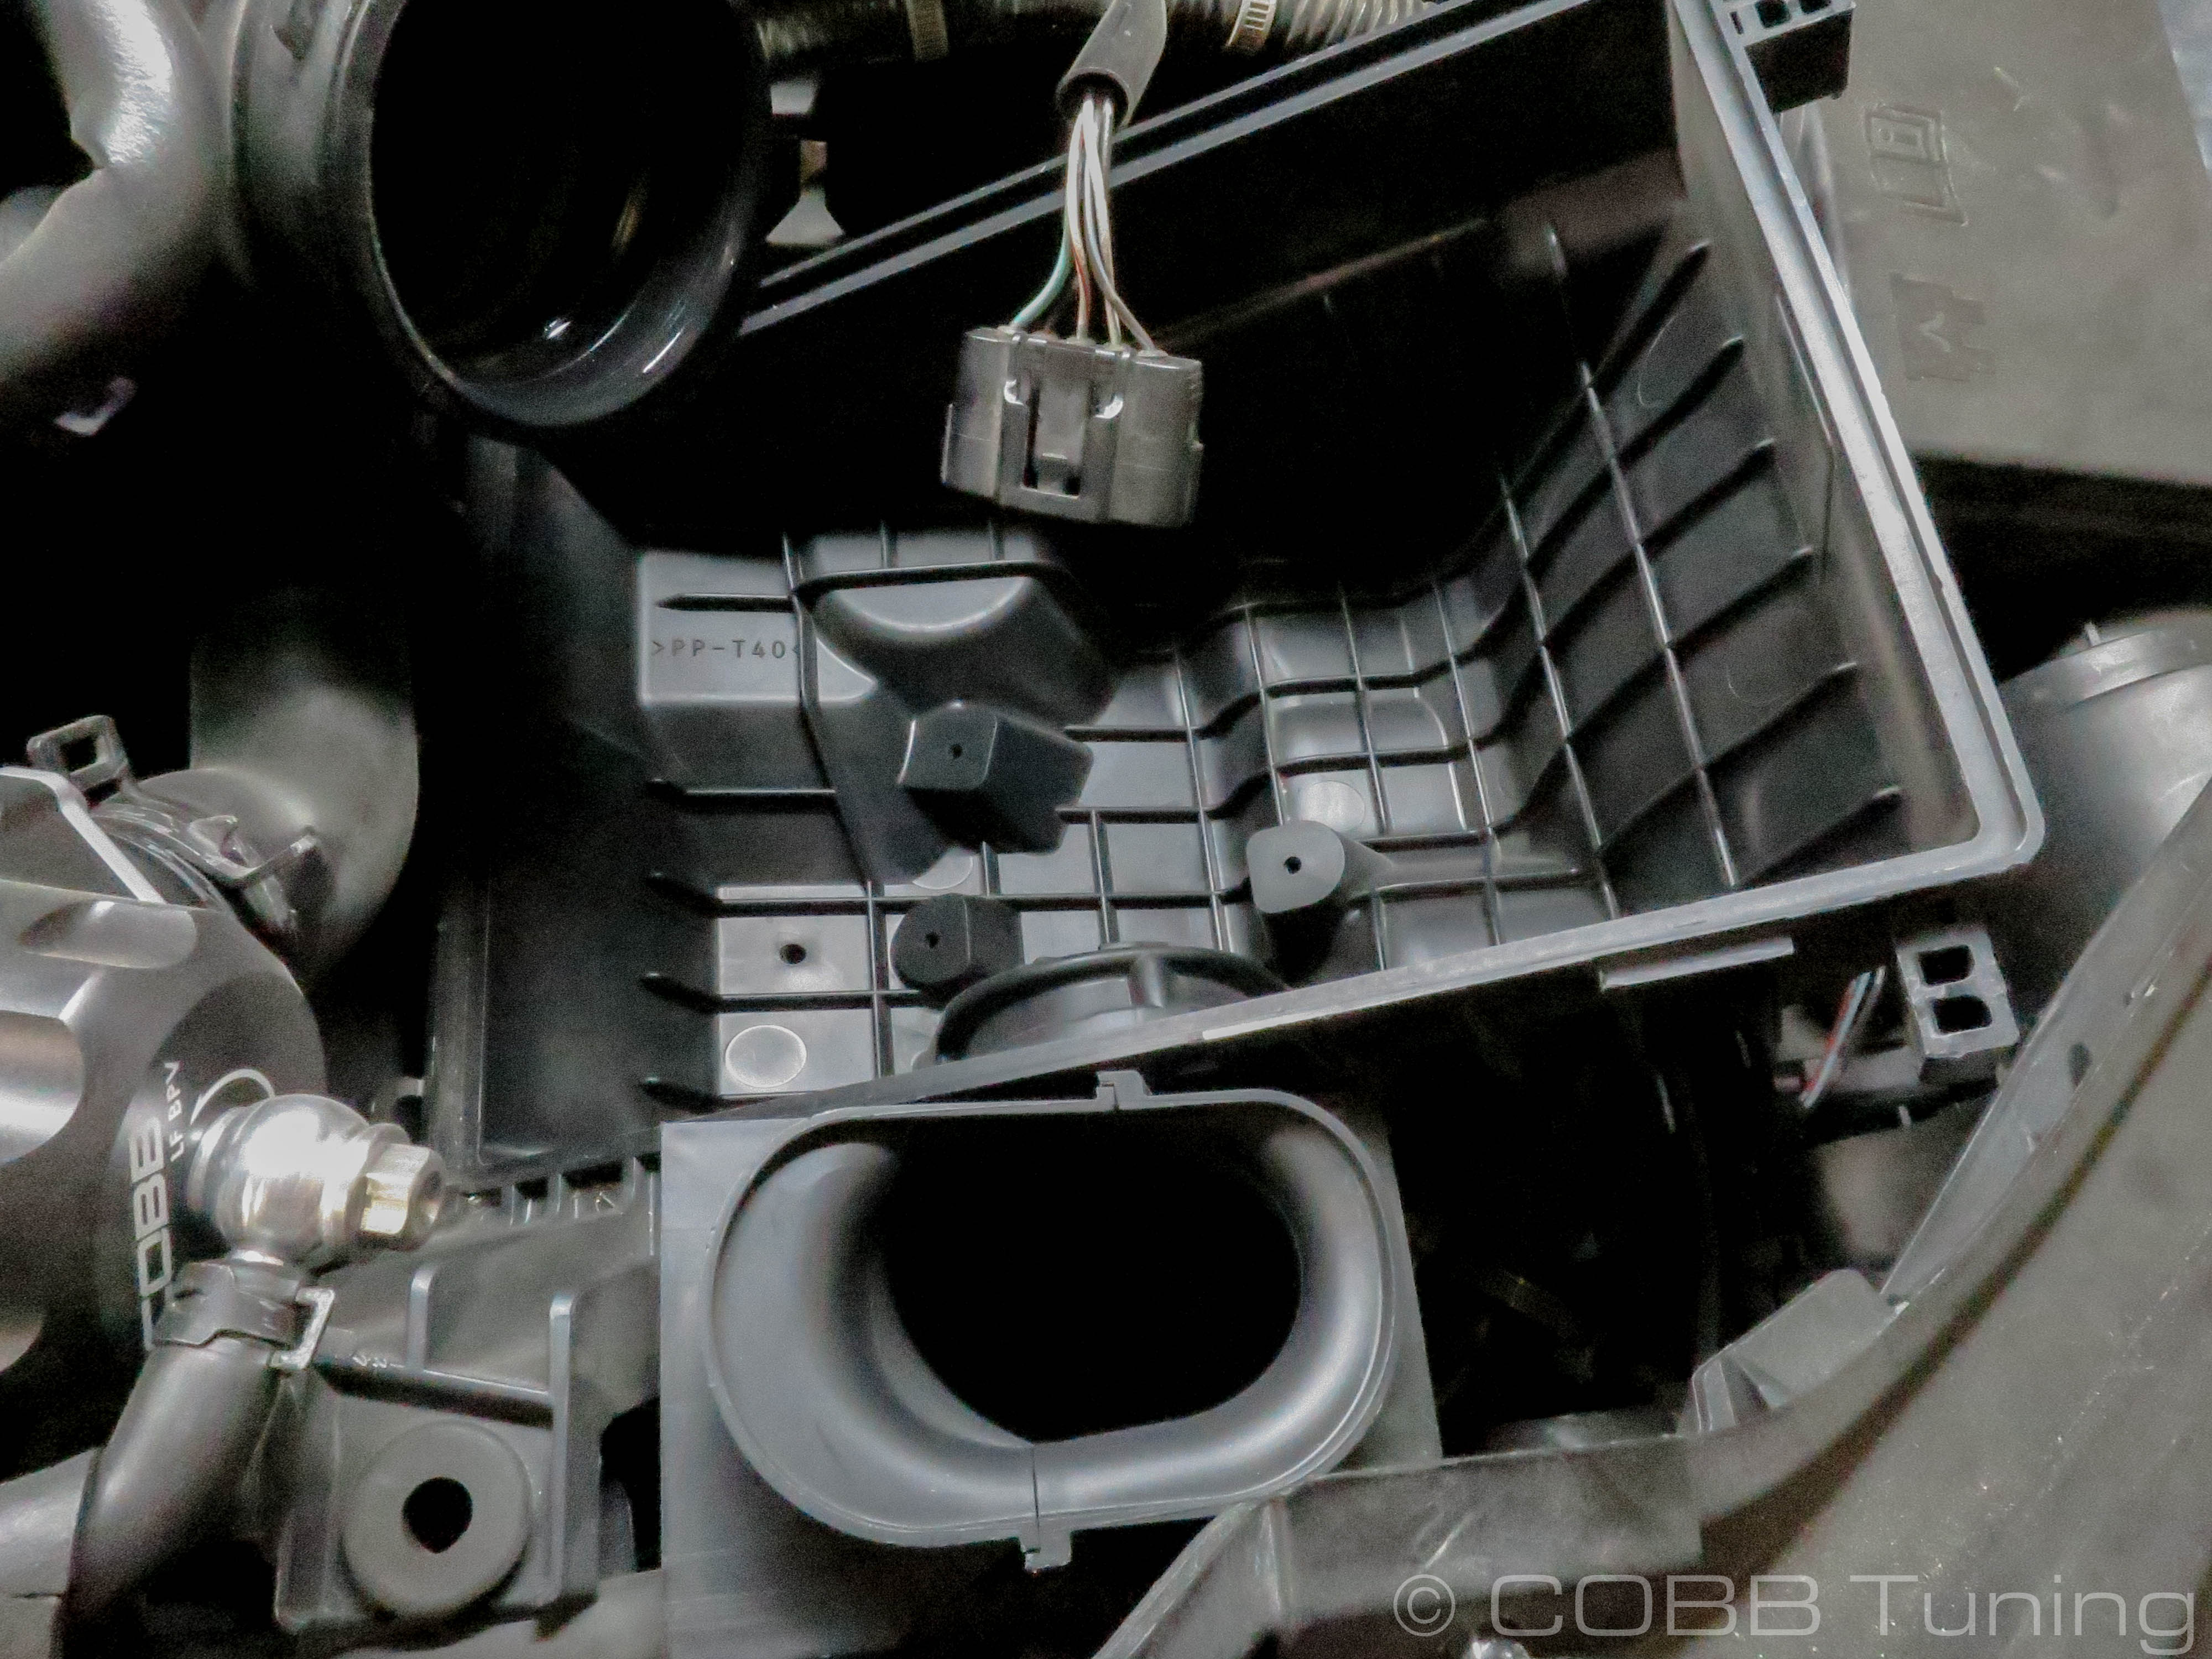
- Pull firmly upwards on the lower airbox in order to pop it free form the rubber grommets it sits in.
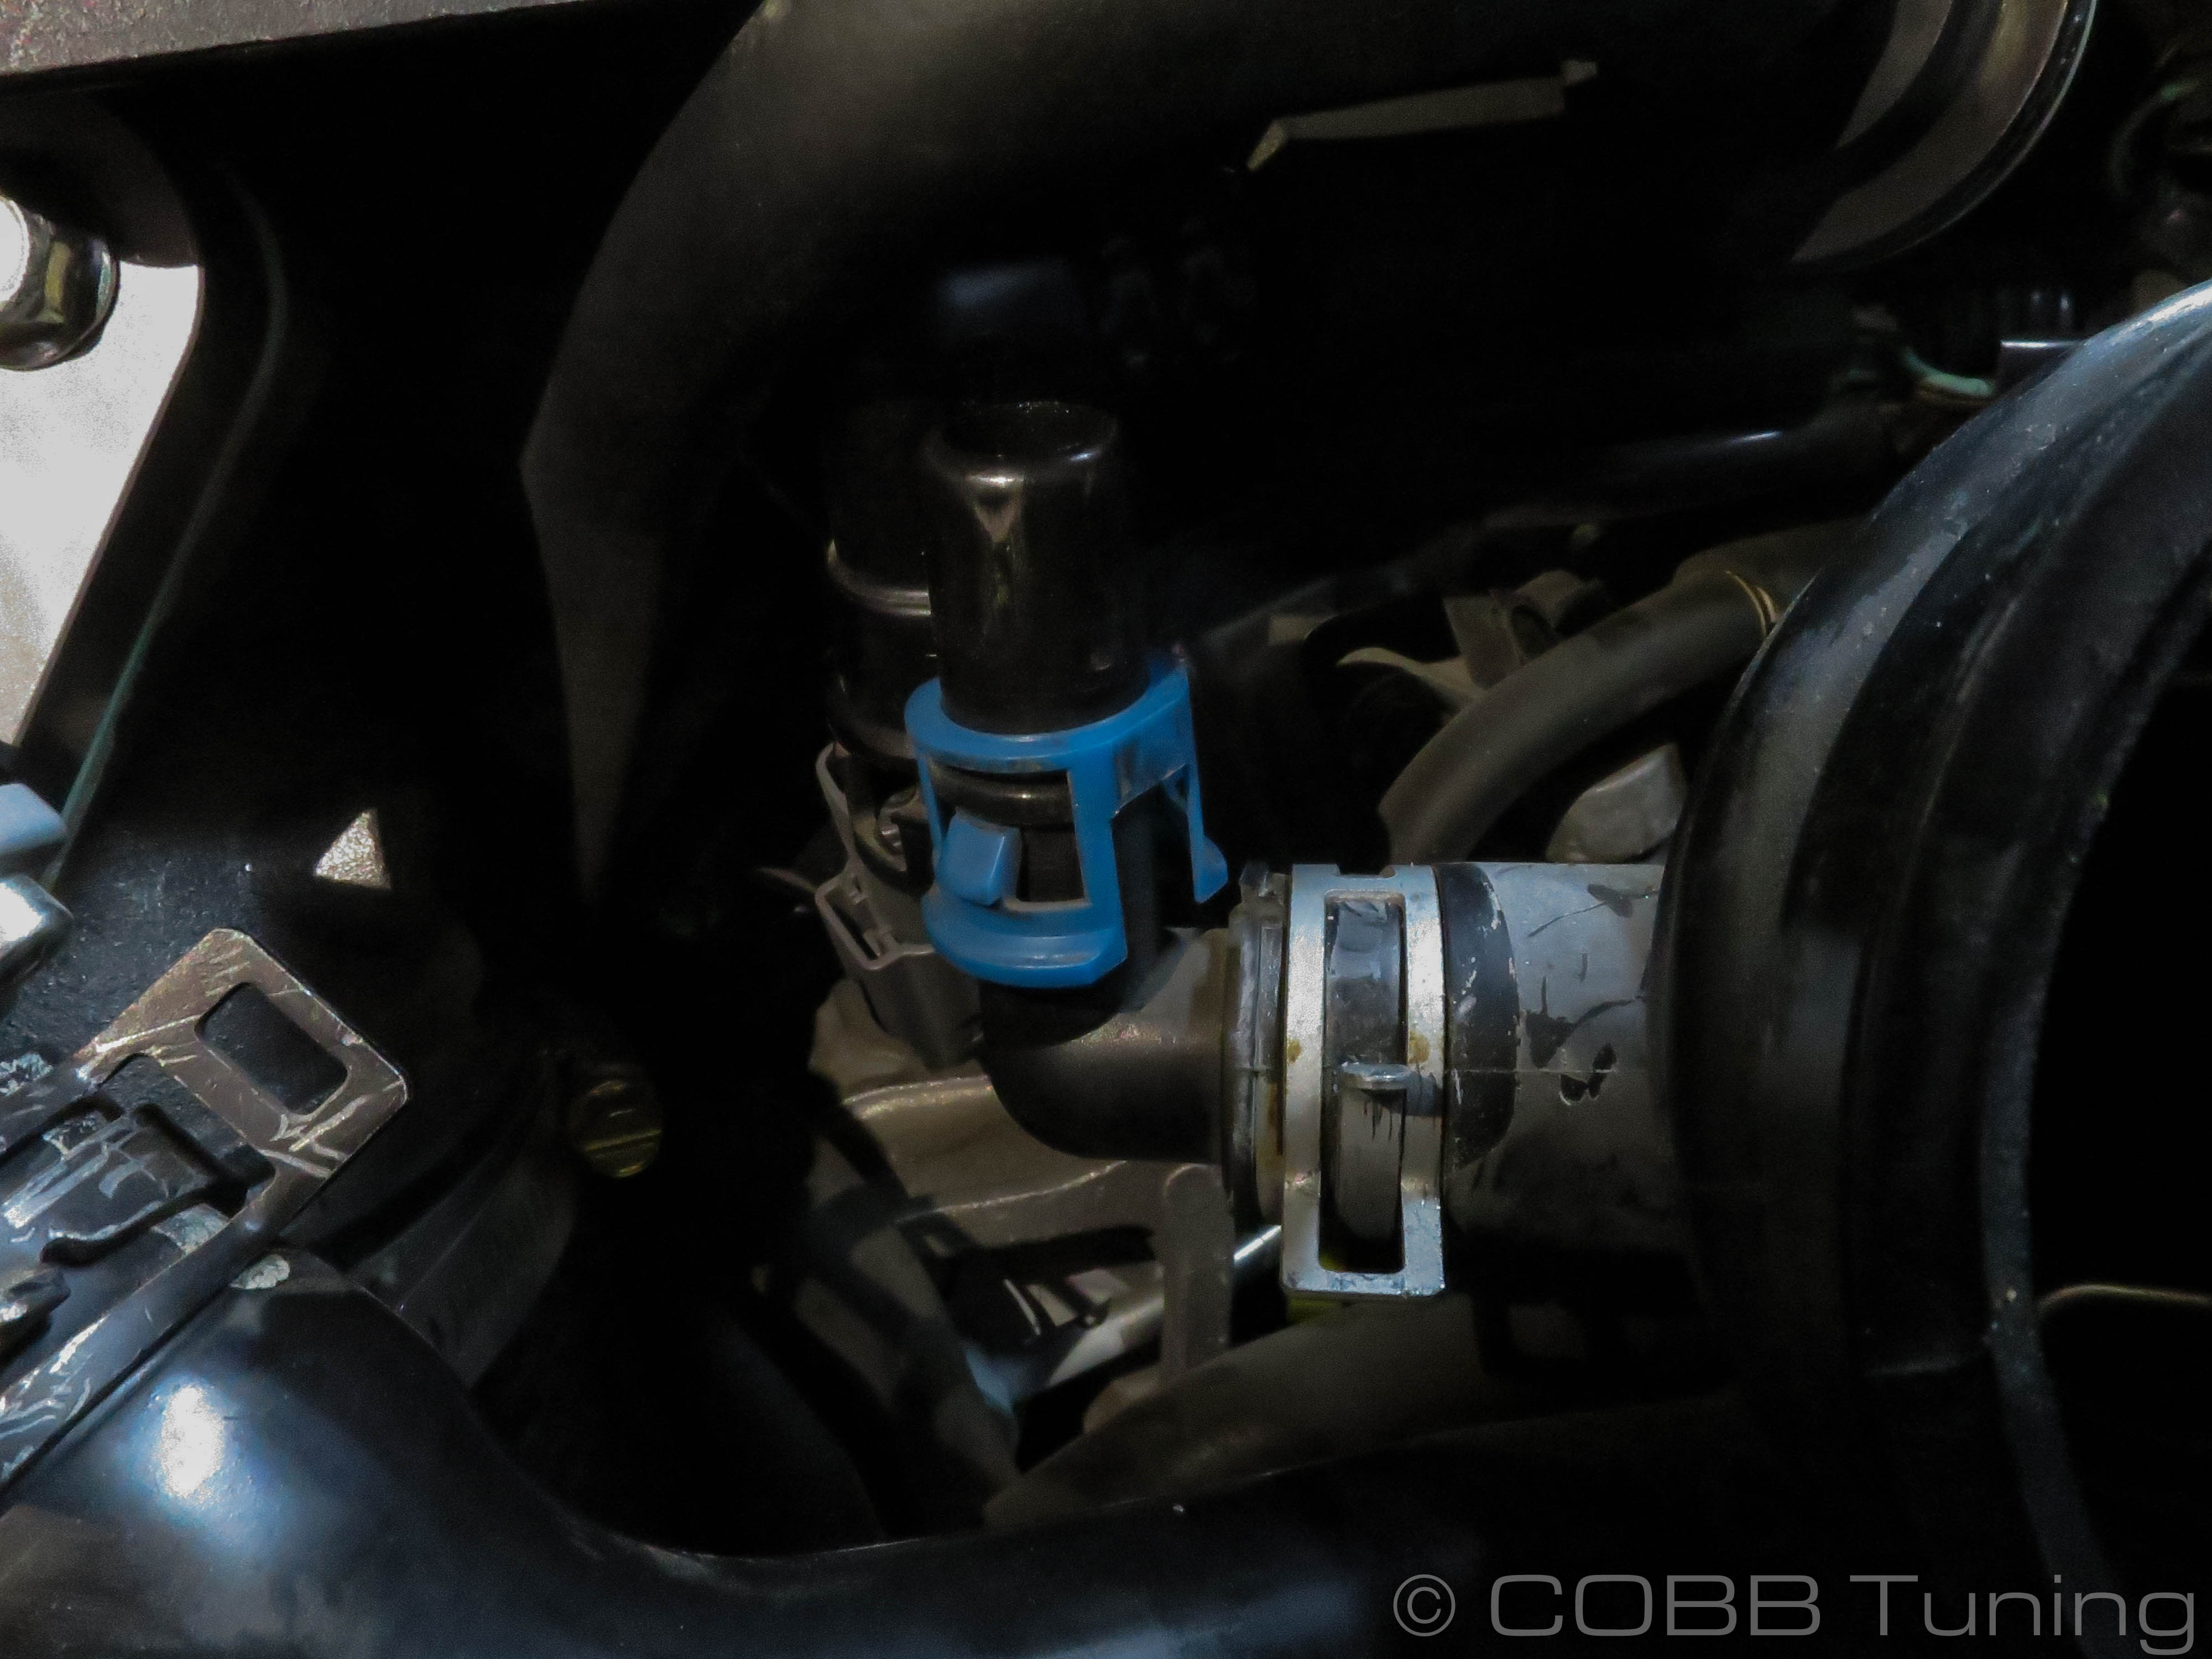
- Remove the PCV hose from the intake tube. You can either do this by removing the spring clamp with your pliers or squeezing the blue clip to release the tube.
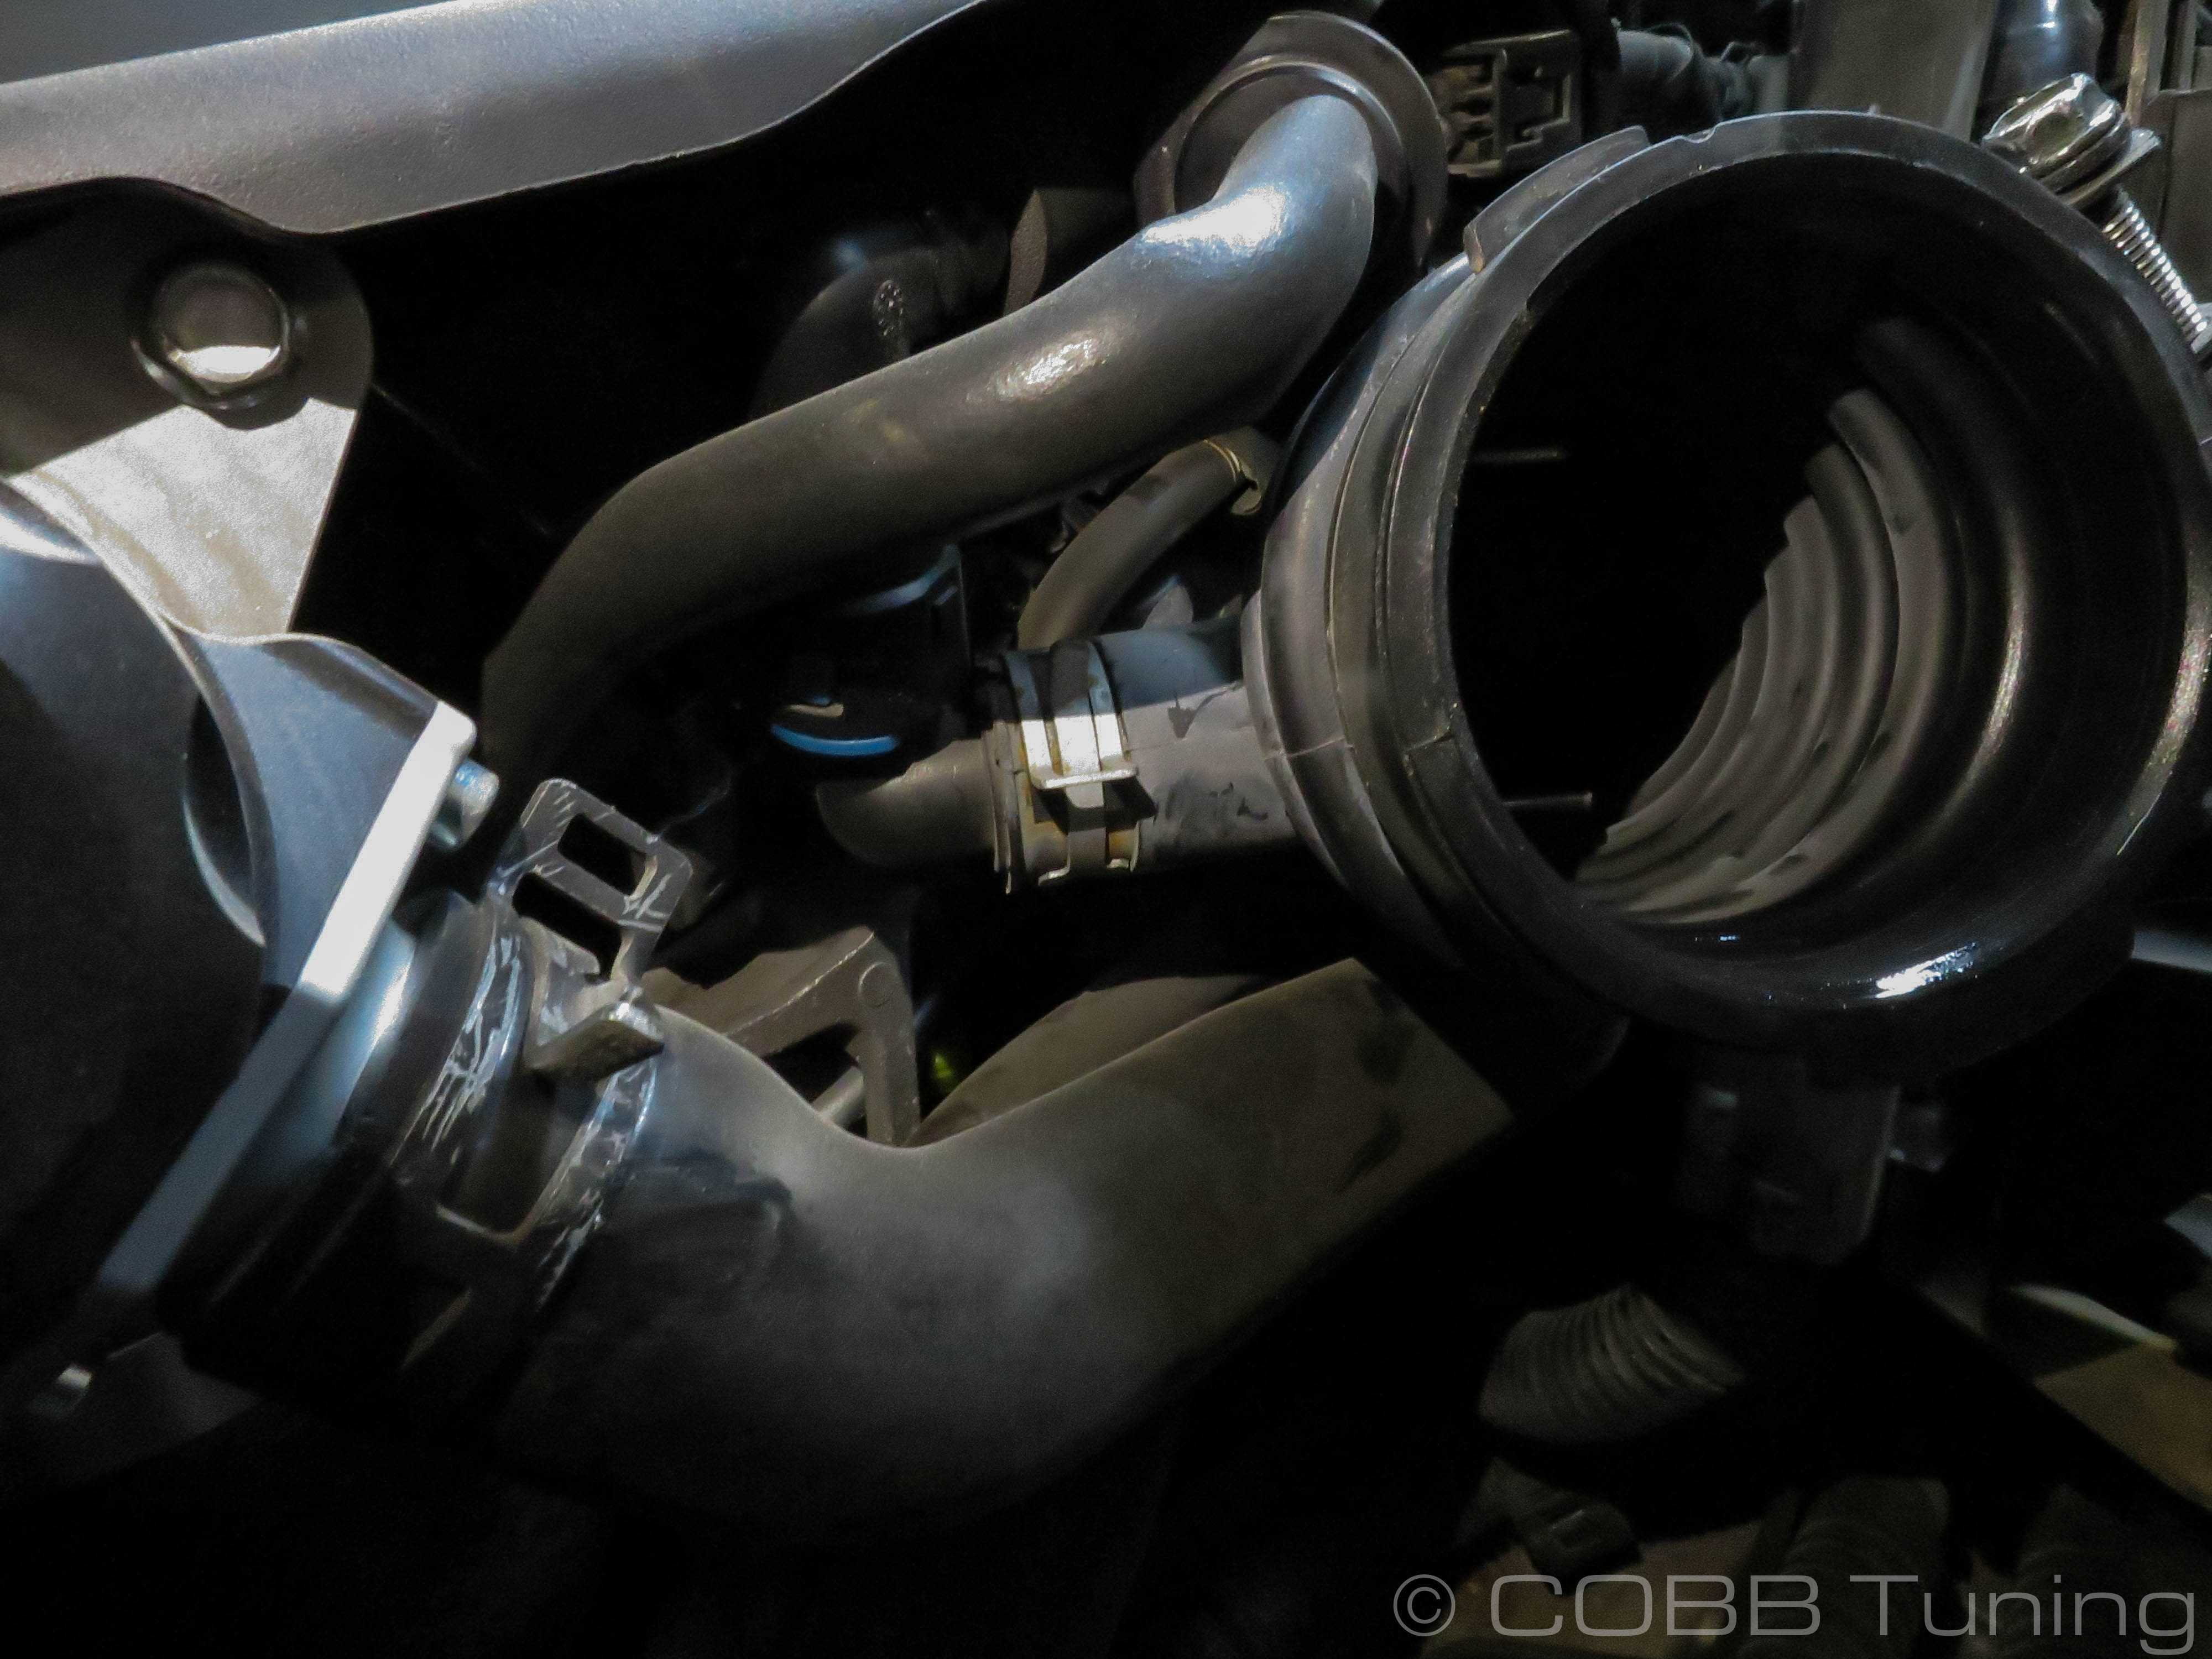
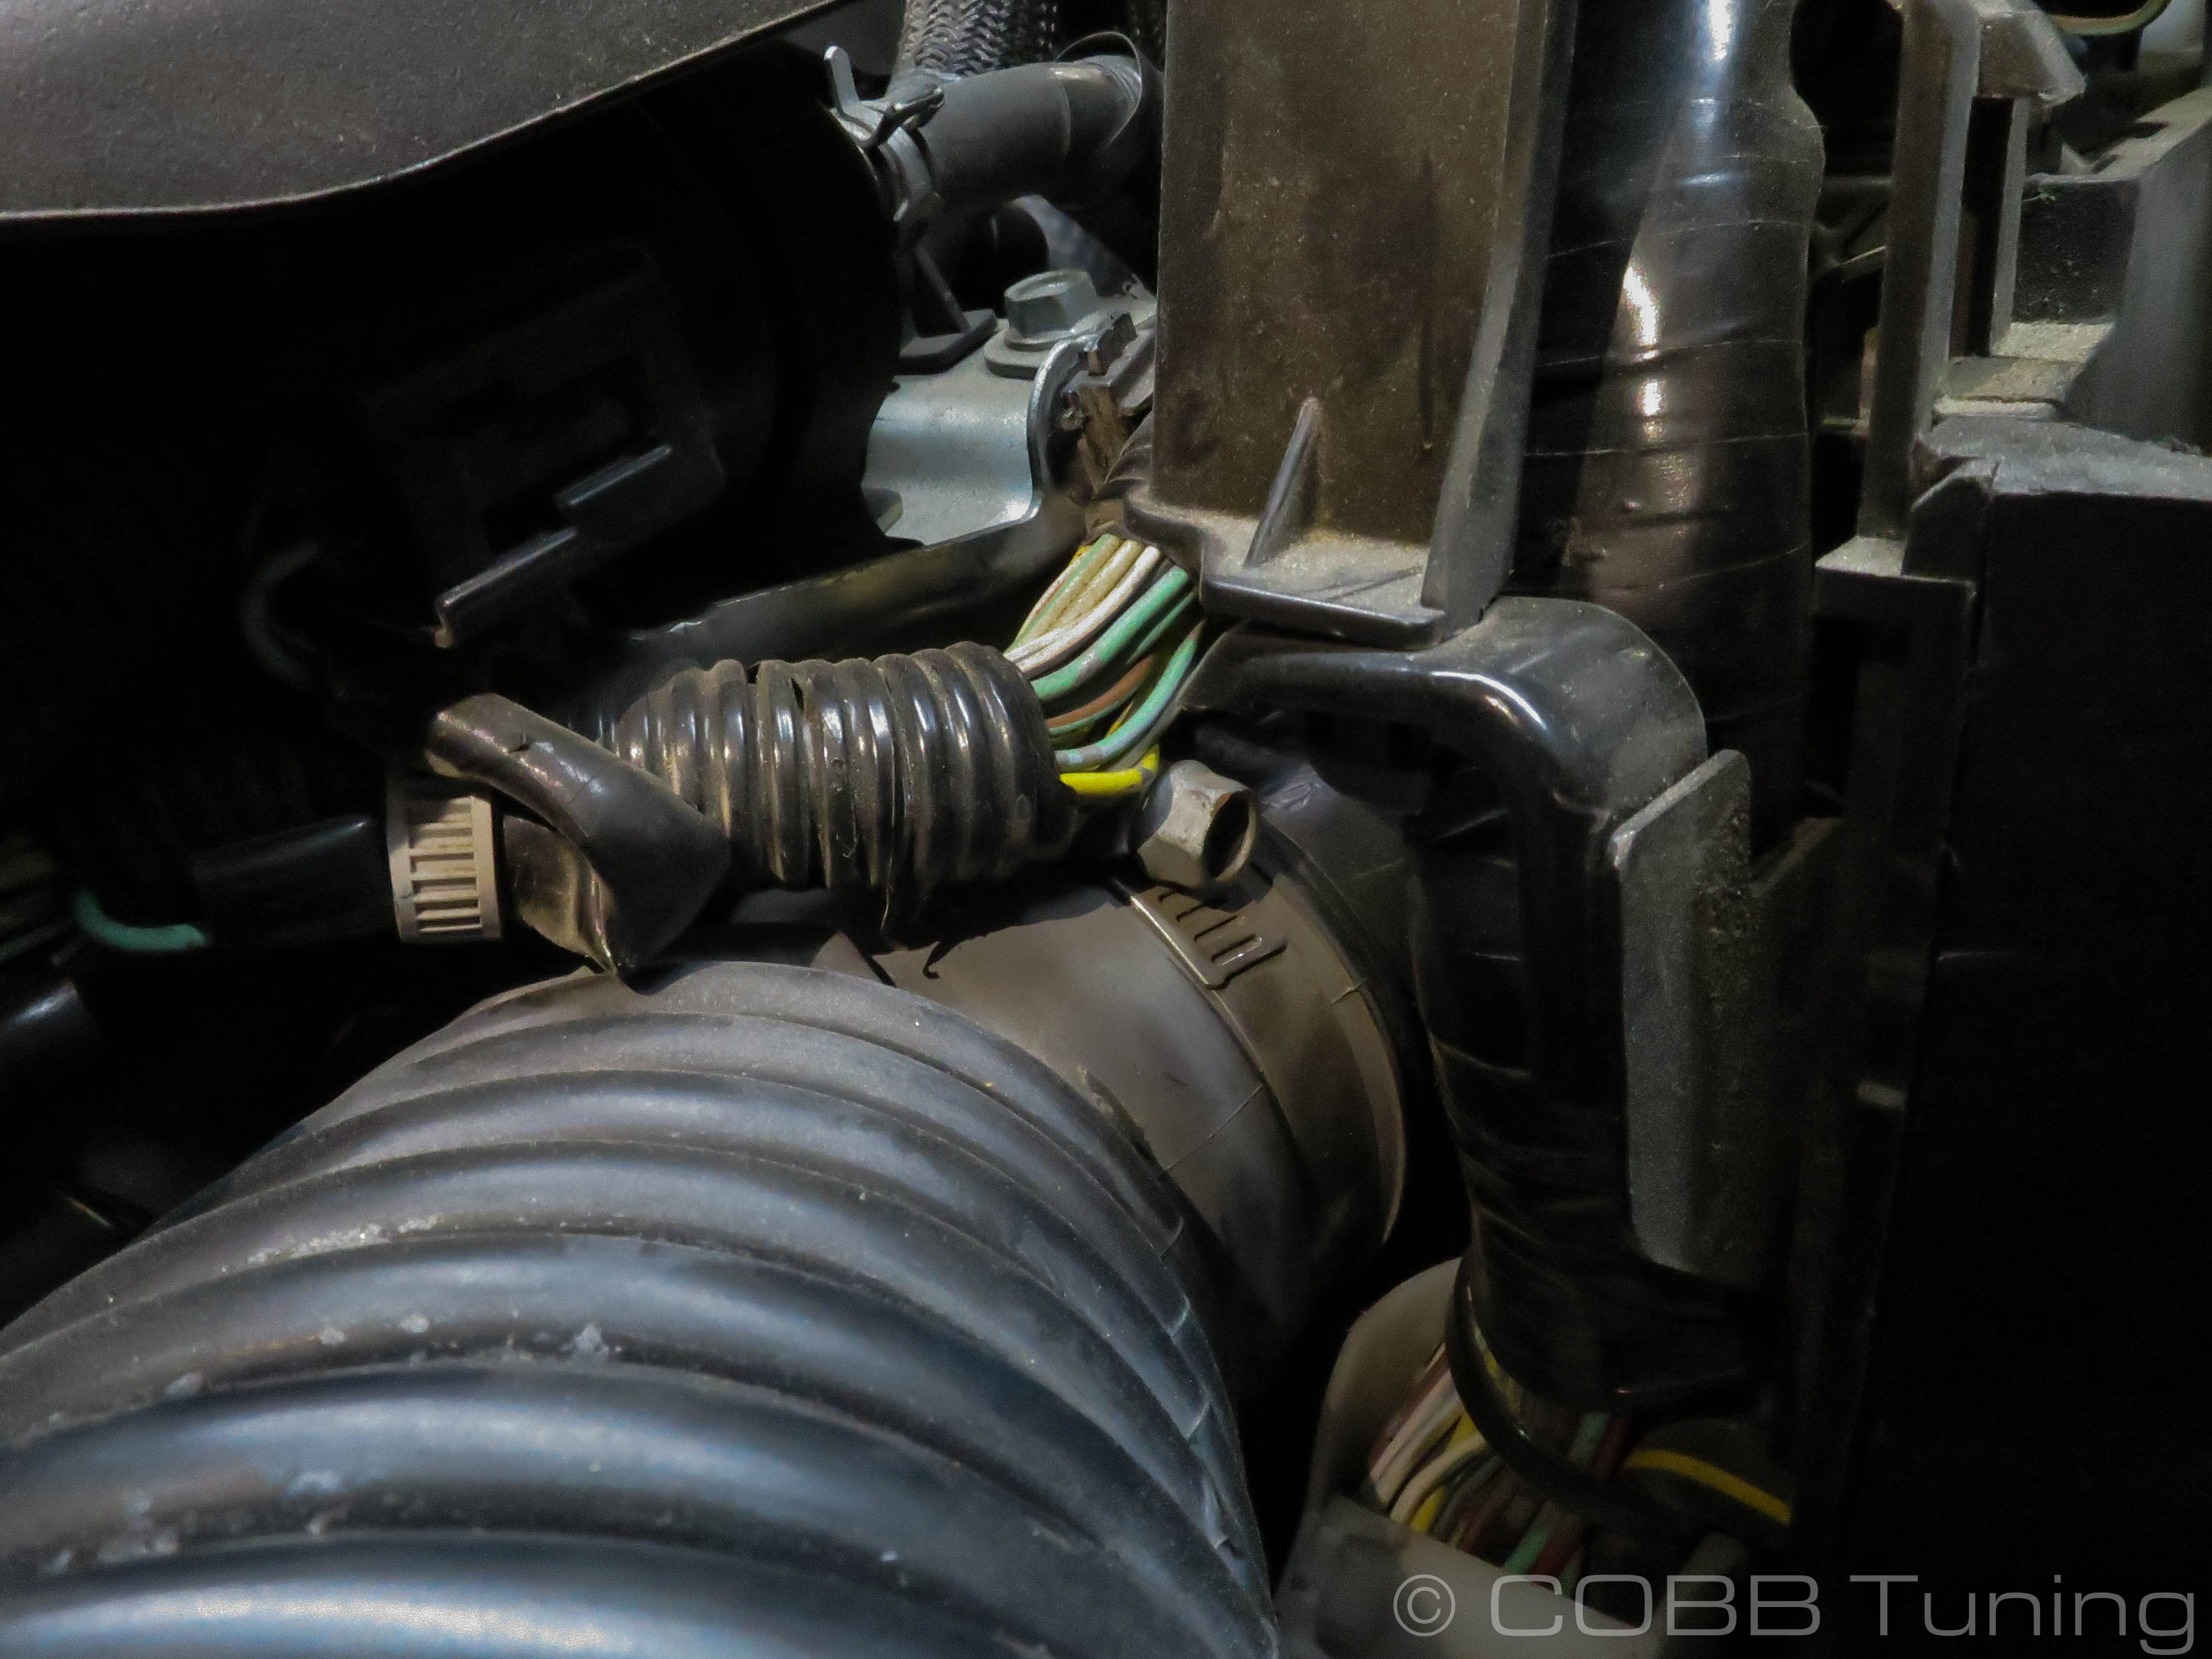
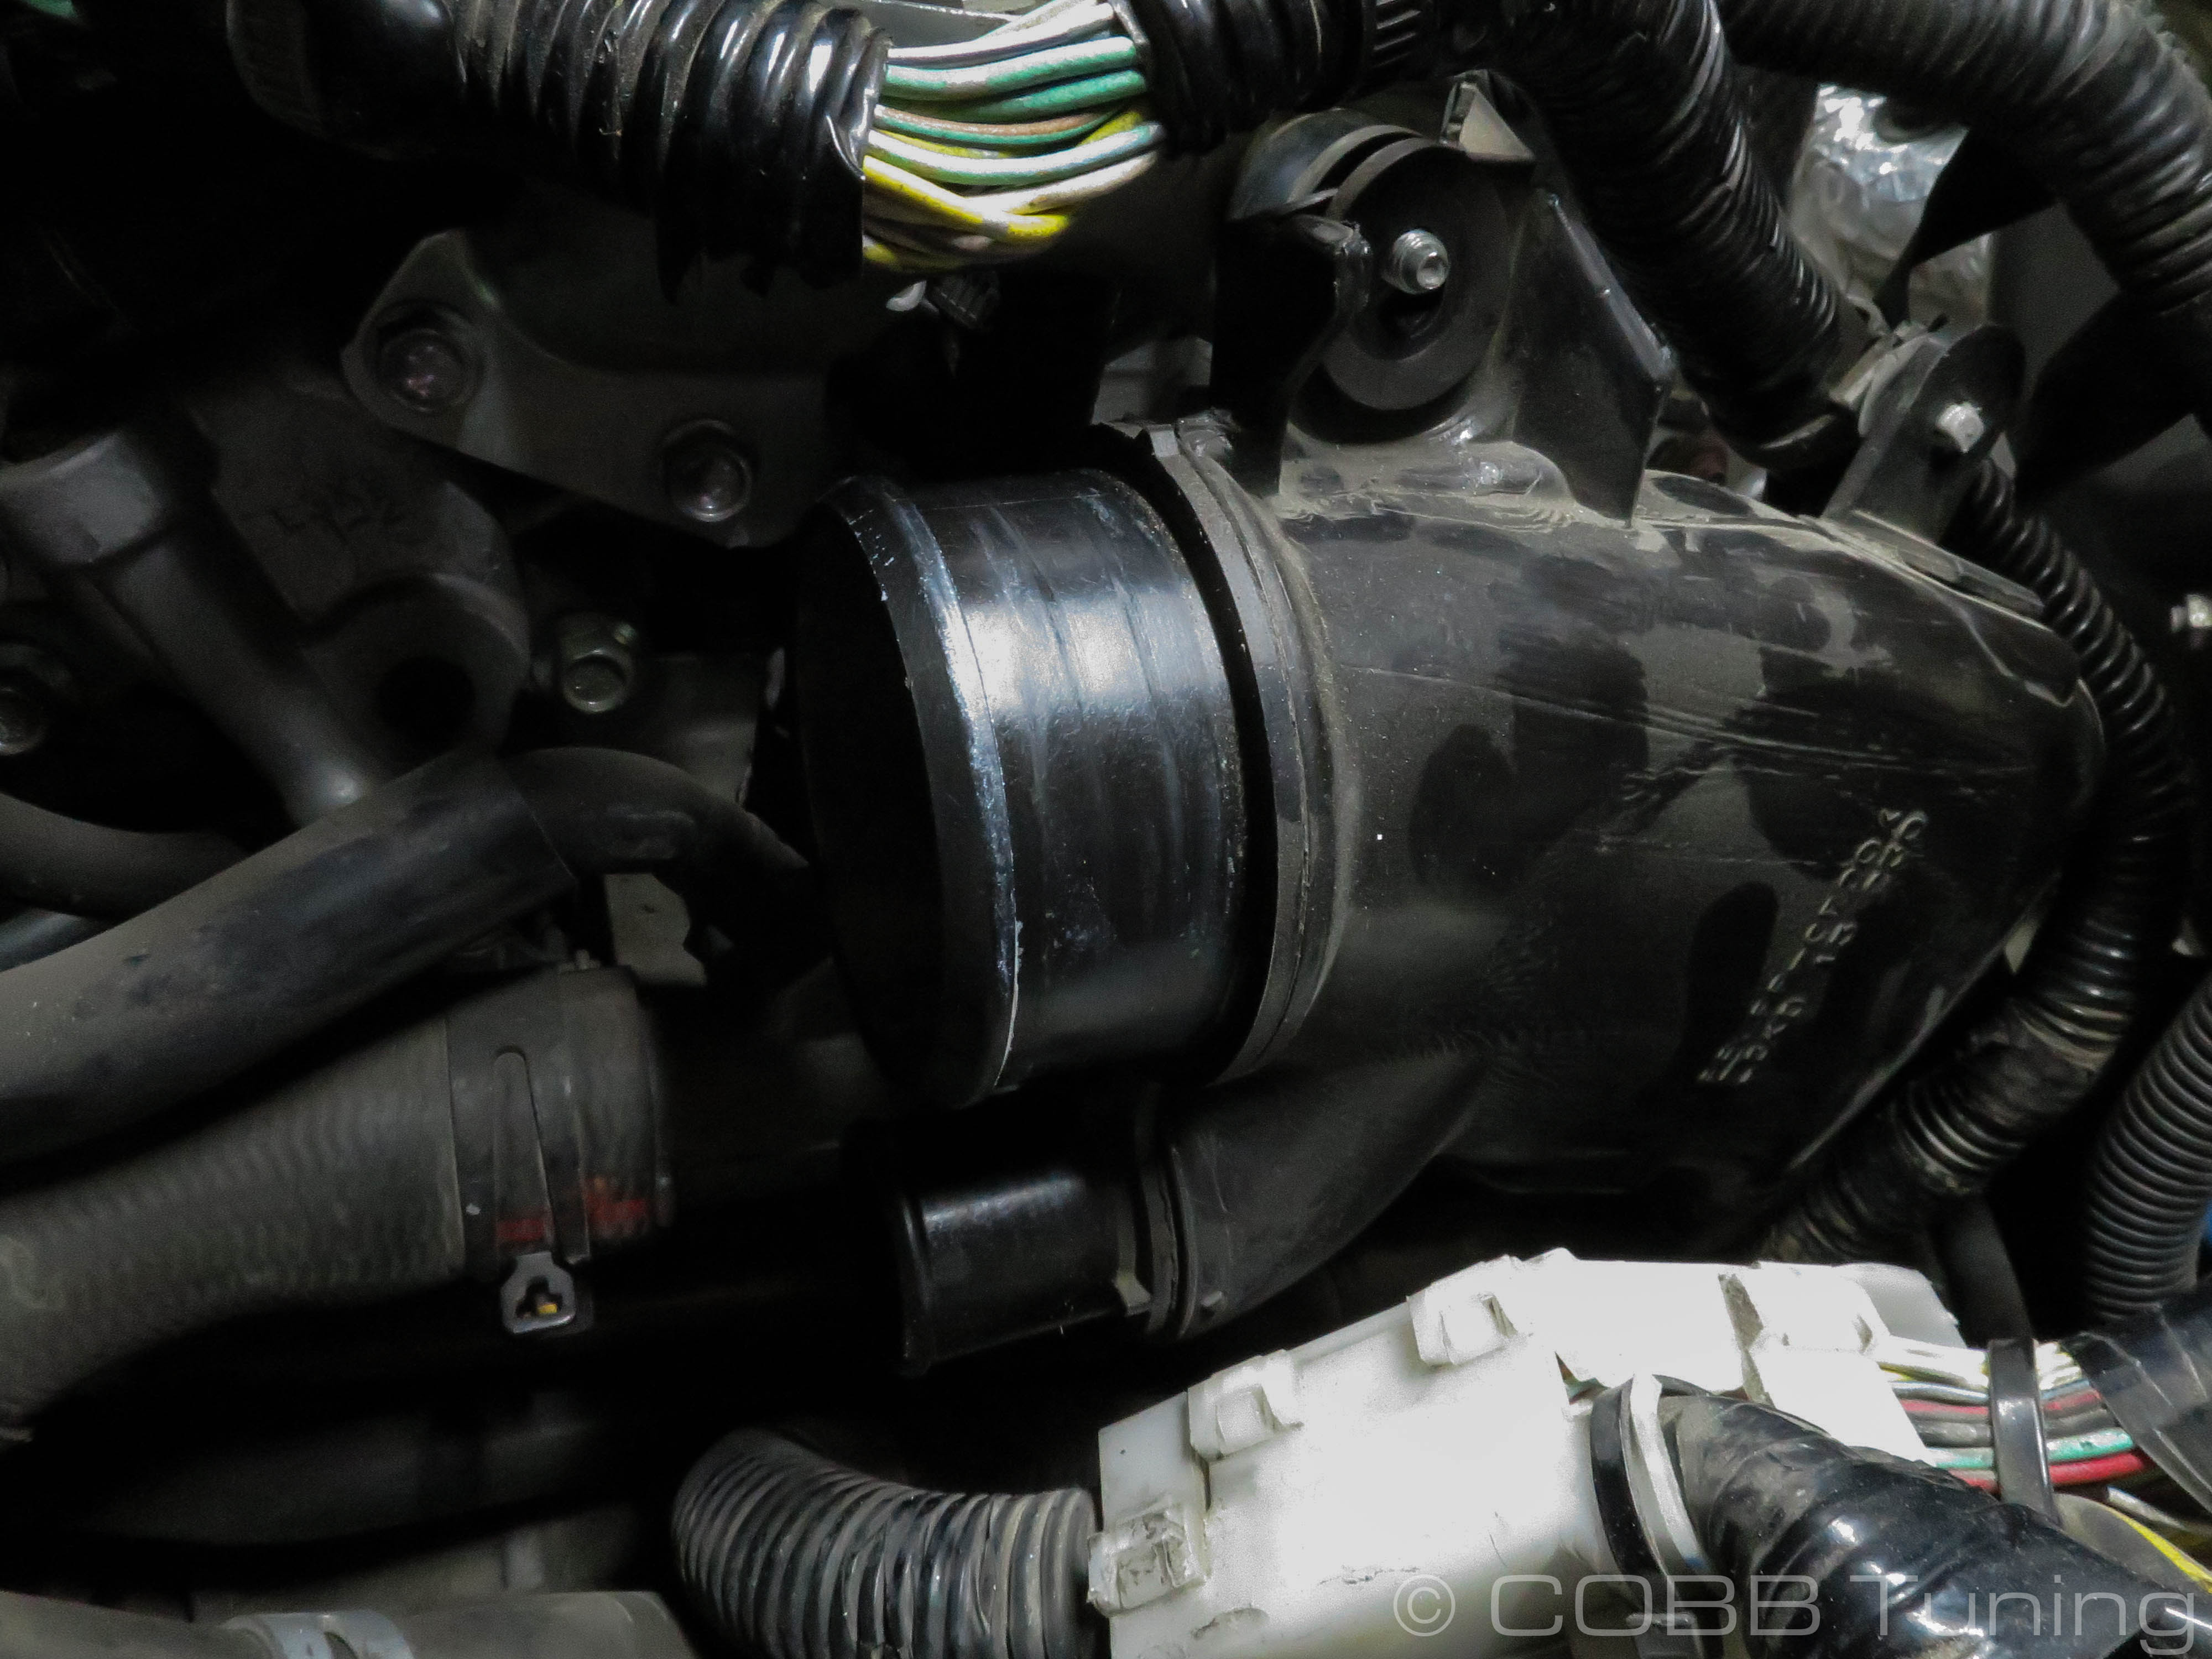
- With the 10mm remove the clamp holding the intake to the turbo inlet and pull the intake tube free from the car.
Shifter Bushing Install
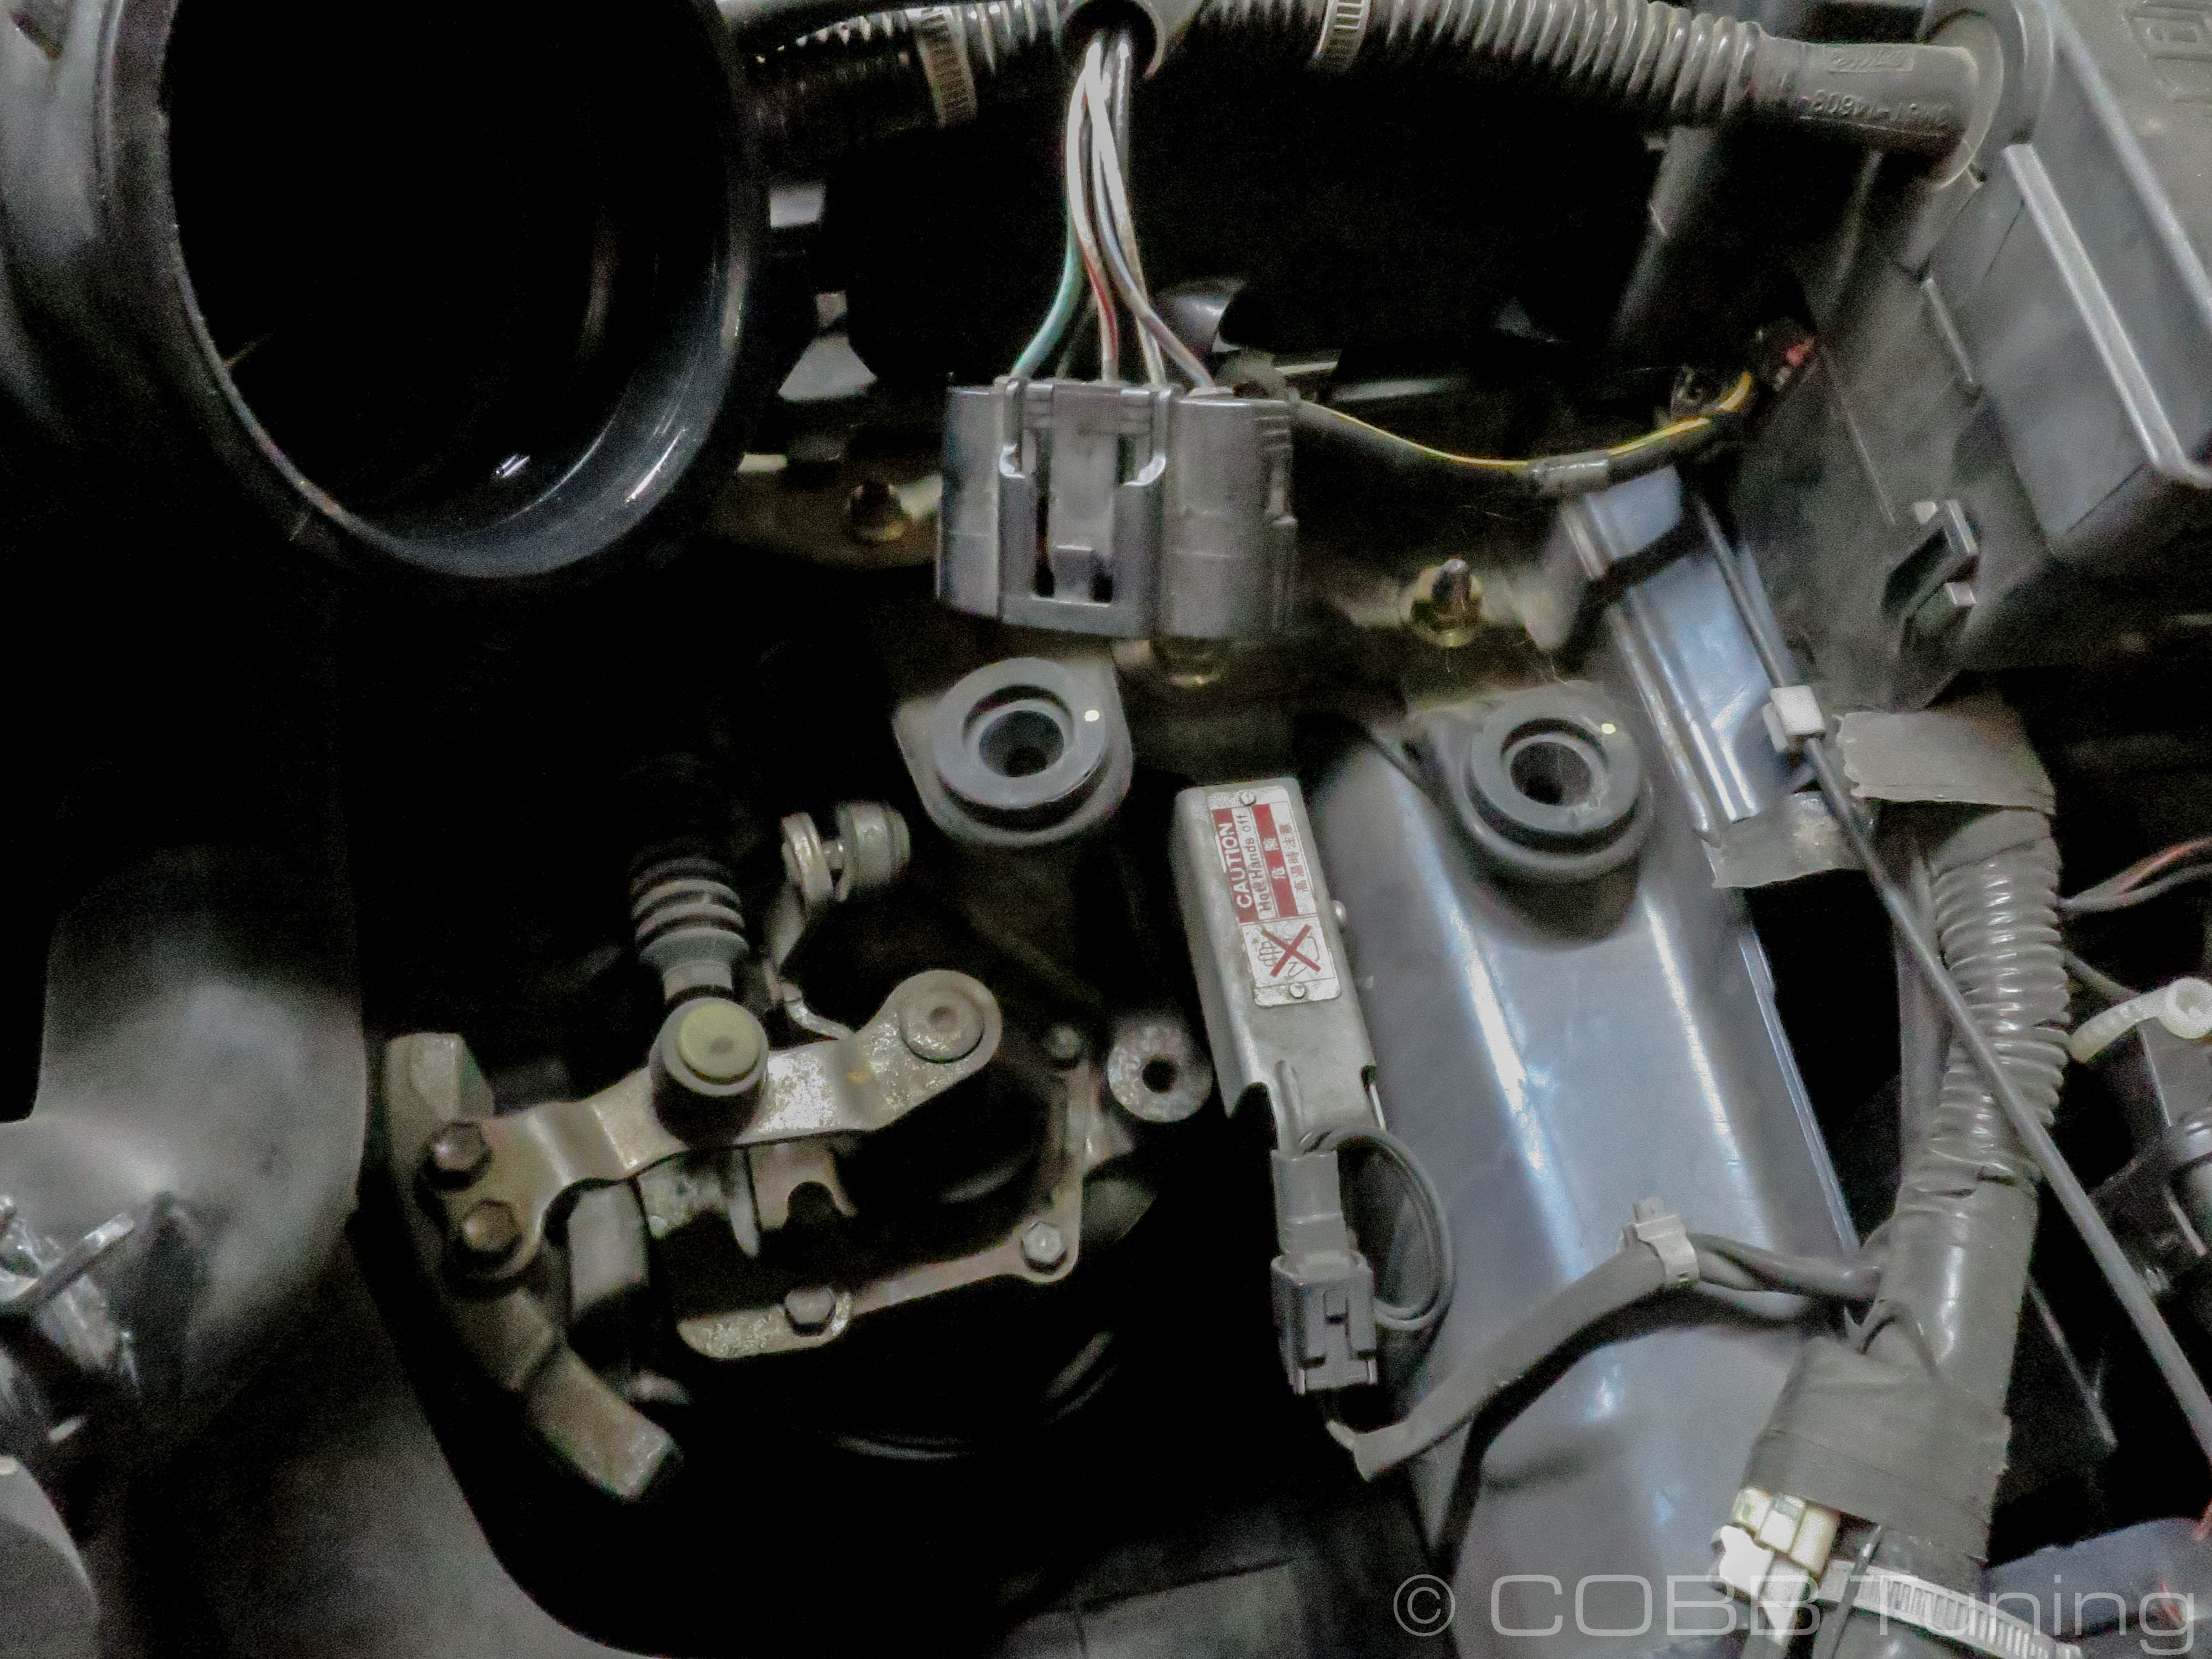
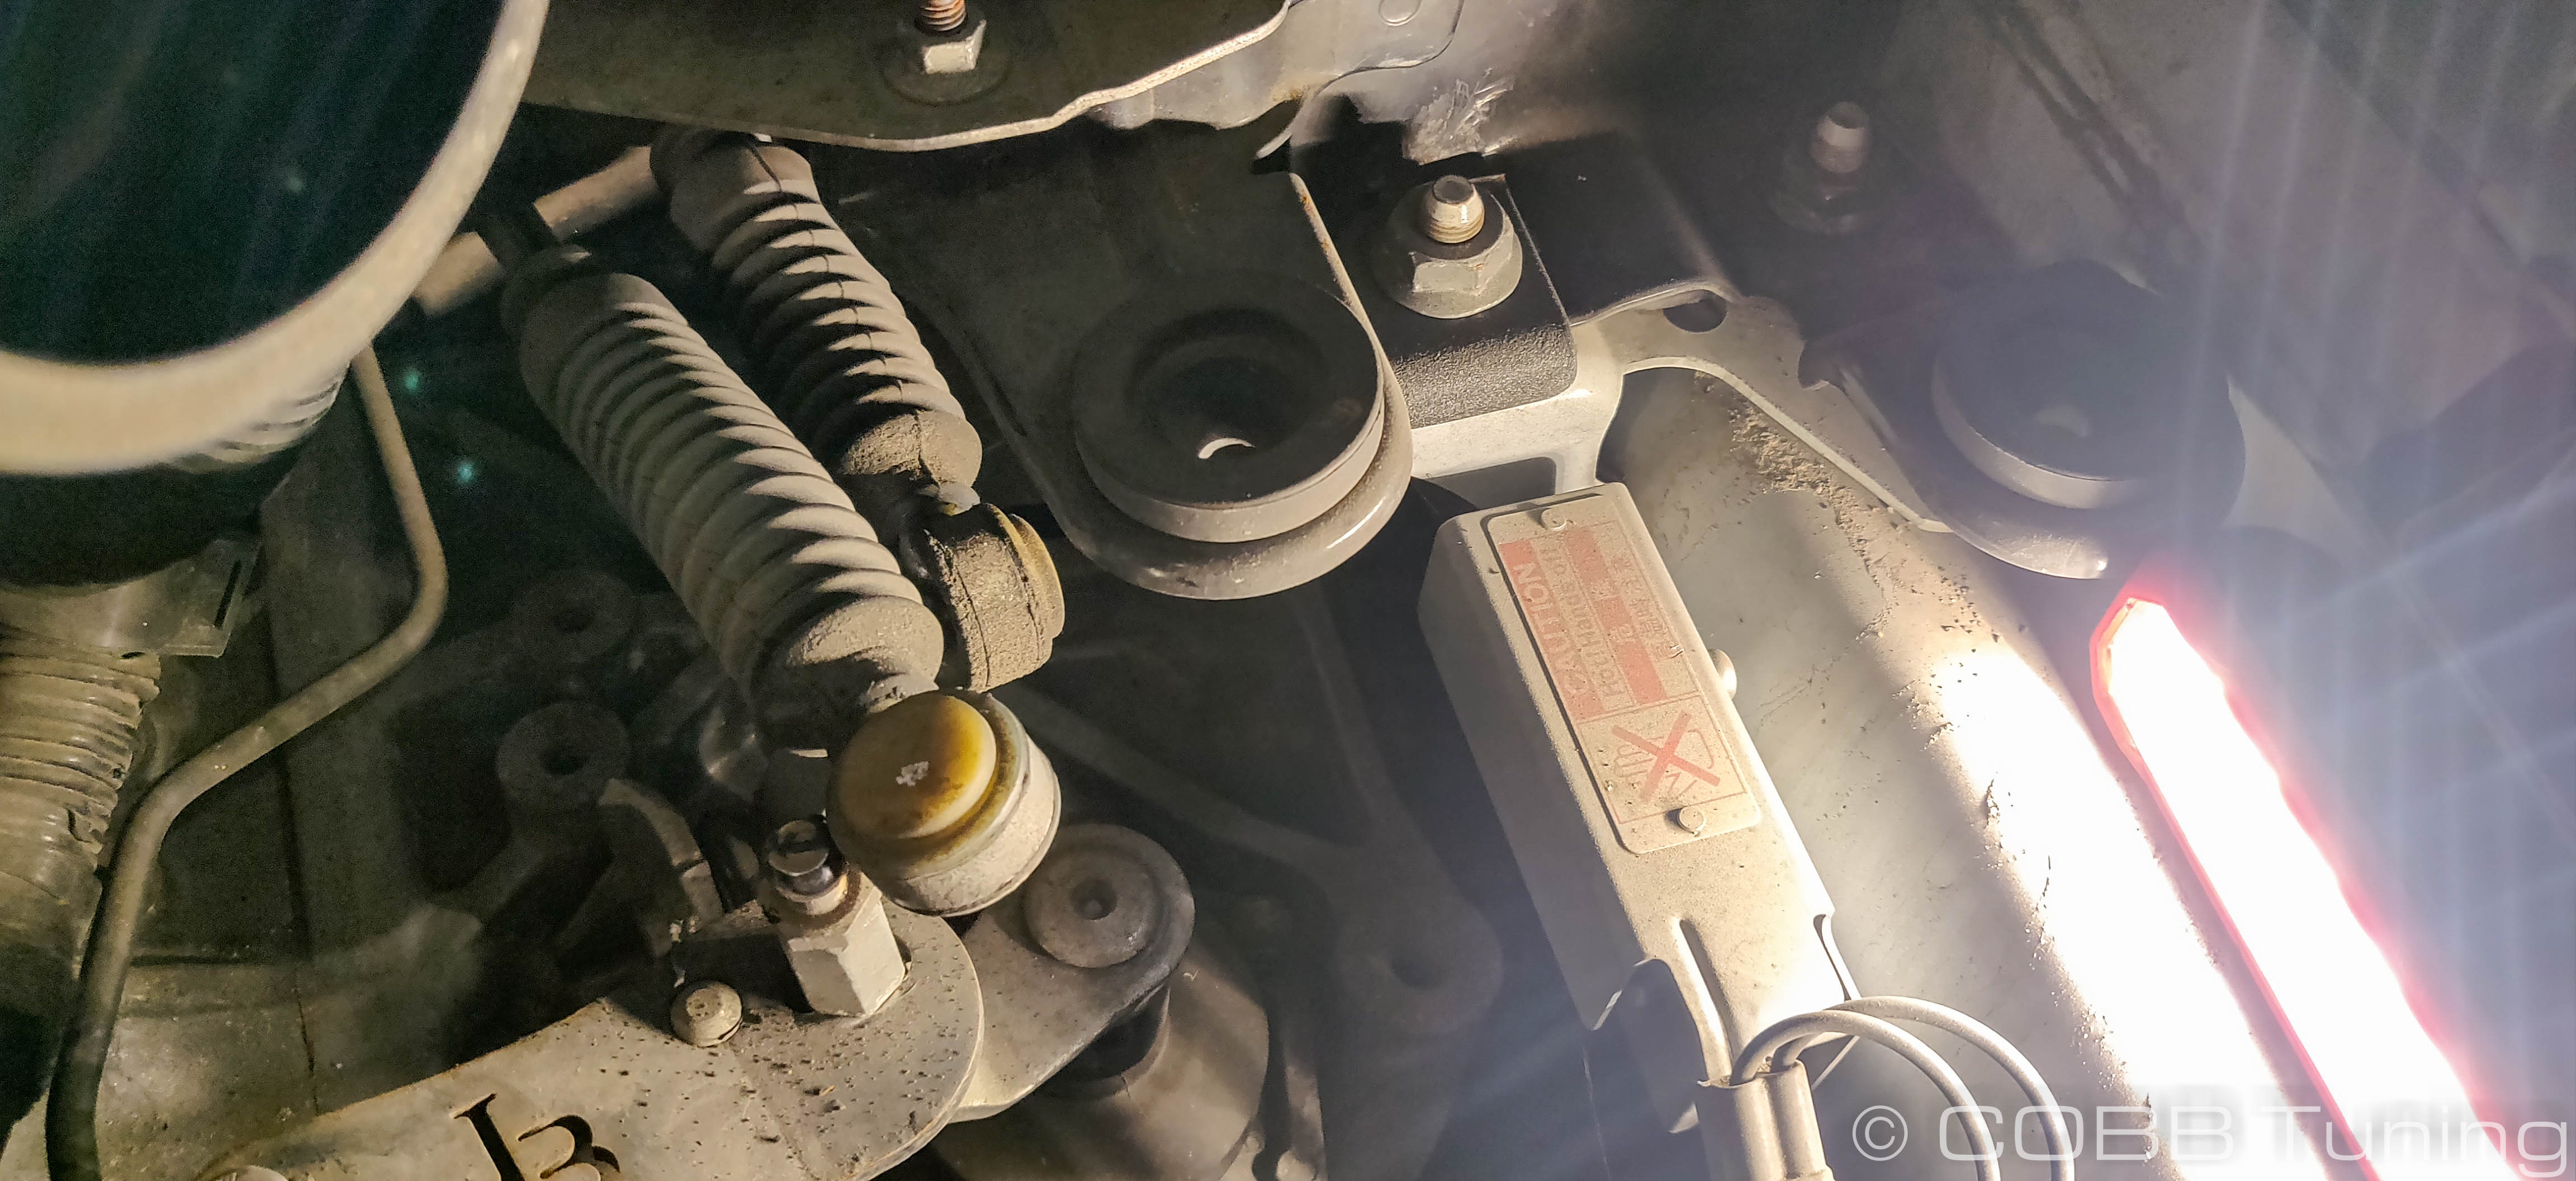
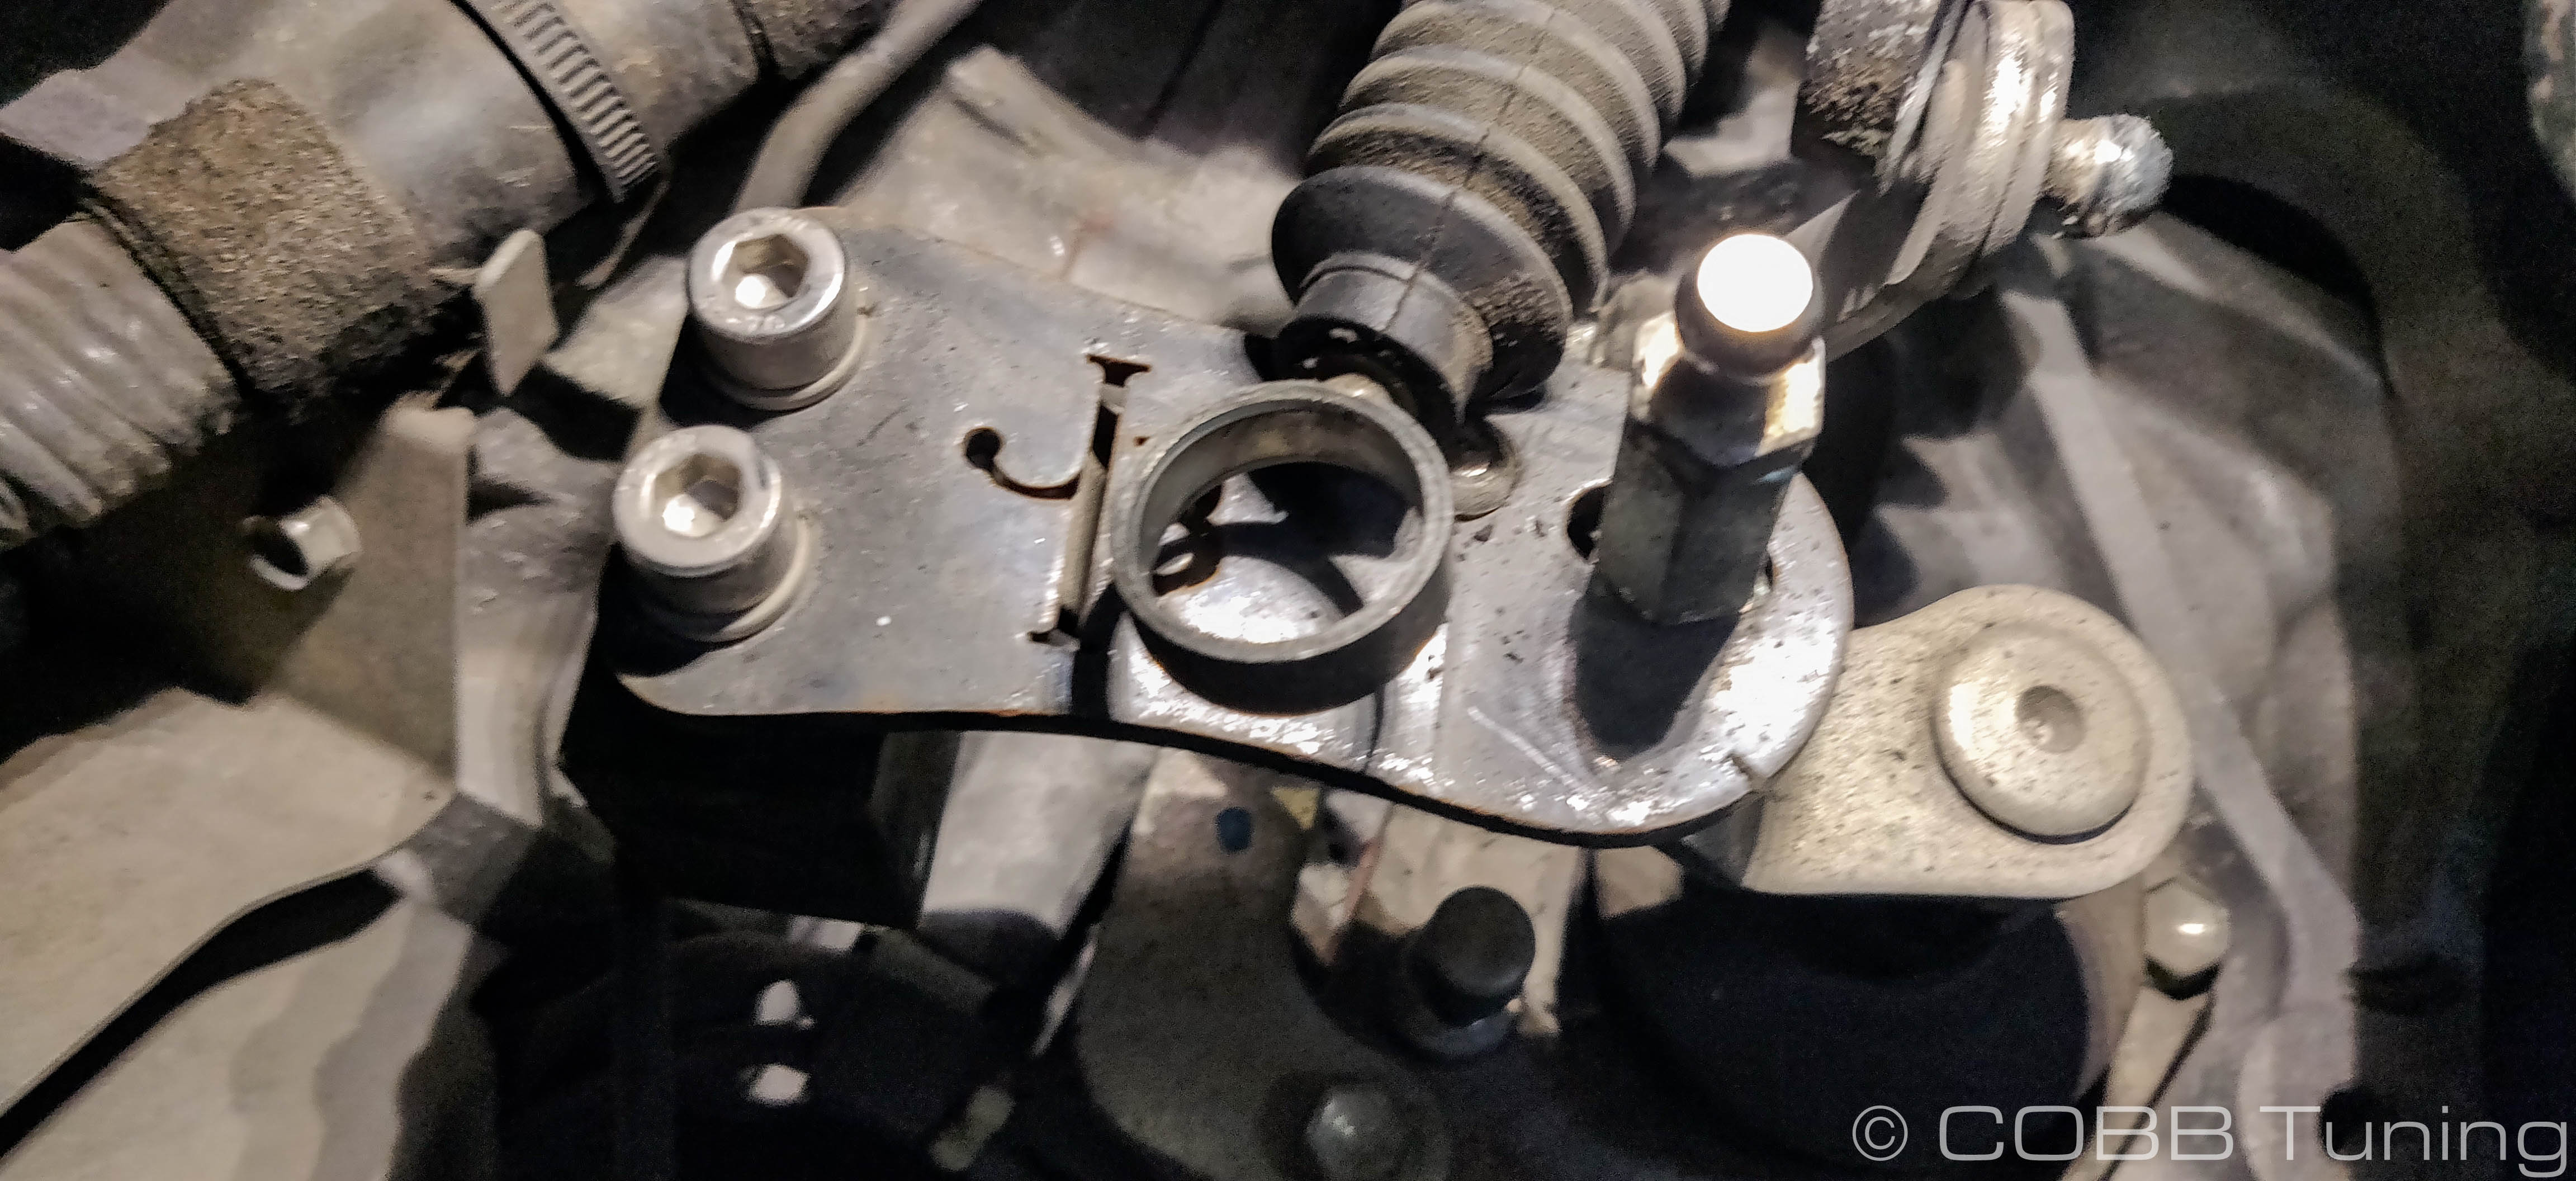
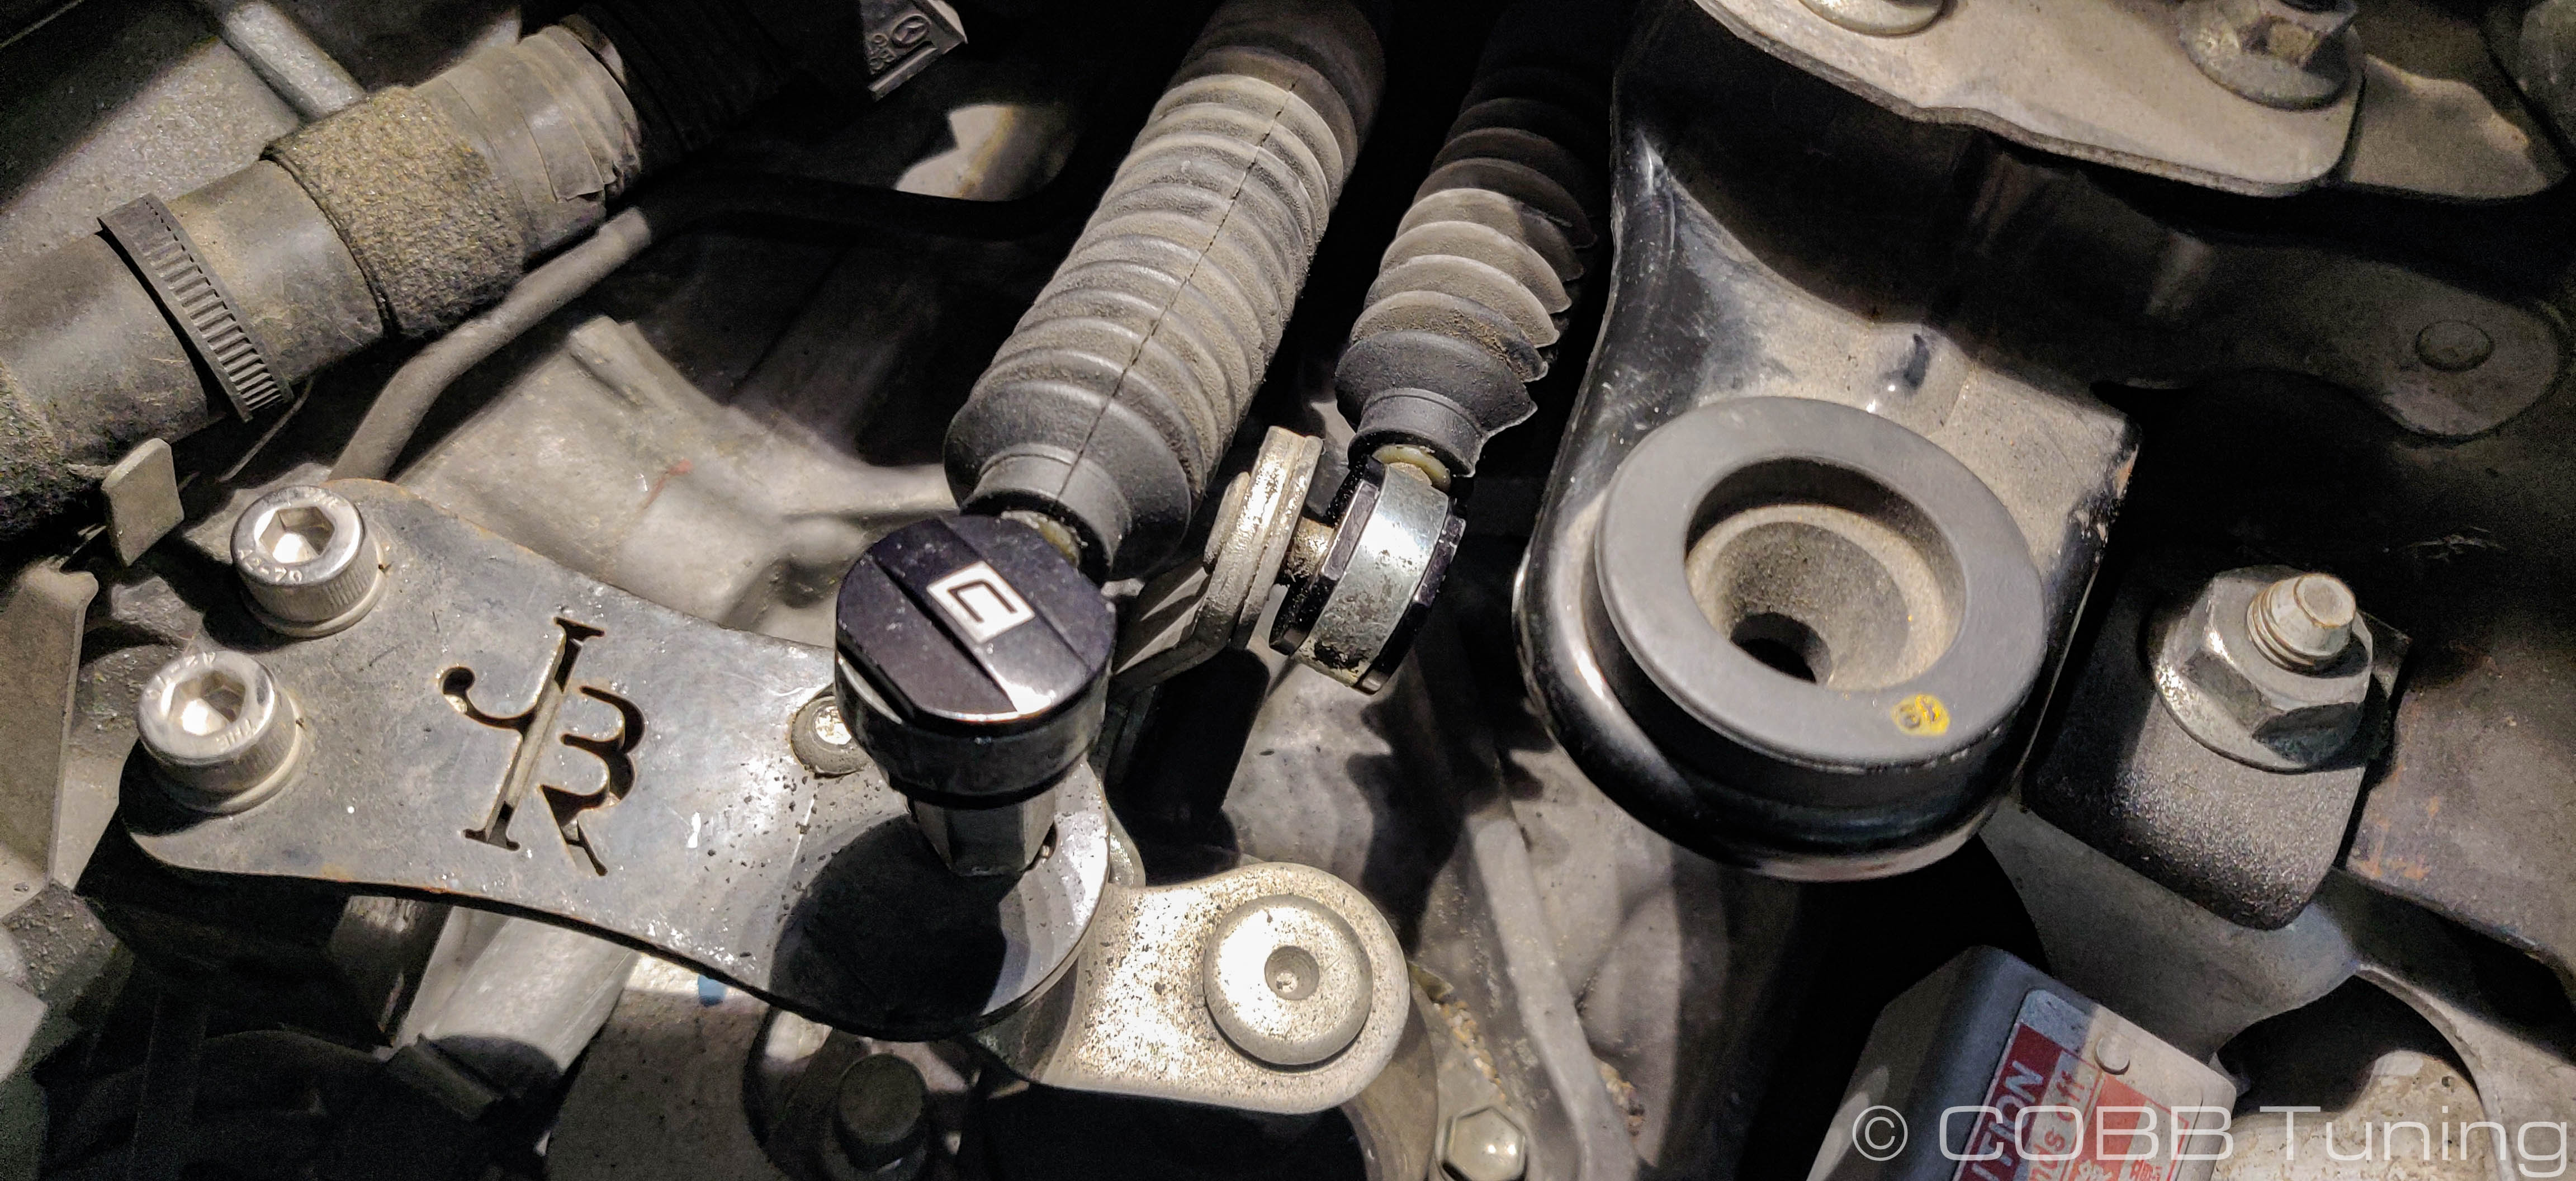
- Locate your two shift cables on top of the transmission.
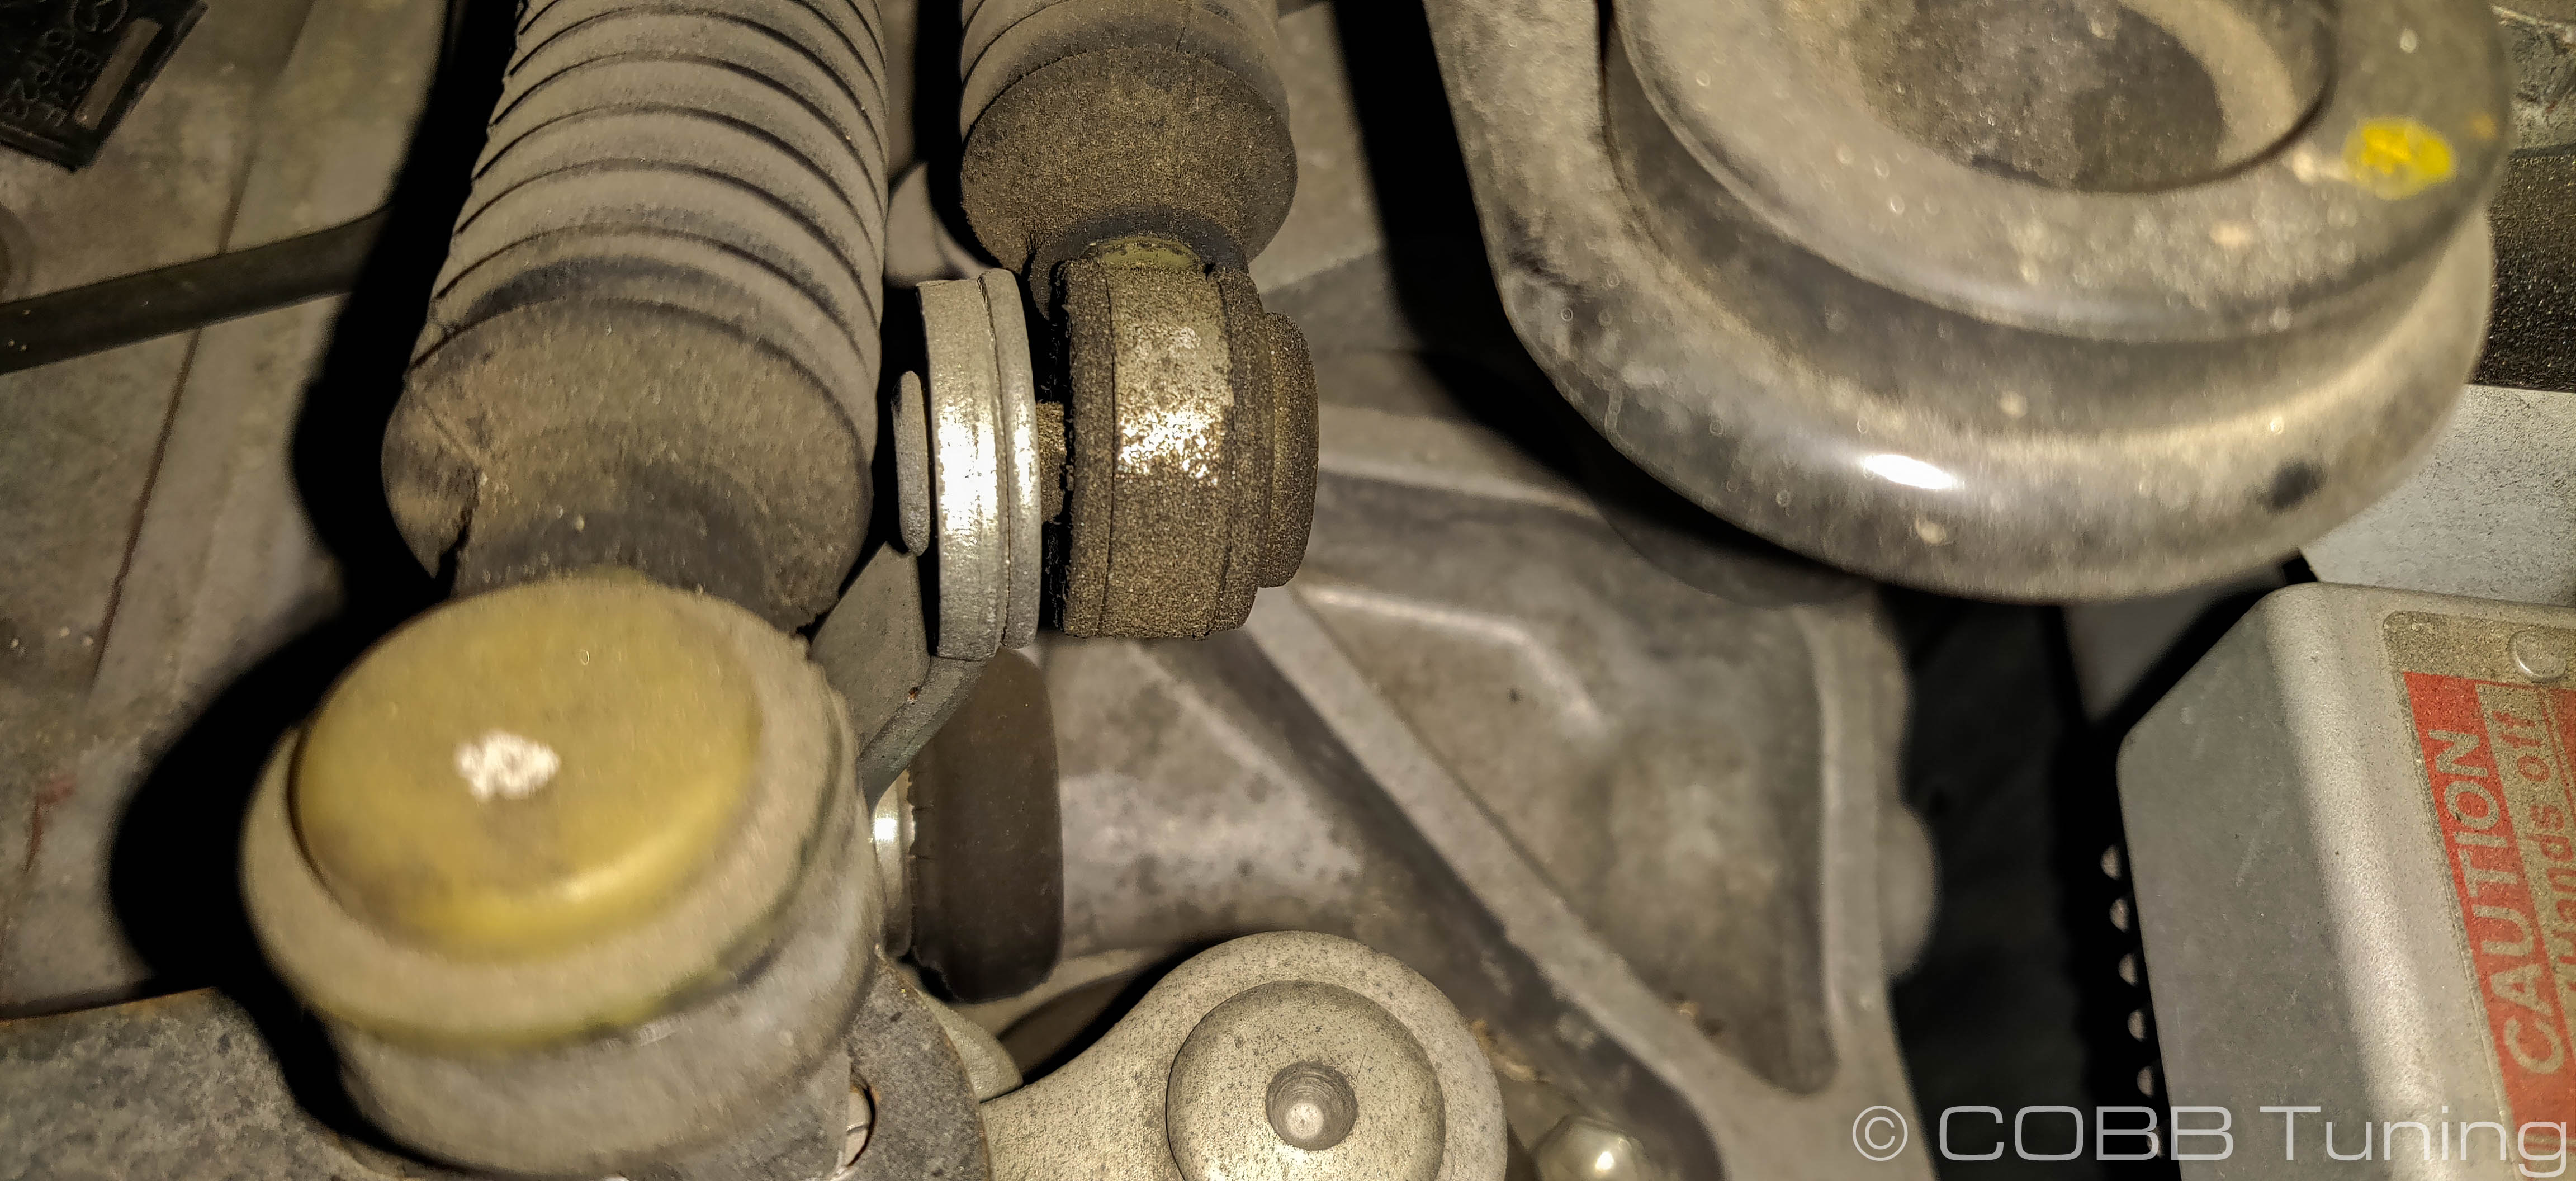
- Pop the cables off of the shifter bracket using a flat-blade screwdriver or small pry bar.
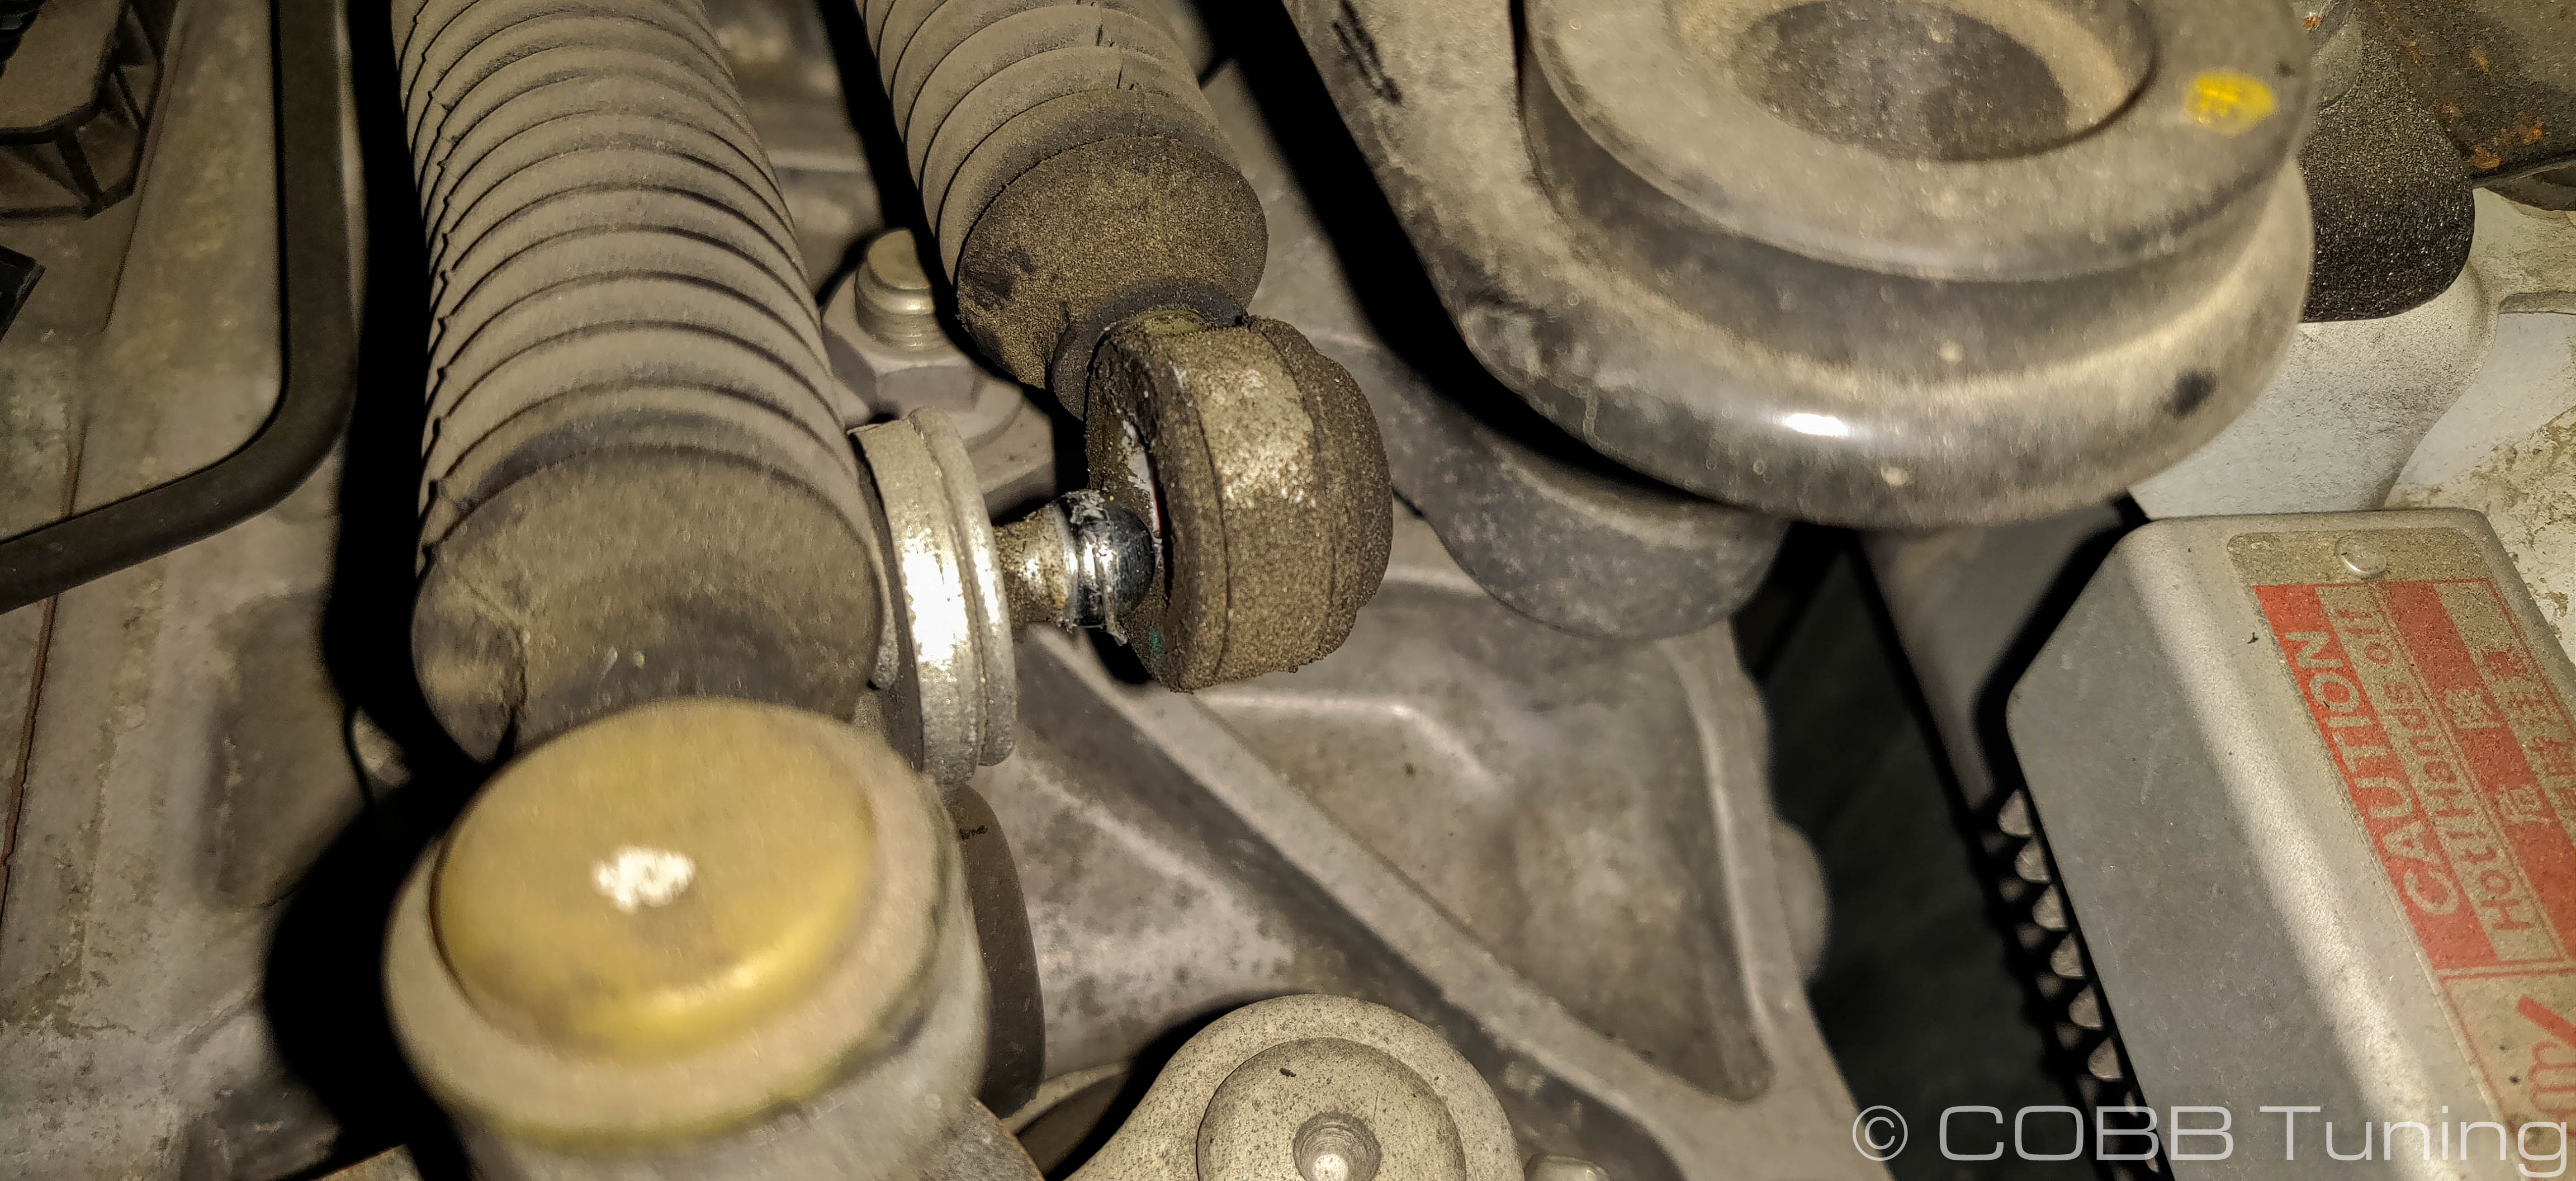
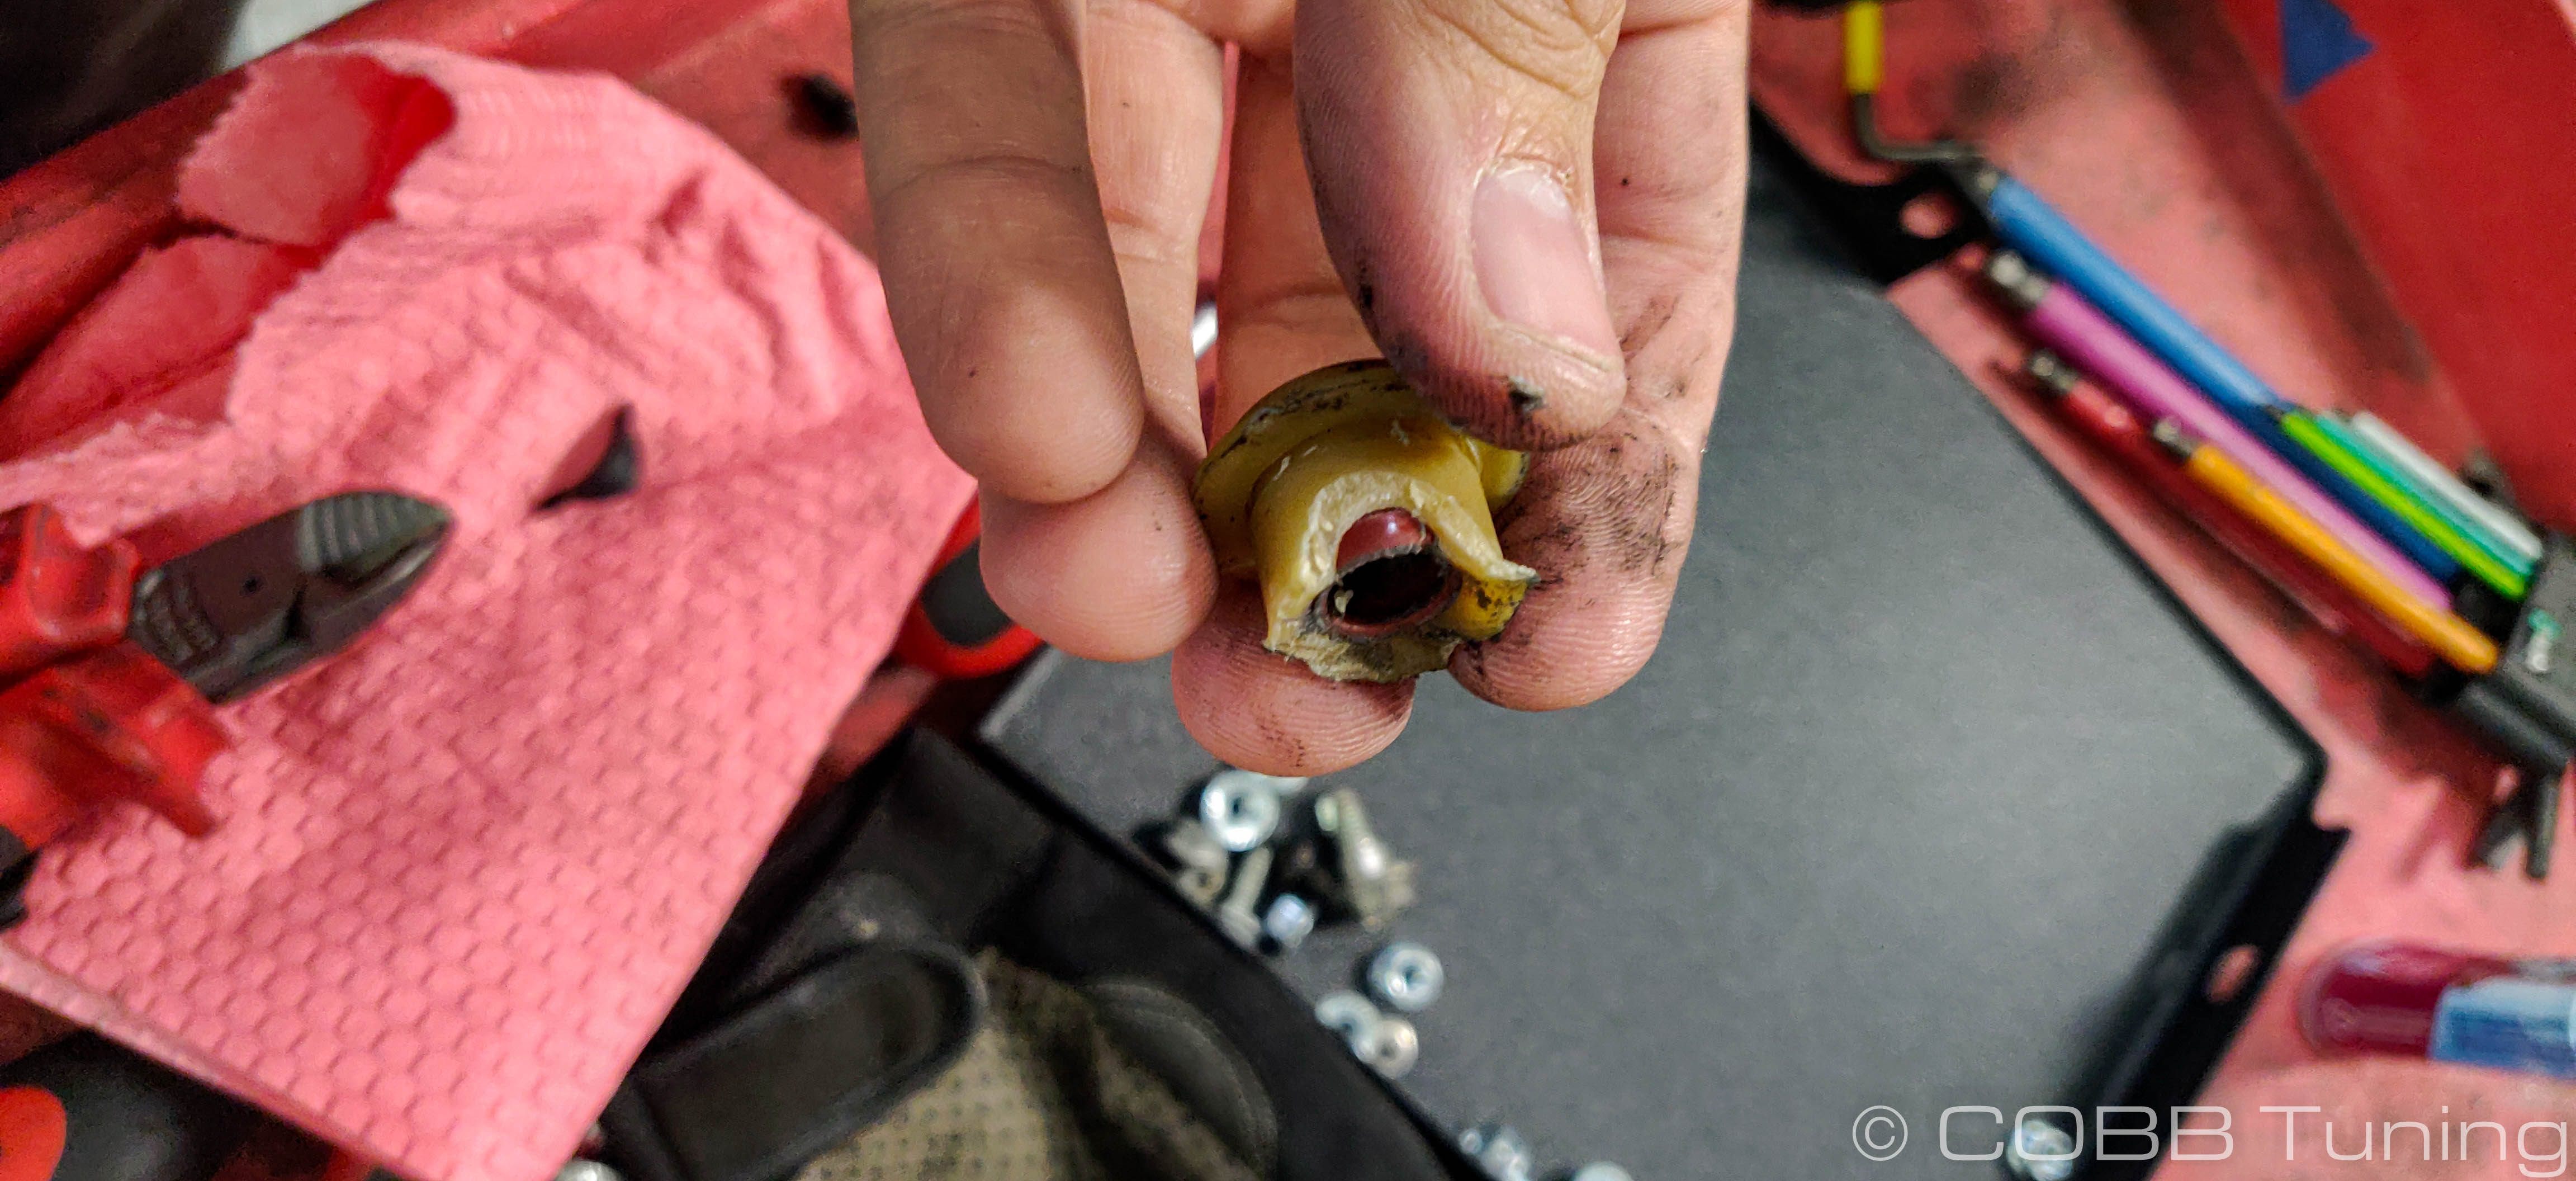
- Using your cutting implement of choice, safely remove the top lip of the stock shifter bushing on the side the cable goes into.
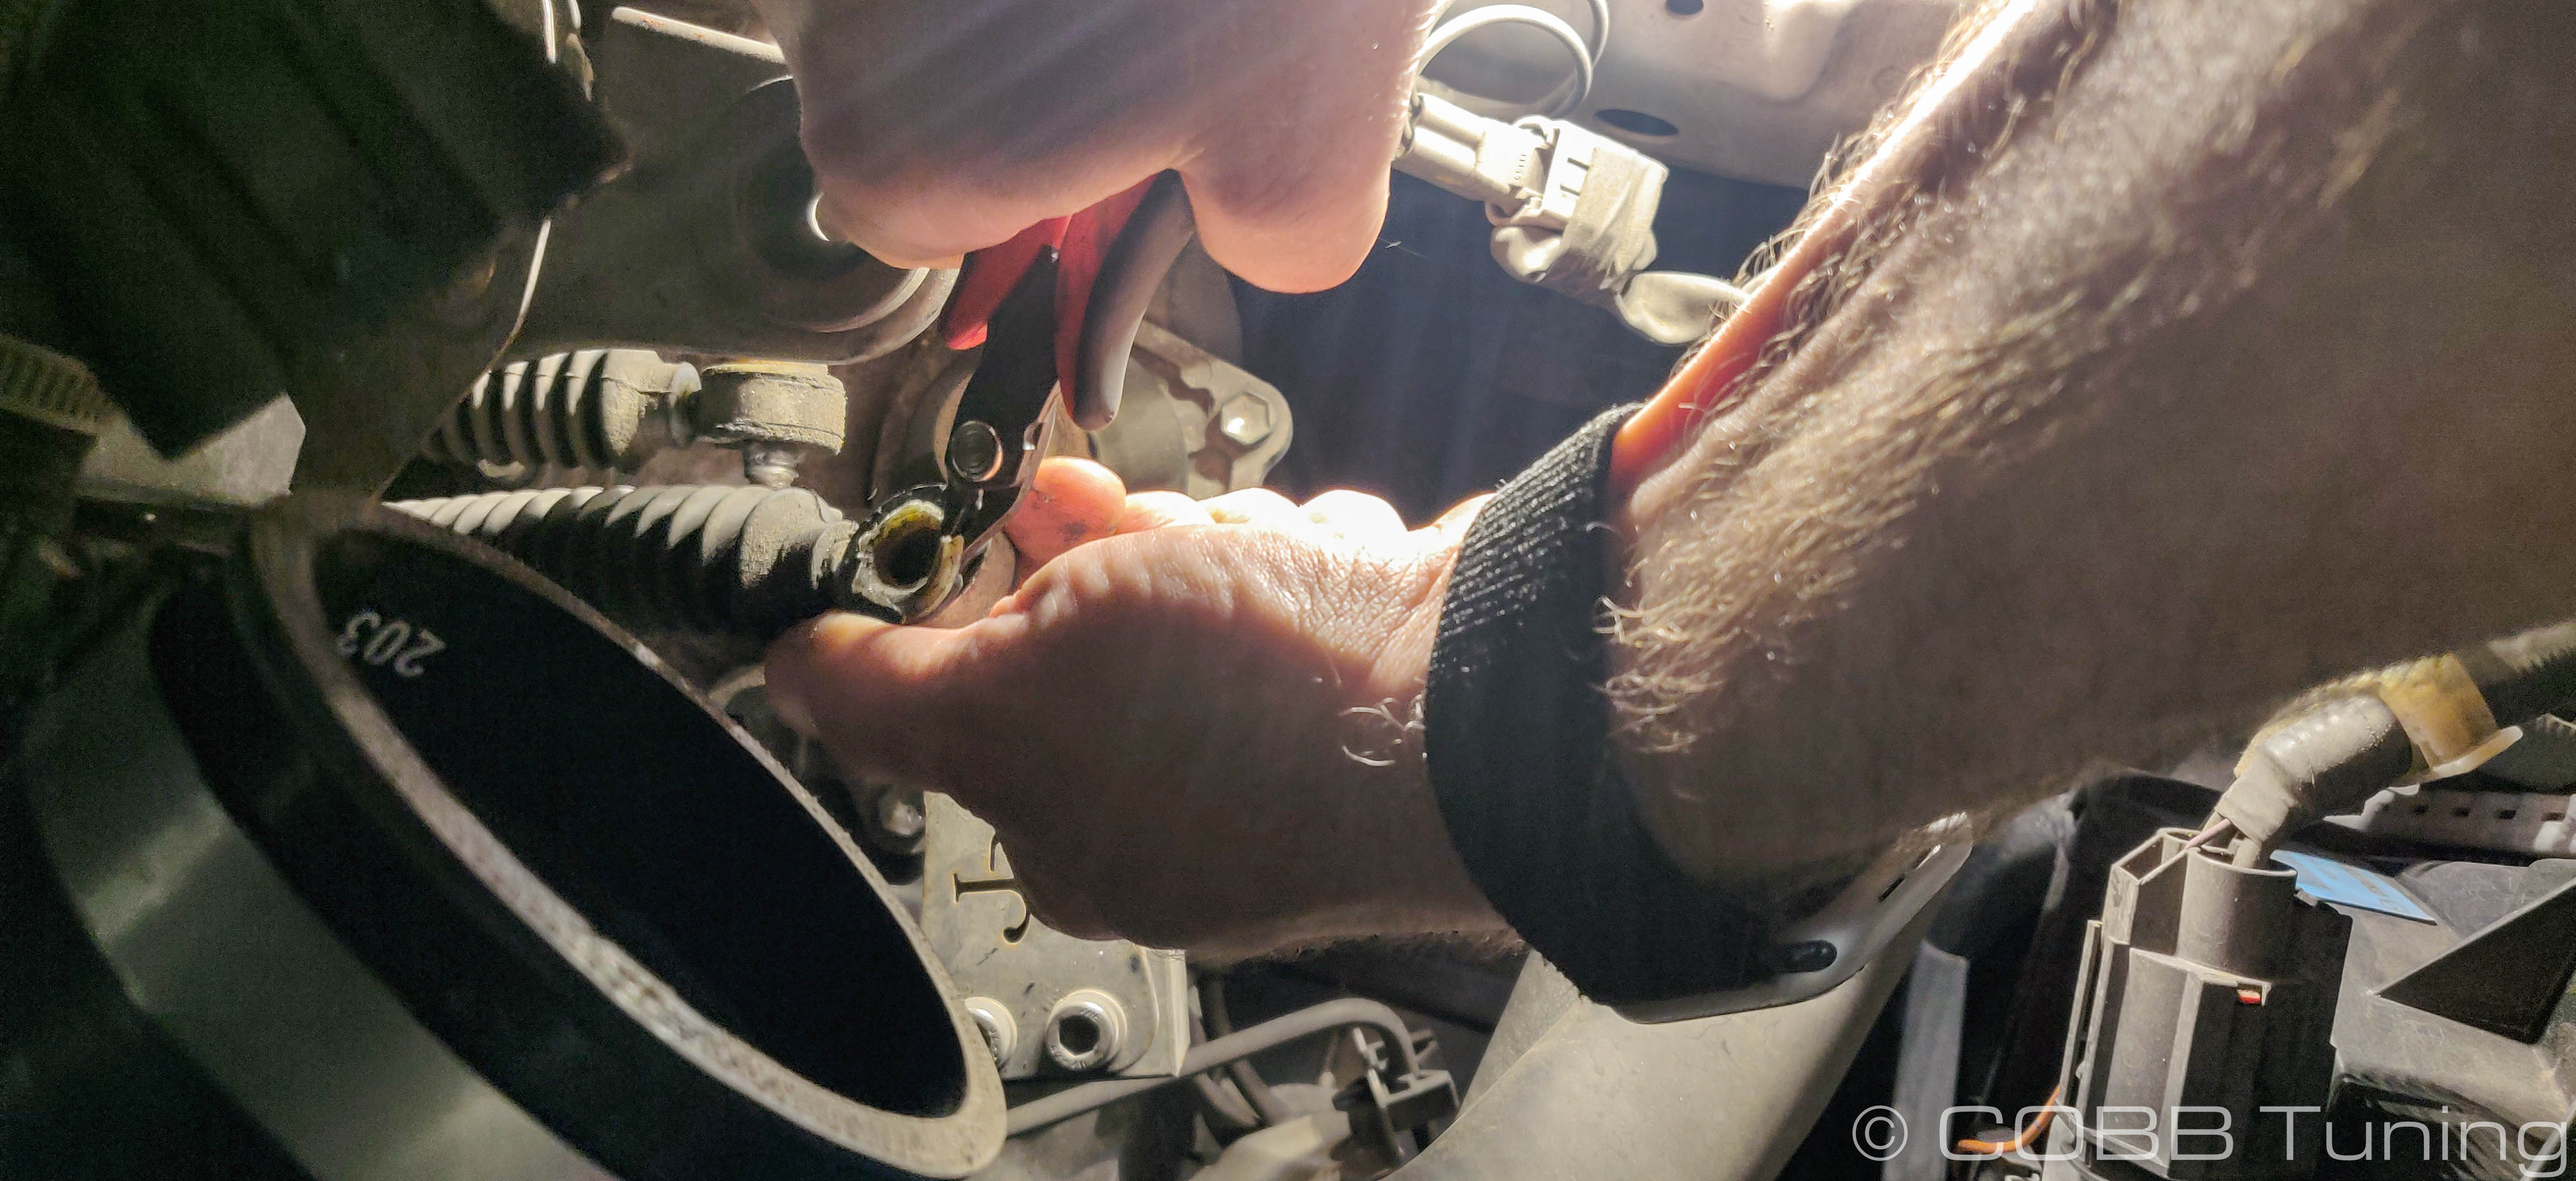
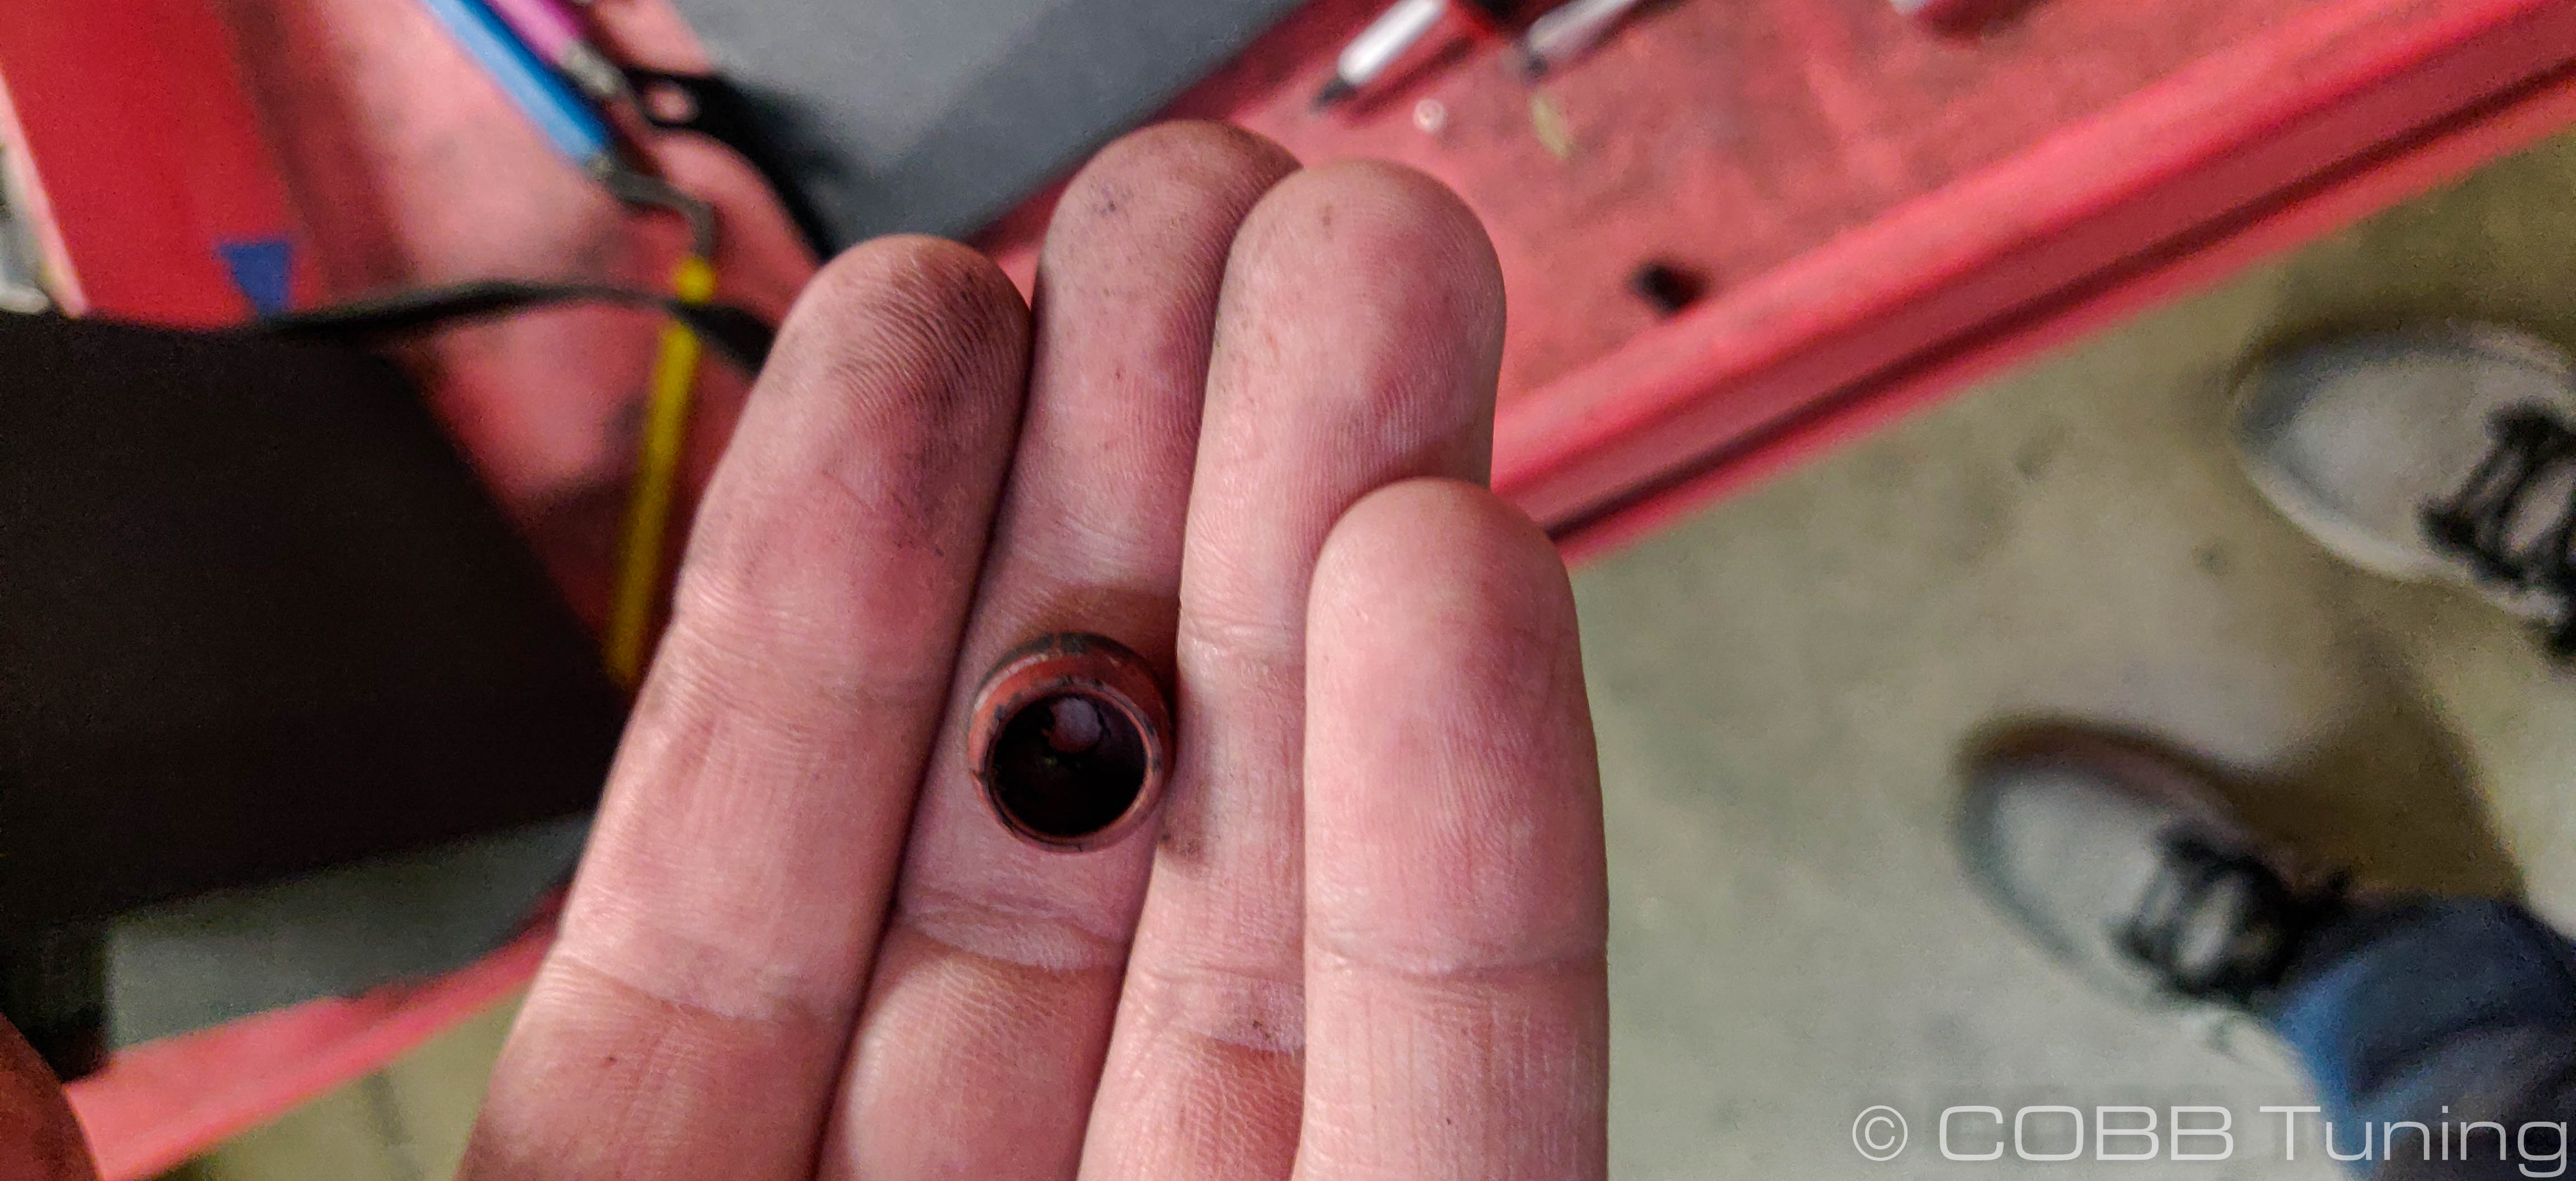
- With the insert now out you can cut the black rubber off of the hard plastic shell. From here you'll be carefully cutting away the hard plastic to get the small red insert out of the center of the bushing. Take your time and take small bites with your snips at a time to avoid damaging the inner part or yourself.
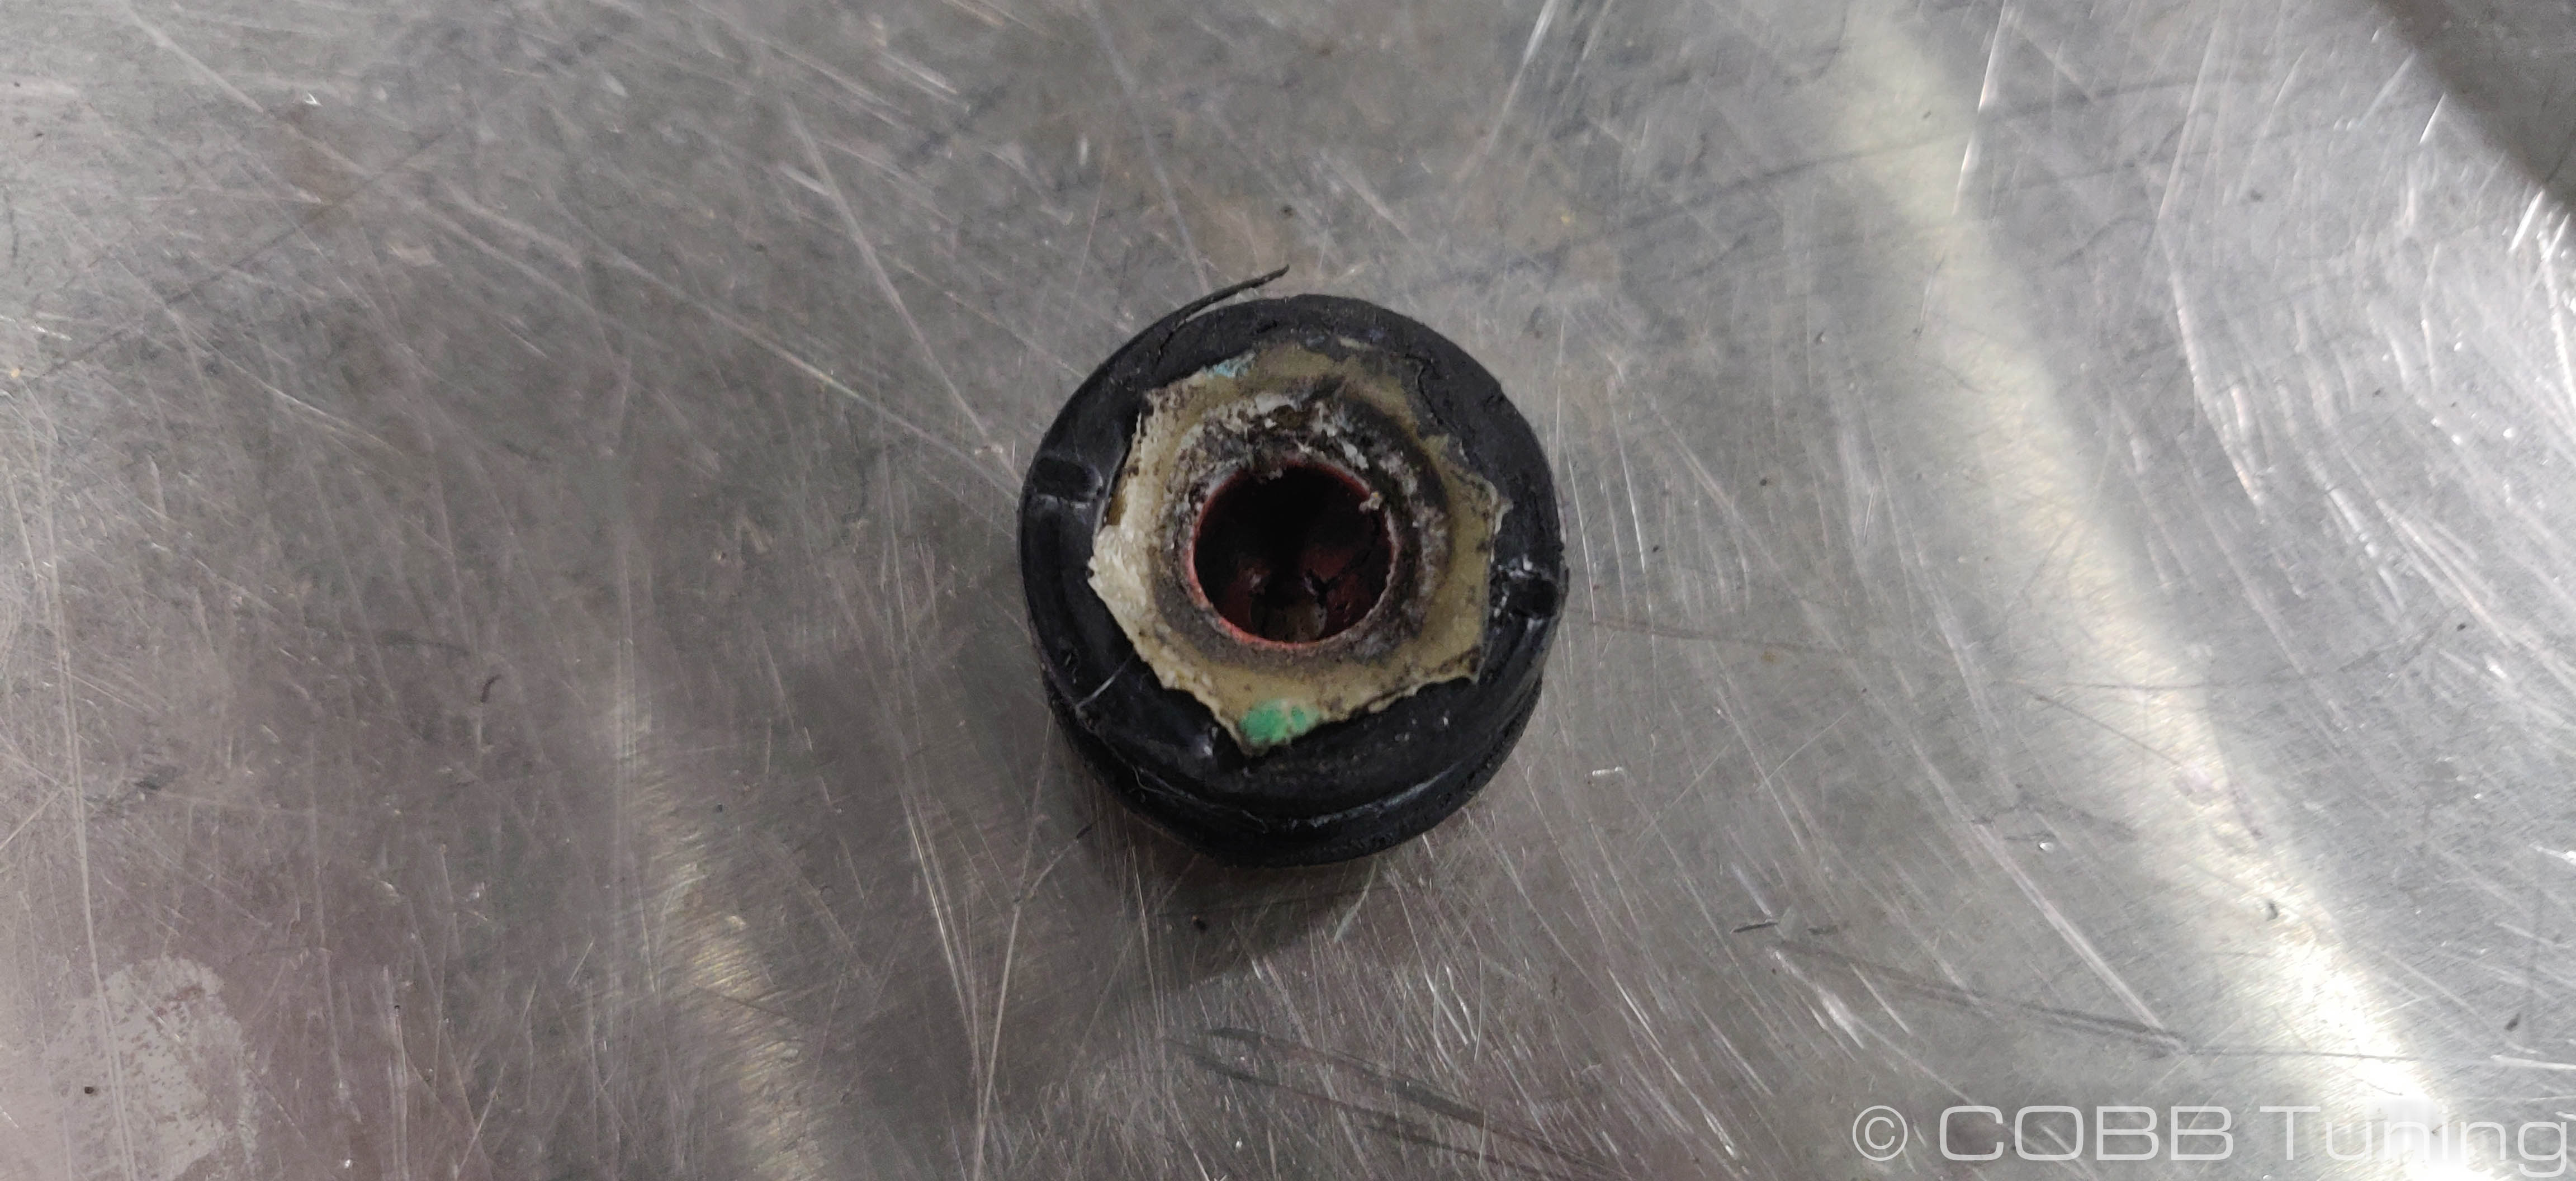
- With the insert out yo ucan you can start to put things back together. The insert will go into the closed end of the COBB Shifter bushing with the open part facing outward.
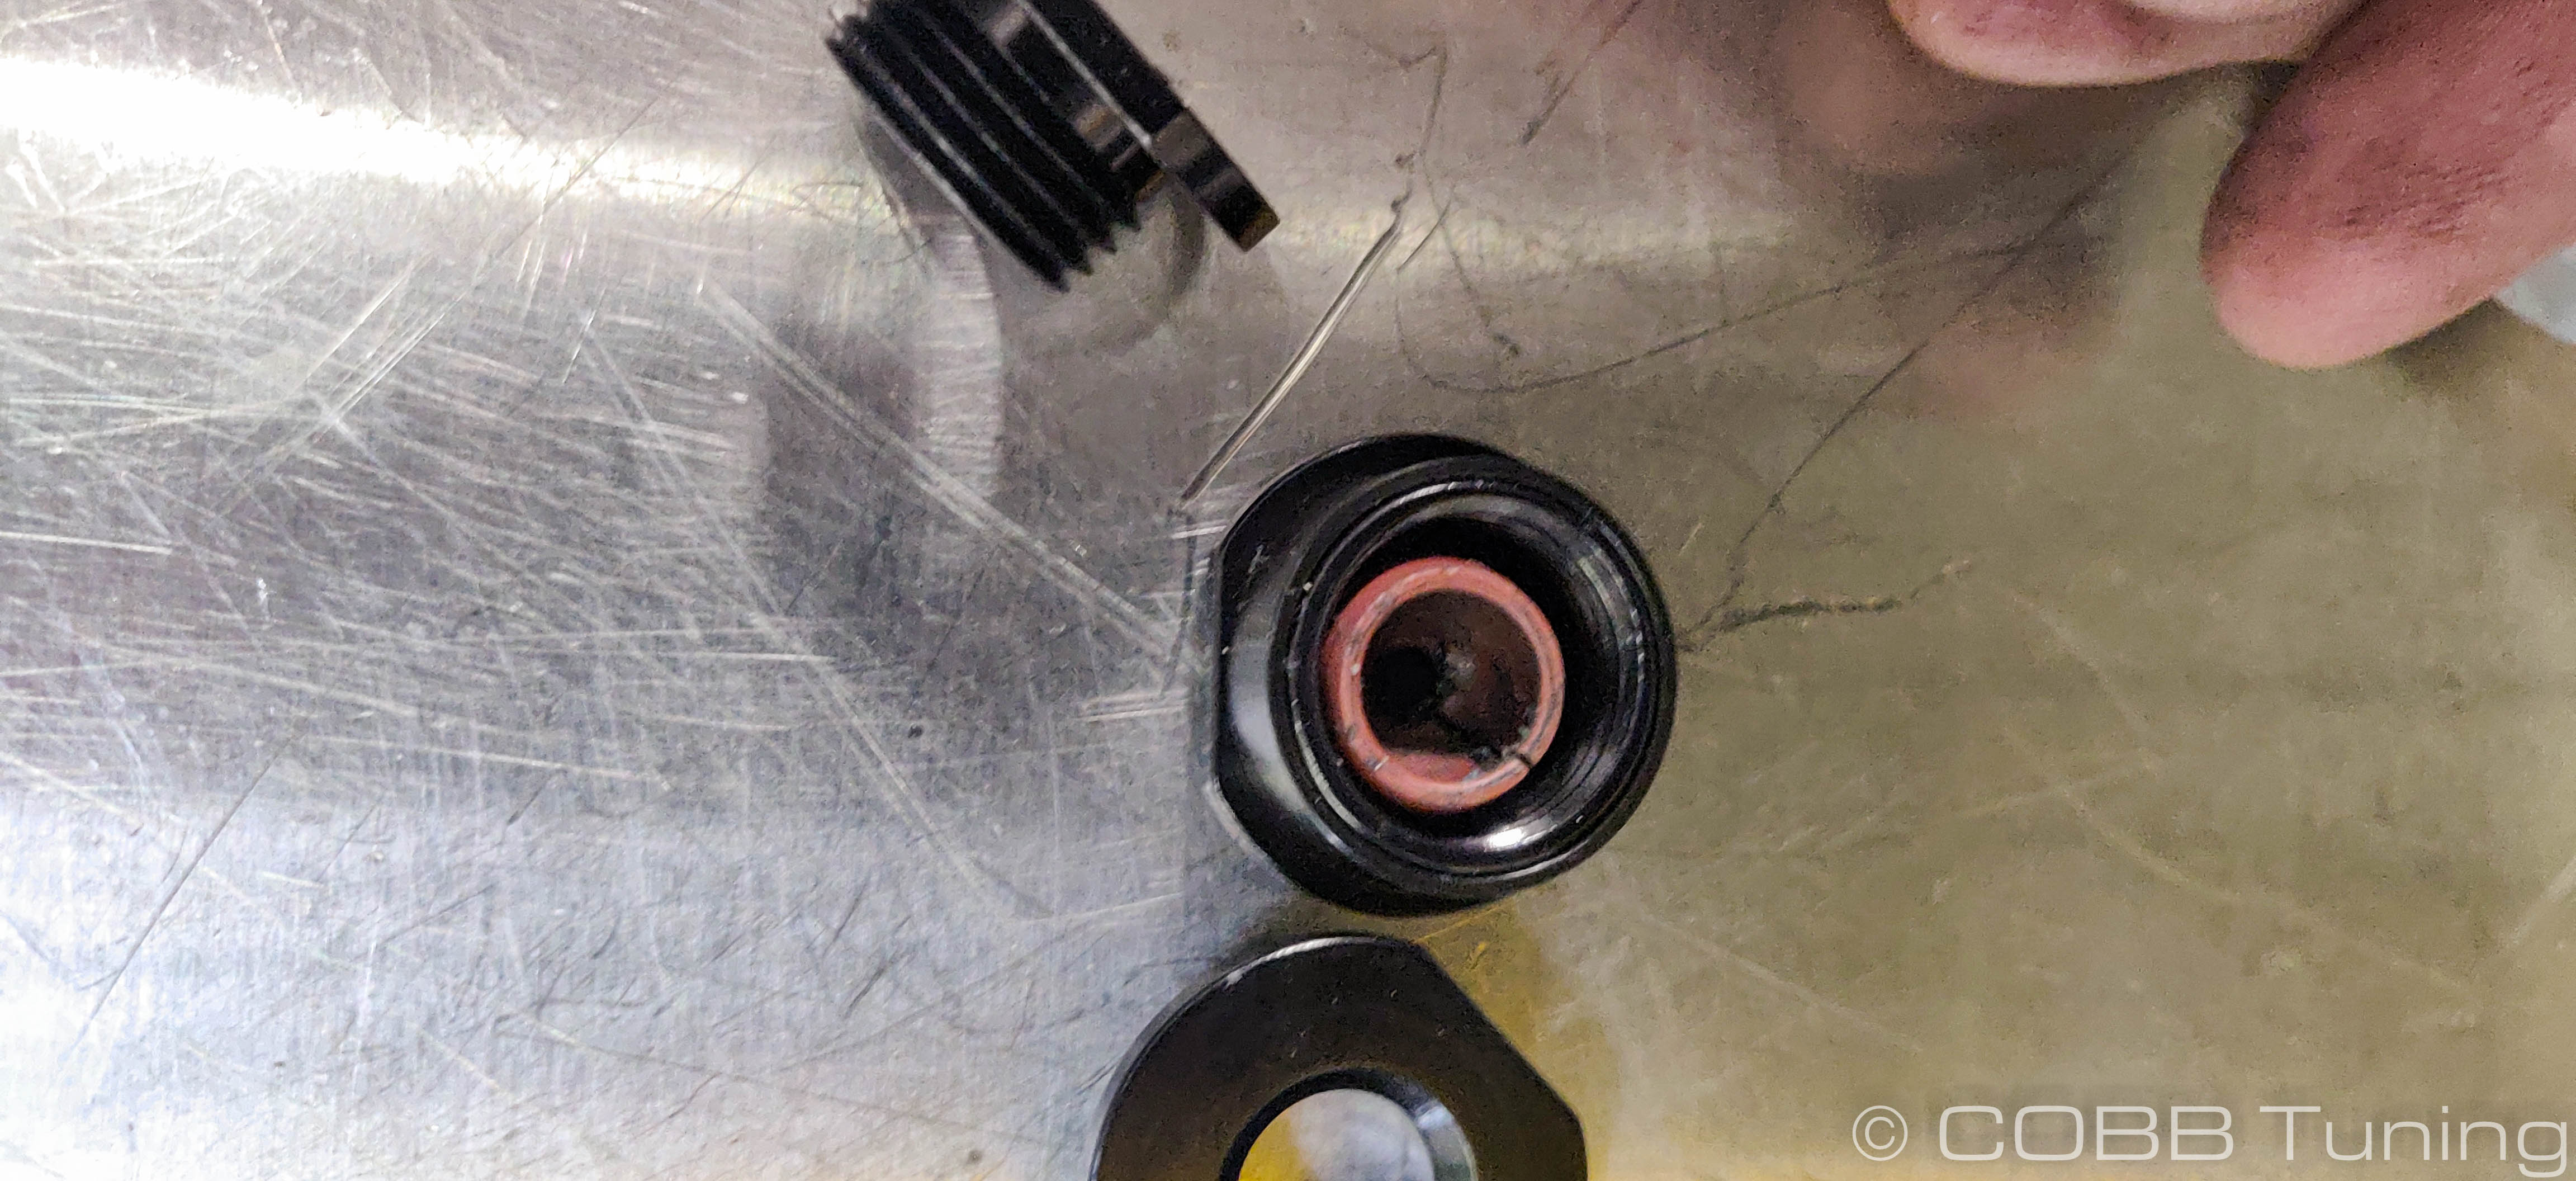
- From there add a small dab of blue loctite to the threads on one half or the other of the bushing, and slide it into the shifter cable and thread the two halves together.
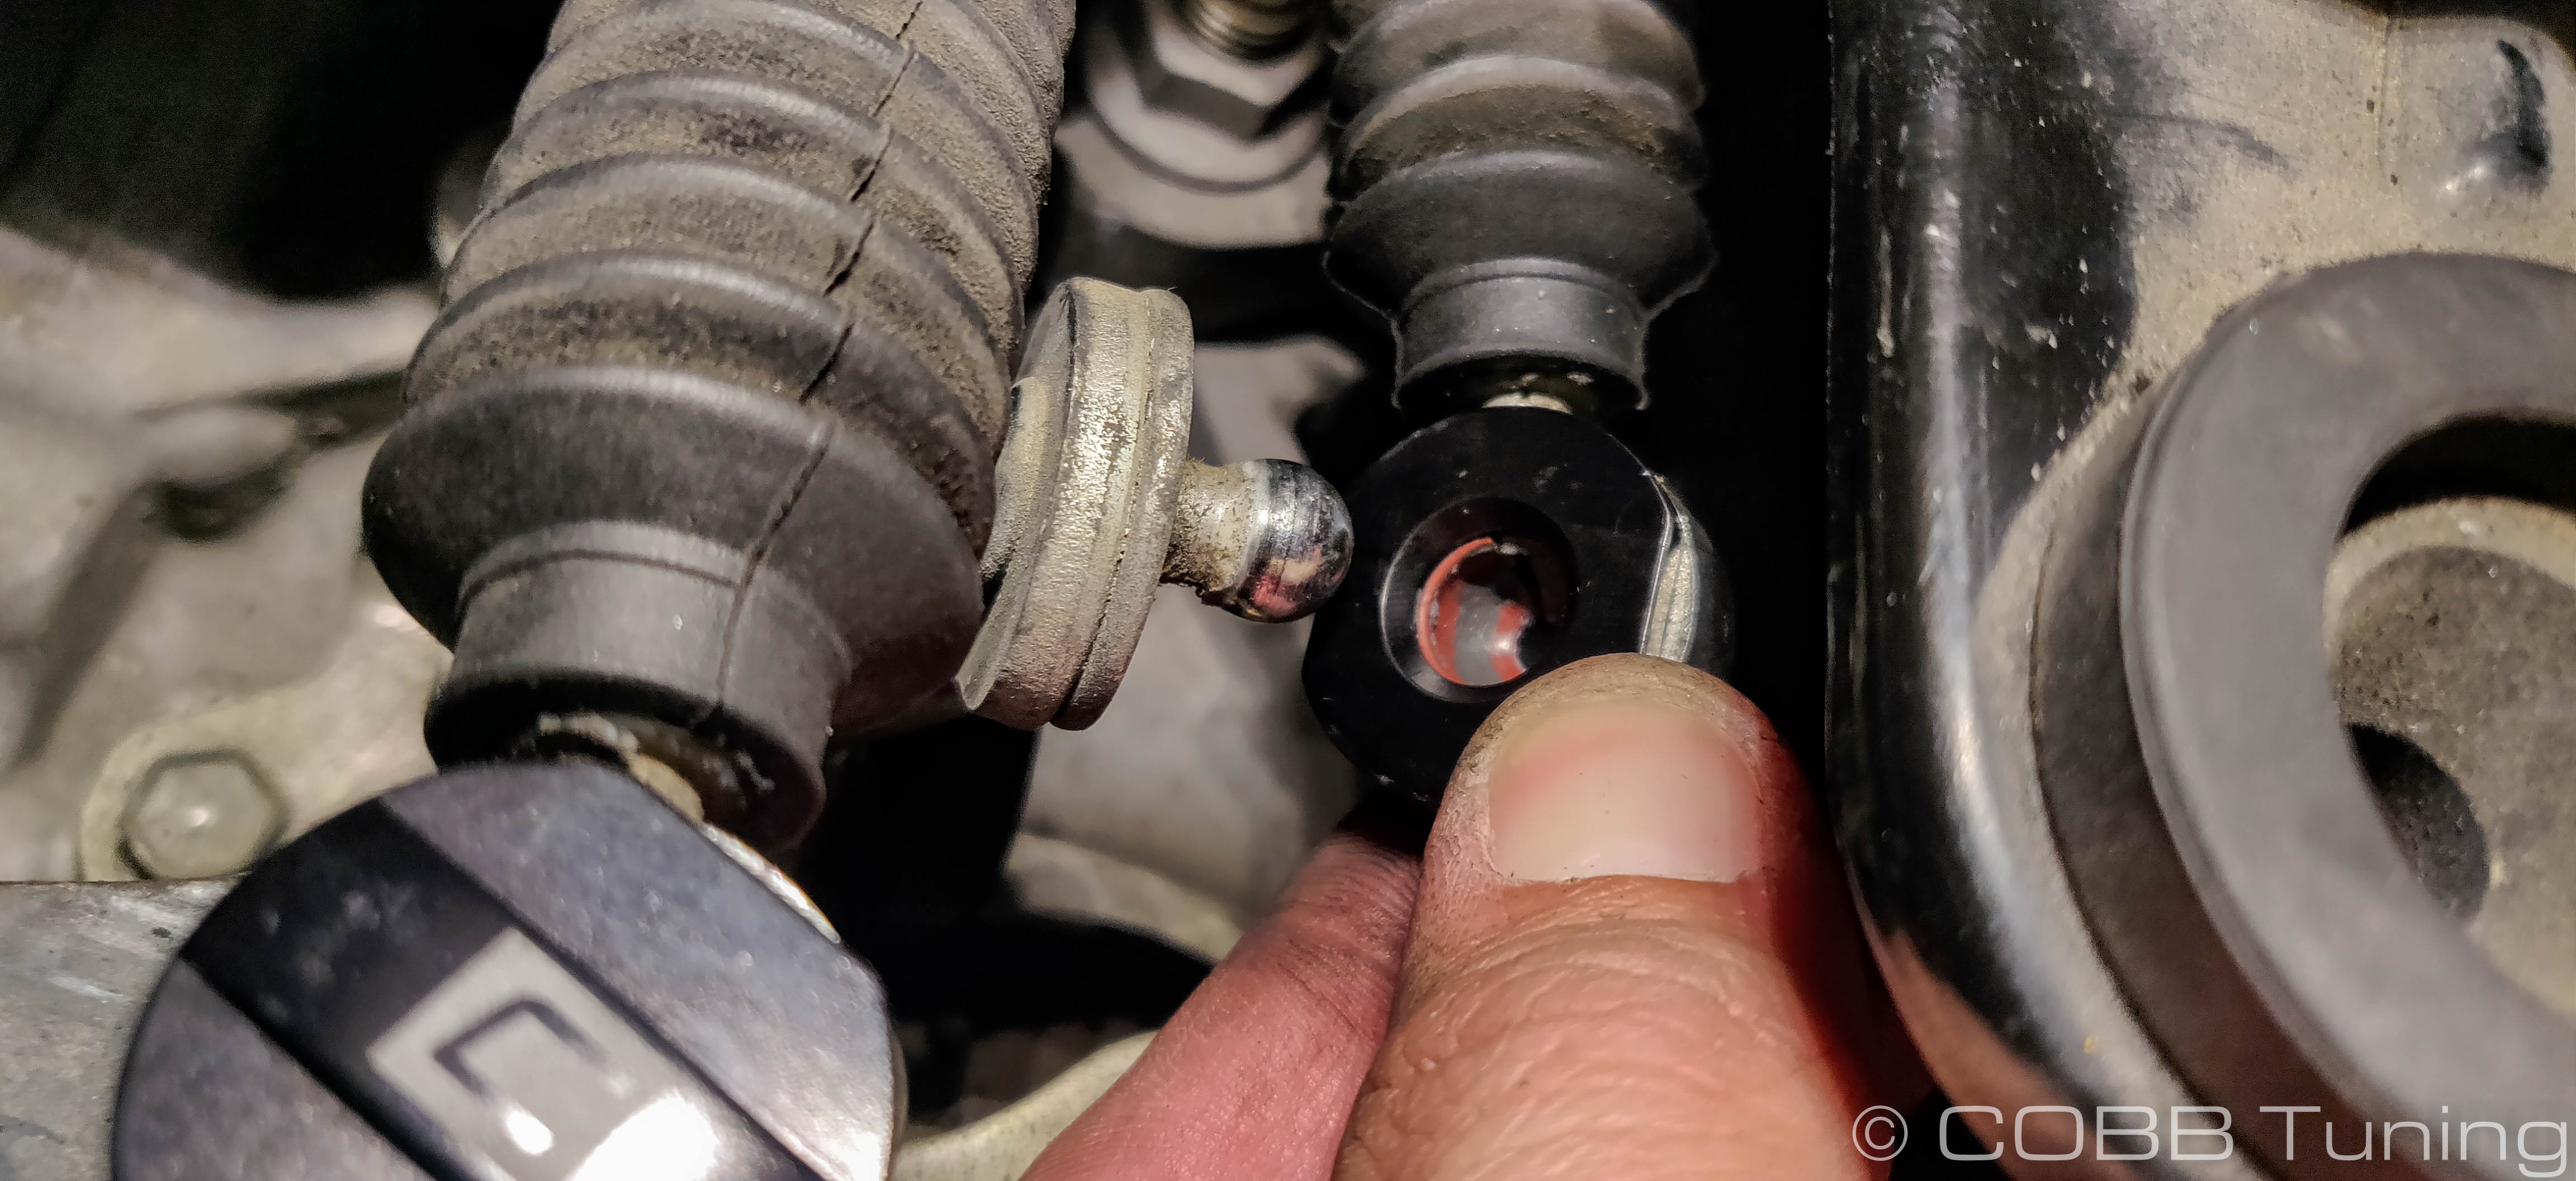
- Slowly tighten the two halves together using two 22mm wrenches until it is snug.
- Push the cables back on to their mounts.

- You're all done! You can now re-install the intake and go out and enjoy!
Links
Mazda Installation InstructionsCOBB Product Install Instructions for Mazda Vehicles
Main Installation Instruction Repository for Mazda Parts
Link to Mazda Map Notes to see what map you should be on given the parts you've added
| Insert excerpt | ||||||
|---|---|---|---|---|---|---|
|