
SUB000FSYS /SUB000FSFF - COBB Fuel Rail and Fuel Line Installation Instructions
2008 - 2019 2021 Subaru STI
Congratulations on your purchase of the COBB Tuning fuel rails and fuel lines package! The following instructions will assist you through the installation process. Please read them BEFORE beginning the install to familiarize yourself with the steps and tools needed. If you feel you cannot properly perform this installation, we HIGHLY recommend you take the vehicle to a qualified and experienced automotive technician.
IMPORTANT! Installing this kit will require an advanced mechanical ability (you're comfortable taking your engine apart) and custom tuning or utilizing an appropriate Stage Power Package map if you have a matching mechanical configuration. Please consult with COBB or an authorized ProTuner in your area if you have any questions or you feel that you'd like assistance installing this kit.
| Table of Contents |
|---|
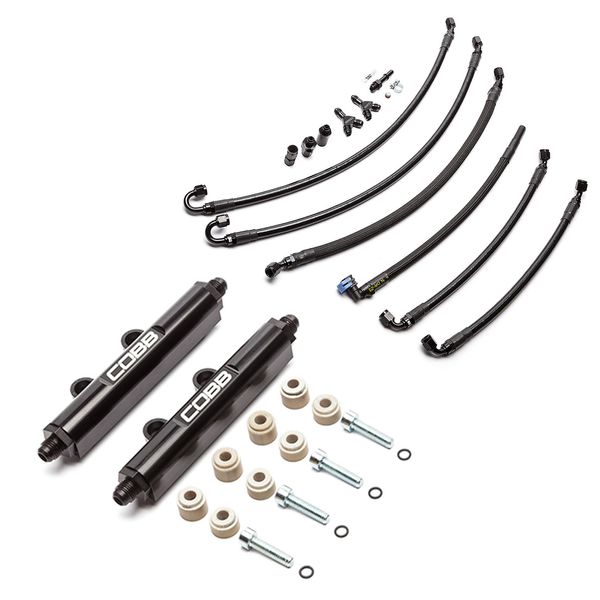
Parts List
- x5 Fuel lines (labeled 1-5)
- CAUTION: These lines have a 3" bend radius. If you bend the lines significantly more, you may damage them! At no point does our suggested routing have more than a 3" bend.
- x1 90 Degree 3/8" fuel line (unmarked, for use when routing directly to FPR on return line)
- x2 Y-blocks
- x1 3/8" FI Fuel line adapter
- x1 Female to female adapter
- x1 5/16" Quick connect (push on)
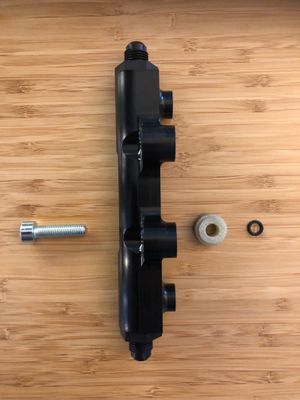
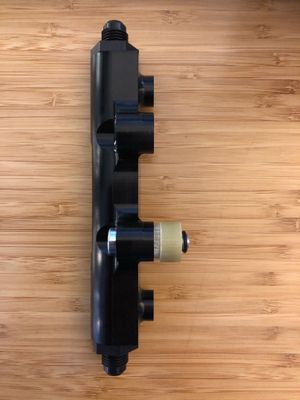
- x2 Fuel rails
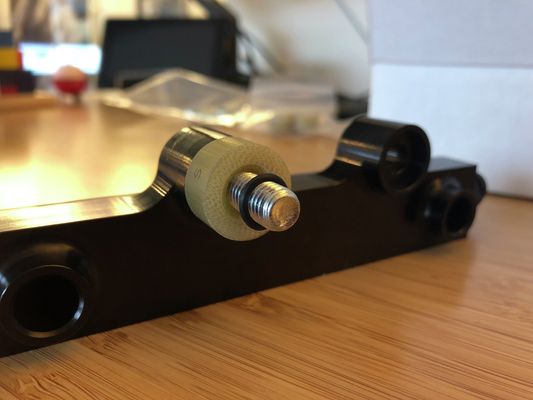
- x4 Small spacers (marked in bag labeled "S")
- x4 Socket head bolts (for assembling the fuel rails)
- x4 O-rings (for assembling the fuel rails)
- x1 Super lube packet
Tools Needed
| Insert excerpt | ||||
|---|---|---|---|---|
|
| Insert excerpt | ||||
|---|---|---|---|---|
|
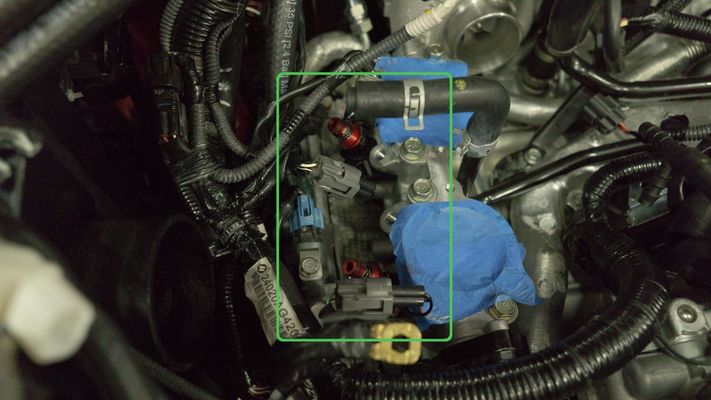
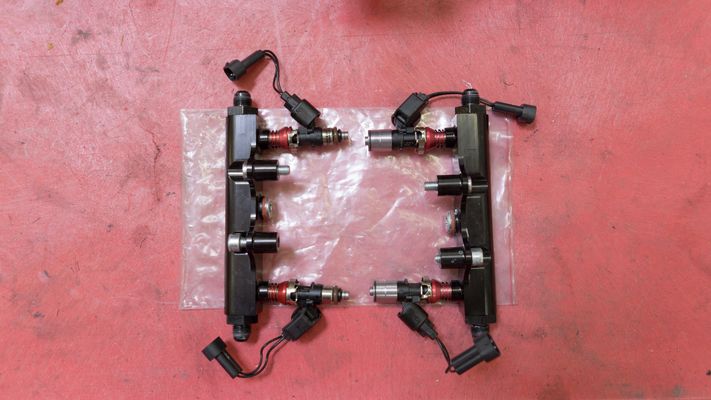
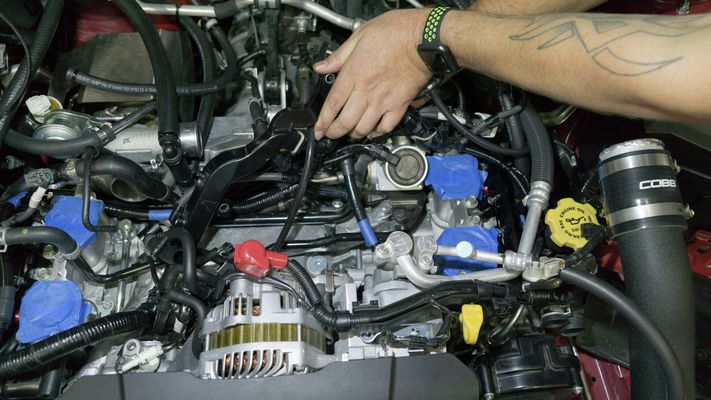
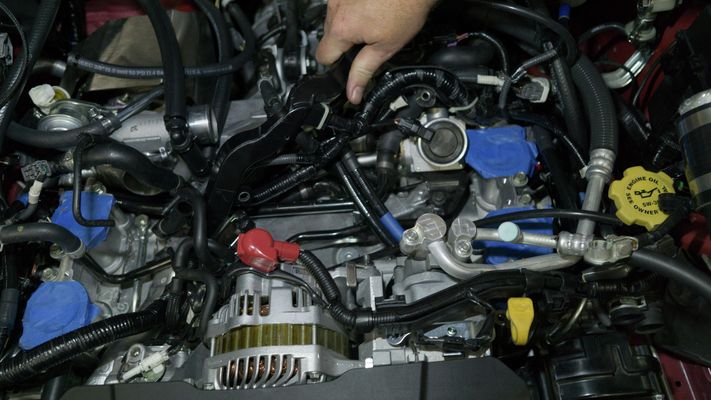
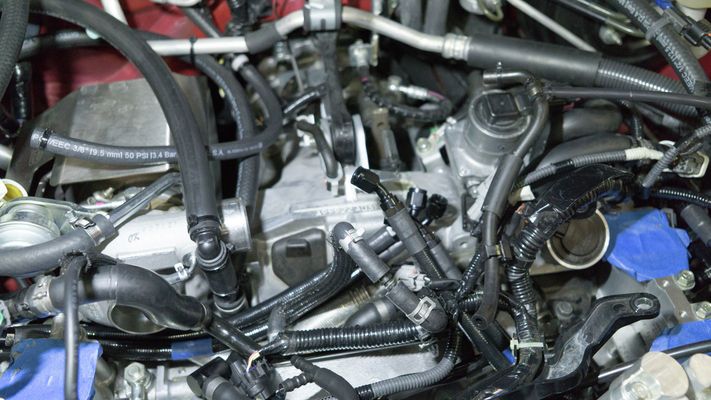
Removal of the OEM Fuel Rails and Lines
- Remove the (2) 10mm bolts securing the upper side of the driver's side fuel lines and rail assembly.
- Remove the (2) 10mm bolts securing the lower side of the driver's side fuel lines and rail assembly.
- Remove the injectors by gently pulling outward.
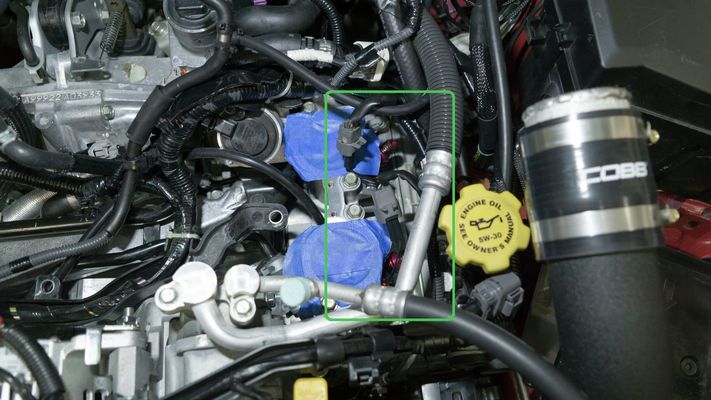
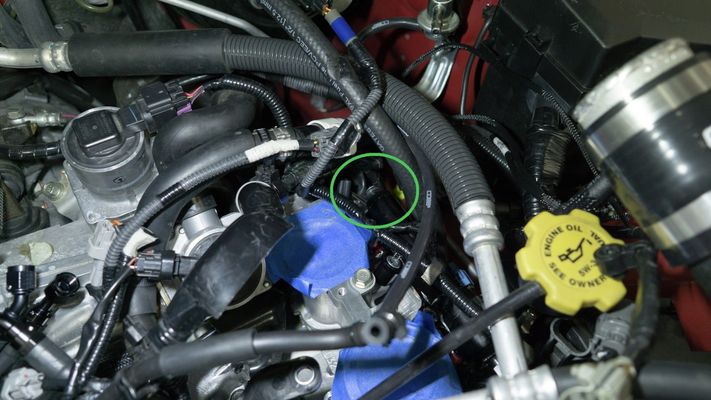
2018-2021 STI FPR Assembly Removal
- When disconnecting the feed and return lines from the firewall you'll noticed the factory fuel lines are a bit more complicated than previous yeras with a regulator and damper built into the middle. This entire assembly will be removed and replaced.
Installation of the COBB Fuel Rails
Assemble the provided ID1050x injectors, injector spacers (0.625", larger sized version for the ID1050x injectors), injector pigtails, socket head bolts, and o-rings onto the fuel rails.
- Assemble the rails as such (bolt, rail, spacer, o-ring):
 .
.  .
. 
- Assemble the rails as such (bolt, rail, spacer, o-ring):
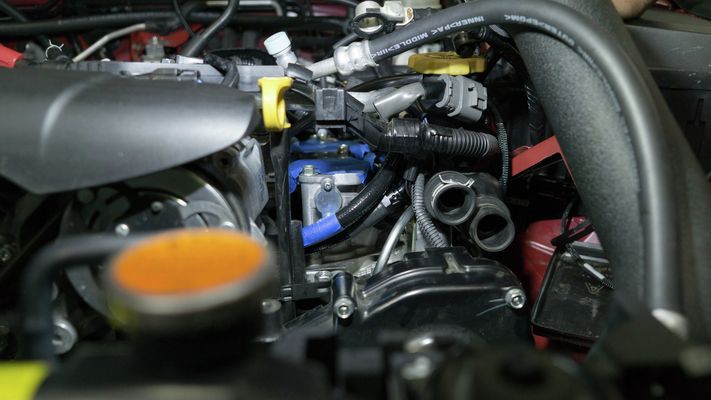
Gently place the assembled driver and passenger side fuel rails on the motor. Once oriented, you'll give a gentle push to fully seat the injectors.

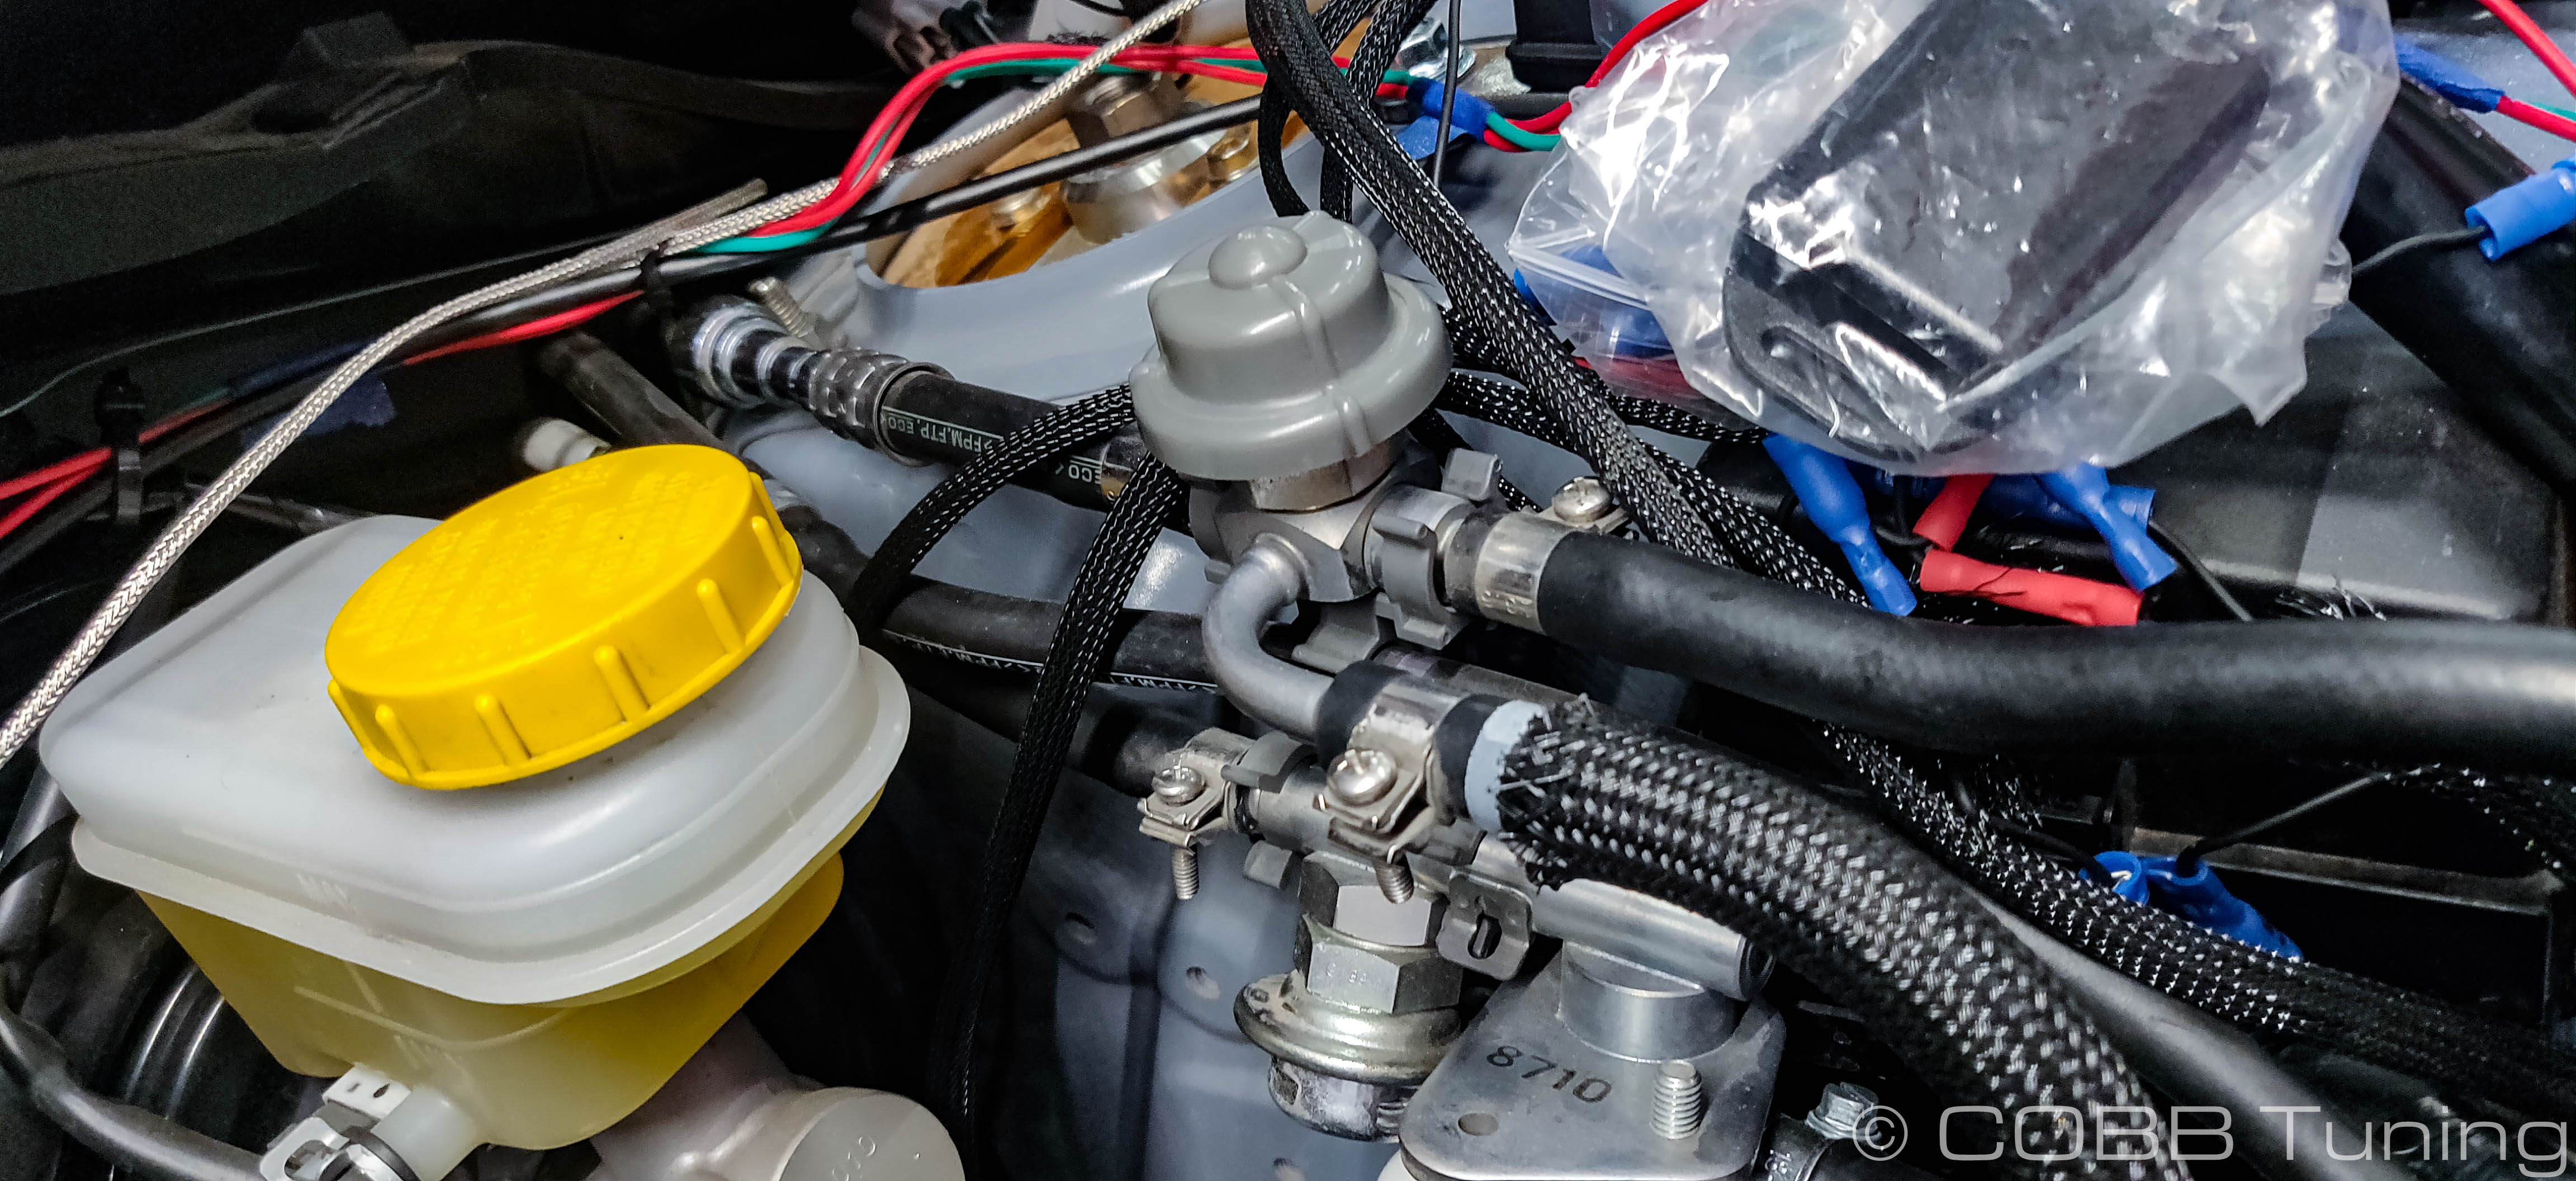
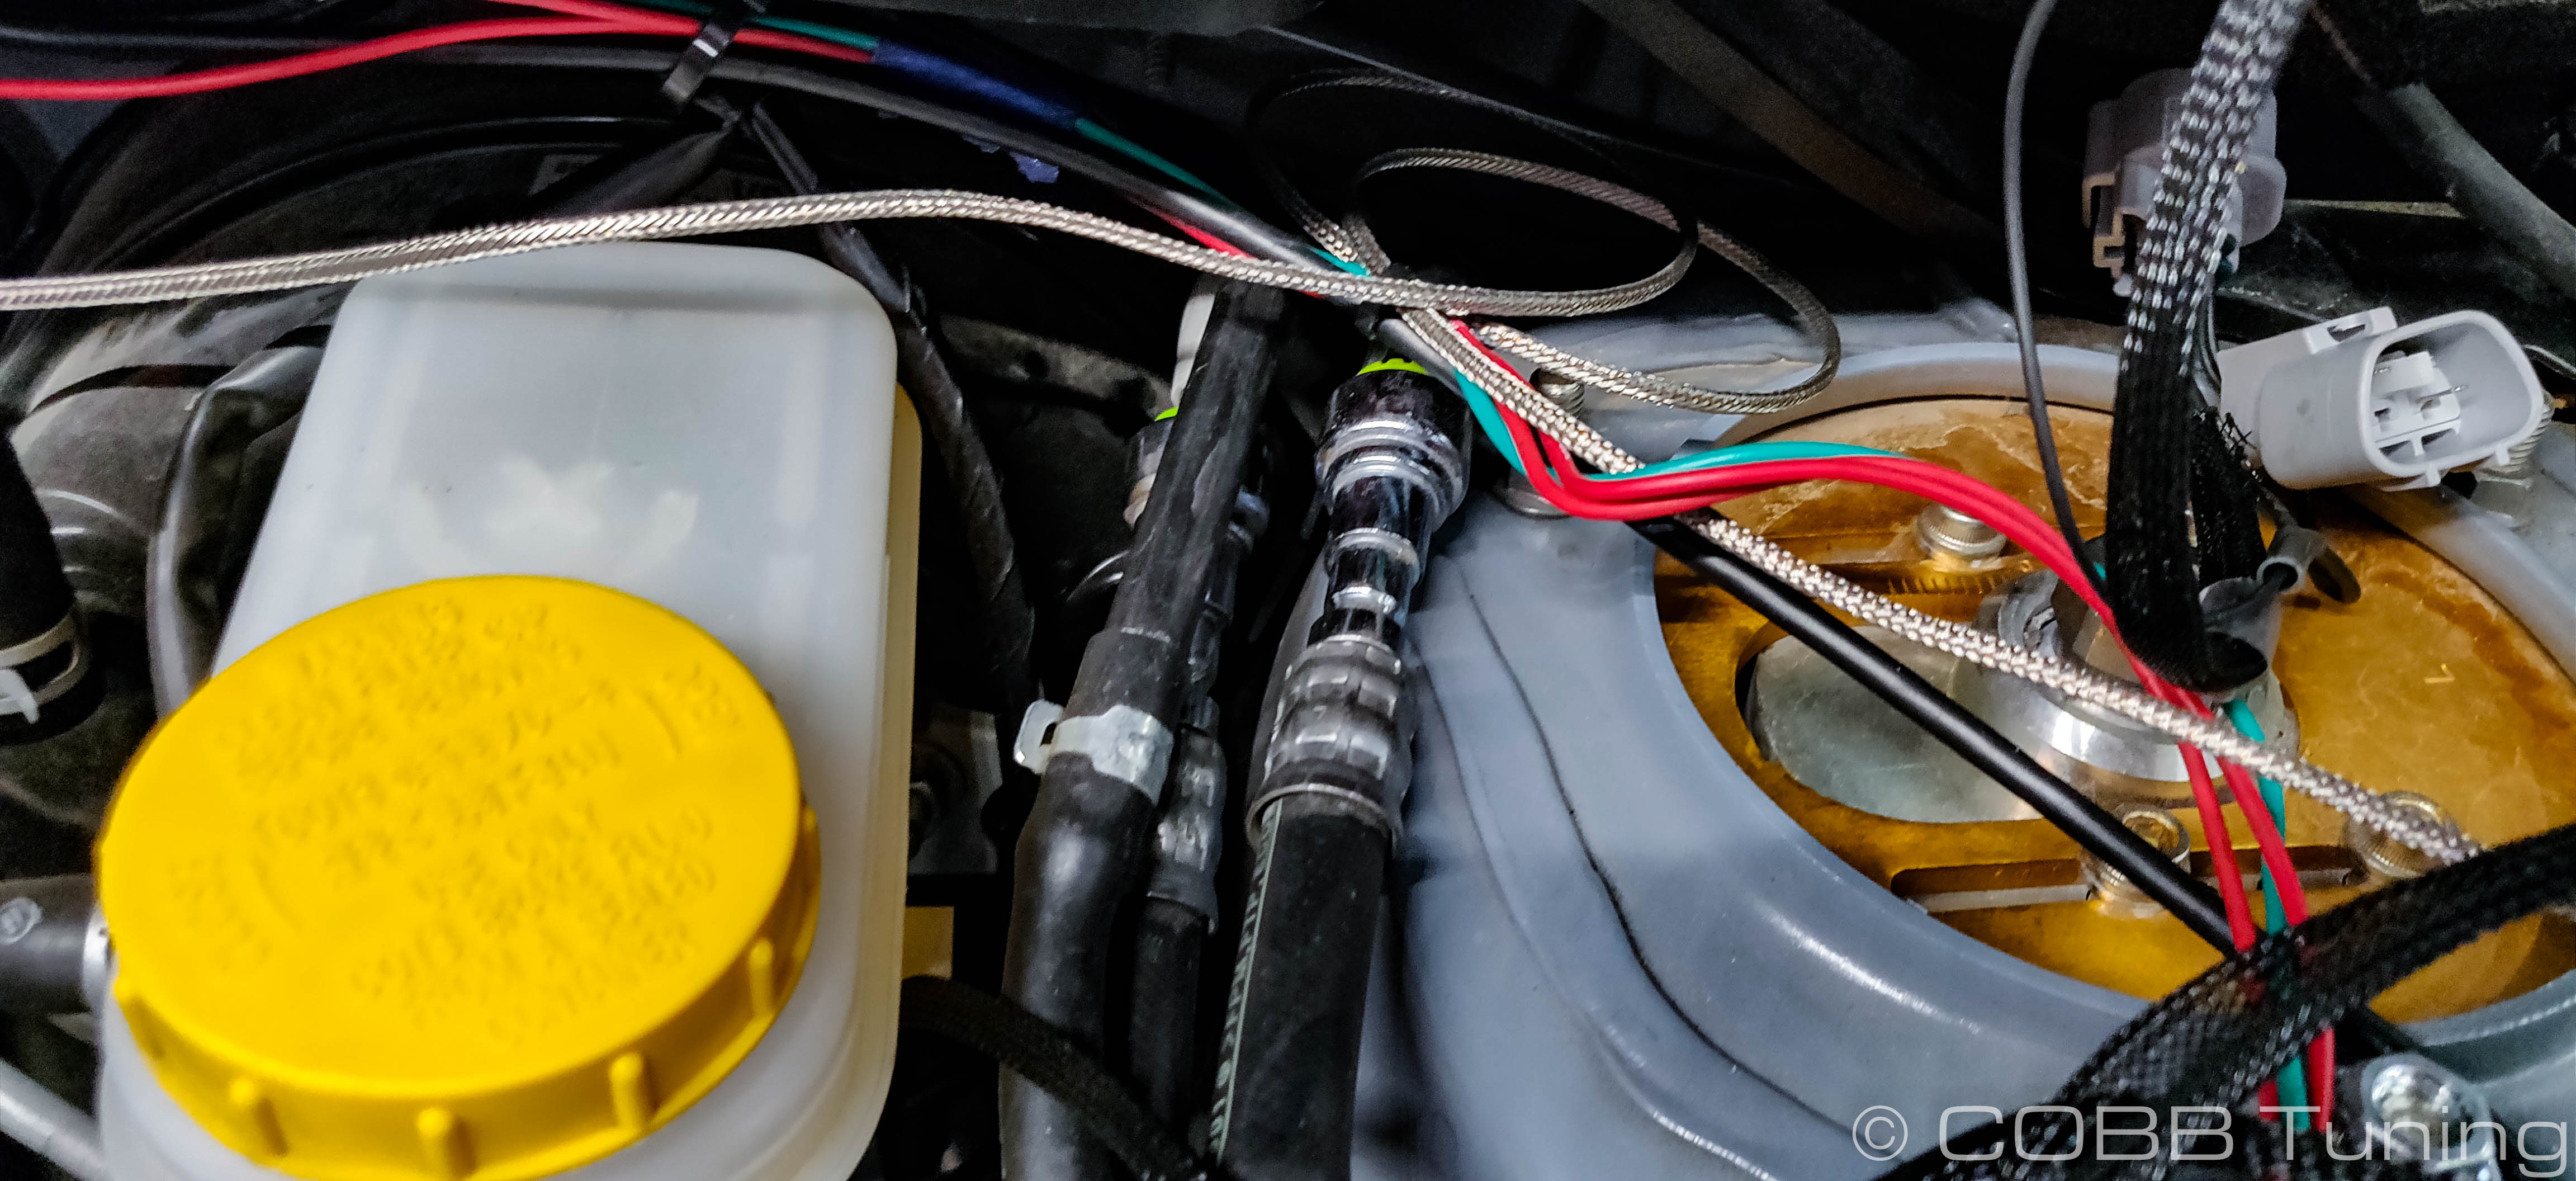
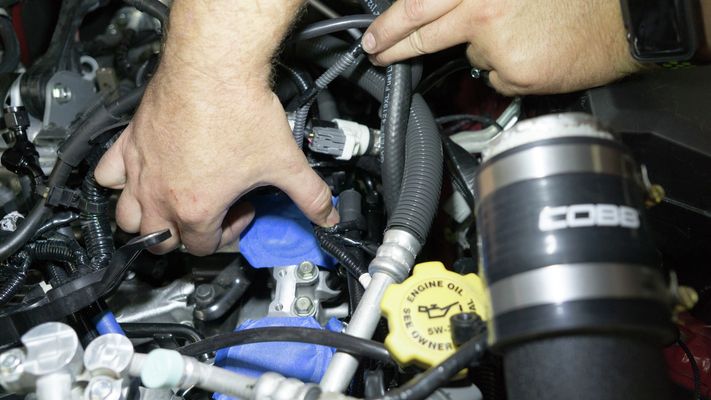
FPR Installation
Installation of the COBB Fuel Lines
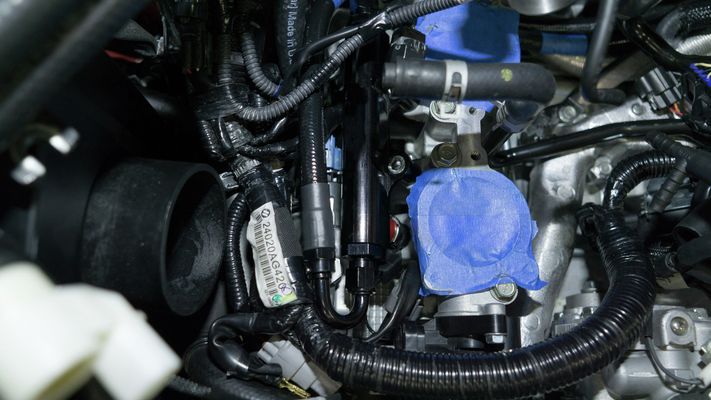
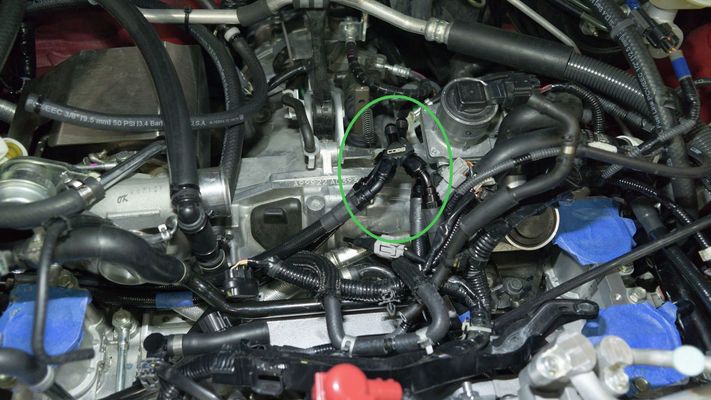
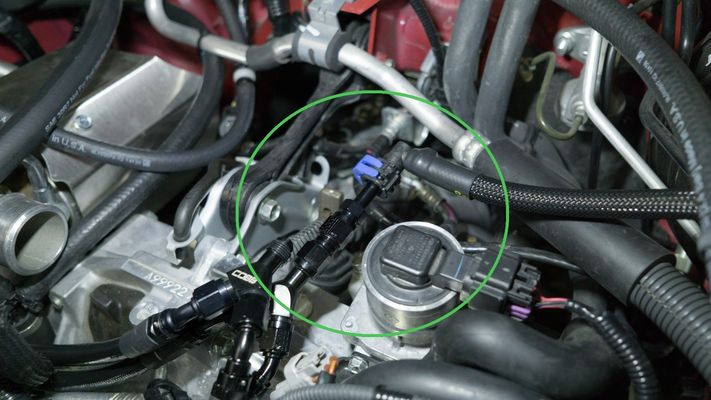
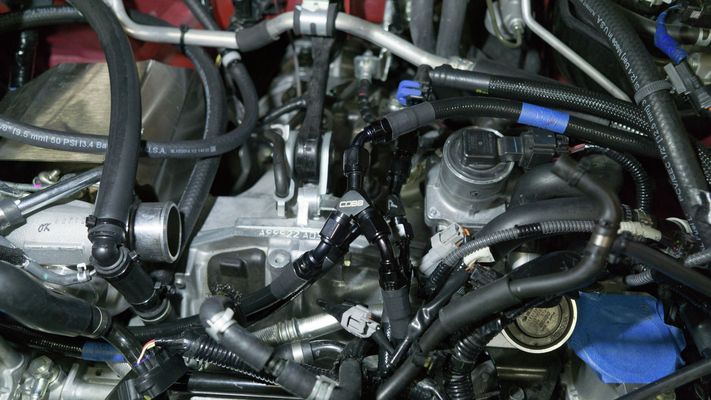
- With your rails seated, it's now time to install the fuel lines. Each line is labeled according to it's position in the fuel line system. The line label is on the side which connects to the fuel rail. CAUTION: EACH FUEL LINE HAS A 3" BEND RADIUS. Please do not bend or kink these fuel lines beyond that amount in order to prevent damage. Please apply either WD-40 or silicone lubricant on the AN fitting threads to prevent seizing. If you are connecting to the ethanol sensor and using Line 6, you will require https://www.cobbtuning.com/products/fuel-system/subaru-fuel-rail-line-kit-to-flex-fuel-sti-2008-2019/. Line 6 is not included in the standard Rail/Line package. Please verify you have that line, if needed, prior to beginning installation. Reference the following for a diagram on how to route the hoses:

- Begin by installing the 90 degree fitting of Line 2 on the firewall facing passenger side fuel rail. Route the fuel line under the turbo inlet and under the PCV hoses.

- Install the 180 degree fitting of Line 1 on the front facing passenger side fuel rail. Route the fuel line along the rail to follow the path of Line 2, under the turbo inlet and under the PCV hoses.
- Install the 90 degree fitting of Line 3 on the front facing driver side fuel rail. Route the fuel line under the a/c compressor hard lines and under the wiring harnesses.
- Install the 180 degree fitting of Line 4 on the firewall facing driver side fuel rail. Route the fuel line along the rail toward the front of the rail, following the same path as Line 4, under the a/c compressor hard lines and under the wiring harnesses.
- We recommend zip tying the two fuel lines running from the driver side fuel rail together near the engine wiring harness.
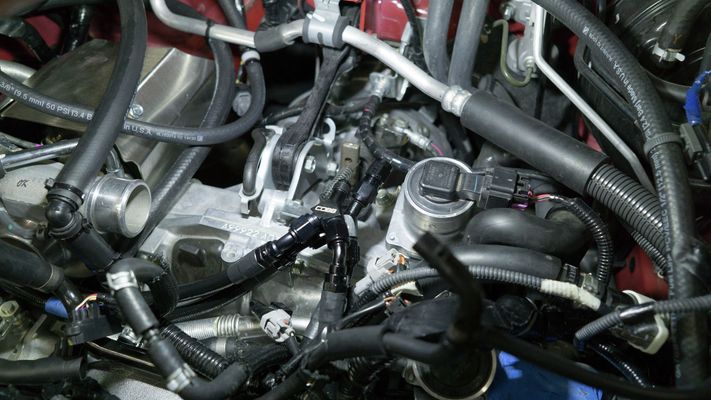
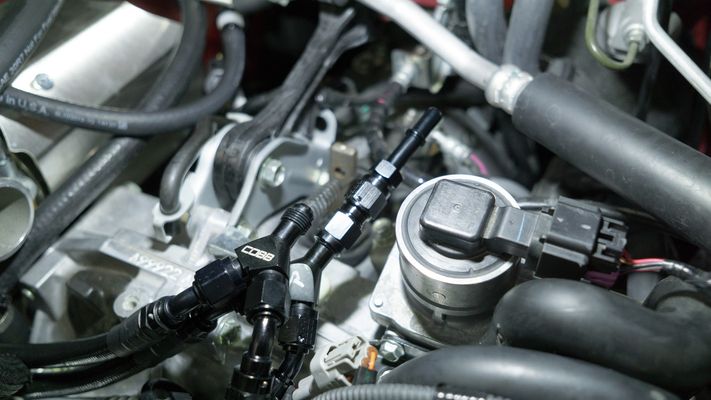
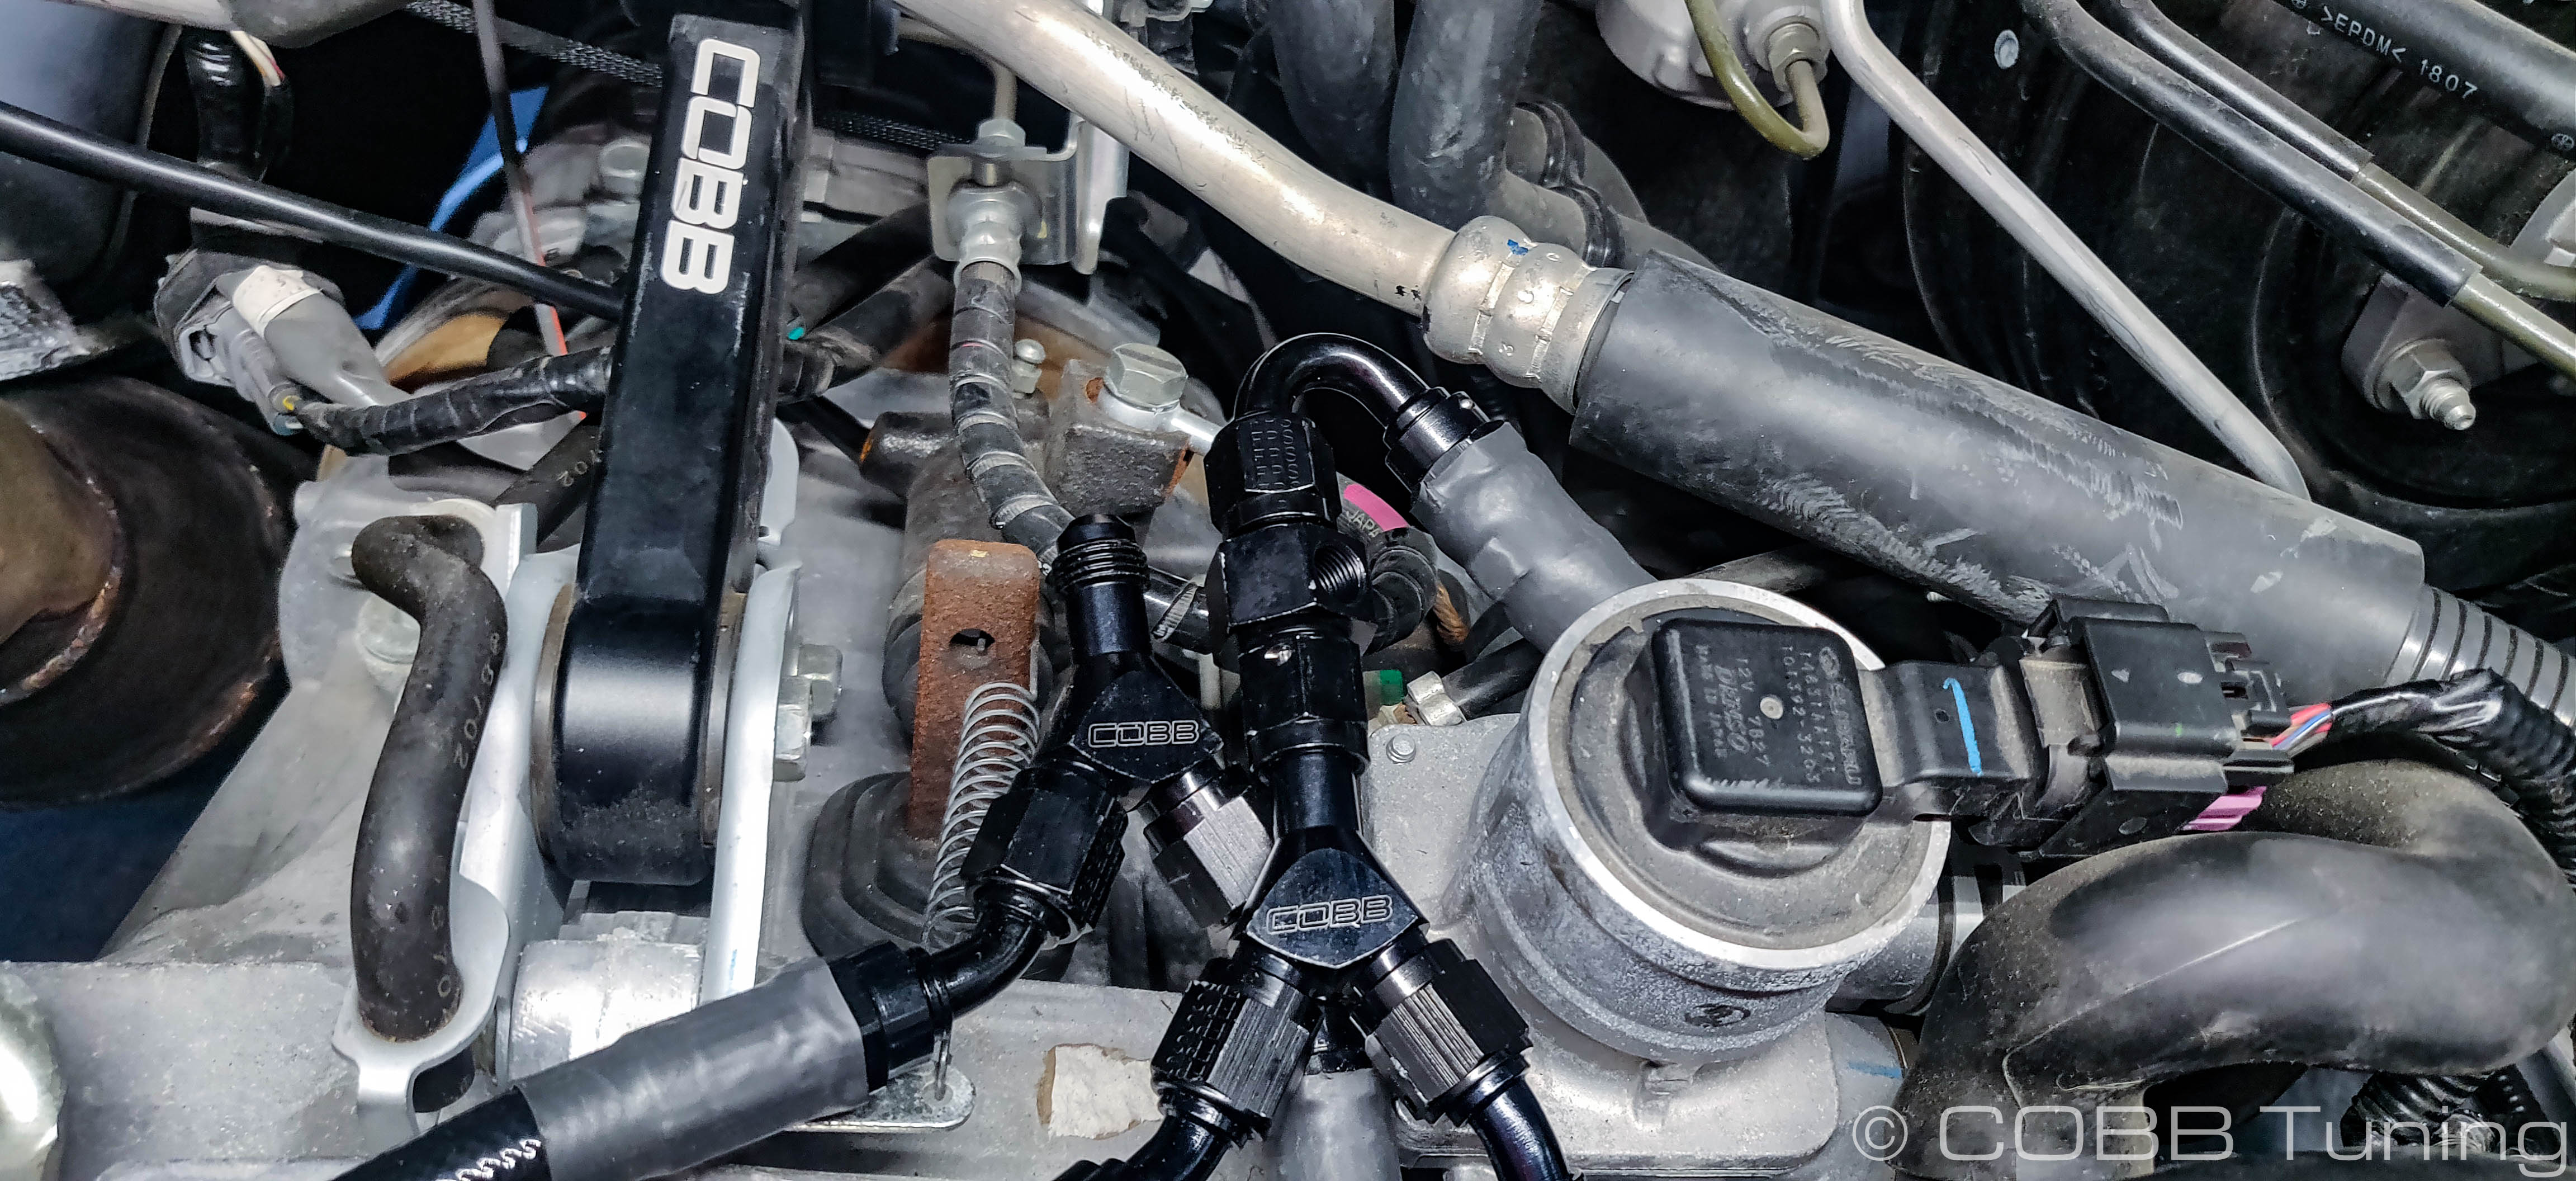
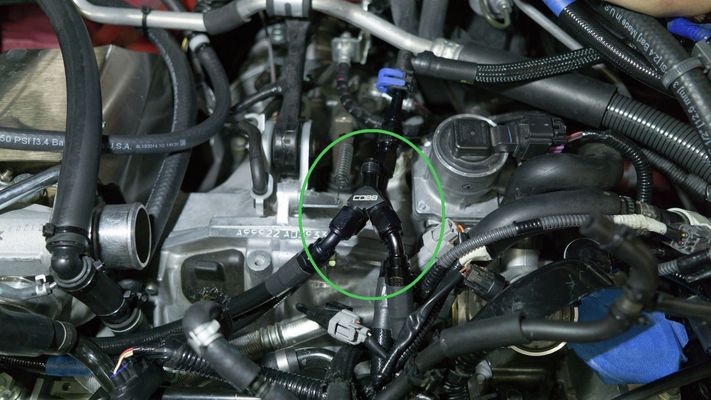
- With the fuel lines connected to each rail, we will now install a Y-block to each pair to route the lines to the appropriate fuel feed or fuel return line.
- Connect Line 1 and Line 3 to a provided Y-block. These lines will converge into the return fuel line.
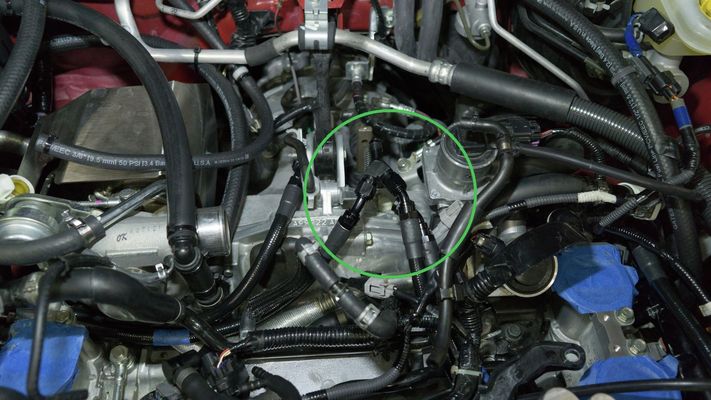
- Connect Line 2 and 4 to a provided Y-block. These lines will converge into the feed fuel line.
- If you're adding the fuel pressure sensor you will want to add the 1/8" NPT adapter fitting after the y-block.
Choose the Option below for the correct line routing
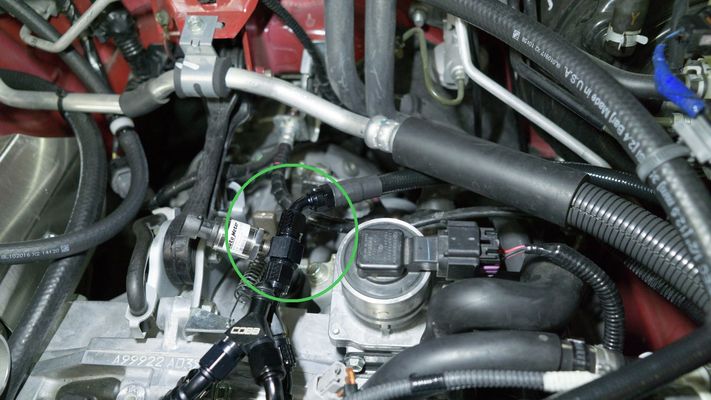
Expand title Normal Installation (No Flex Fuel) Click To Expand - Install the provided female-female adapter and 3/8" FI line adapter.
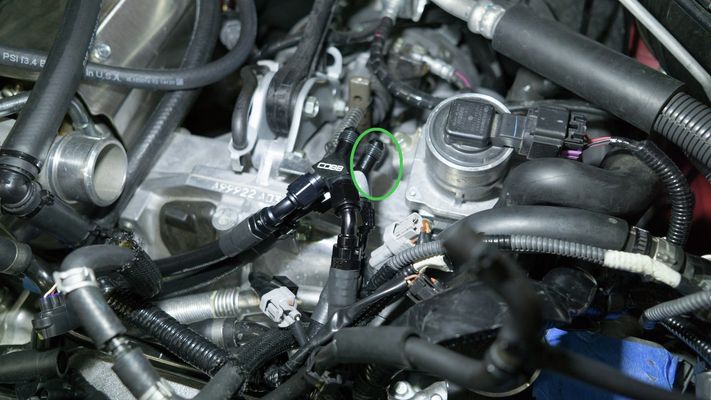
- Using the provided 18" long unmarked line, connect the 90 degree fitting to the fuel line quick connect. Fit the opposite end to the FPR and secure it using the provided hose clamp.
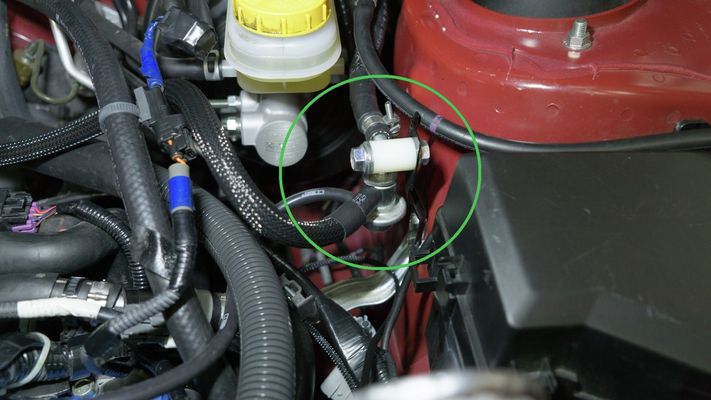
If you are connecting to the FPR directly
Depending on the components installed, your return line coming off of the Y-block will vary.
Expand title If Installing with a Flex Fuel kit Click To Expand - Attach the 30 degree fitting from Line 6 either directly the Y-block for Line 1 and 3, or to the Fuel Pressure Adapter (if installed). Please note: Line 6 is included in https://www.cobbtuning.com/products/fuel-system/subaru-fuel-rail-line-kit-to-flex-fuel-sti-2008-2019/. Line 6 is not included in the standard Rail/Line package.
- Fit the provided 3/8" screw on adapter to the ethanol sensor and connect the opposite end of the hose to the ethanol sensor

- Connect the quick connect end of the provided 7.5" fuel line to the ethanol sensor. Attach the opposite end to the FPR.
- Install the provided female-female adapter and 3/8" FI line adapter.
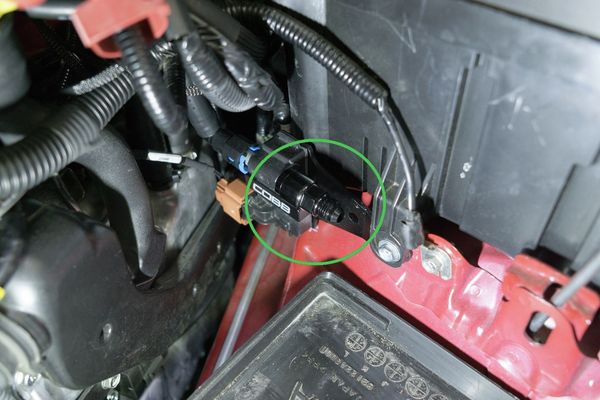
- Install the quick connect adapter to the feed hard line coming from the firewall using a silicone lubricant, such as SuperLube (included), to avoid damaging the O-ring.
- Connect the 30 degree fitting on Line 5 to the feed hard line adapter.
- Connect the 30 degree fitting on Line 5 to the Y-block for Line 2 and Line 4.
- With the lines now installed, we recommend connecting the battery, priming the fuel pump, and checking for any leaks. DO NOT START THE VEHICLE OR SERIOUS DAMAGE MAY OCCUR.
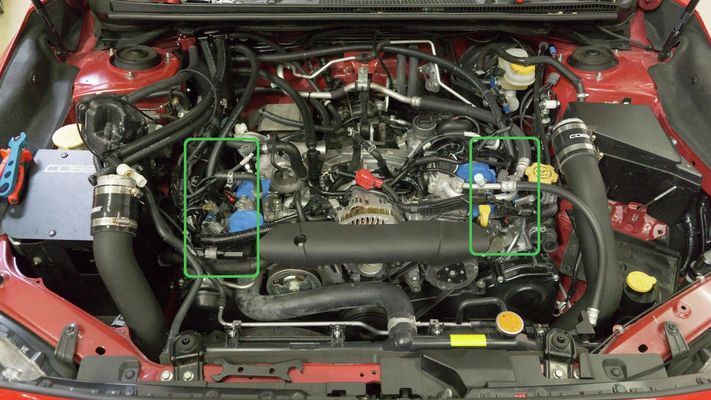
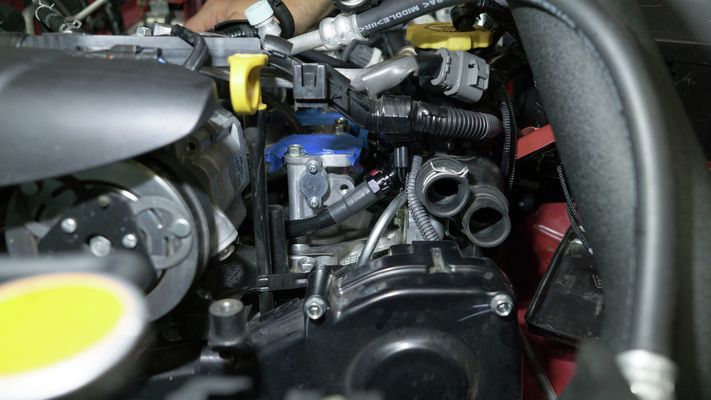
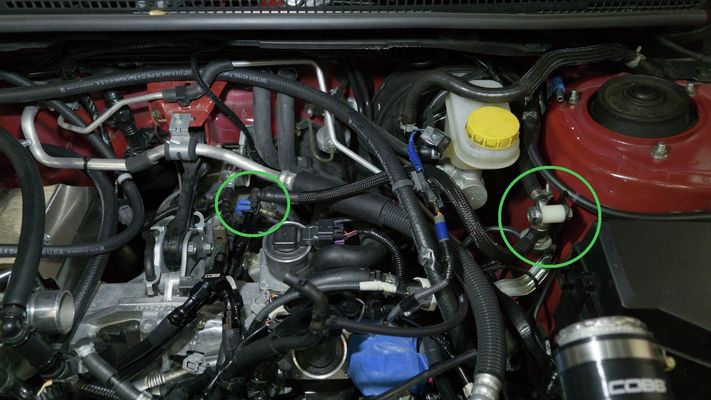
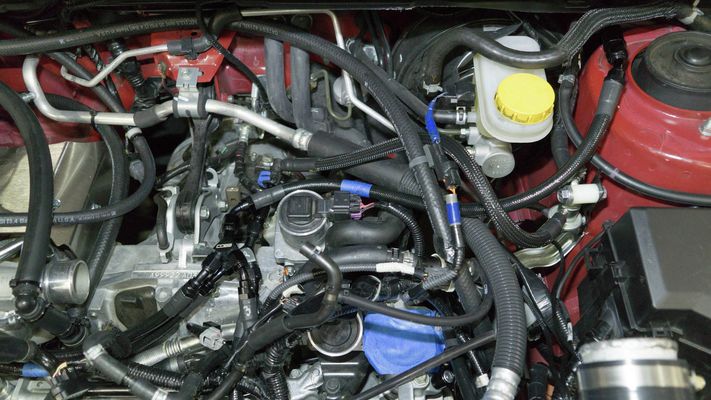
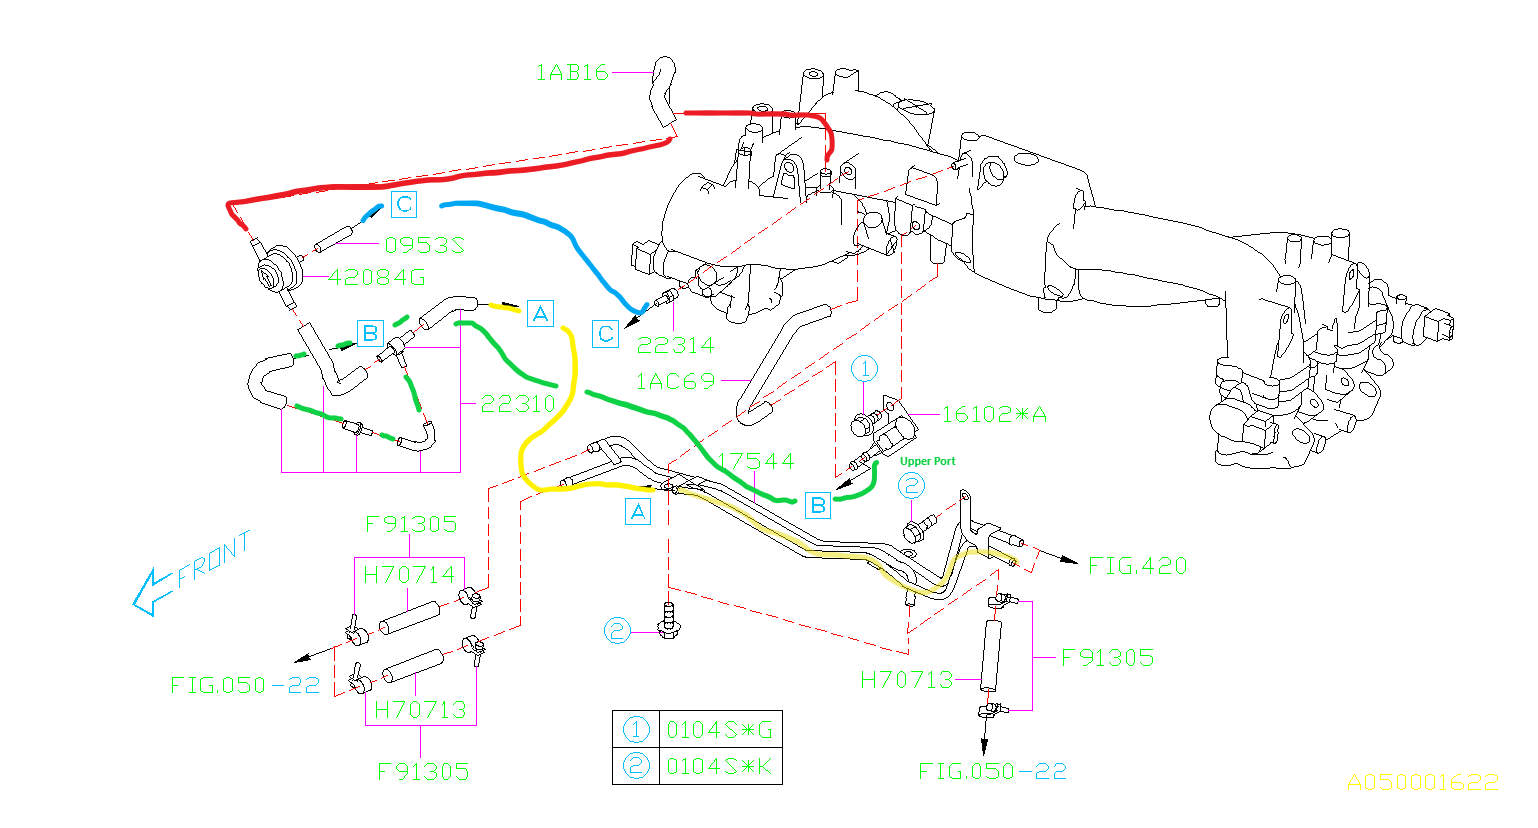
- If there are no leaks you'll proceed to replacing the EVAP line. This is the remaining line coming from the firewall that used to go to the third metal line on the intake manifold to the assembly of vacuum tees and valves near the inlet. To replace you'll attach the provided vacuum line to the third, non-quick-connect port on the firewall and run it over to where the old line used to attach to the twisty evap valve assembly. The below diagram should give you a better idea of the factory routing paths
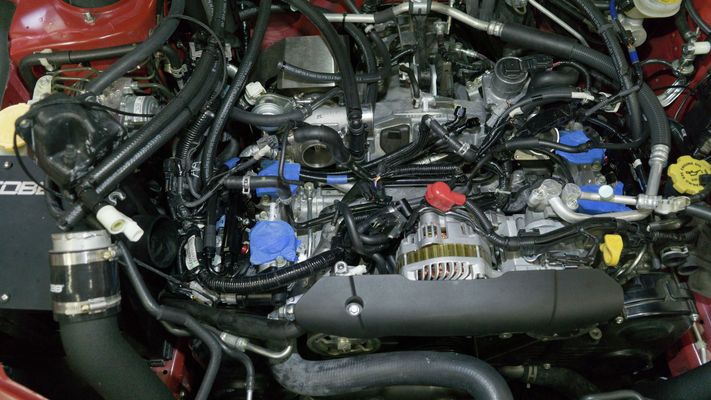
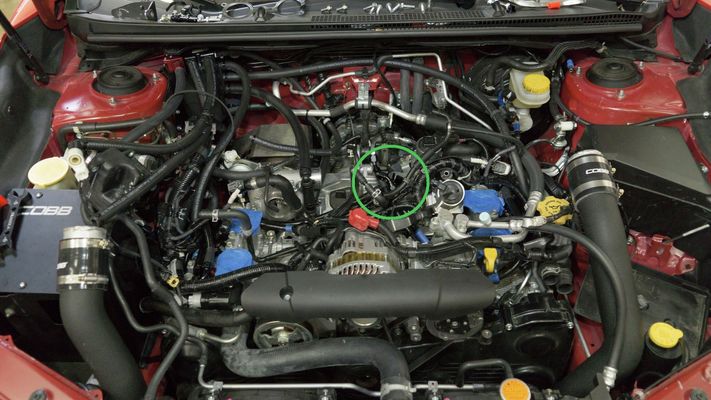
Reinstall the Intake Manifold
- Proceed in reverse to reinstall the intake manifold. Be wary of the engine wiring harness, vacuum hoses, and fuel lines.
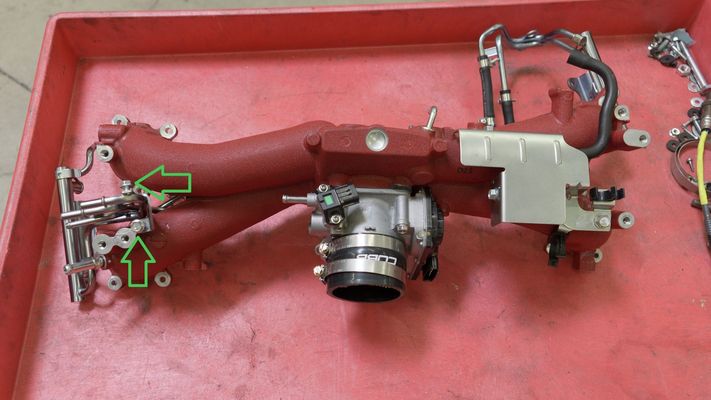
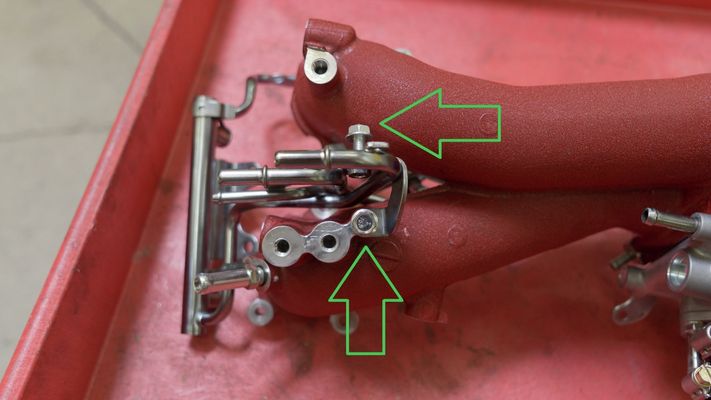
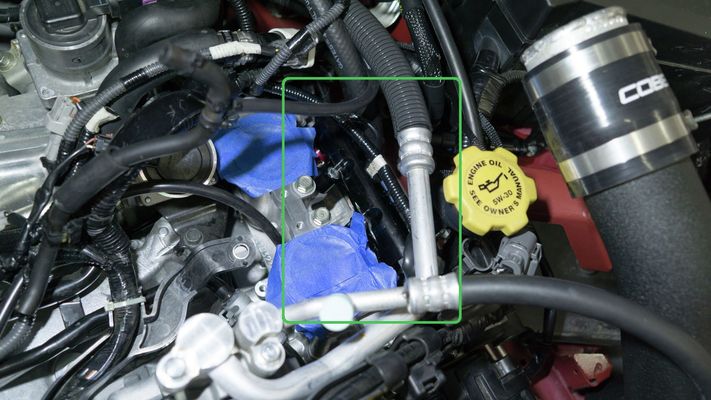
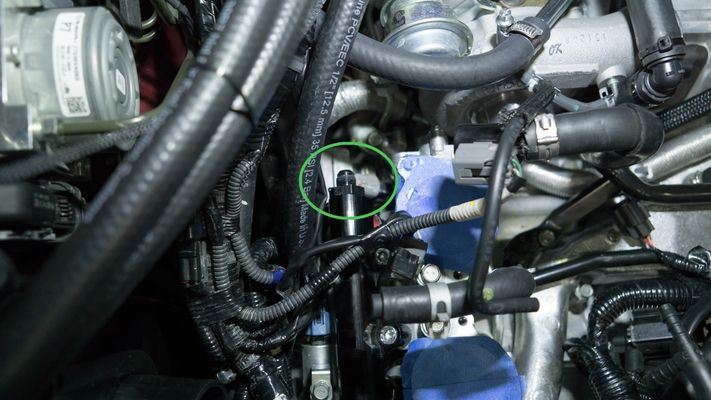
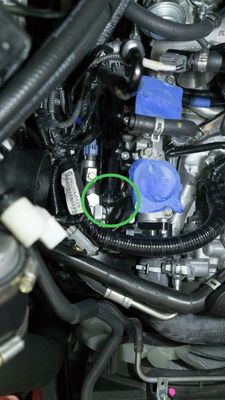
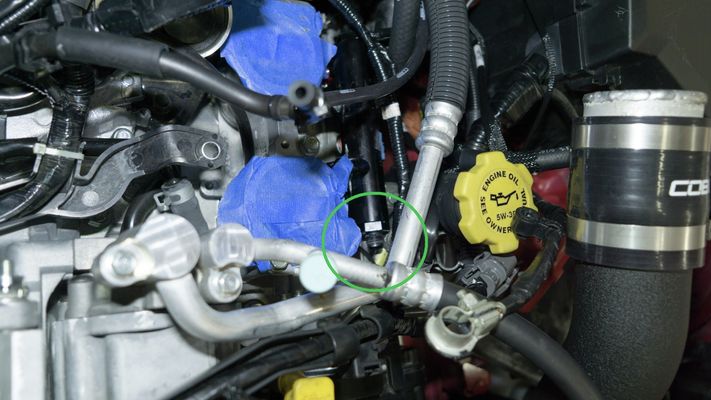
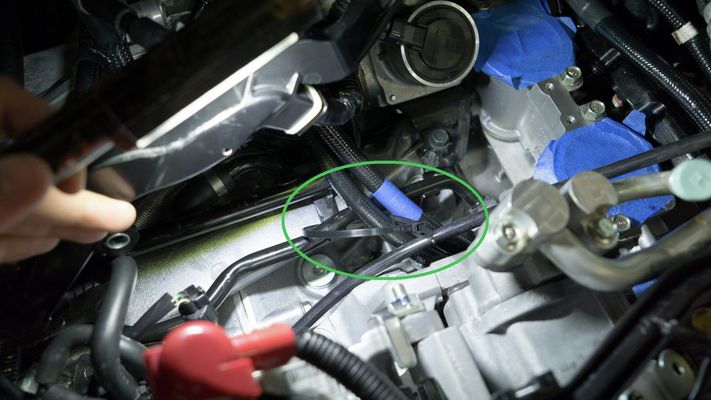
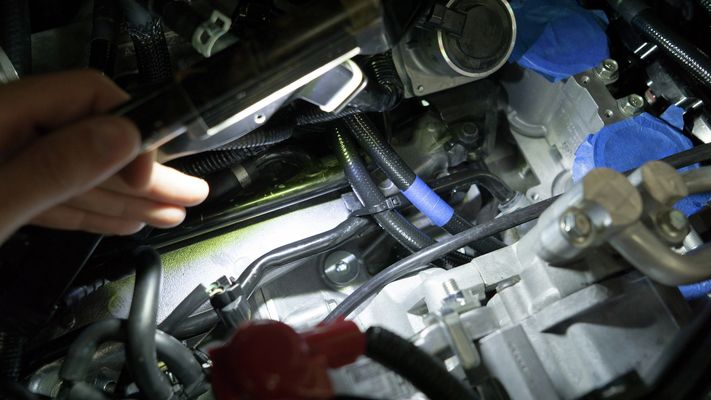
- Relocate the manifold refernce vacuum for the fuel pressure regulator as shown here Manifold Reference Relocation
- Once completed, we recommend conducting a pressurized smoke test to verify there are no intake/boost leaks.
Final Notes
- Flash the appropriate map to the ECU for the installed components PRIOR to cranking or driving the vehicle.
- Please contact COBB Support at 866.922.3059 or at Support@COBBTuning.com if you have any questions along the way!
Links
Subaru Installation Instructions
Main Installation Instruction Repository for Subaru Parts
Link to Subaru Map Notes to see what map you should be on given the parts you've added
| Insert excerpt | ||||||
|---|---|---|---|---|---|---|
|