
941800 - Outback XT Lift Kit
2020 Outback XT
Congratulations on your purchase of the COBB Tuning Outback XT Lift Kit! The following instructions will assist you through the installation process. Please read them BEFORE beginning the install to familiarize yourself with the steps and tools needed. If you feel you cannot properly perform this installation, we HIGHLY recommend you take the vehicle to a qualified and experienced automotive technician.
| Warning |
|---|
Some sort of warning about needing an alignmentAny time you dismantle moving components of your vehicle's suspension, you need to get an alignment to assure safe driveability and even tire wear. |
Table of Contents
| Table of Contents |
|---|
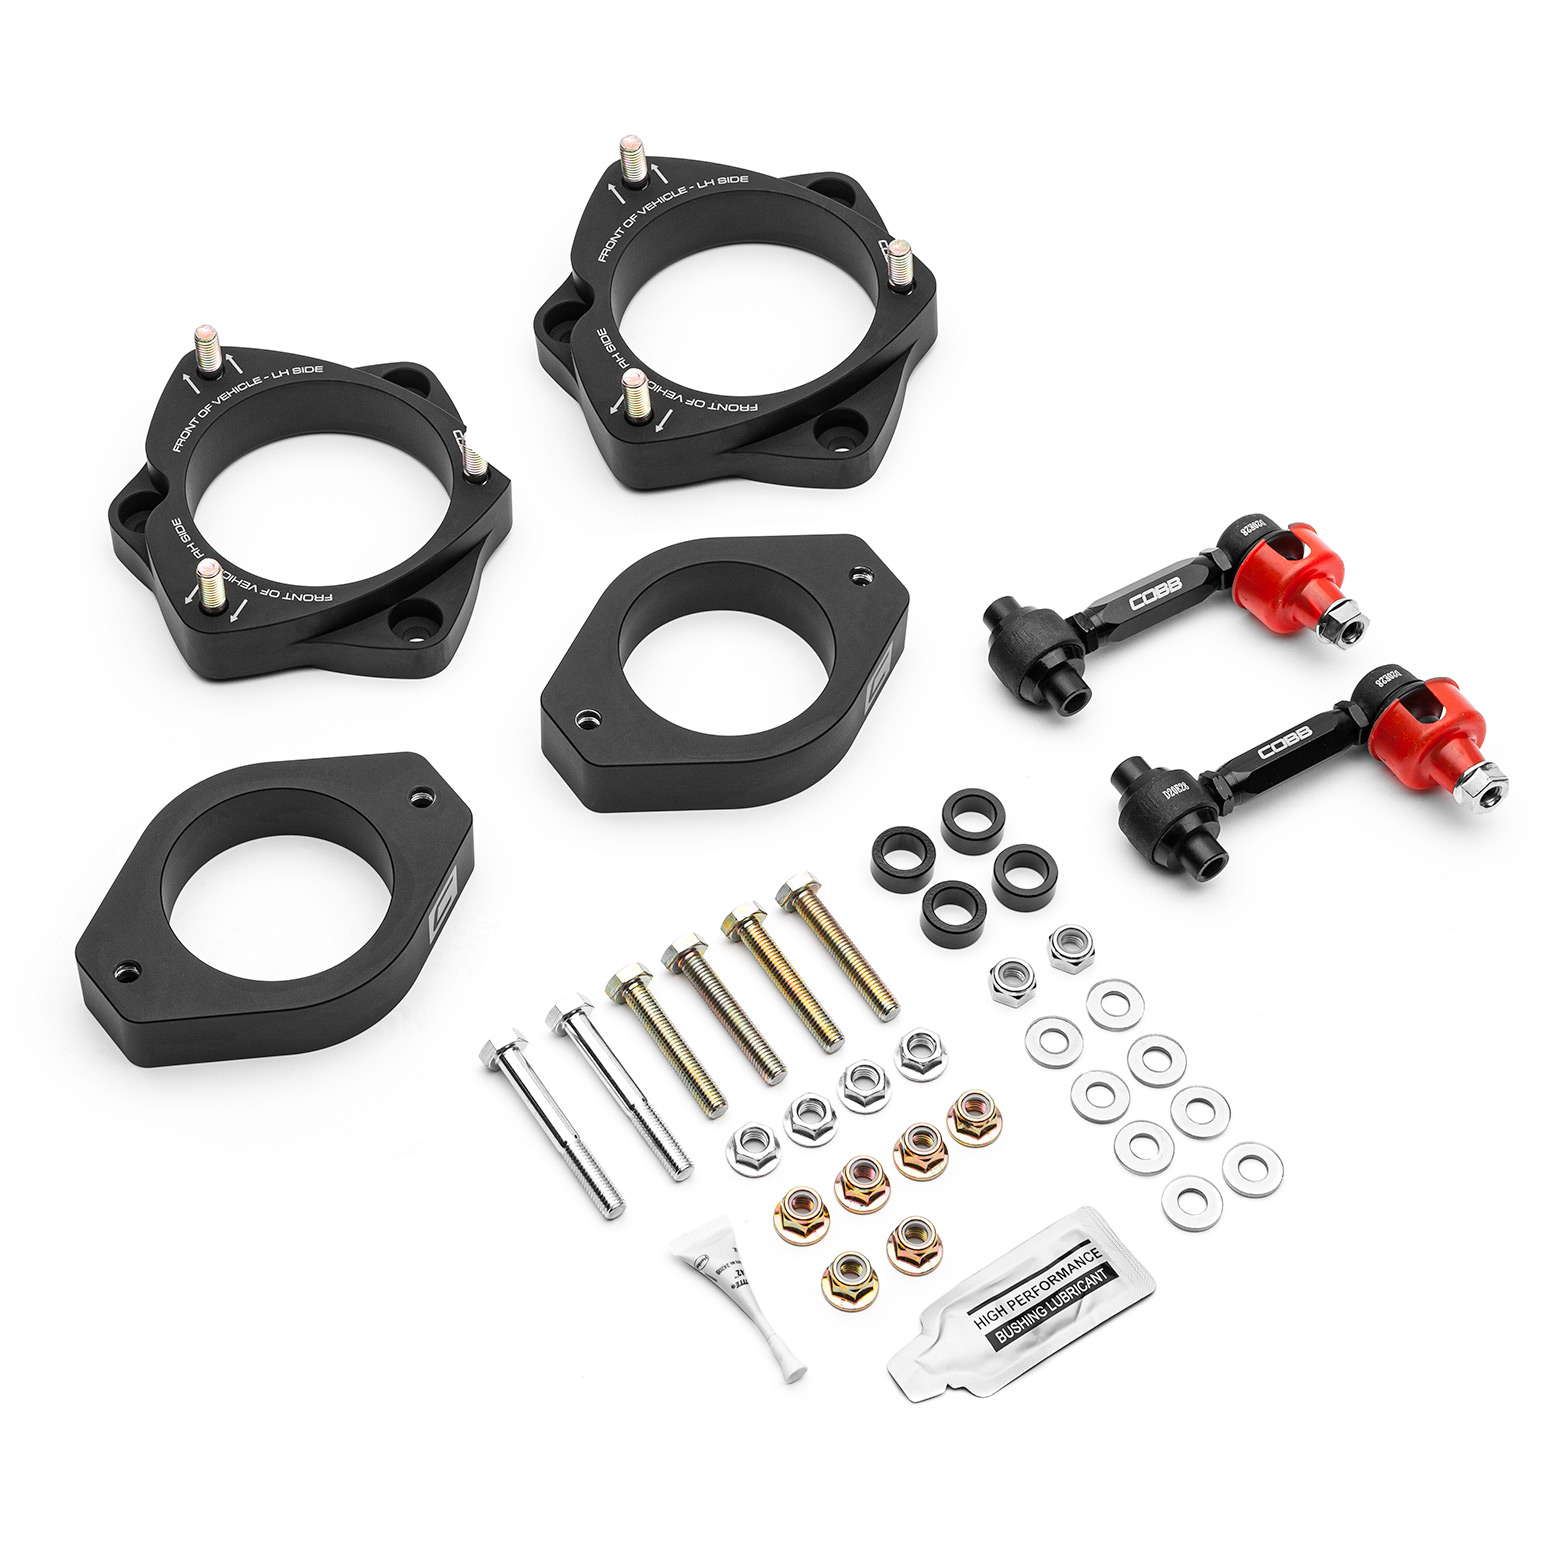
Parts List
- (2) Front Lift Spacers
- (2) Rear Lift Spacers
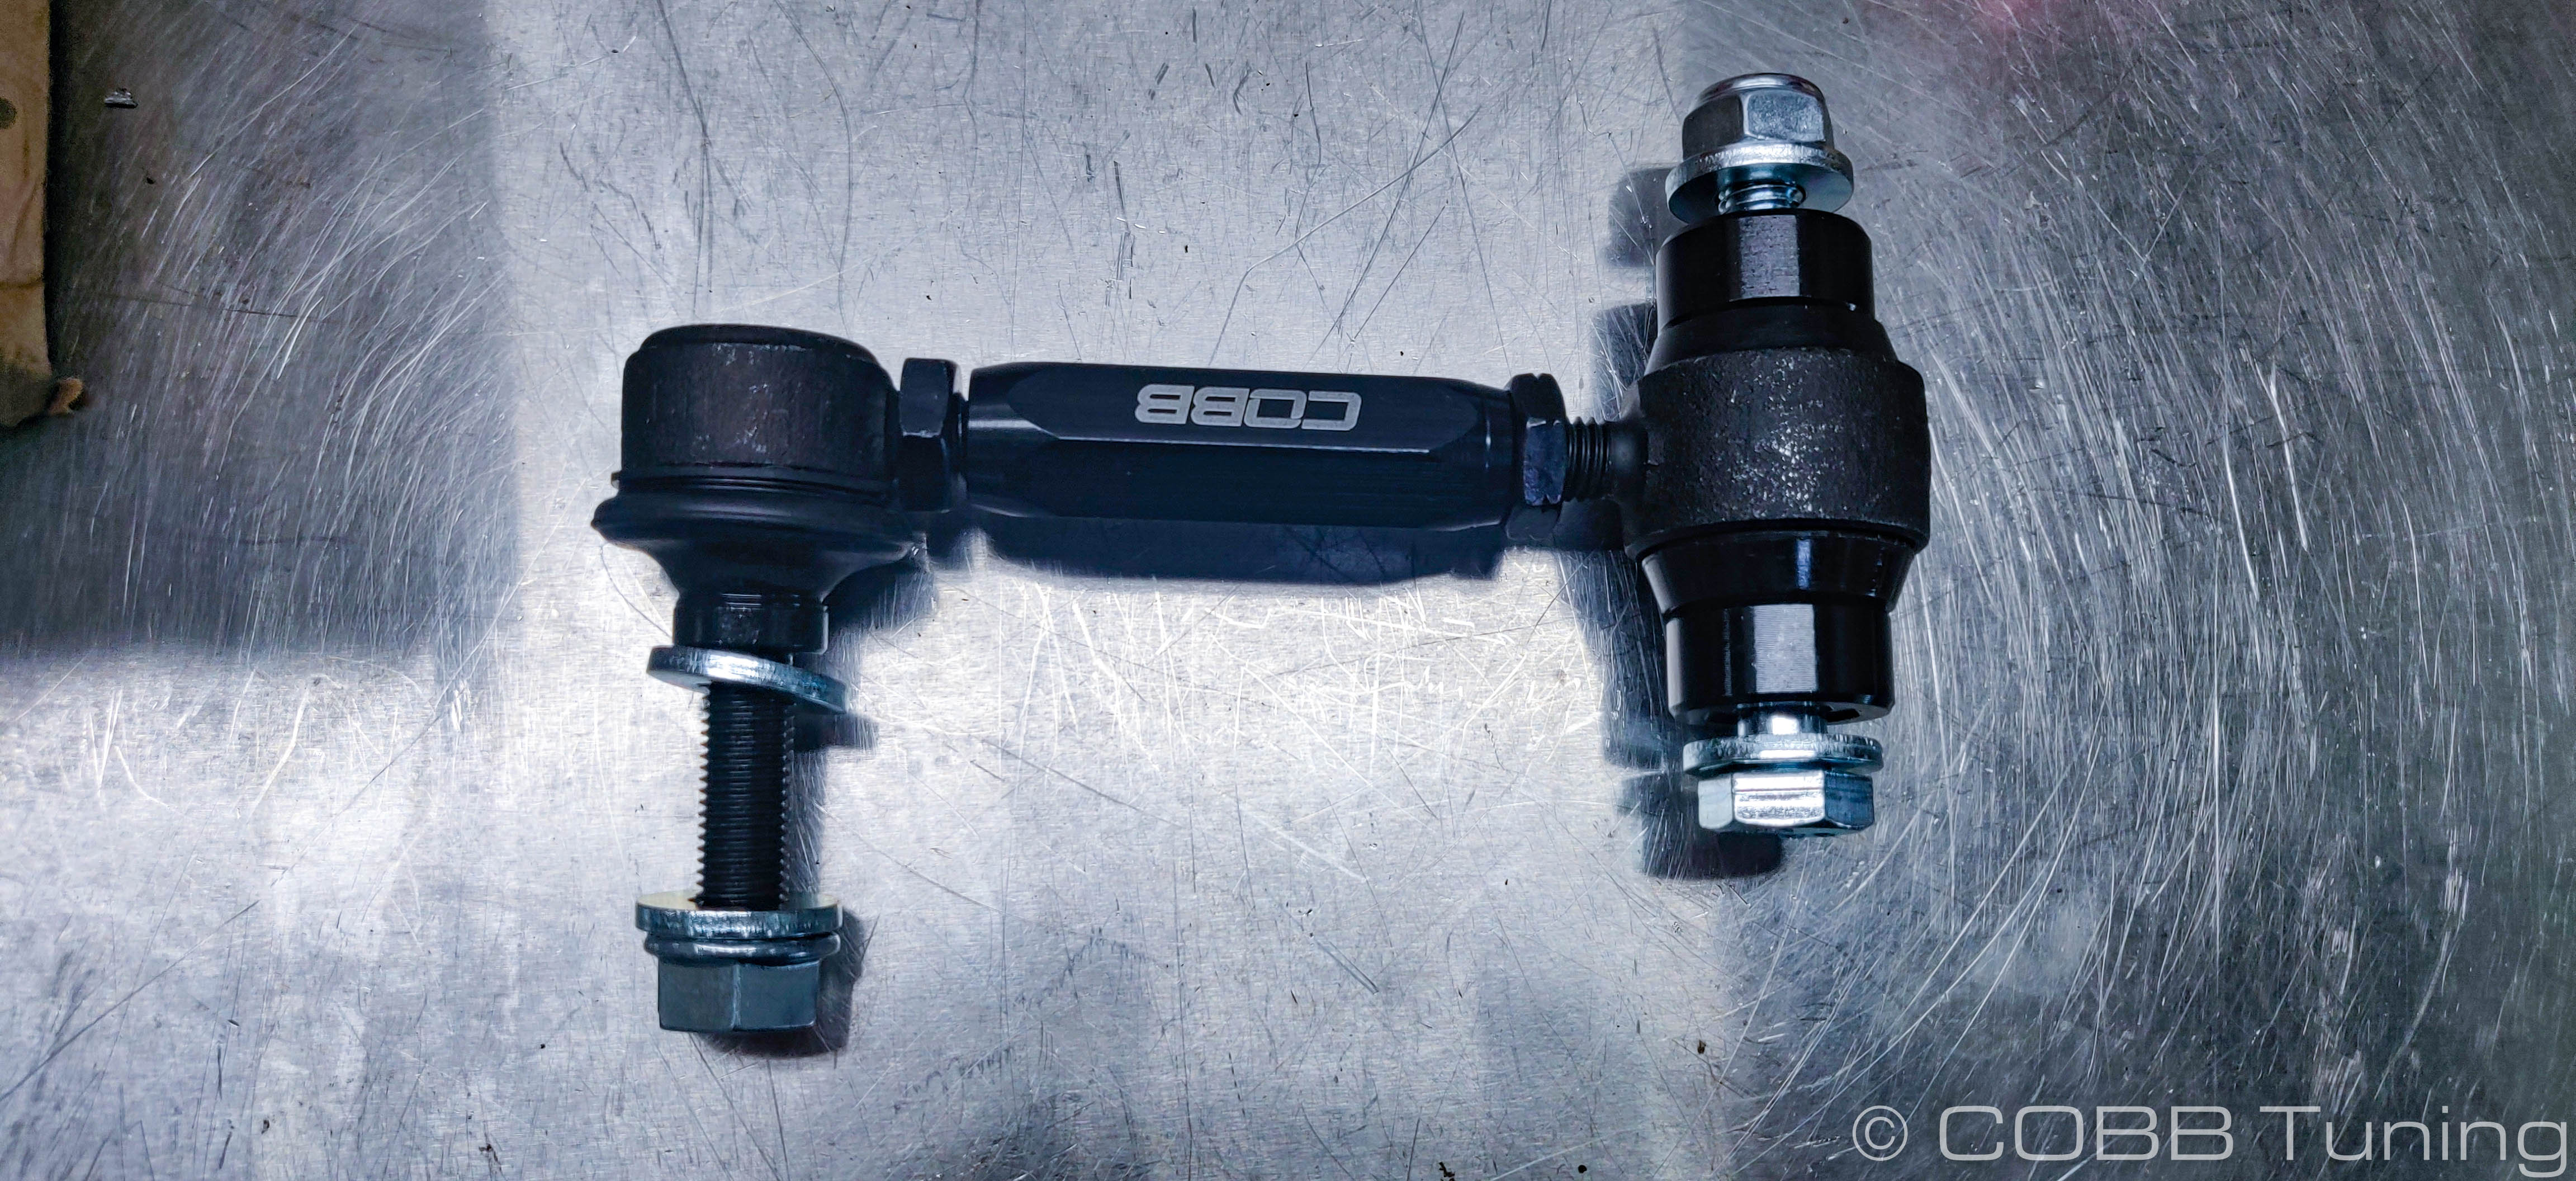
- (2) Sway Bar End Links
- (4) m10x1.5 60mm Long Hex Bolts
- (6) m10x1.5 Locking Flange Nuts
- (4) m10x1.5 Serrated Nuts
- Blue Thread Locker
Tools Needed
Sockets
3/8"
Wrenches
- 14mm combination wrench
- 16mm combination wrench
- 17mm combination wrench
- 18mm combination wrench
- 19mm combination wrench
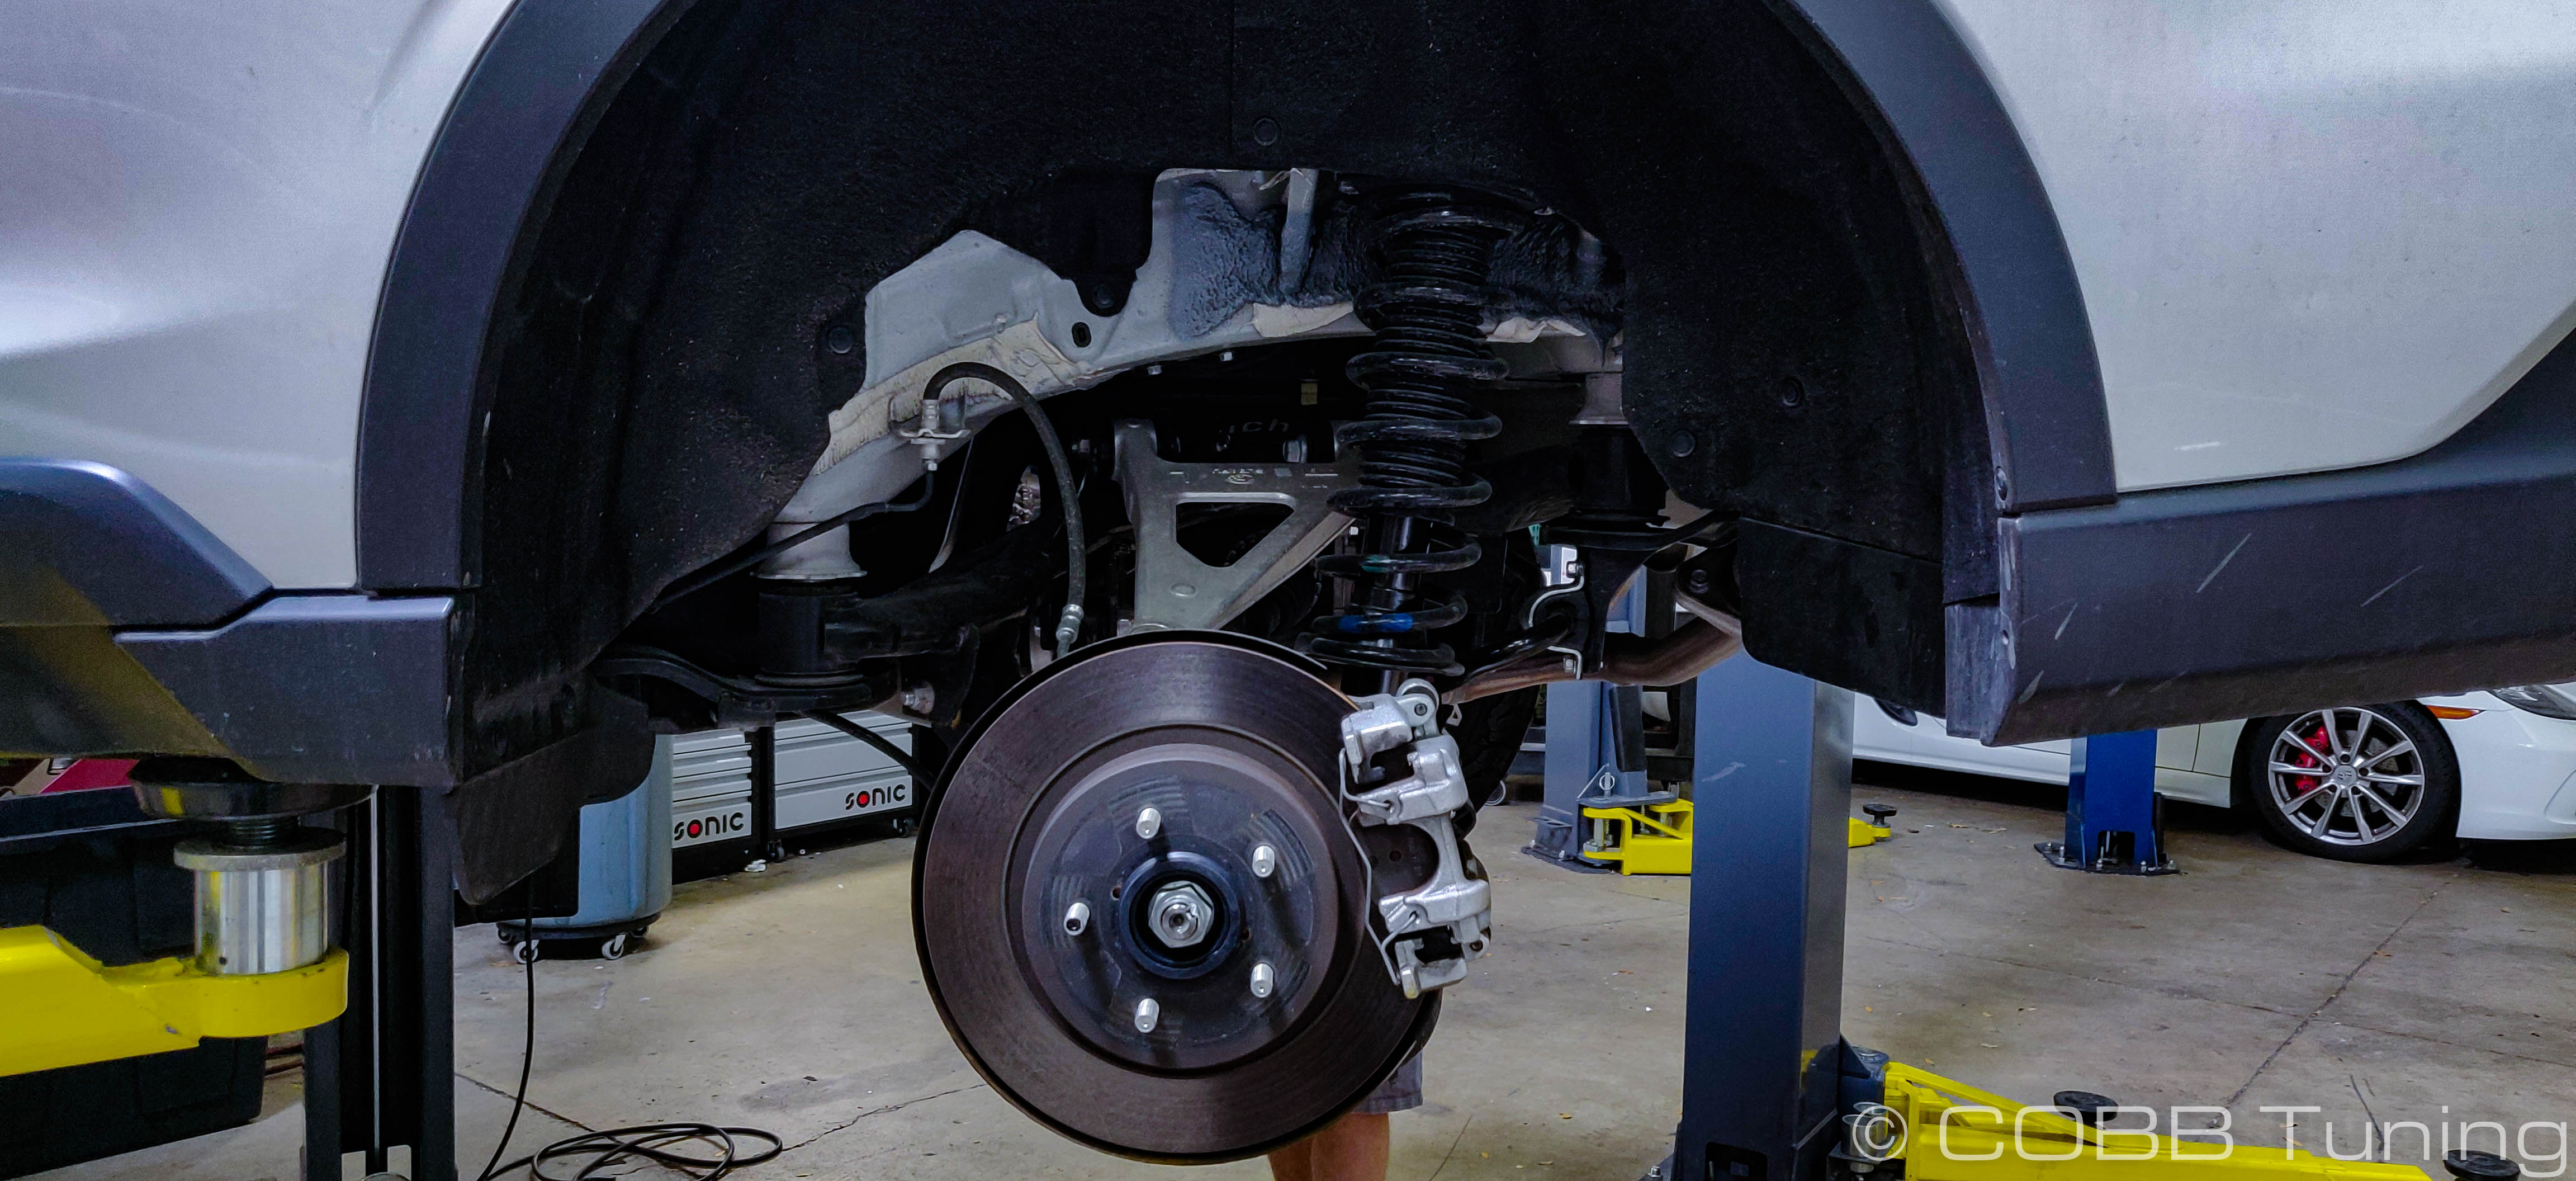
Front Suspension
| Note |
|---|
It's best to do one side at a time to avoid getting things swapped to the wrong side or set up incorrectly. |
- Park your car in a safe, flat, level area.
- Safely lift and support your vehicle, either using a proper jack and jack stands, or using a lift.
- Remove one of the front tires from your vehicle.
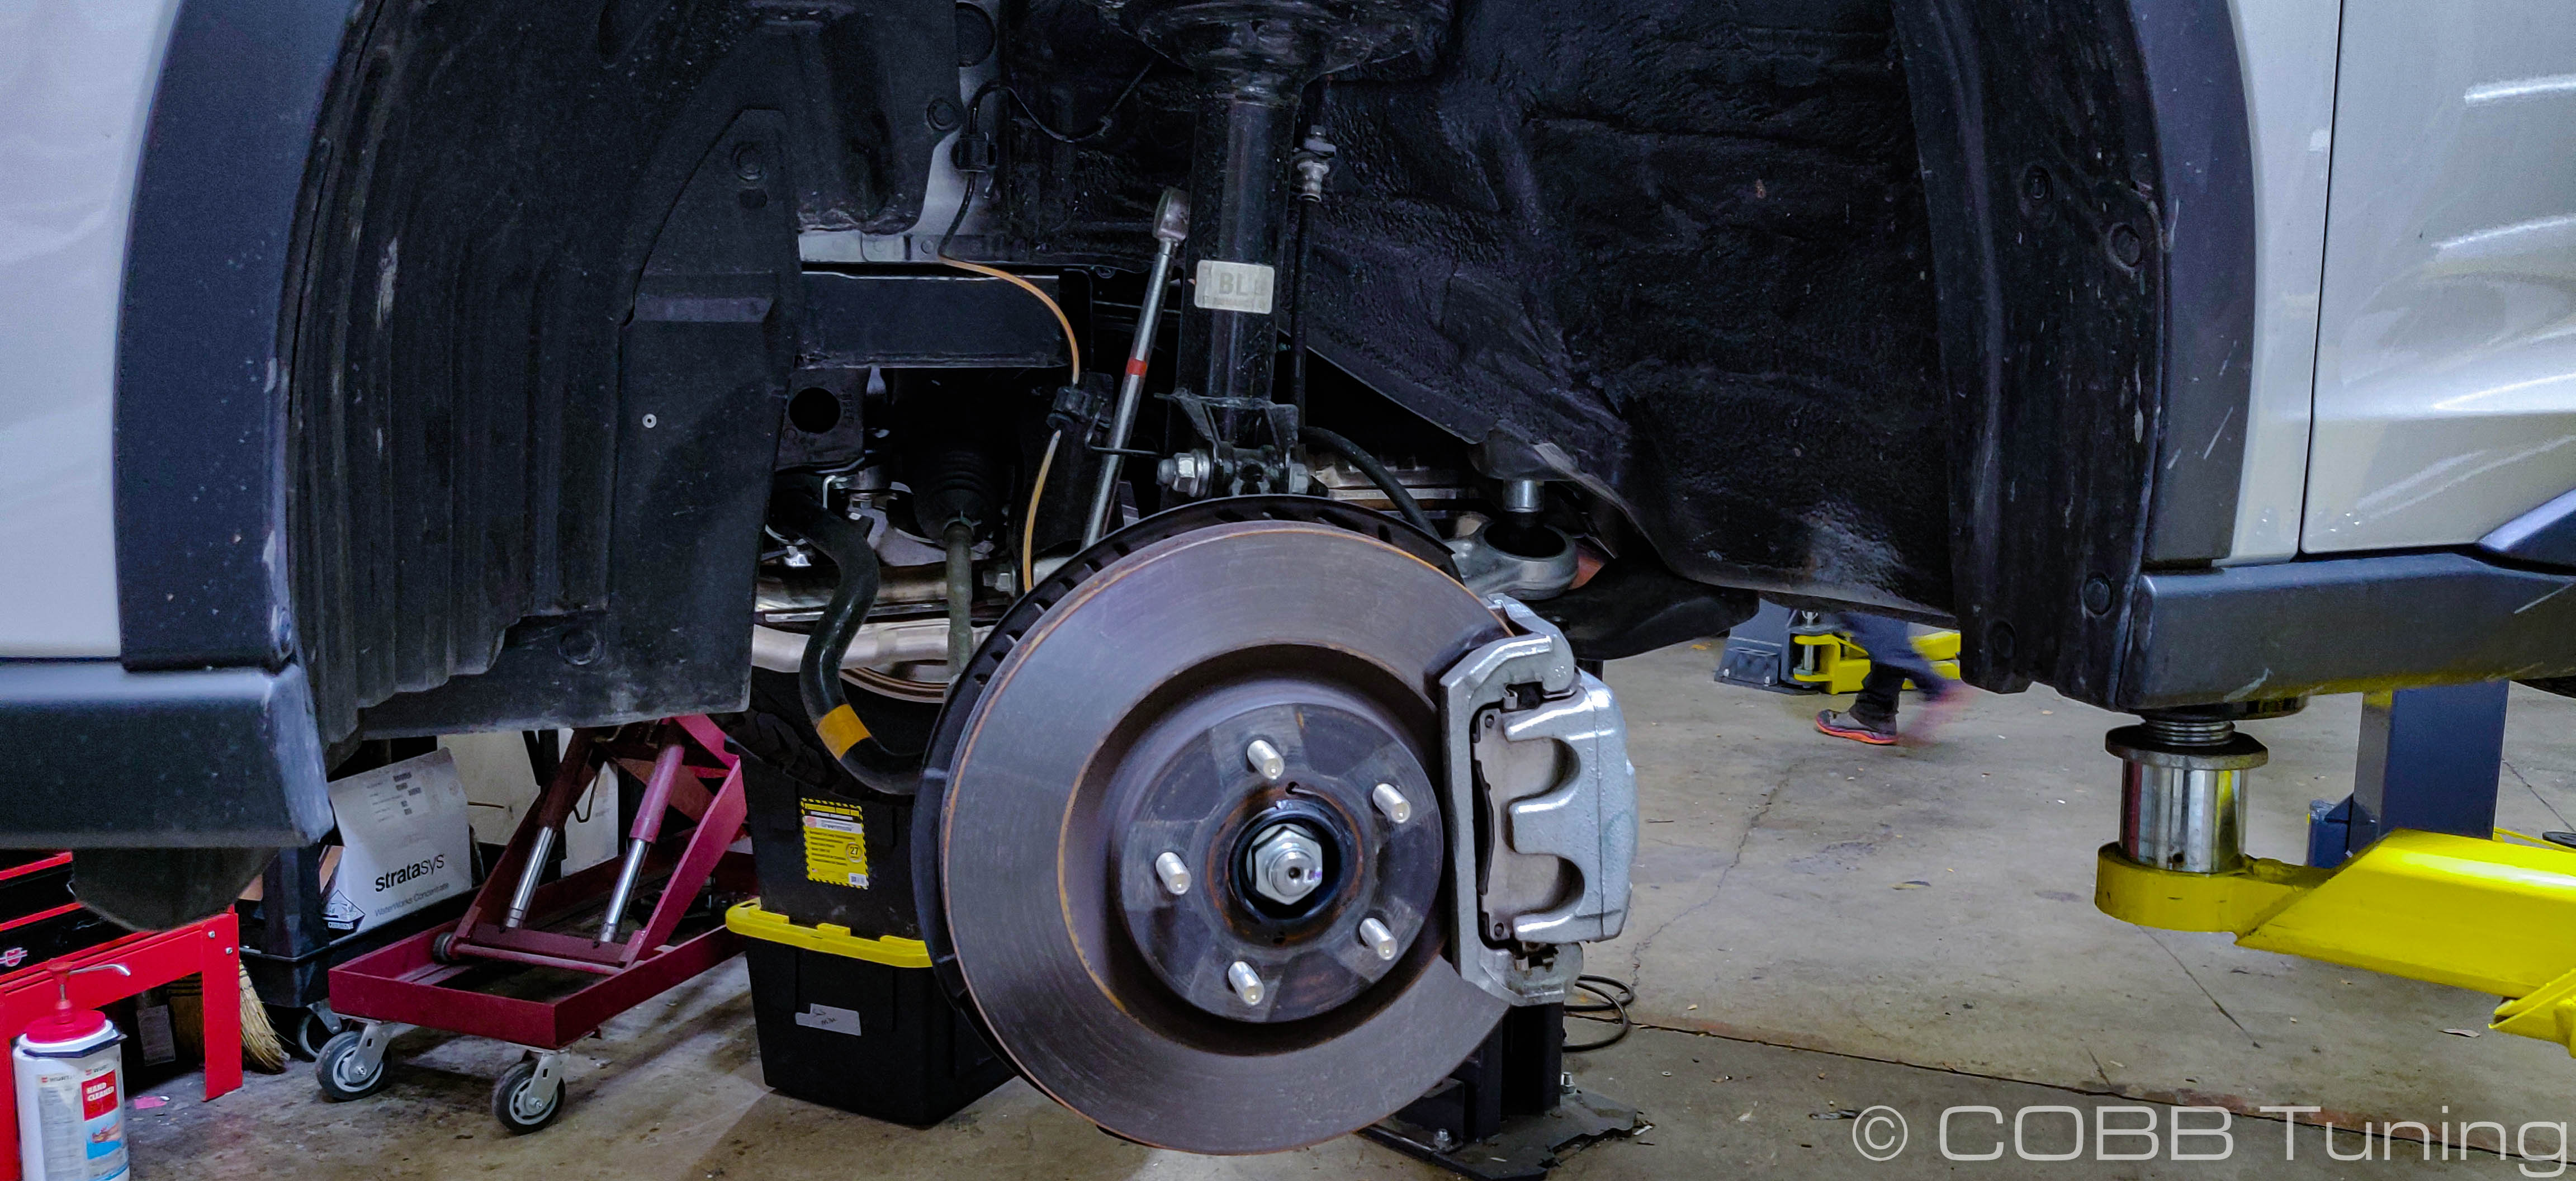
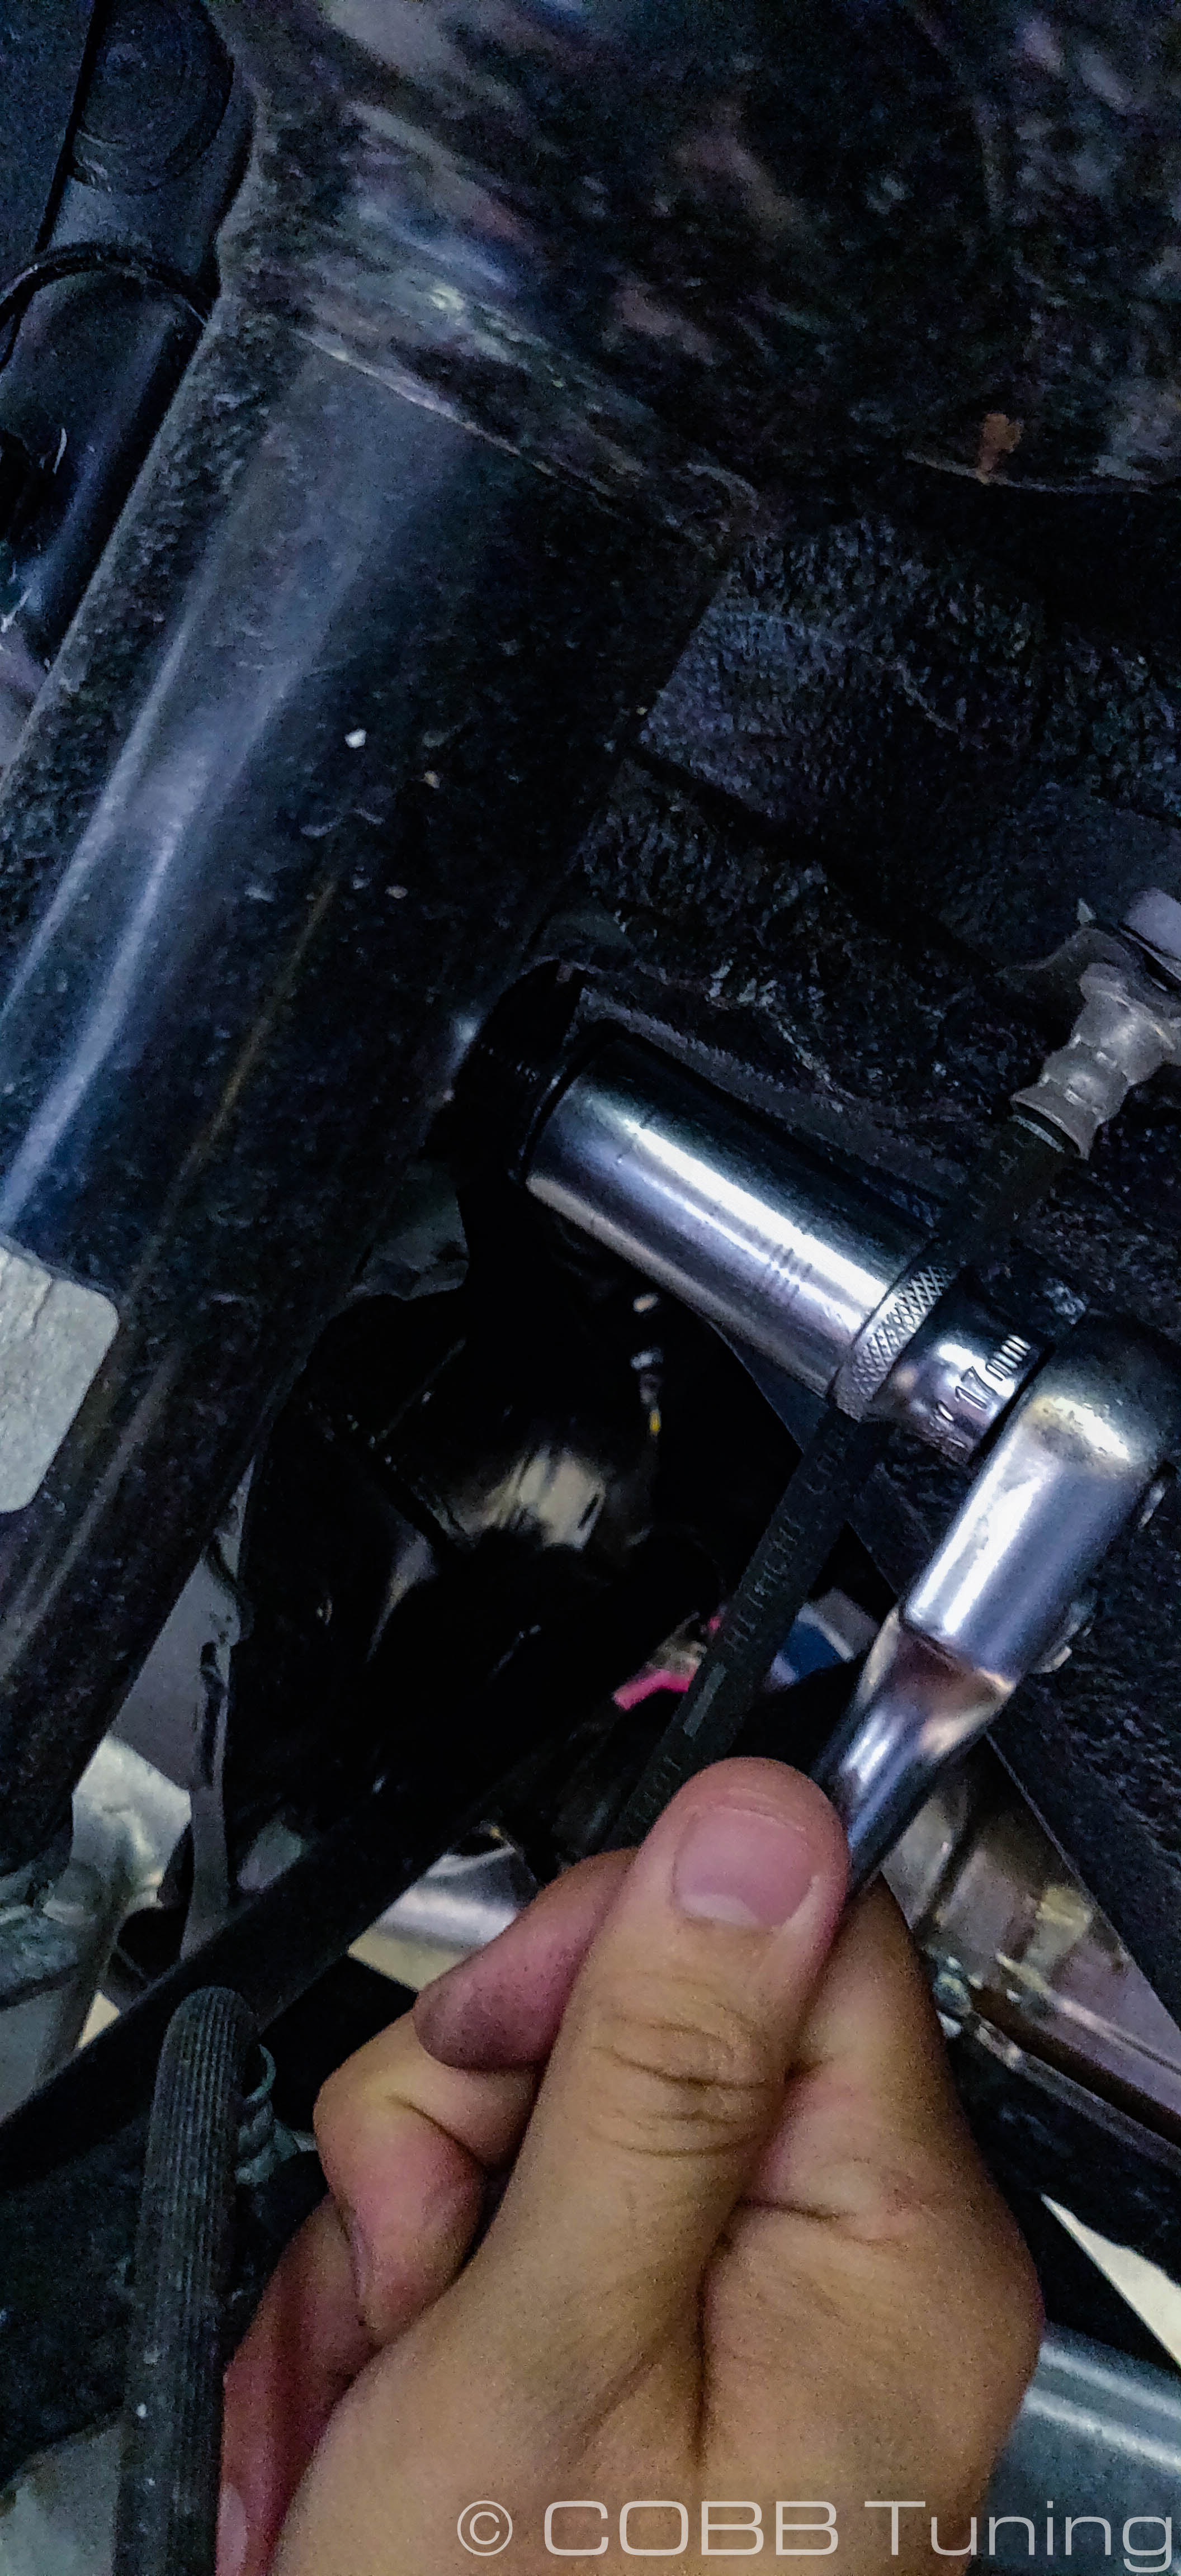
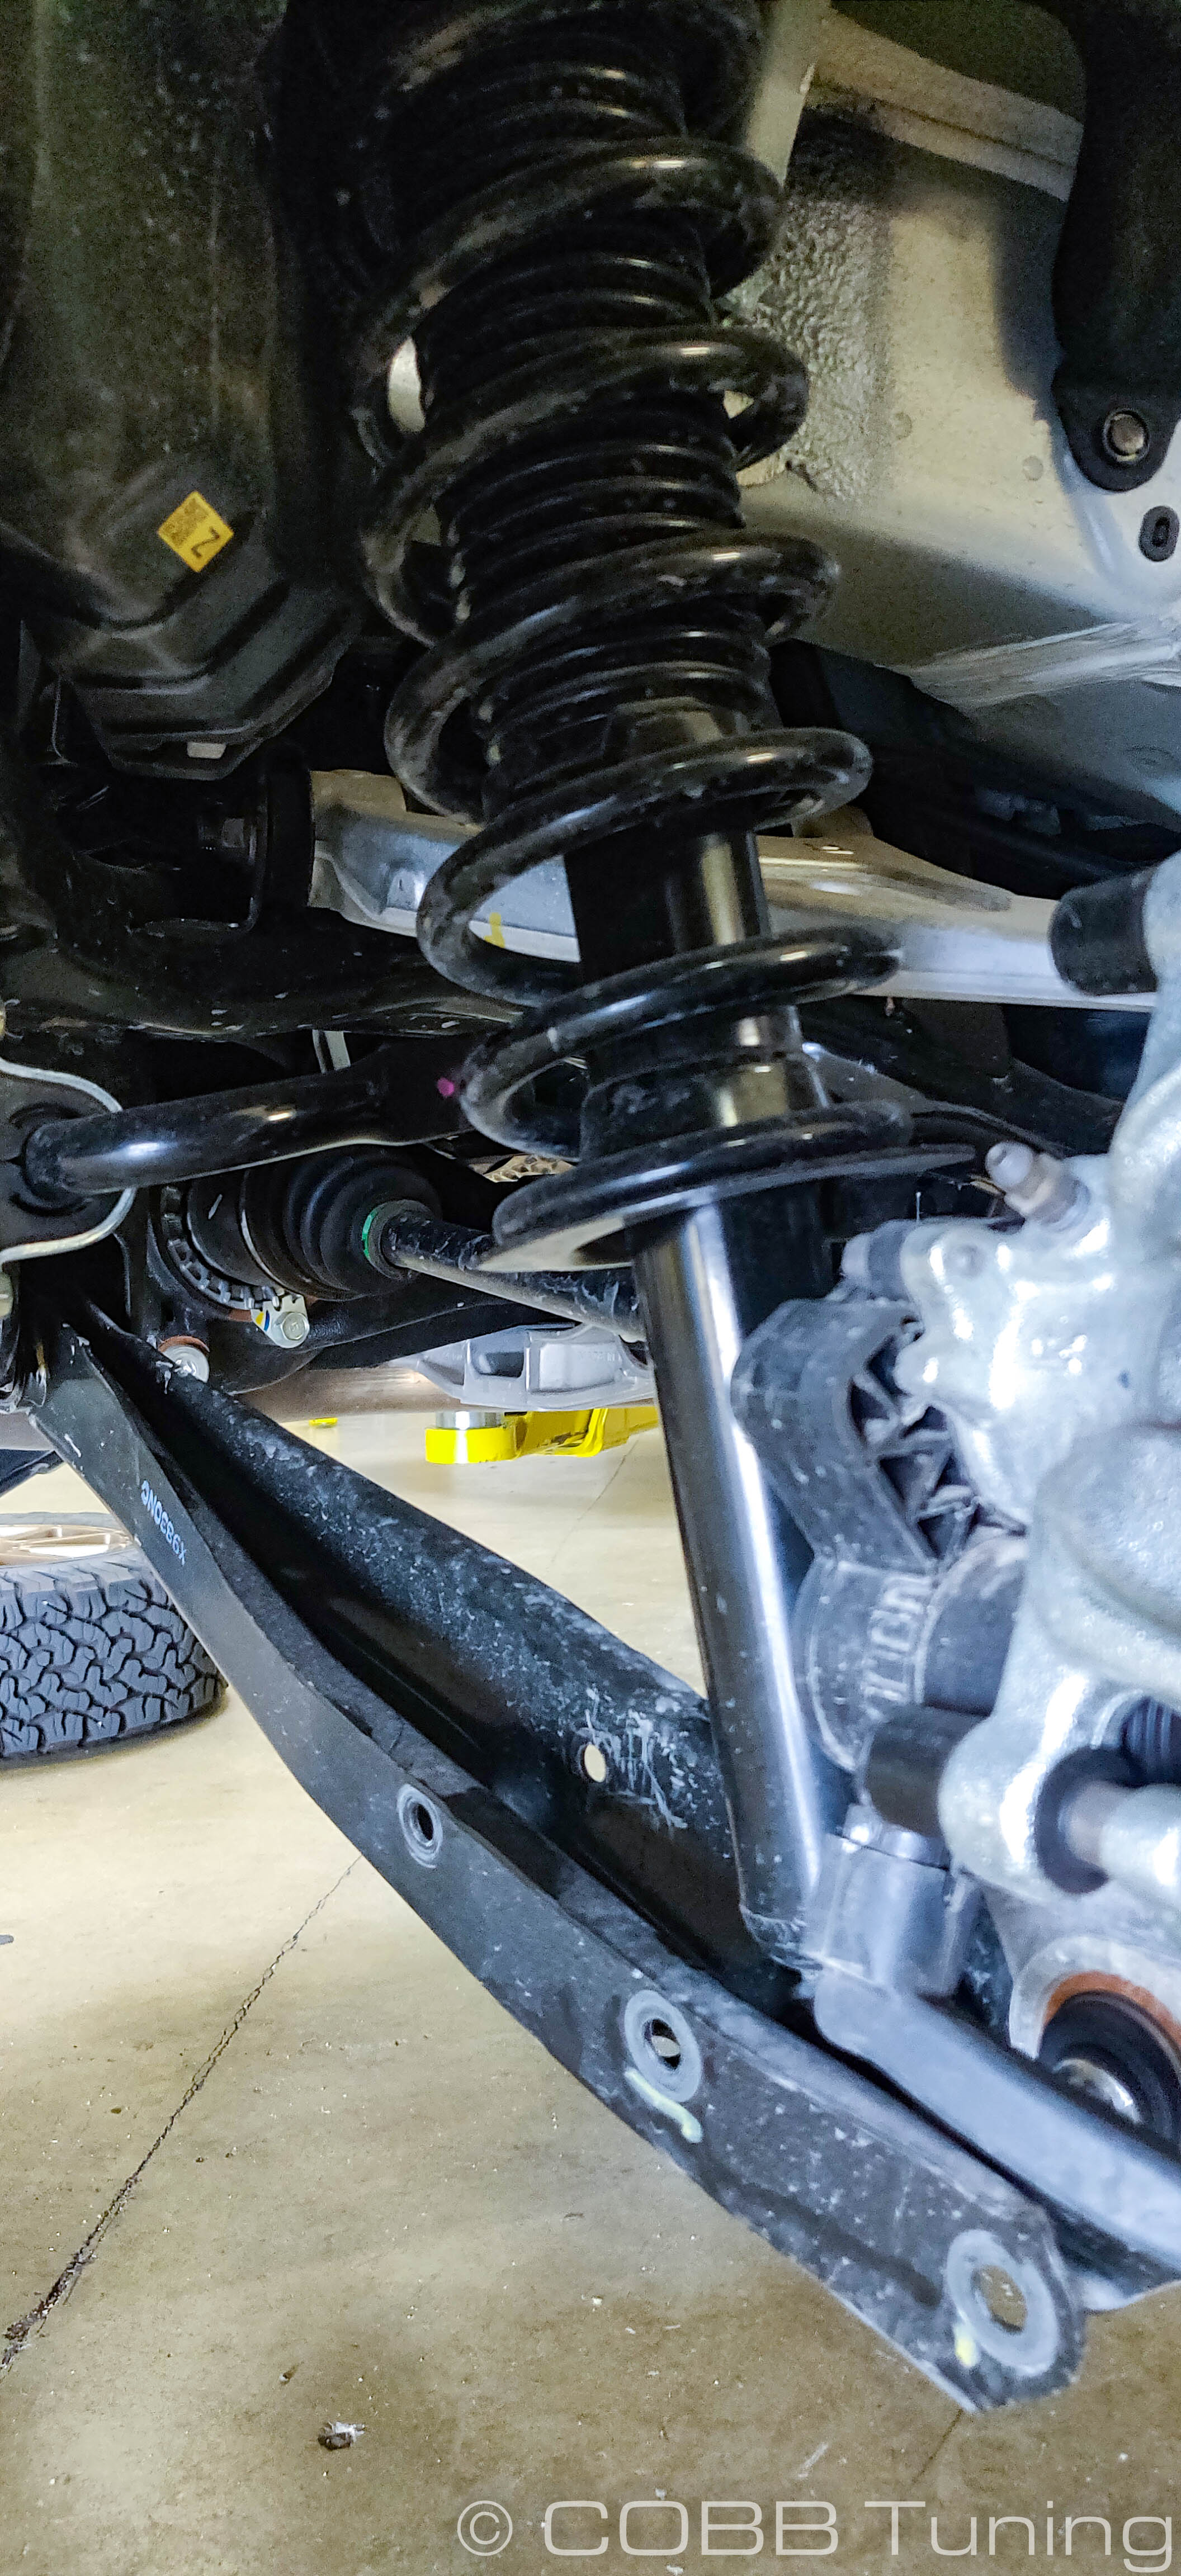
- Using a 17mm socket, undo the sway bar end link where it attaches to your strut.
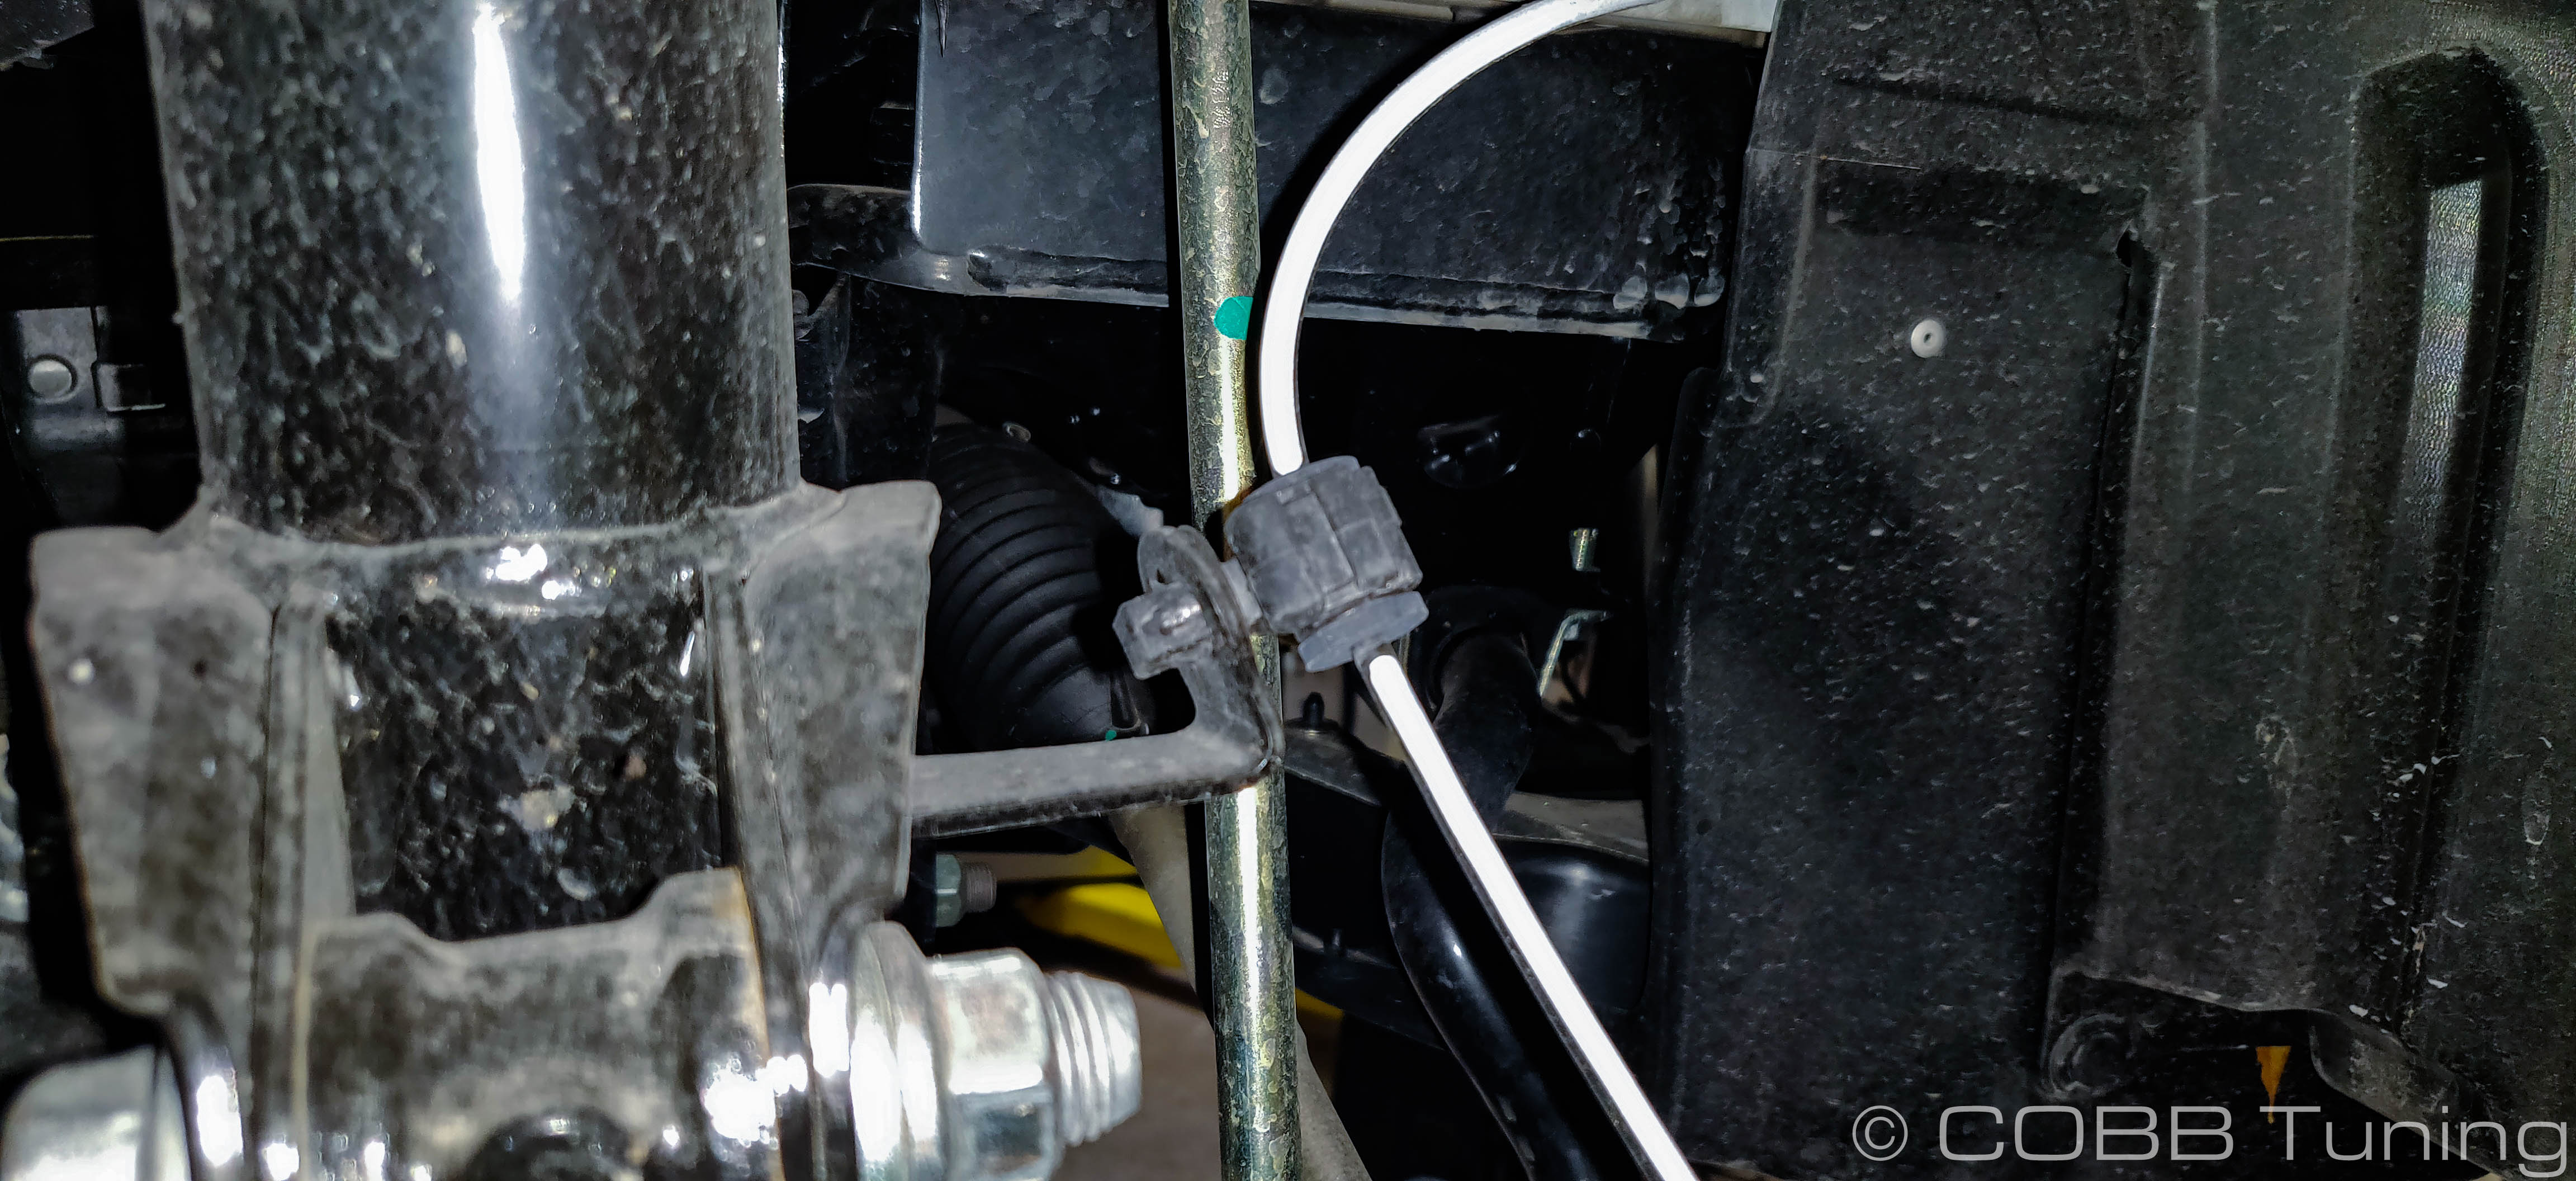
- Moving over to a 12mm wrench or socket, remove the brake hose tie down holding the hose to your strut.
- Using sheer finger strength (or a pair of needlenose pliers) gently squeeze in the plastic retaining tabs for the brake wheelspeed sensor and unclip it from the mounting tab.
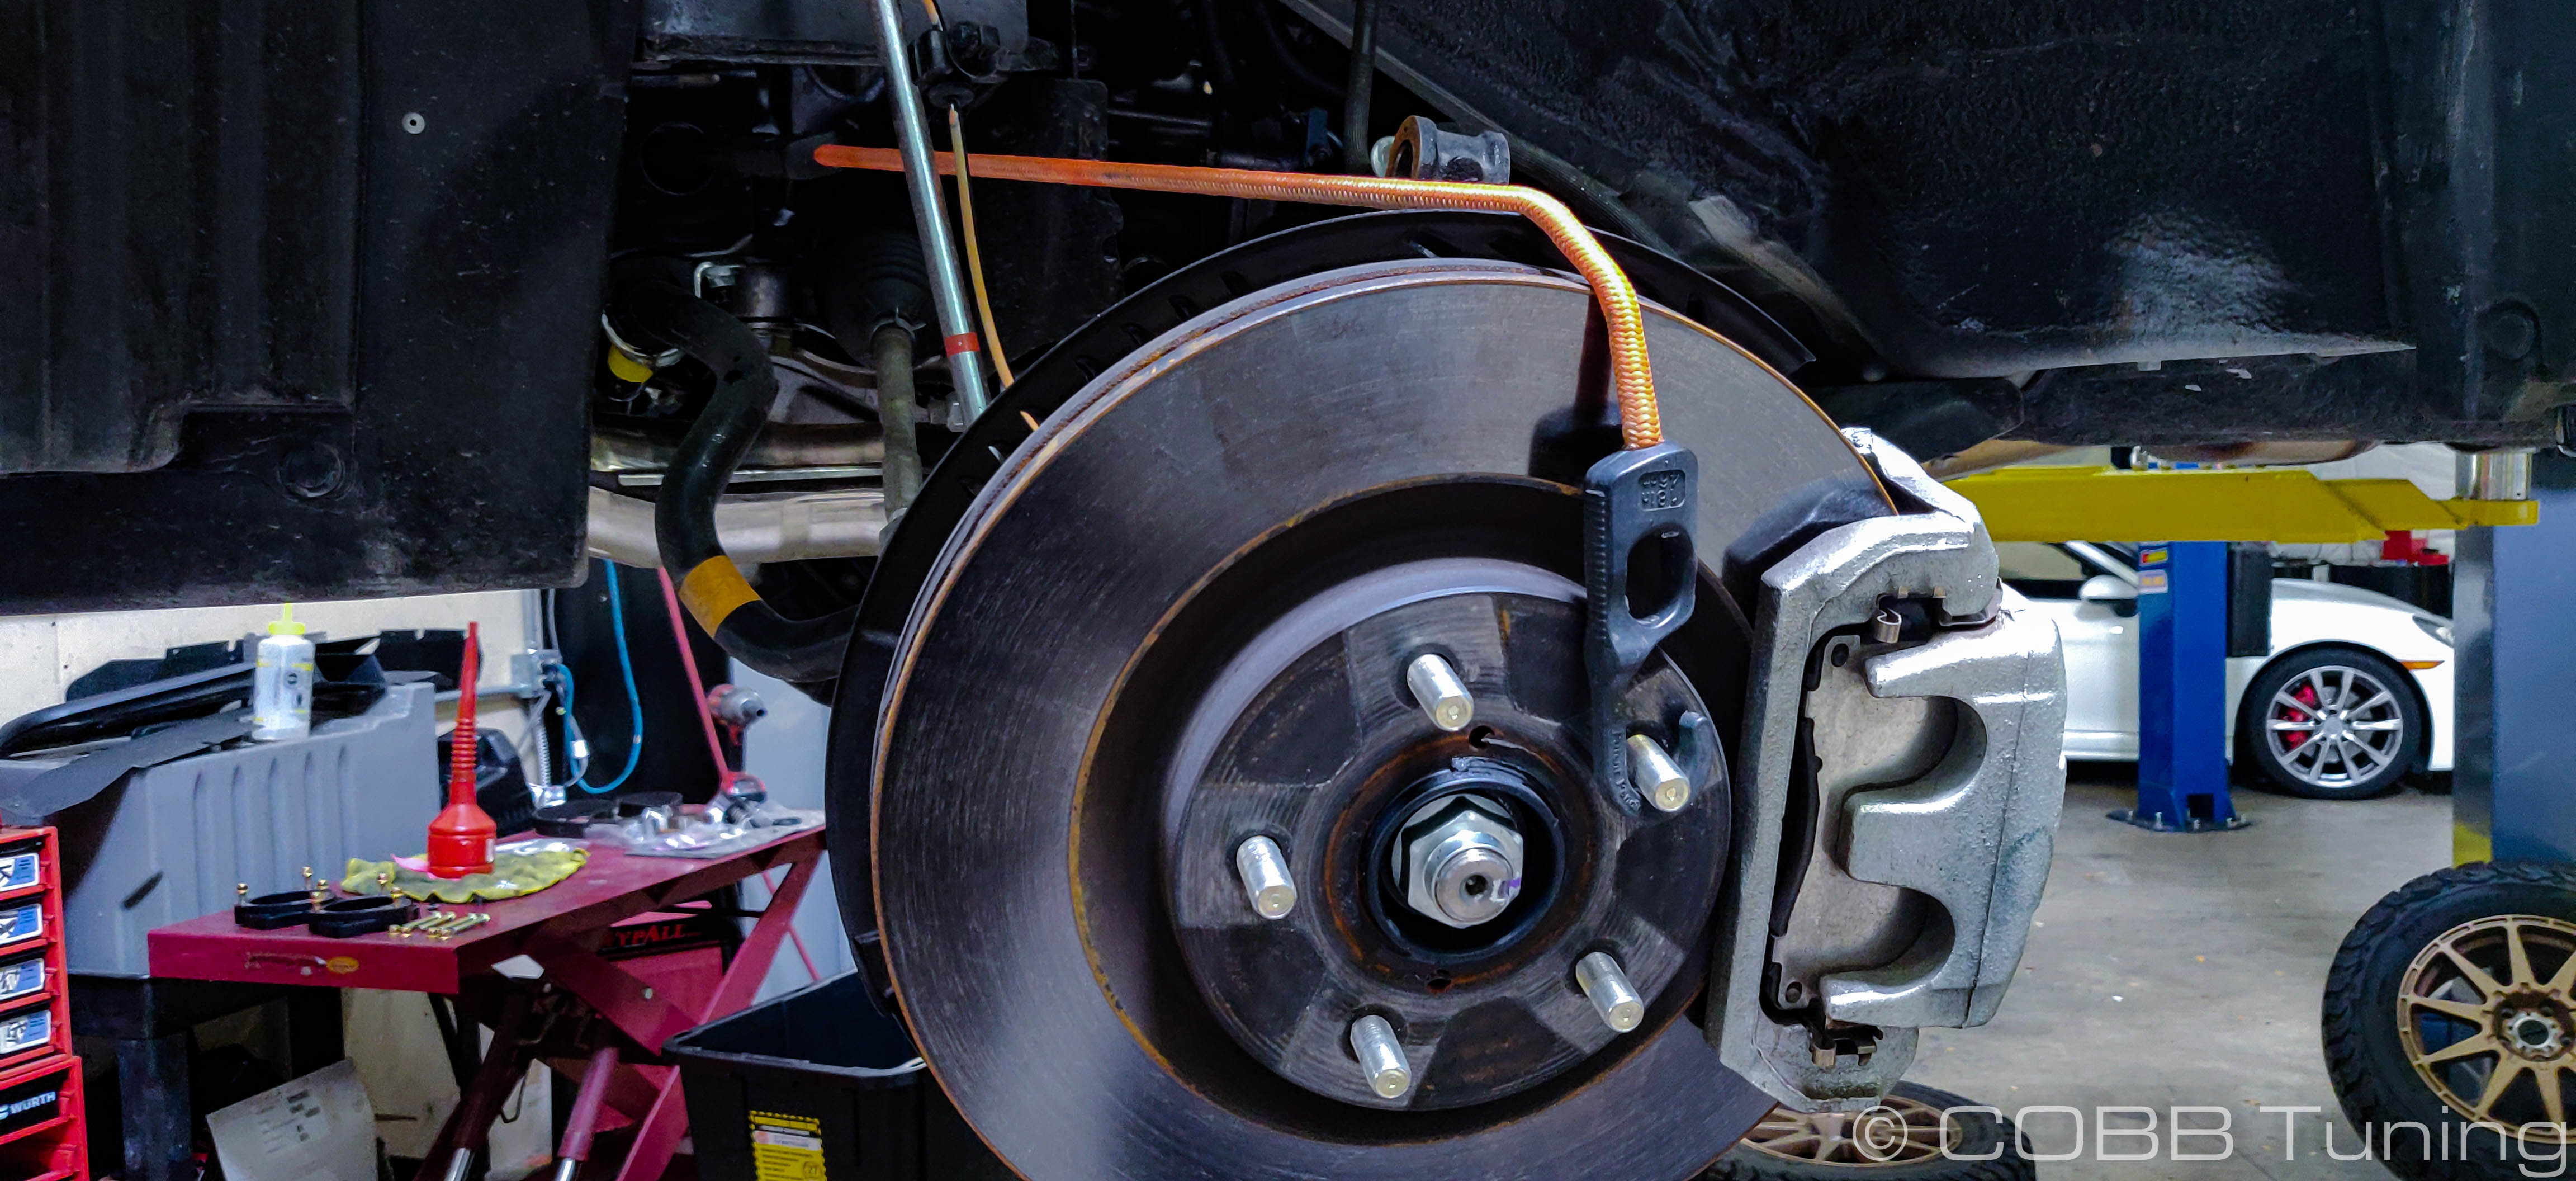
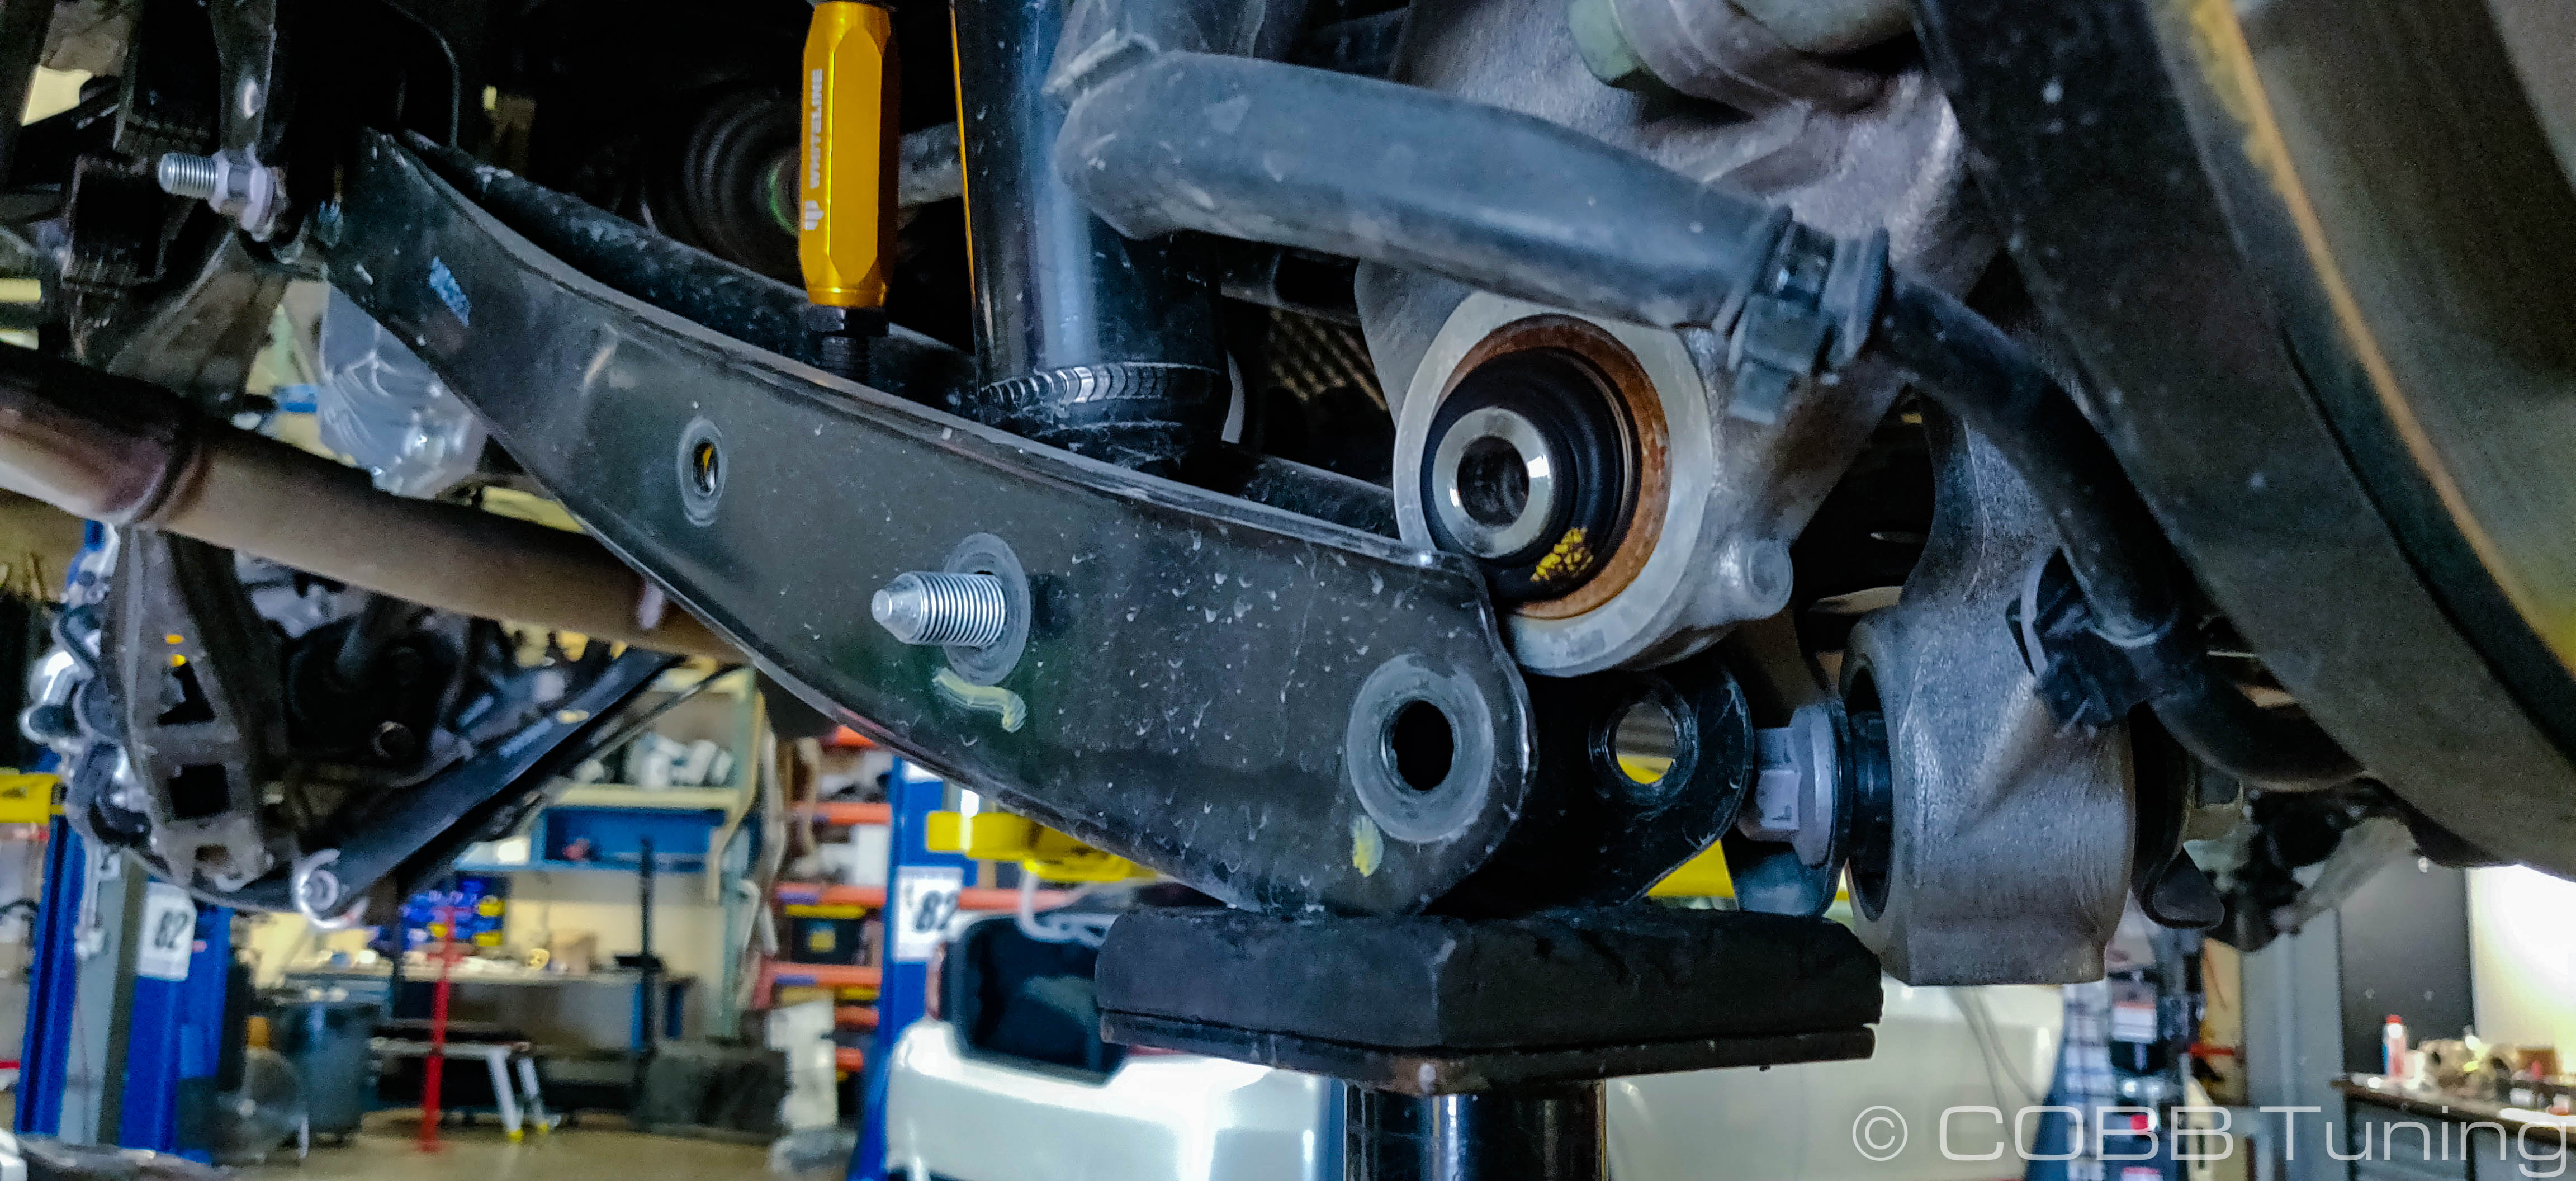
- Loosen (don't remove) the two bolts going through the strut and knuckle. Typically this will take an 18 and 19mm wrench. When doing so loosen the nut side and hold the bolt still with your other wrench. The bolt has an offset body on it so rotating it can cause it to bind against the inside of the strut.
- Using a jack, patient friend, or well-placed bungee cords, support the steering knuckle and brake rotor from falling forward. If it does go too far outward at any point it may pop the CV axle joints out.
- Remove the two lower nuts and bolts from the strut completely. Keep track of whether the bolt was the top or bottom, and the direction it went in from, as that is important!
- With your patient friend holding onto the bottom half of the strut, remove the three top nuts on the strut using a 14mm socket.
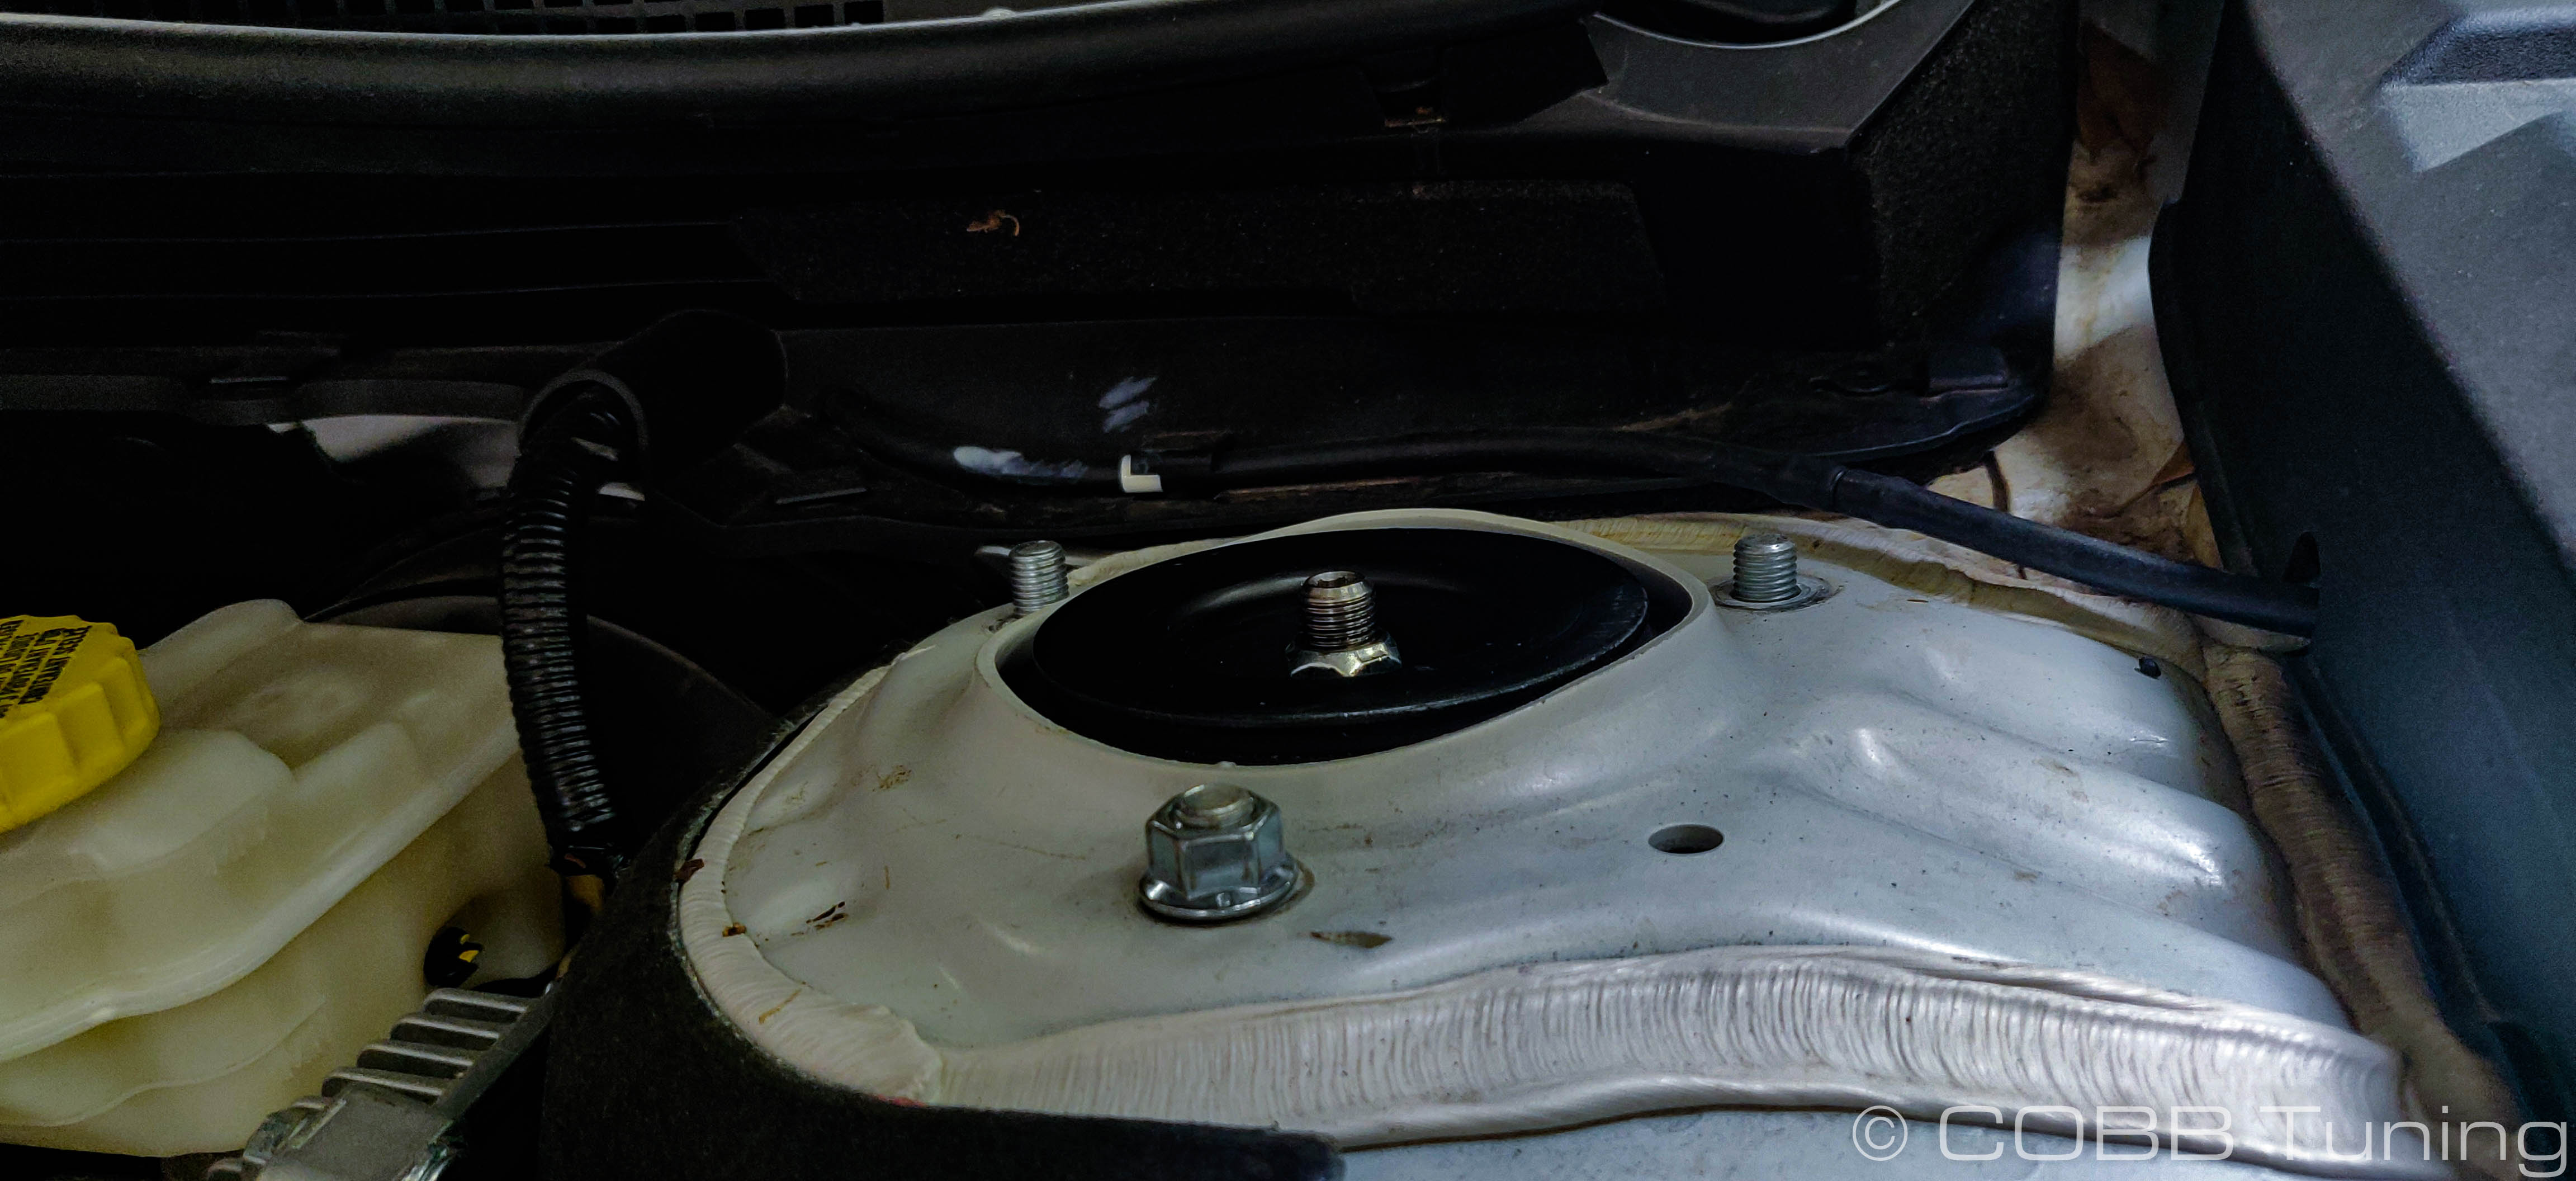
- With the strut now free drop it down and remove it from the car.
- Position the COBB lift kit for the front over the studs on the stock shock mounts. Looking at the COBB front lift kit, note that it has arrows pointing the direction that should face towards the front of the car. This is from the position of sitting in the driver's seat. Making sure this part is correct is vital as the spacer has built in correction for caster.

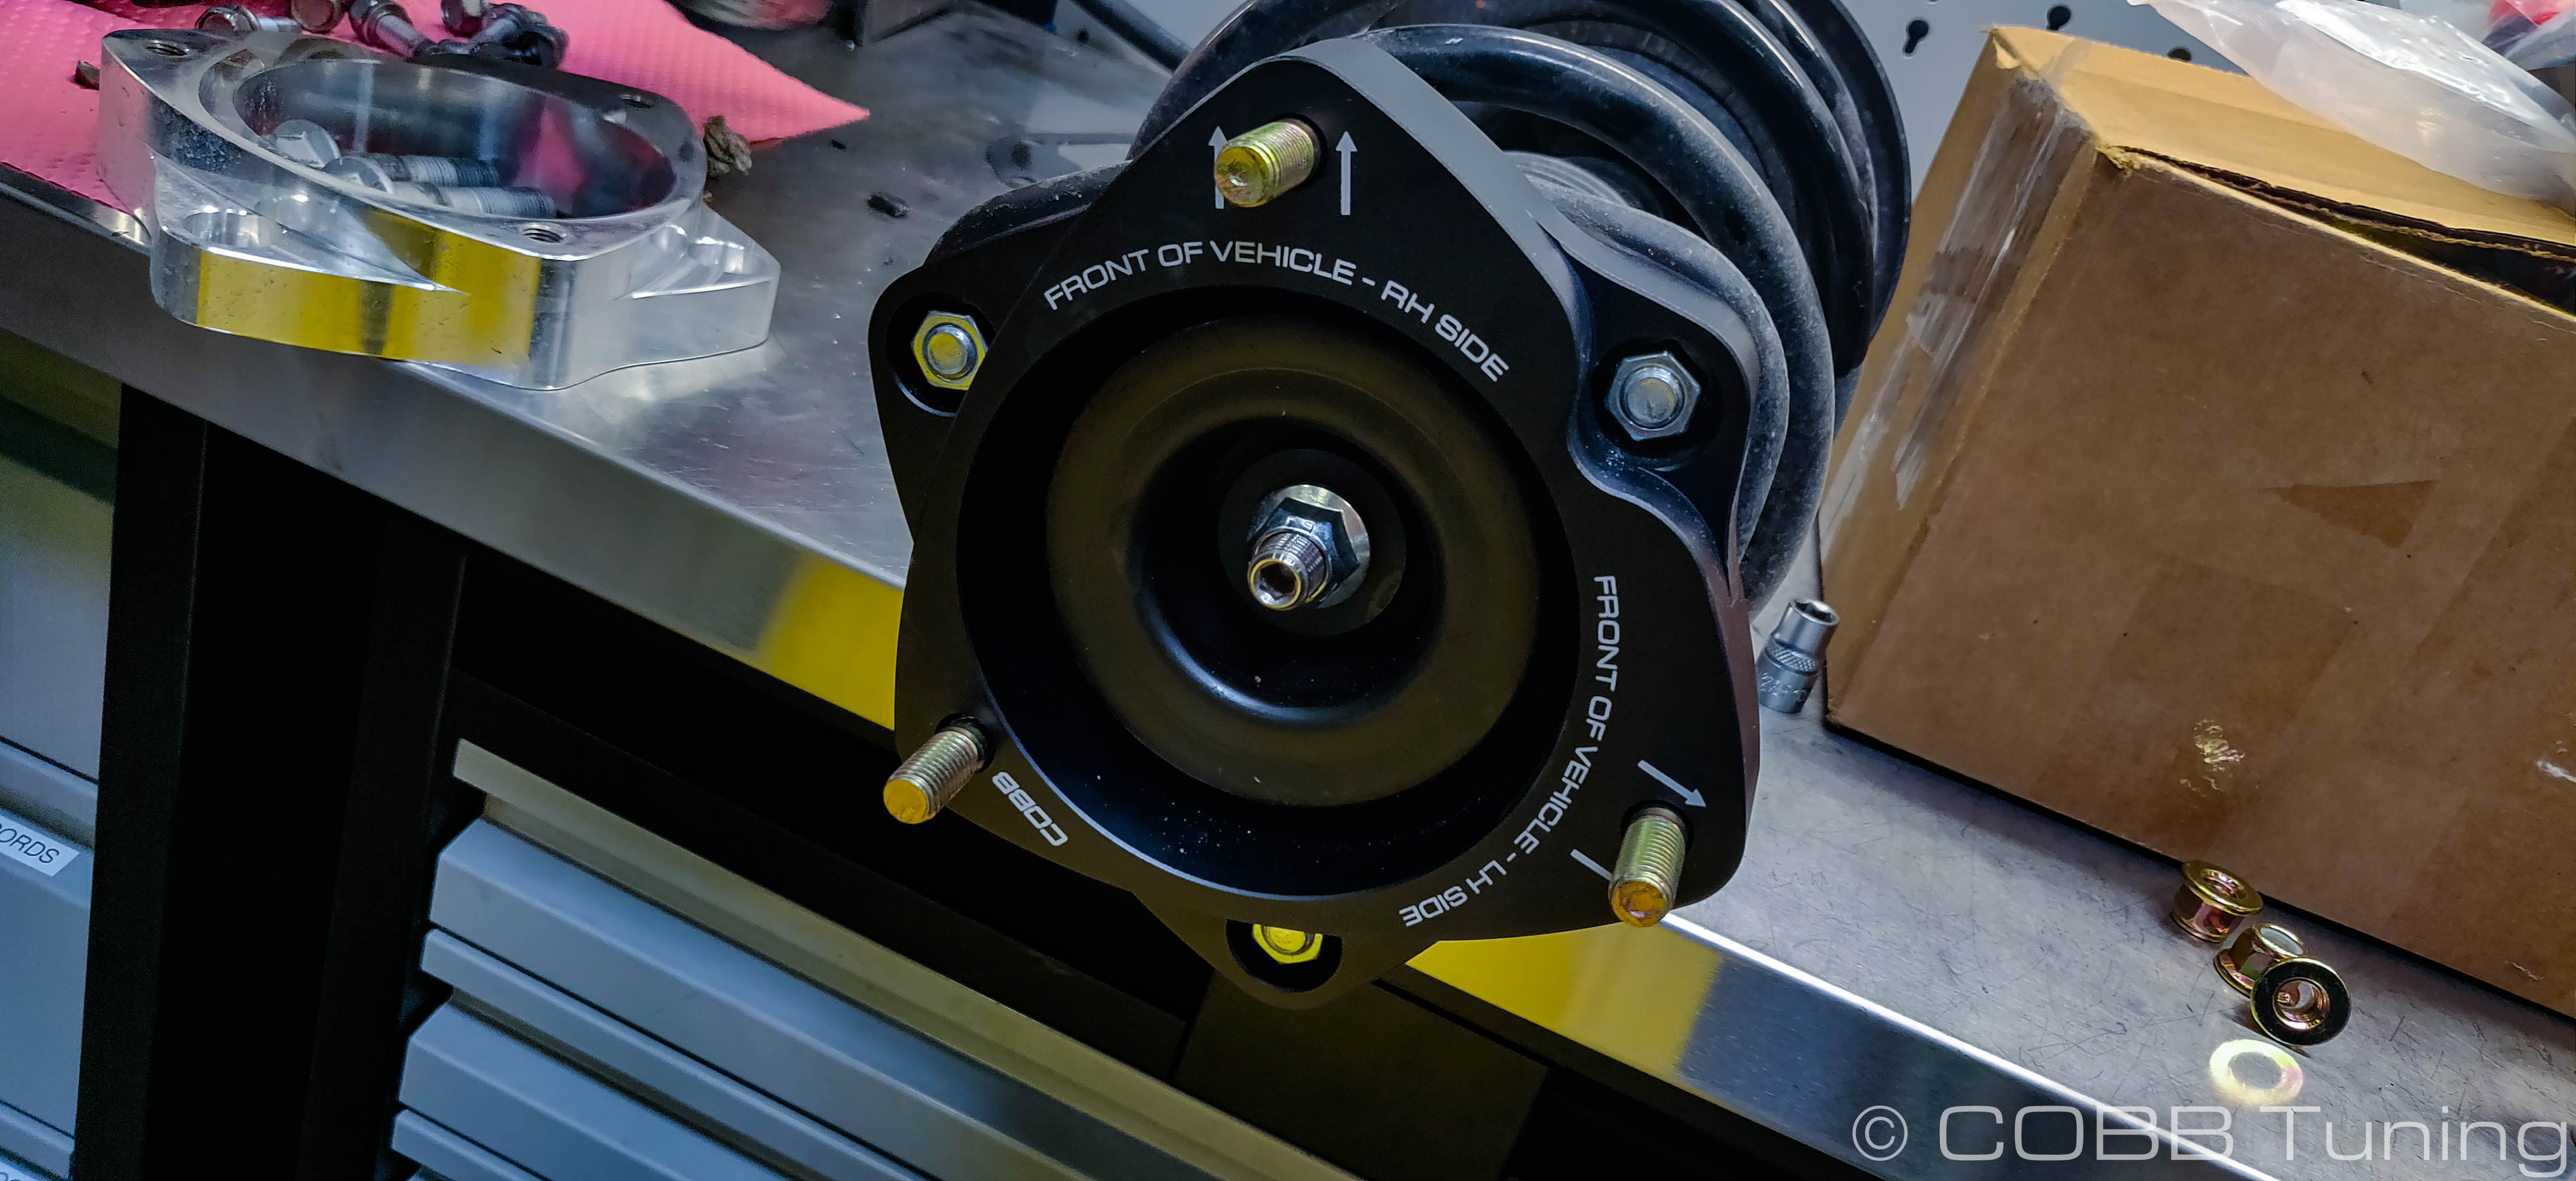
- Once you're satisfied that you have it on the correct side, tighten it down to the stock strut using the stock strut nuts. Carefully use the studs provide leverate in order to tighten them down

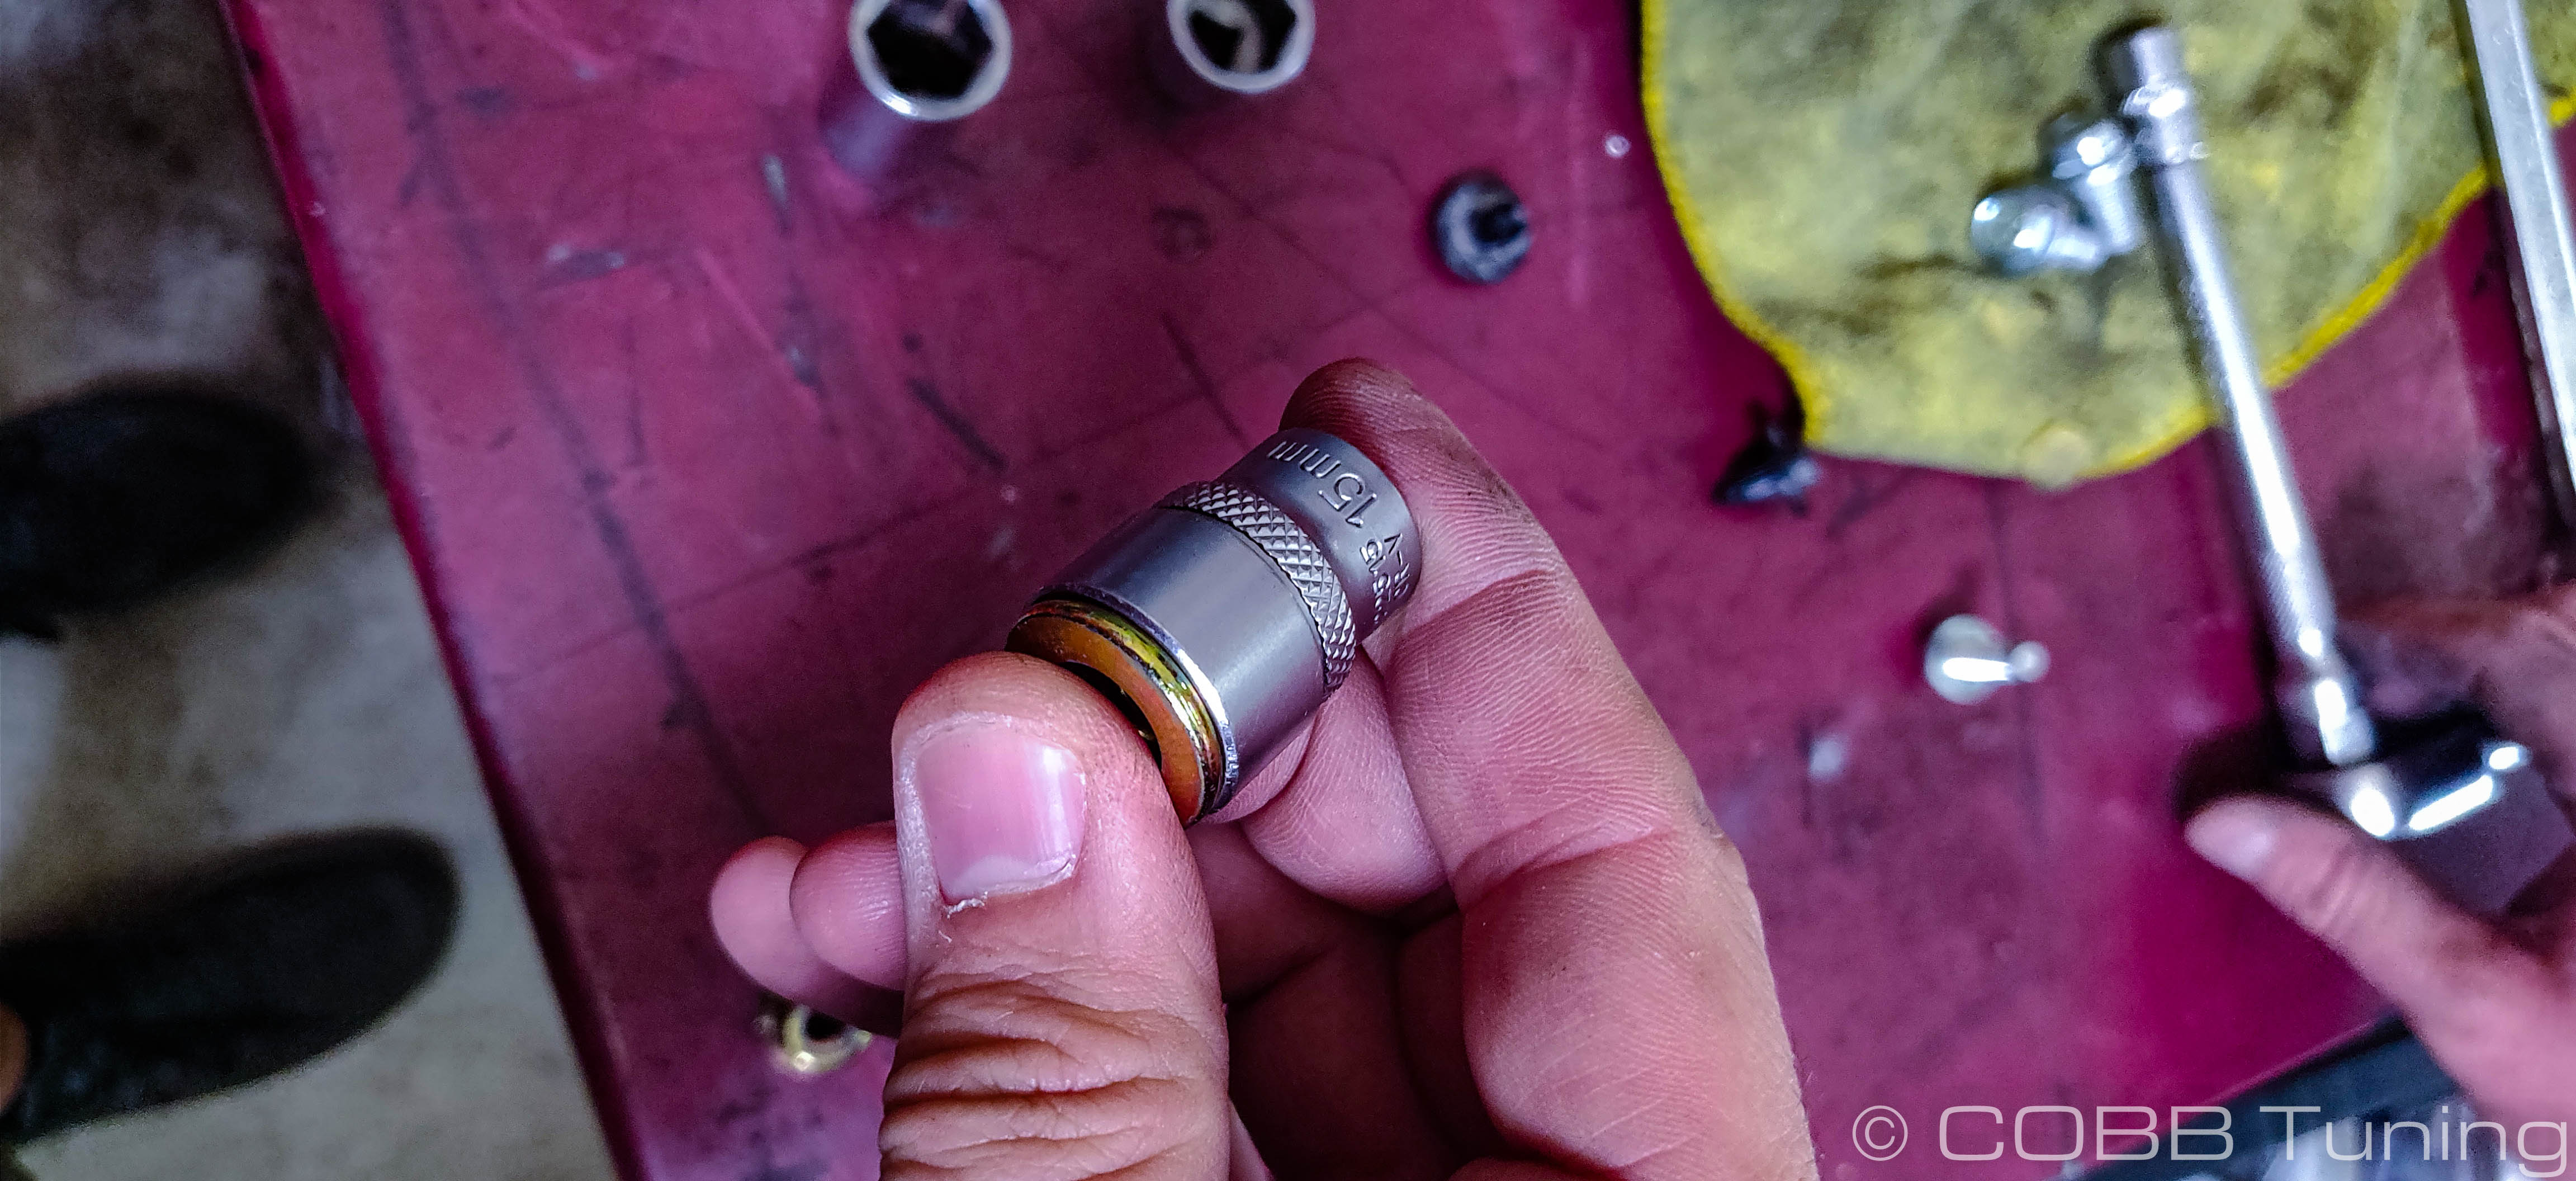
- You should be able to now reinstall the strut into the vehicle using the supplied golden colored lock nuts and a 15mm wrench to secure the top of the strut before moving on to getting the bottom in place.
- Reattach disconnected components in the reverse order of removal, making sure that when you get the bottom of the strut onto the knuckle that the axle isn't out of place in the joints. It should move a little bit but not freely in any direction, in order to get it back into place gently wiggle the brake rotor back and forth in very small movements, while feeling with the other end of the axle where it needs to go into place.
When tightening the lower strut bolts hold the bolt head in place and tighten the nut.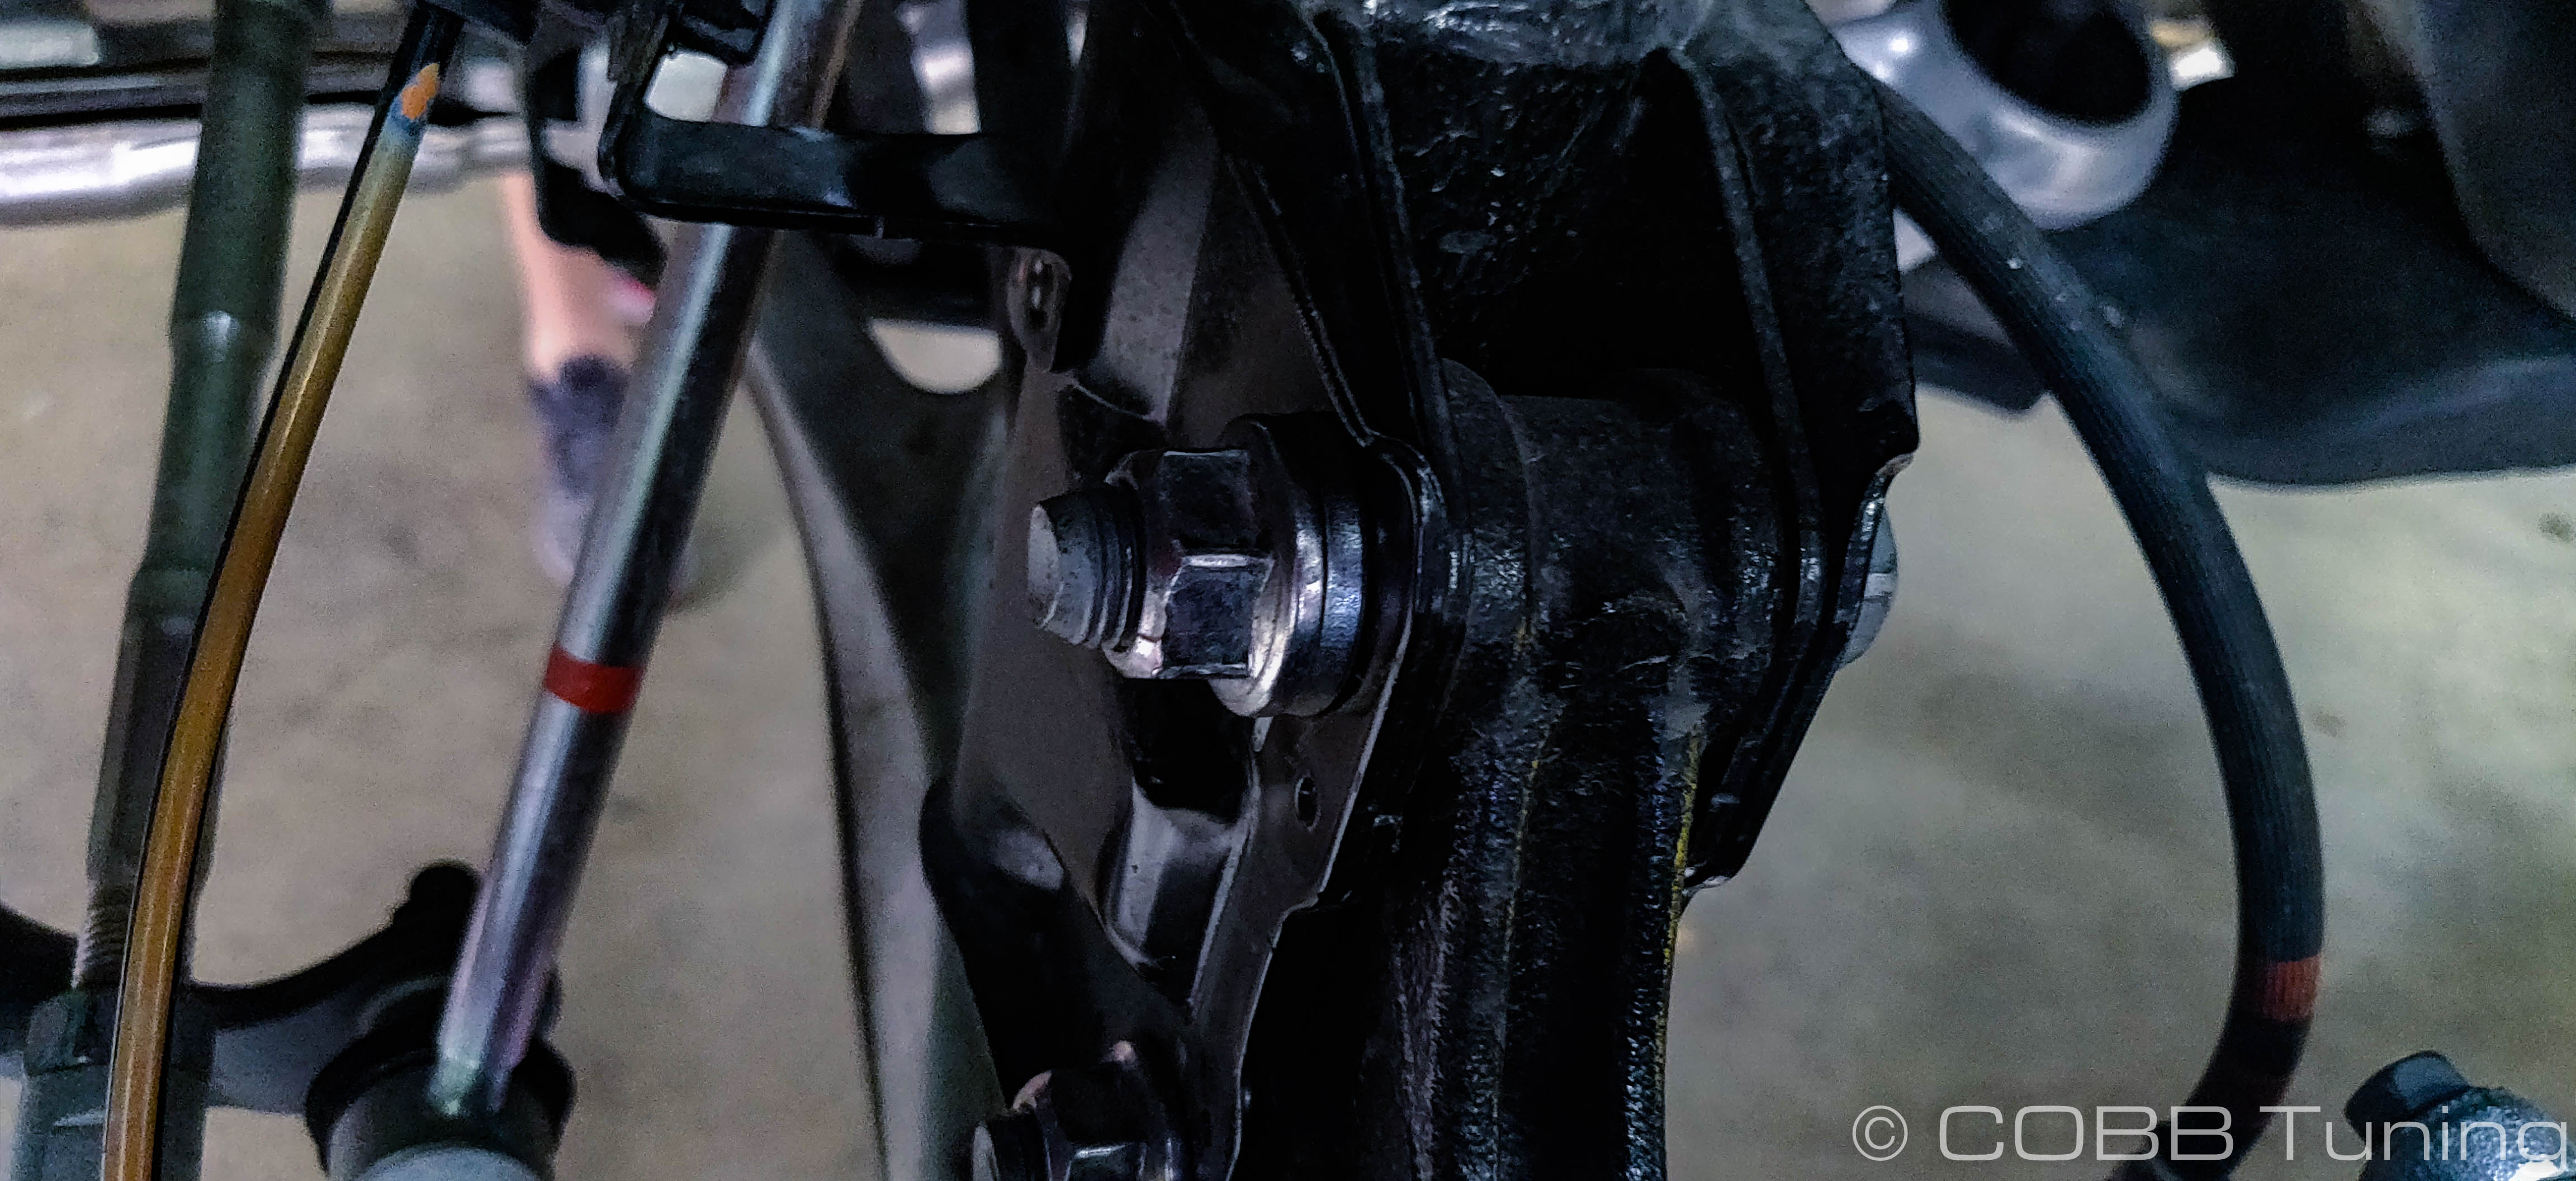
- Repeat on other side.
Rear Suspension Lift
- Park your car in a safe, flat, level area.
- Safely lift and support your vehicle, either using a proper jack and jack stands, or using a lift.
- Remove the rear tires from your vehicle.
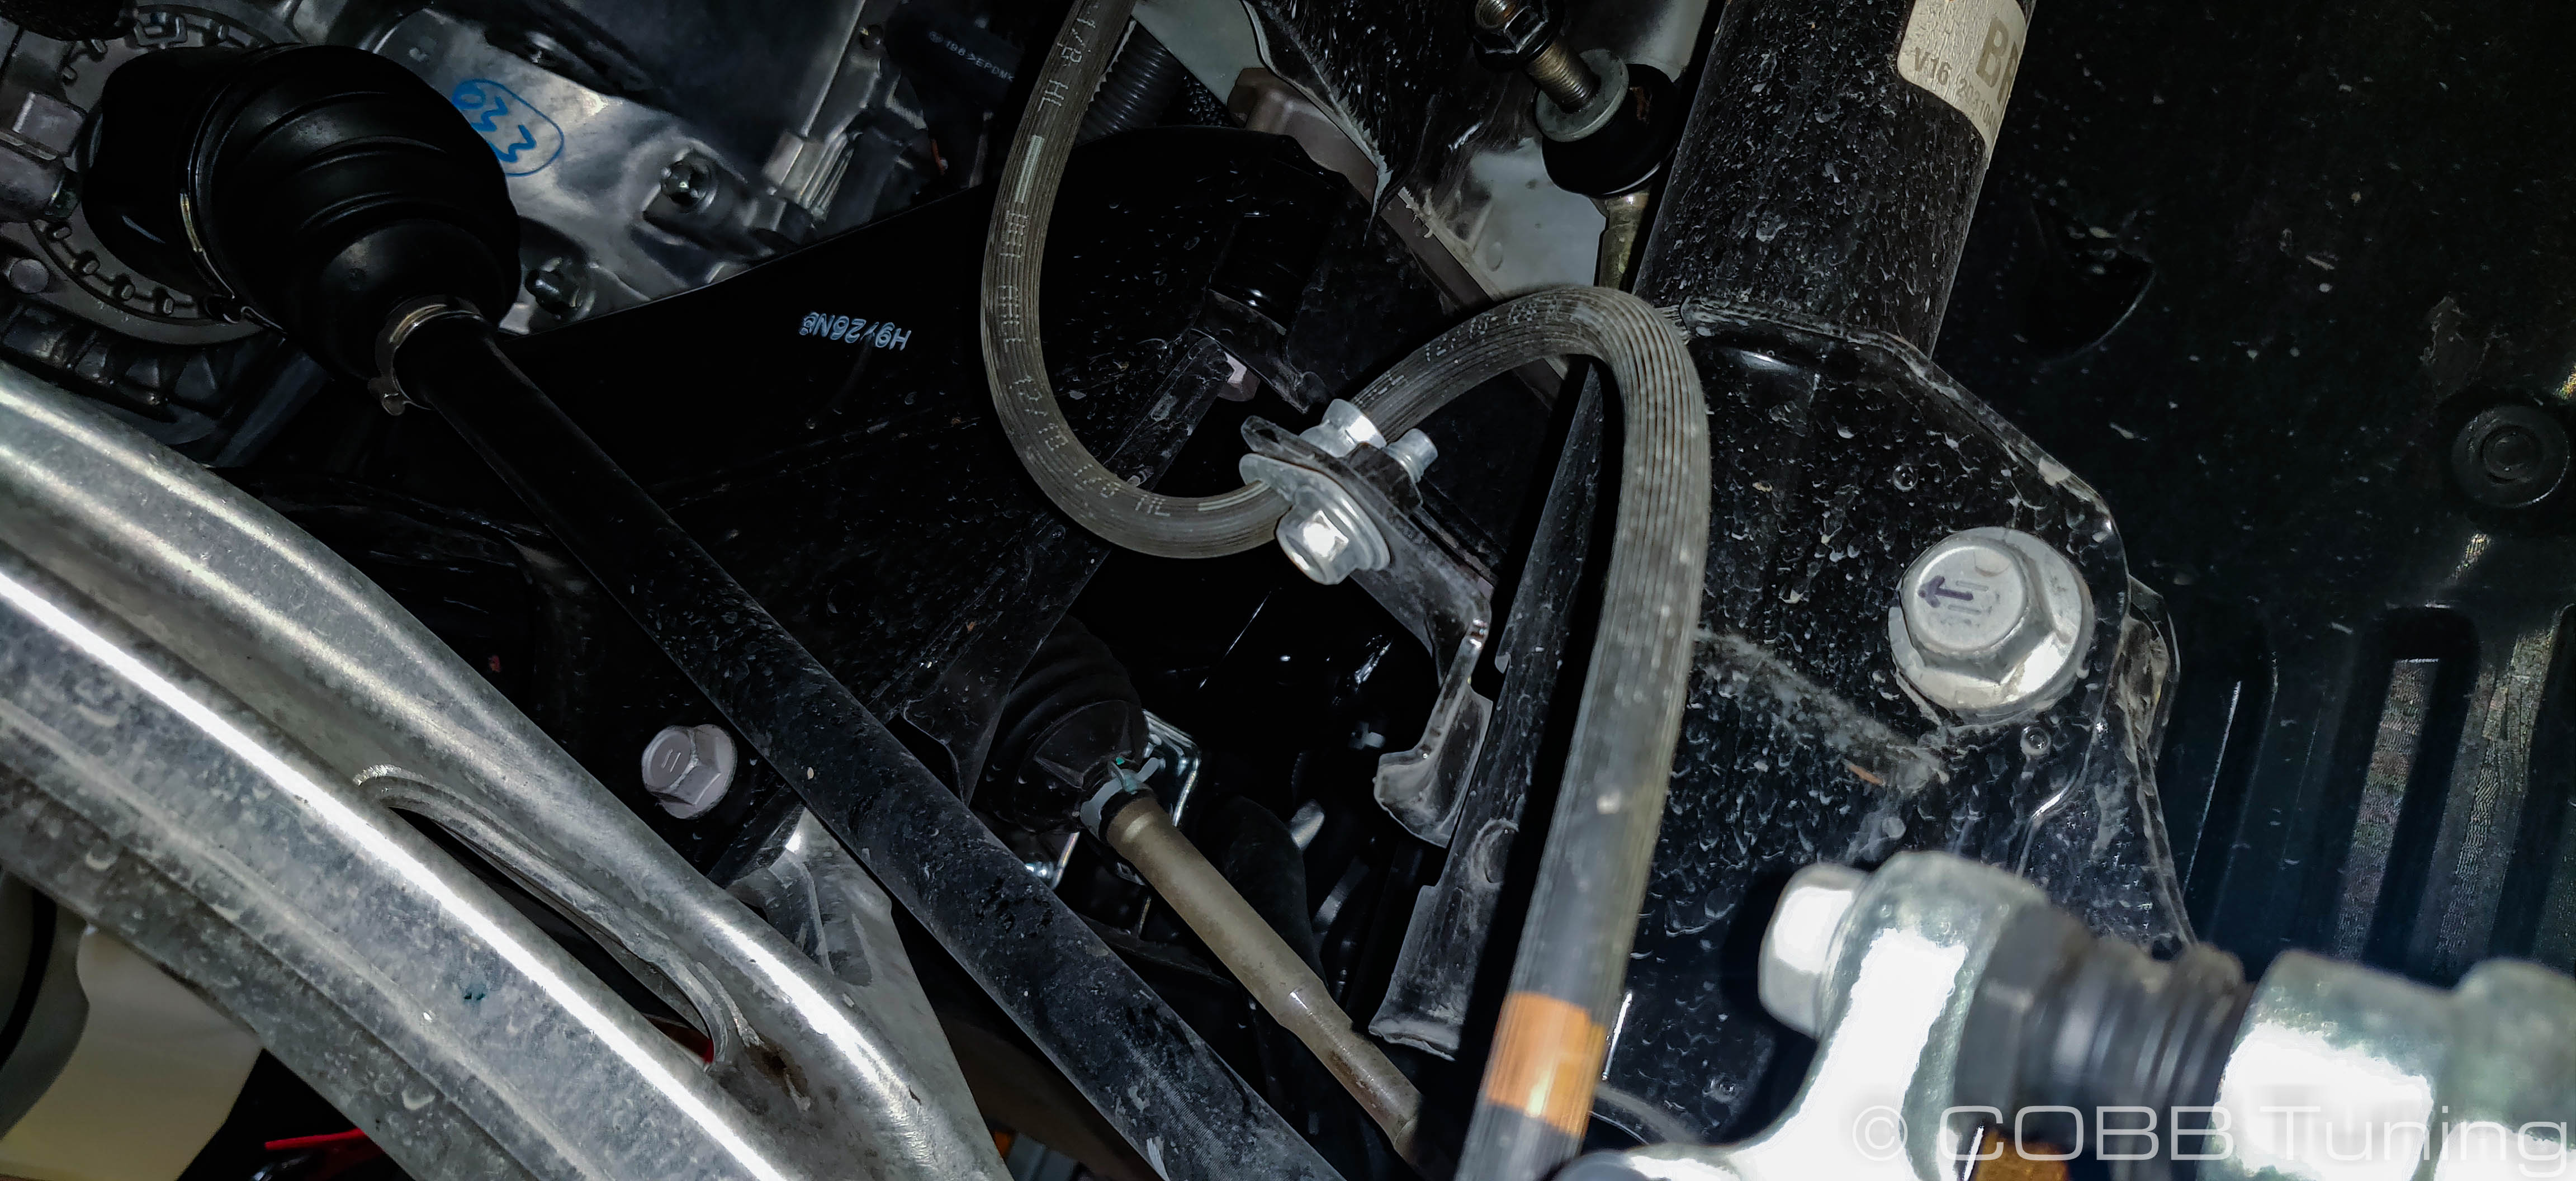
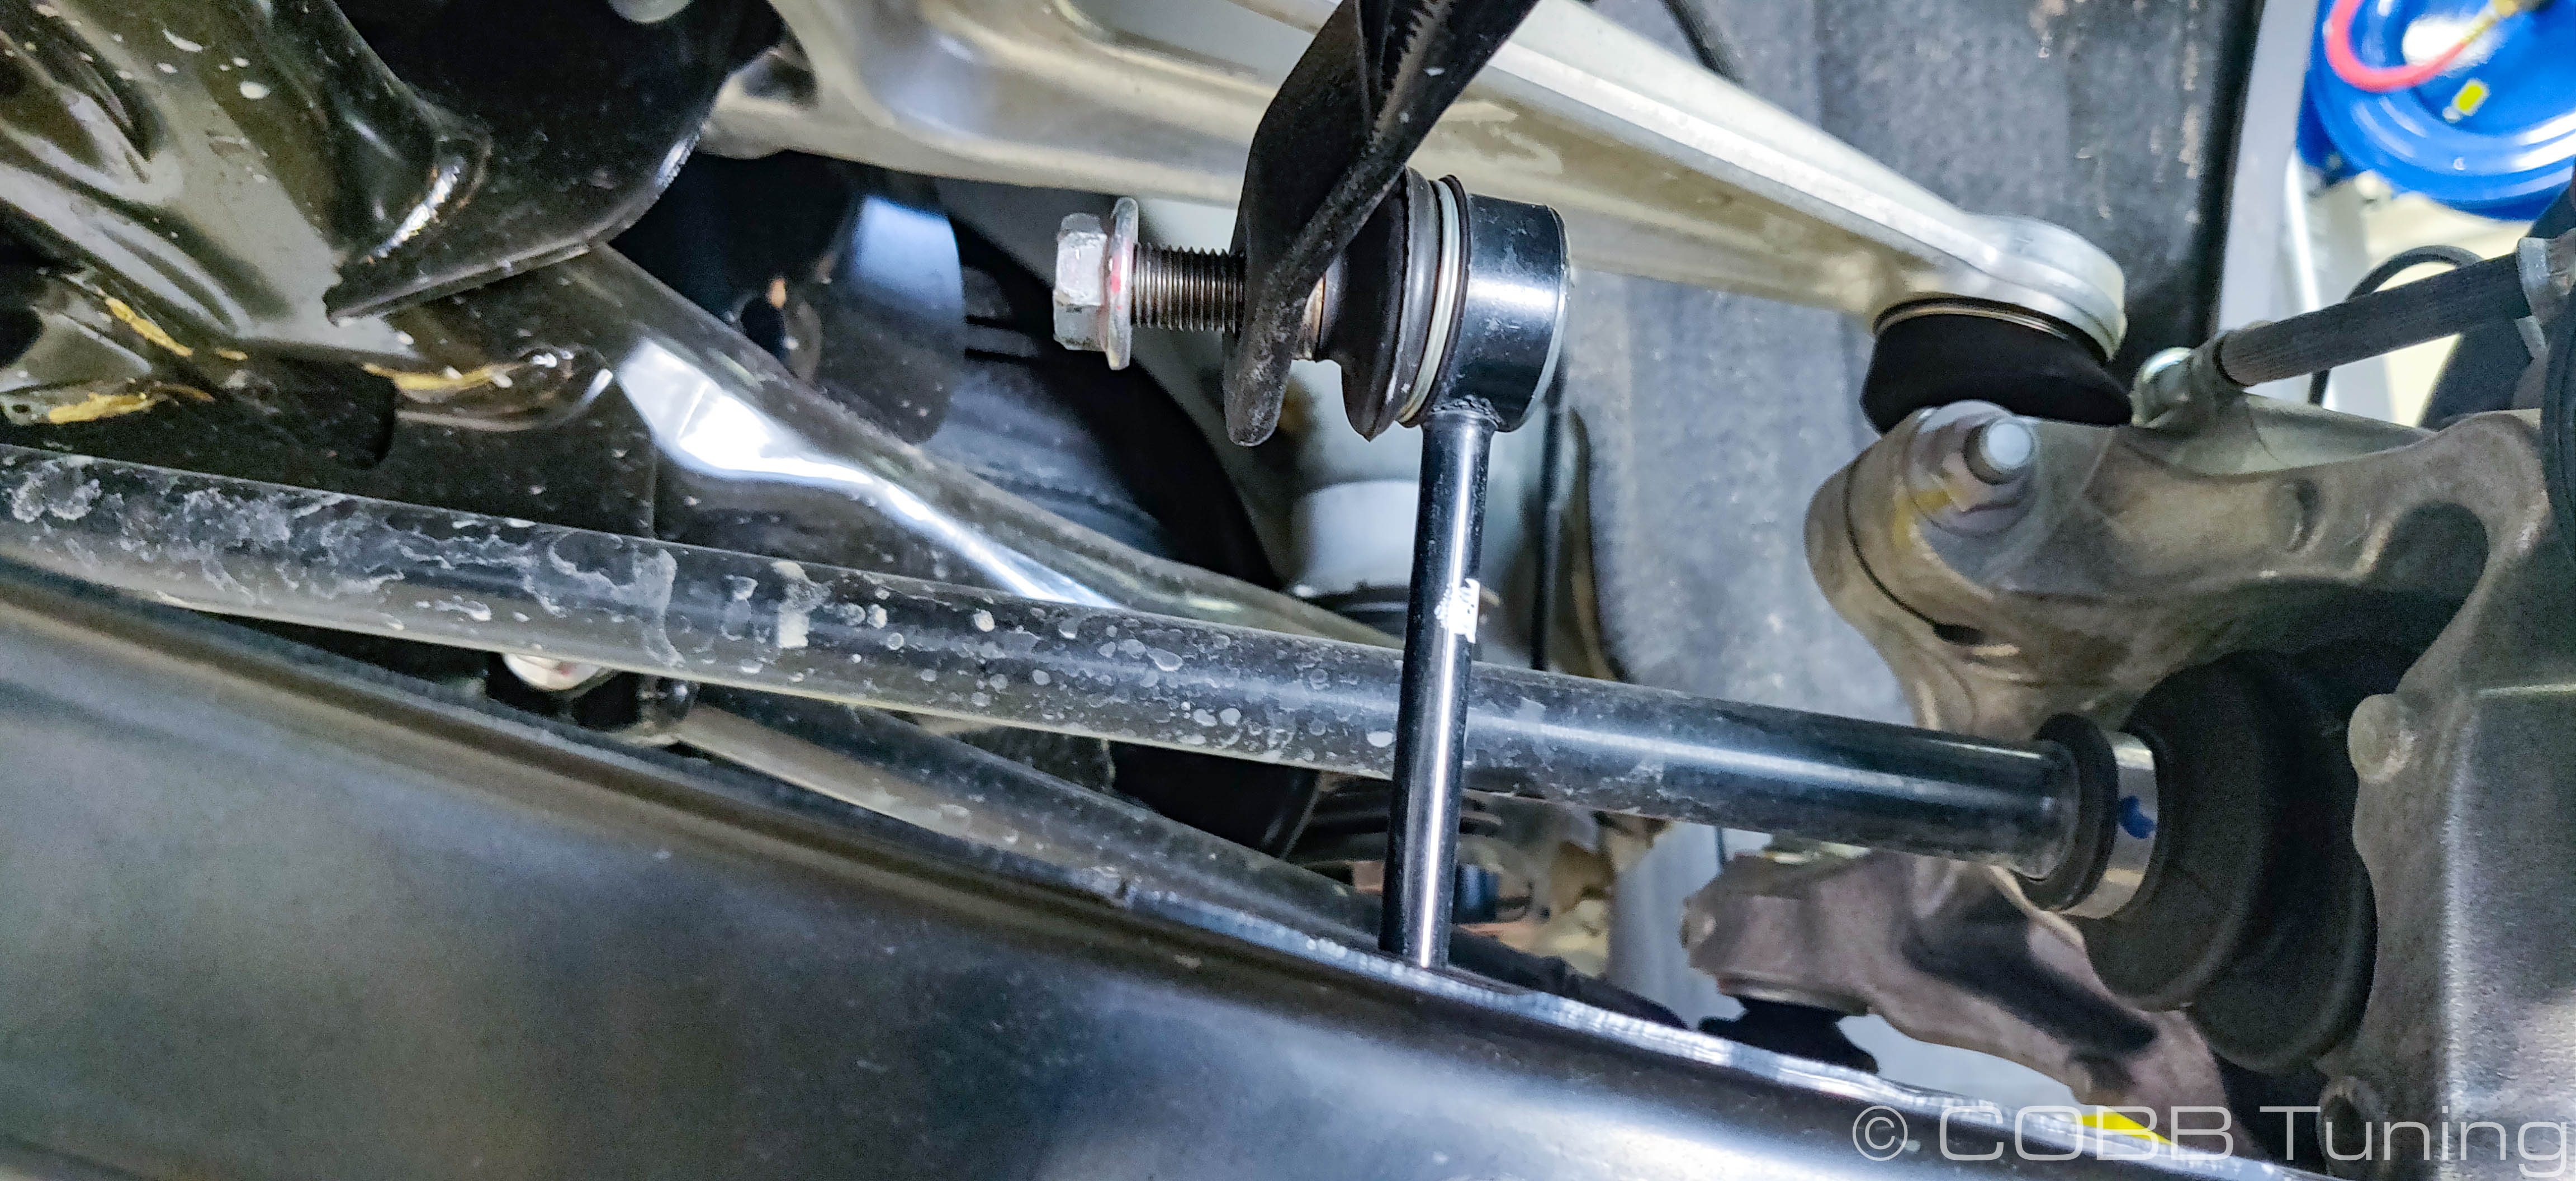
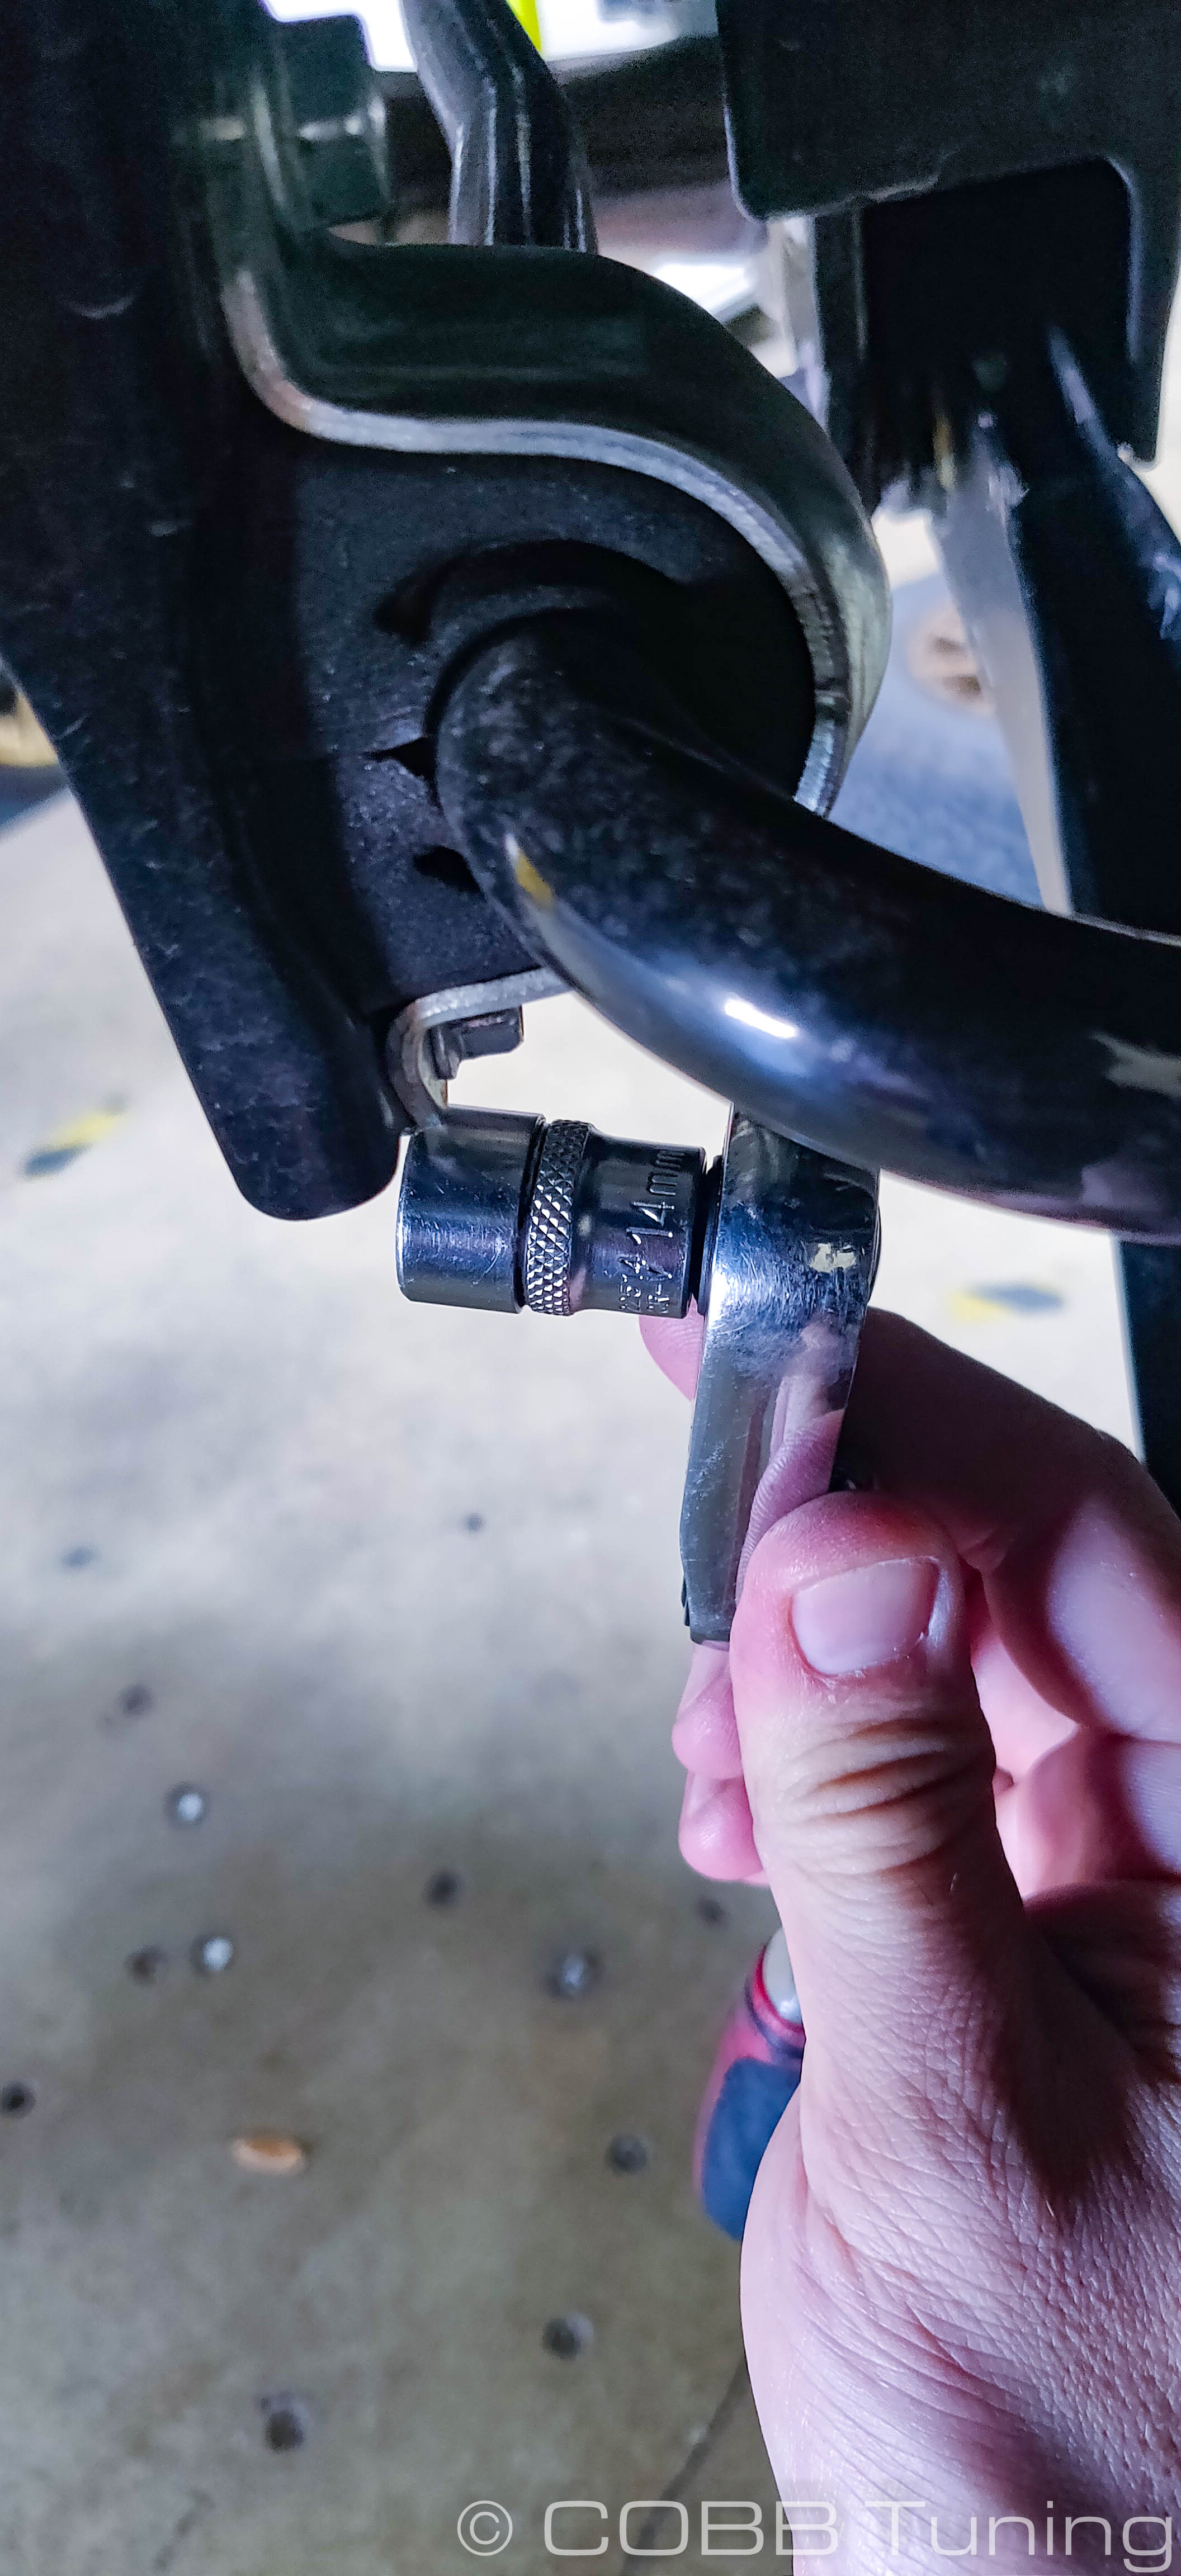
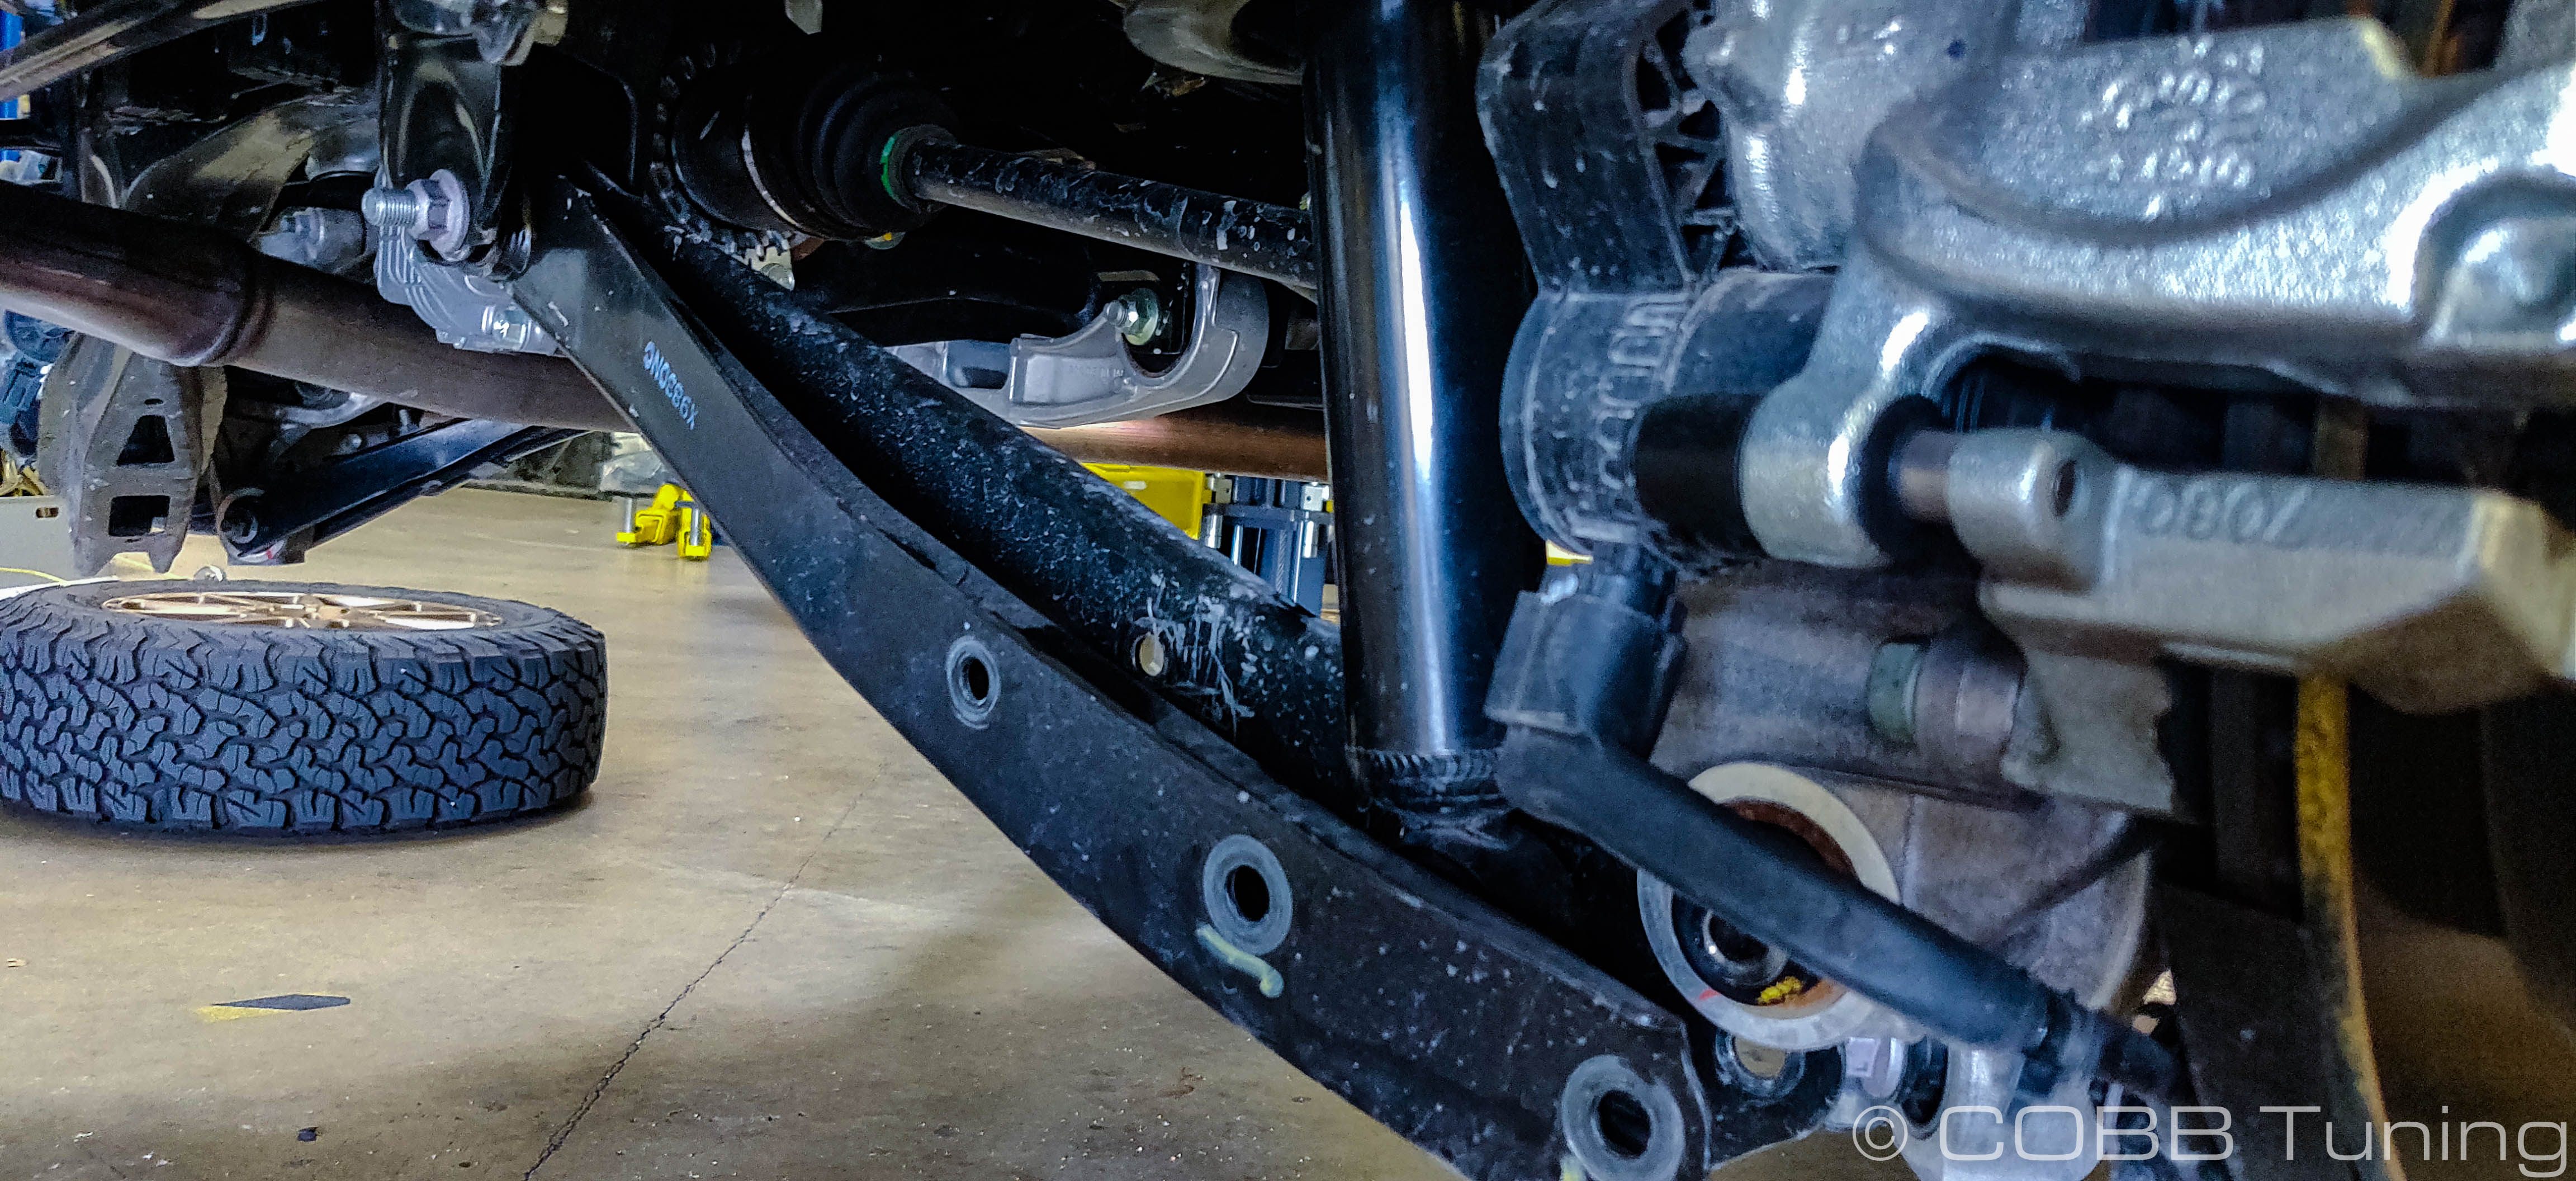
- Disconnect the rear swaybar end links from the sway bar, and lower control arm. This will require a 14mm wrench and if the center is loose, a 5mm allen key to go into the center stud to hold it in palce.
- Remove at least one side of the main sway bar mounts in the back using a 12mm ratchet or wrench.
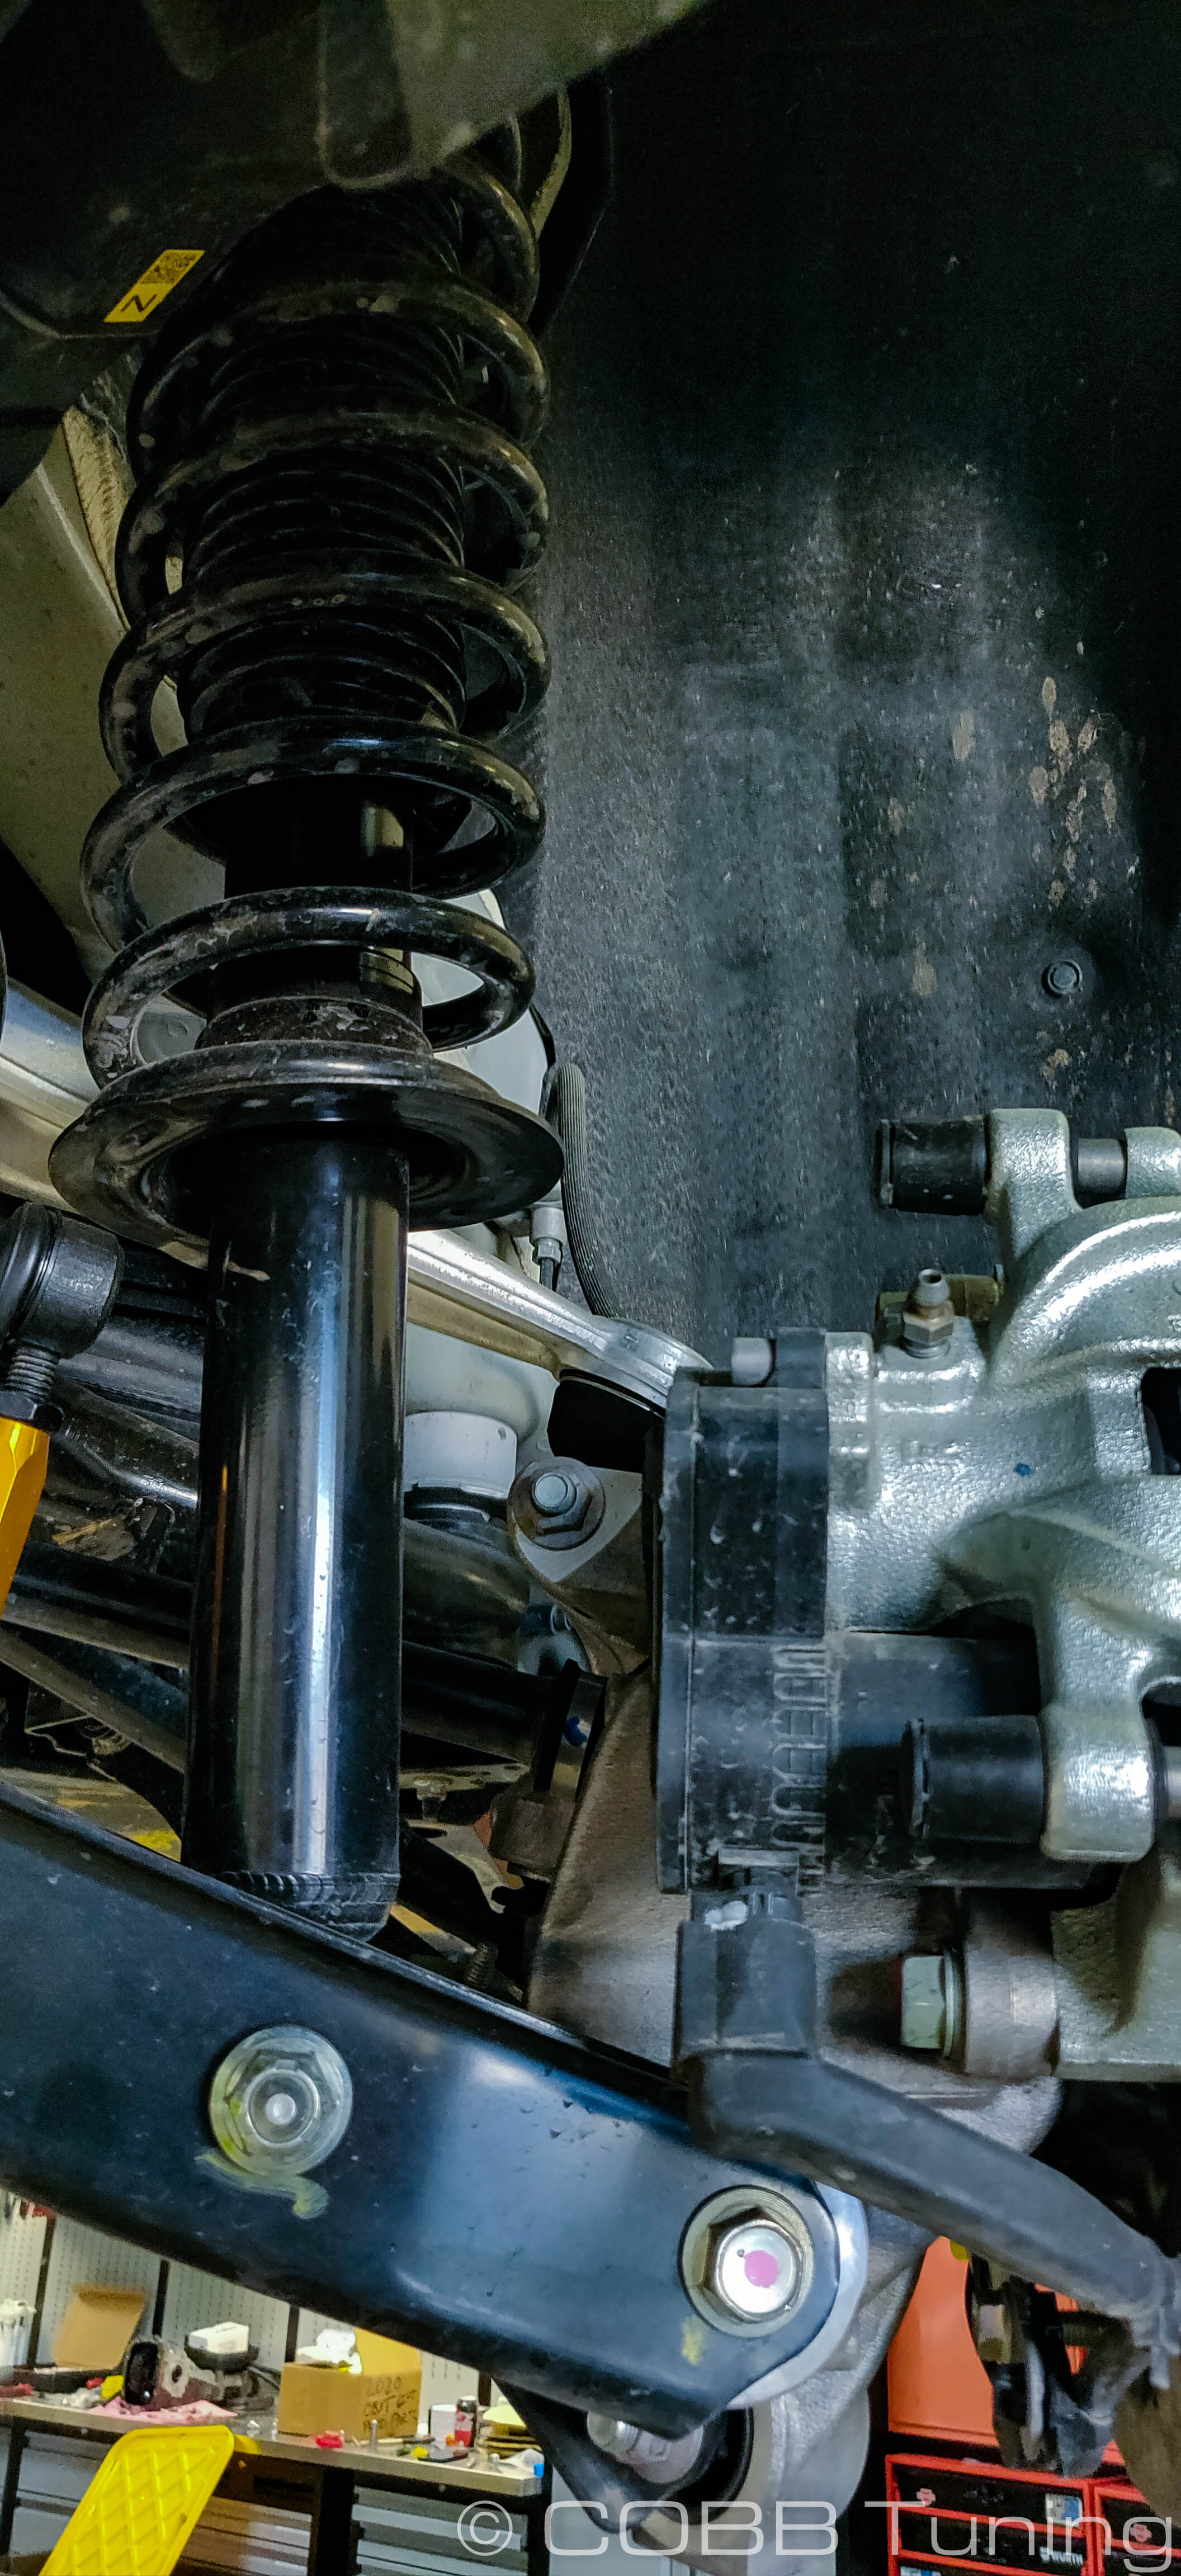
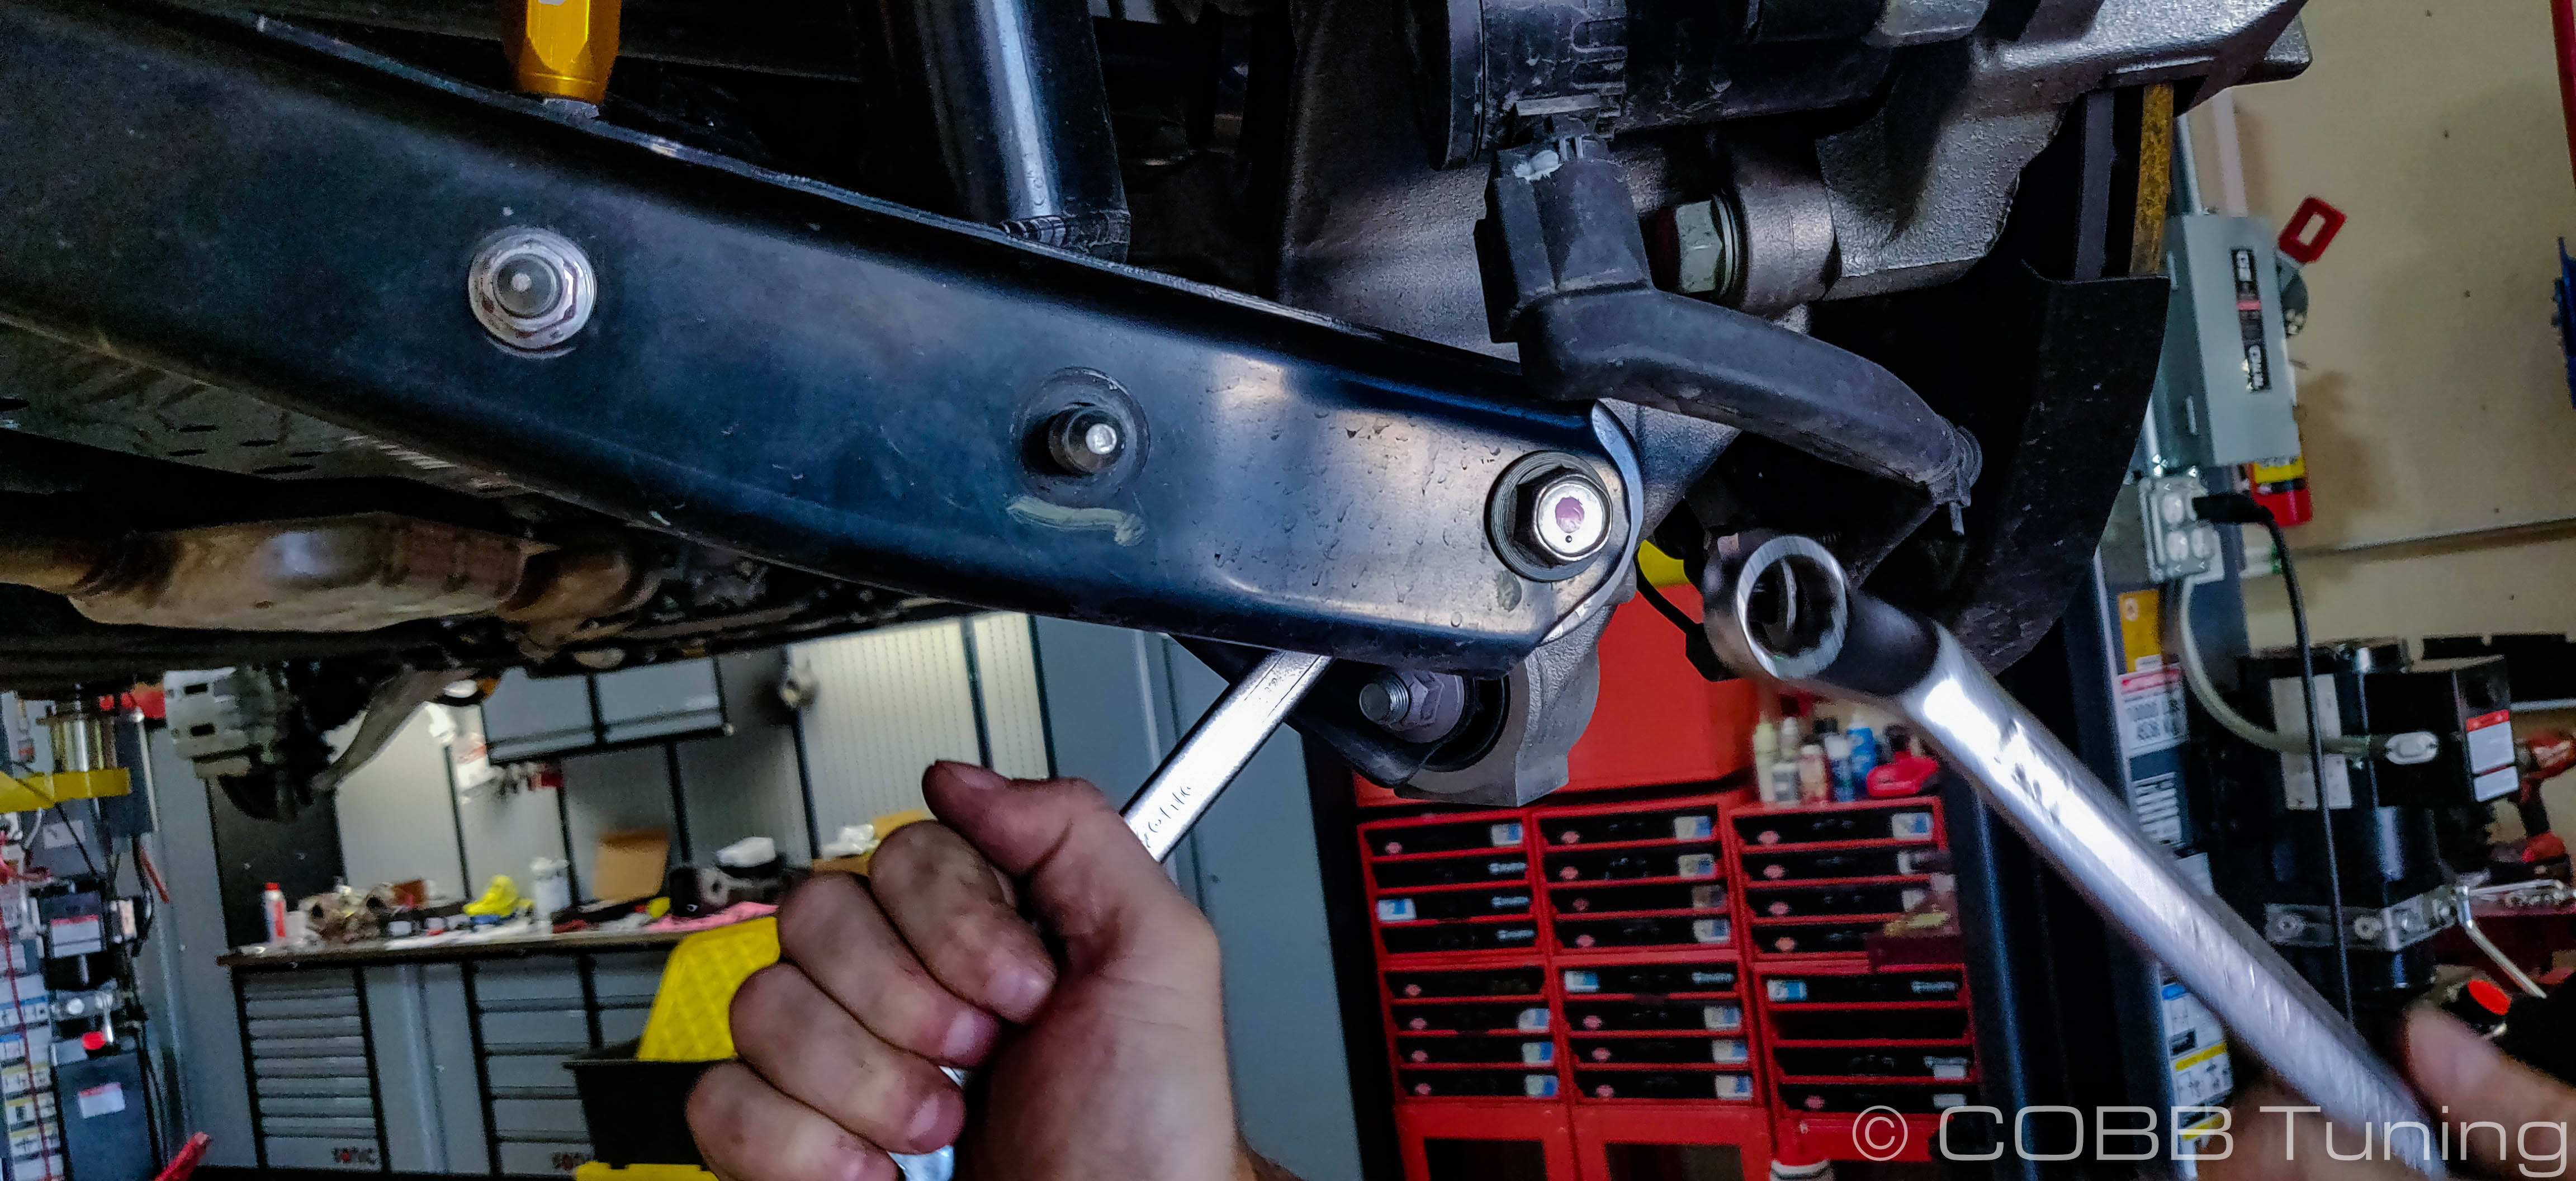
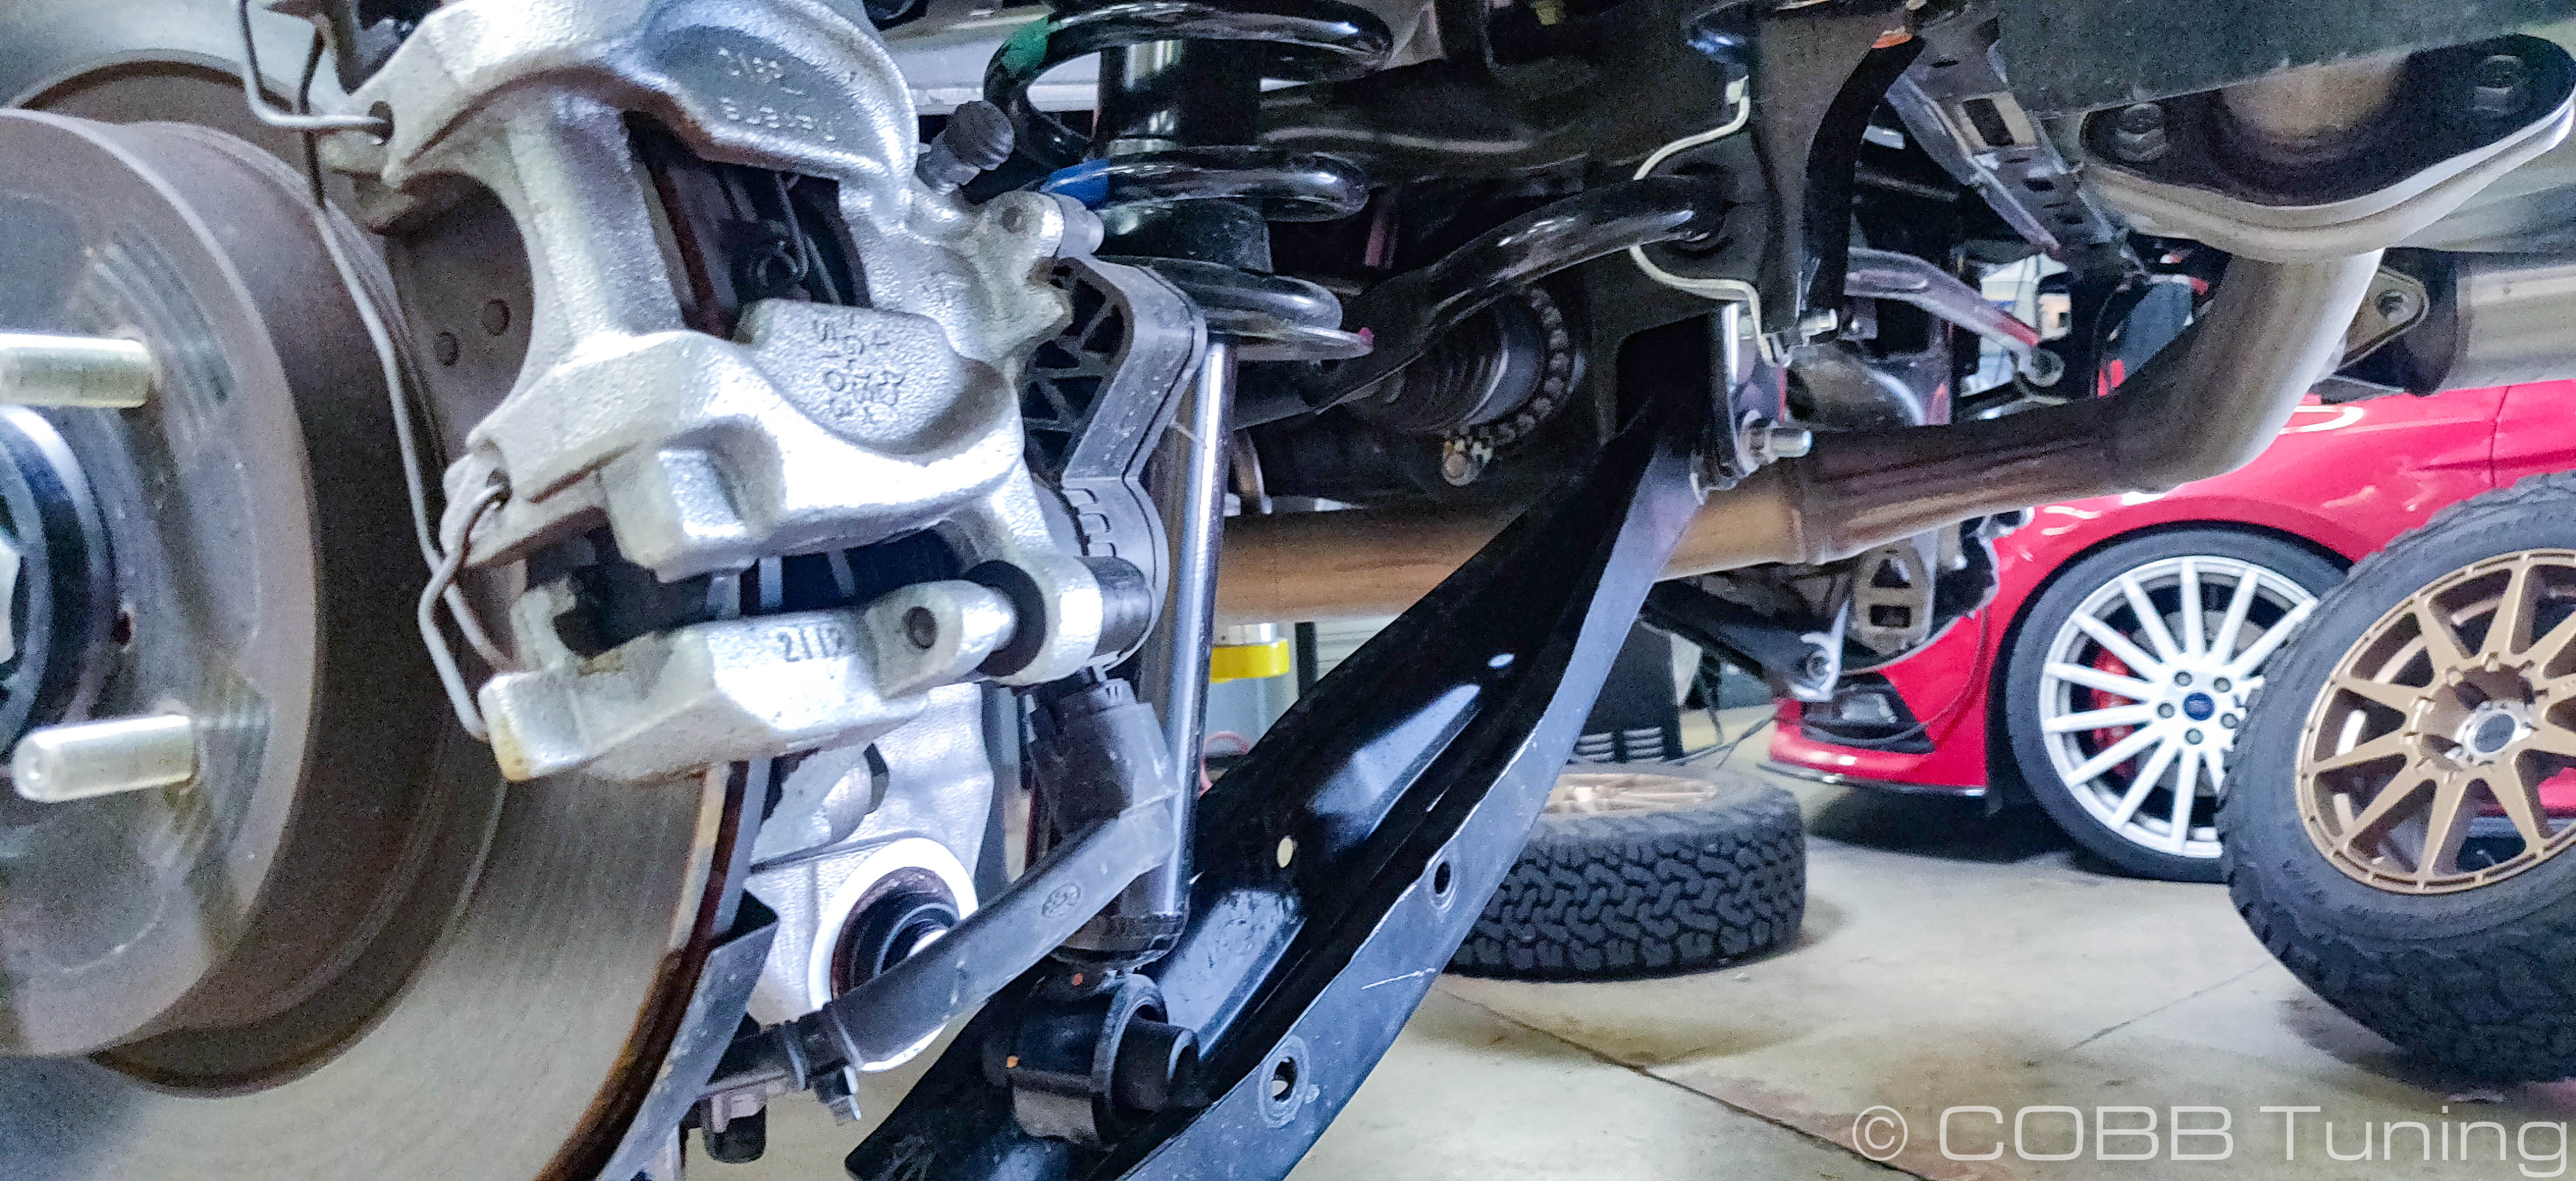
- Put a jack underneath the lower control arm to hold tension, then remove the bolt for the rear strut, followed by the bottom of the knuckle.
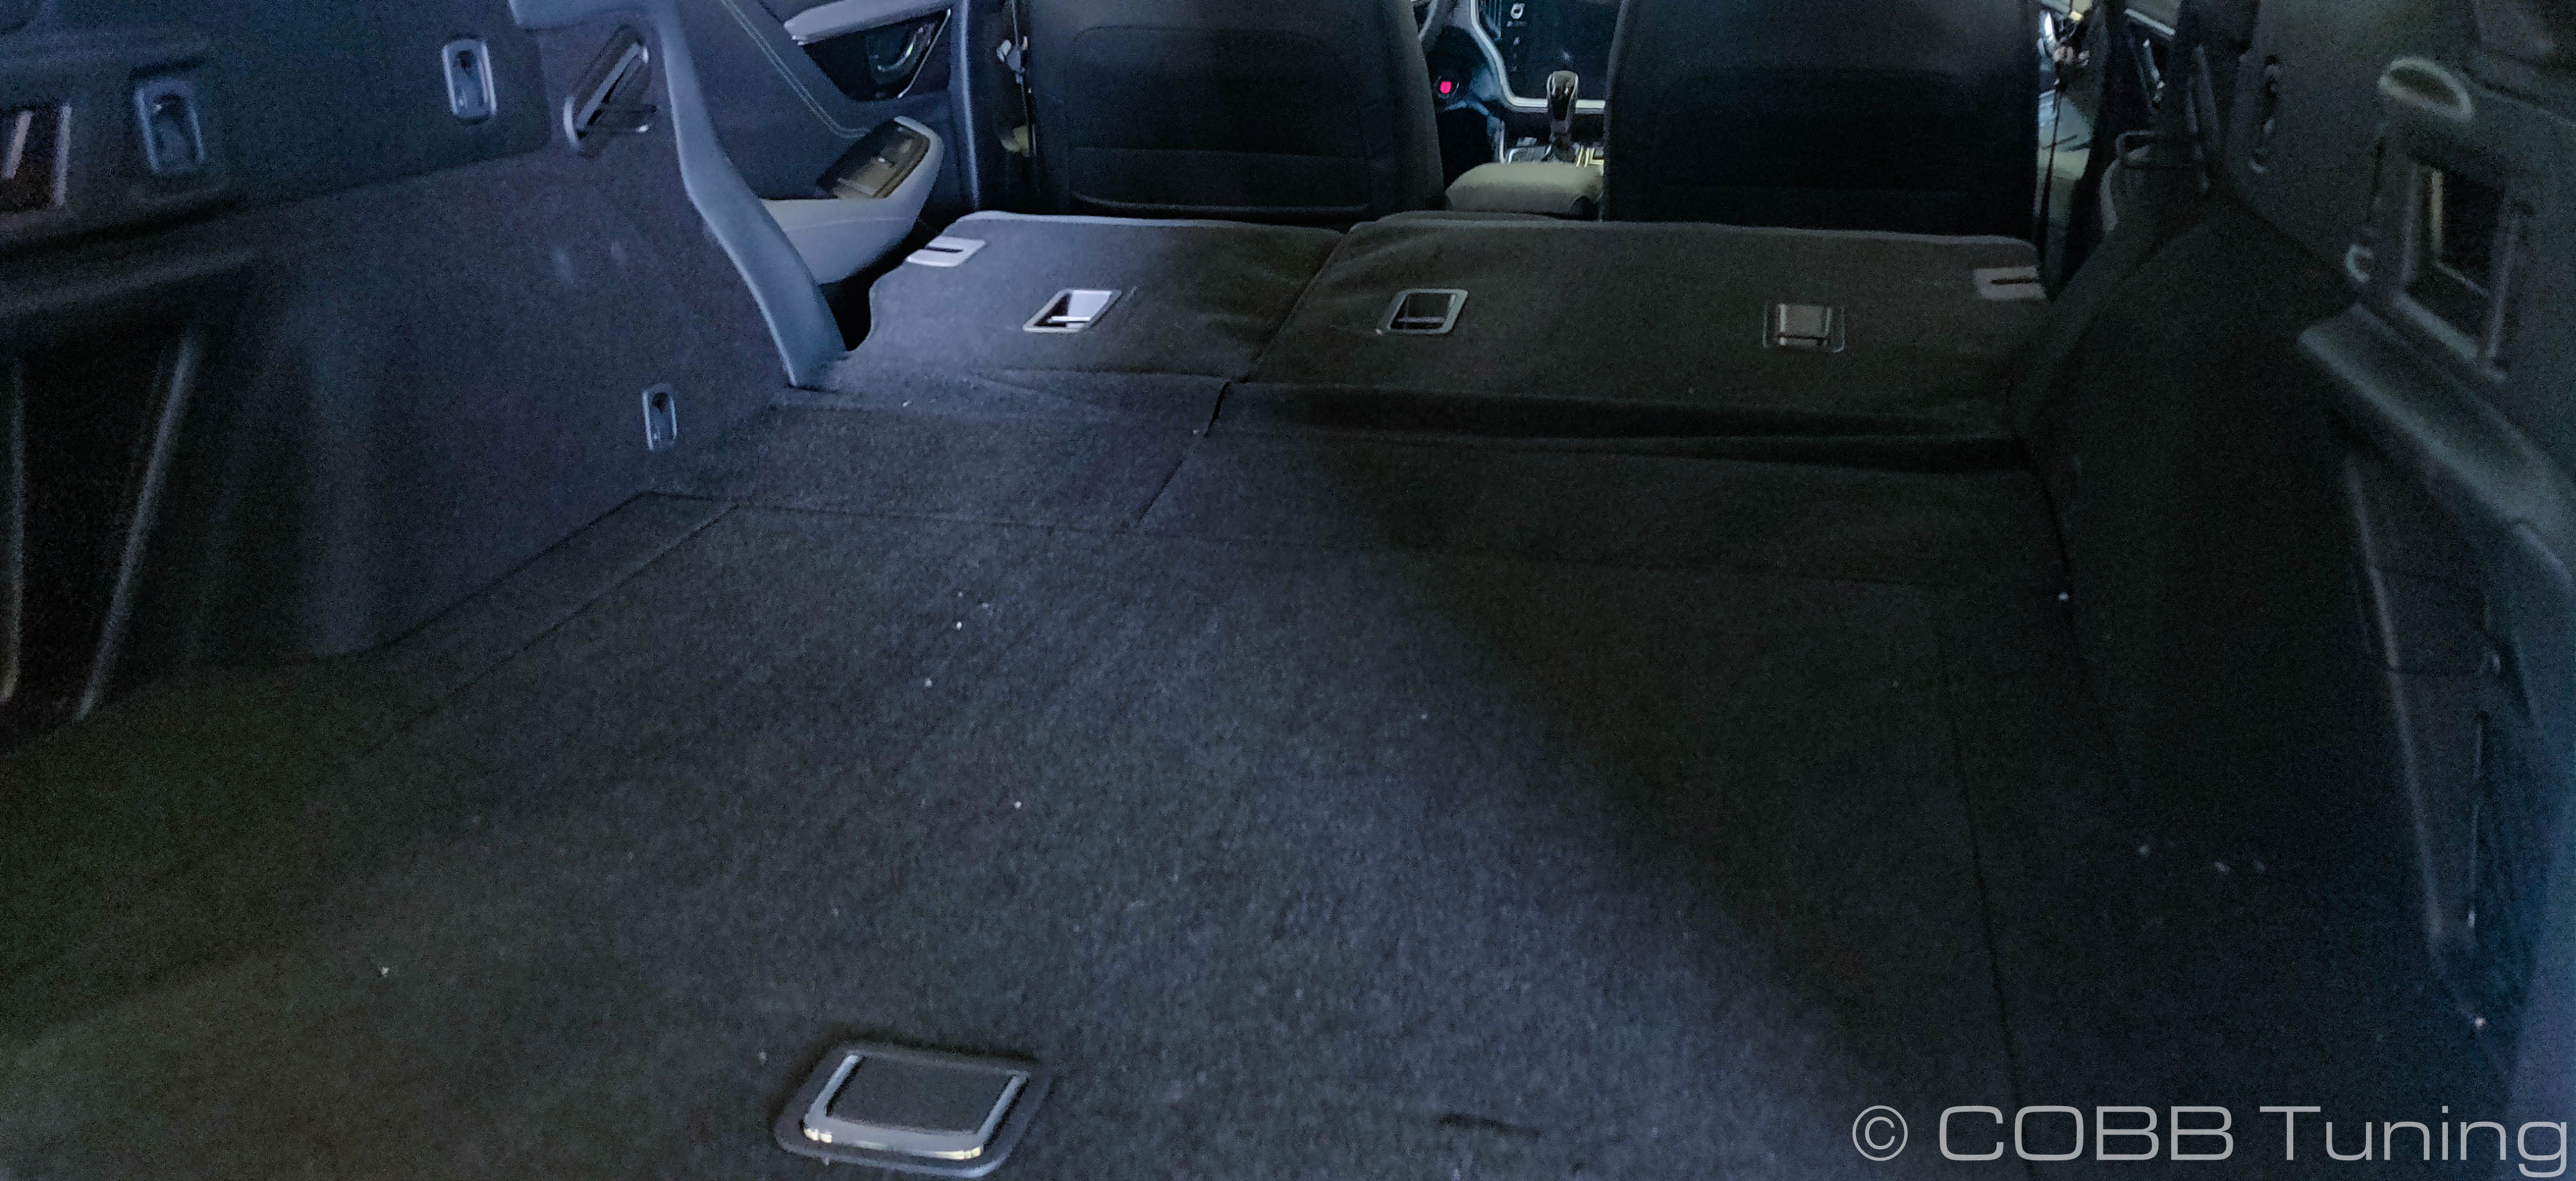
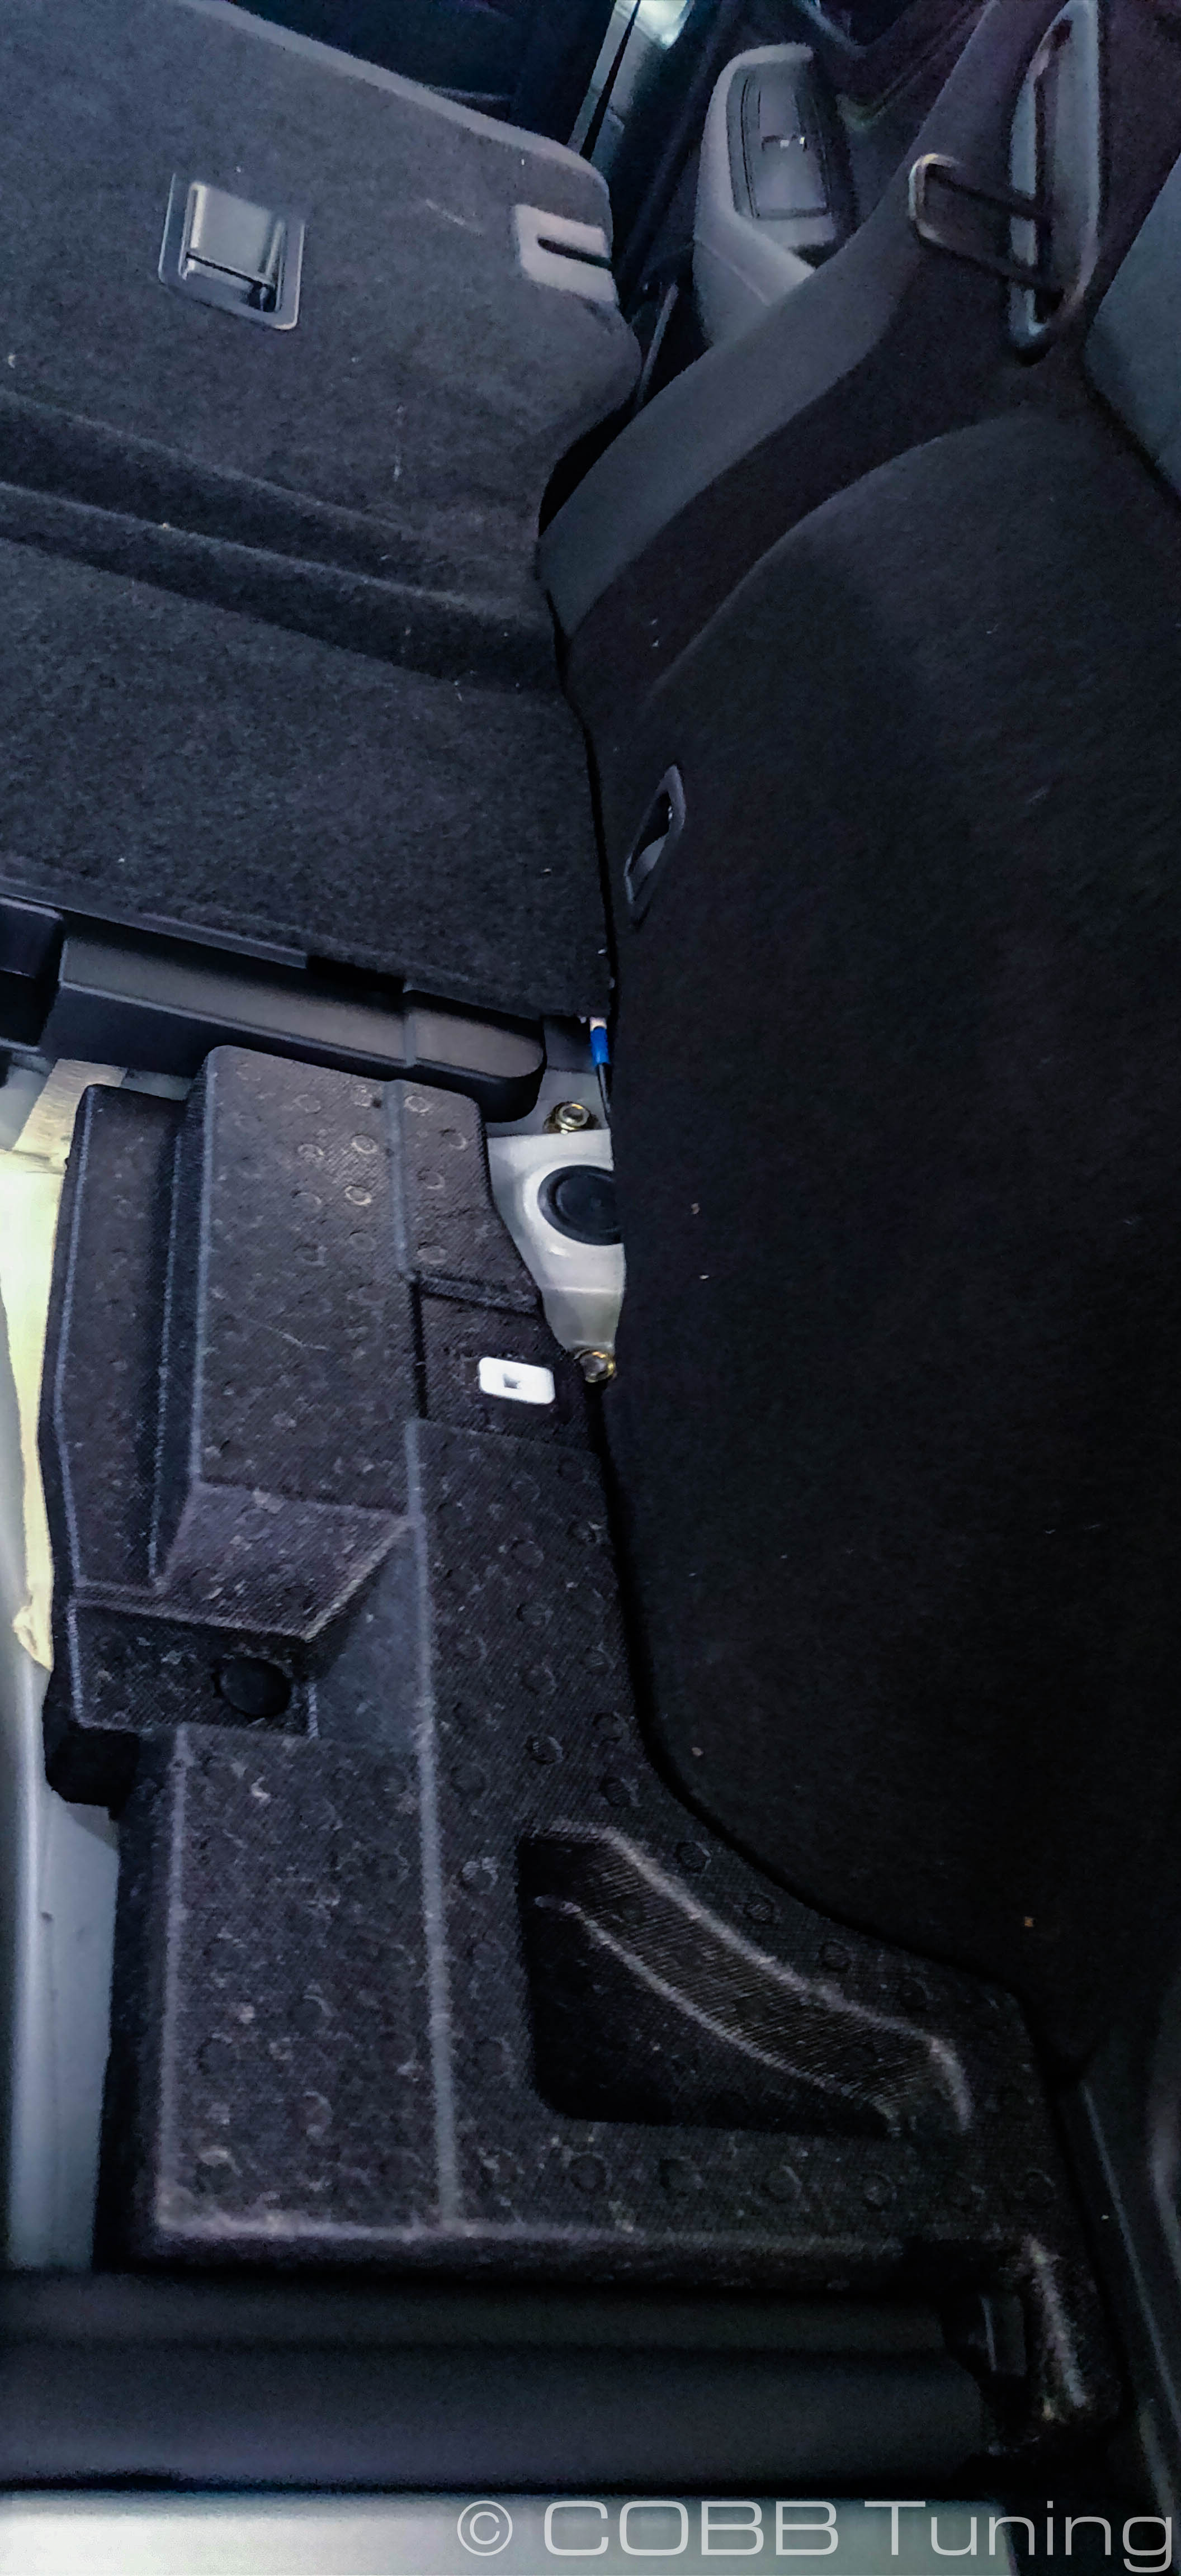
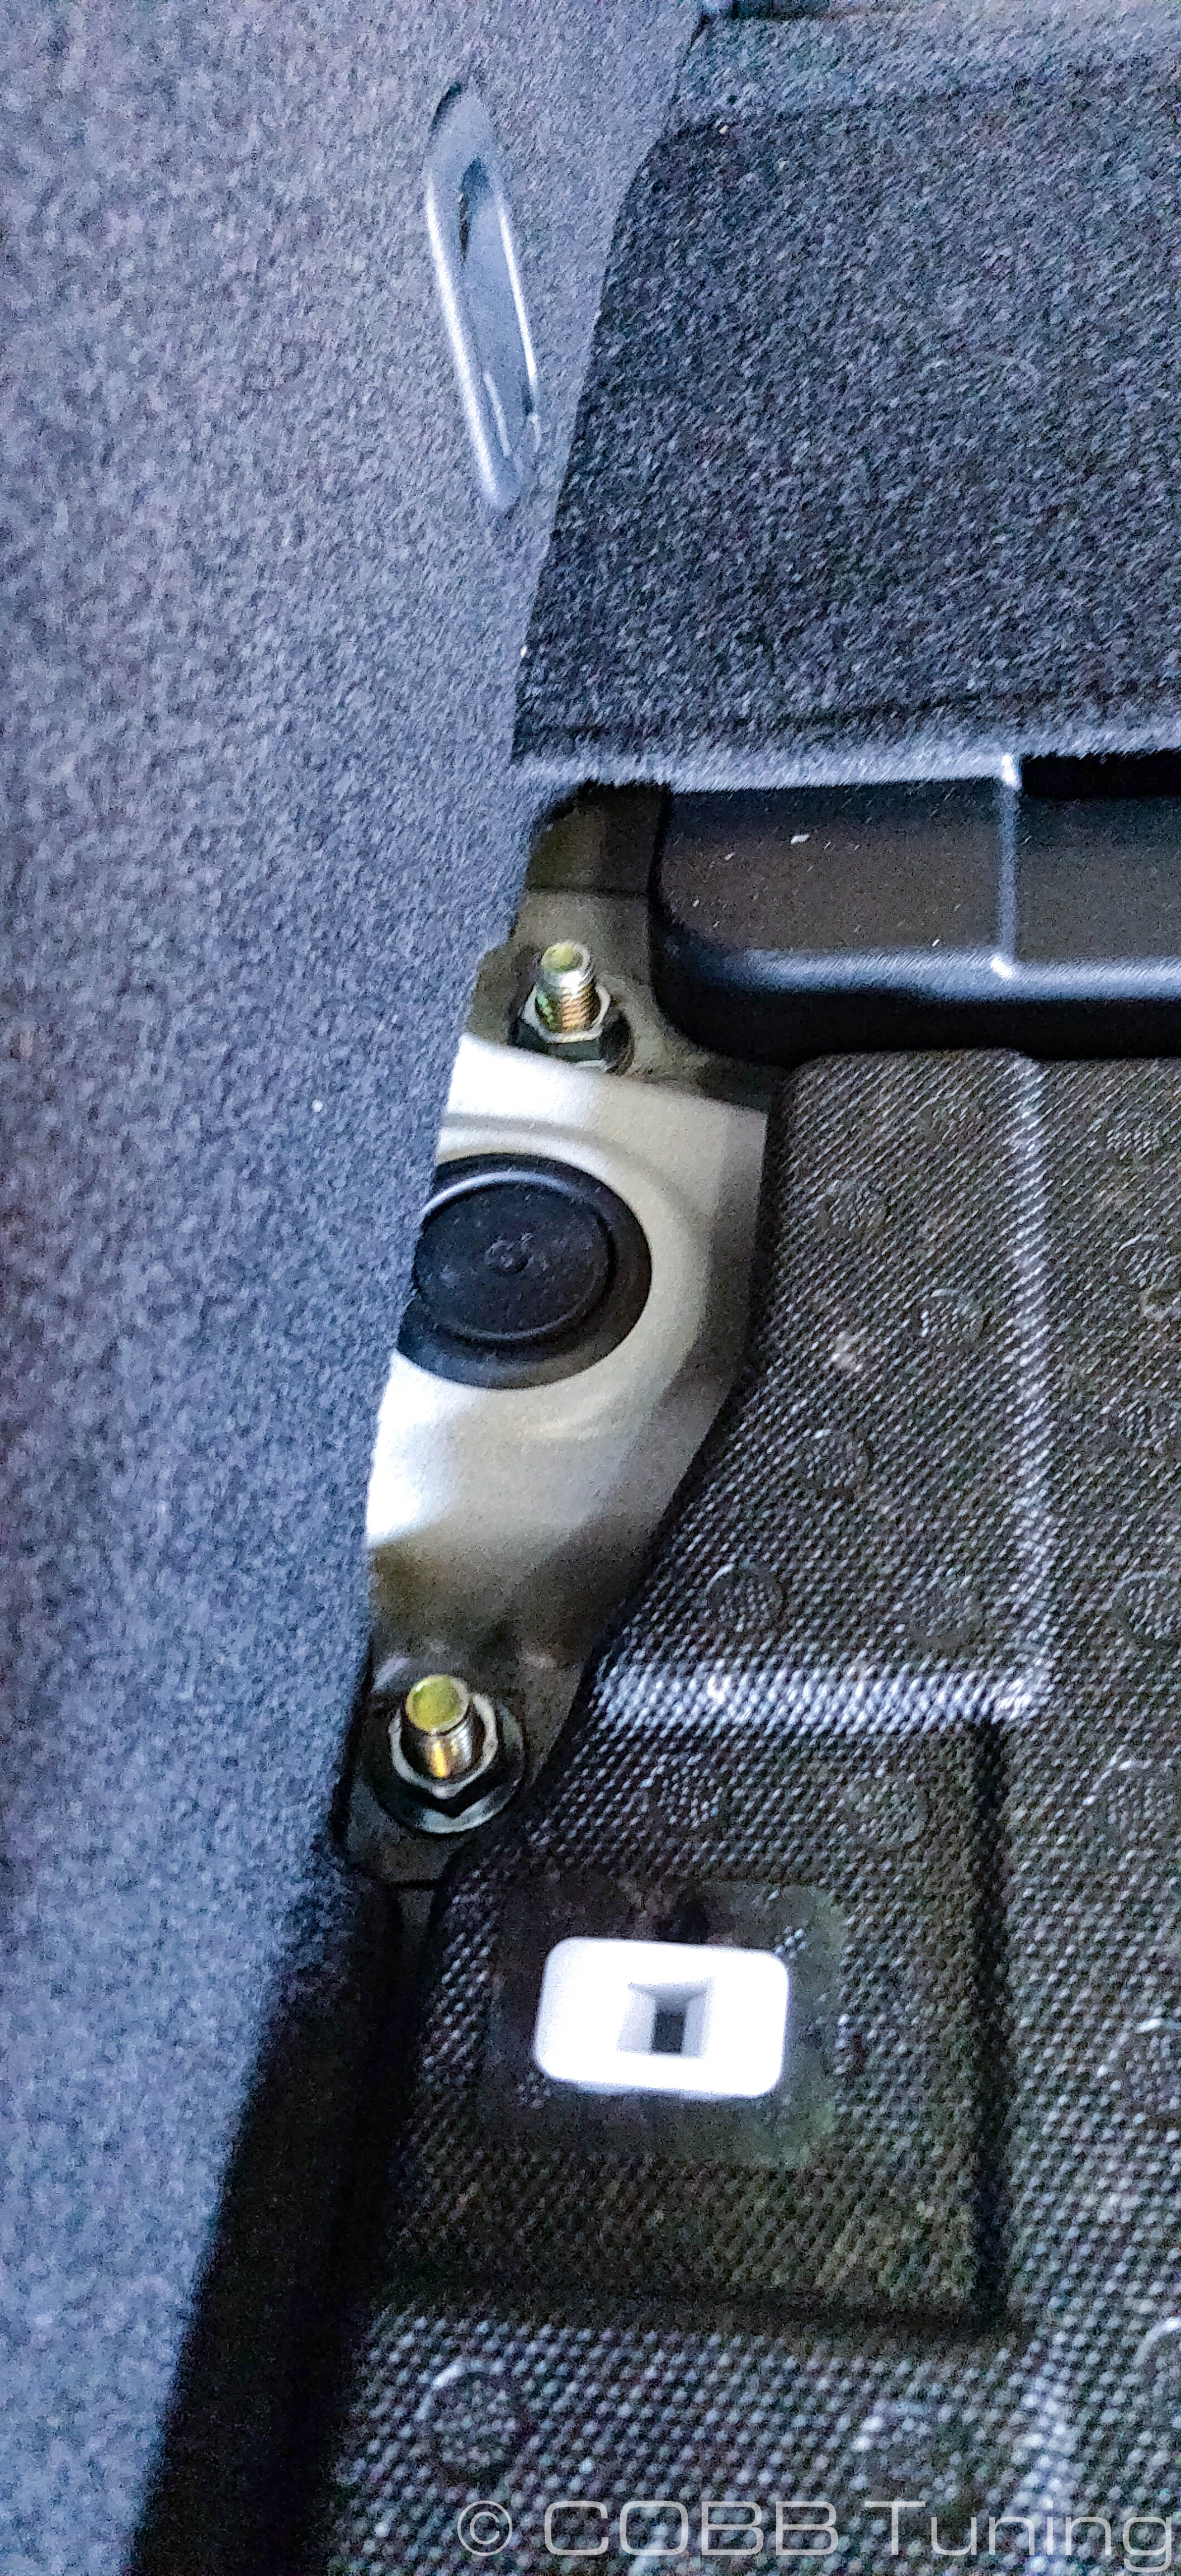
- Moving into the rear of the vehicle, gently lift up and remove the center carpeted section and the two side panels to reveal the strut top nuts.
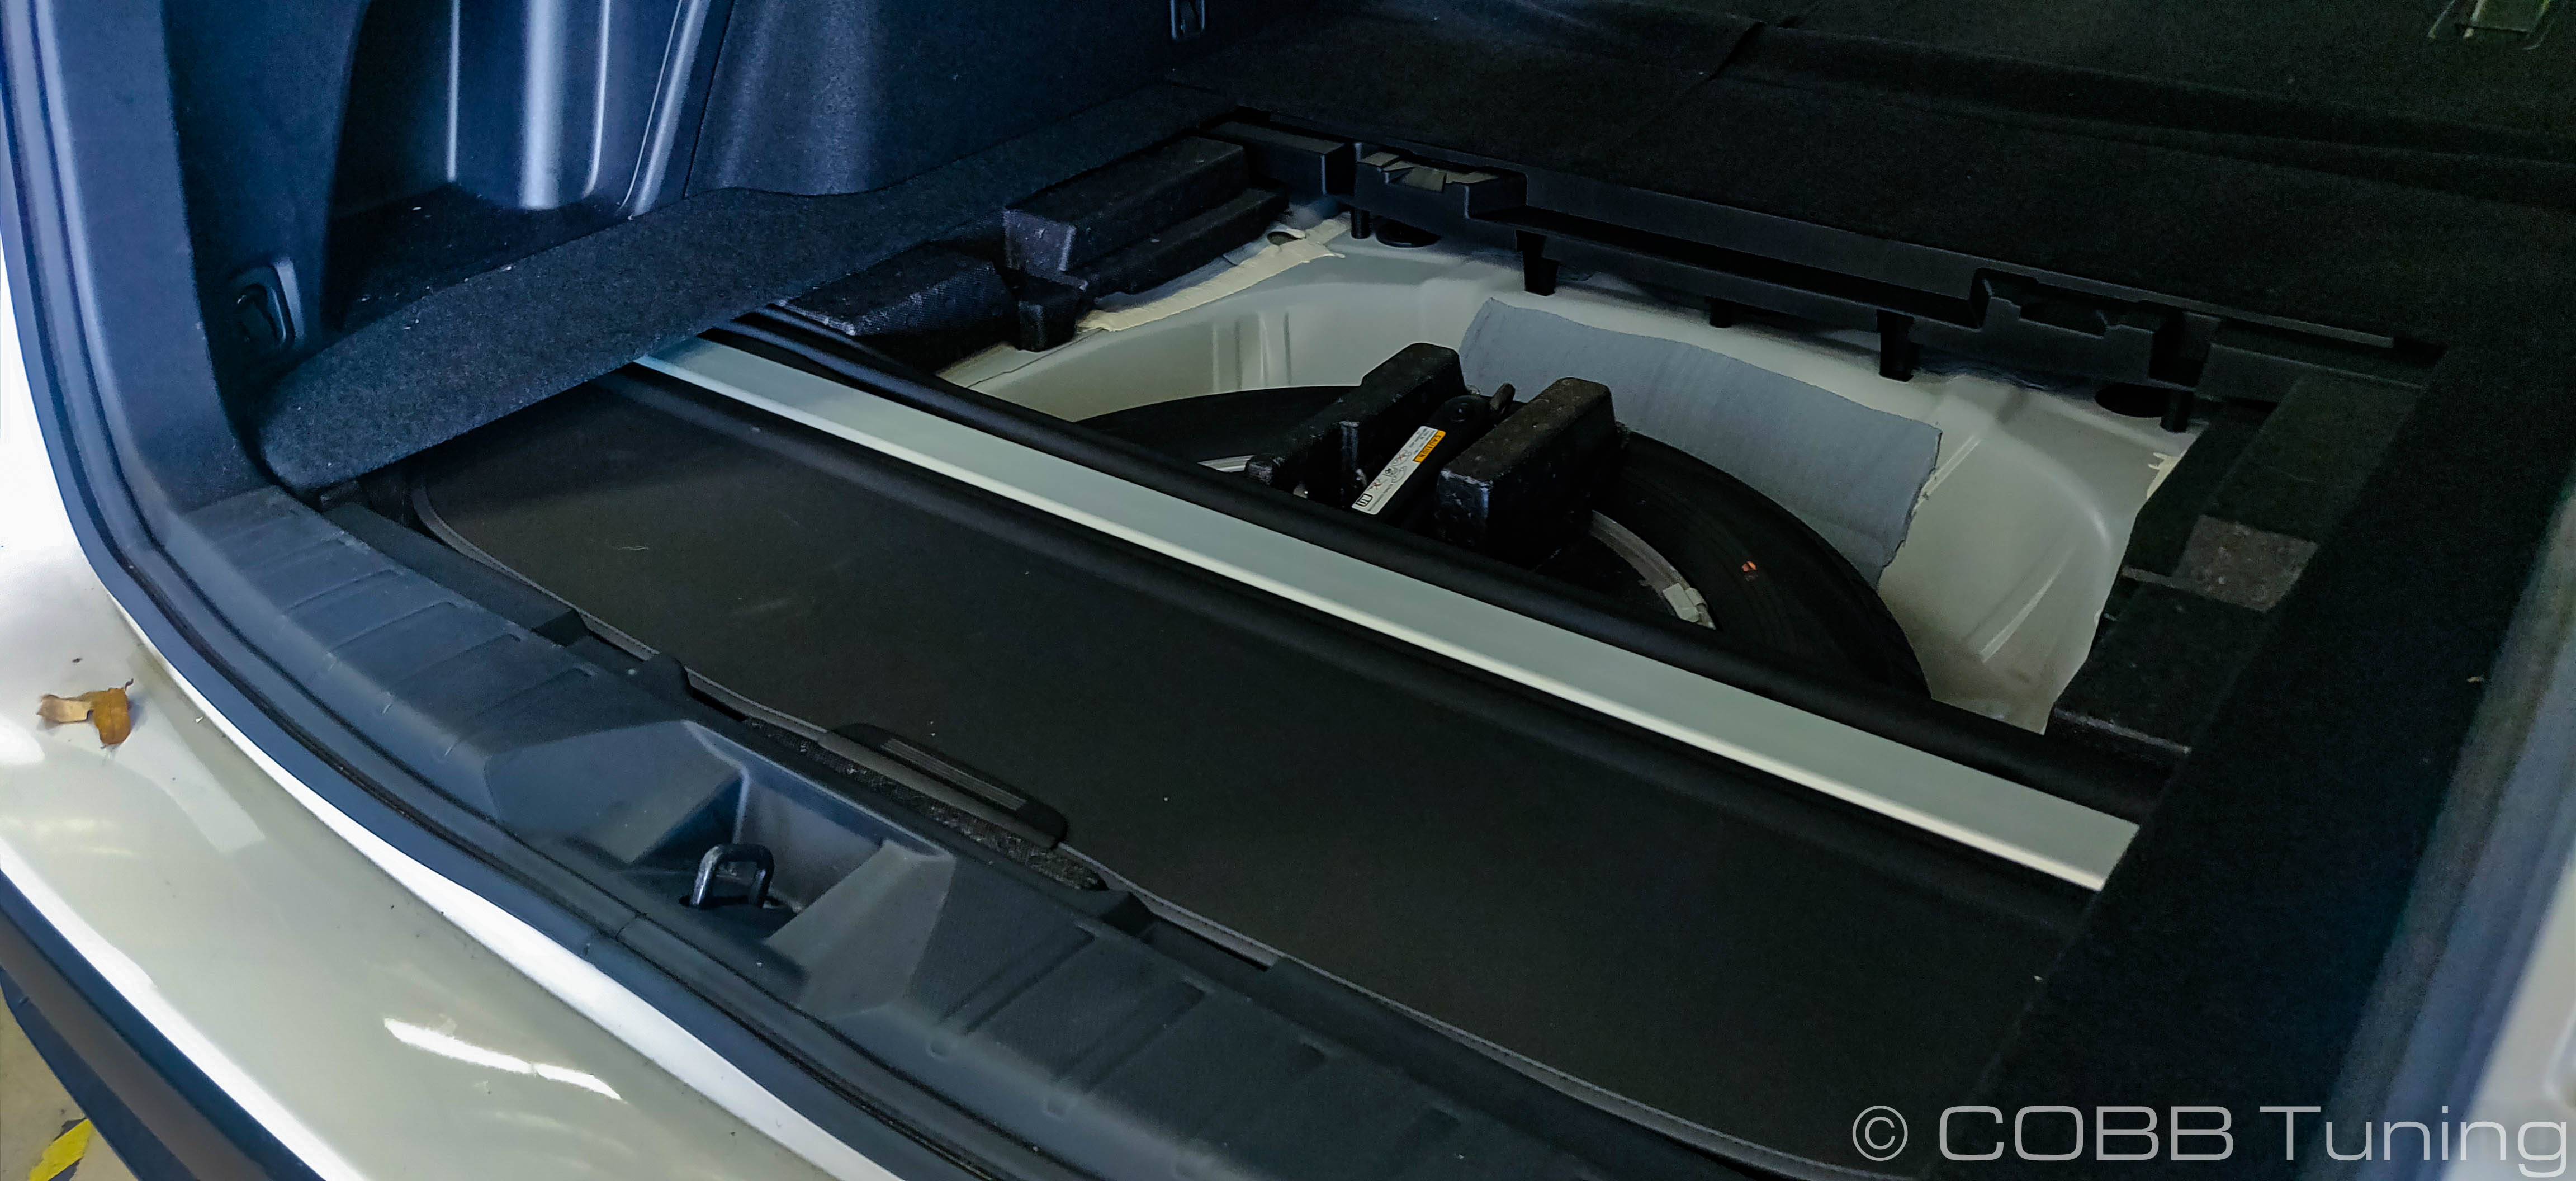
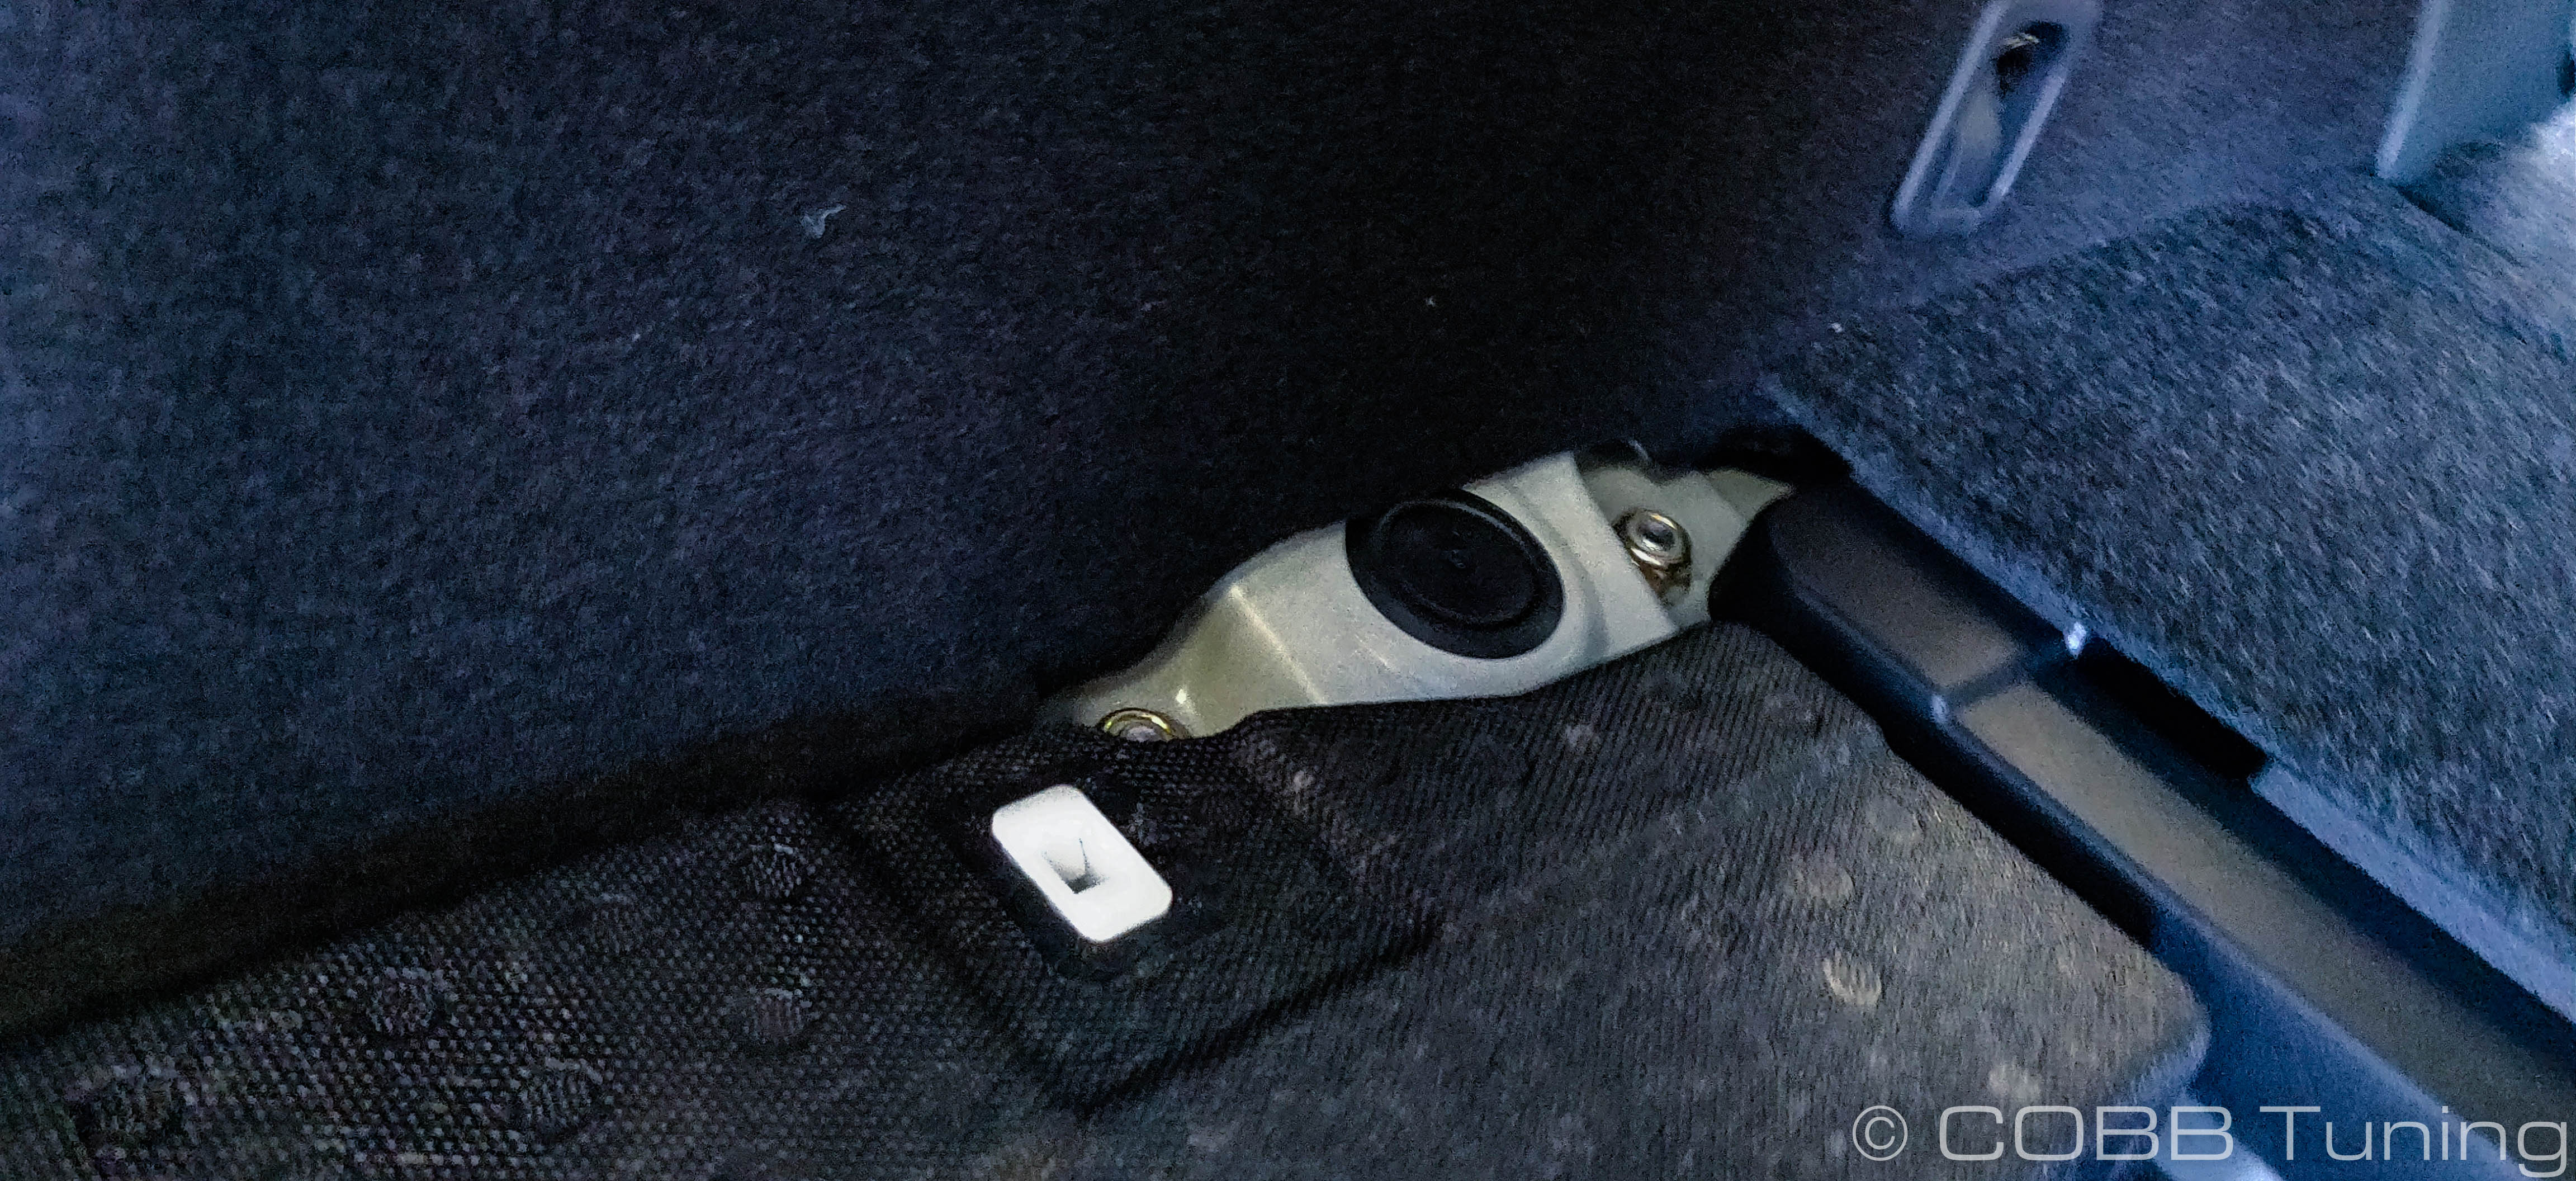
Once again having your BFF hold the strut from underneath, use your 14mm socket remove the two top nuts for the strut and drop it out of the car.
Note Make sure to keep track of which side is right and left. While the rear struts are technically the same, over time the bushings will deflect in one direction or the other making it much more difficult to install them on the incorrect side.
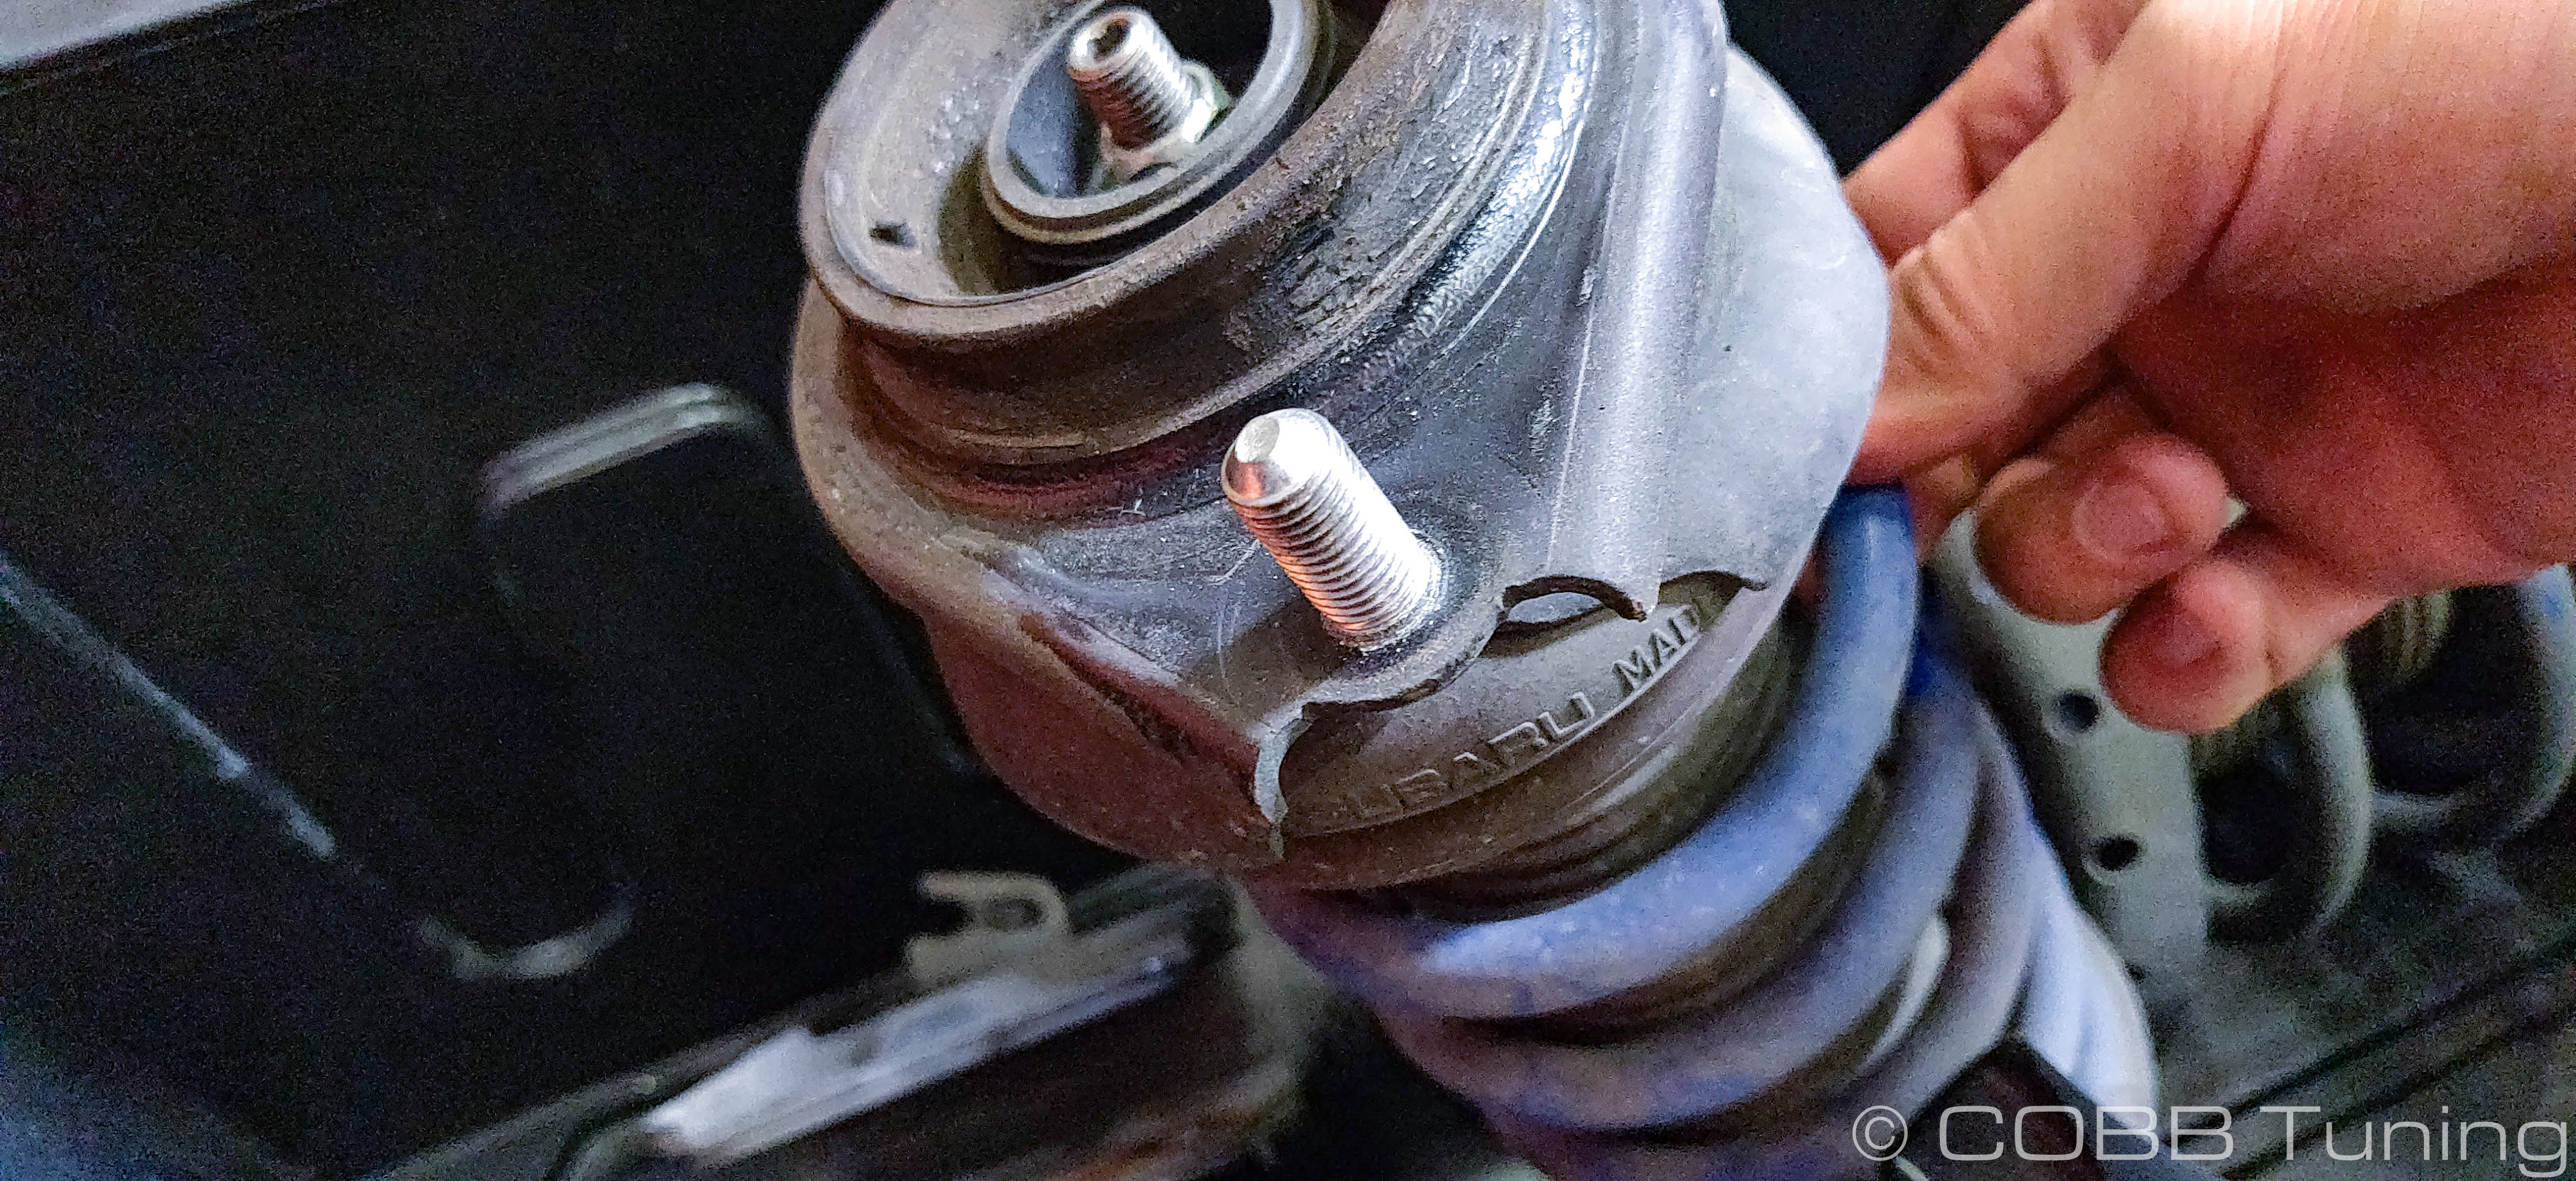
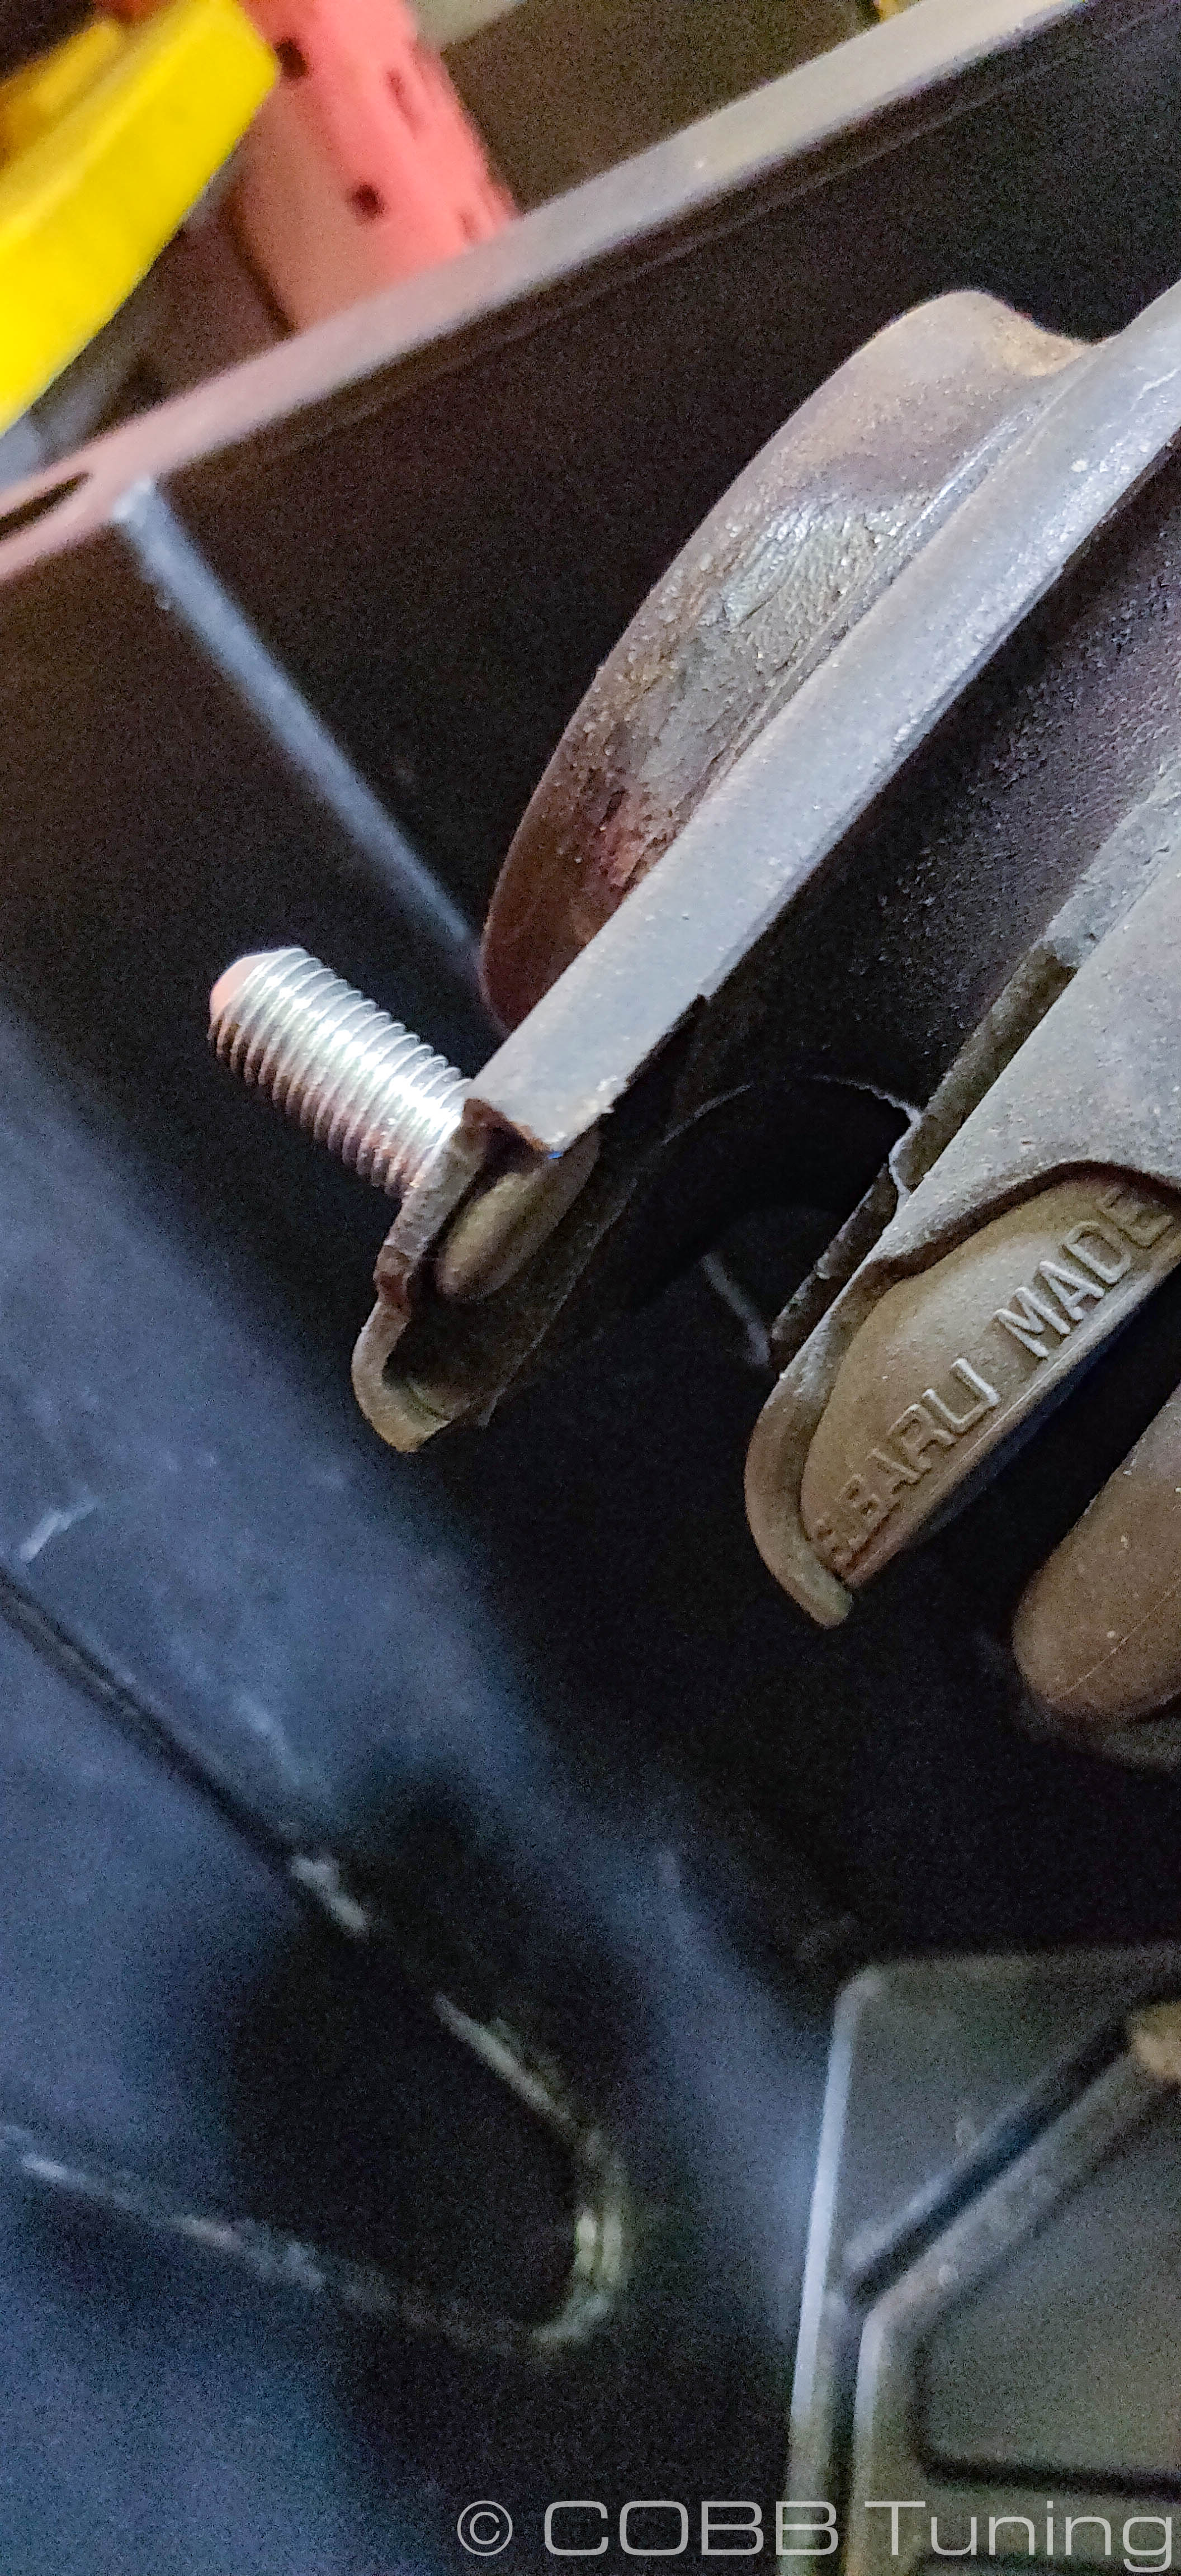
- The studs in the strut top mount now need to be removed. This can either be done with a press of some type and carefully supporting the bottom of the strut mount, or by supporting the strut by the mount (Not the strut or spring itself) and tapping the studs out with a hammer.
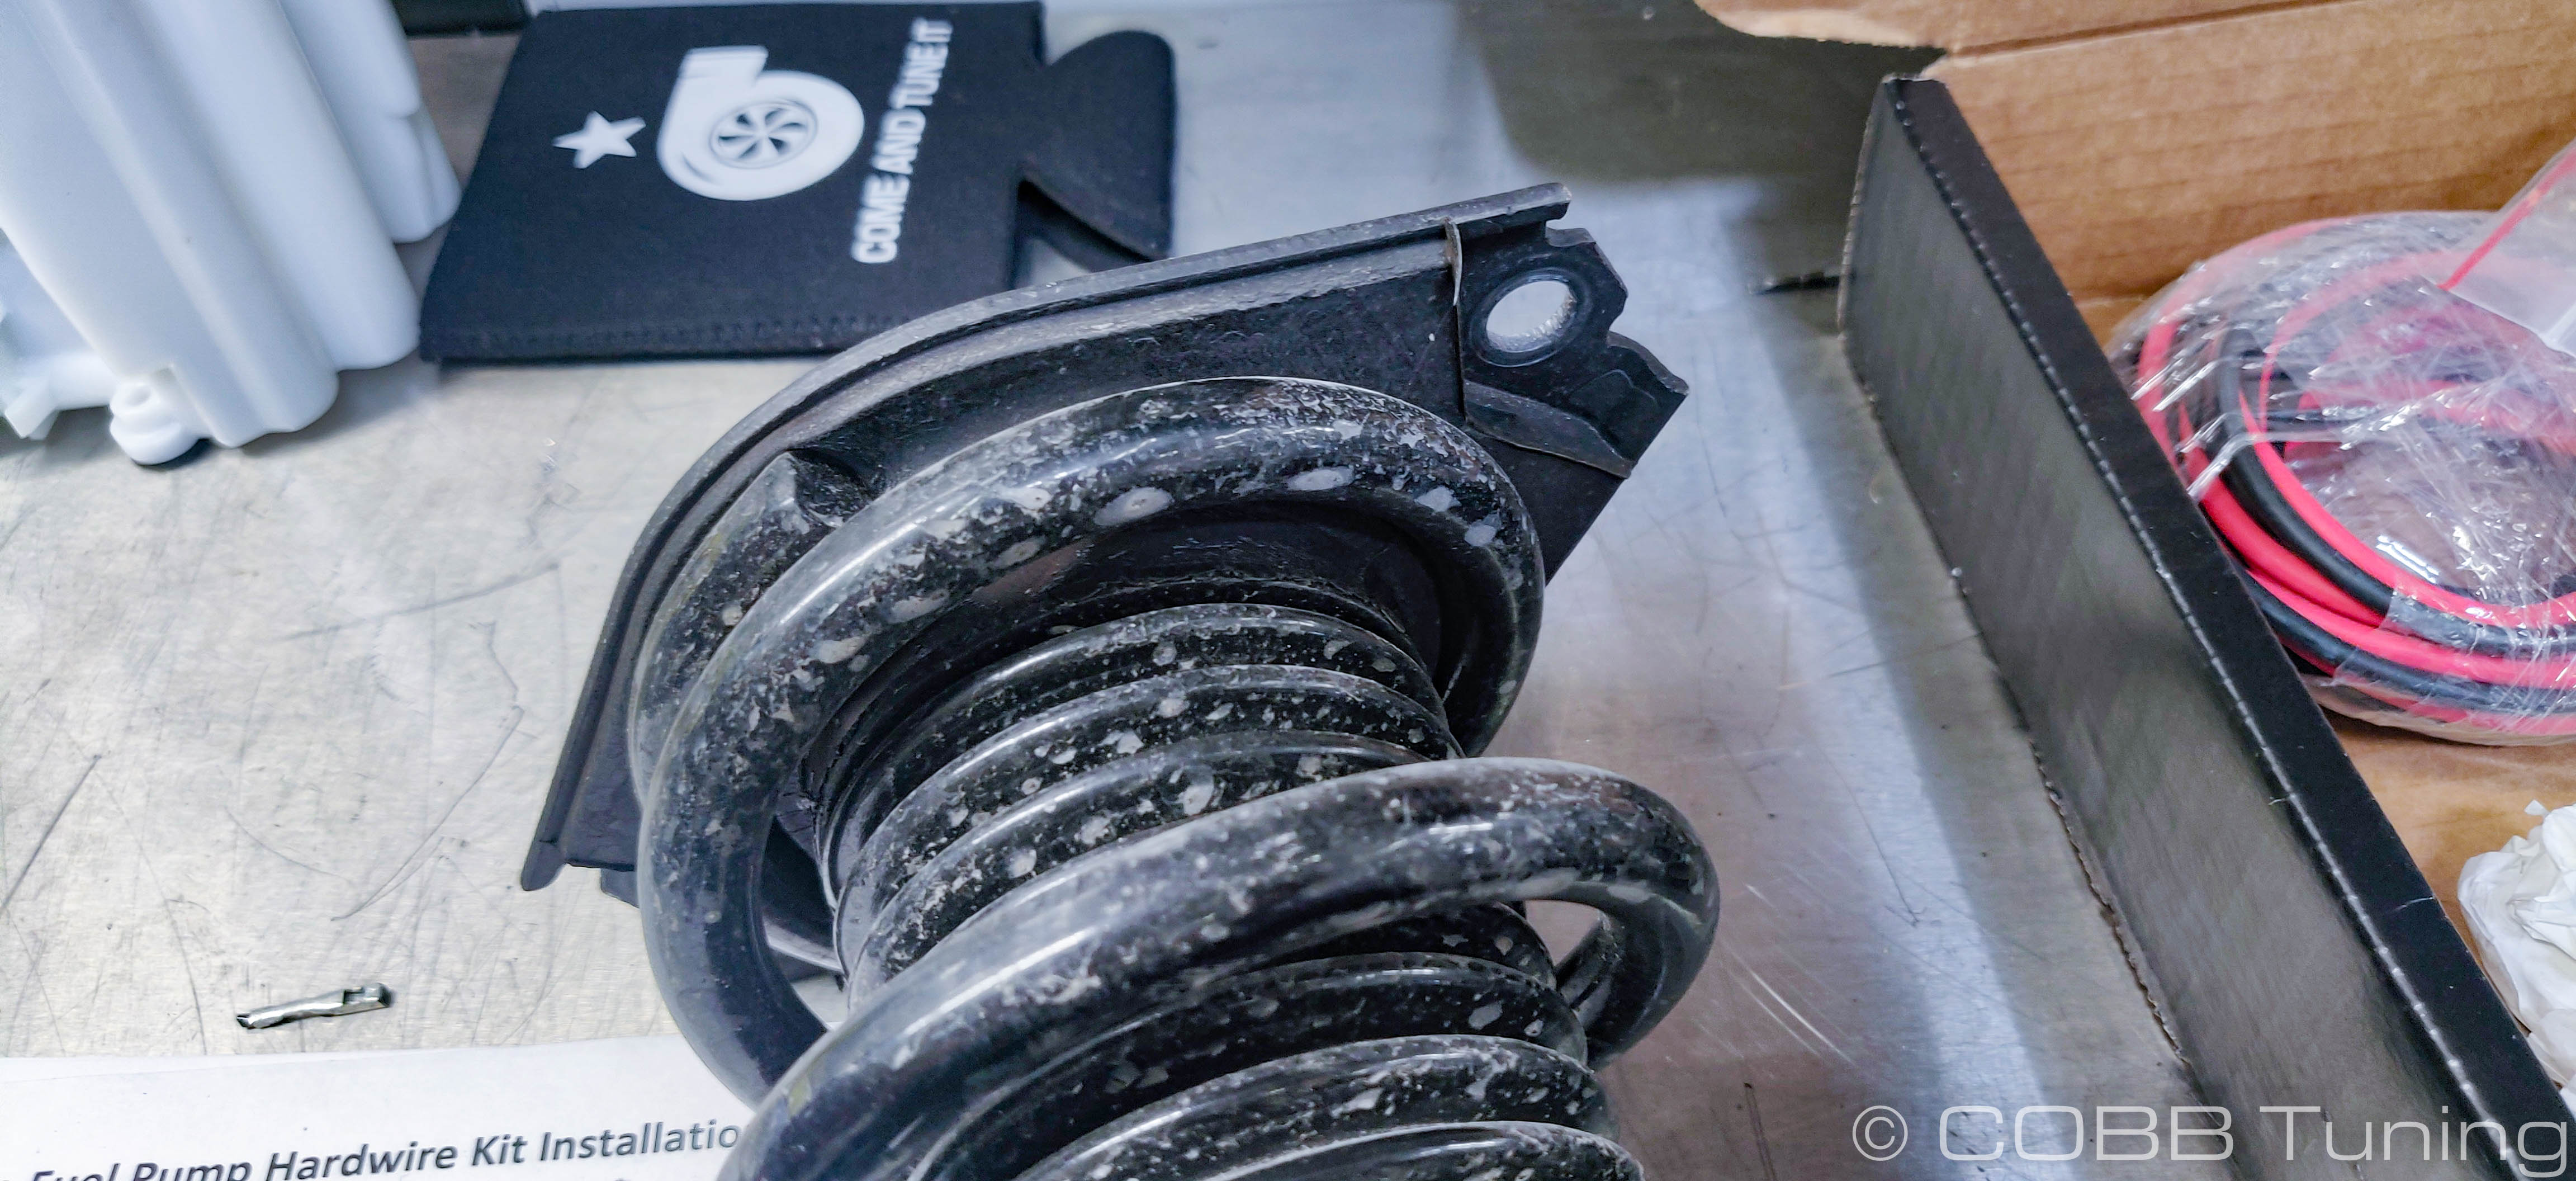
- Using the provided long bolts install the spacer bolting up through the strut mount into the spacer. These bolts should be tight, but they don't need to be torqued to an insane level.
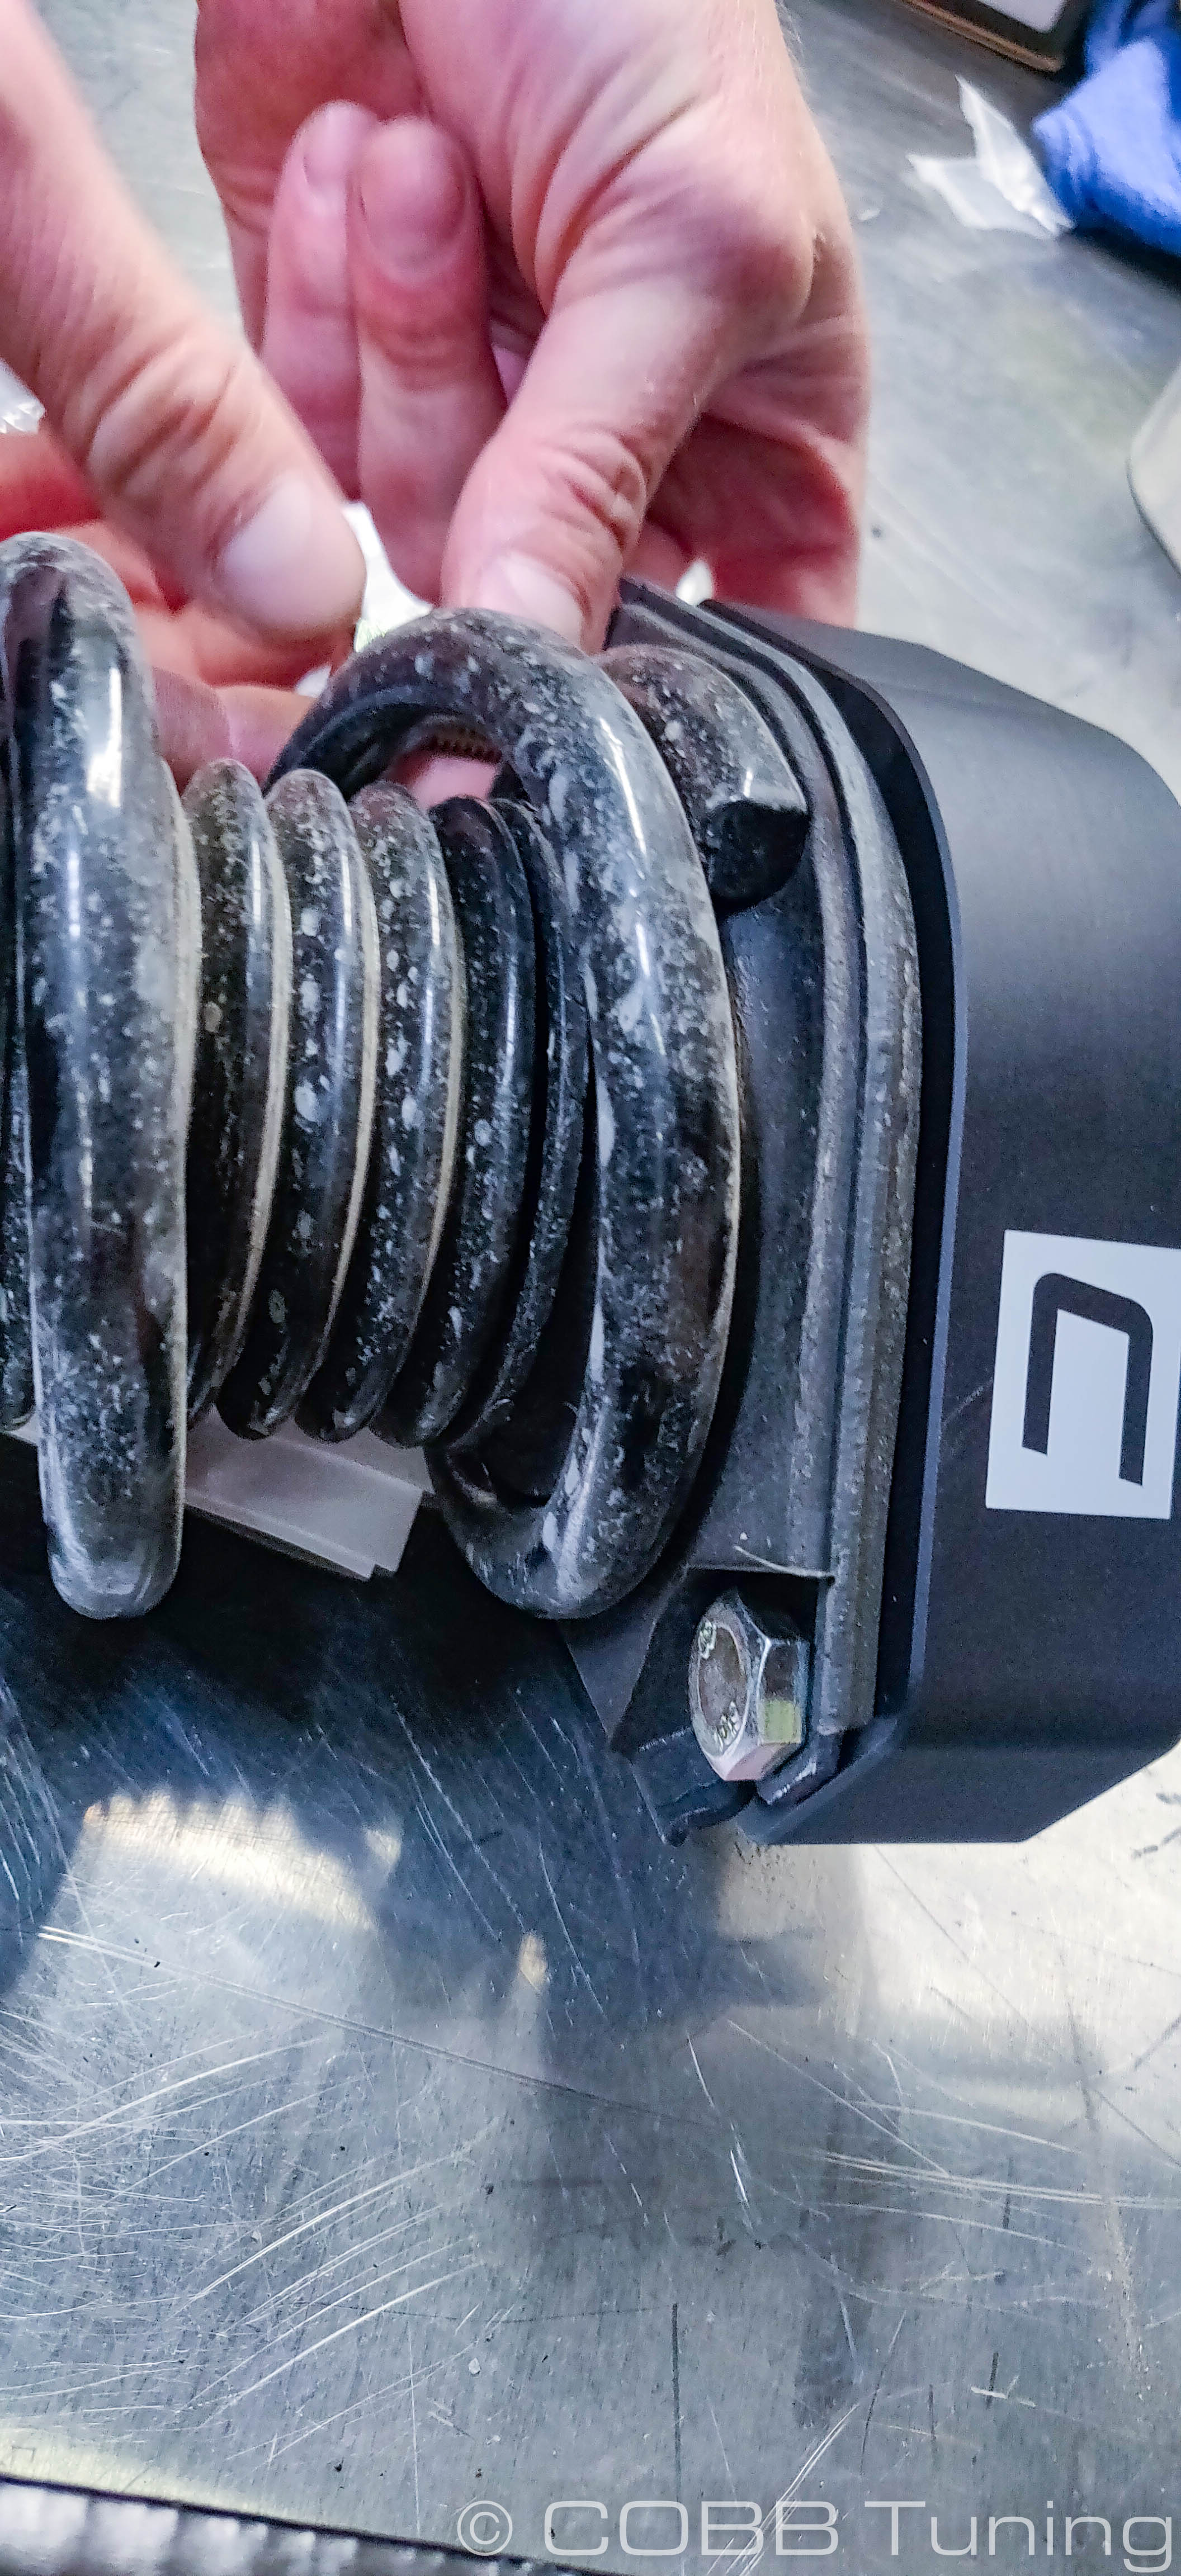
- You can now re-install the shock on the correct side using the supplied silver serrated nuts to secure them at the top.
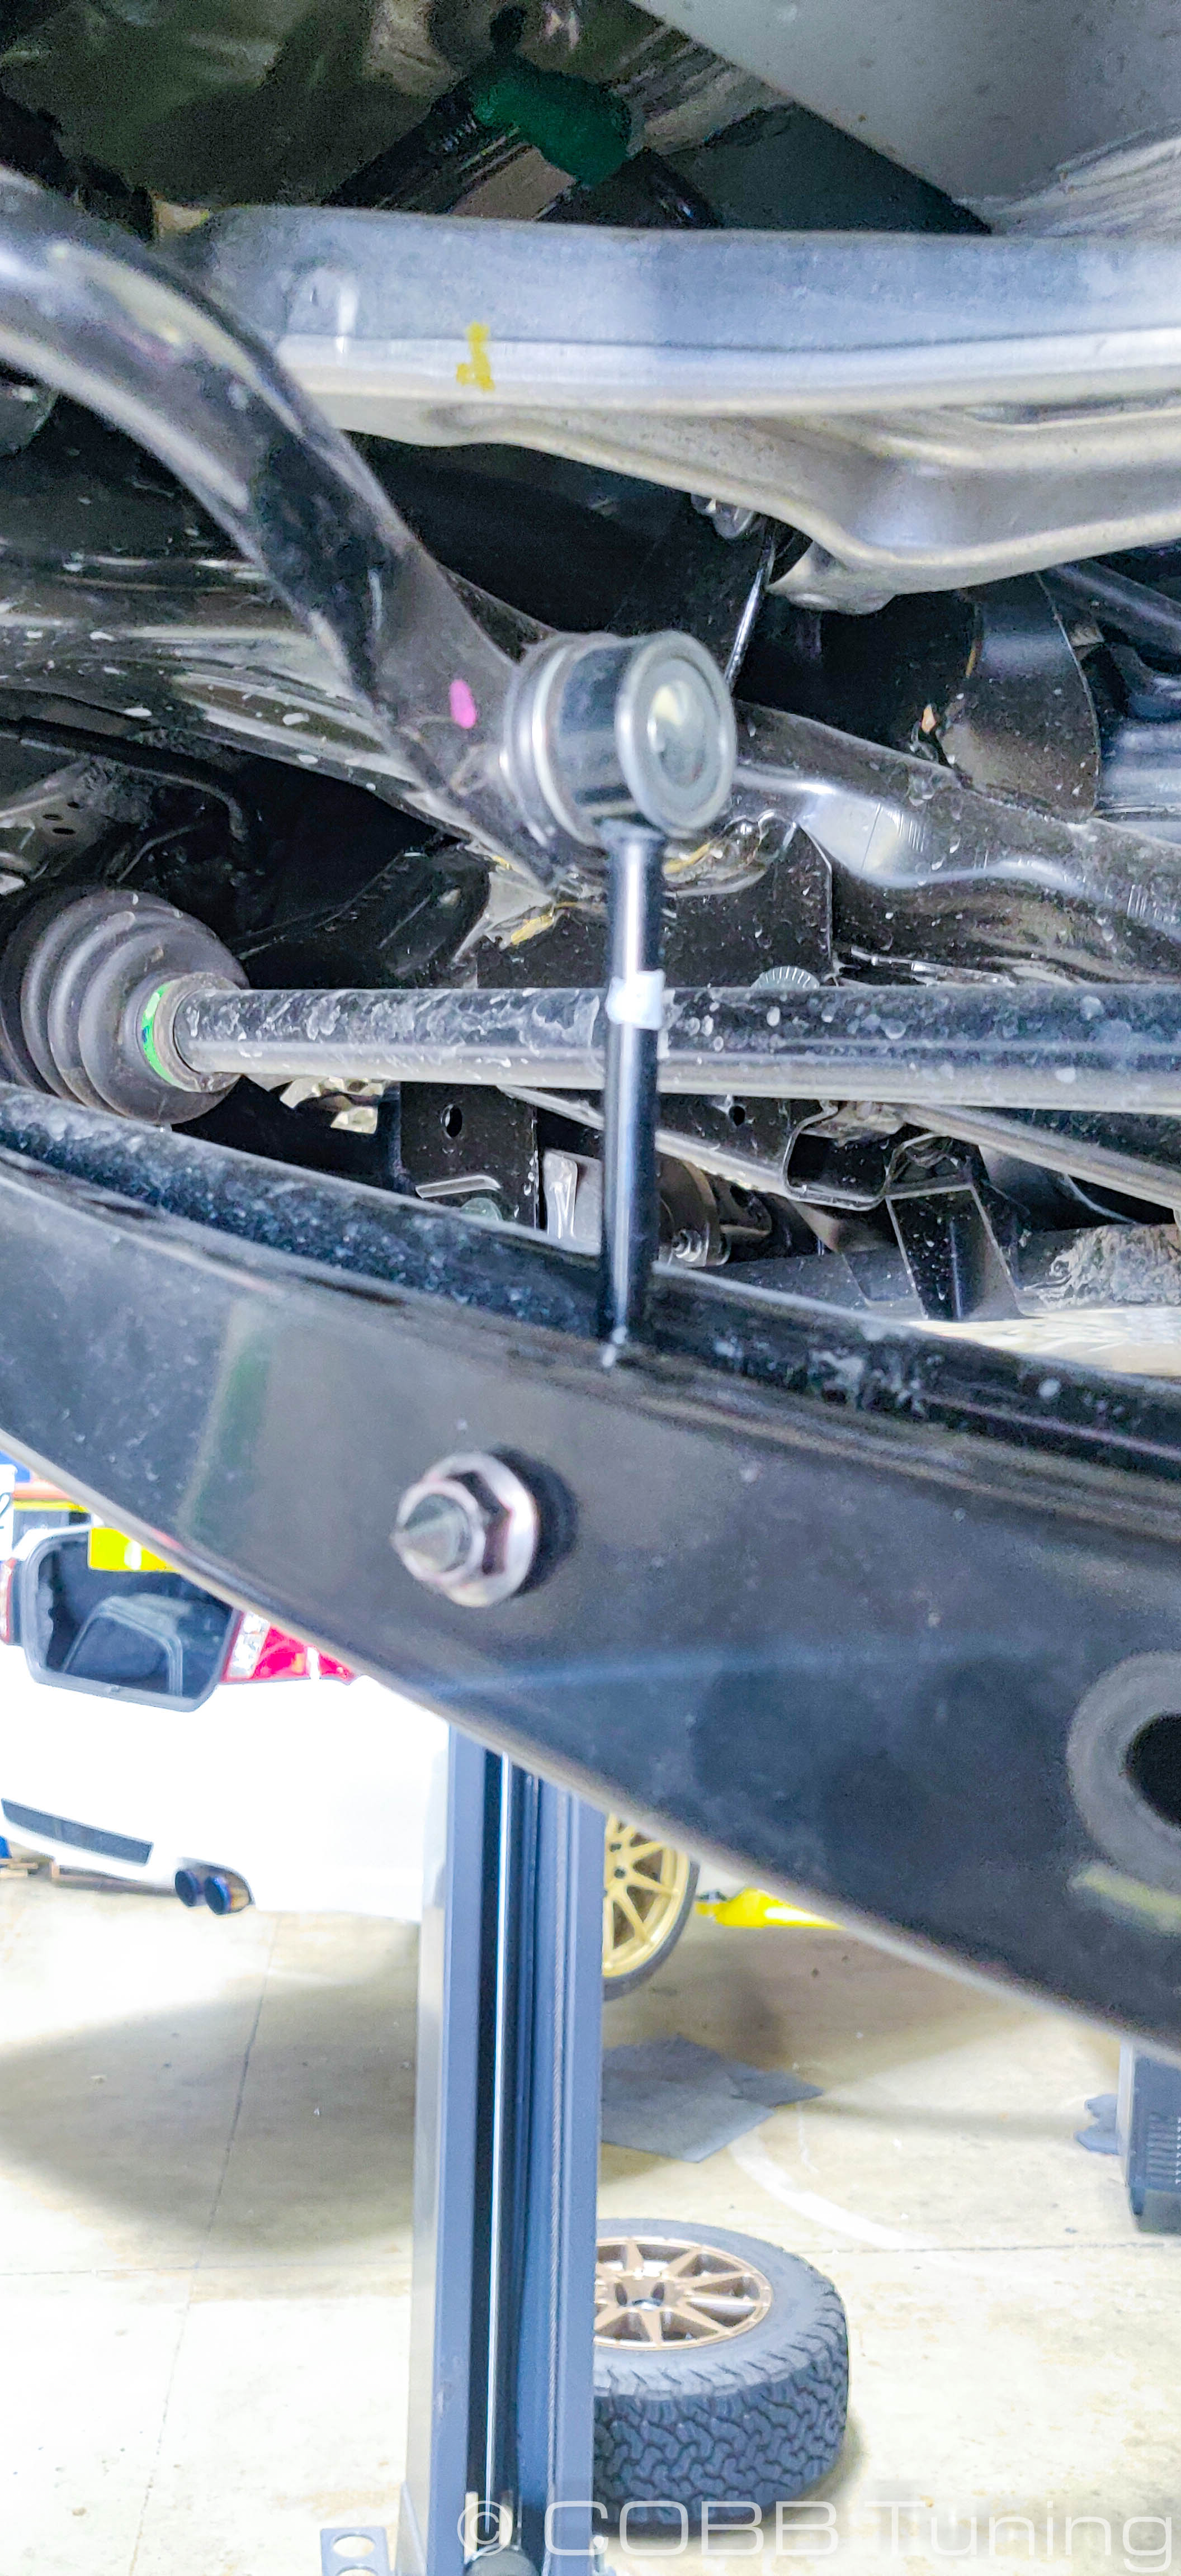
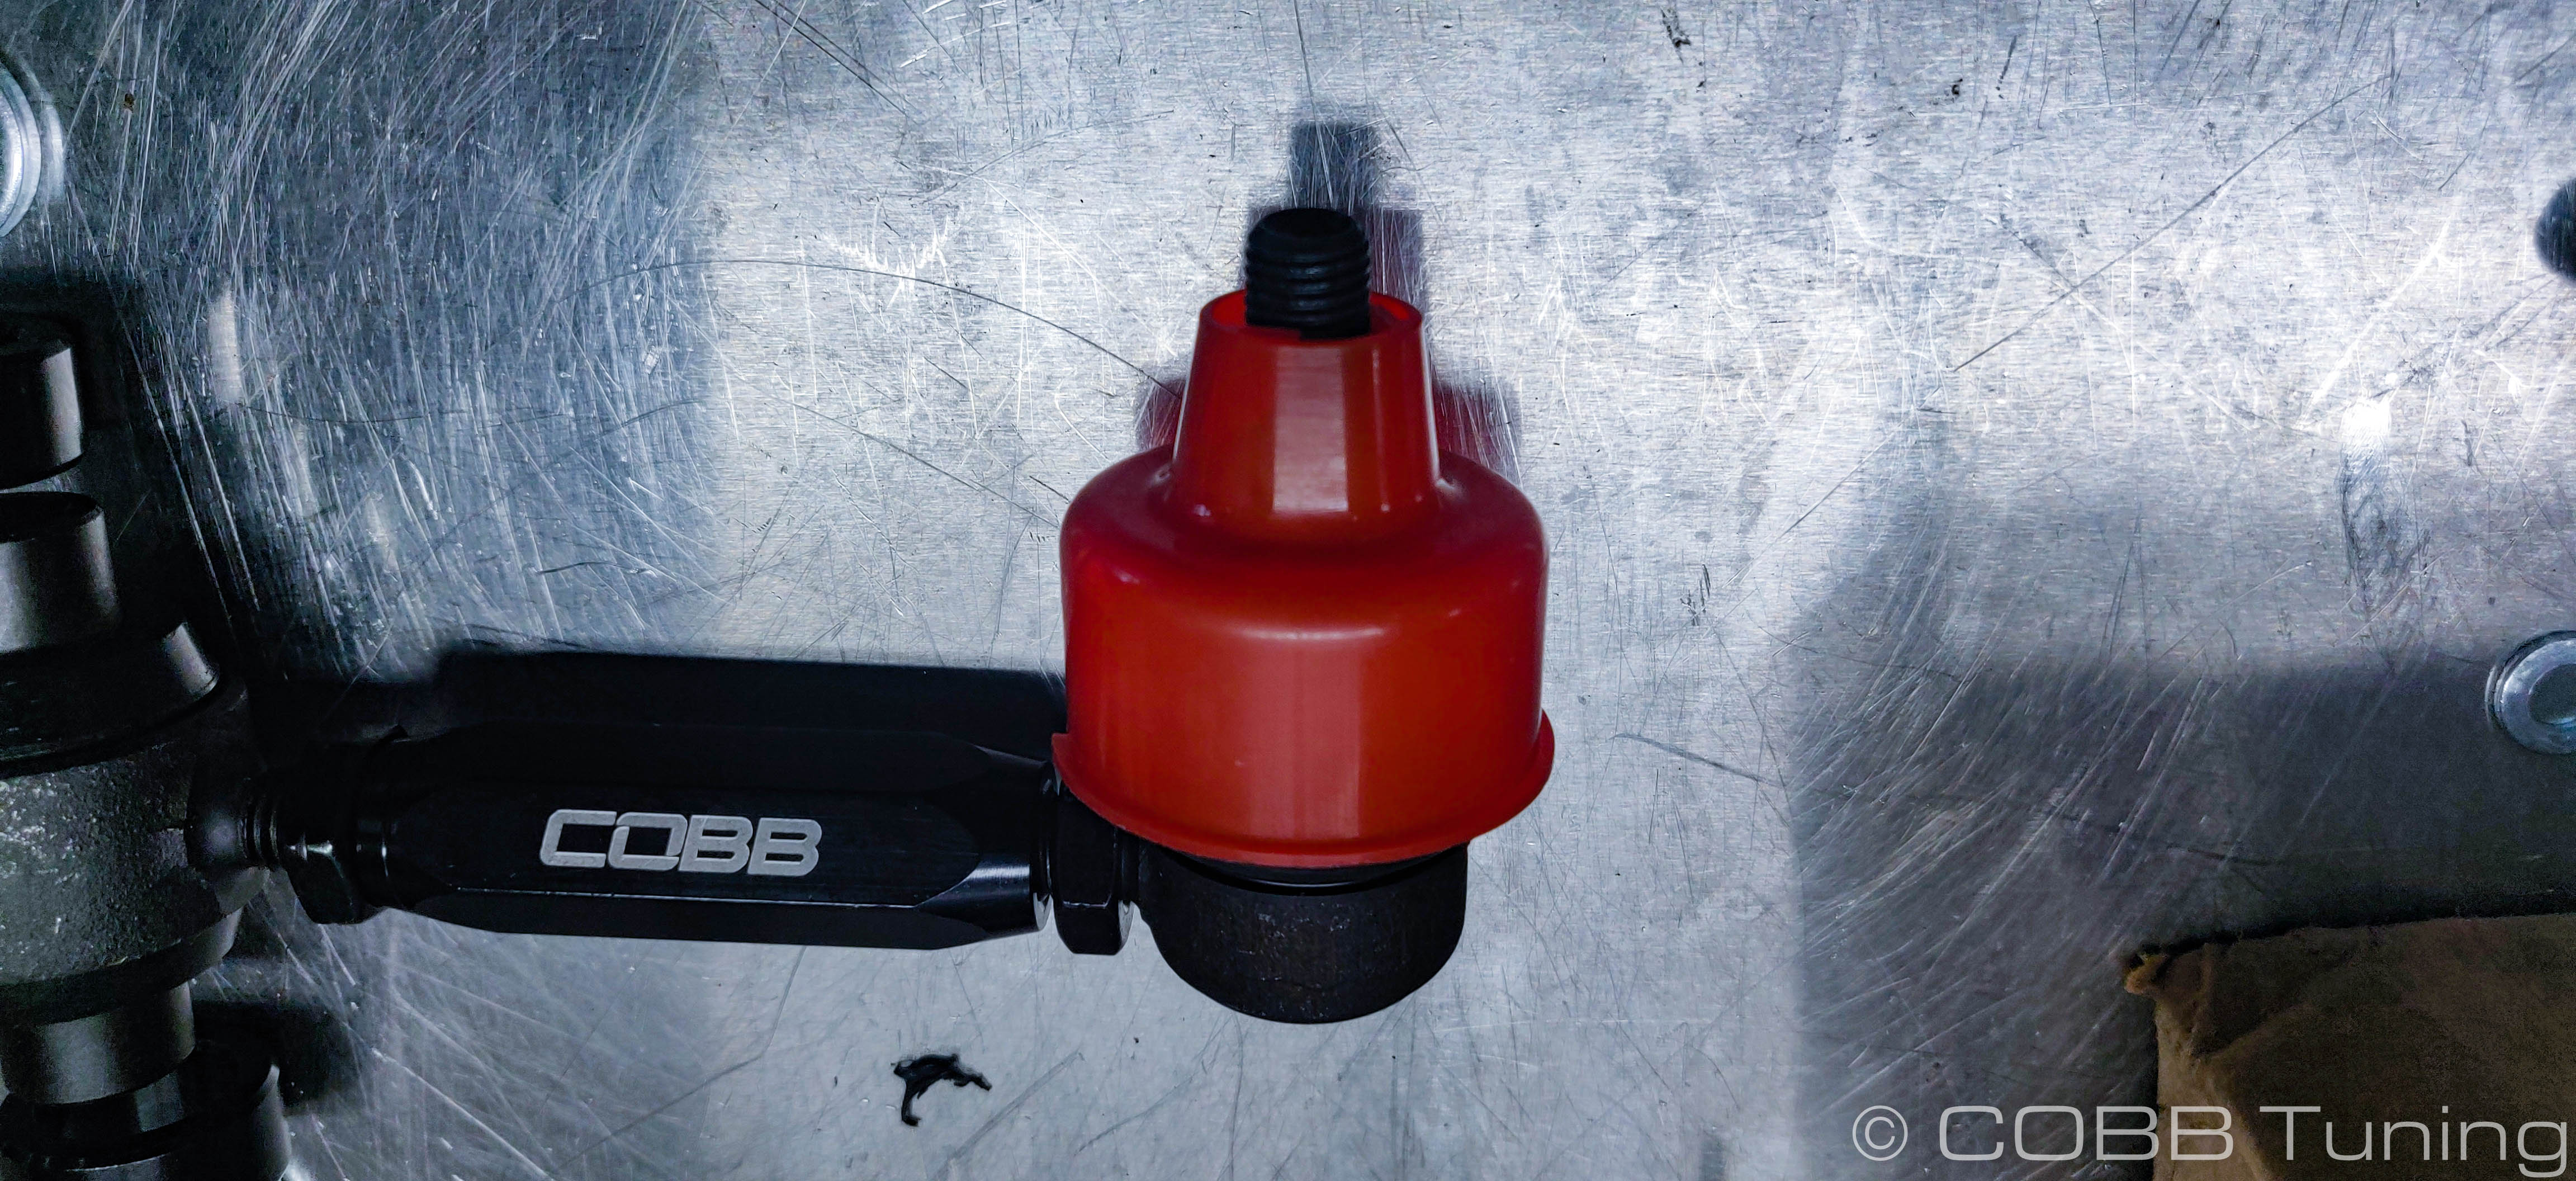
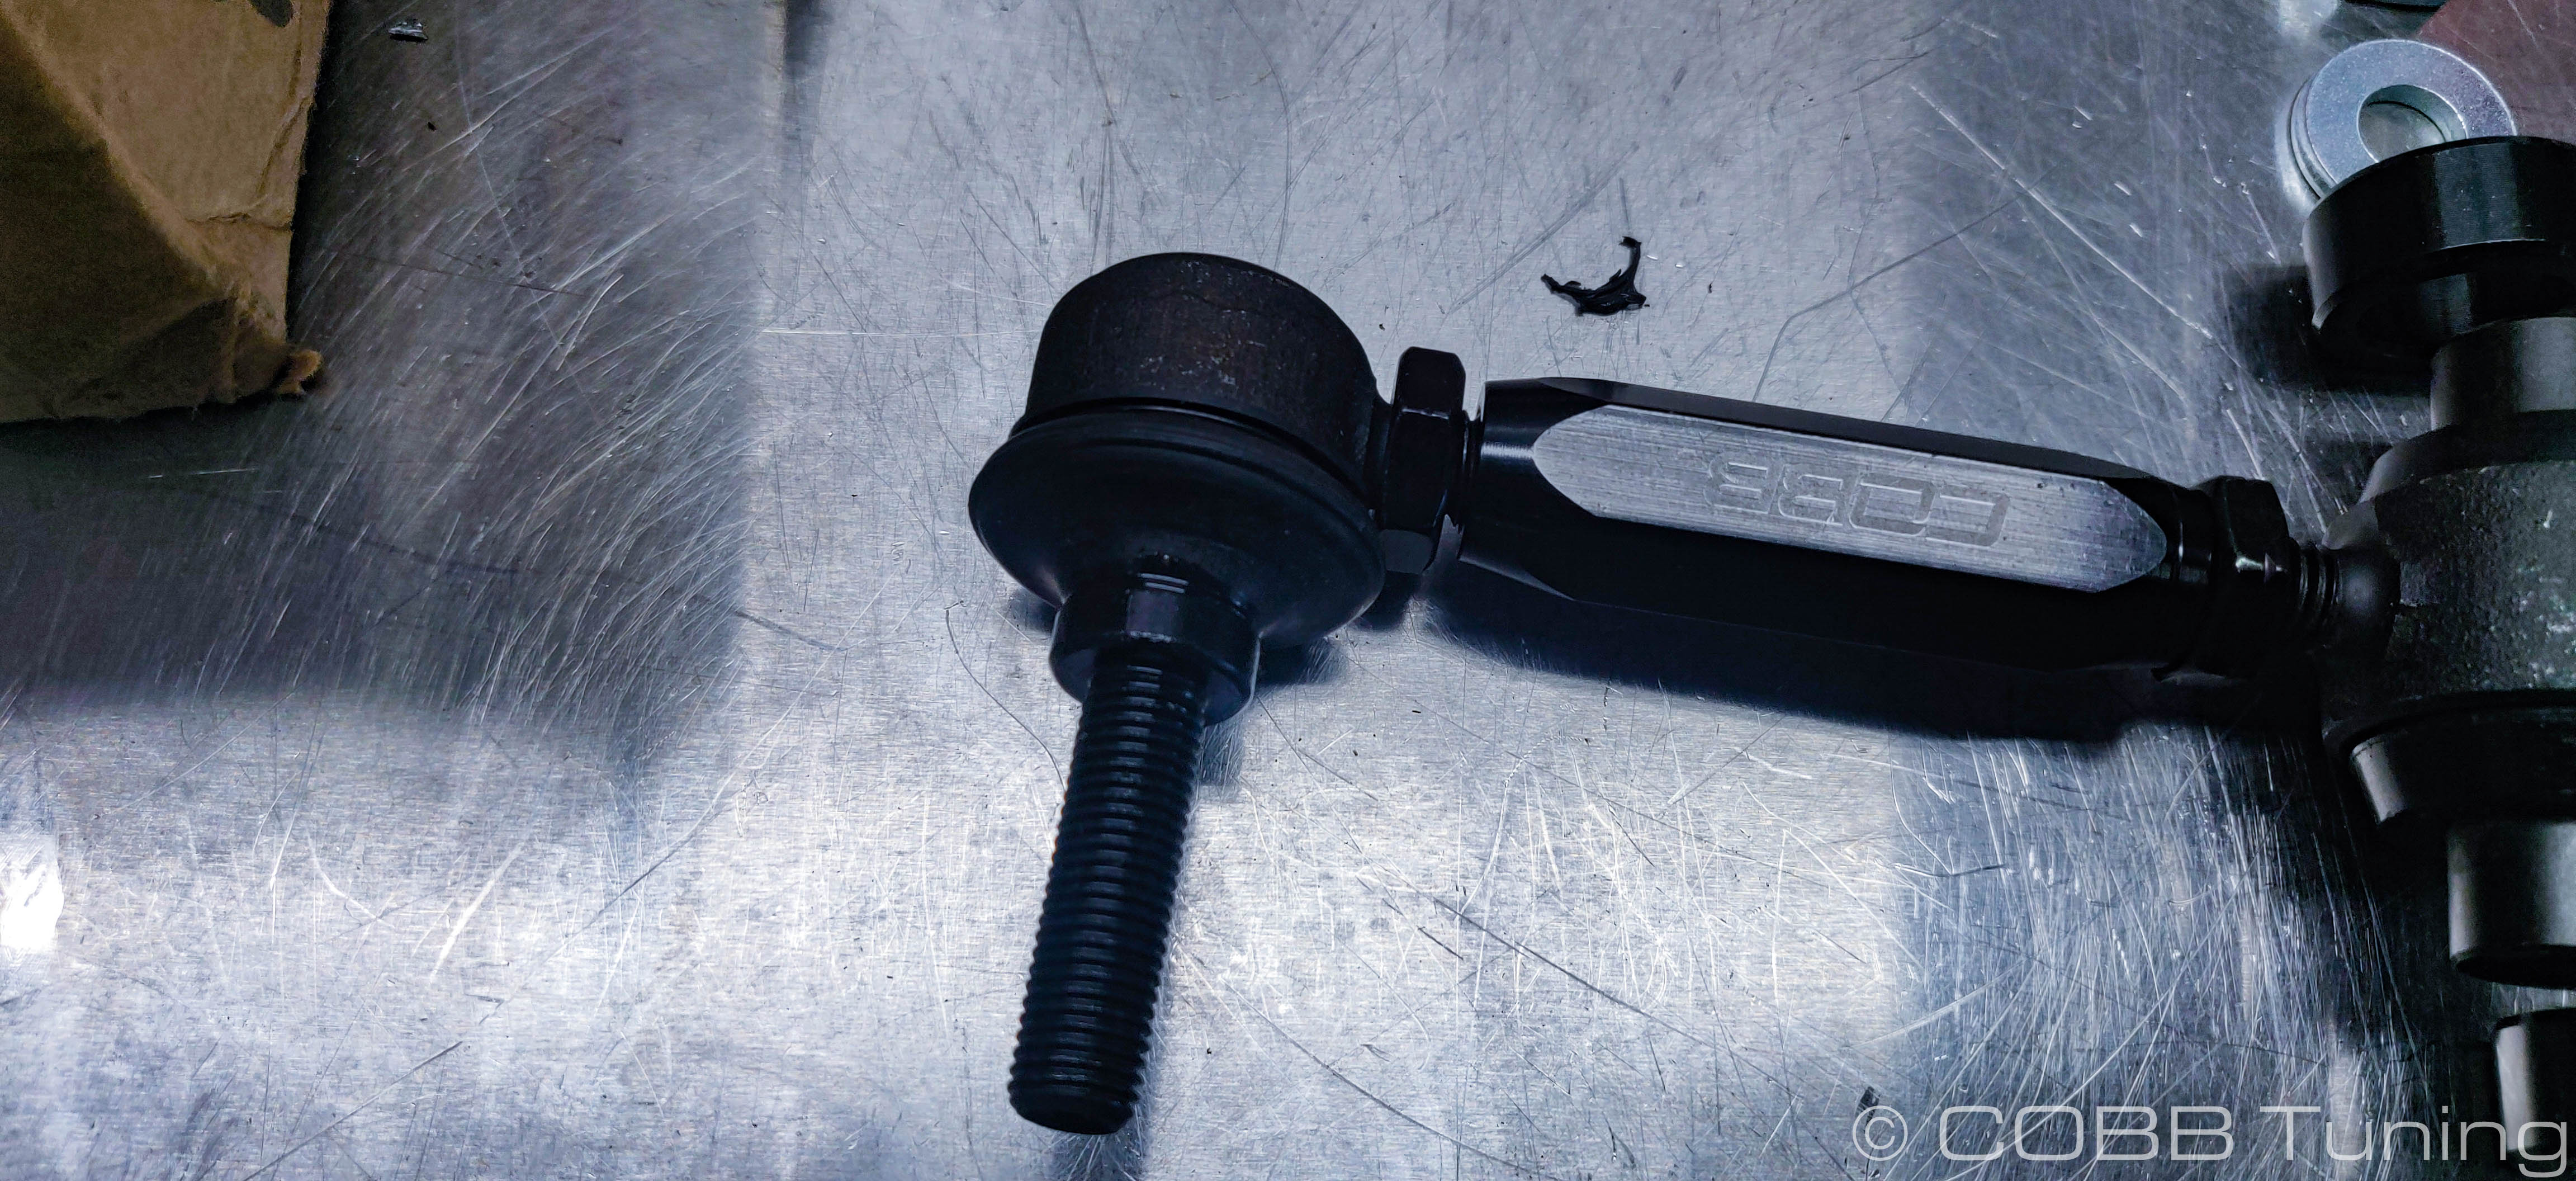
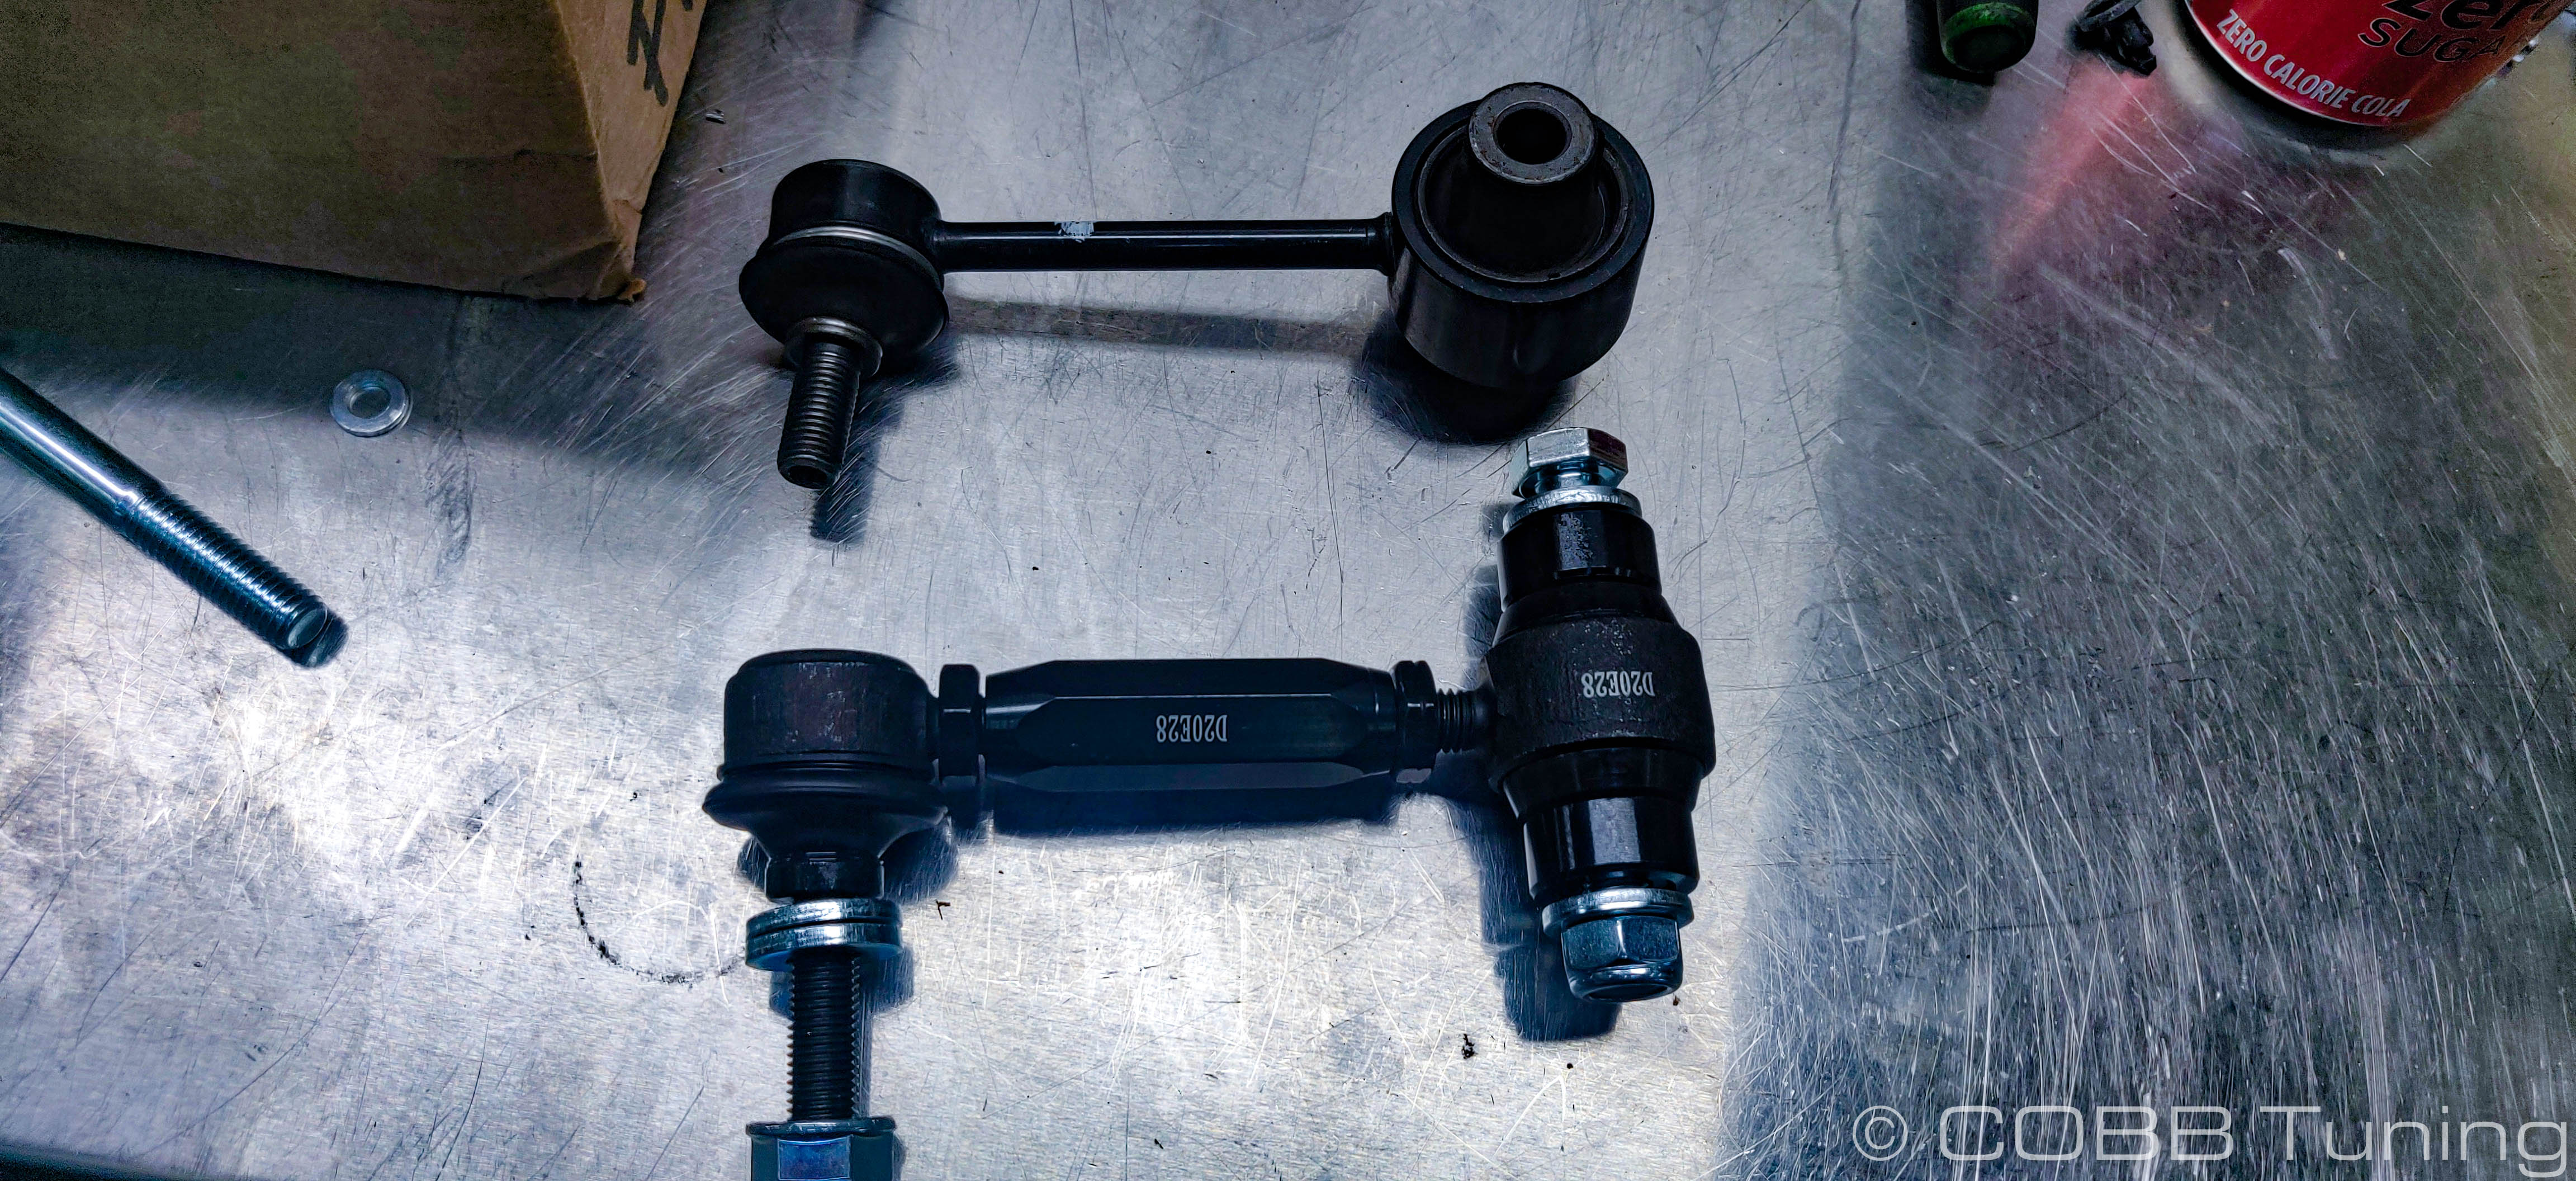
- Pull out one of the COBB Adjustable End-Links and remove the red cover from the top piece.
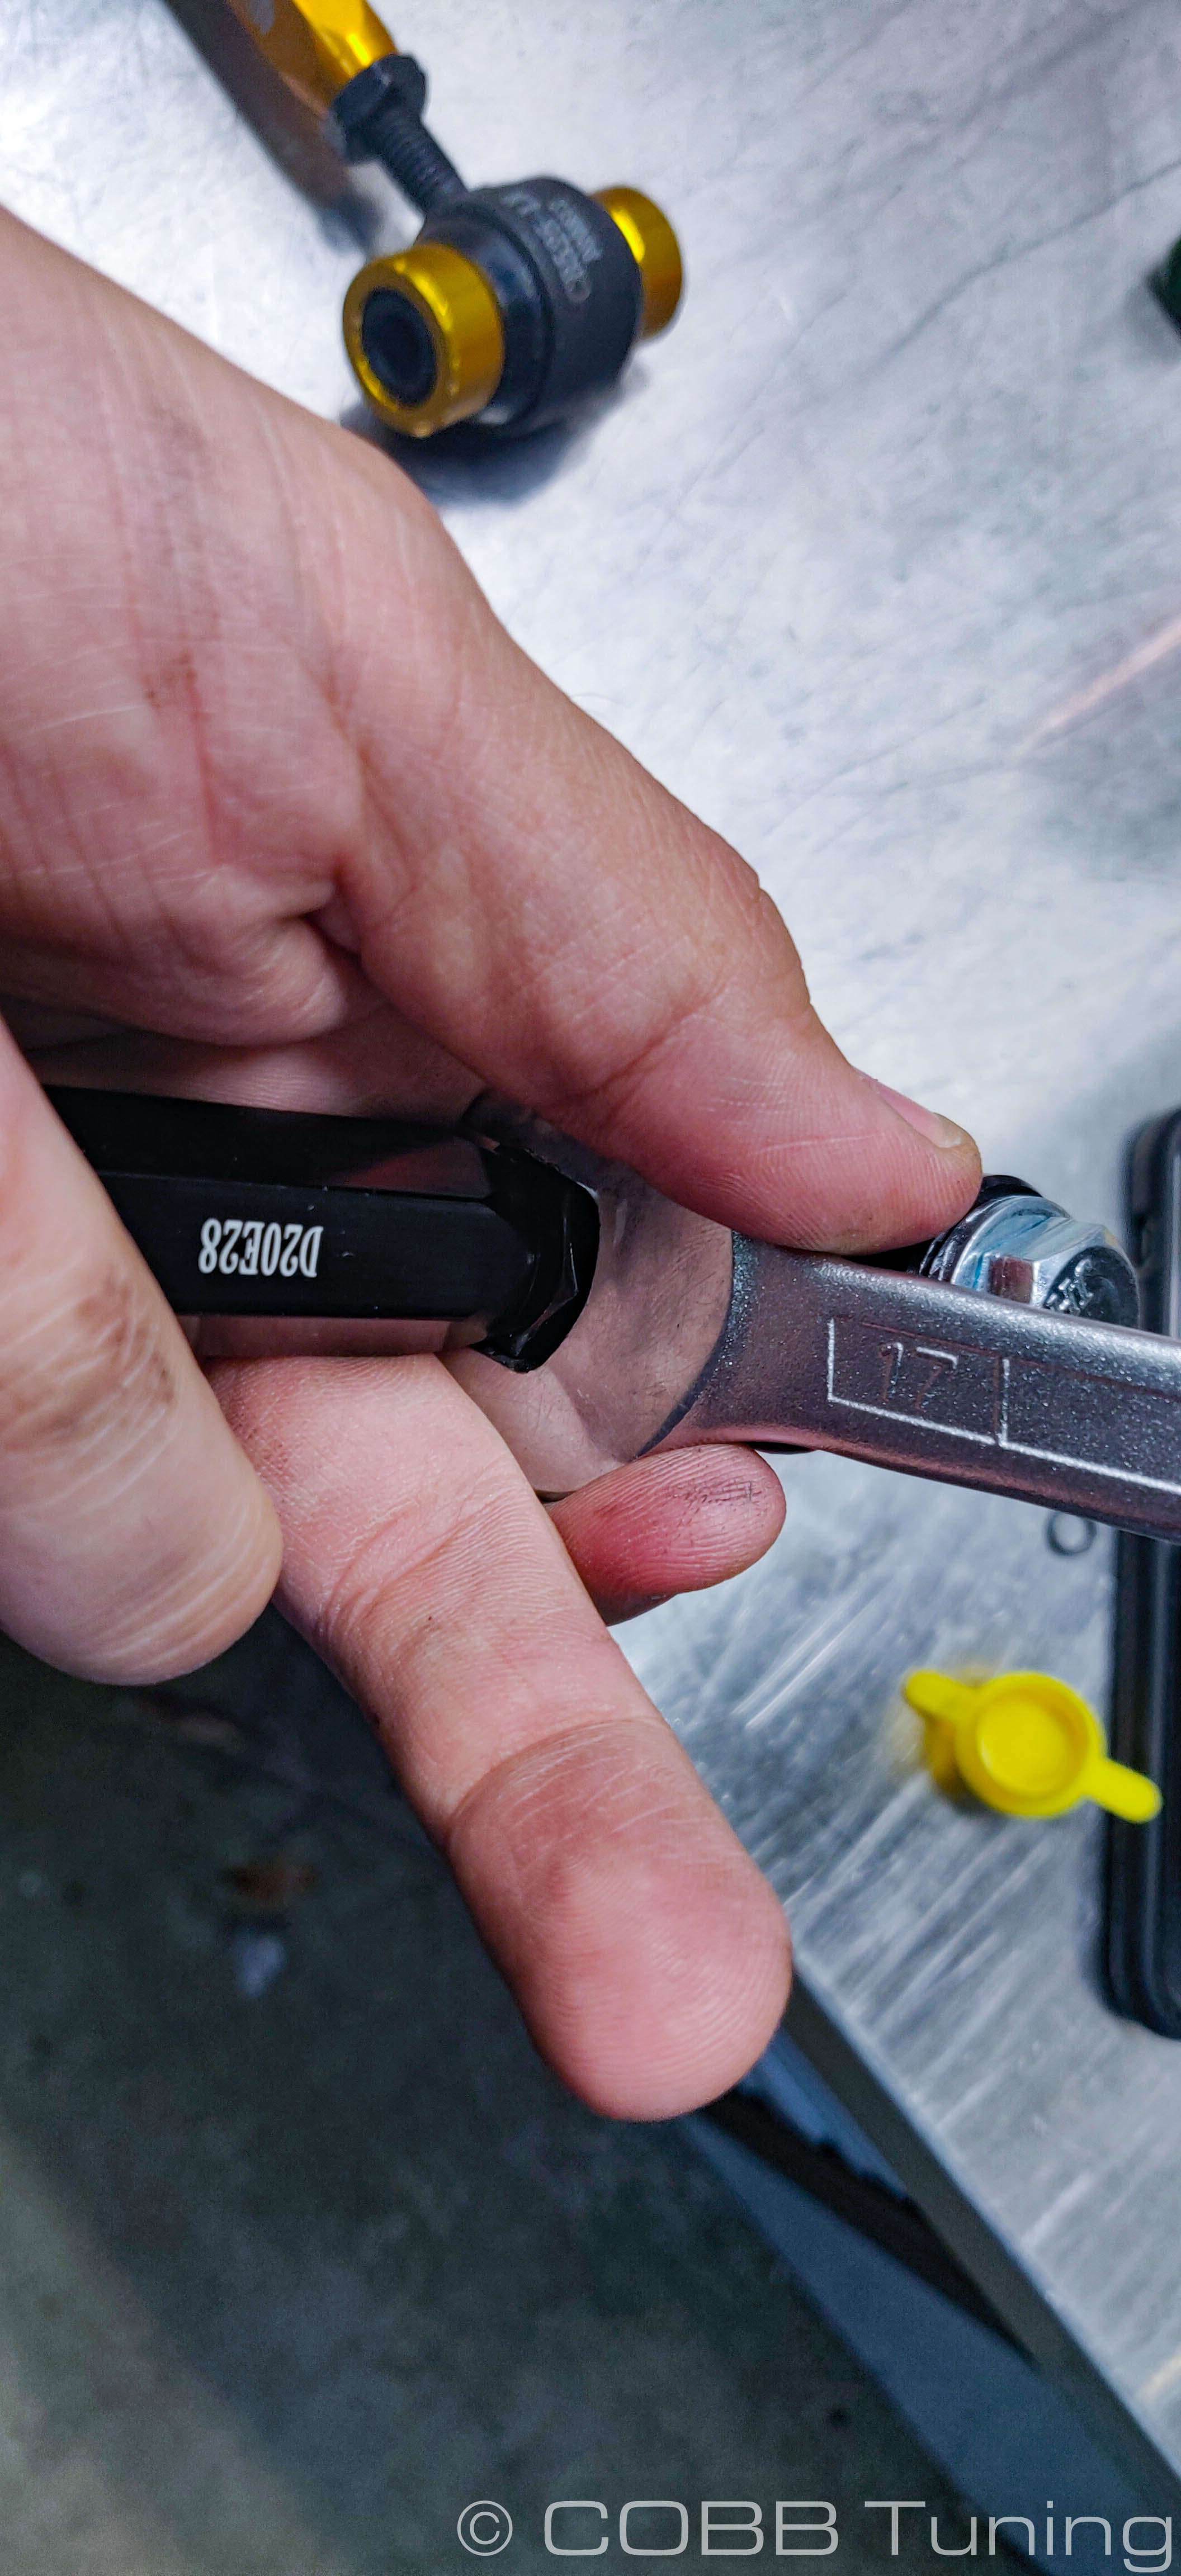
- Loosening the jam nuts on either side of the main sleeve, you'll want to turn the sleeve until it's 18-20 mm longer than the factory one. The jam nuts are going to use a 17mm wrench while the center body will be 18mm.
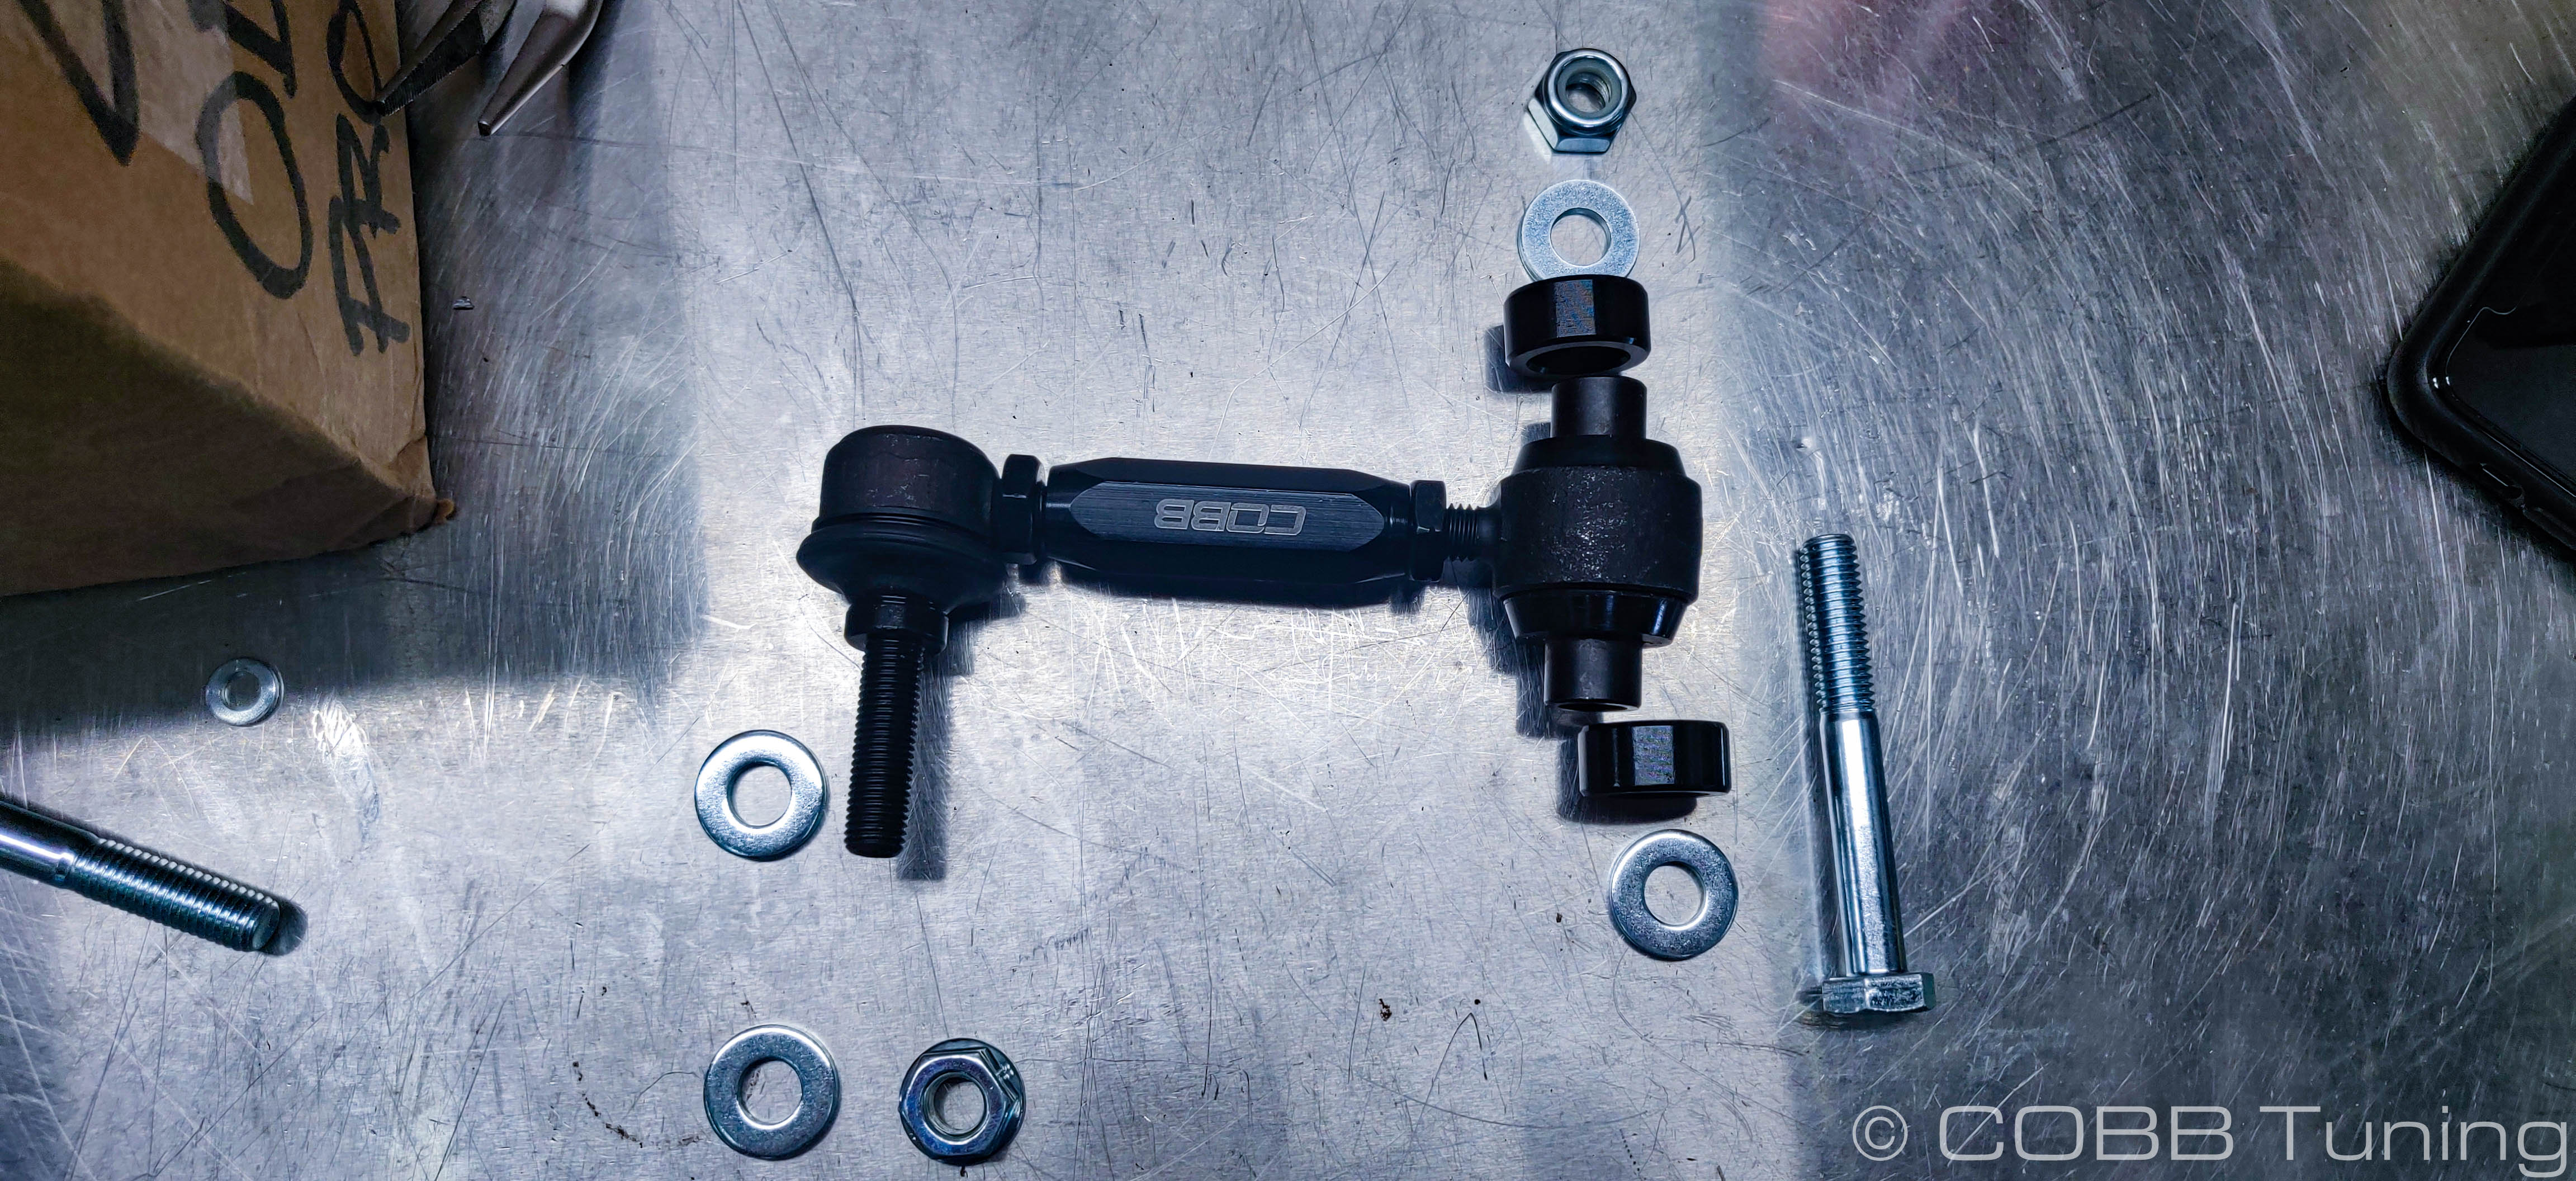
- Leaving the jam nuts loose for now you can now install the bottom end where it mounts into the lower control arm. The washers will go on the outside of the arms, while the black aluminum spacers will pop over the bottom "T" bushing ends and goinsie of the control arm. The bolt will go into the arm from the front, with the nut on the back side. Get the nut on but leave it loose for now.
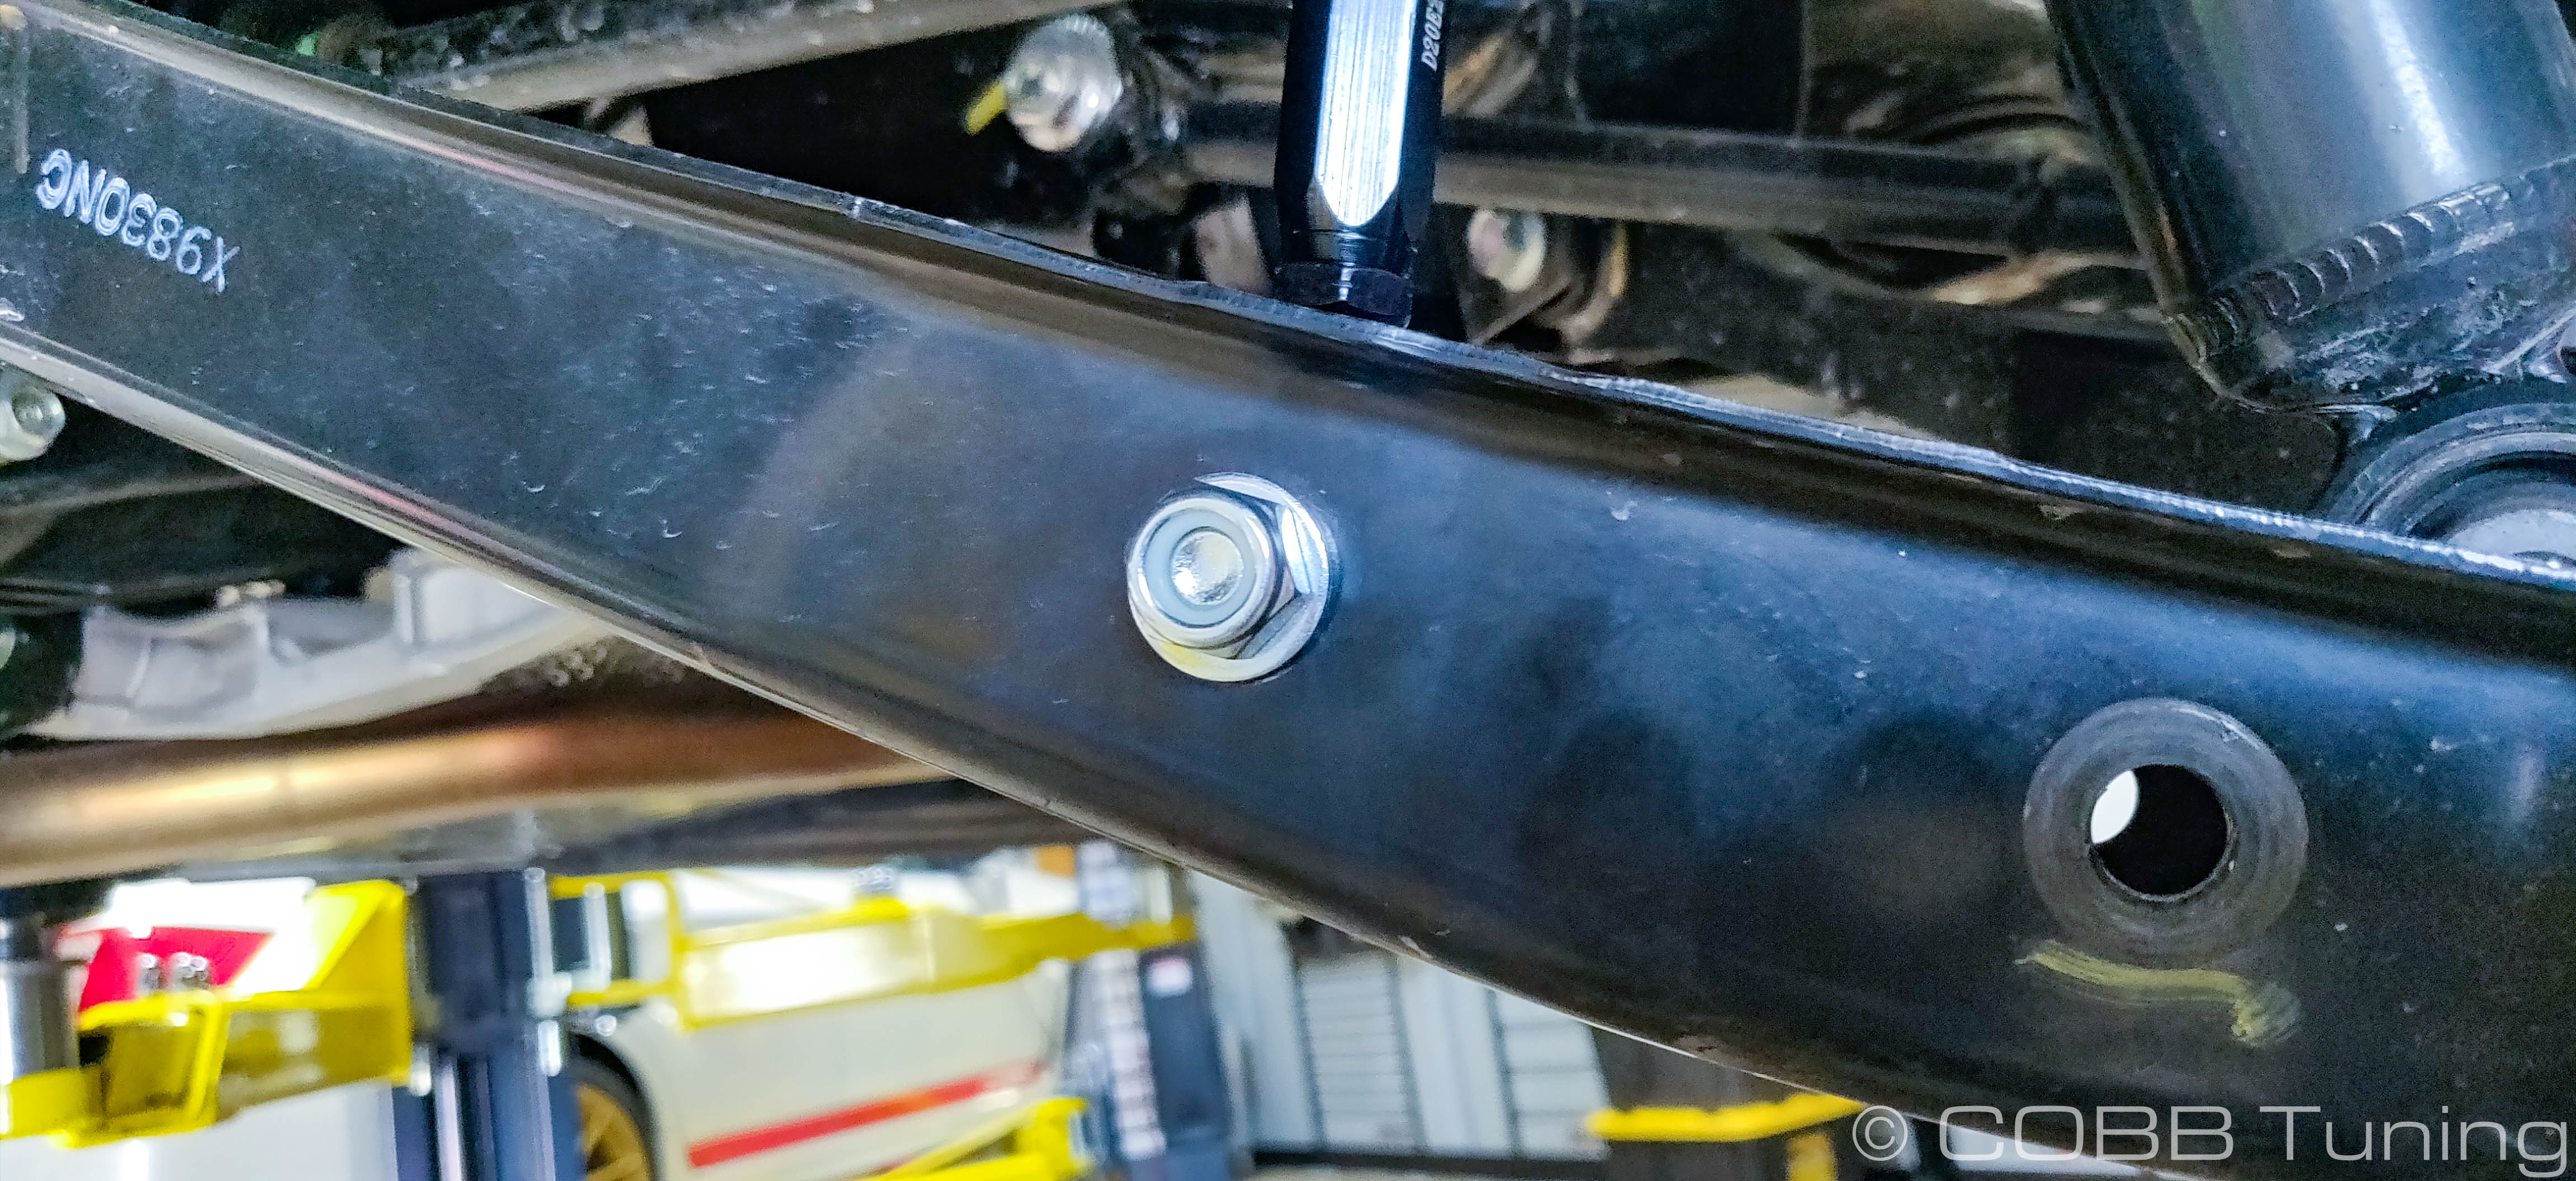
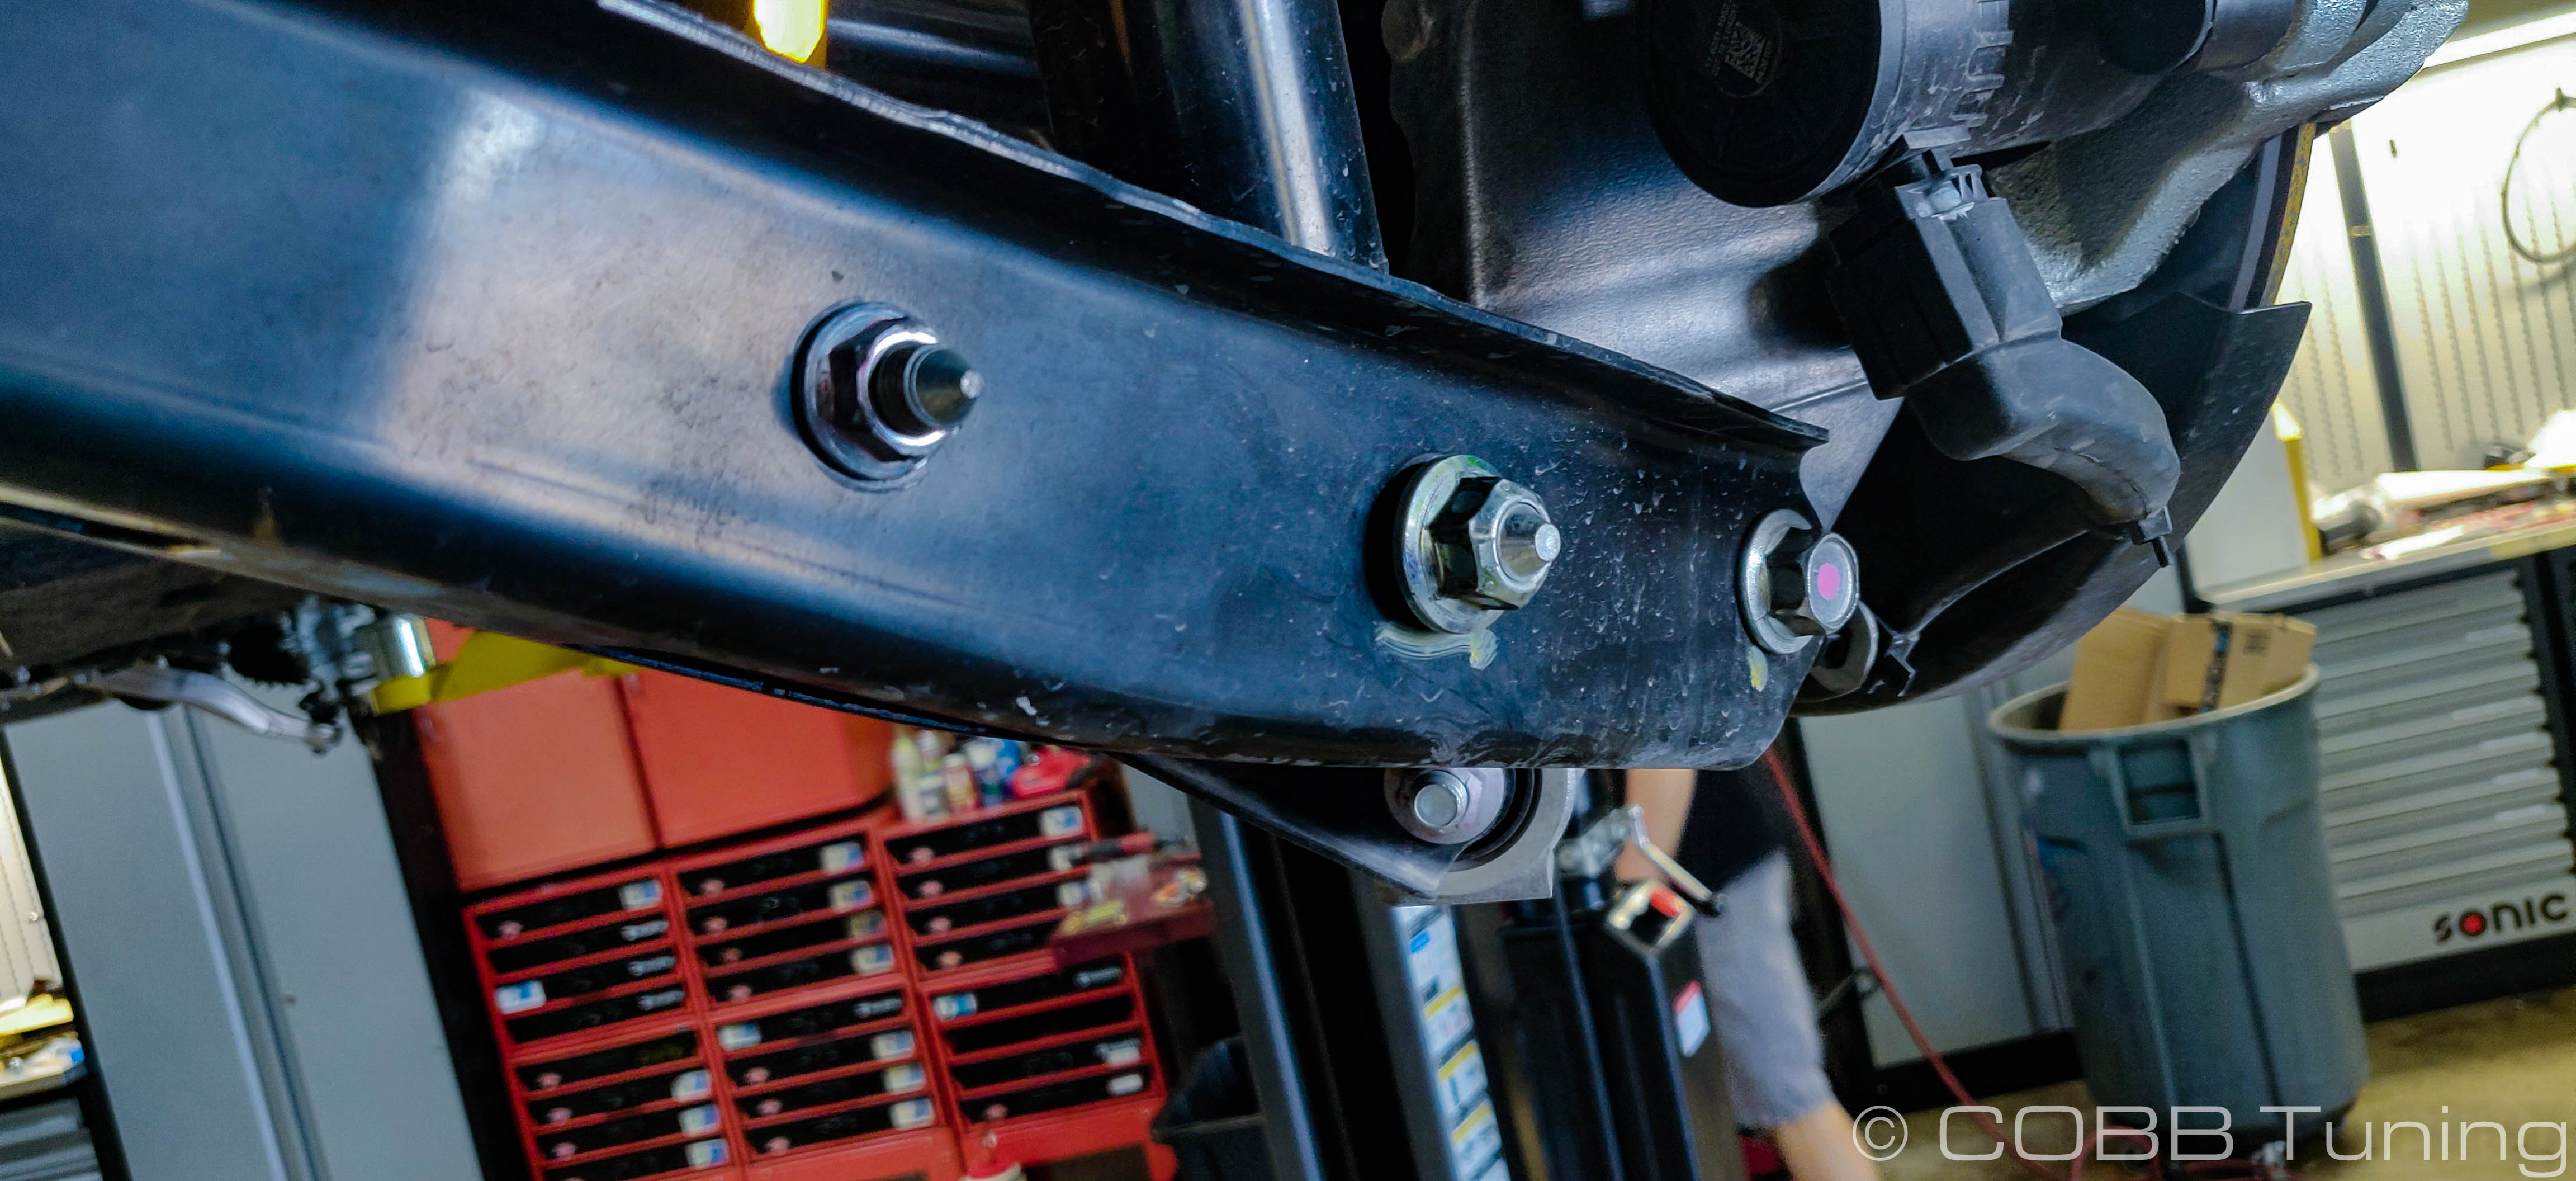
- Reinstall the lower strut bolt and control arm bolt (in that order). You may need to use a jack to adjust either the arm or the knuckle to the height needed.
- Leaving the center brackets of the sway bar off, loosely install the top of the sway bar end link back into the sway bar on each side. There should be a washer on either side of the sway bar with the supplied nut holding it all together.

- With both sides of the sway bar attached loosely to the end links, you can re-install the center brackets.
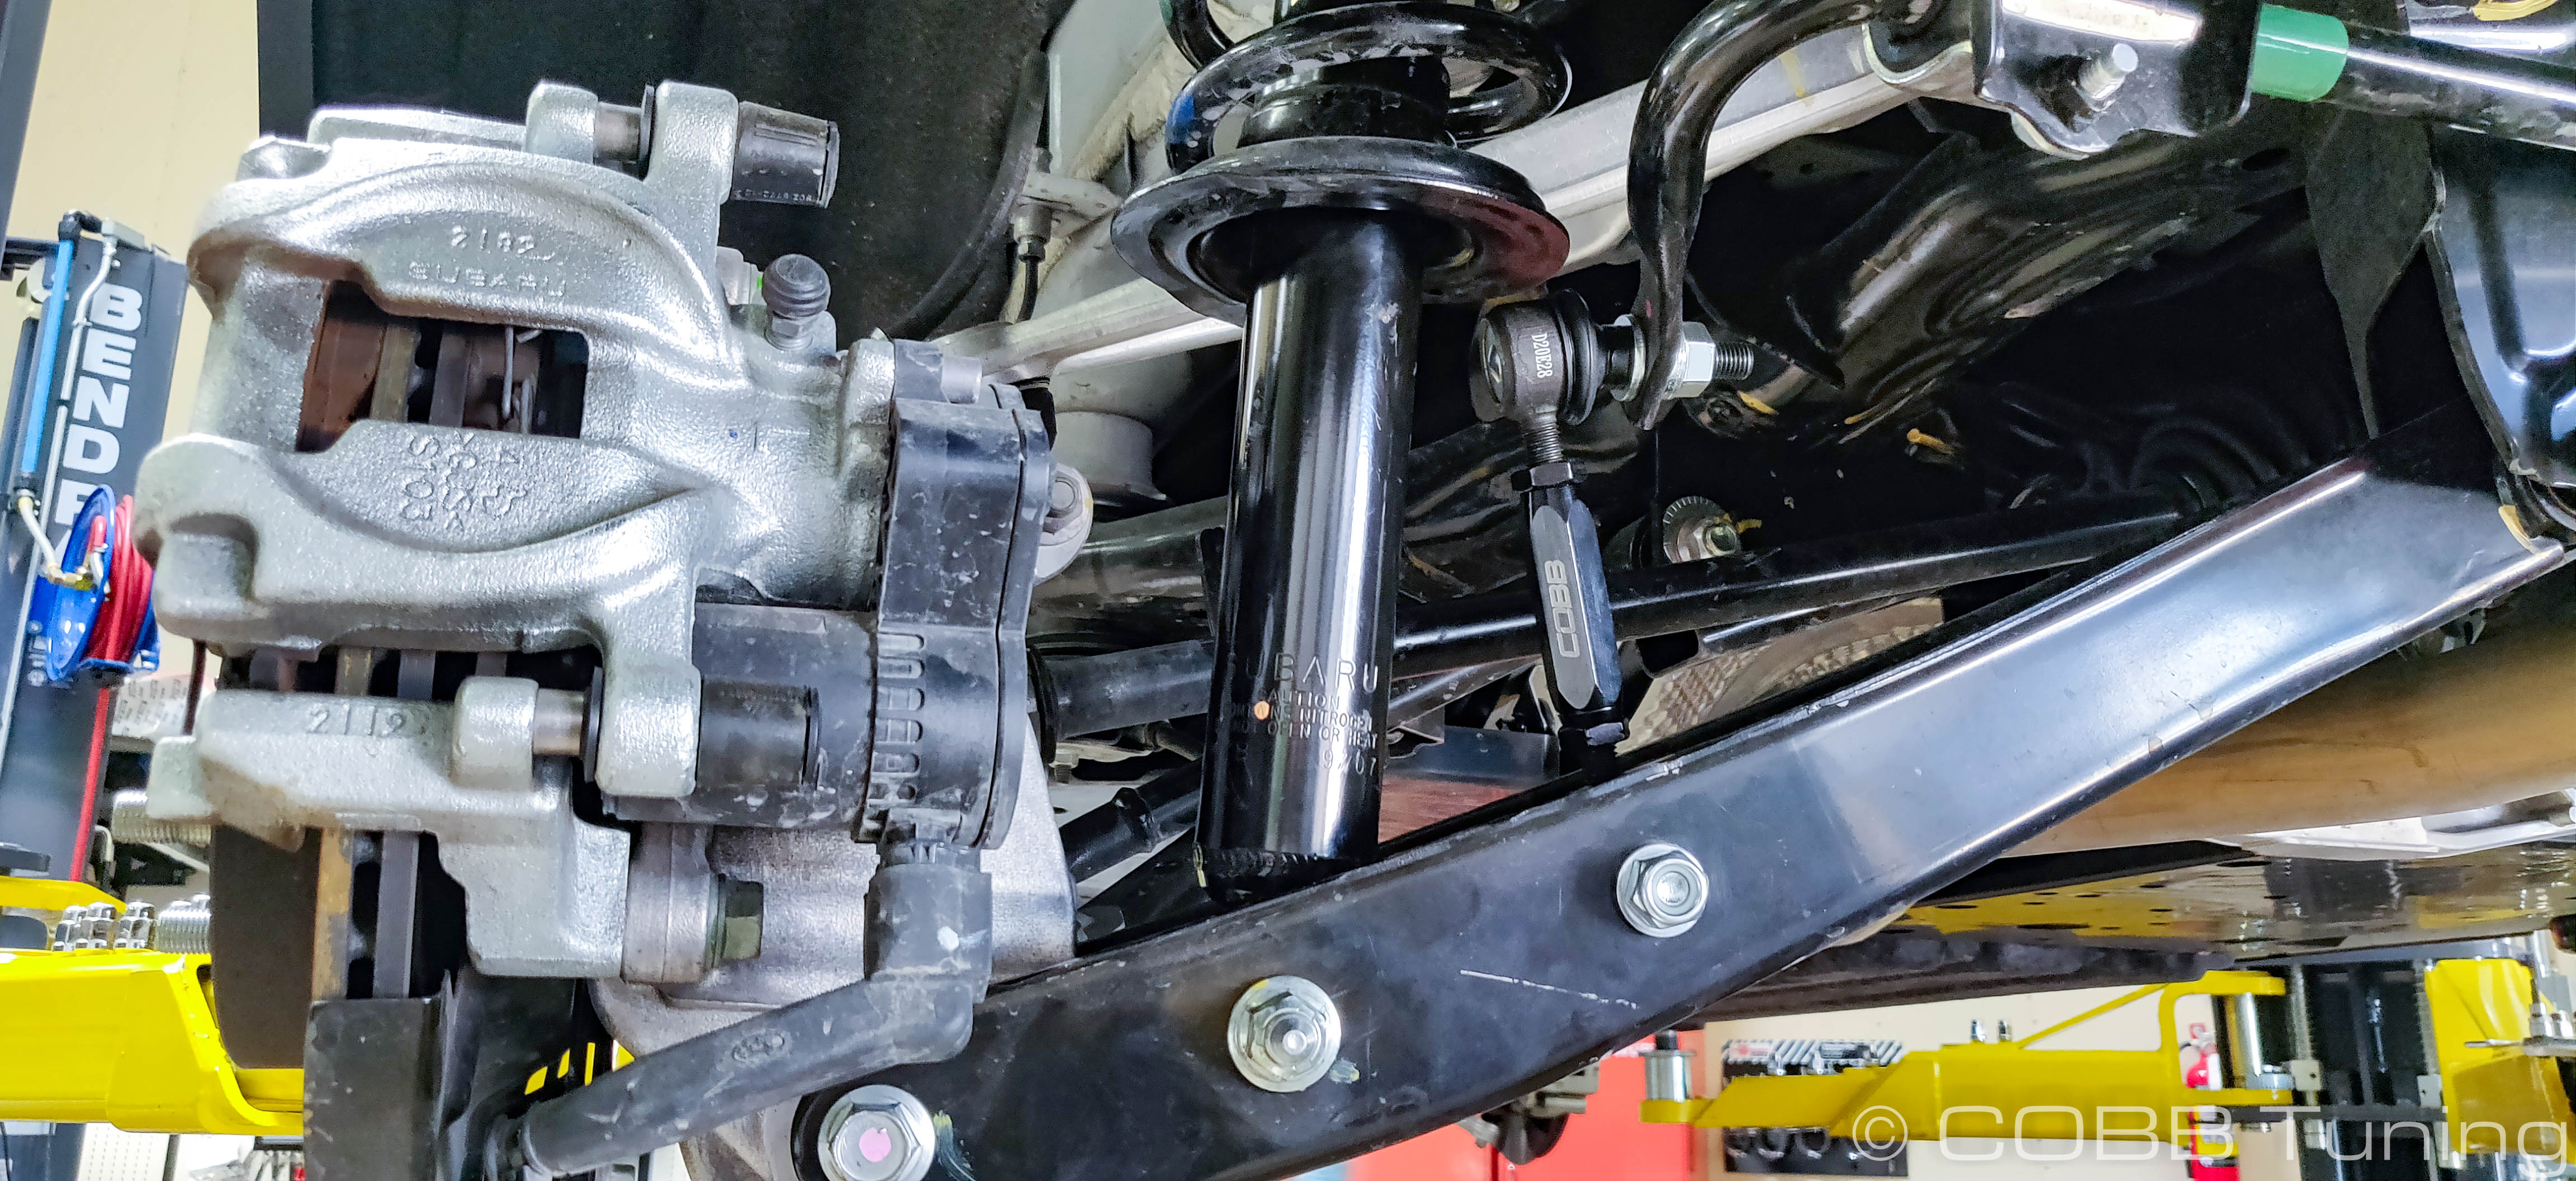

- Tighten the bolts going through the control arm for the end link as well as the top end link bolt going through the sway bar. You may need to use a 5mm allen to hold the center in place while you tighen the nut with a ratchet.
- Reinstall the wheels and torque them down on both sides.
- Drop the car down gently onto it's wheels using a jack. Depending on the size of your wheels and tires you may need to set it down on some wide boards in order to fit down underneath it.
- With the car on it's weight you can look at the sway bar and adjust the end links on either side by twisting the center collar.
Things to keep in mind while adjusting them:
- No tension on the bar when it's at ride height. This means the end links shouldn't be pulling against eachother.
- The bar is fairly level from side to side rather than being twisted (this should happen naturally when you remove tension from the bar)
- The sway bar and end links won't hit anything as the control arm goes up and down in it's natural range of motion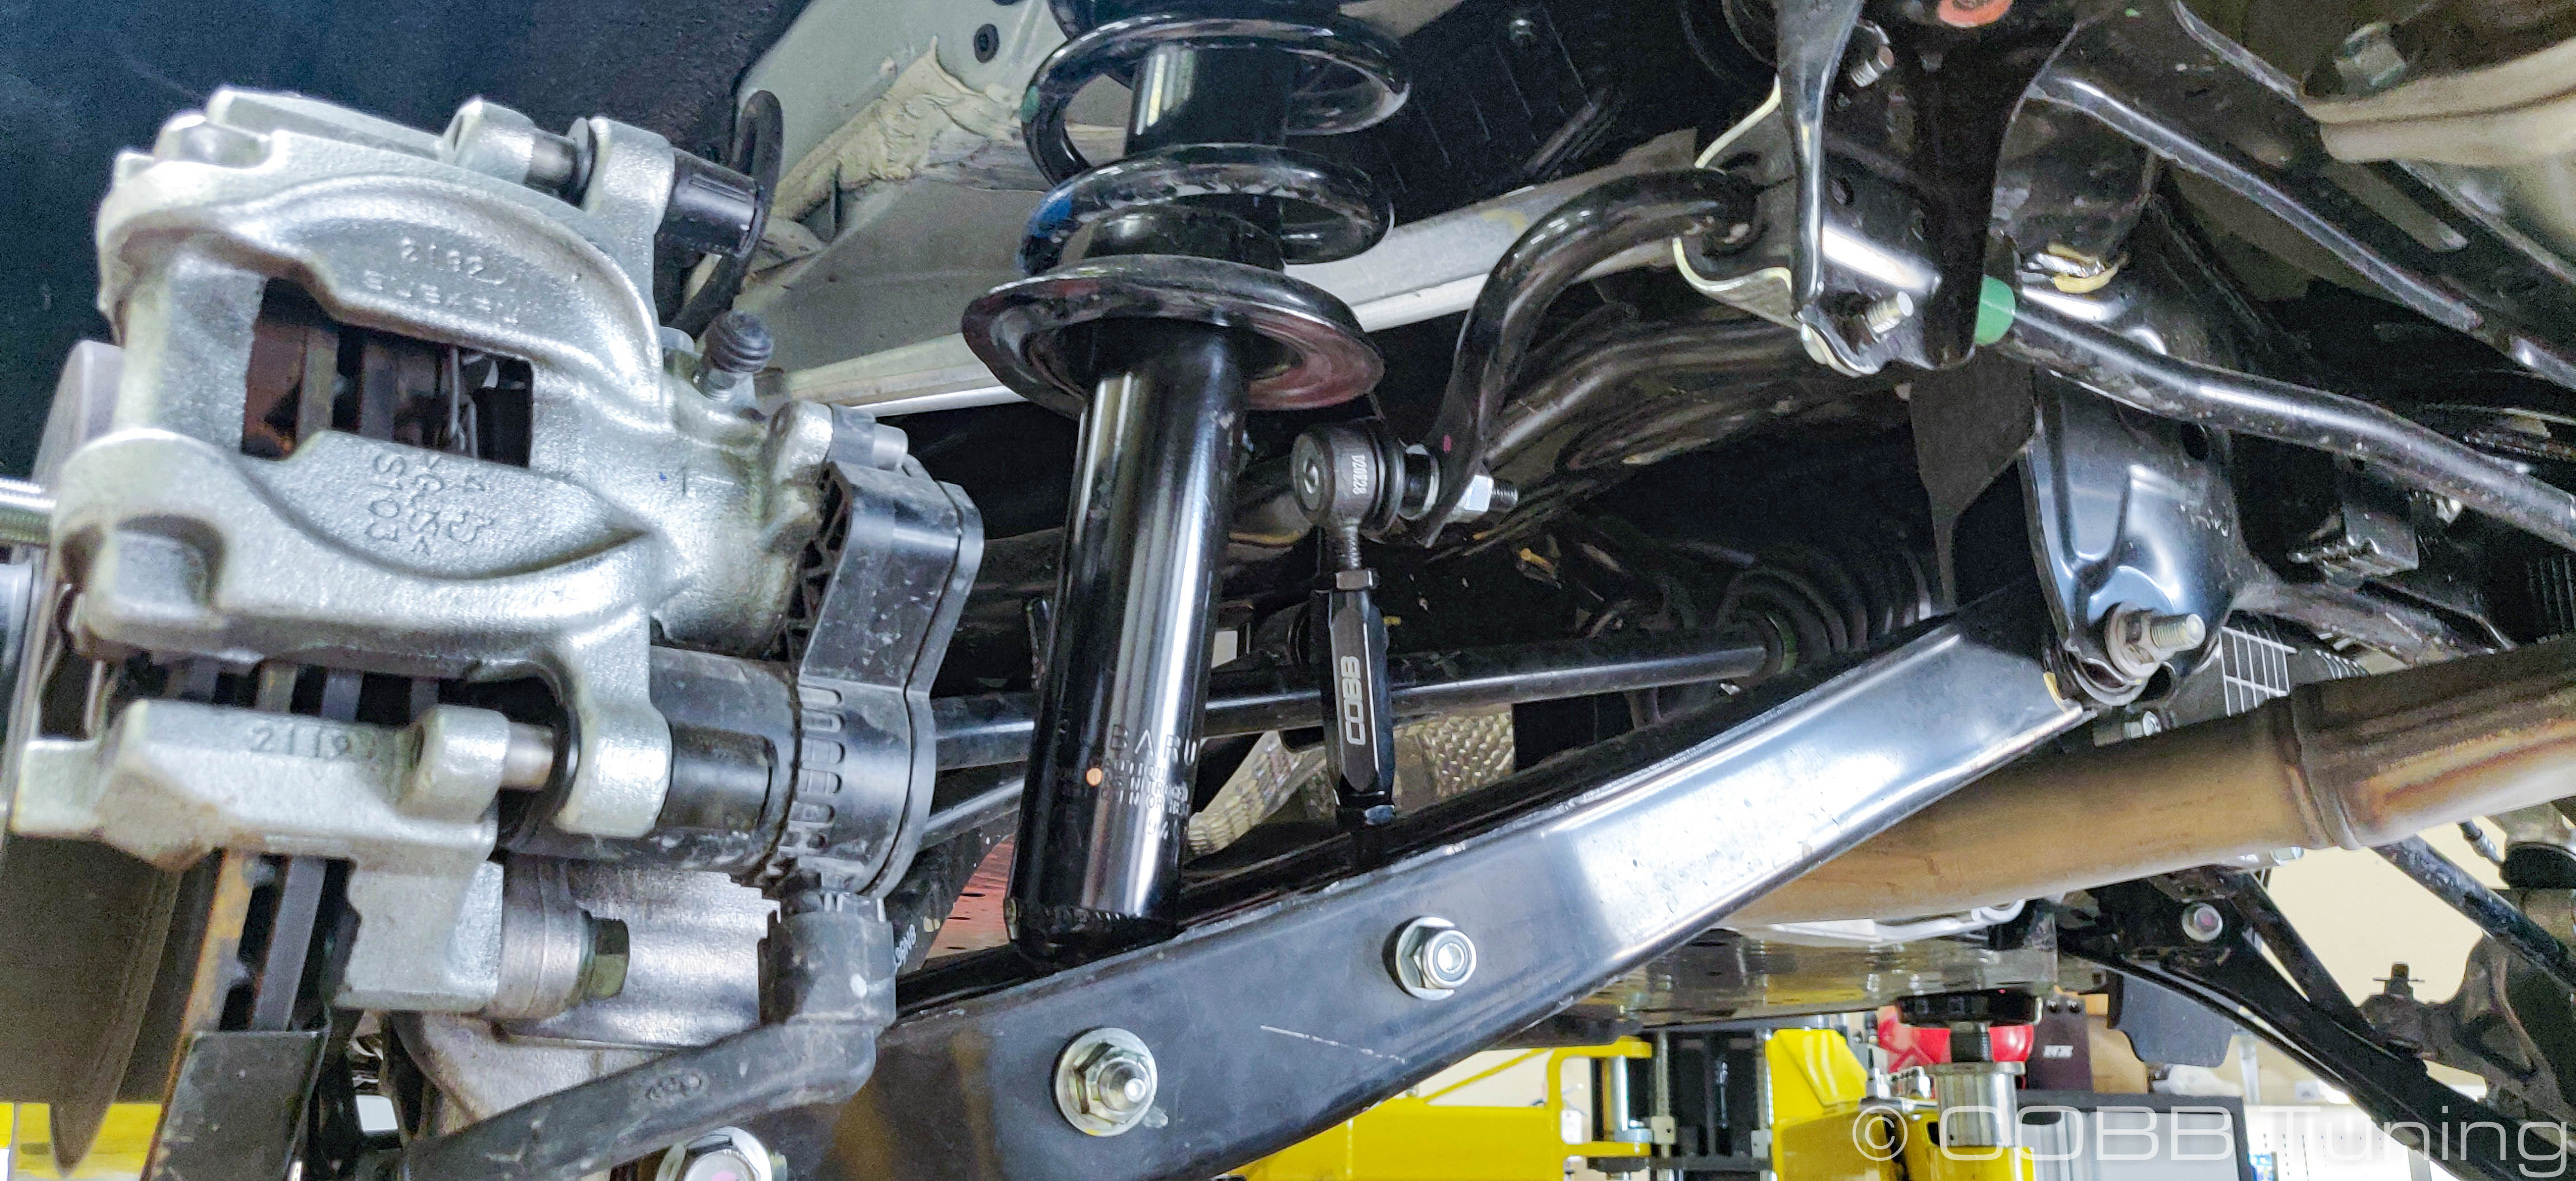
- Once the adjusment is complete add a small dab of the supplied loctite to the threads above the adjuster and spin down the jam nuts to lock it in place. Tighten using a 17mm on the nut and 18mm on the adjuster body. Keep in mind that one end of the link is threaded left-handed (counter-clockwise) so you'll need to spin the nut in that direction to tighten it.
- Get an alignment to bring things back into spec so that it is safe to drive.
- You're all done! Go out and enjoy!
| Insert excerpt | ||||||
|---|---|---|---|---|---|---|
|