
742110 – VA WRX Charge Pipe
Subaru WRX 2015 - 20202021
Congratulations on your purchase of the COBB Tuning VA WRX Charge Pipe! The following instructions will assist you through the installation process. Please read them BEFORE beginning the install to familiarize yourself with the steps and tools needed. If you feel you cannot properly perform this installation, we HIGHLY recommend you take the vehicle to a qualified and experienced automotive technician.
Table of Contents
| Table of Contents |
|---|
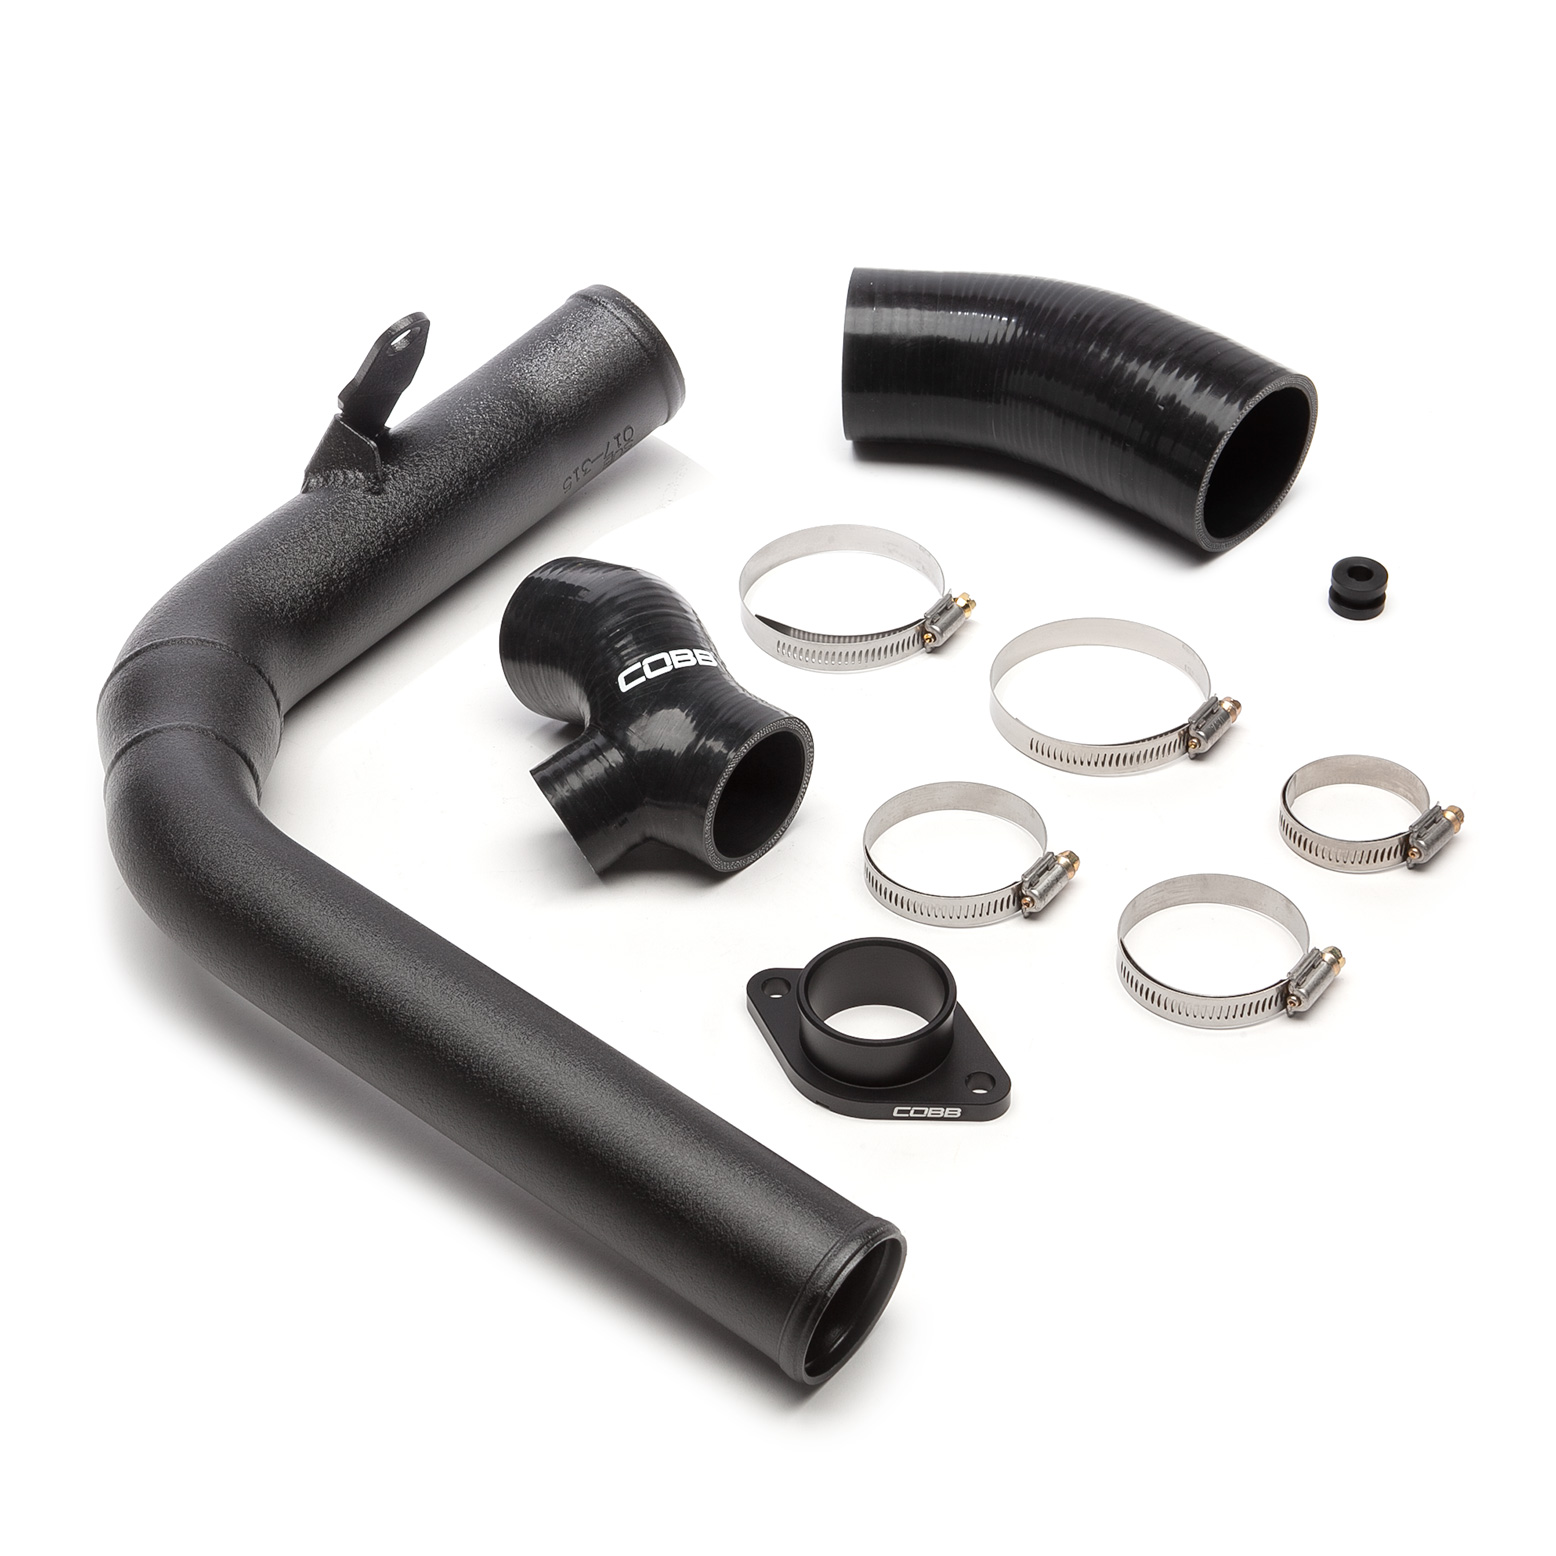
Parts List
- Turbo Outlet Adapter
- Turbo Adapter to Charge Pipe Silicon
- VA WRX Charge Pipe
- Rubber Grommet
- #24 Hose Clamp
- (2) #32 Hose Clamp
- #44 Hose Clamp
- #48 Hose Clamp
Tools Needed
Sockets
3/8"
Hand Tools
Before you Begin
- Park your car in a flat, level area out of the way.
- With the vehicle turned off and cooled down, use a 10mm wrench to disconnect the negative terminal of the battery.
- If a lift isn't available, use a jack and properly support the vehicle with jack stands.
Undertray Removal
| Insert excerpt | ||||||
|---|---|---|---|---|---|---|
|
Charge Pipe Removal
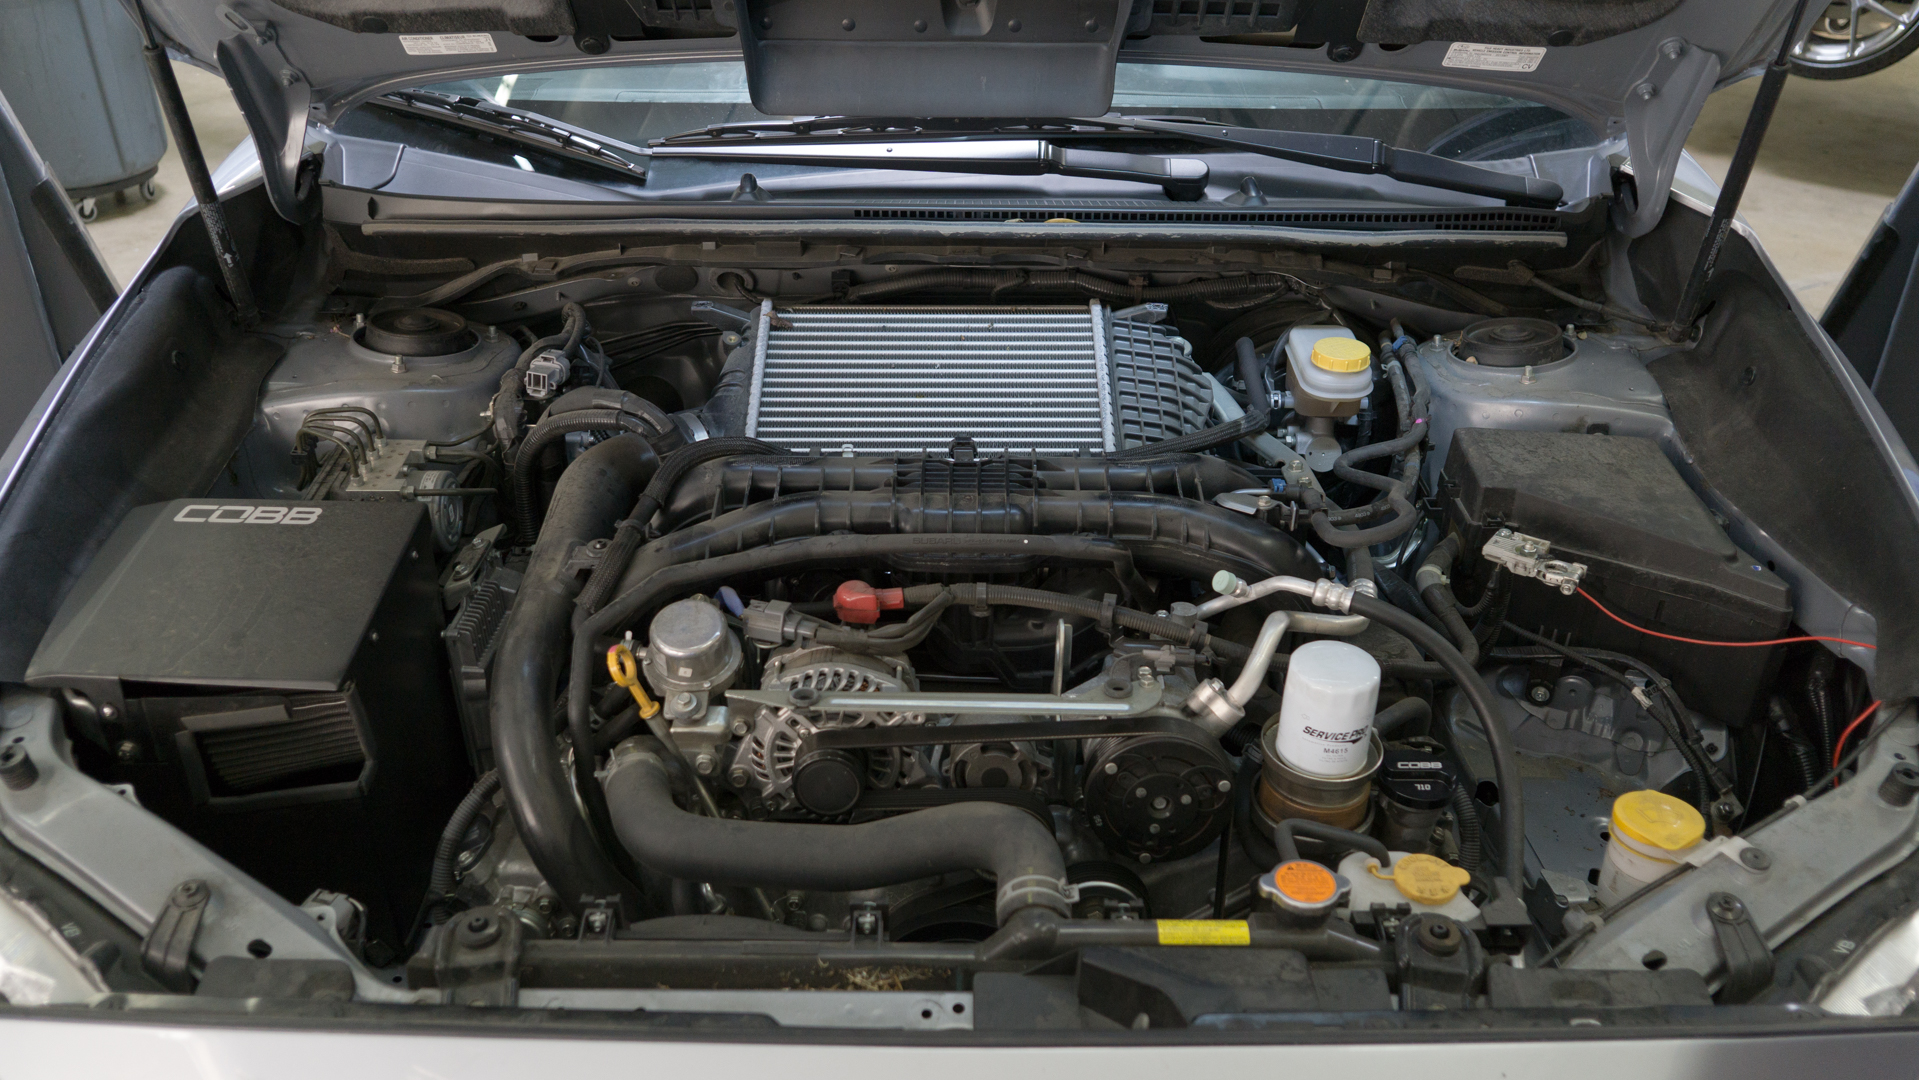
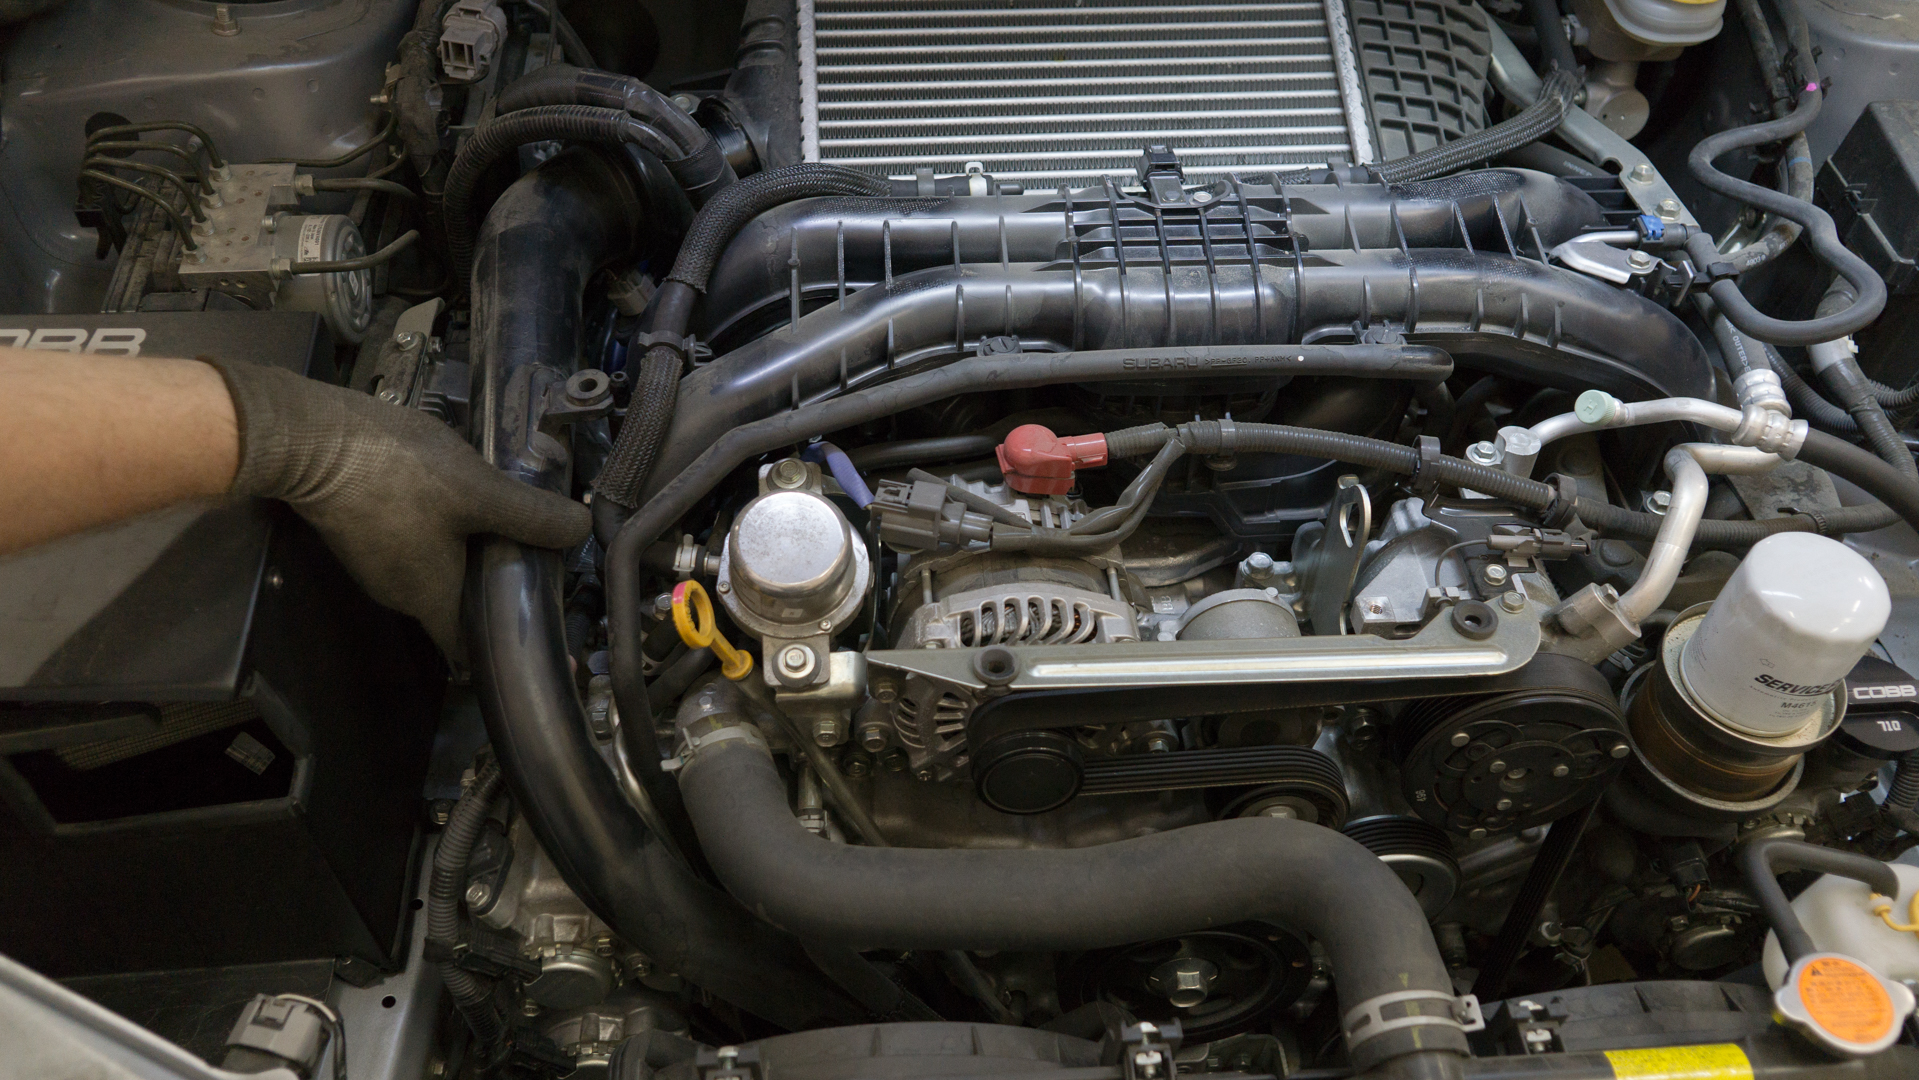
- Remove the two trim clips from the top corners of the engine cover by pulling out on the center portion using a trim tool or flat-blade screwdriver.
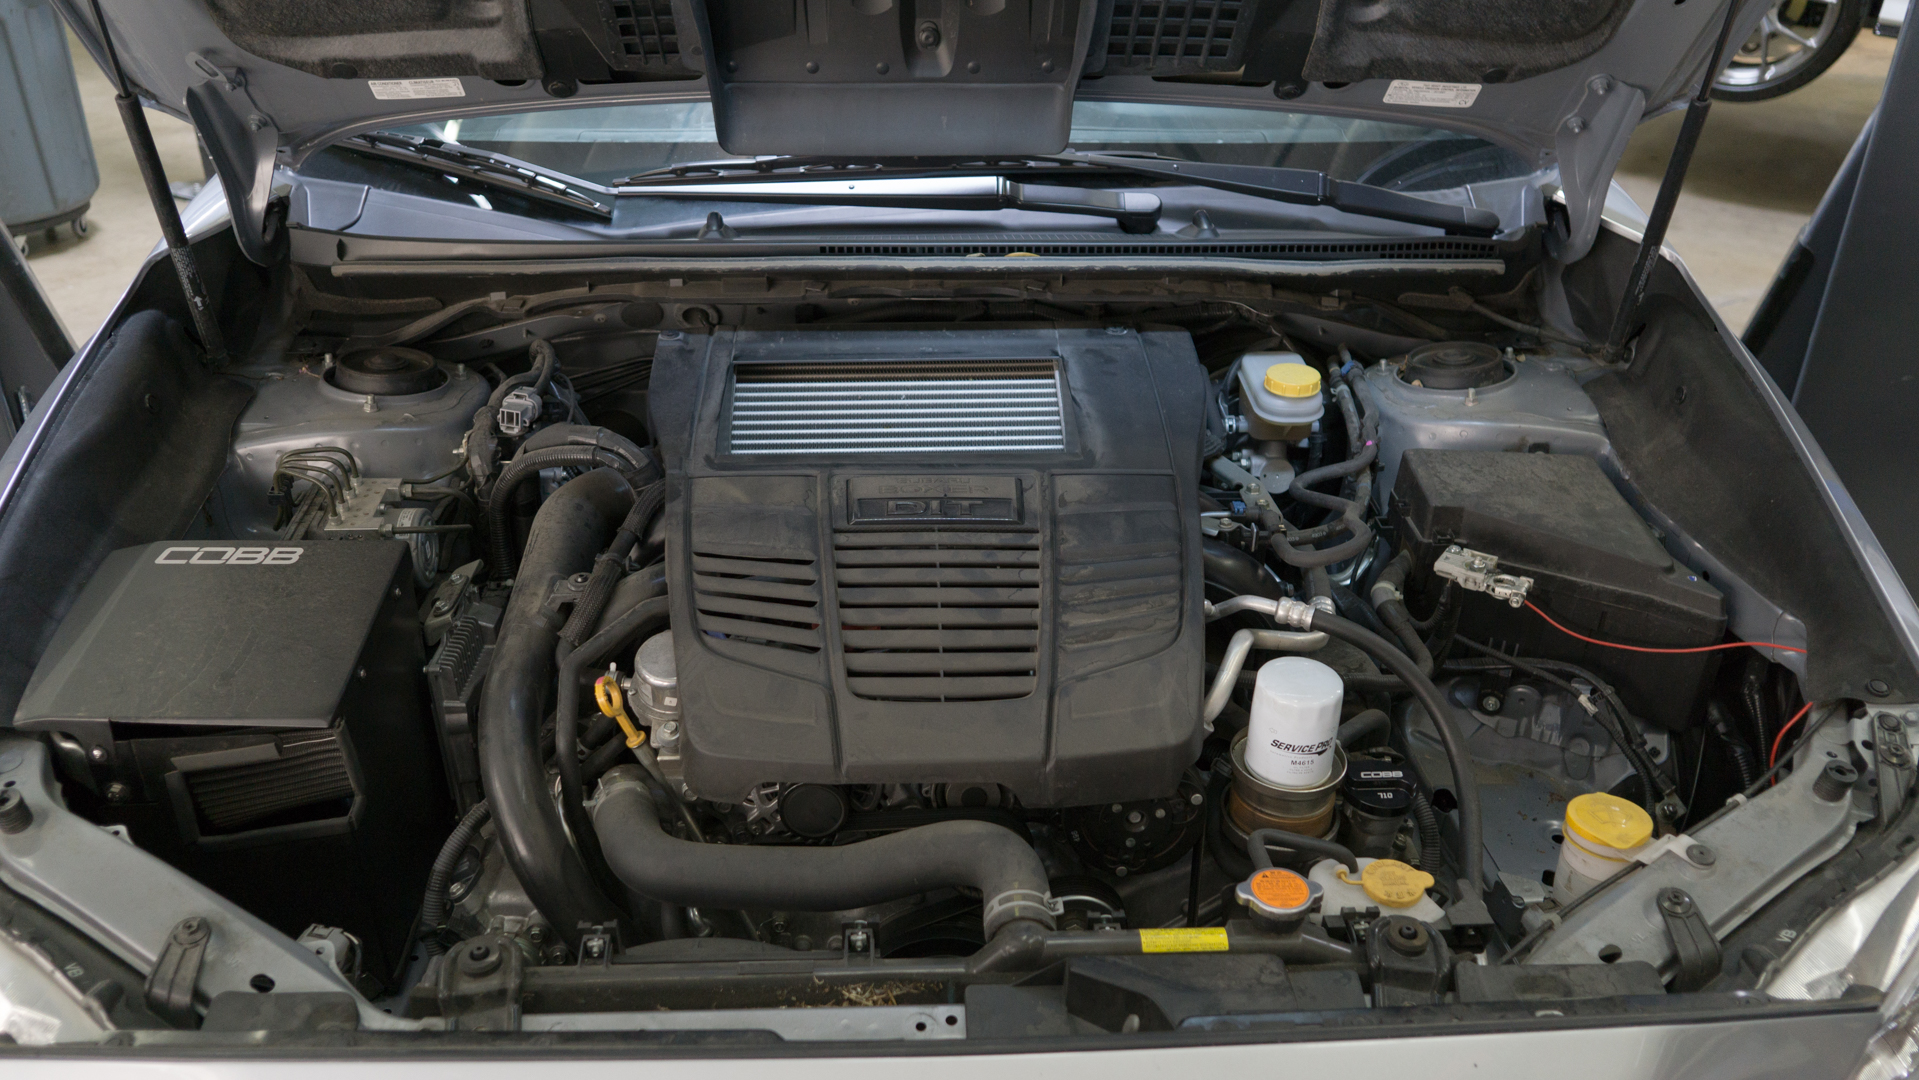
- Remove the engine cover by lifting from the back and pulling it towards you at the front.
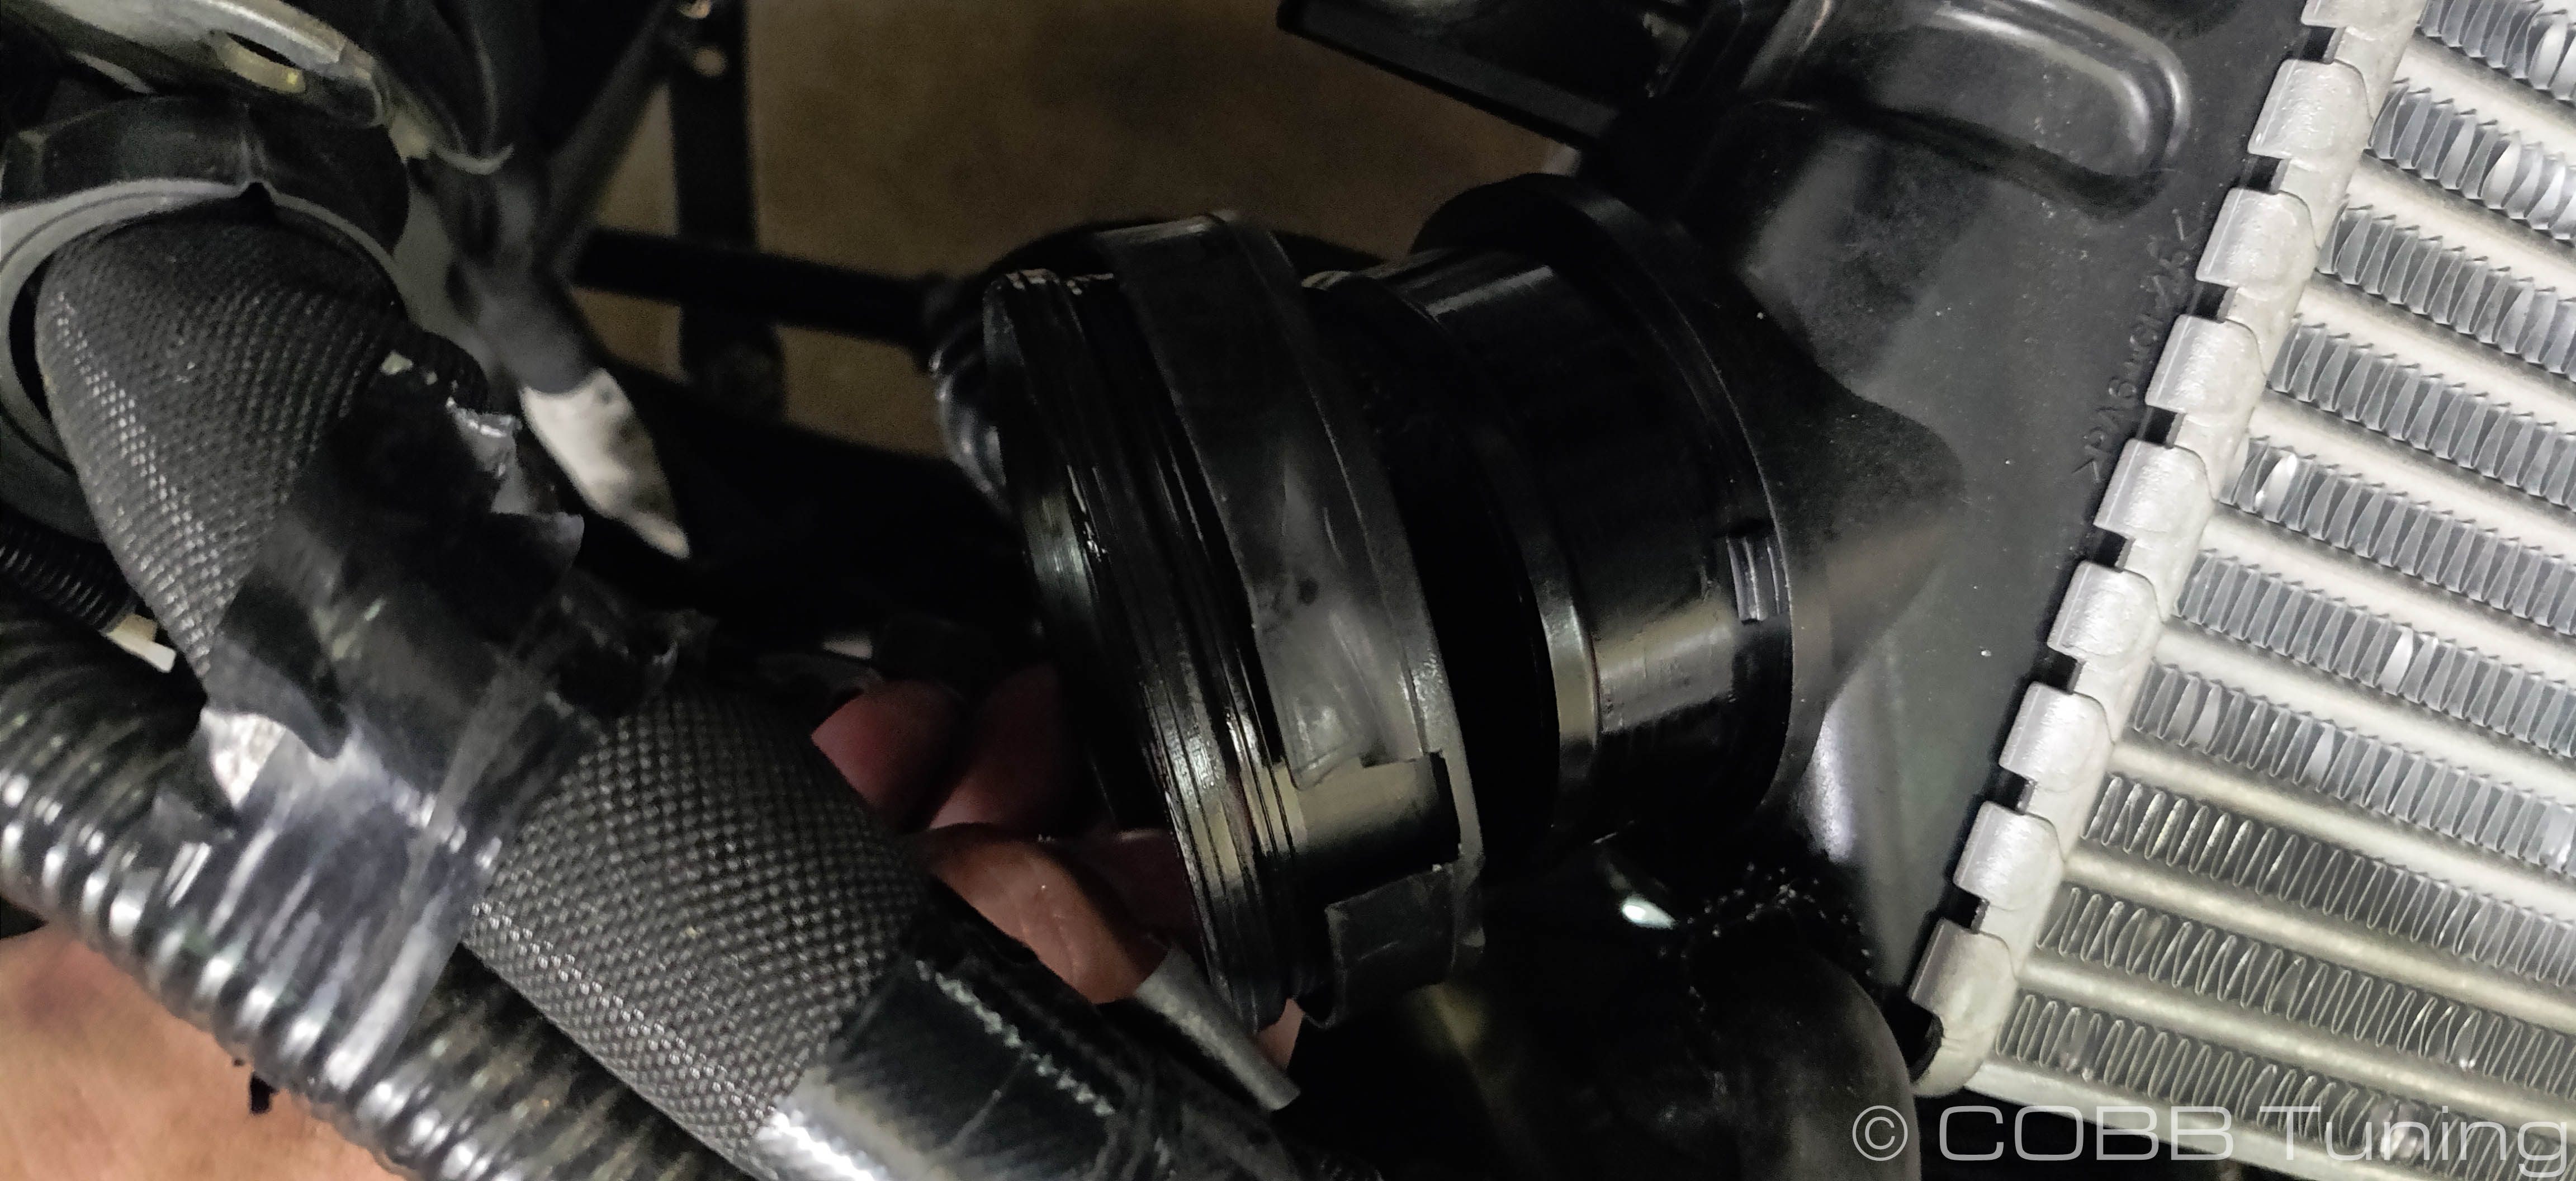
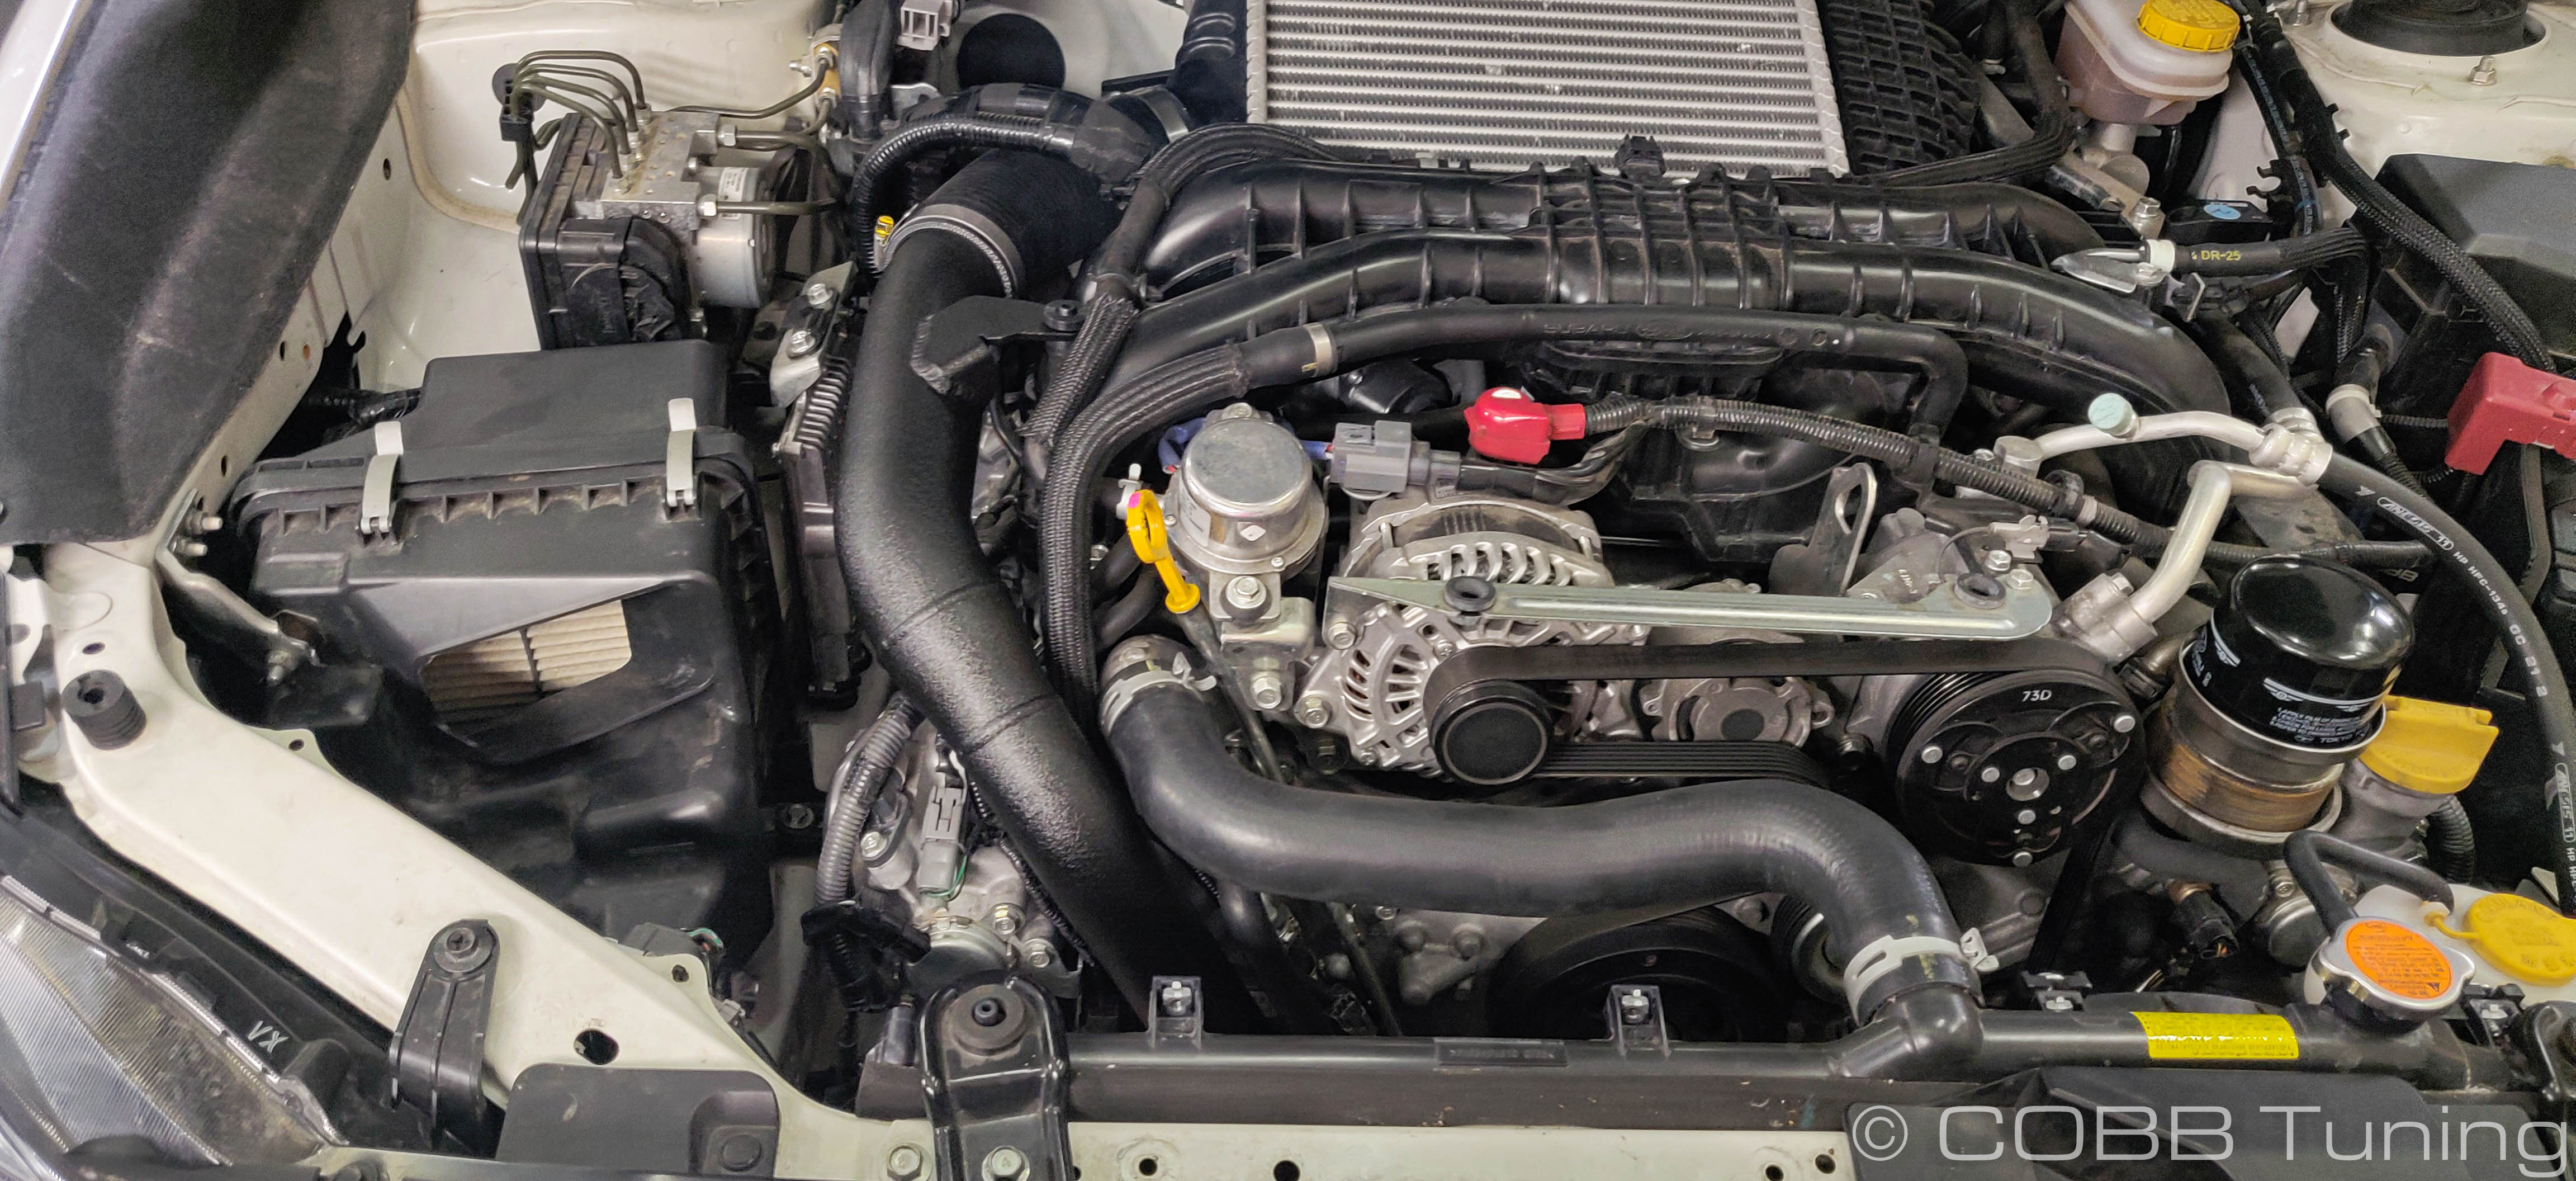
- Remove the 8mm hose clamp securing the factory charge pipe to the passenger's side and pull the pipe free.
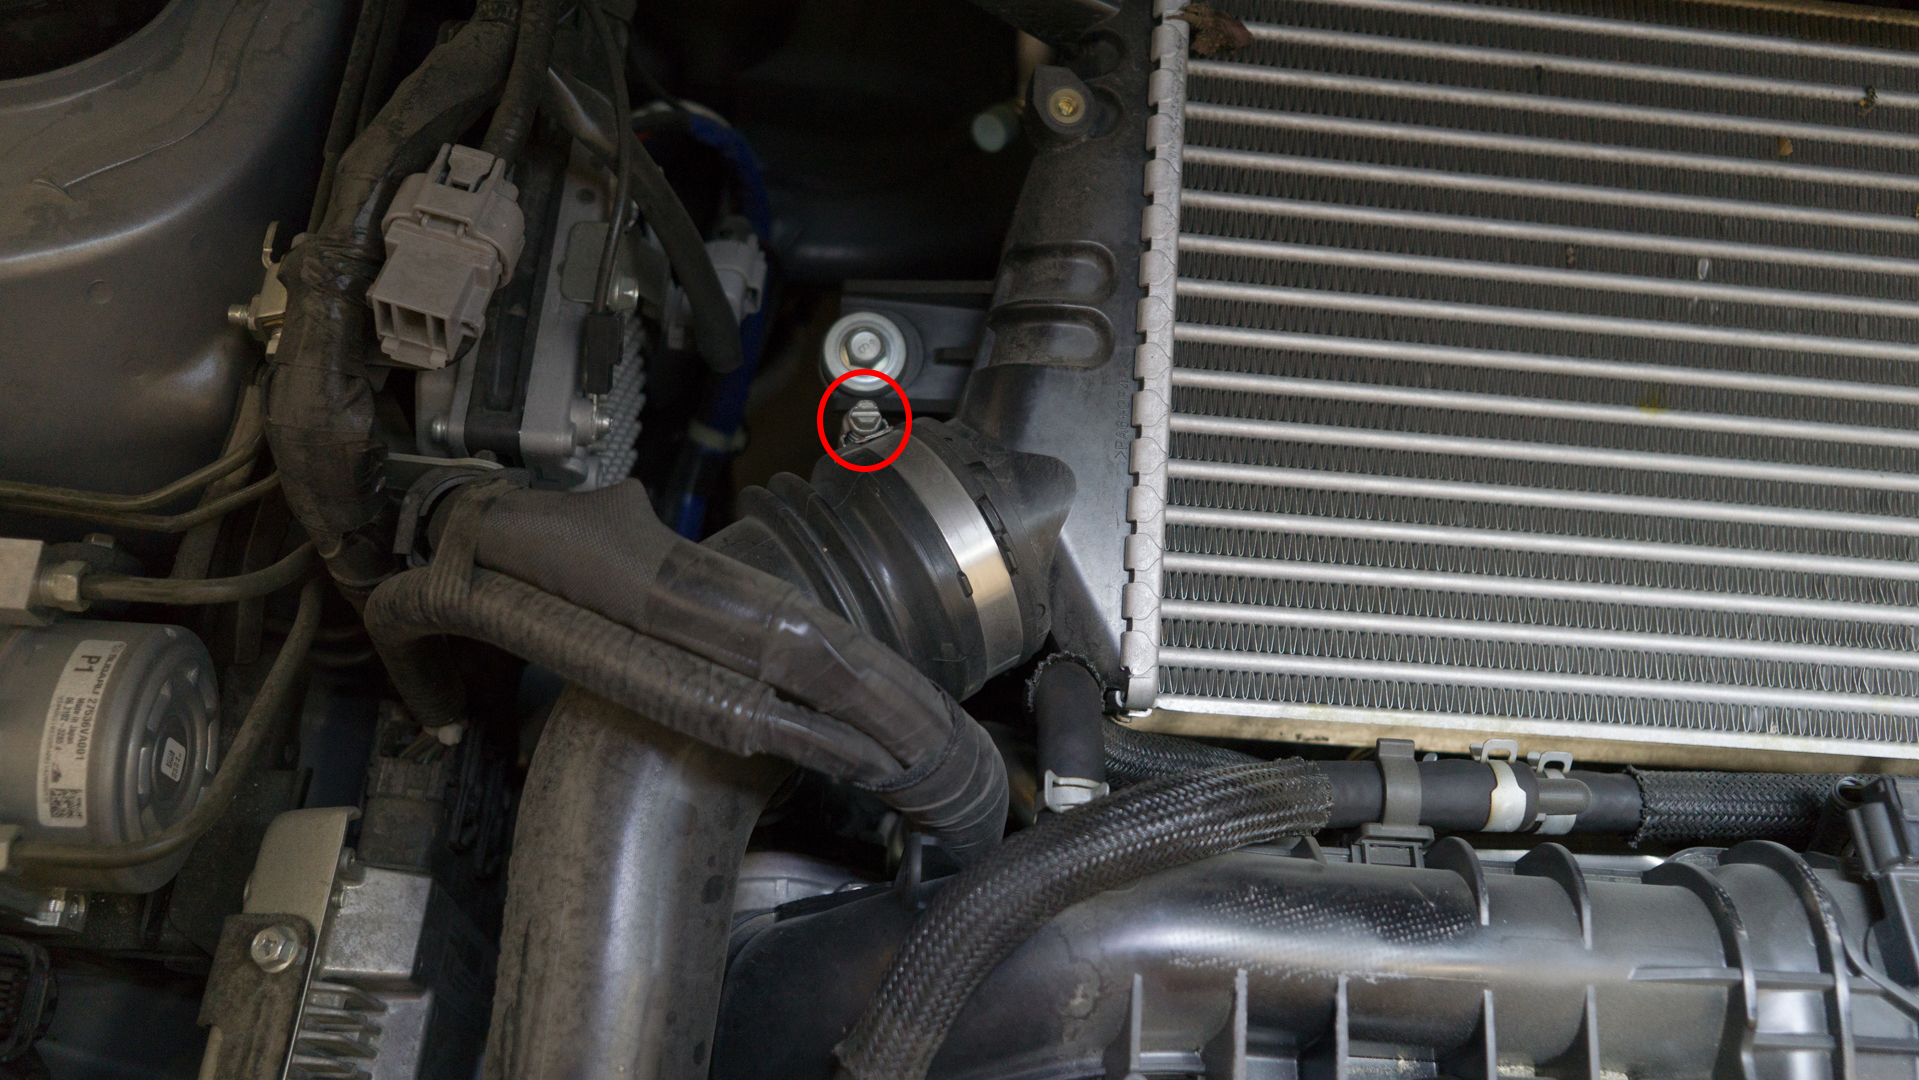
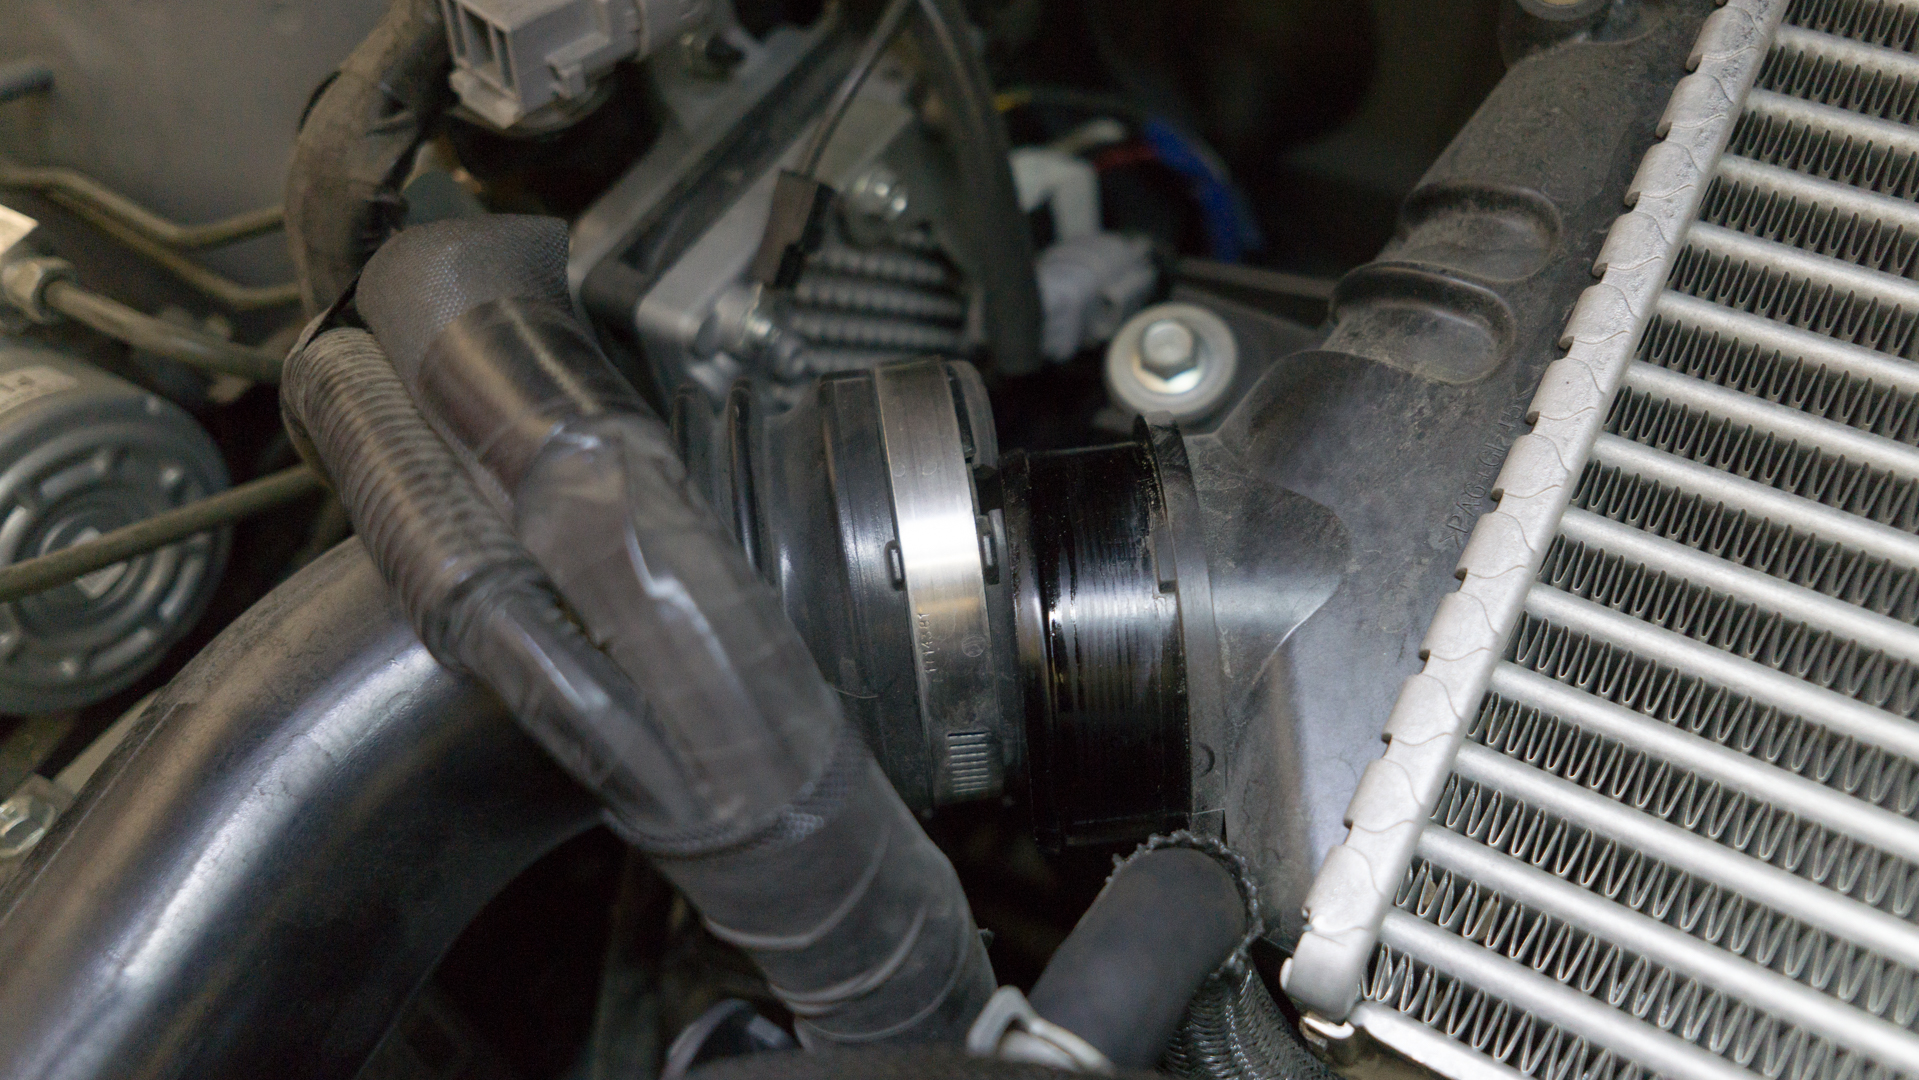
- Take care to ensure the rubber insert from the pipe comes out as well, if you leave it in place the new pipe won't fit.
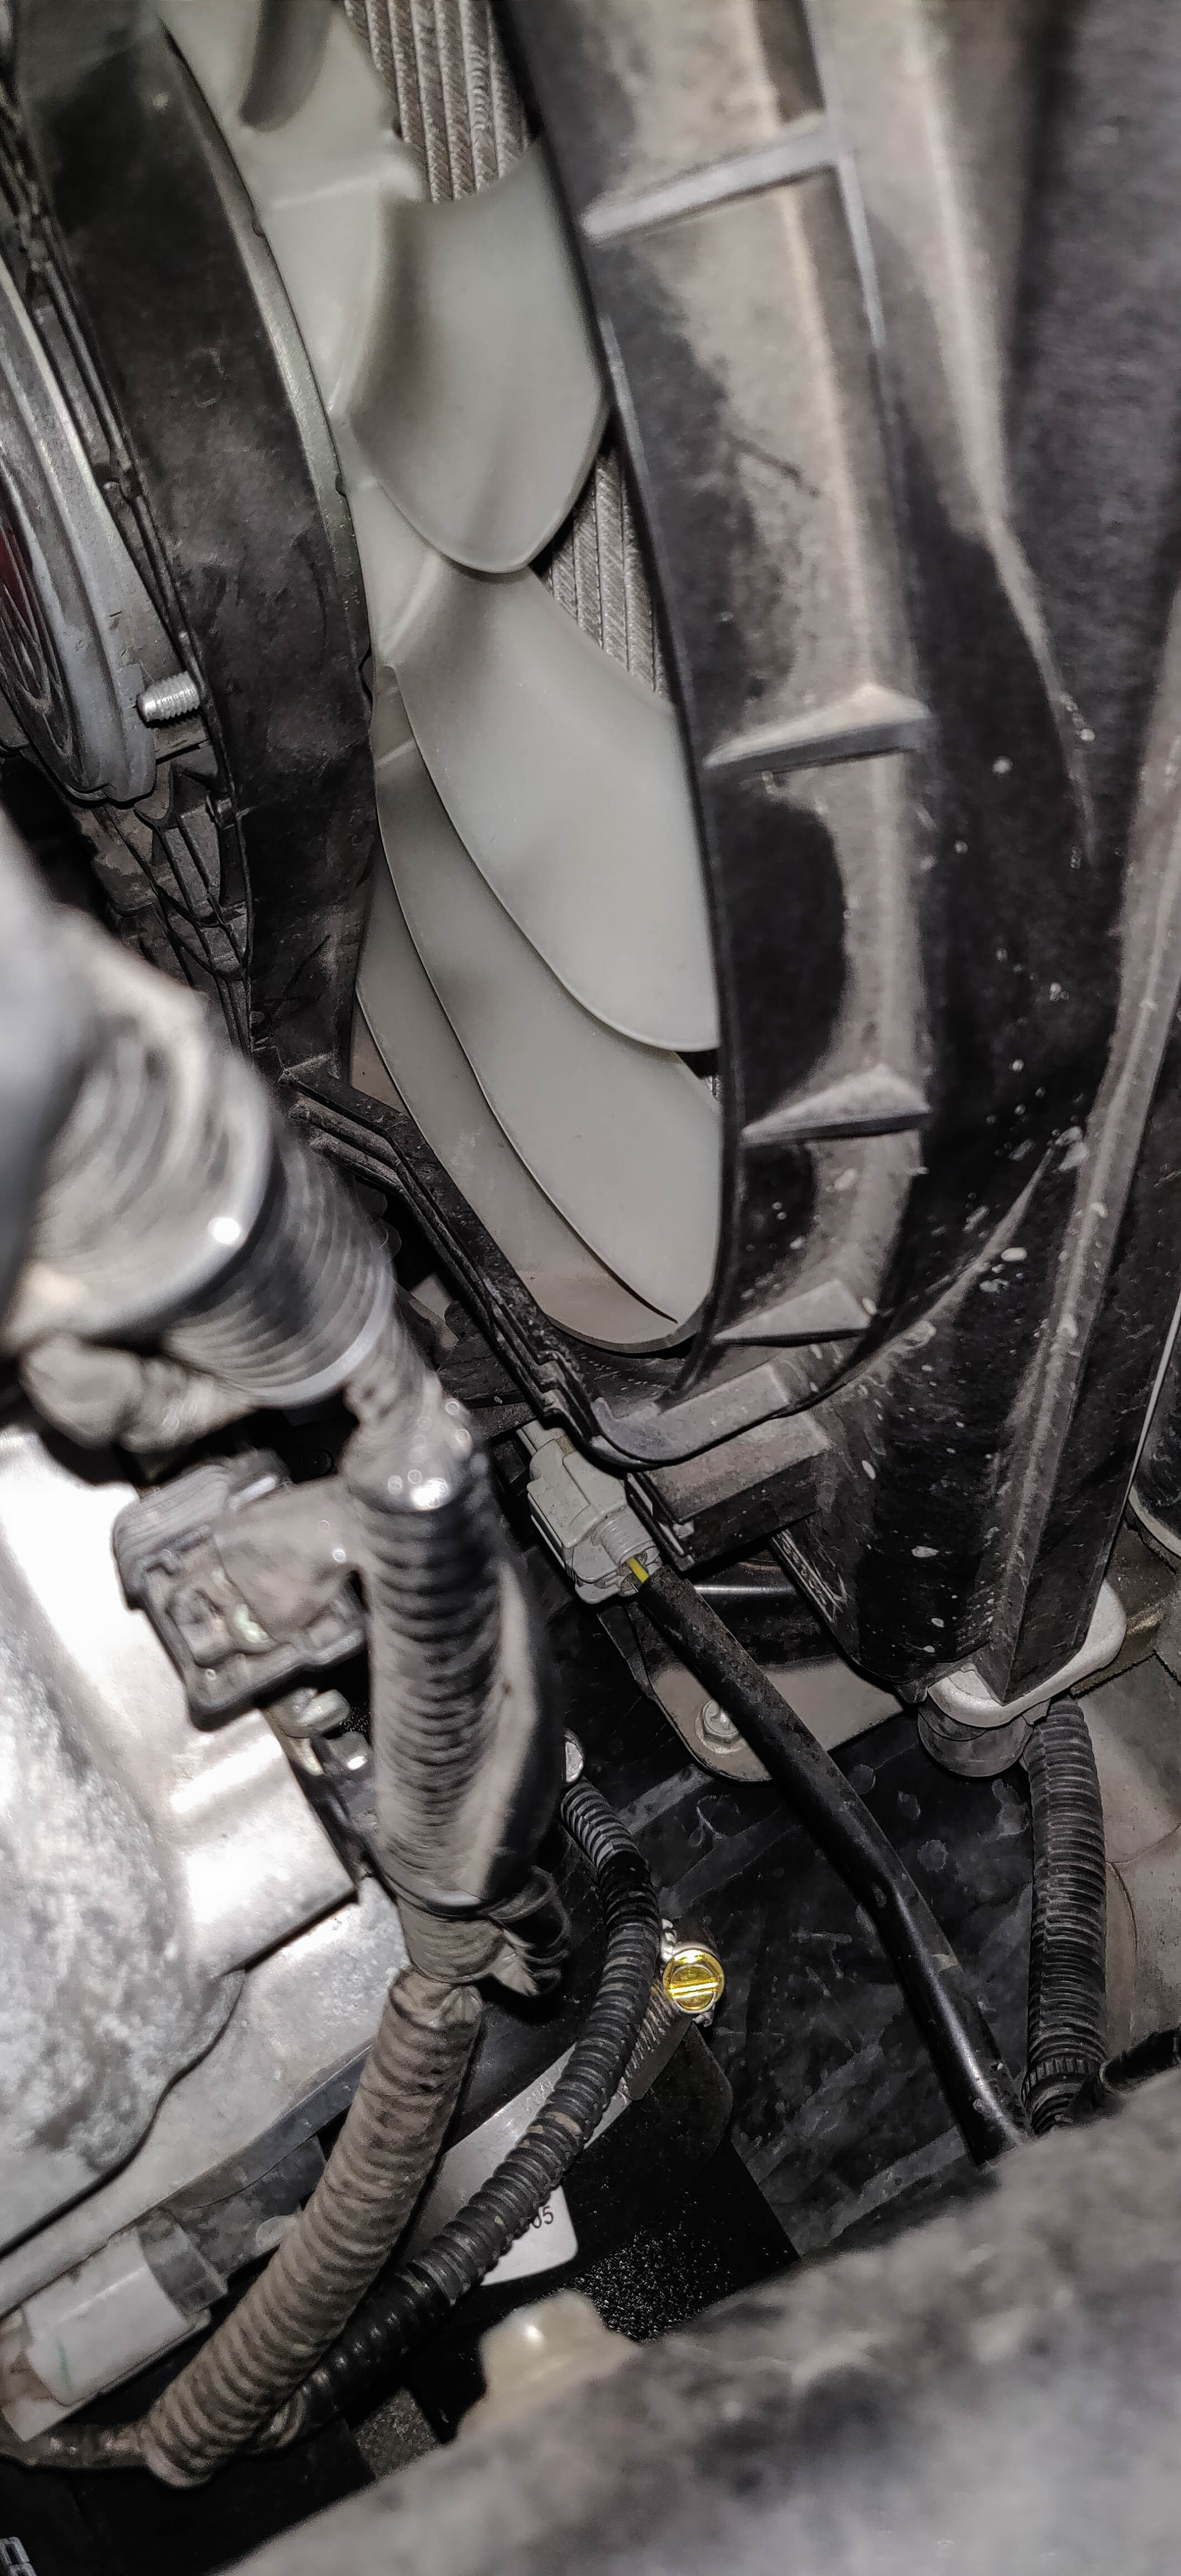
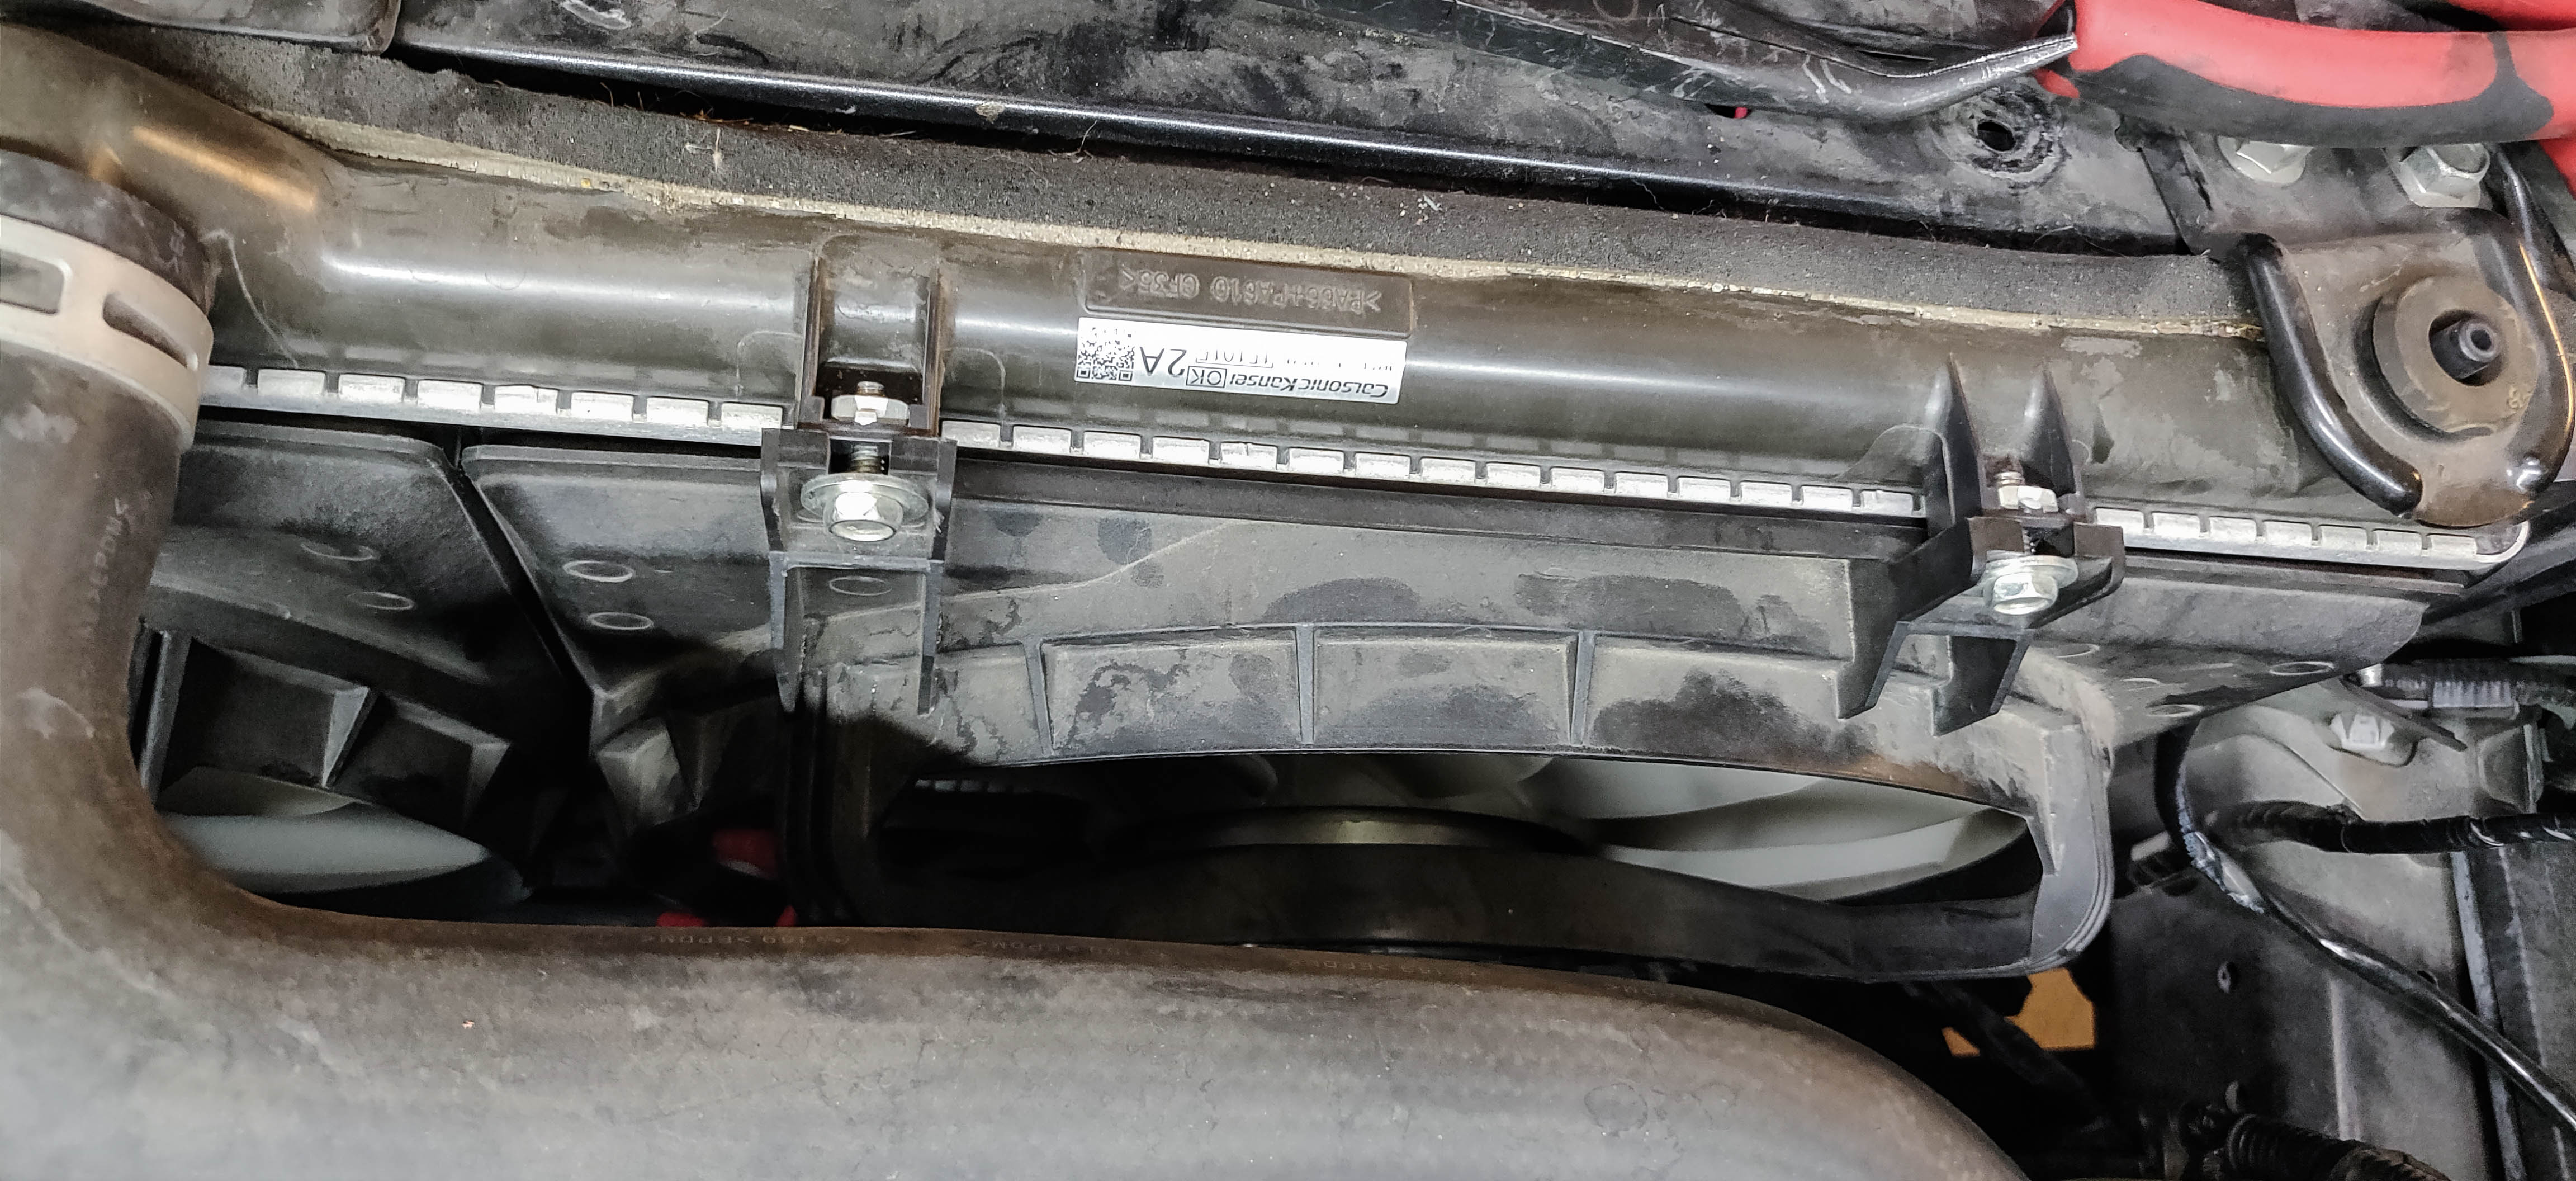
- To get more room for this step and the next, we'll remove the radiator fan on the passenger's side (USDM.) Undo the wiring connector on the side at the bottom and unbolt it at the top using a 10mm socket before lifting the entire fan out of the car.
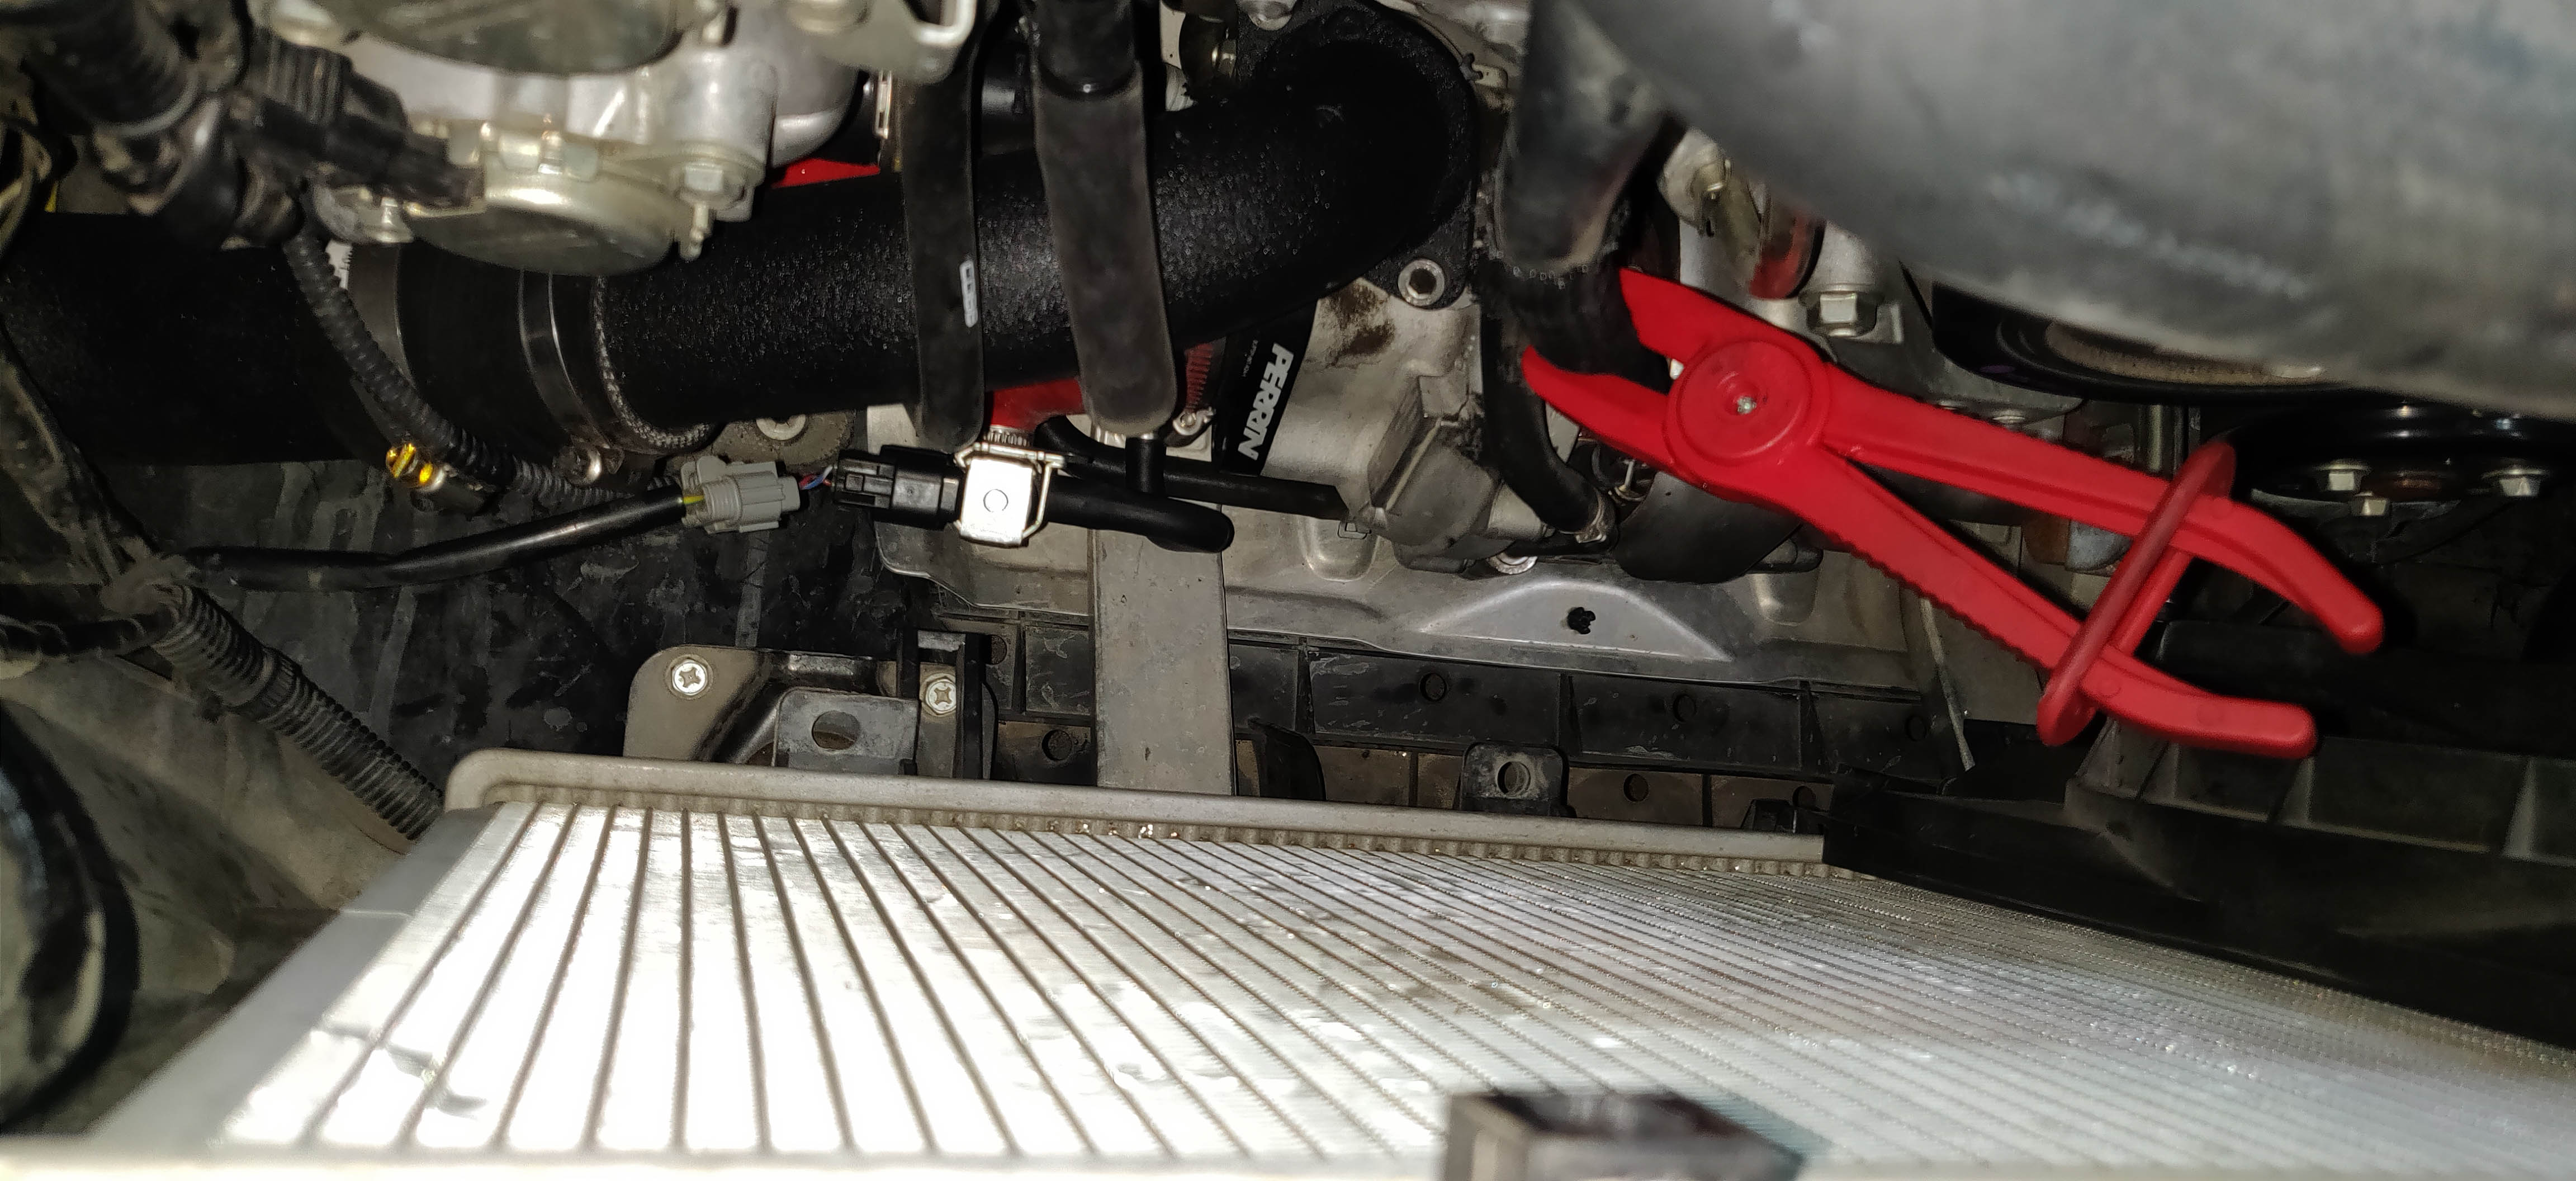
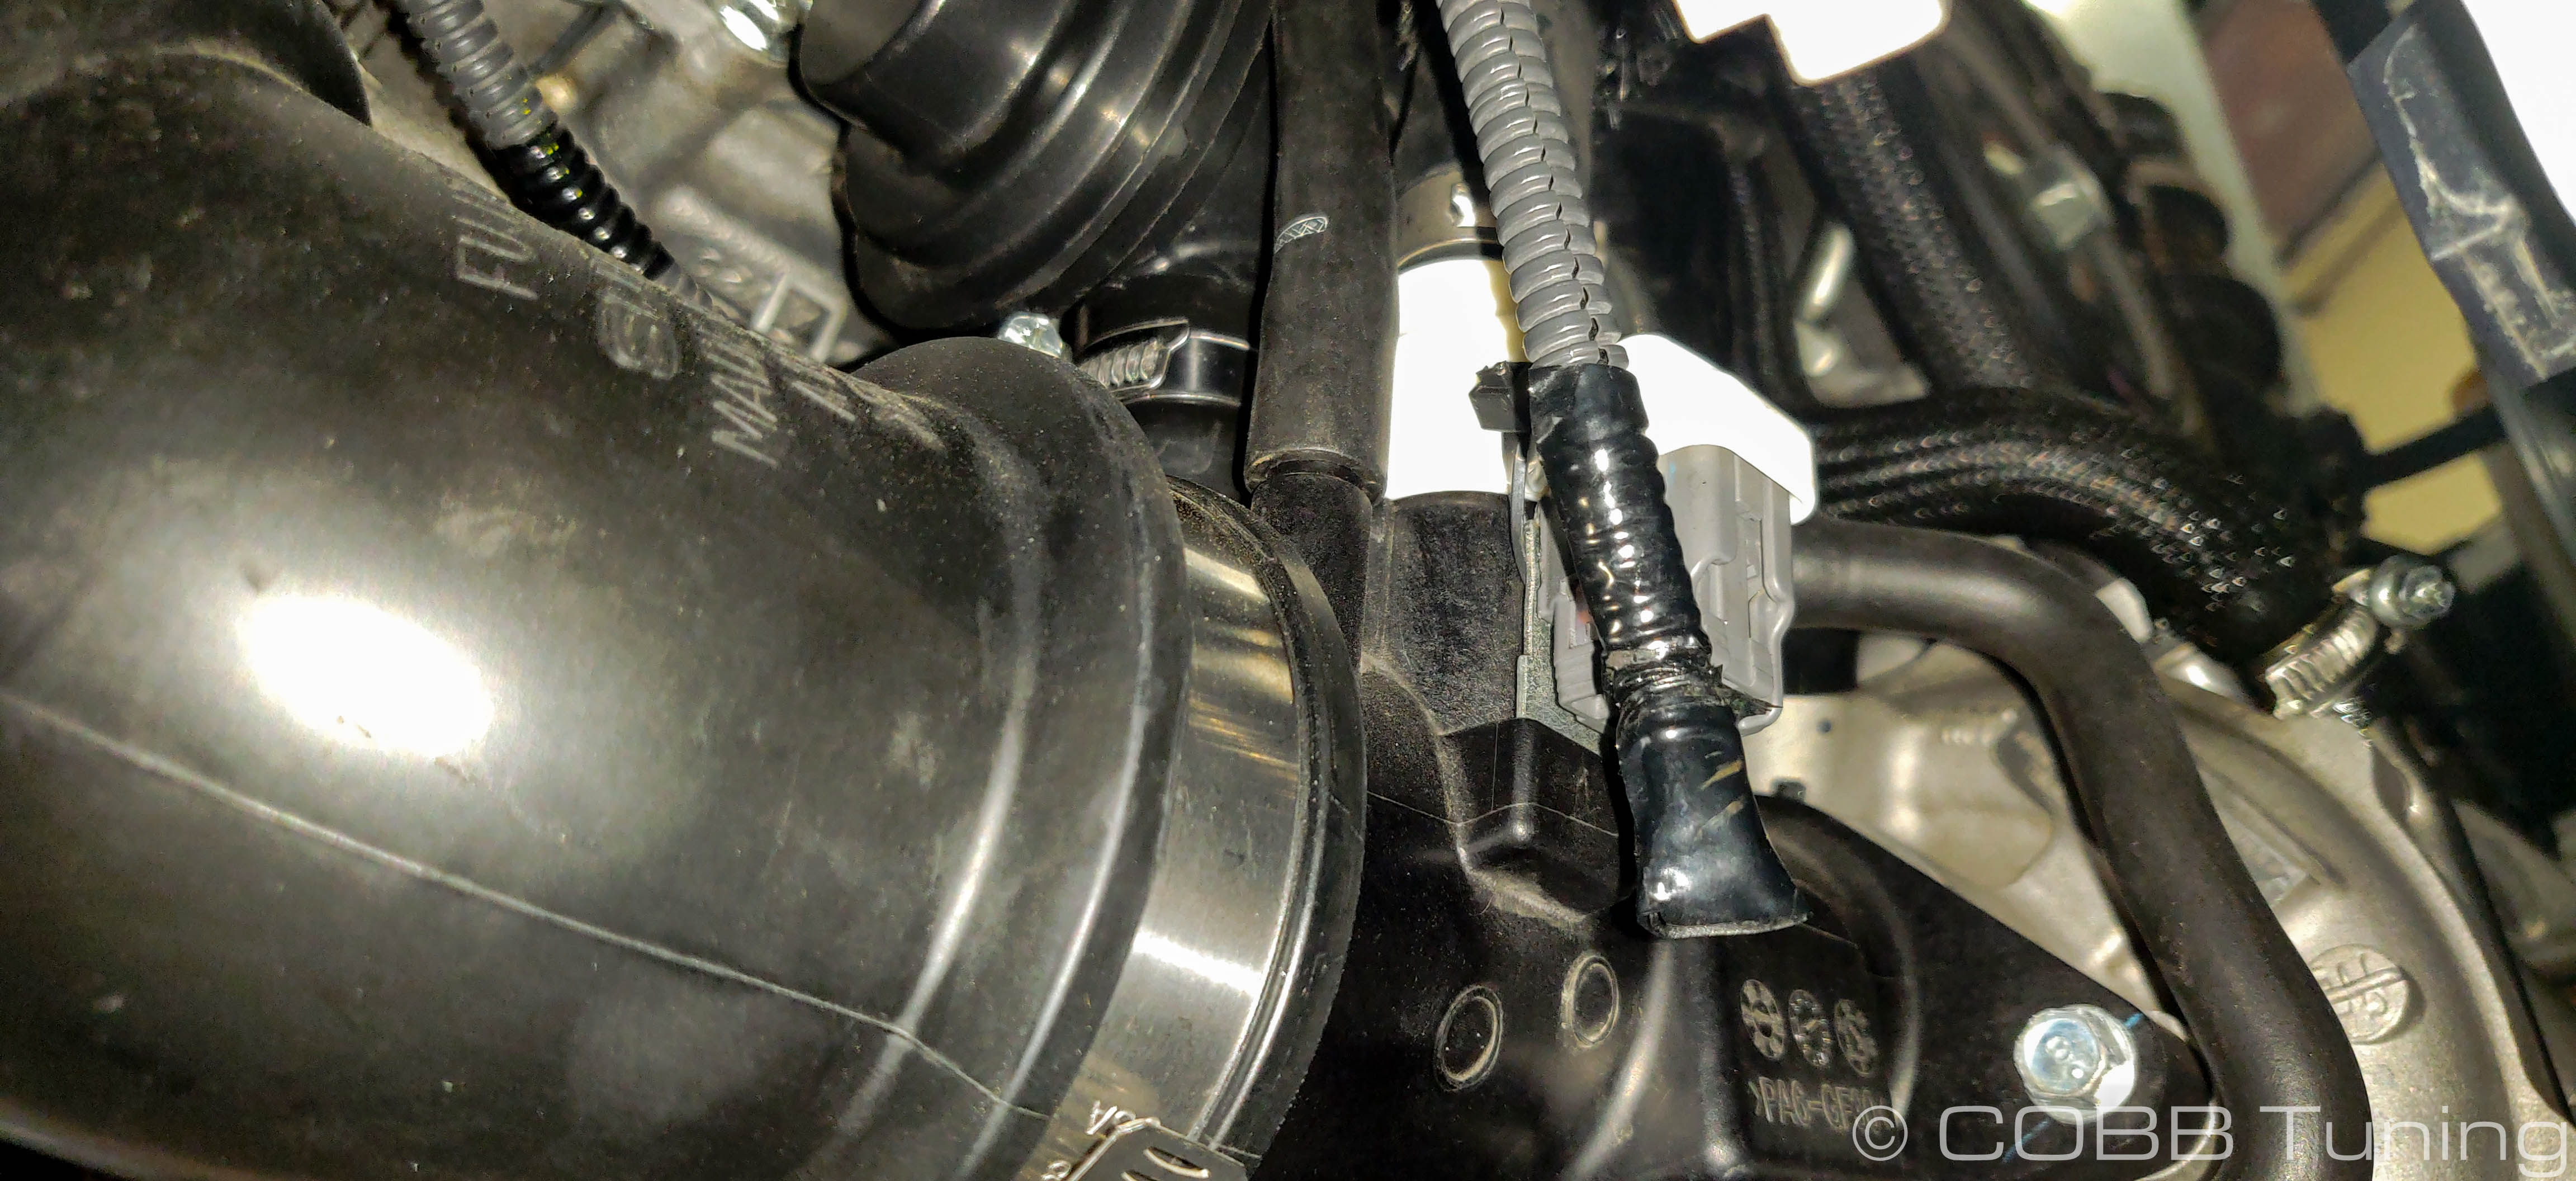
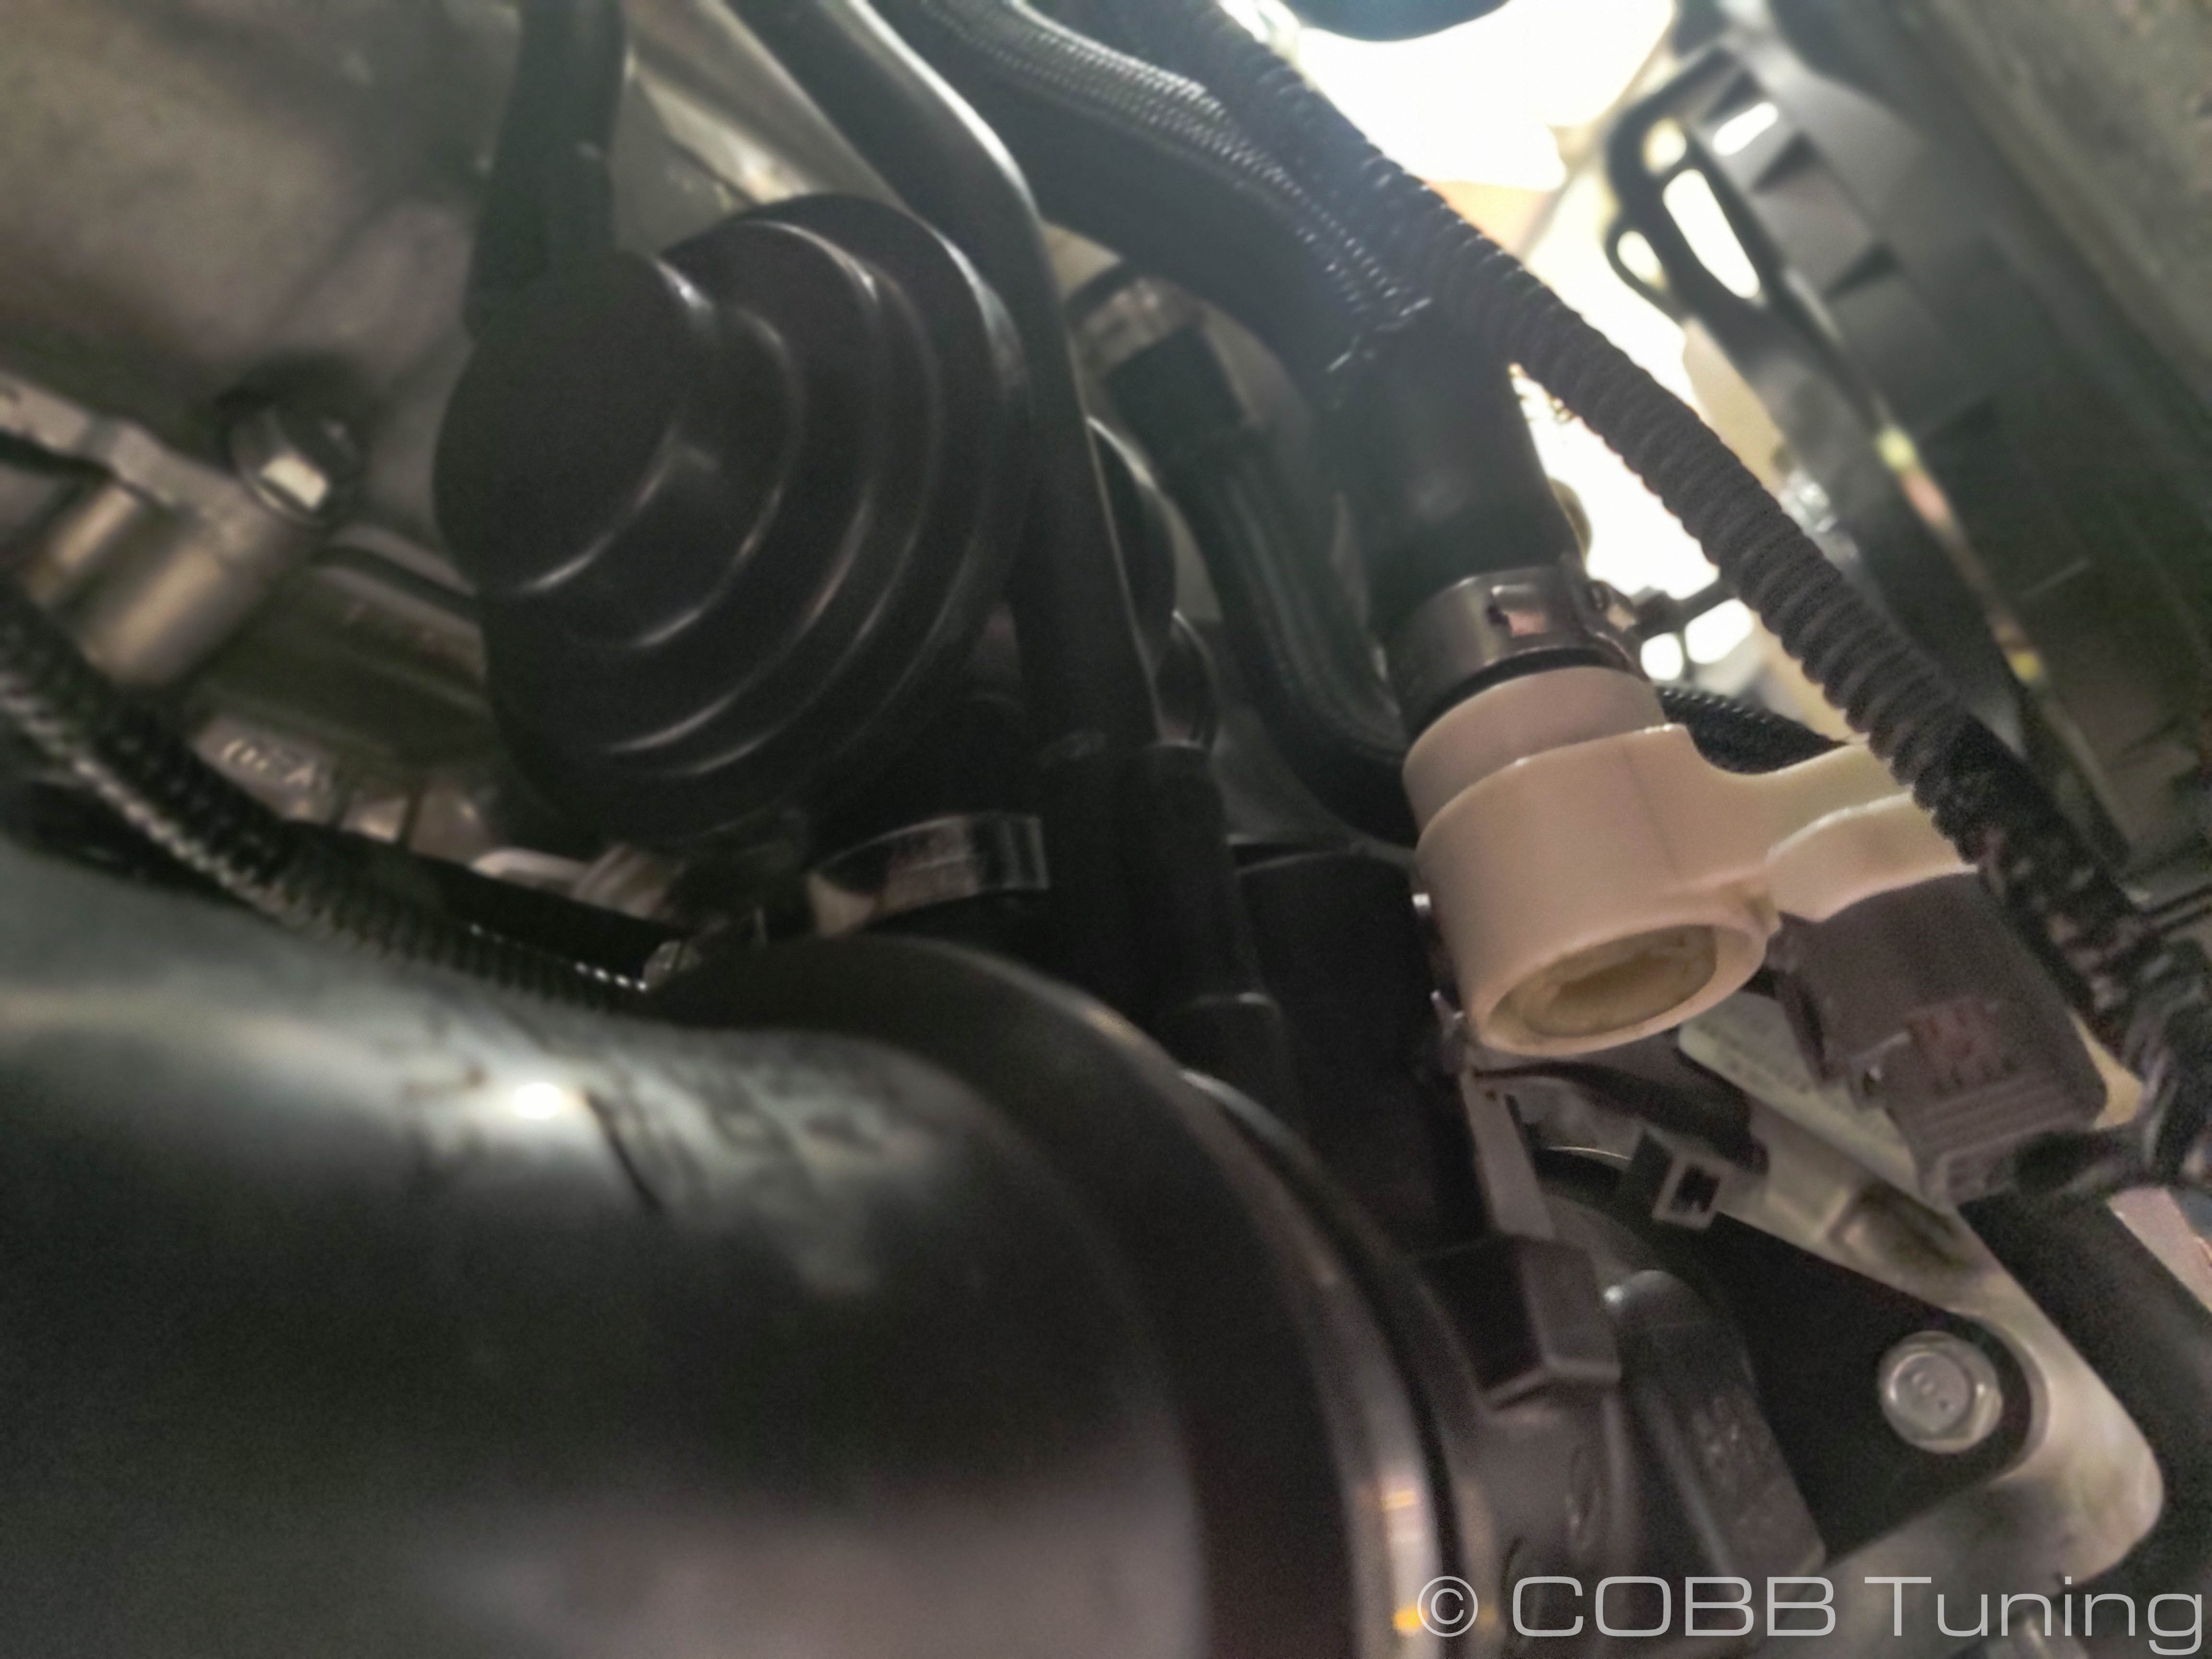
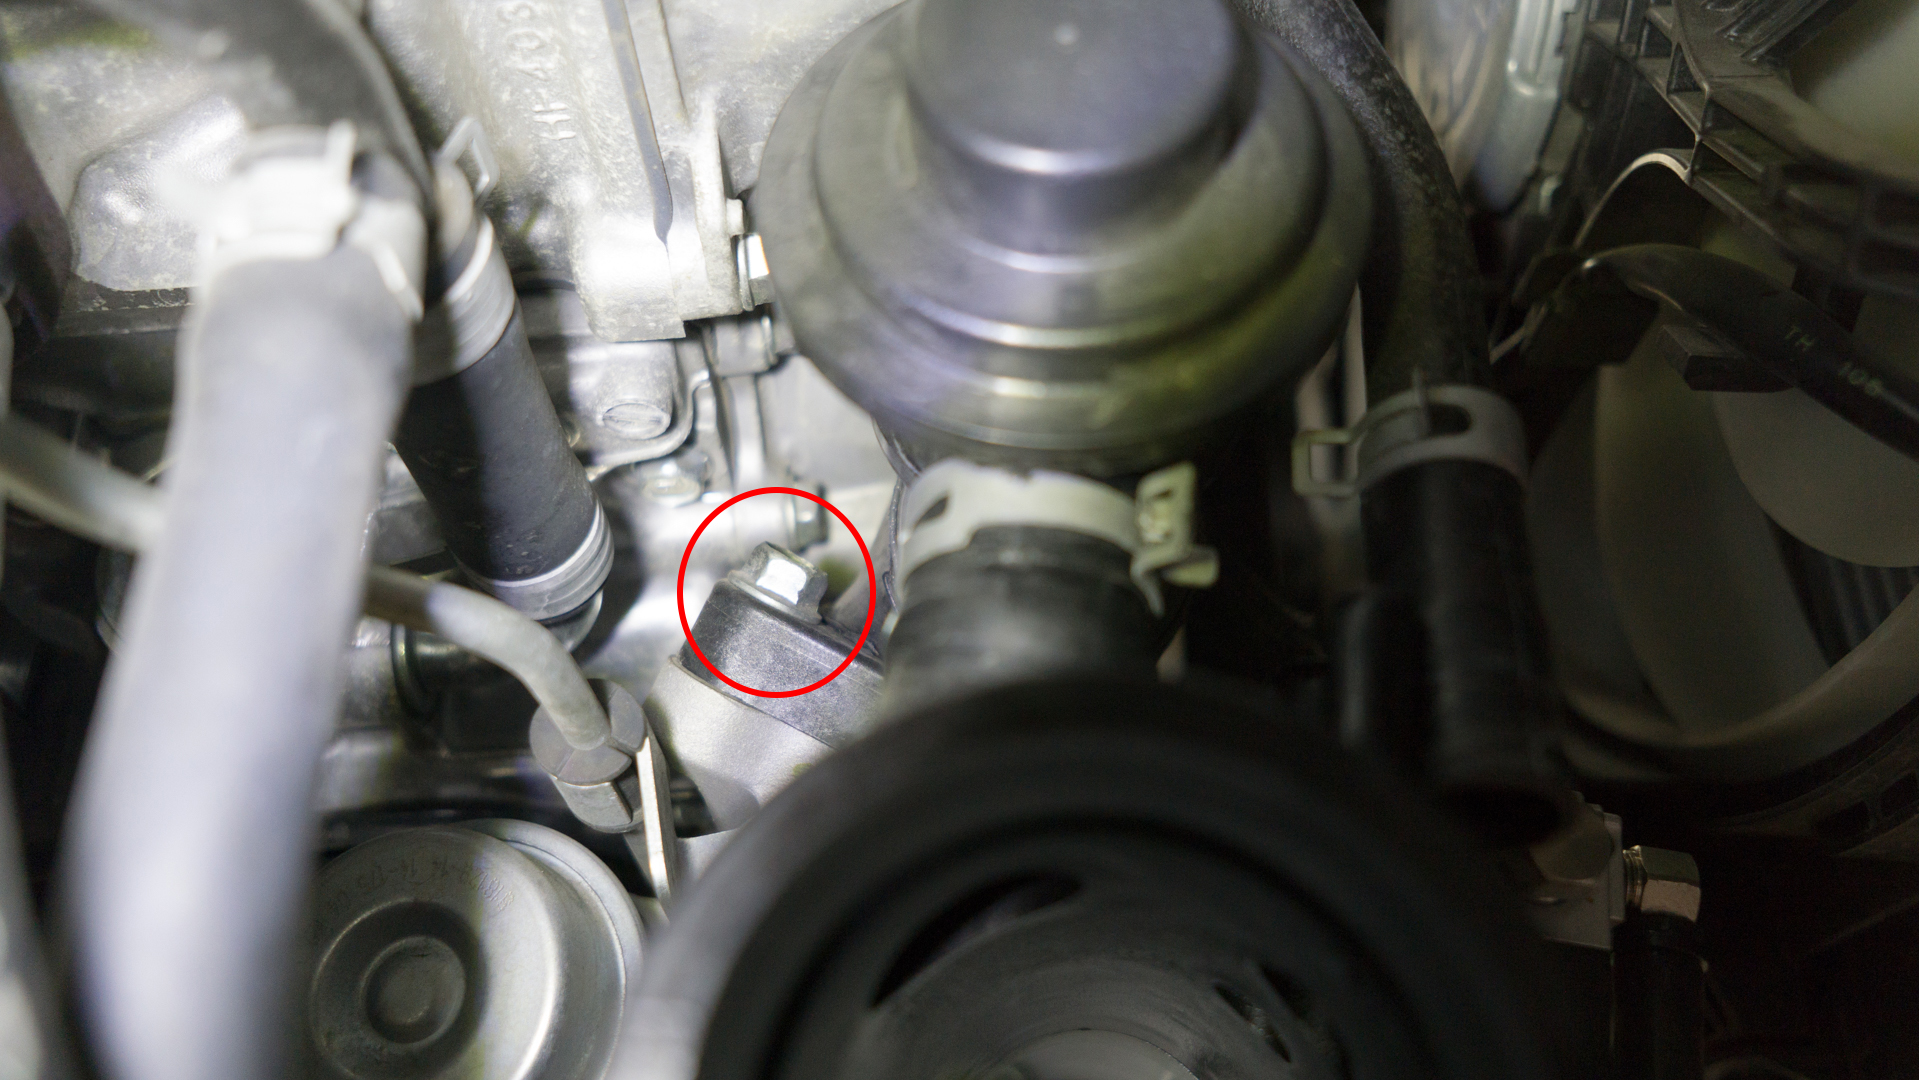
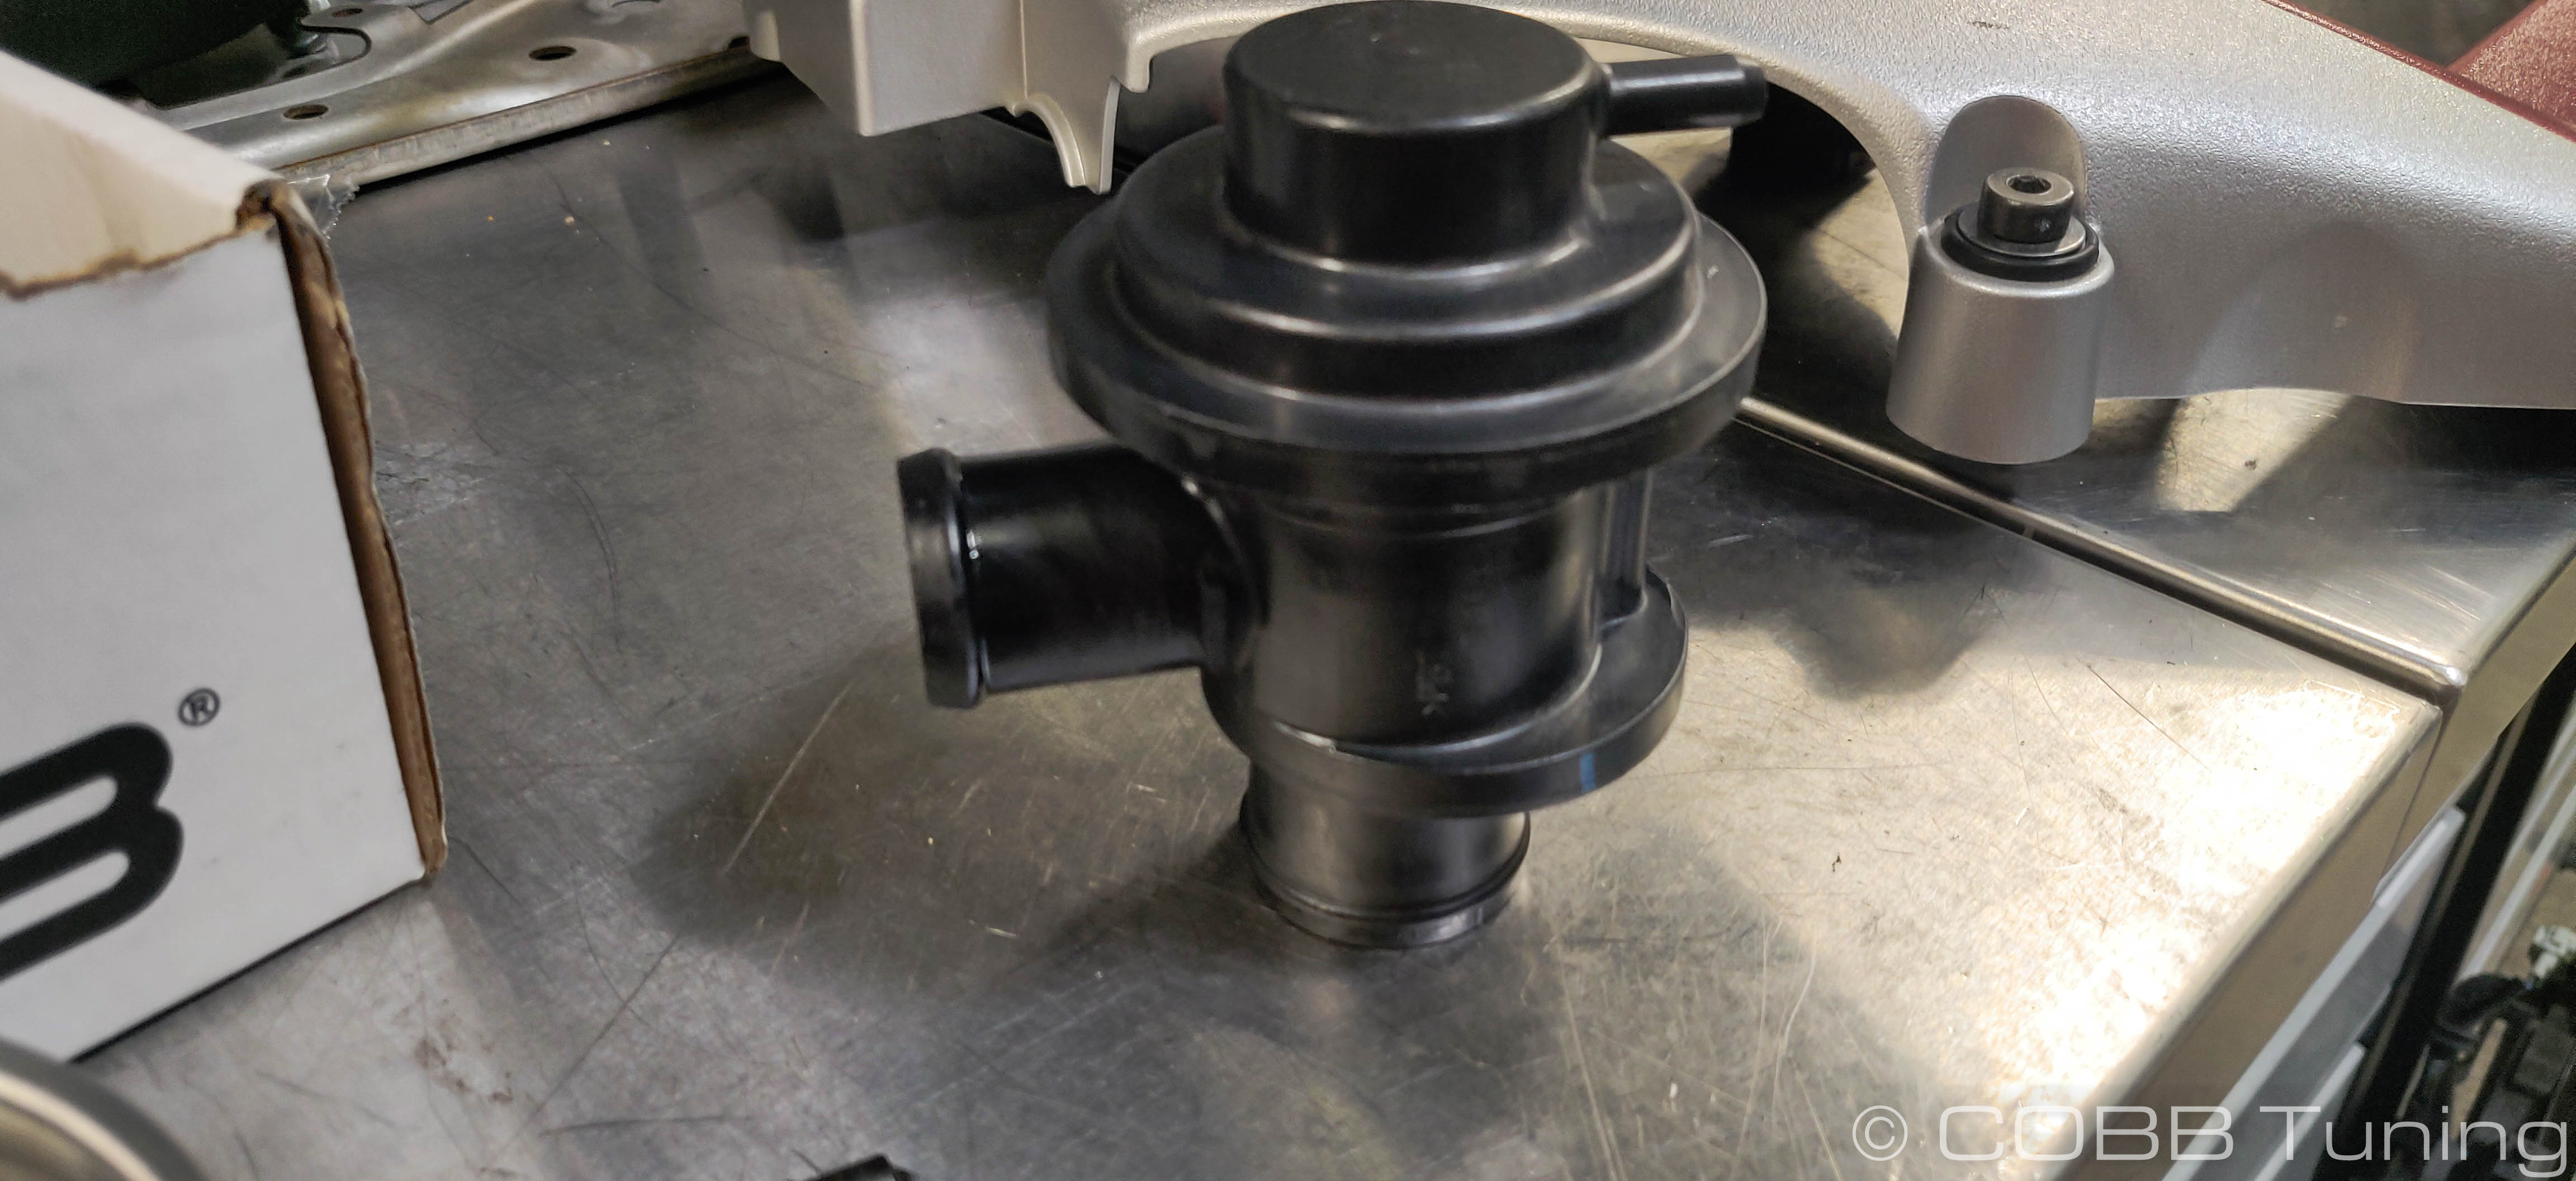
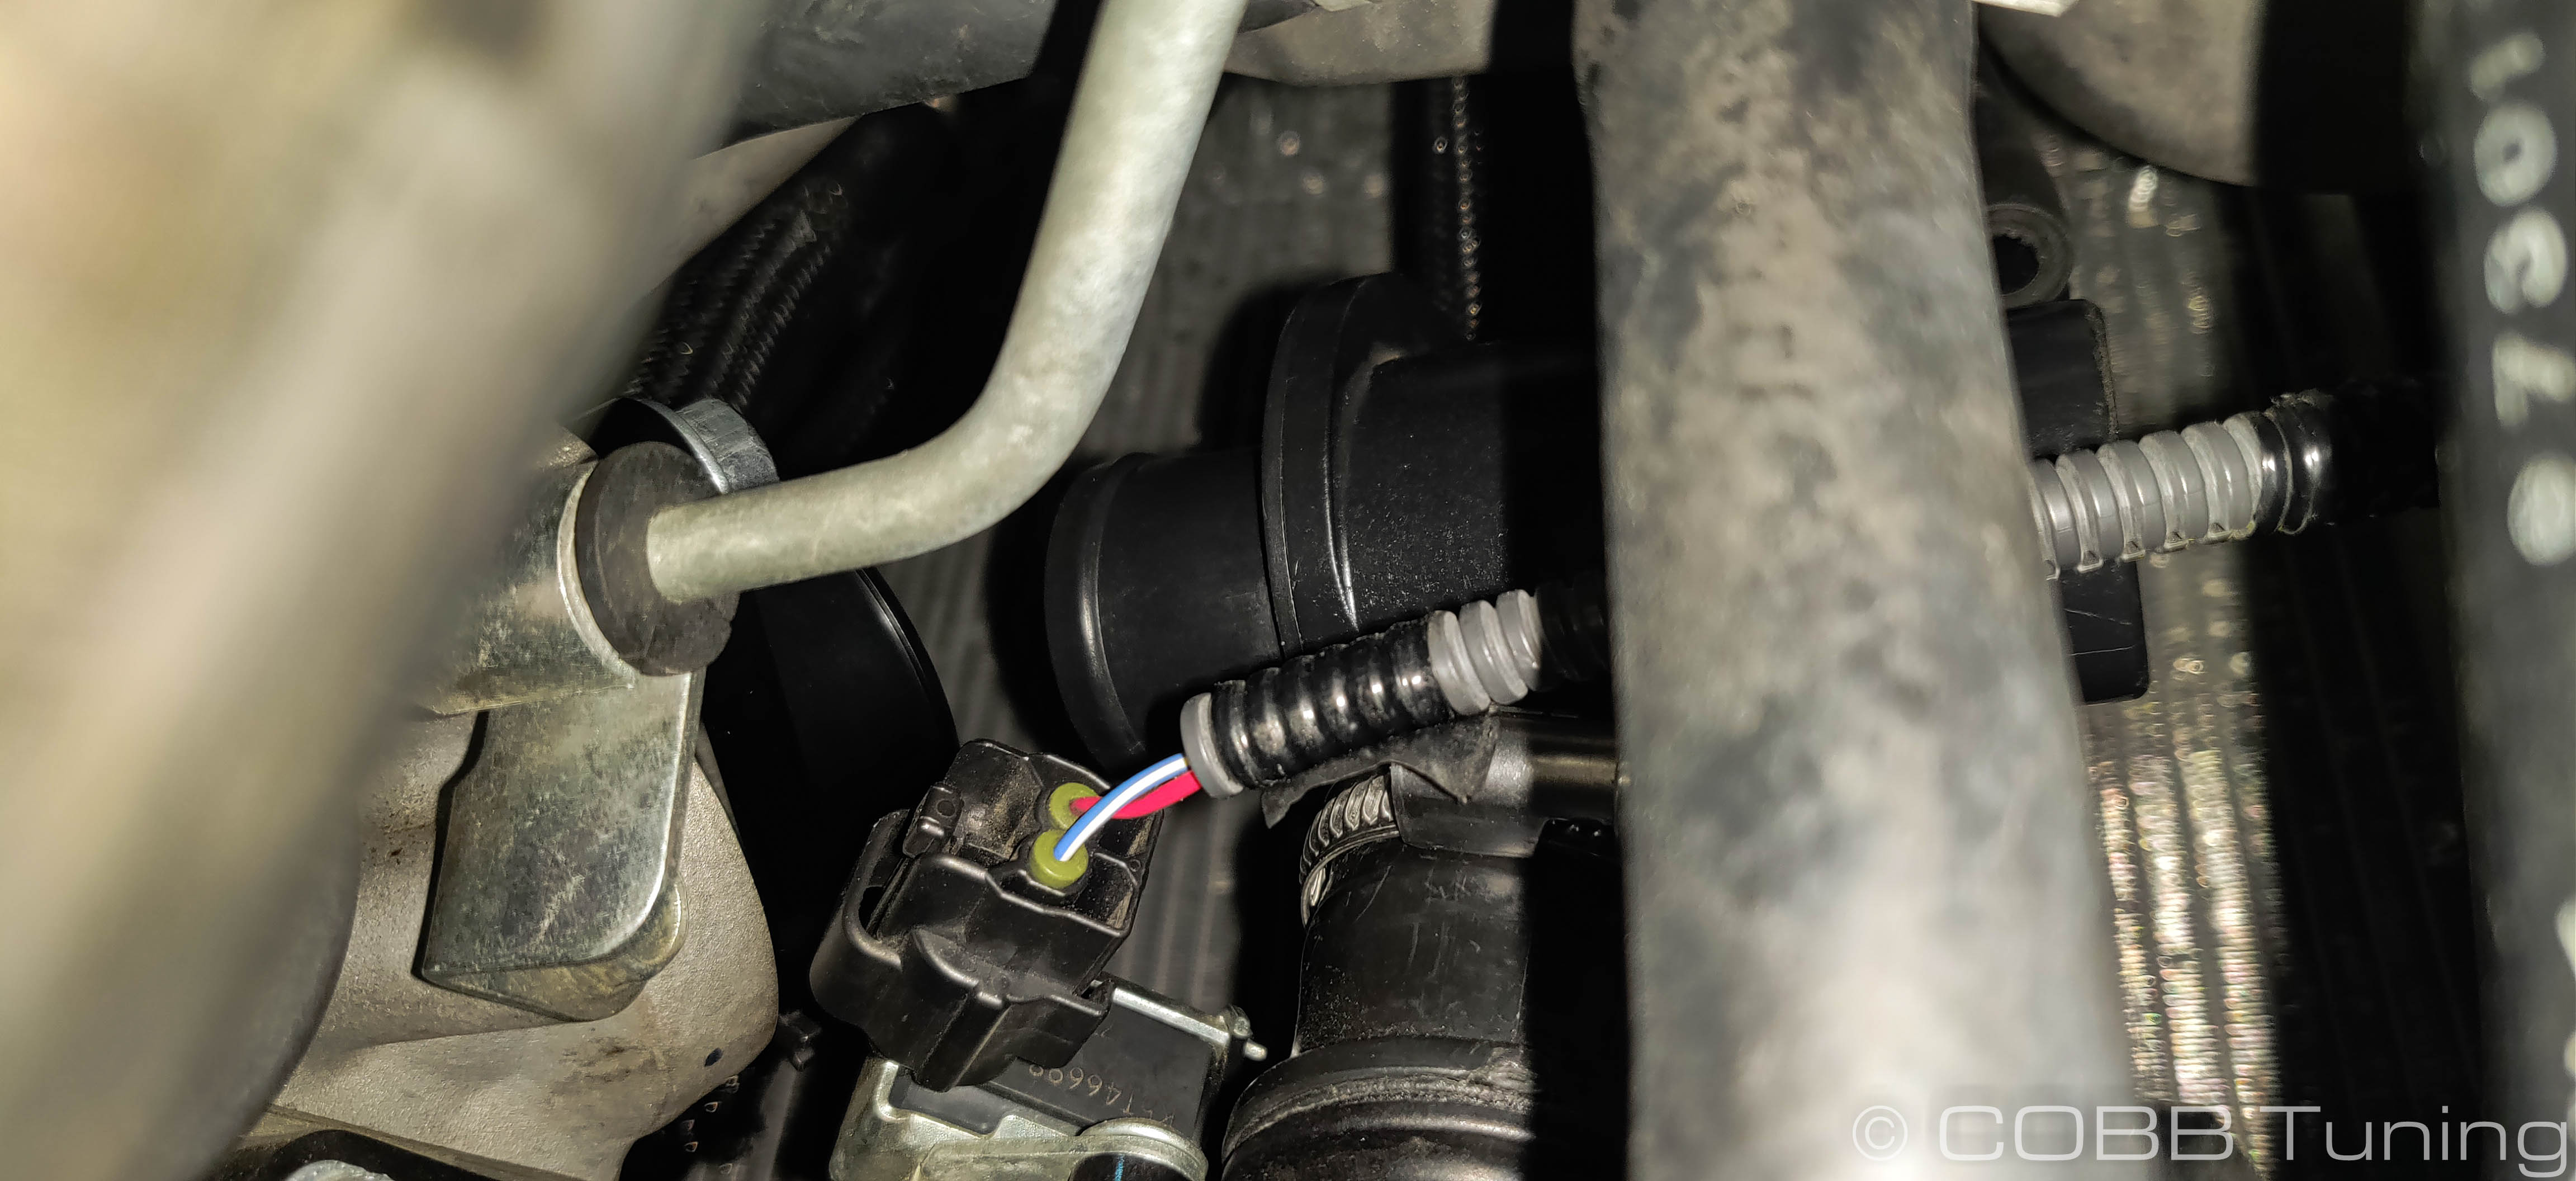
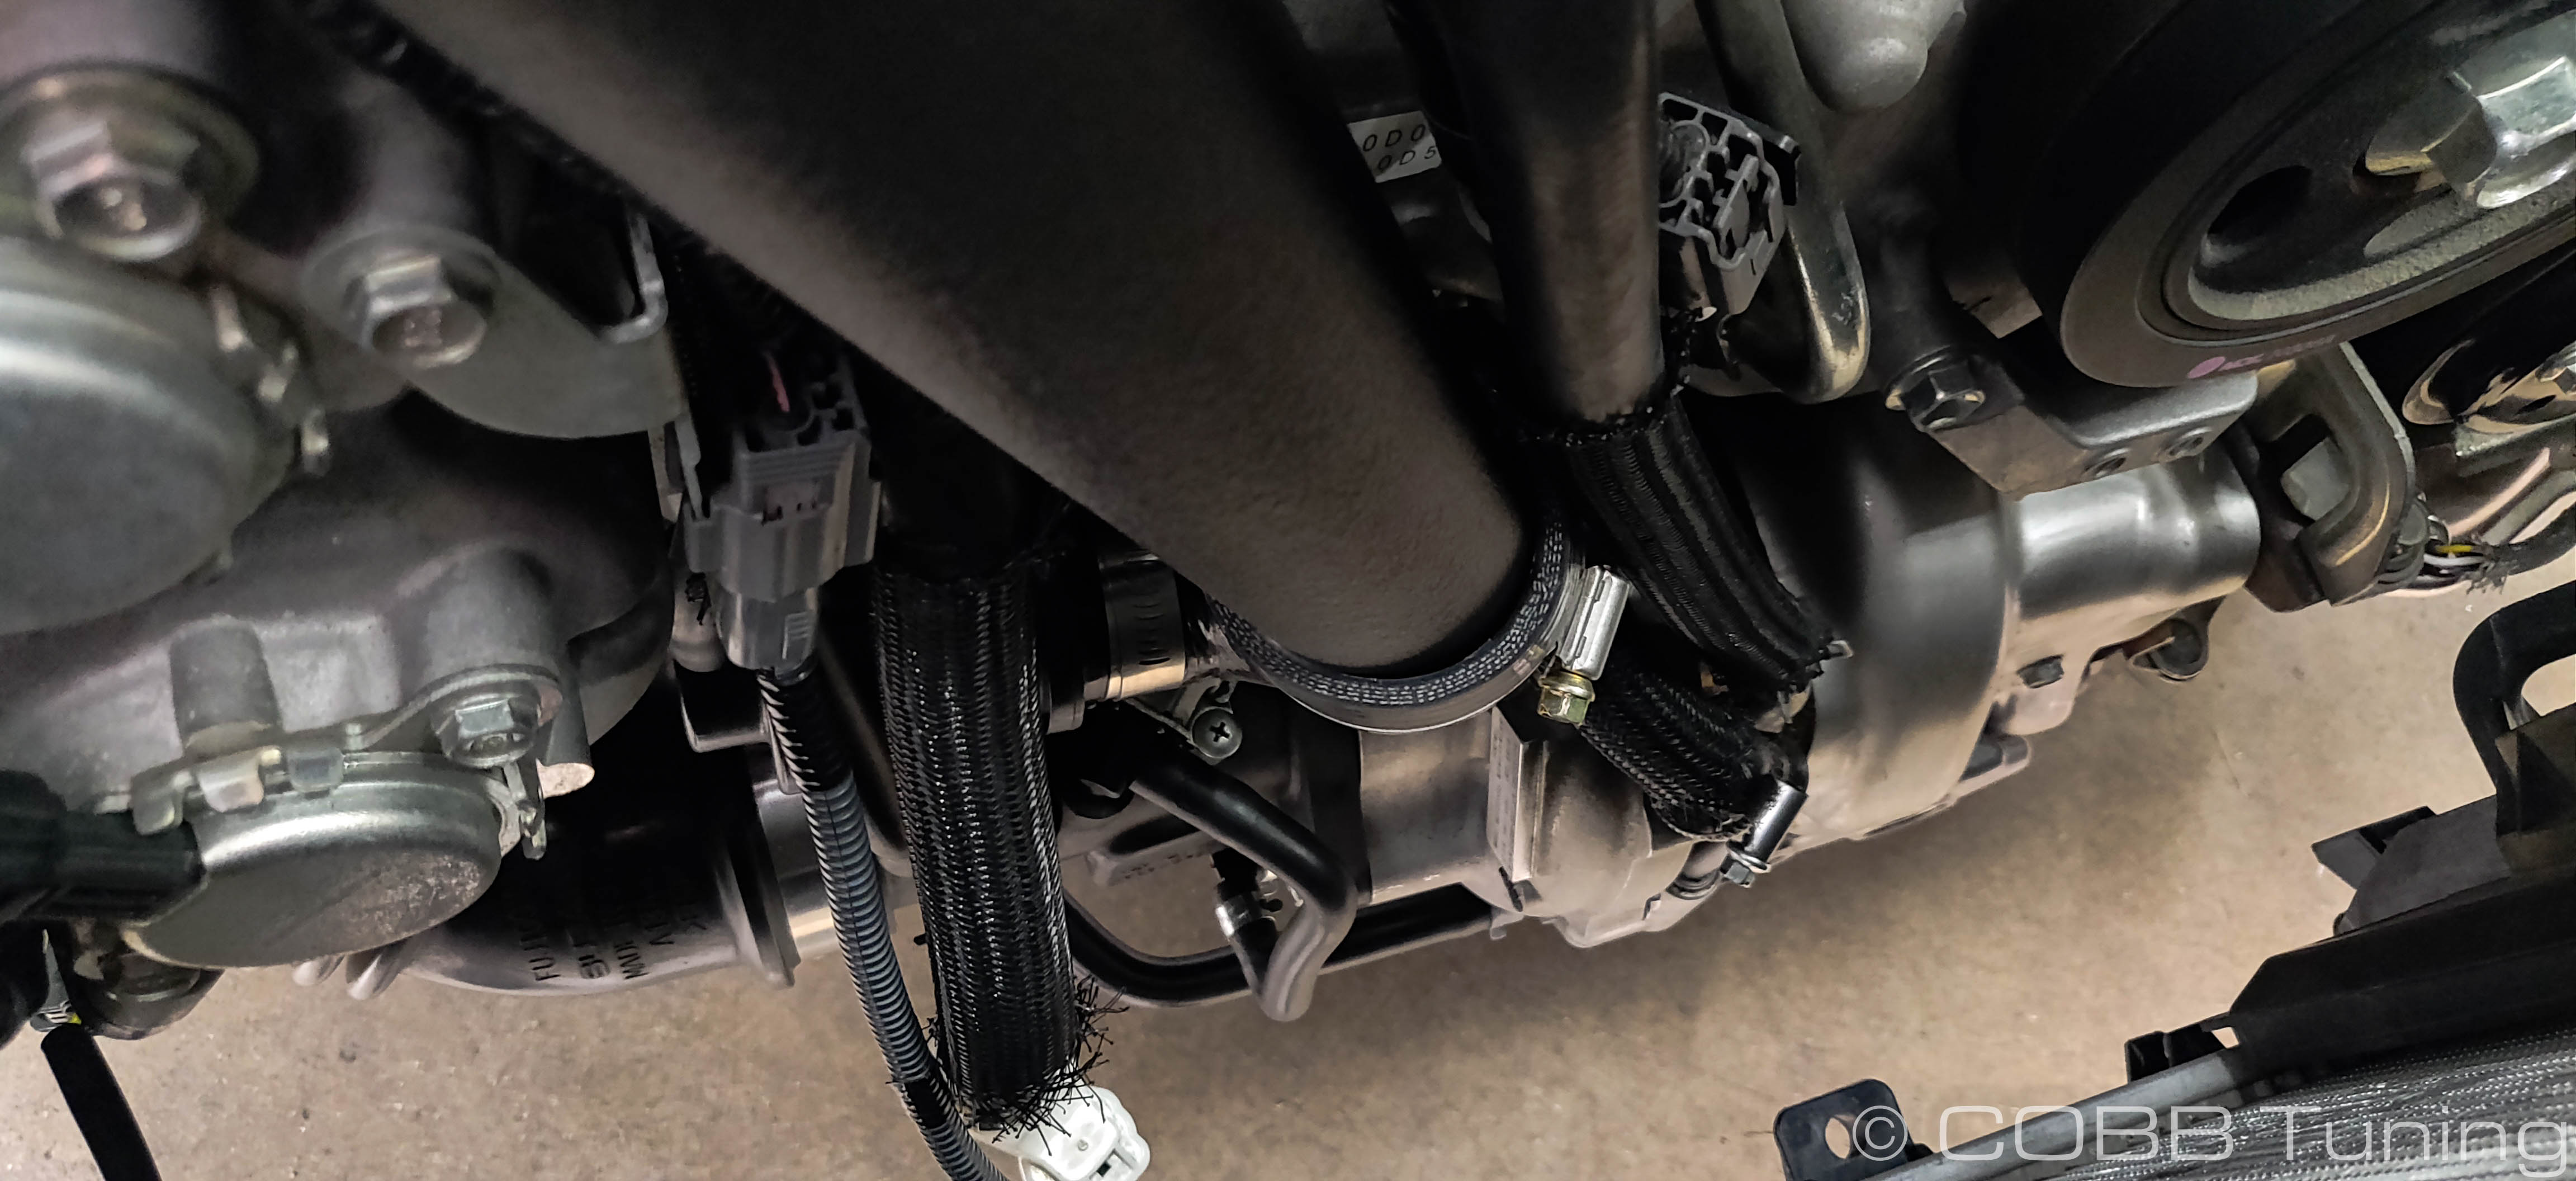
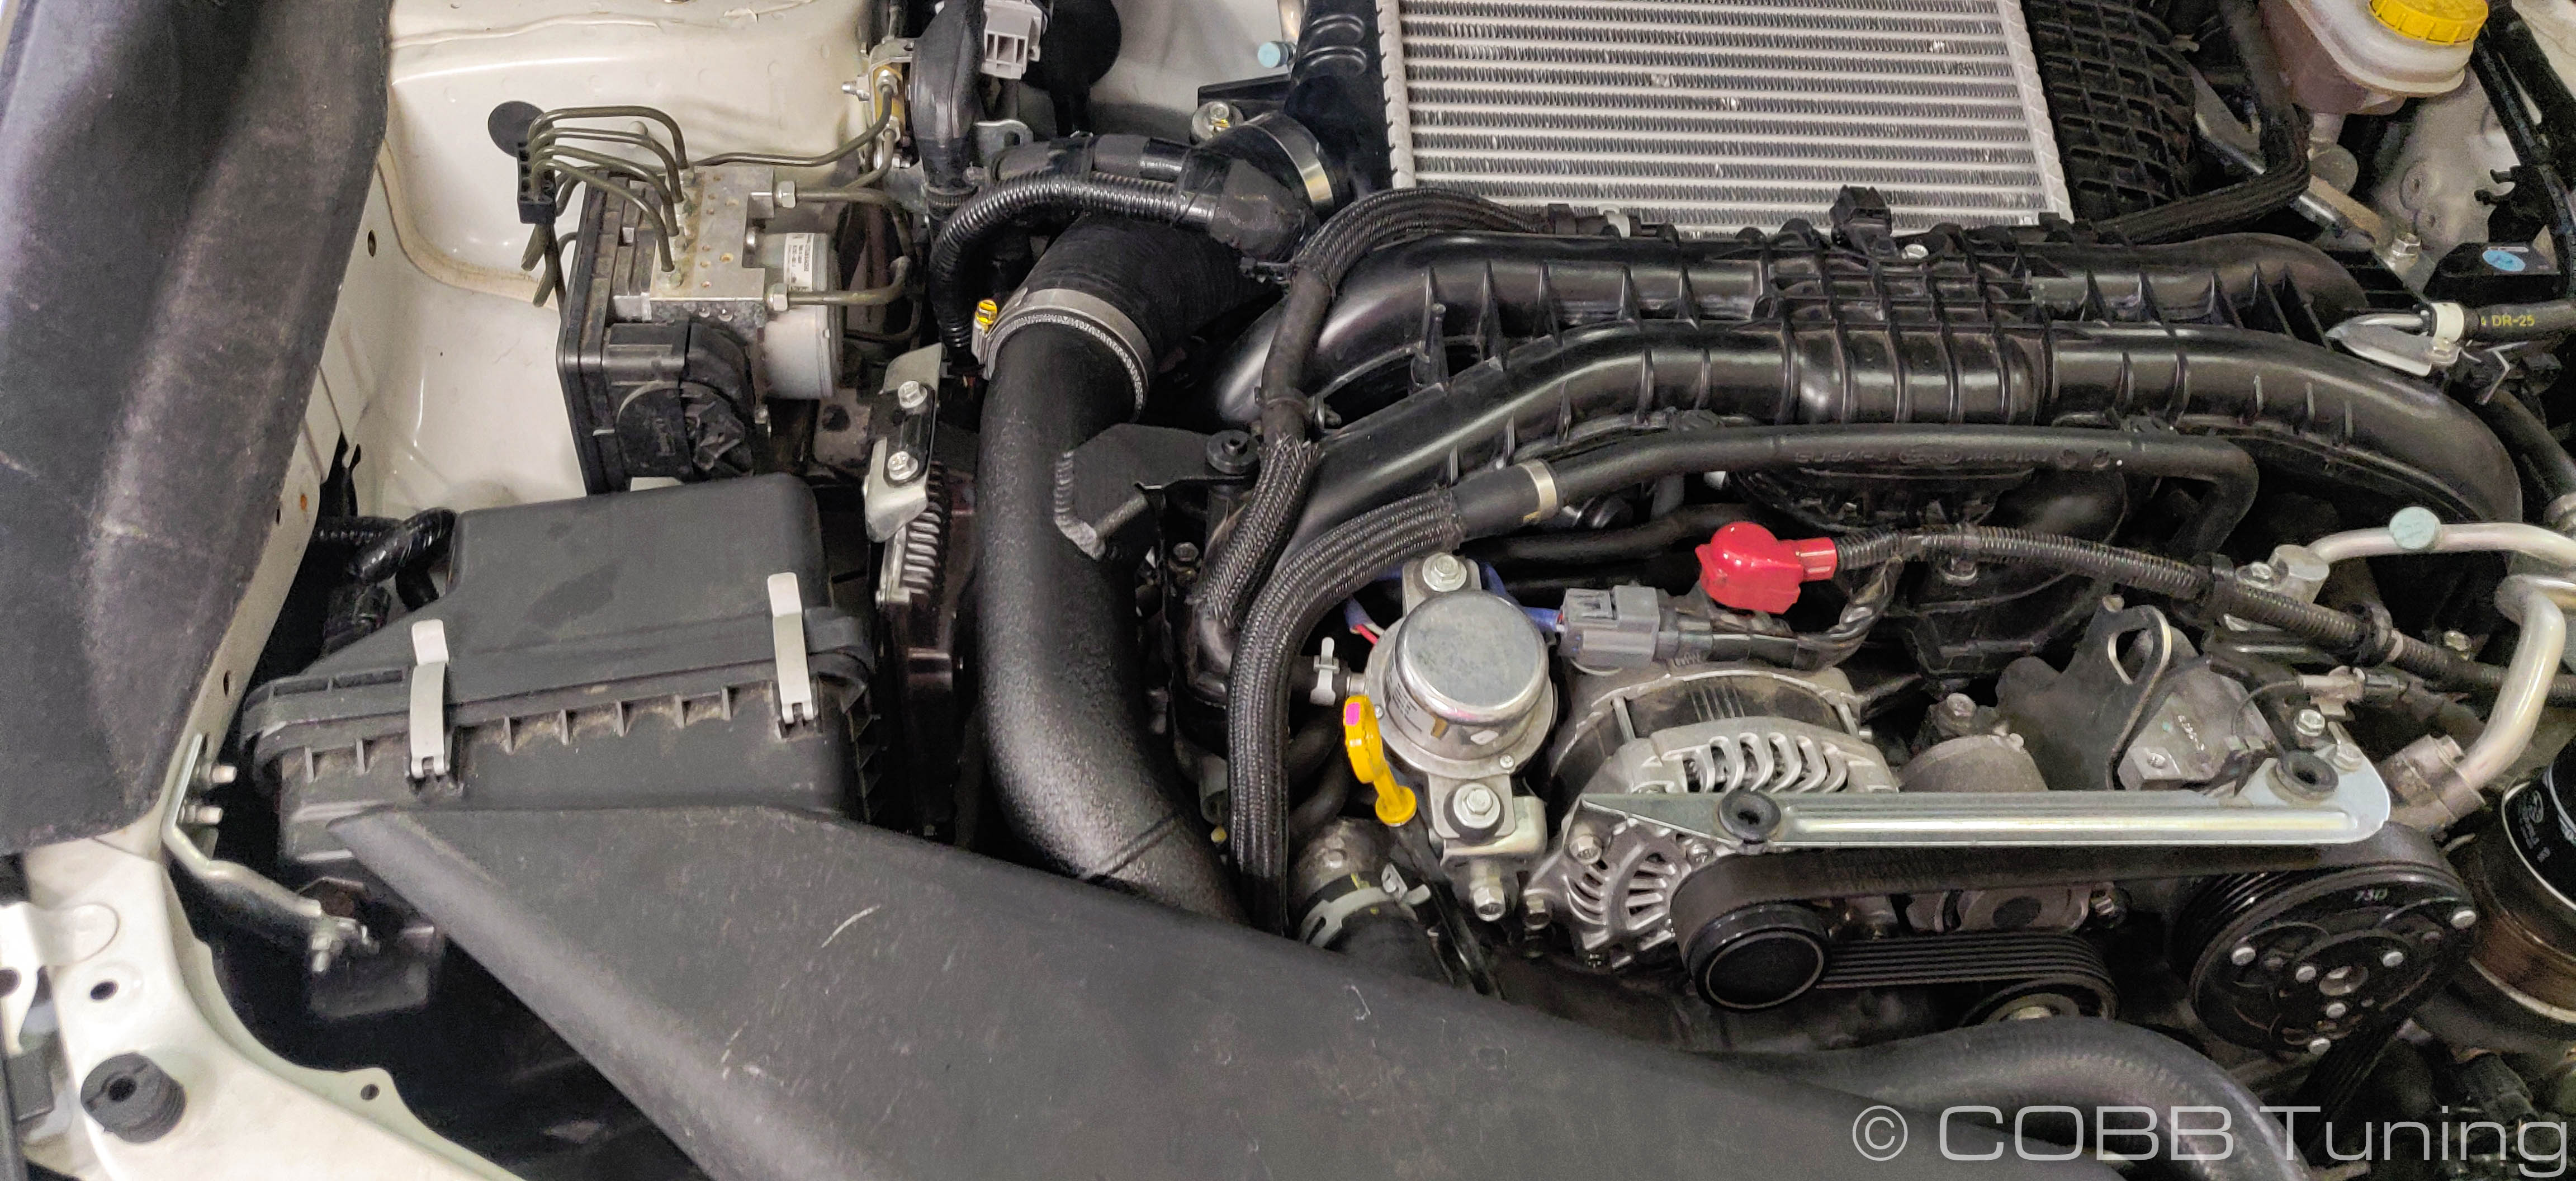
- Moving to the bottom side of the engine bay, disconnect the vacuum line from the bypass valve, as well as the other two that go directly onto the inlet. On 2018+ vehicles you'll need to squeeze the electrical connector release tab in order to pull the line free along with the white portion of the blow-by sensor.

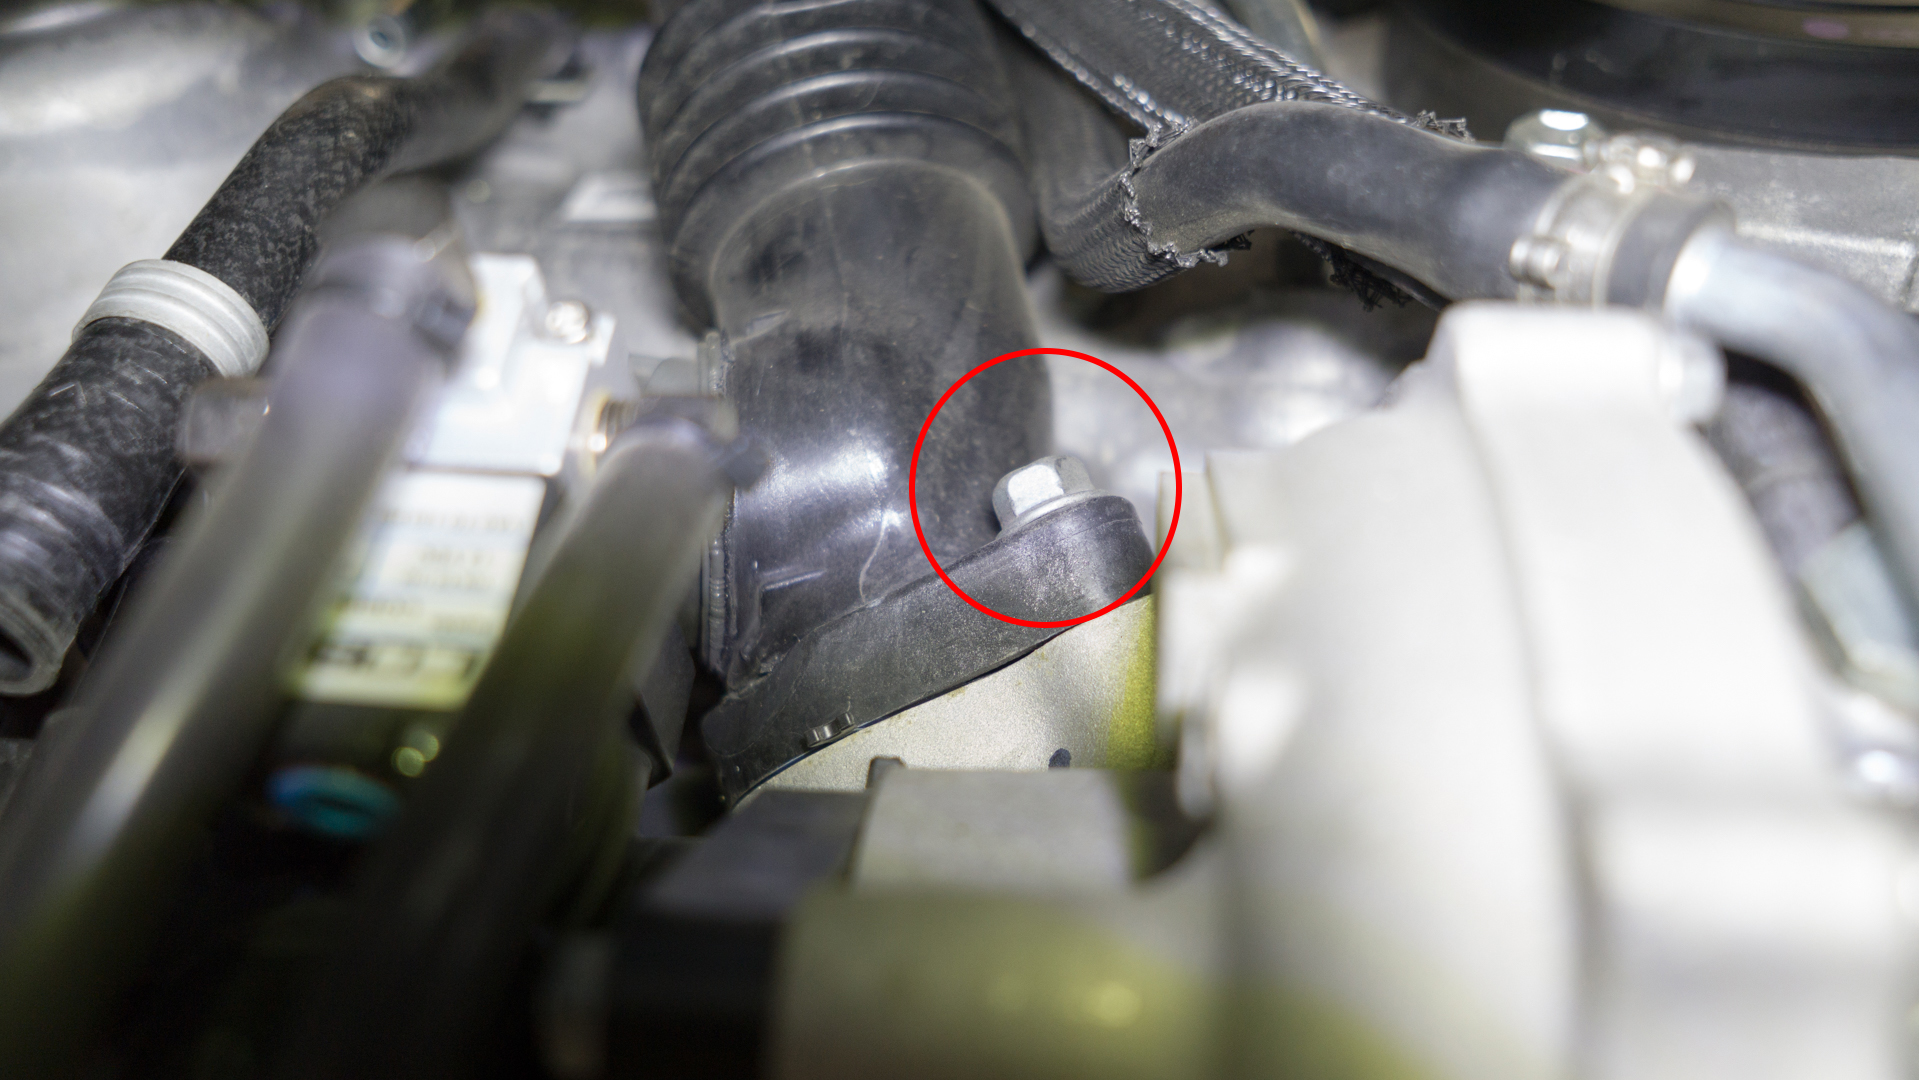
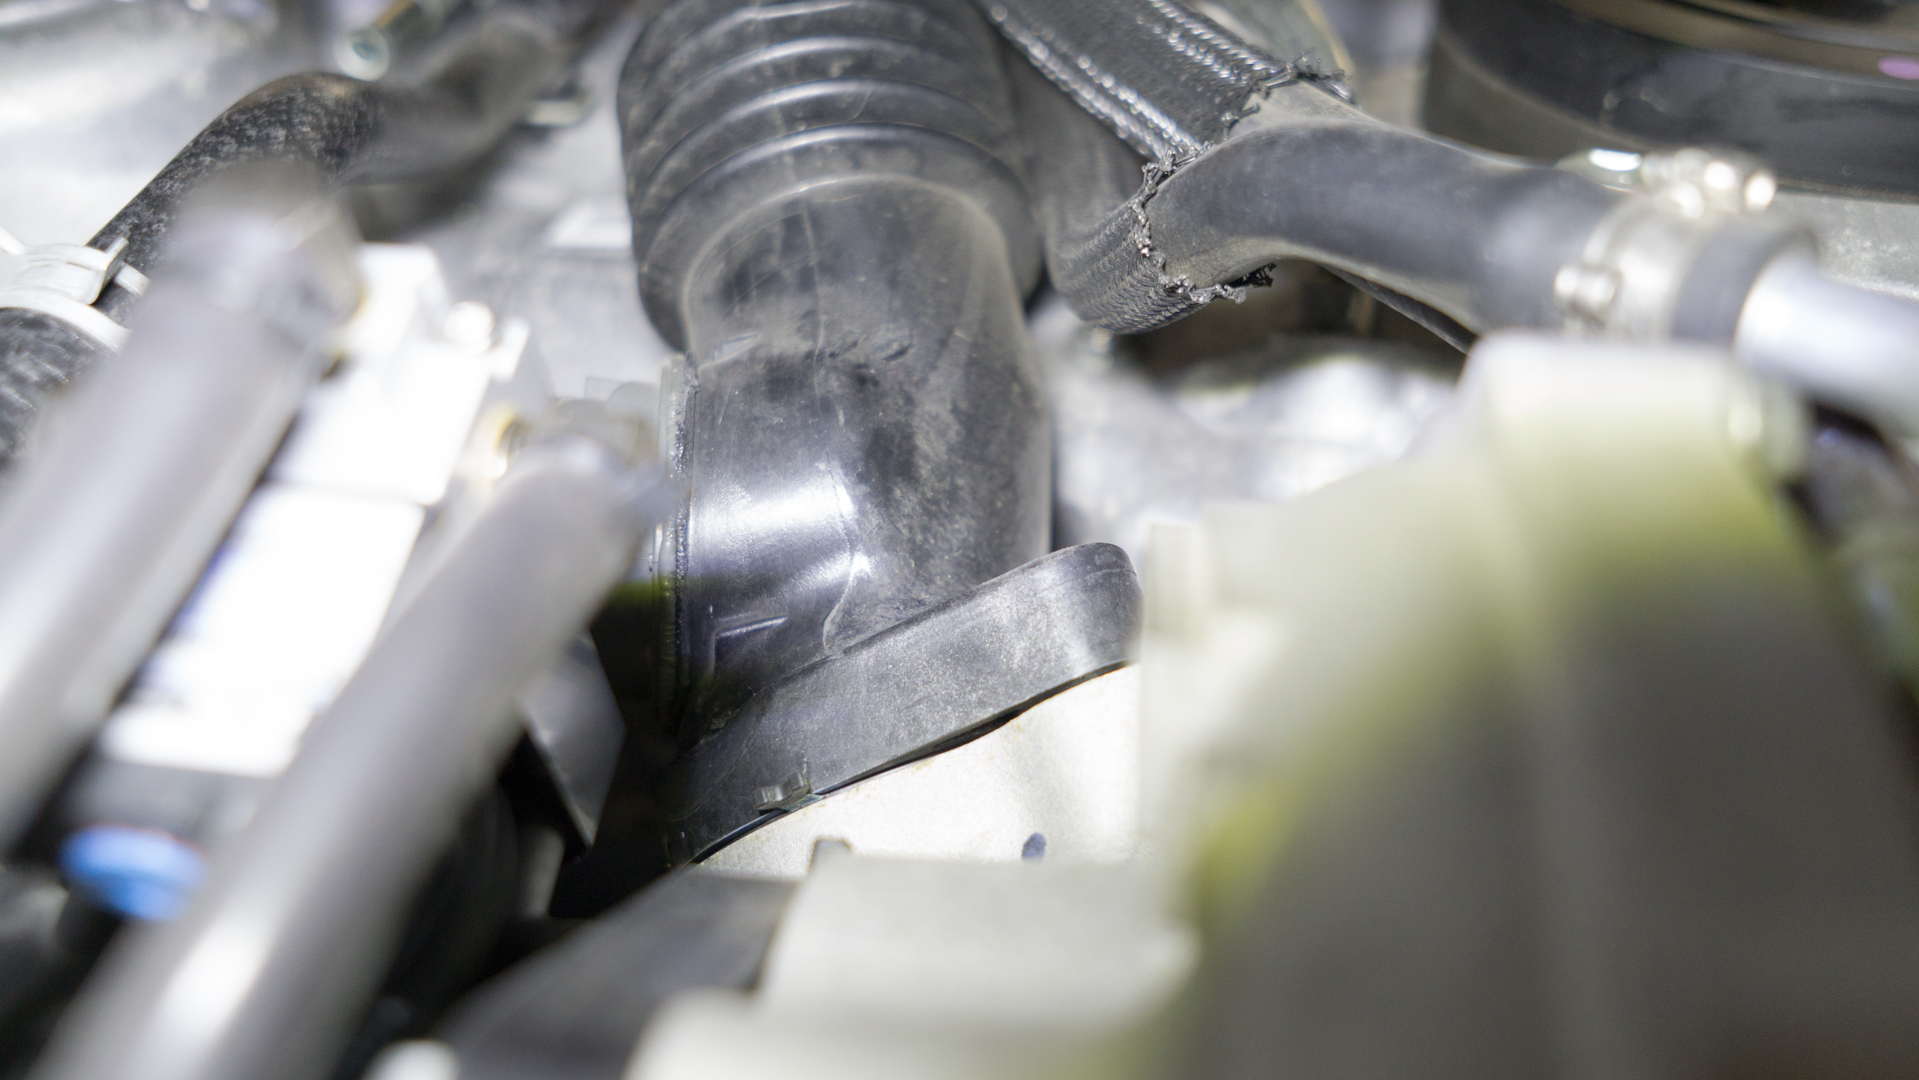
- Remove (2) 12mm bolts on the factory hot pipe to turbo. You will need a 6" extension for one of the bolts.

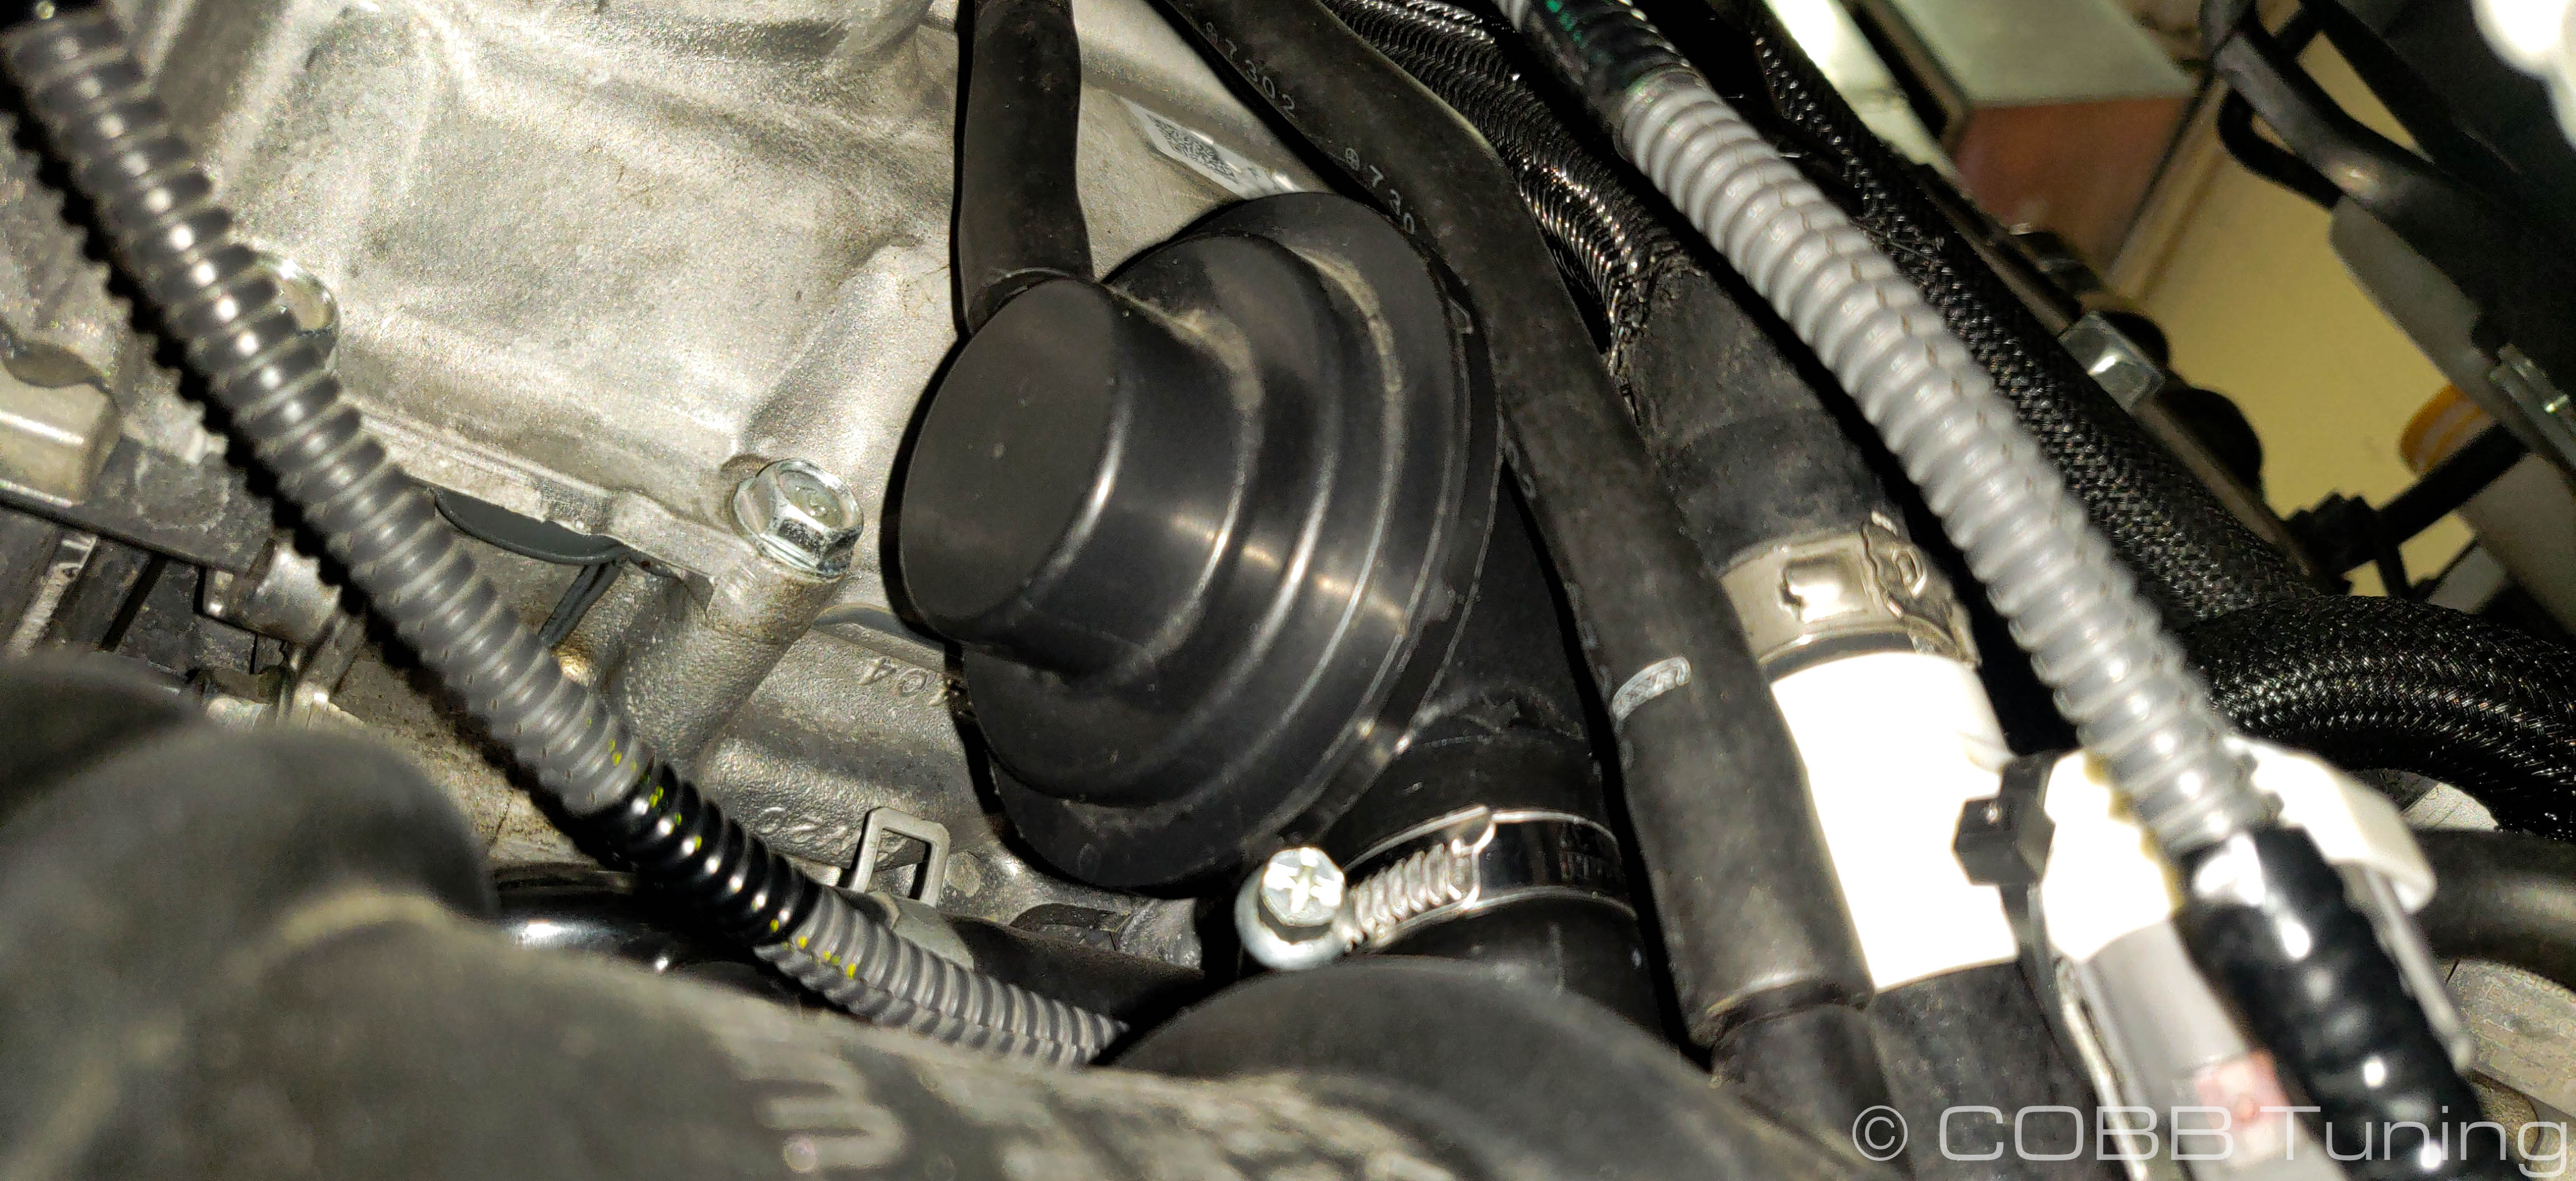
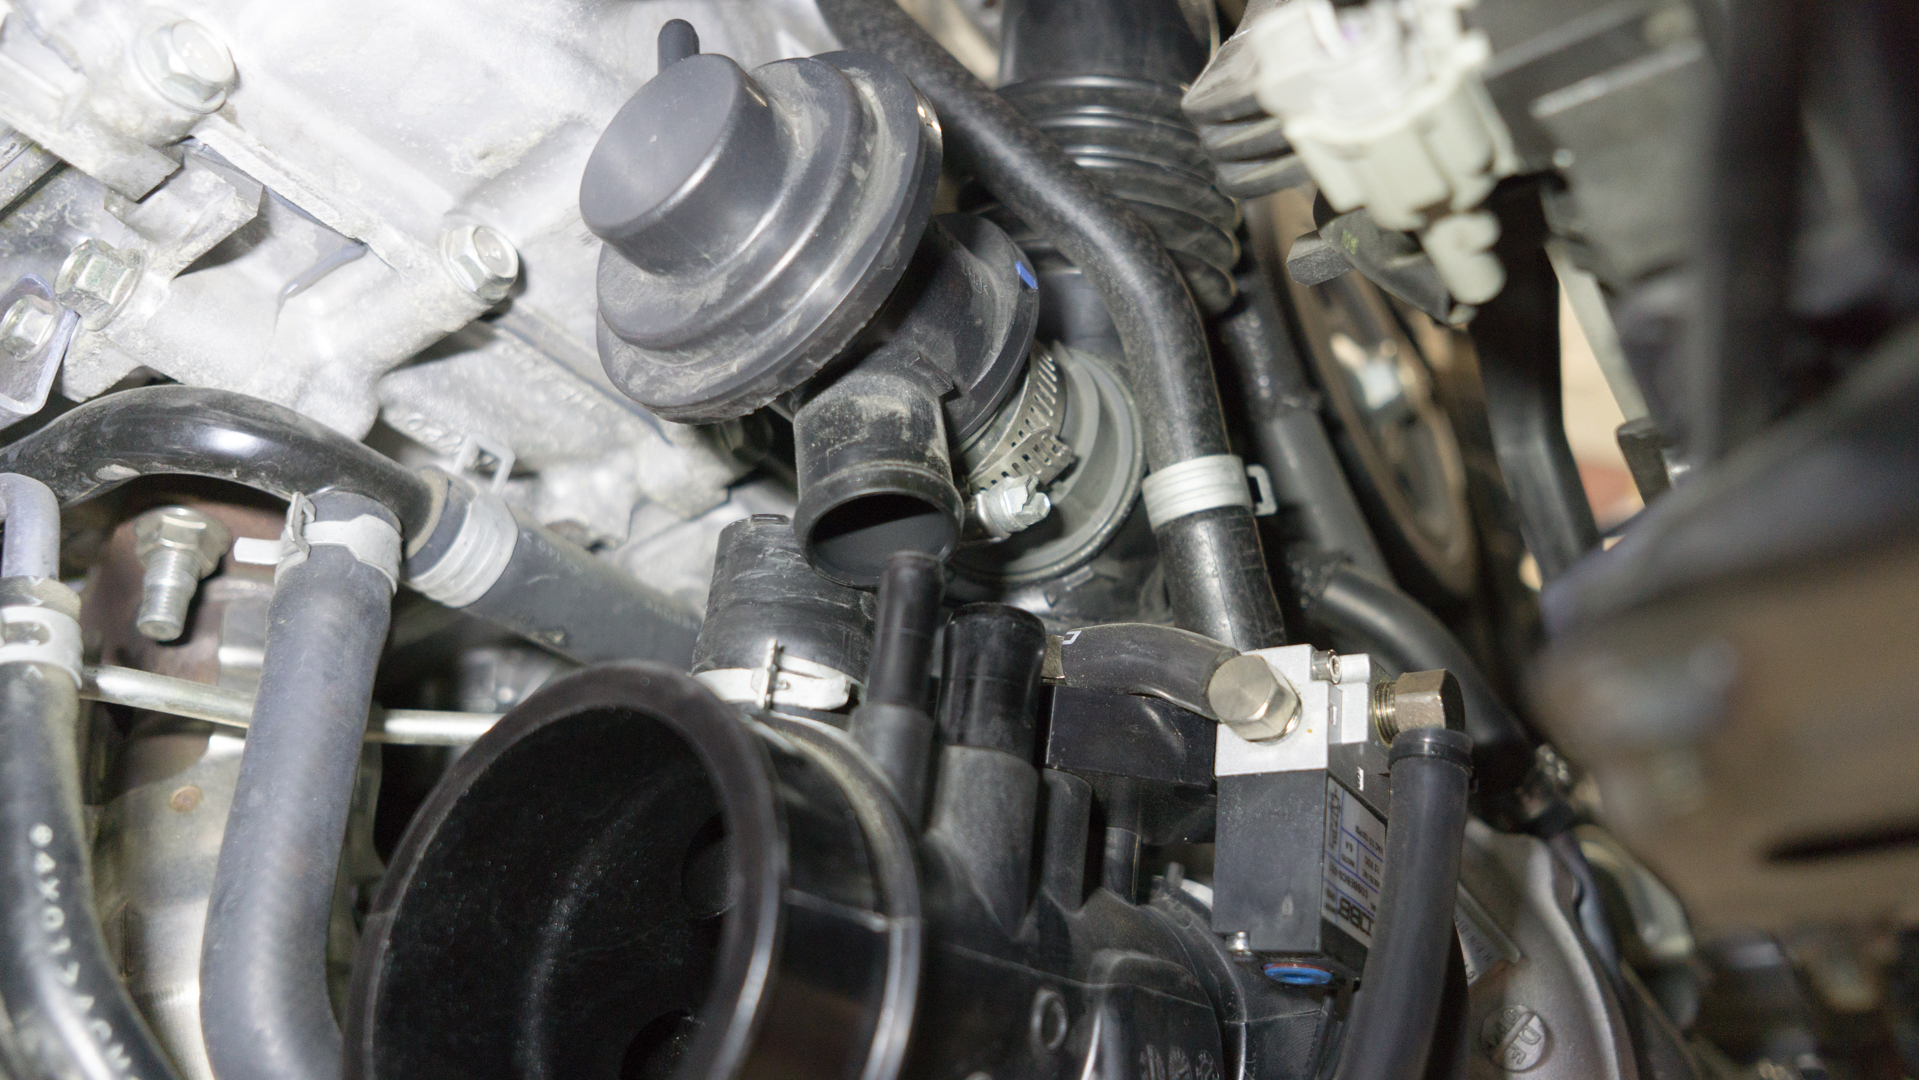
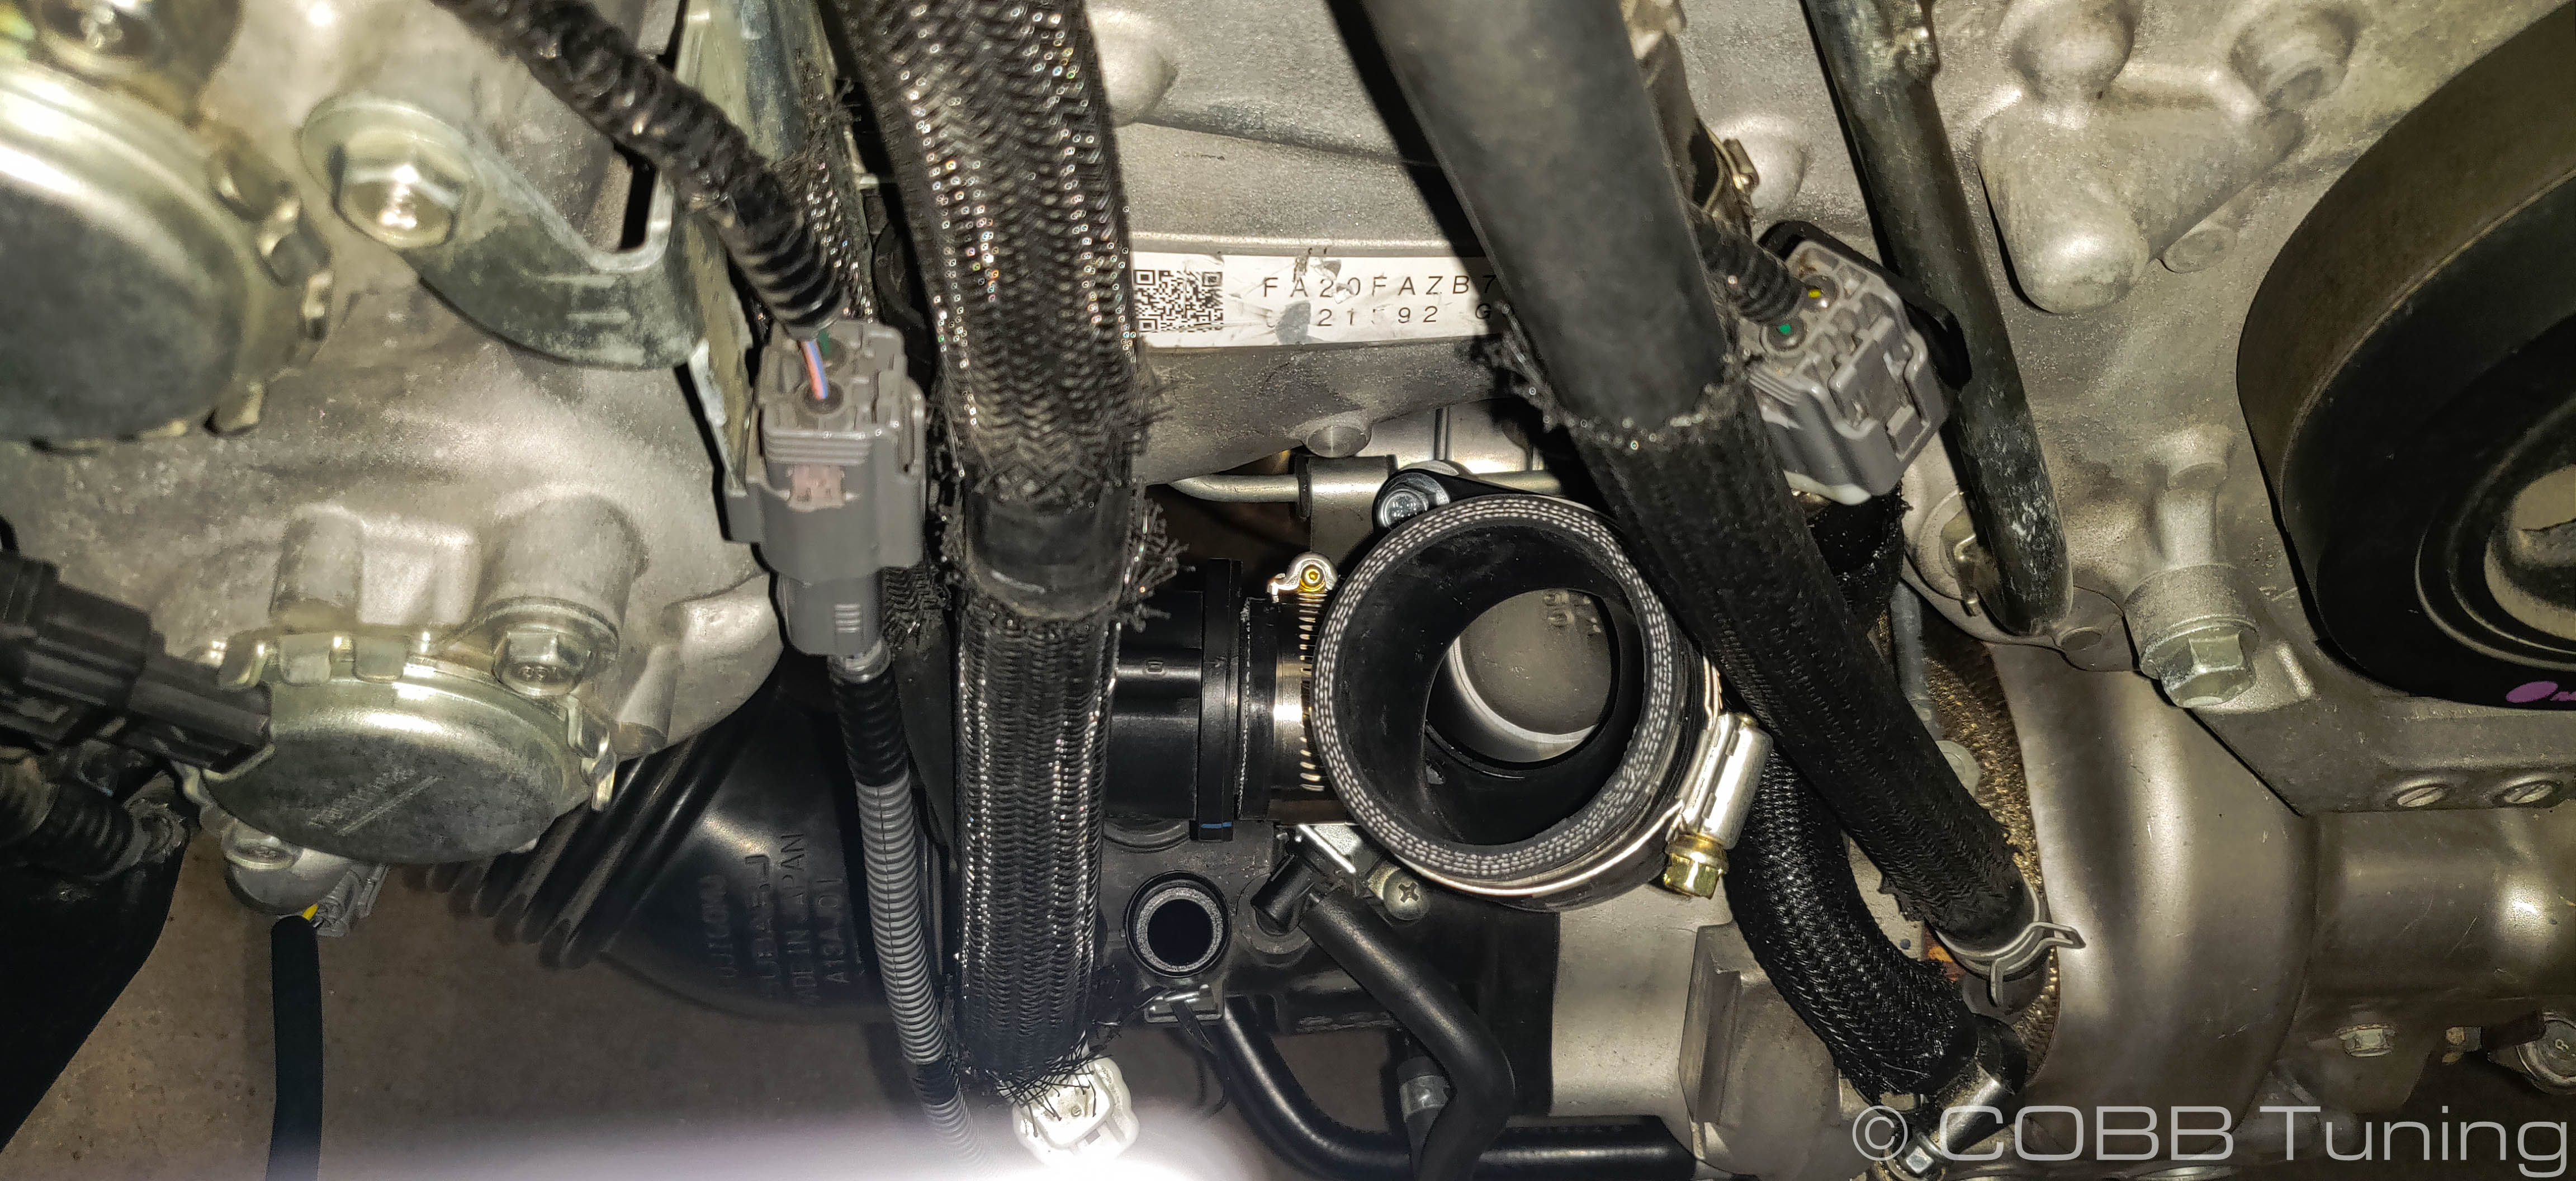
- Applying a small amount of pressure, remove the BPV from the turbo inlet.
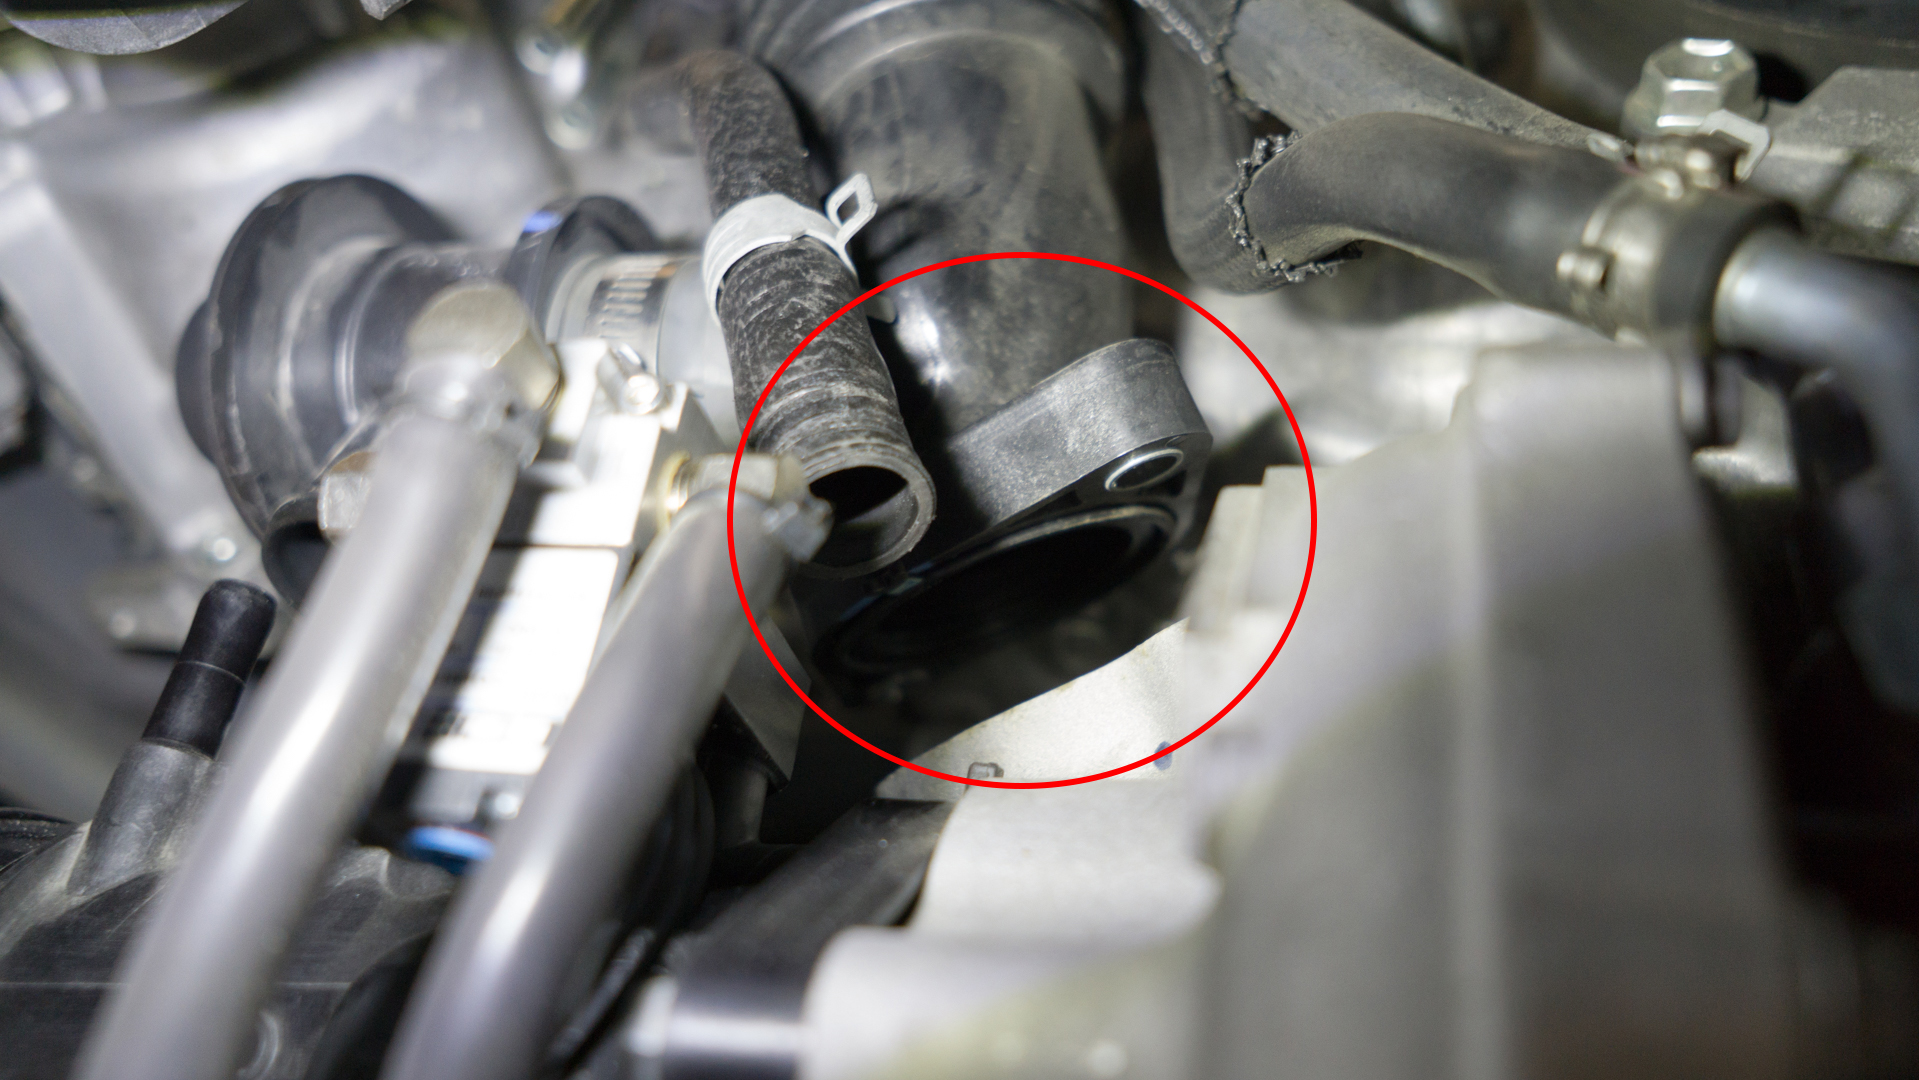
- Pull the BPV away from the factory hot pipe.
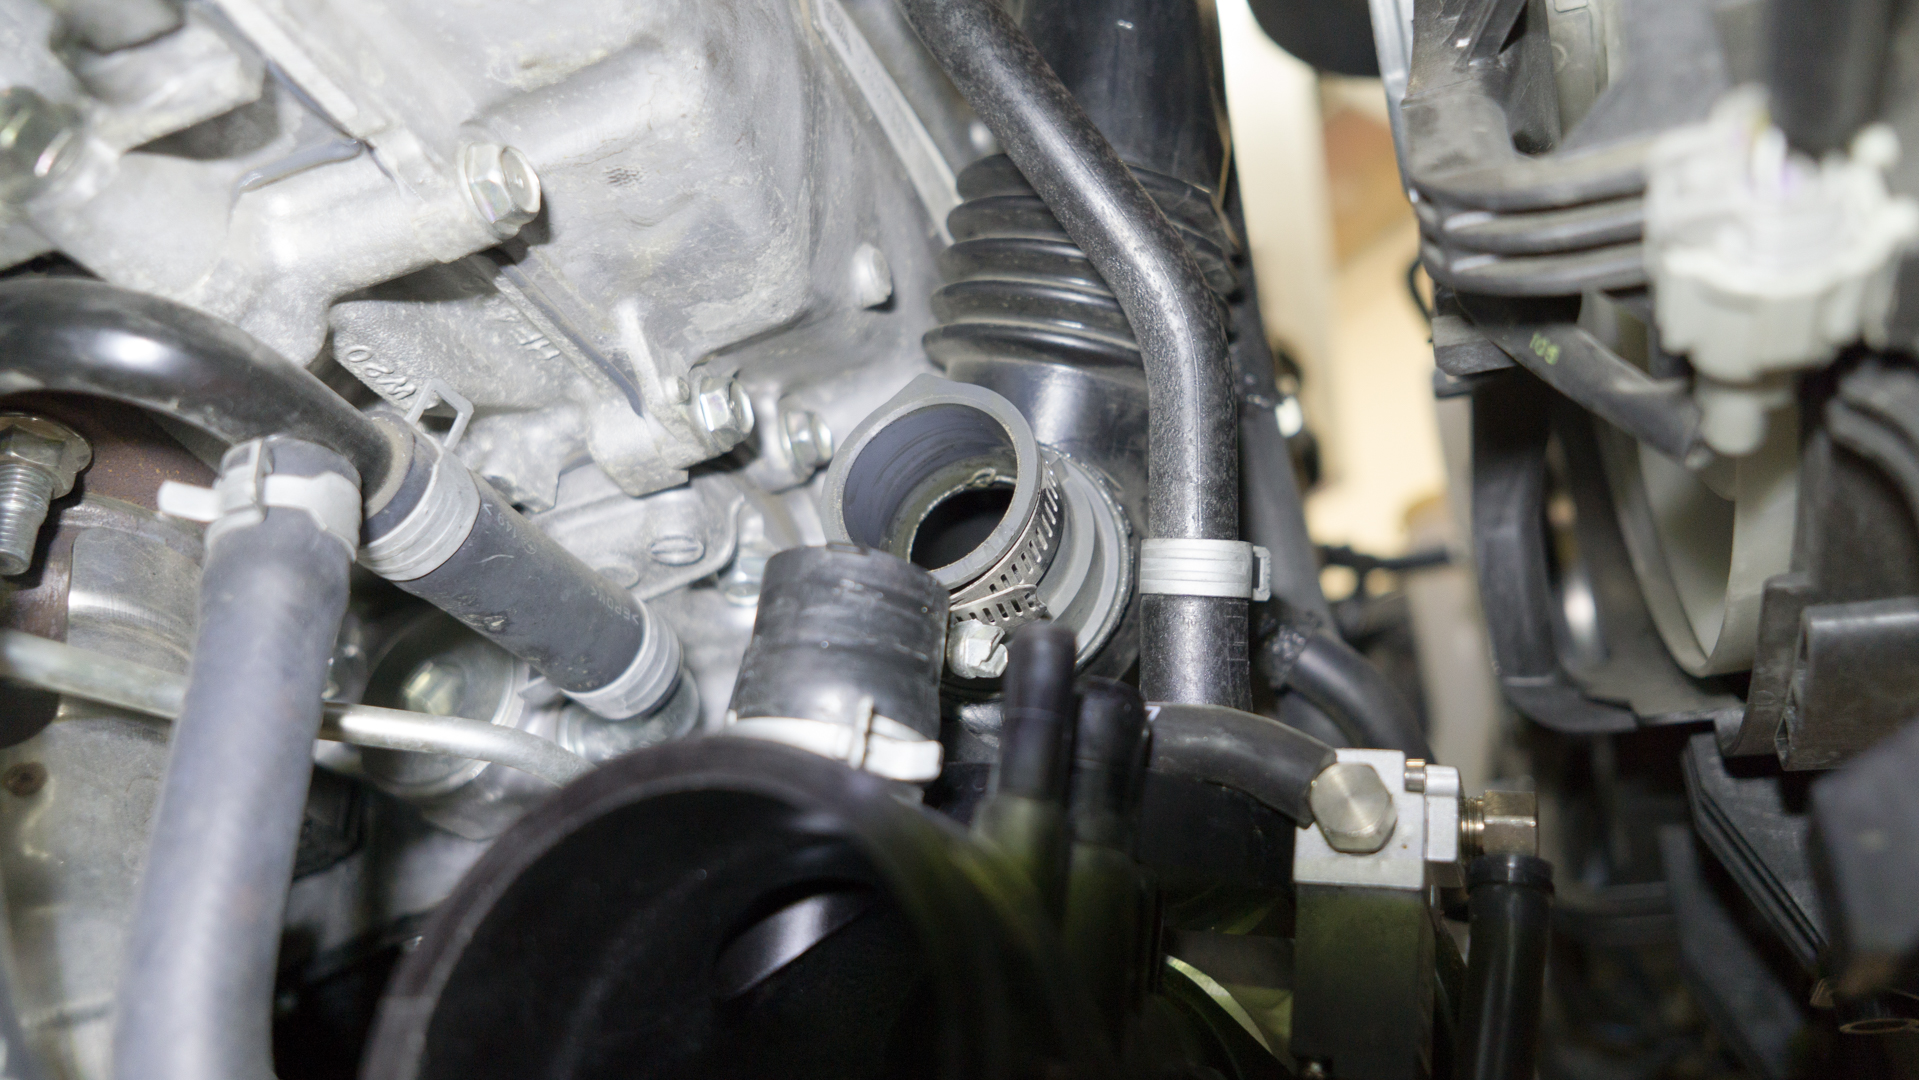
- Remove the hot side charge pipe. Be cautious of the pin and grommet near the intake manifold so make sure to lift it straight over that.

COBB Charge Pipe Installation
- Move over the stock charge pipe gasket from the stock unit to the COBB flange adapter. Make sure the tab is lined up with the slot in the base.
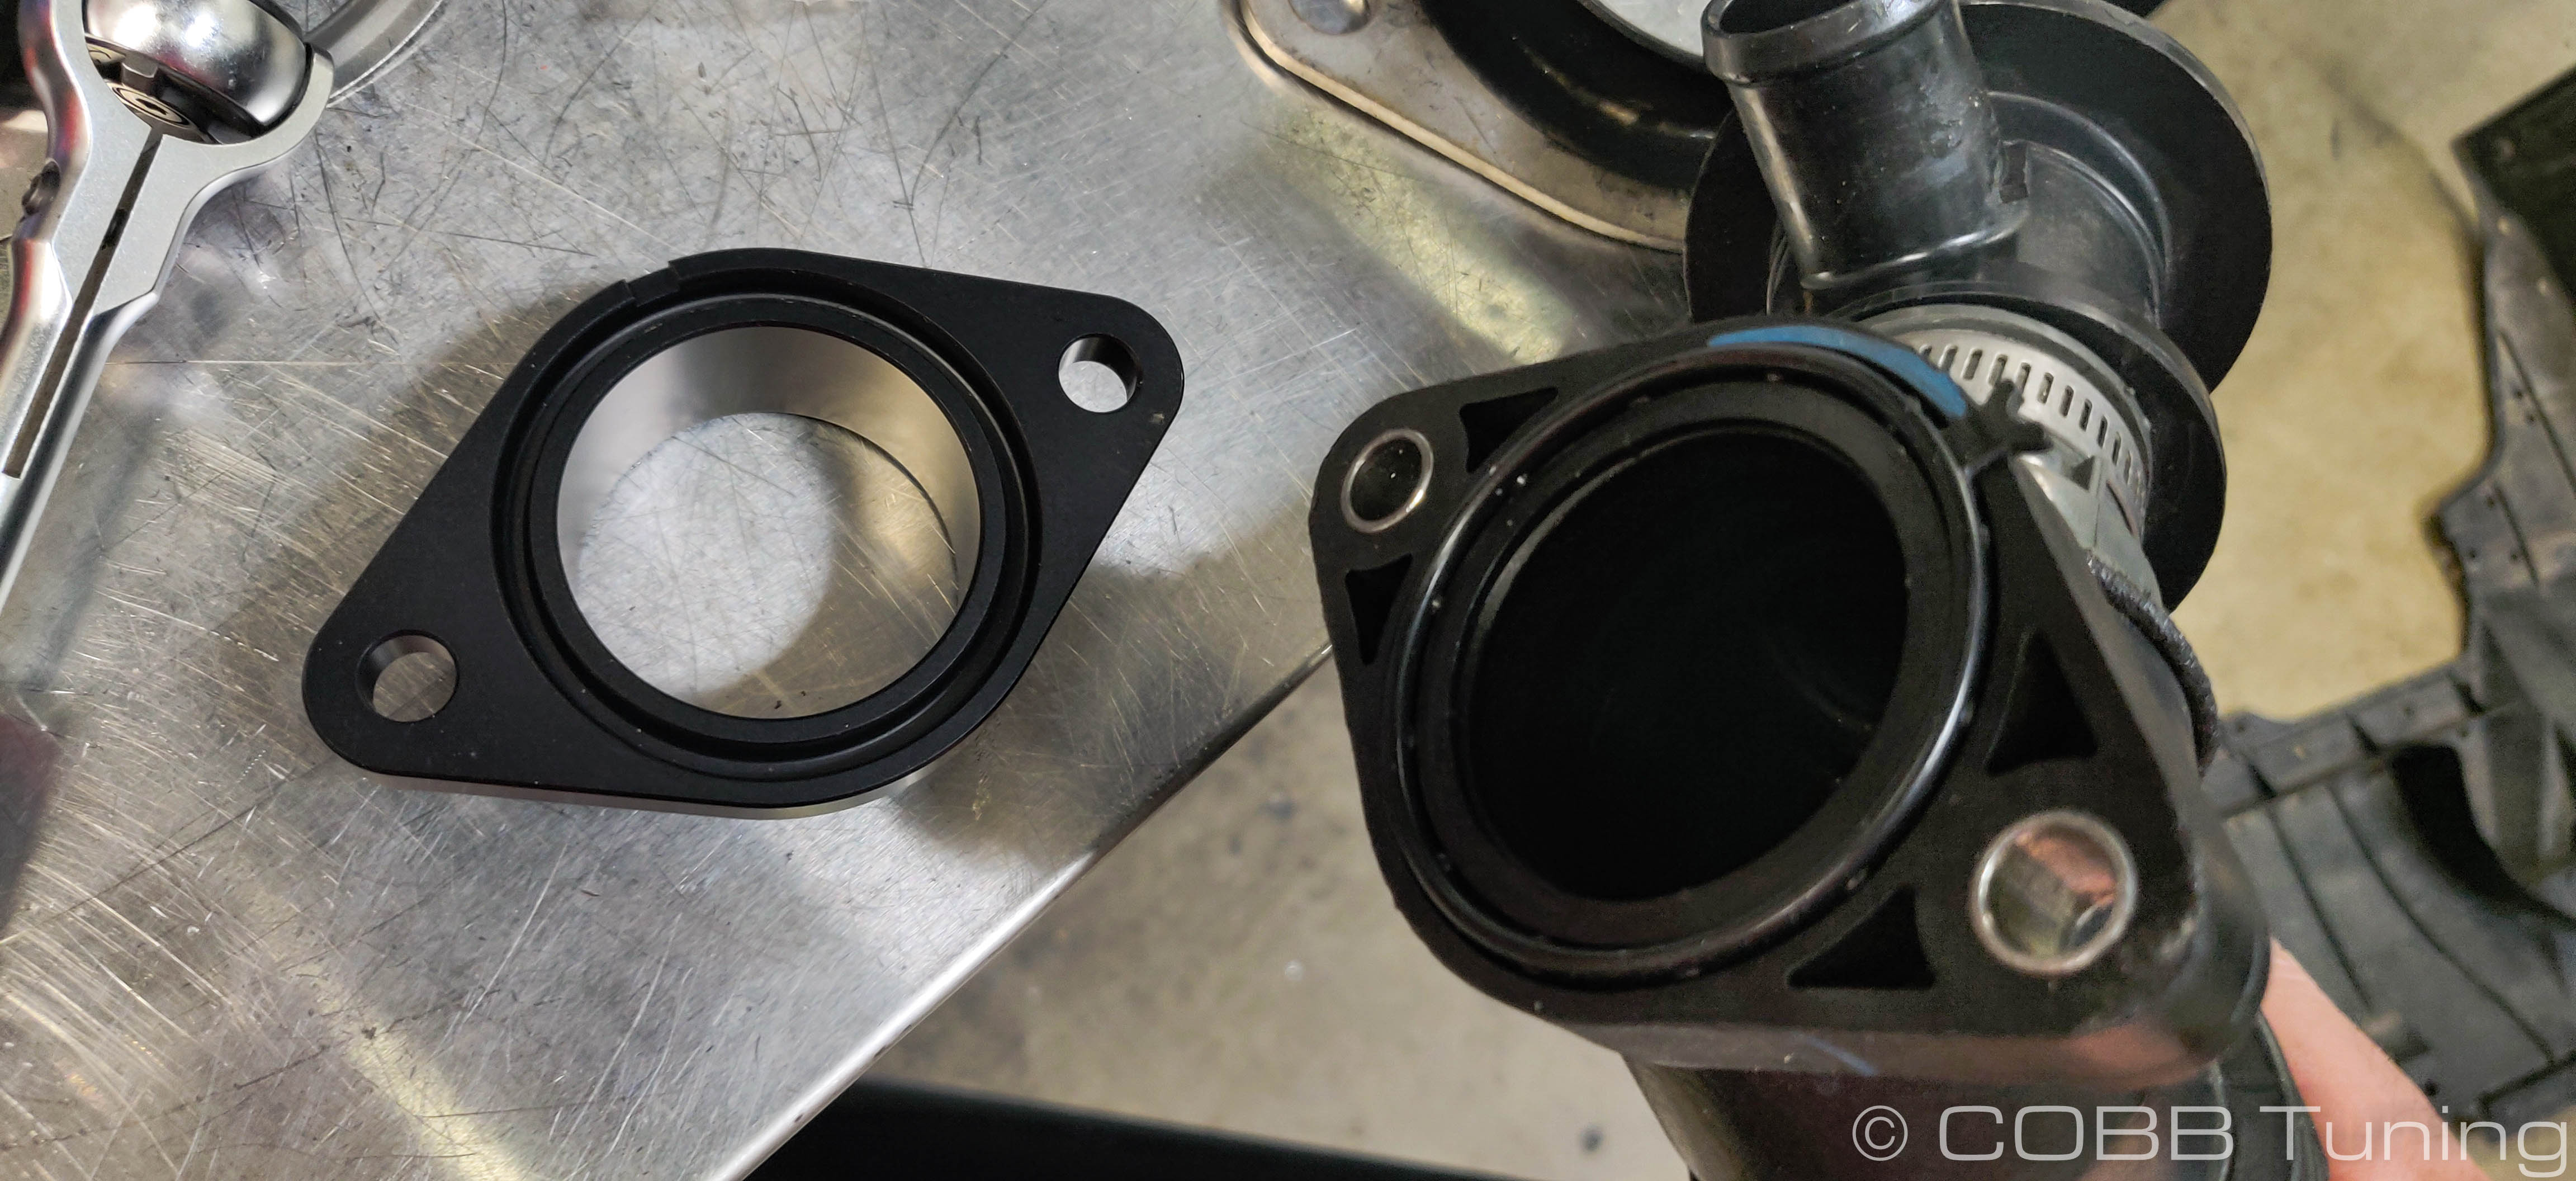
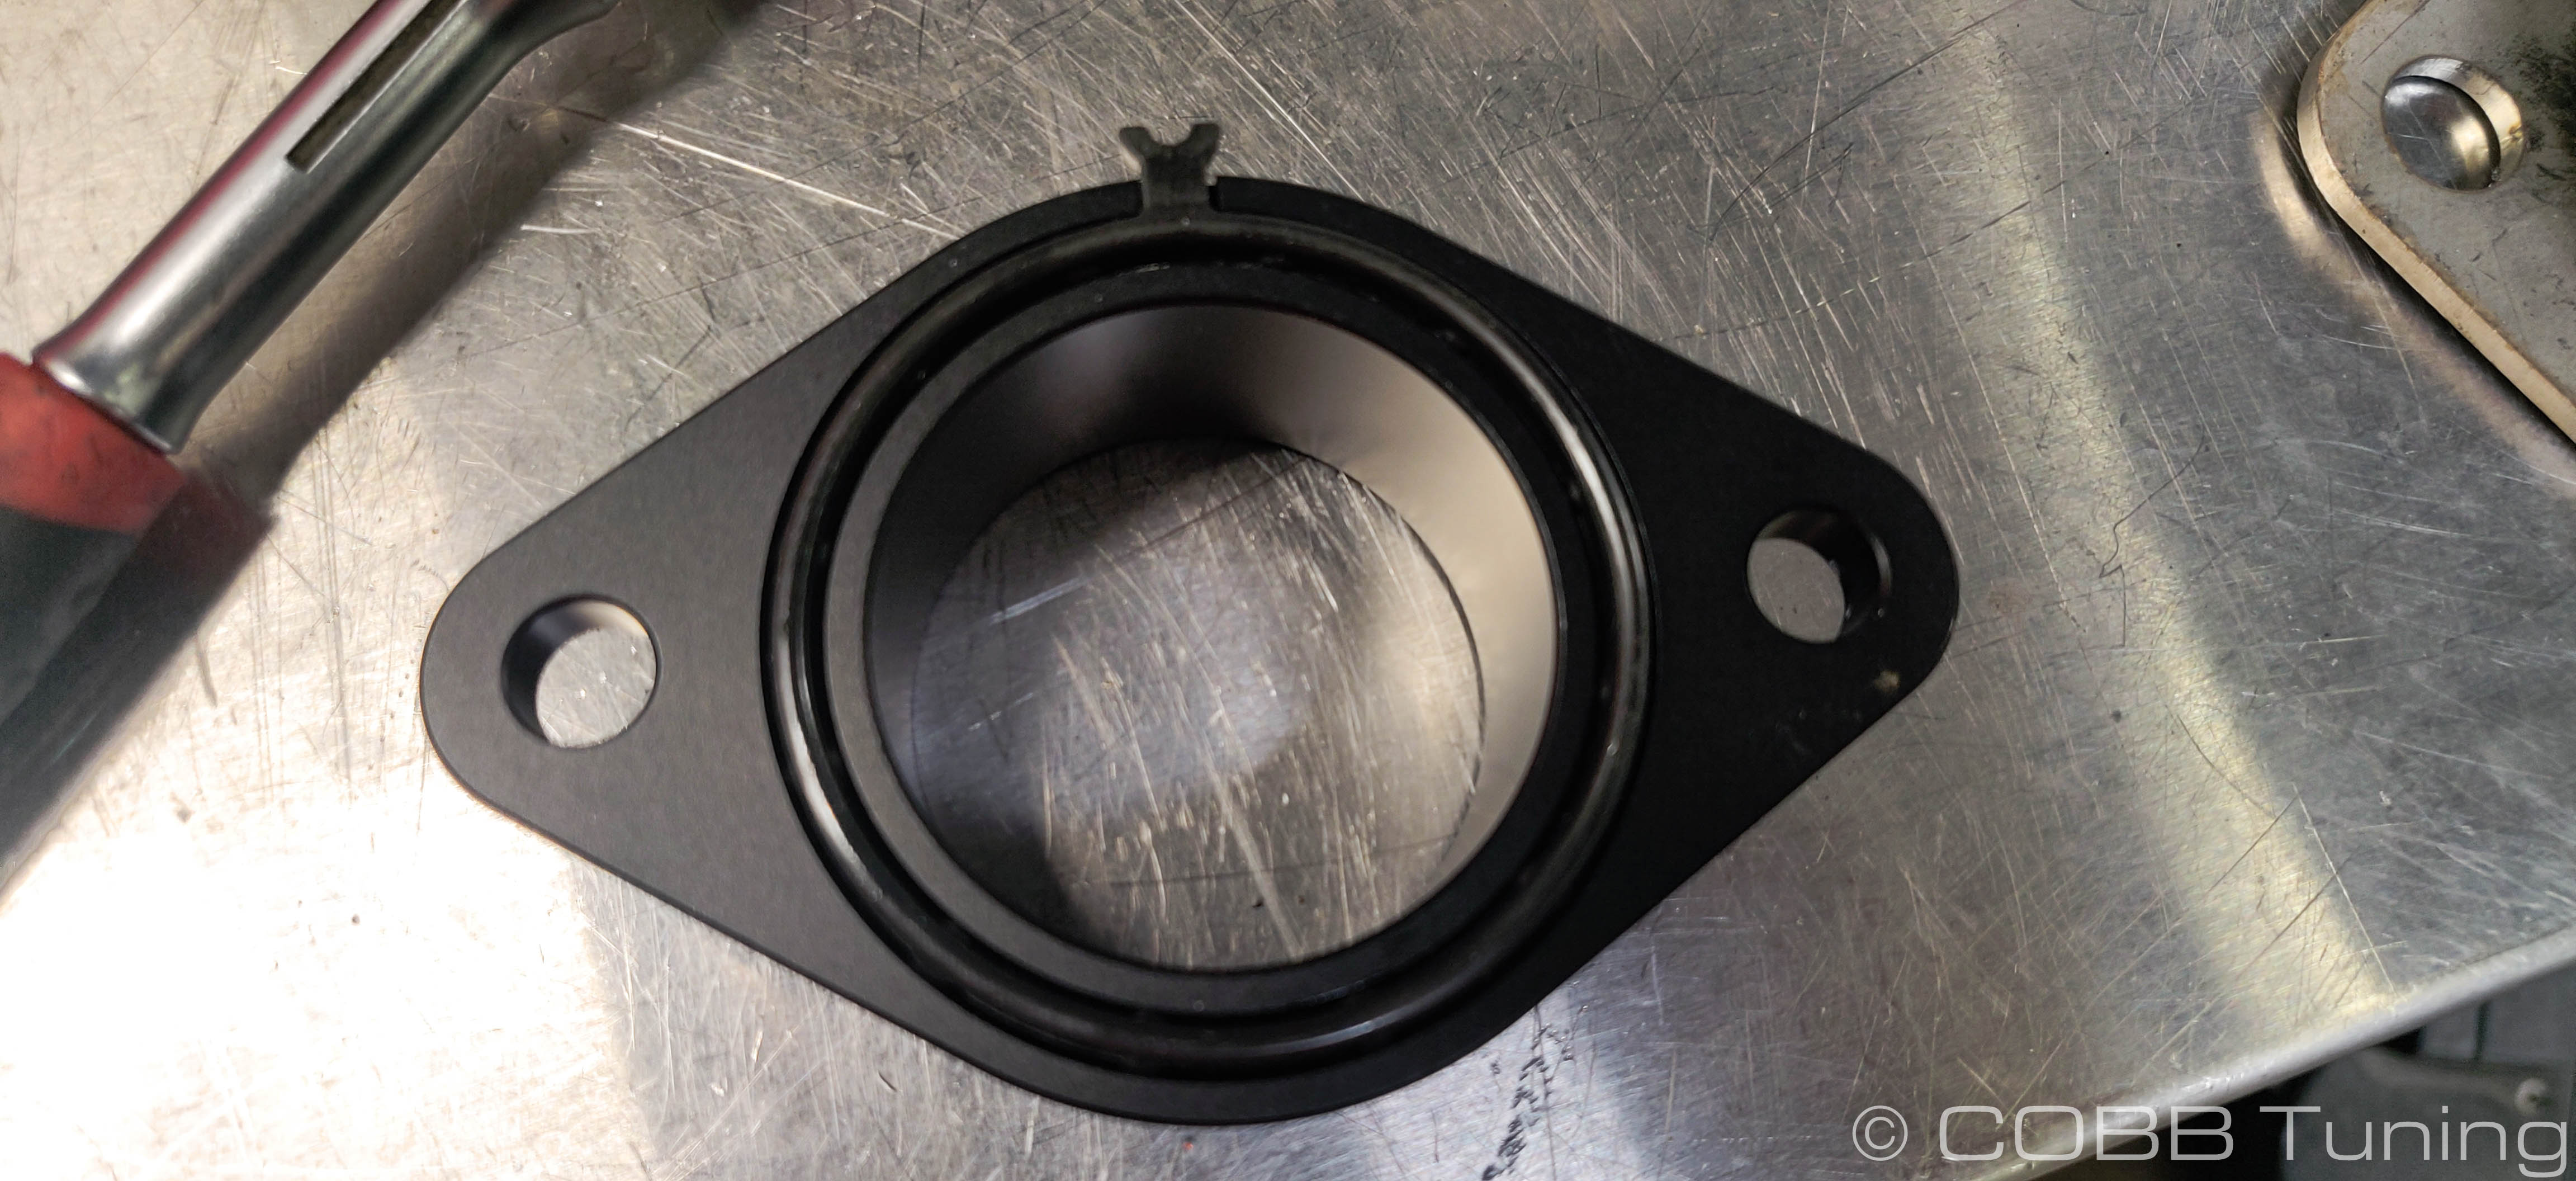
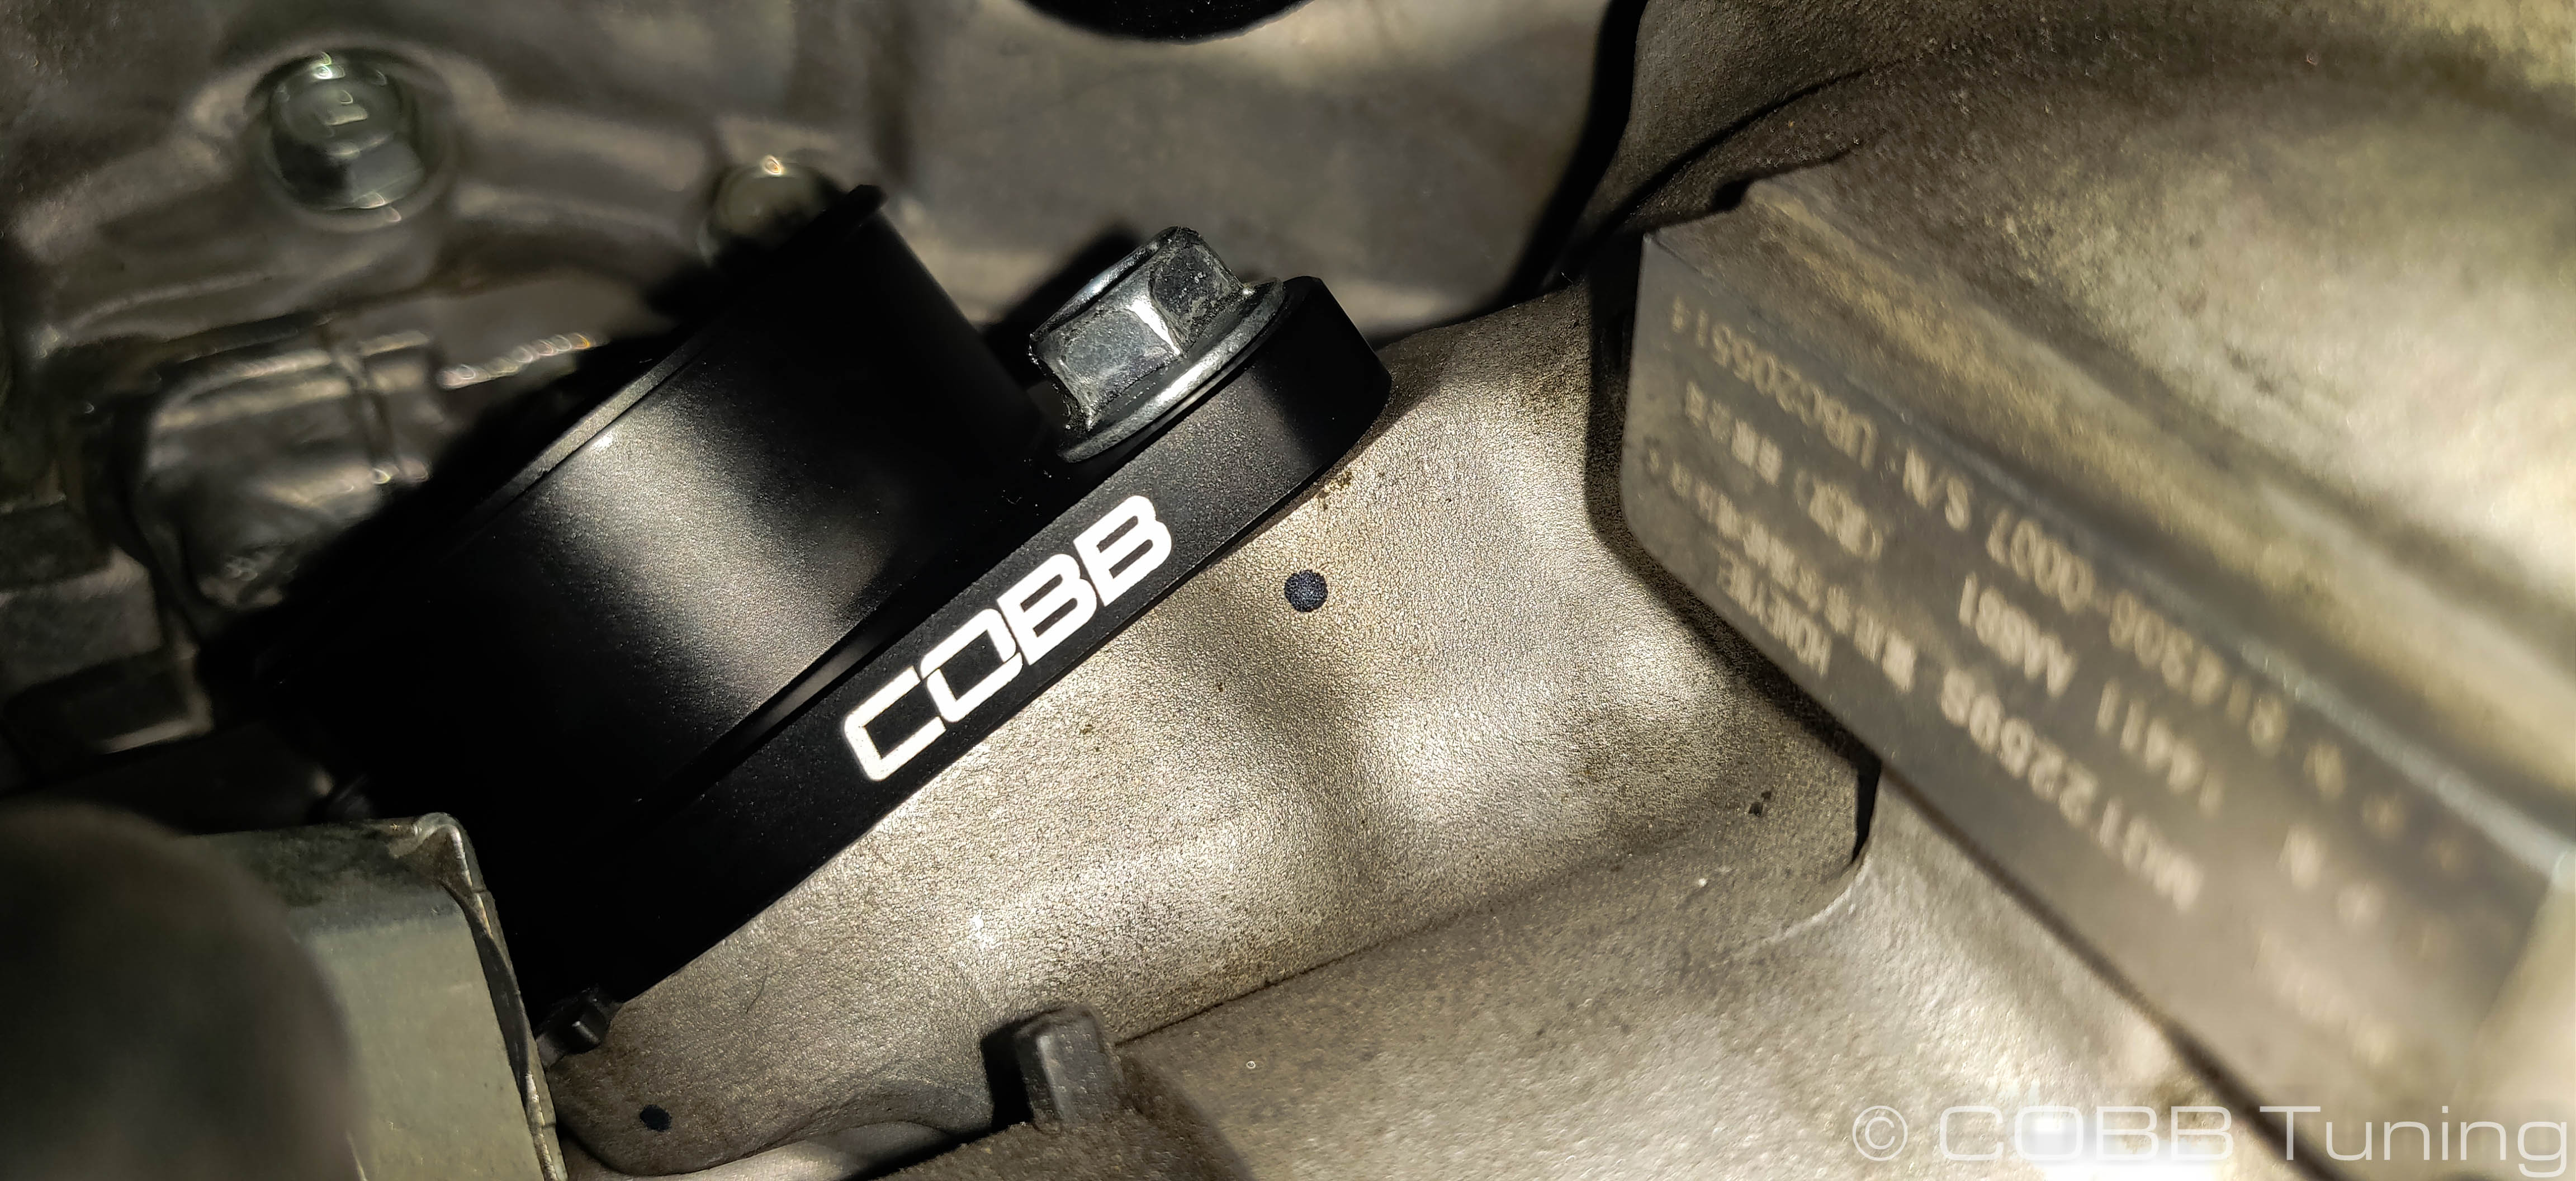
- Using the 12mm stock bolts, bolt the flange onto the turbo. Make sure not to over-tighten as it could damage the turbo itself. Factory torque spec is 16 NM or 11.8 ft / lbs.

- You can now go ahead and stick the stock bypass valve back onto the turbo inlet and clock it close to where it was stock. Don't tighten the clamp down quite yet though.
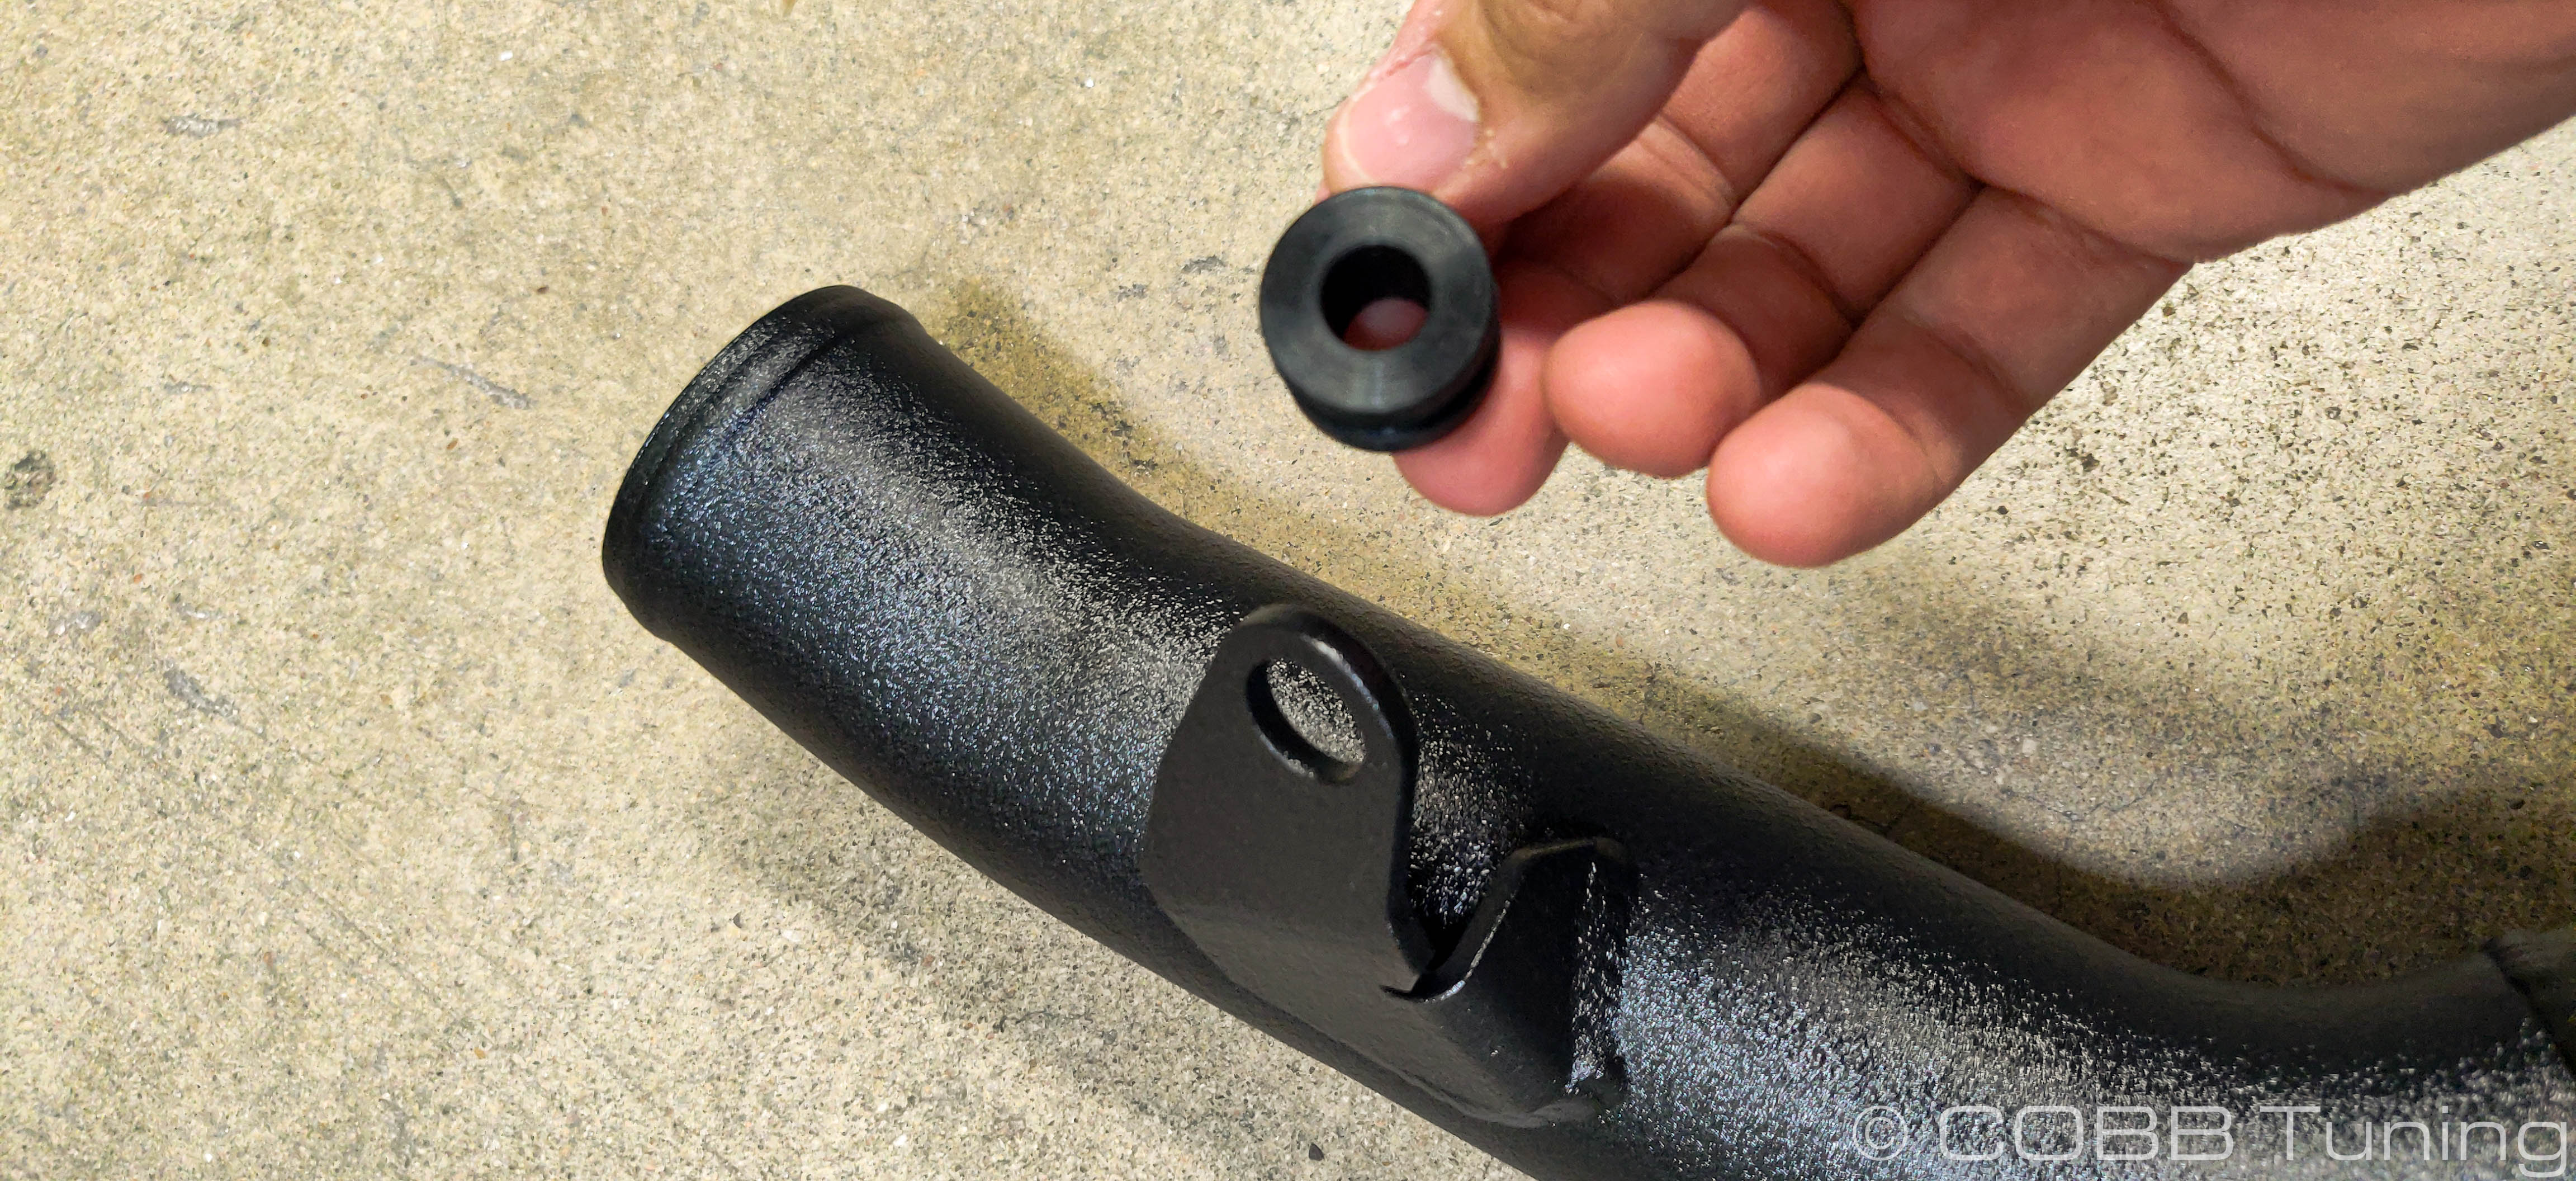
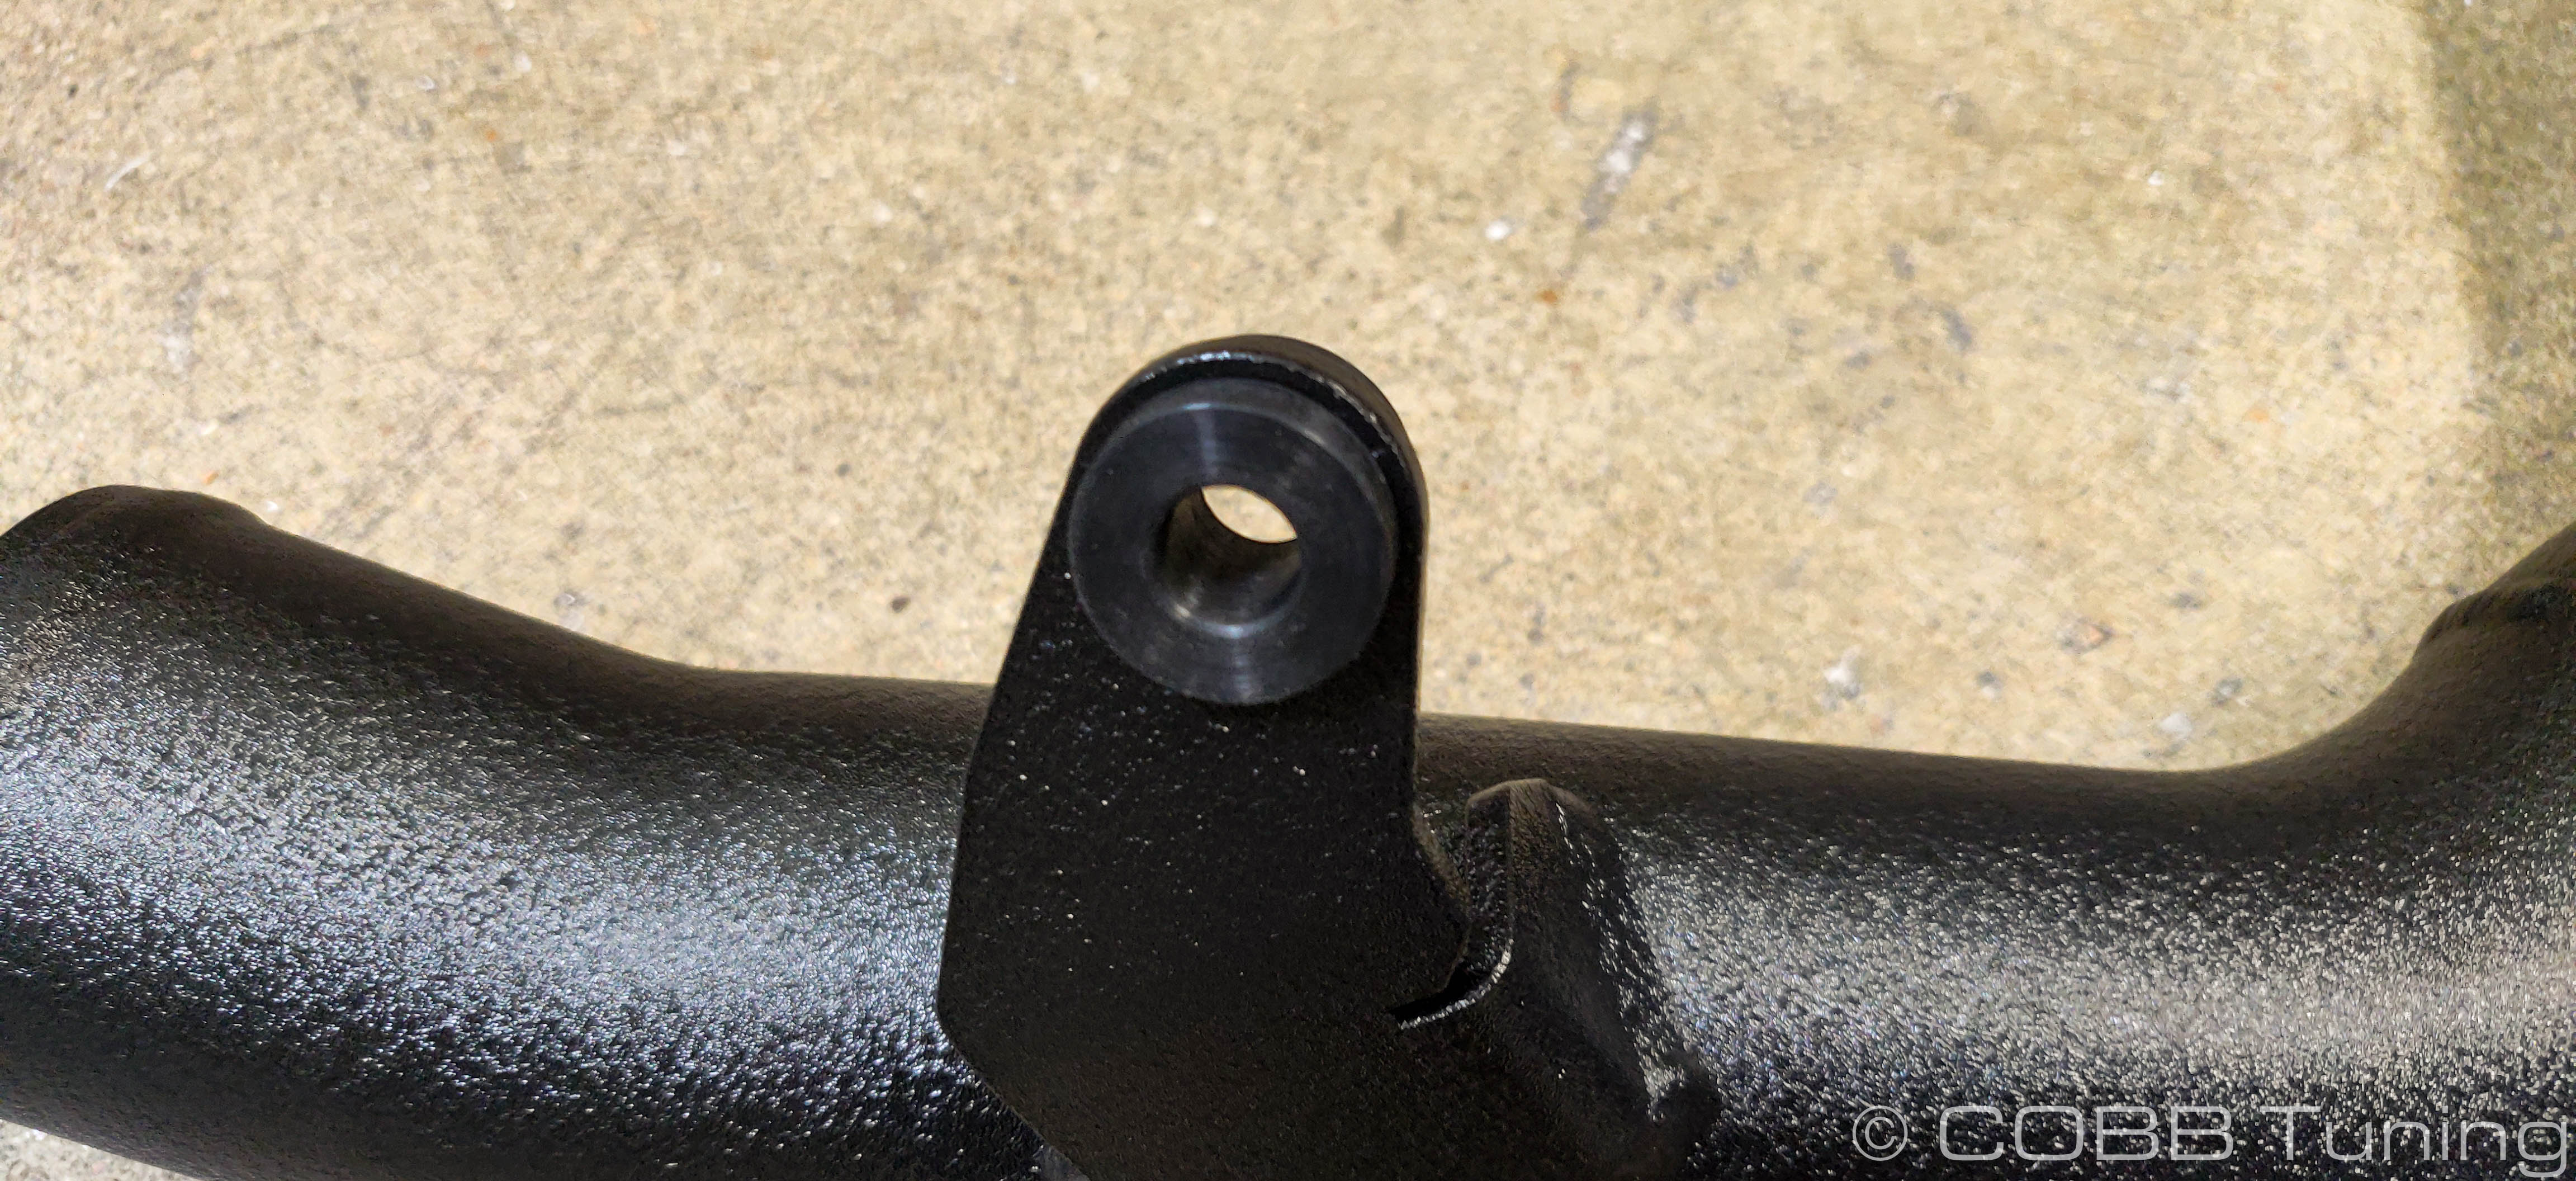
- Push the supplied grommet into the hole in the charge pipe support bracket.
- Put a number #32 clamp on the shorter end of the charge pipe BPV coupler and a smaller #24 clamp on the BPV side. Push it over the BPV nose then onto the inlet flange adapter before tightening down the clamps.
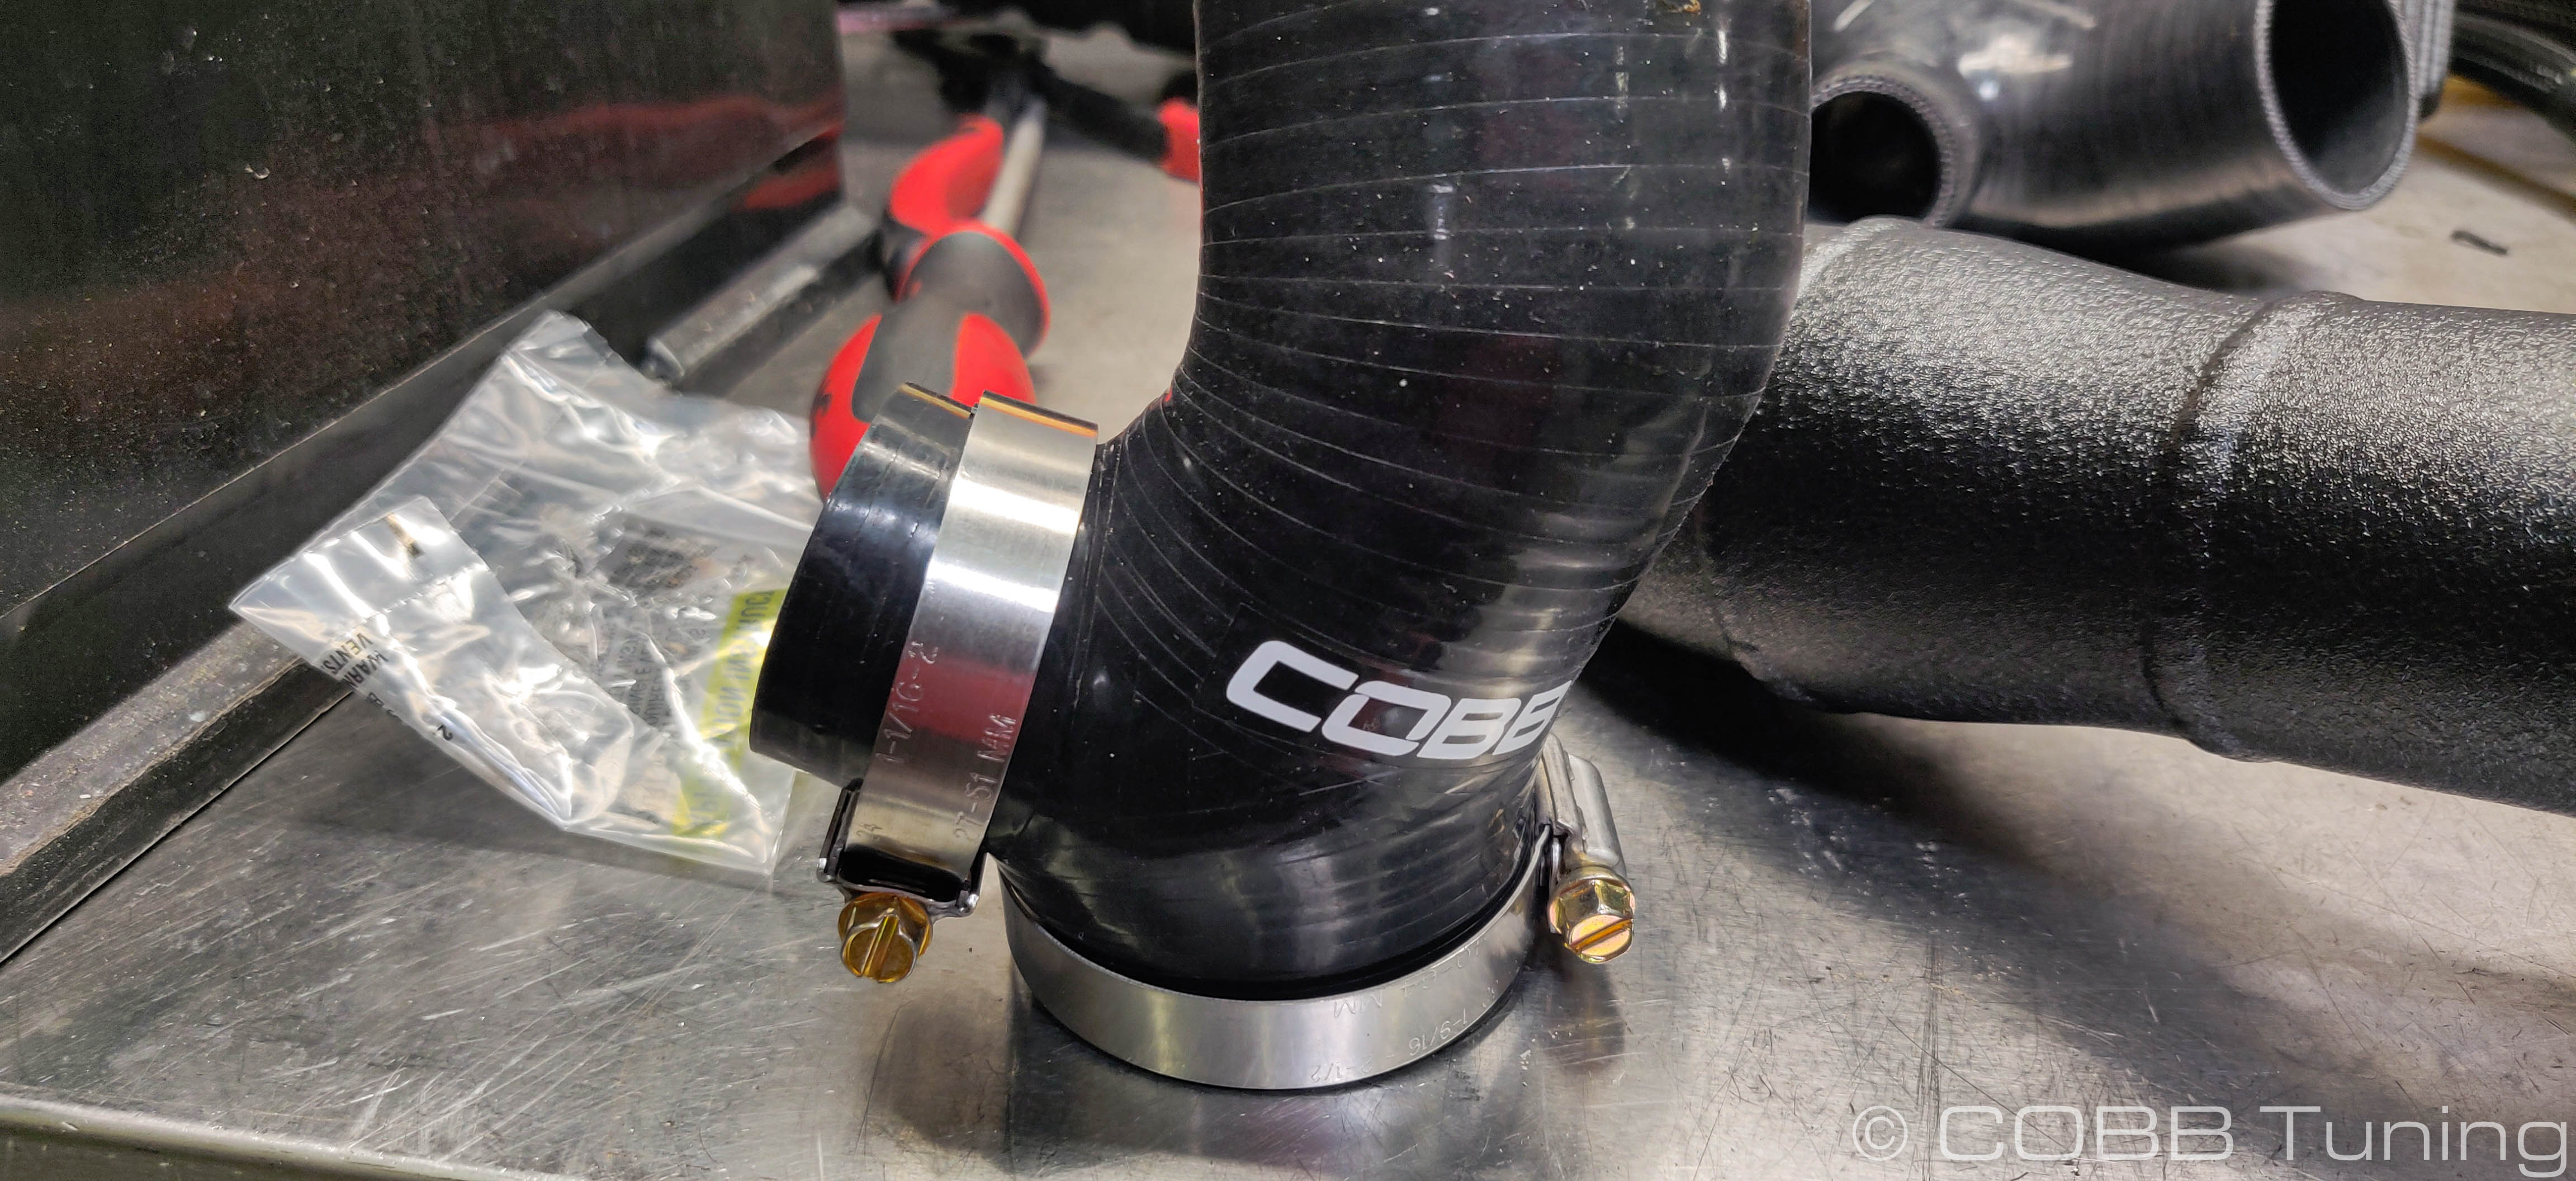
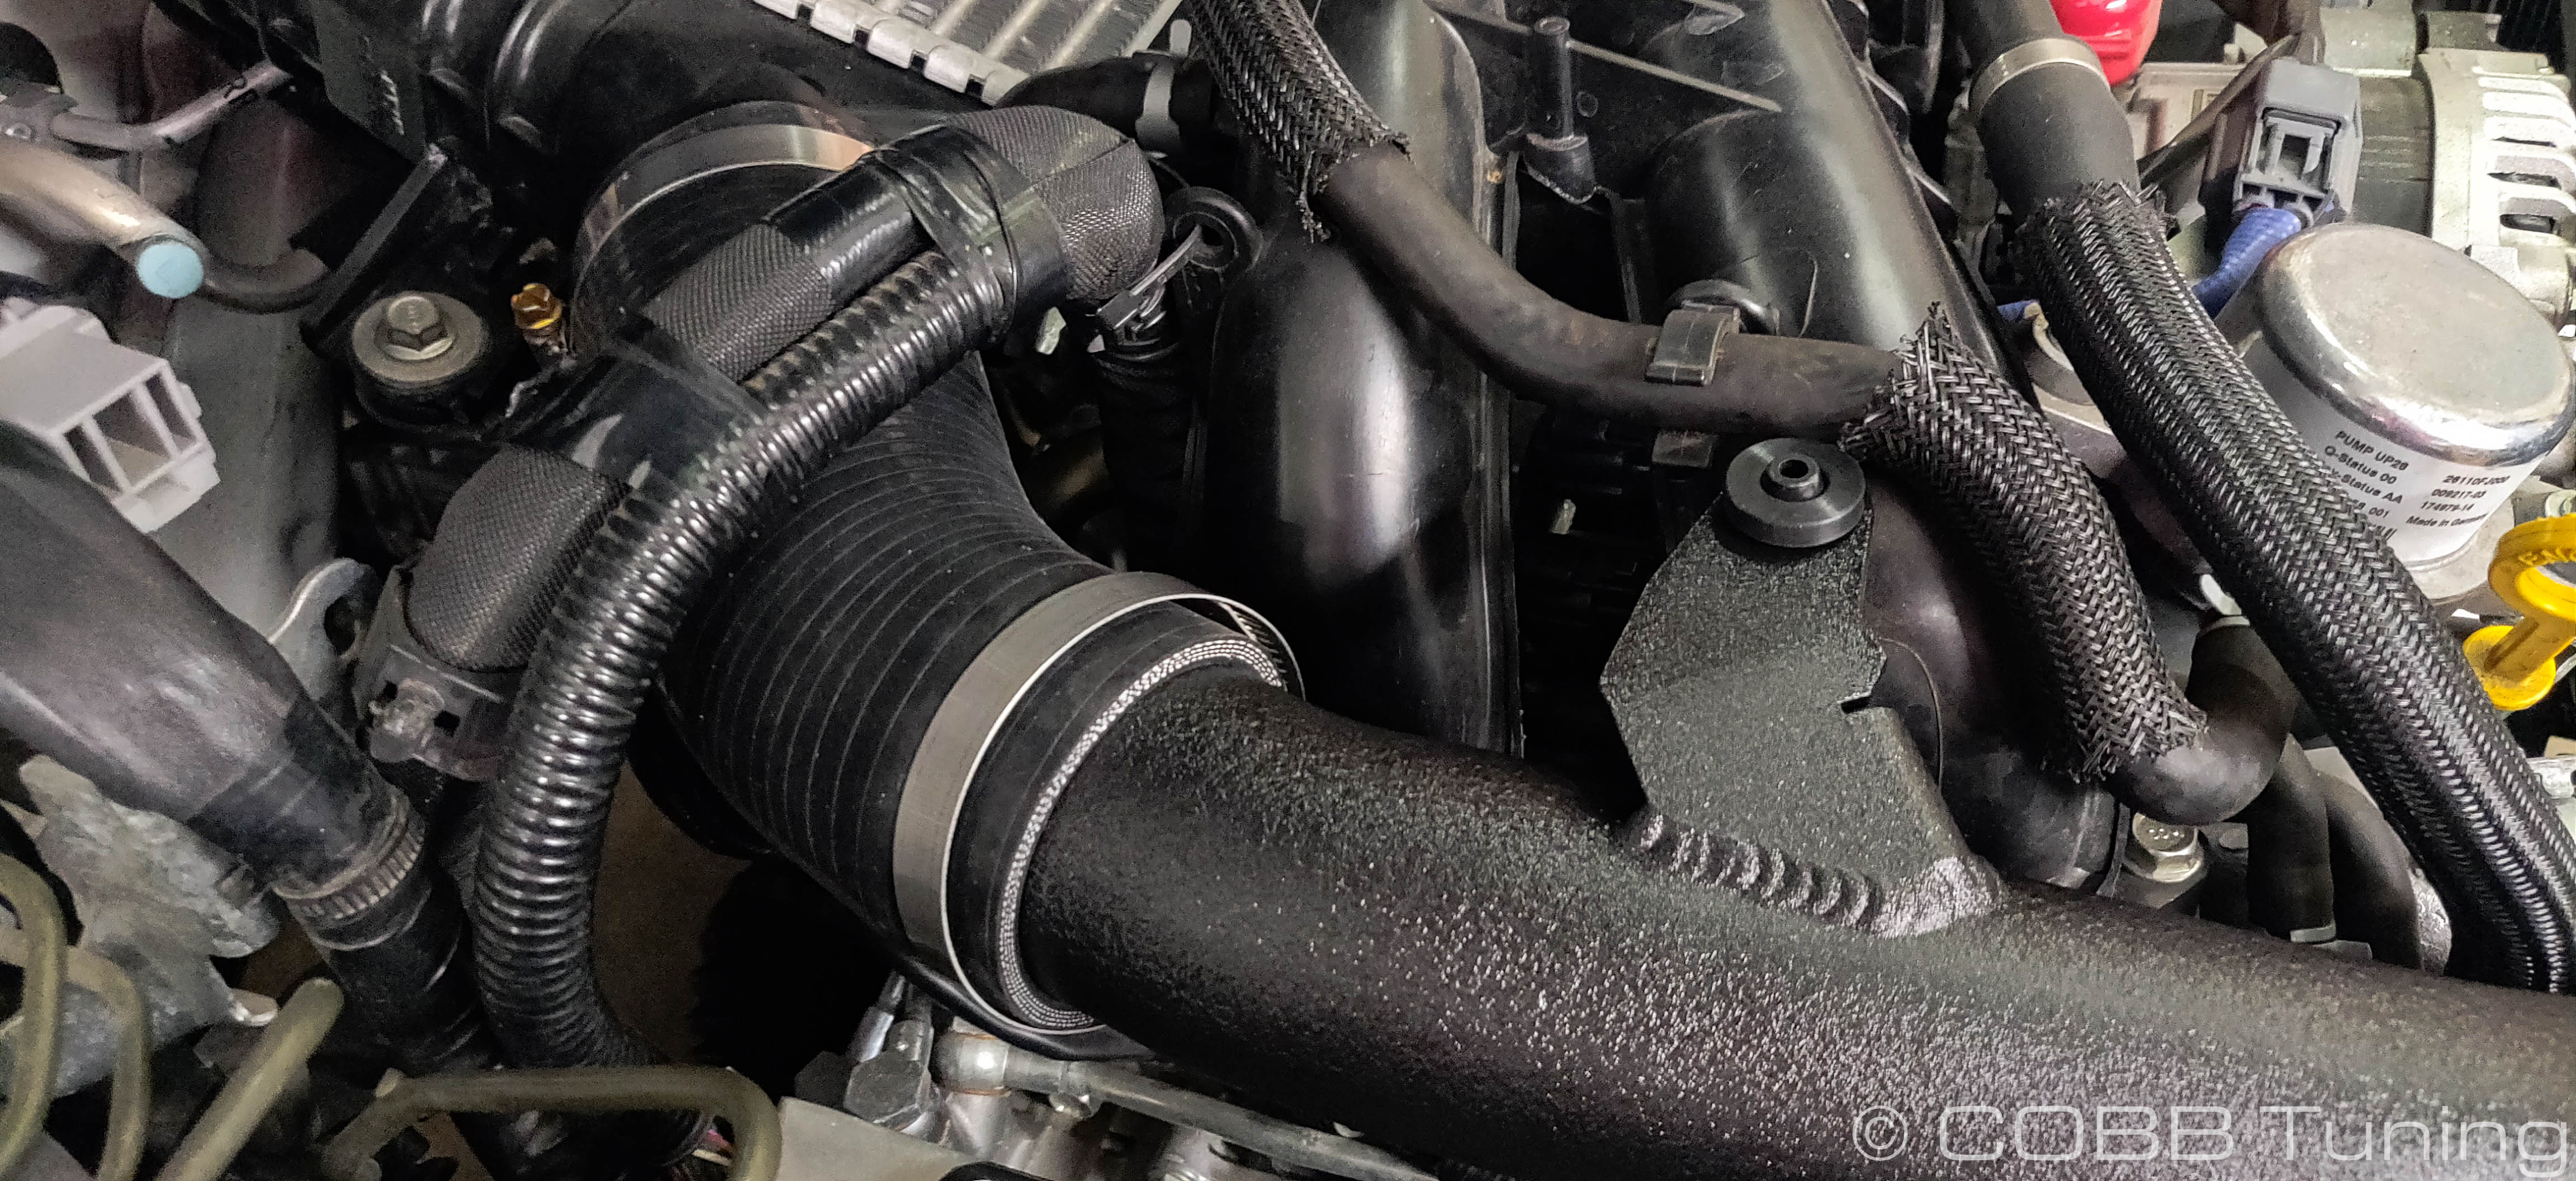
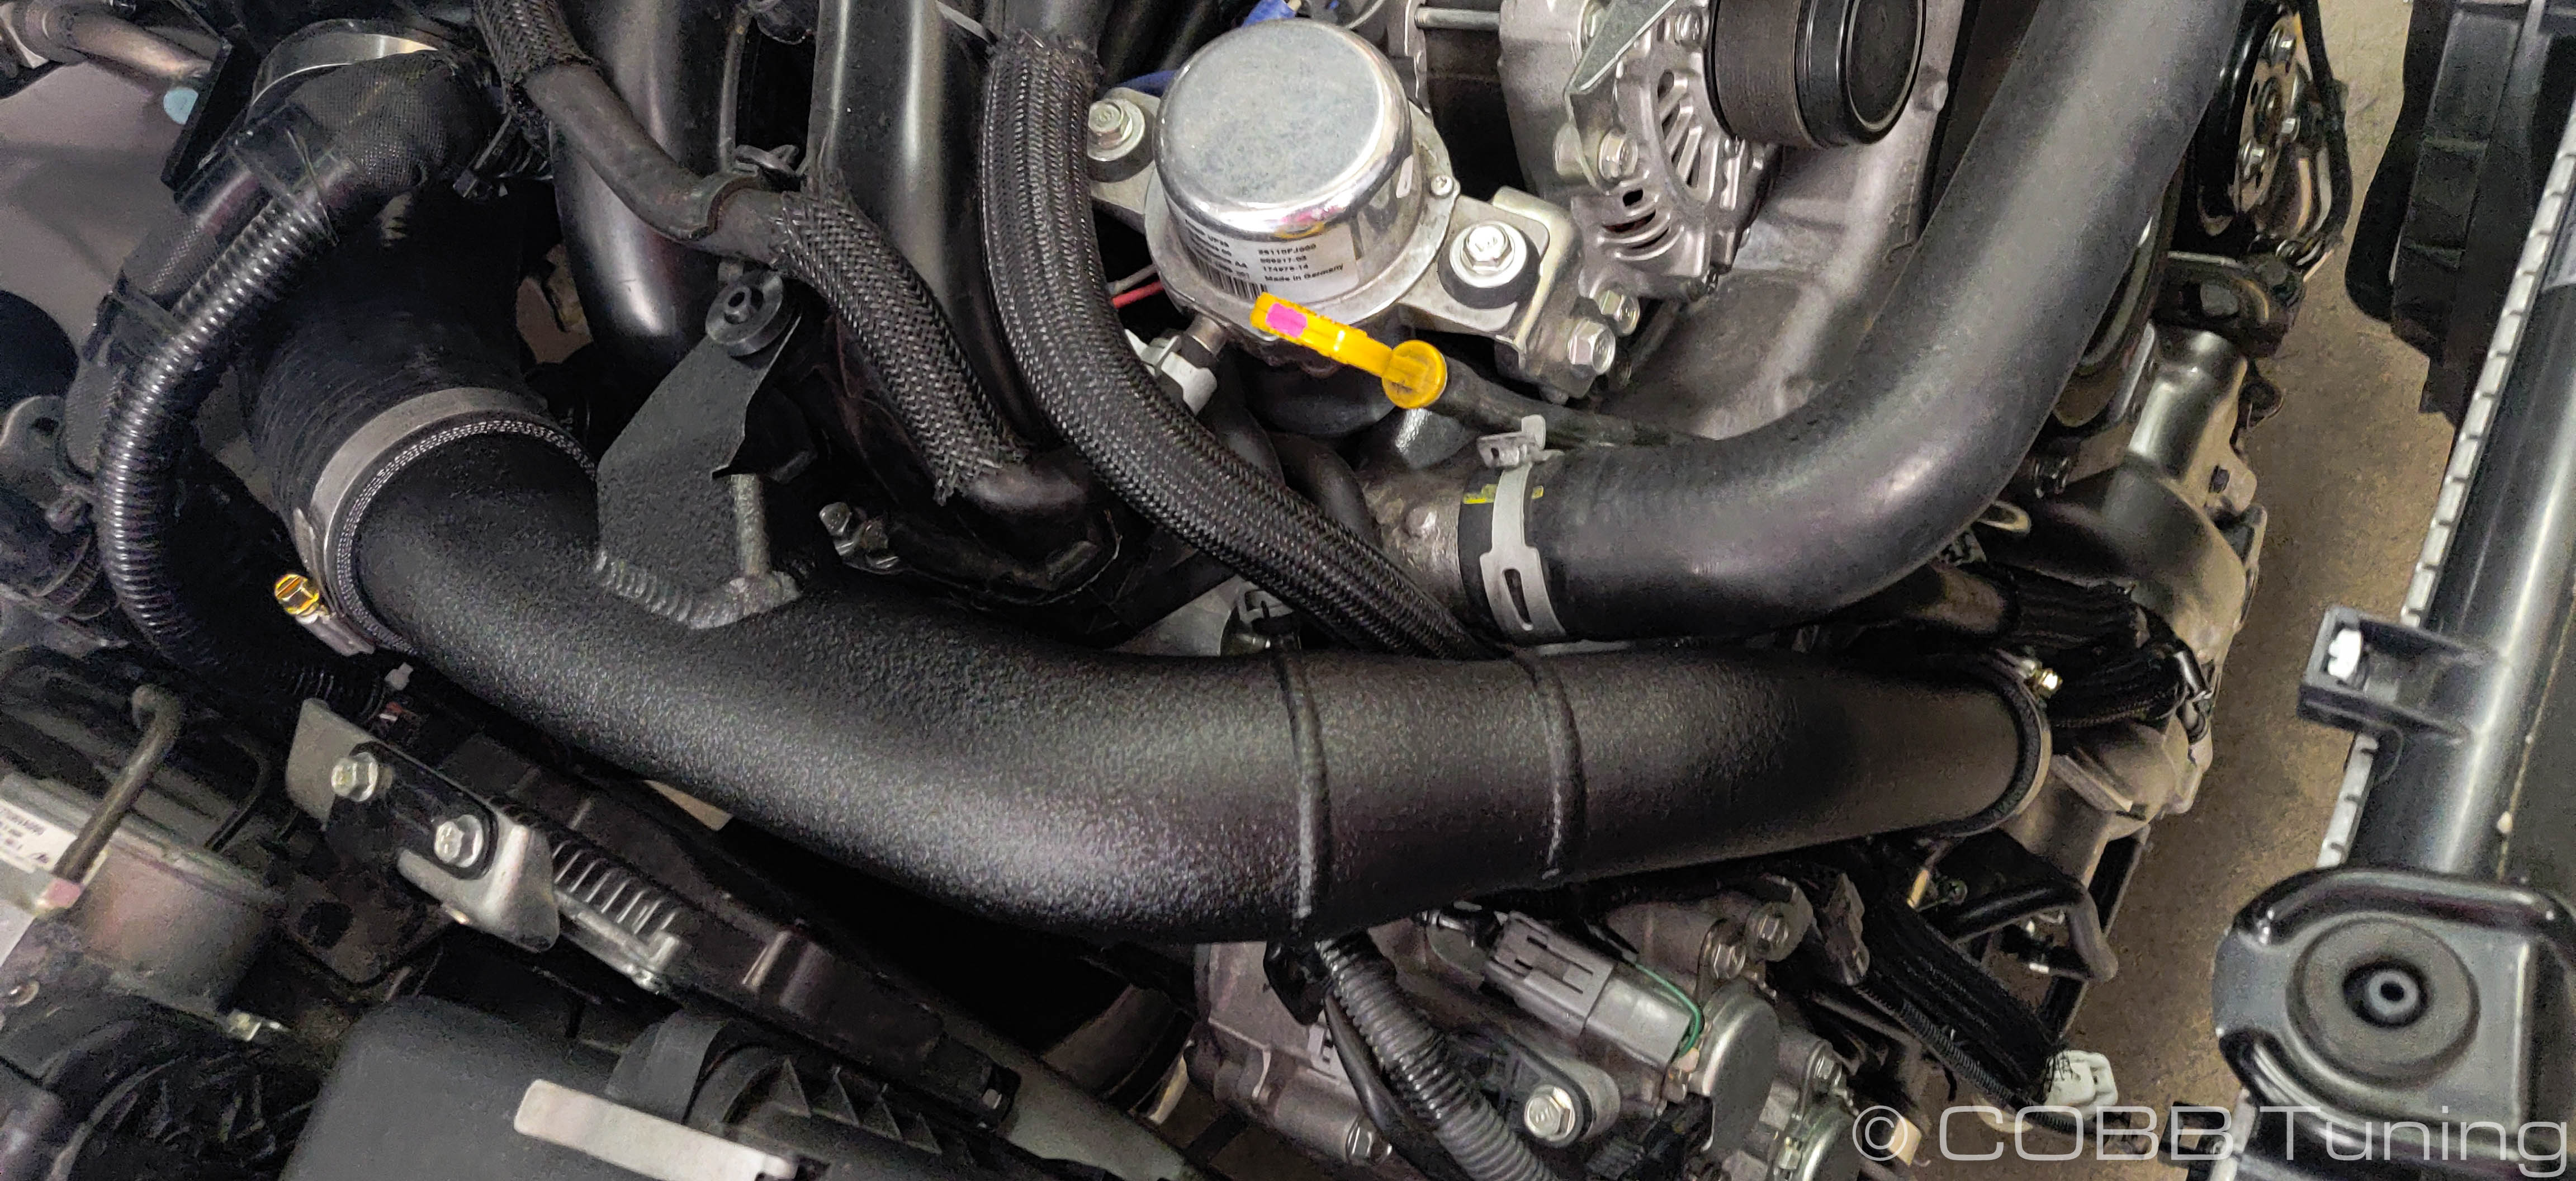
- Use the larger #48 clamp on the large end of the elbow and install it onto the factory top mount intercooler.
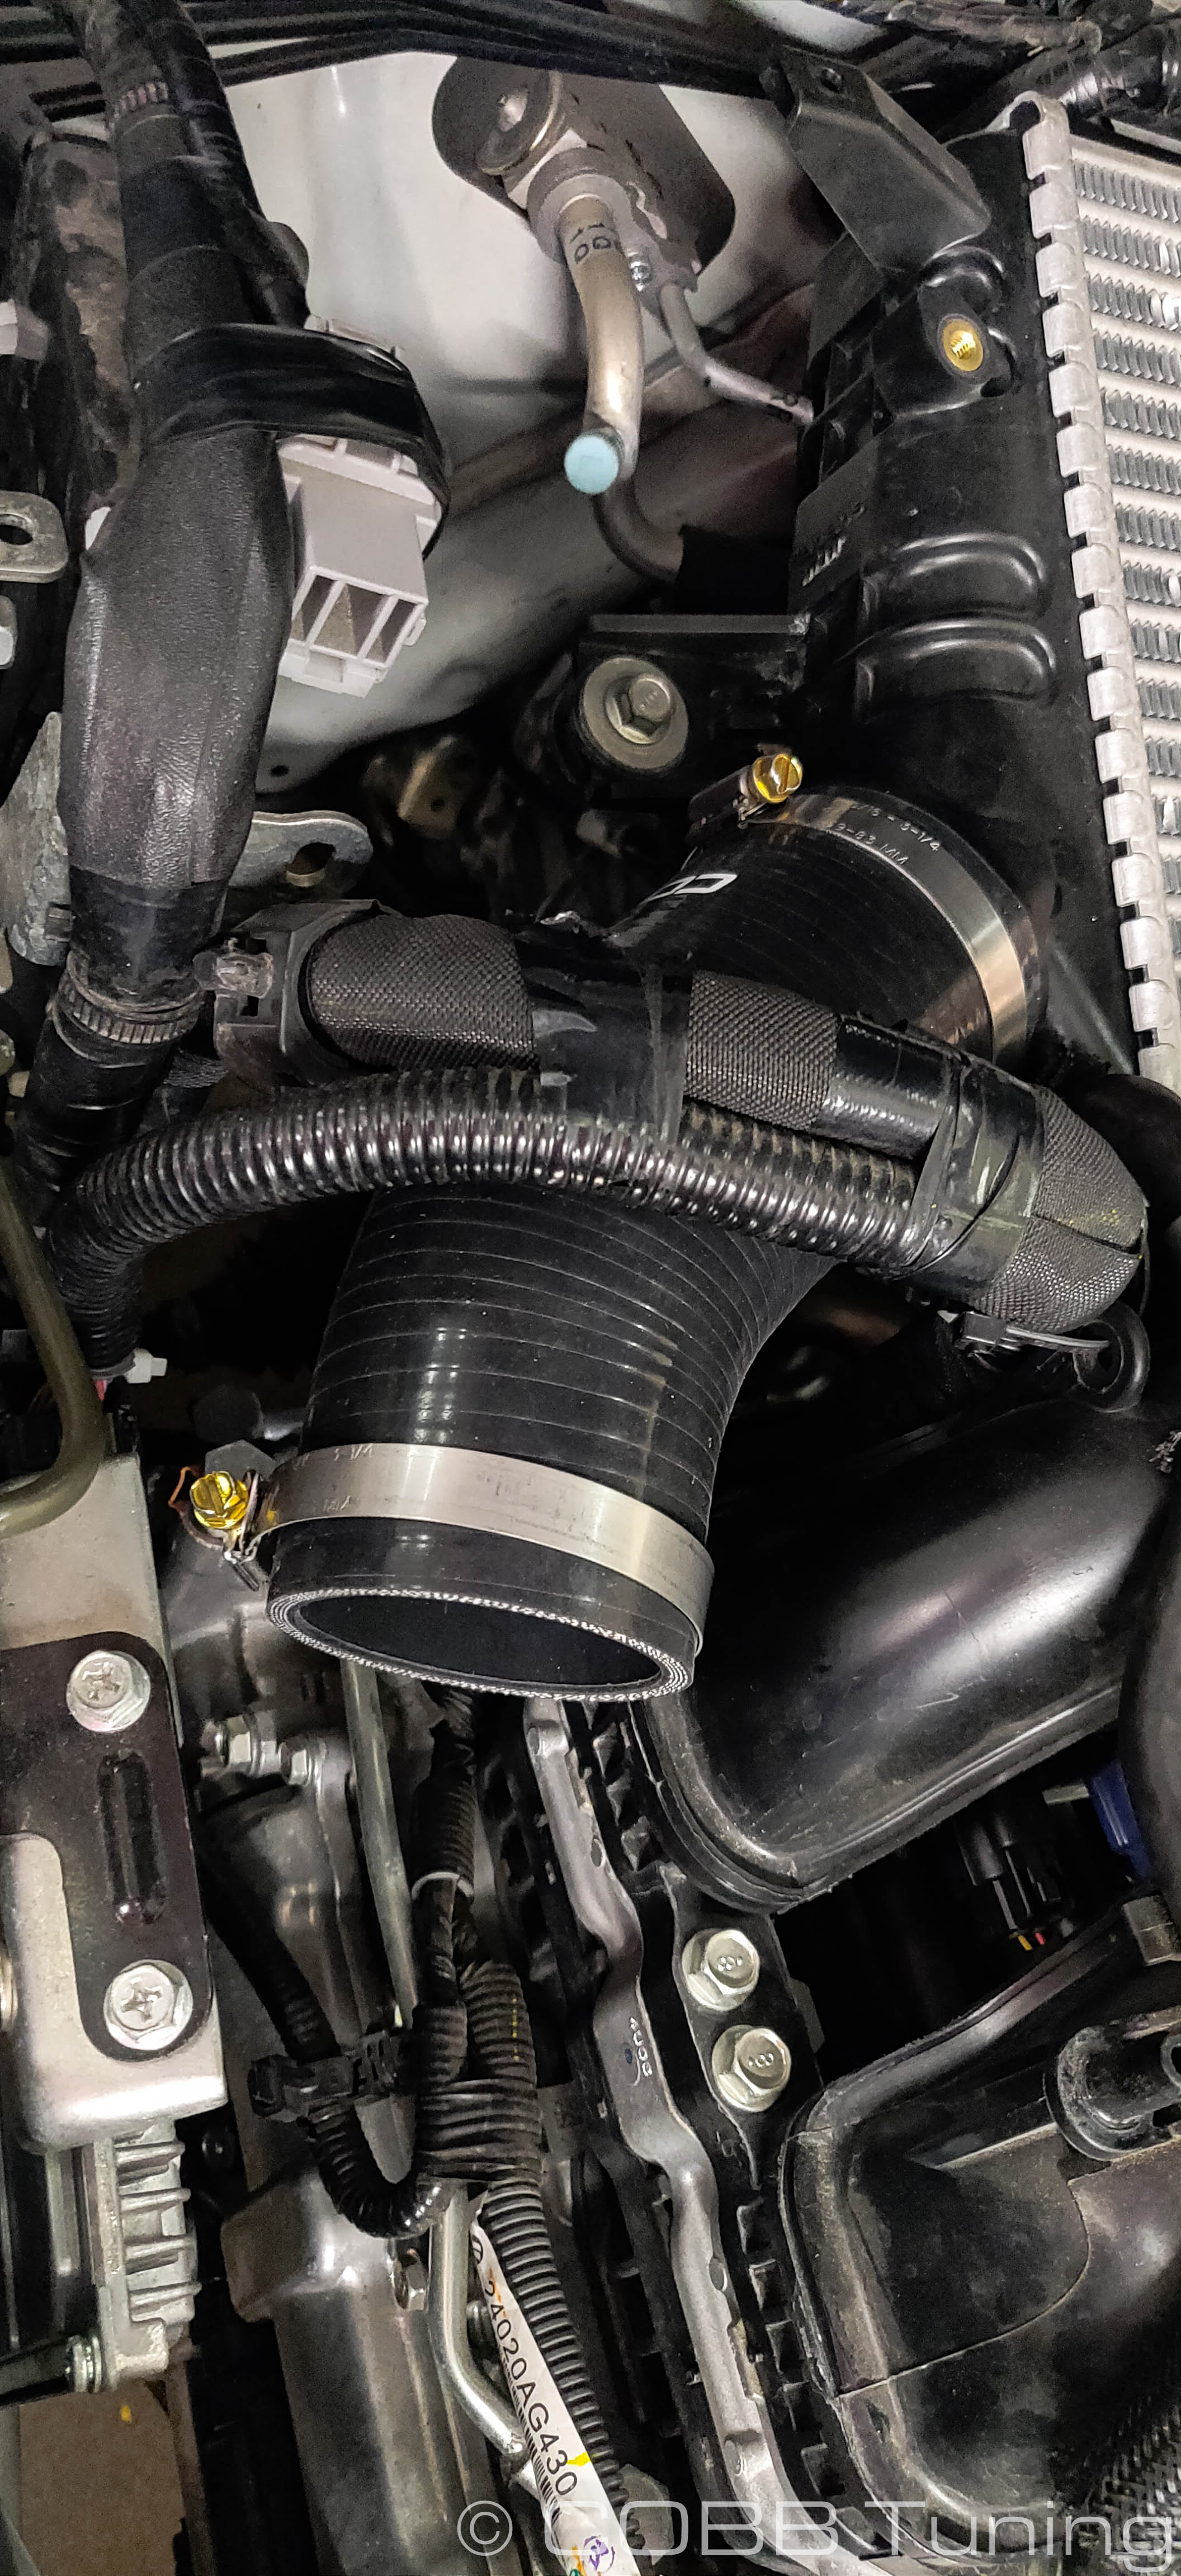
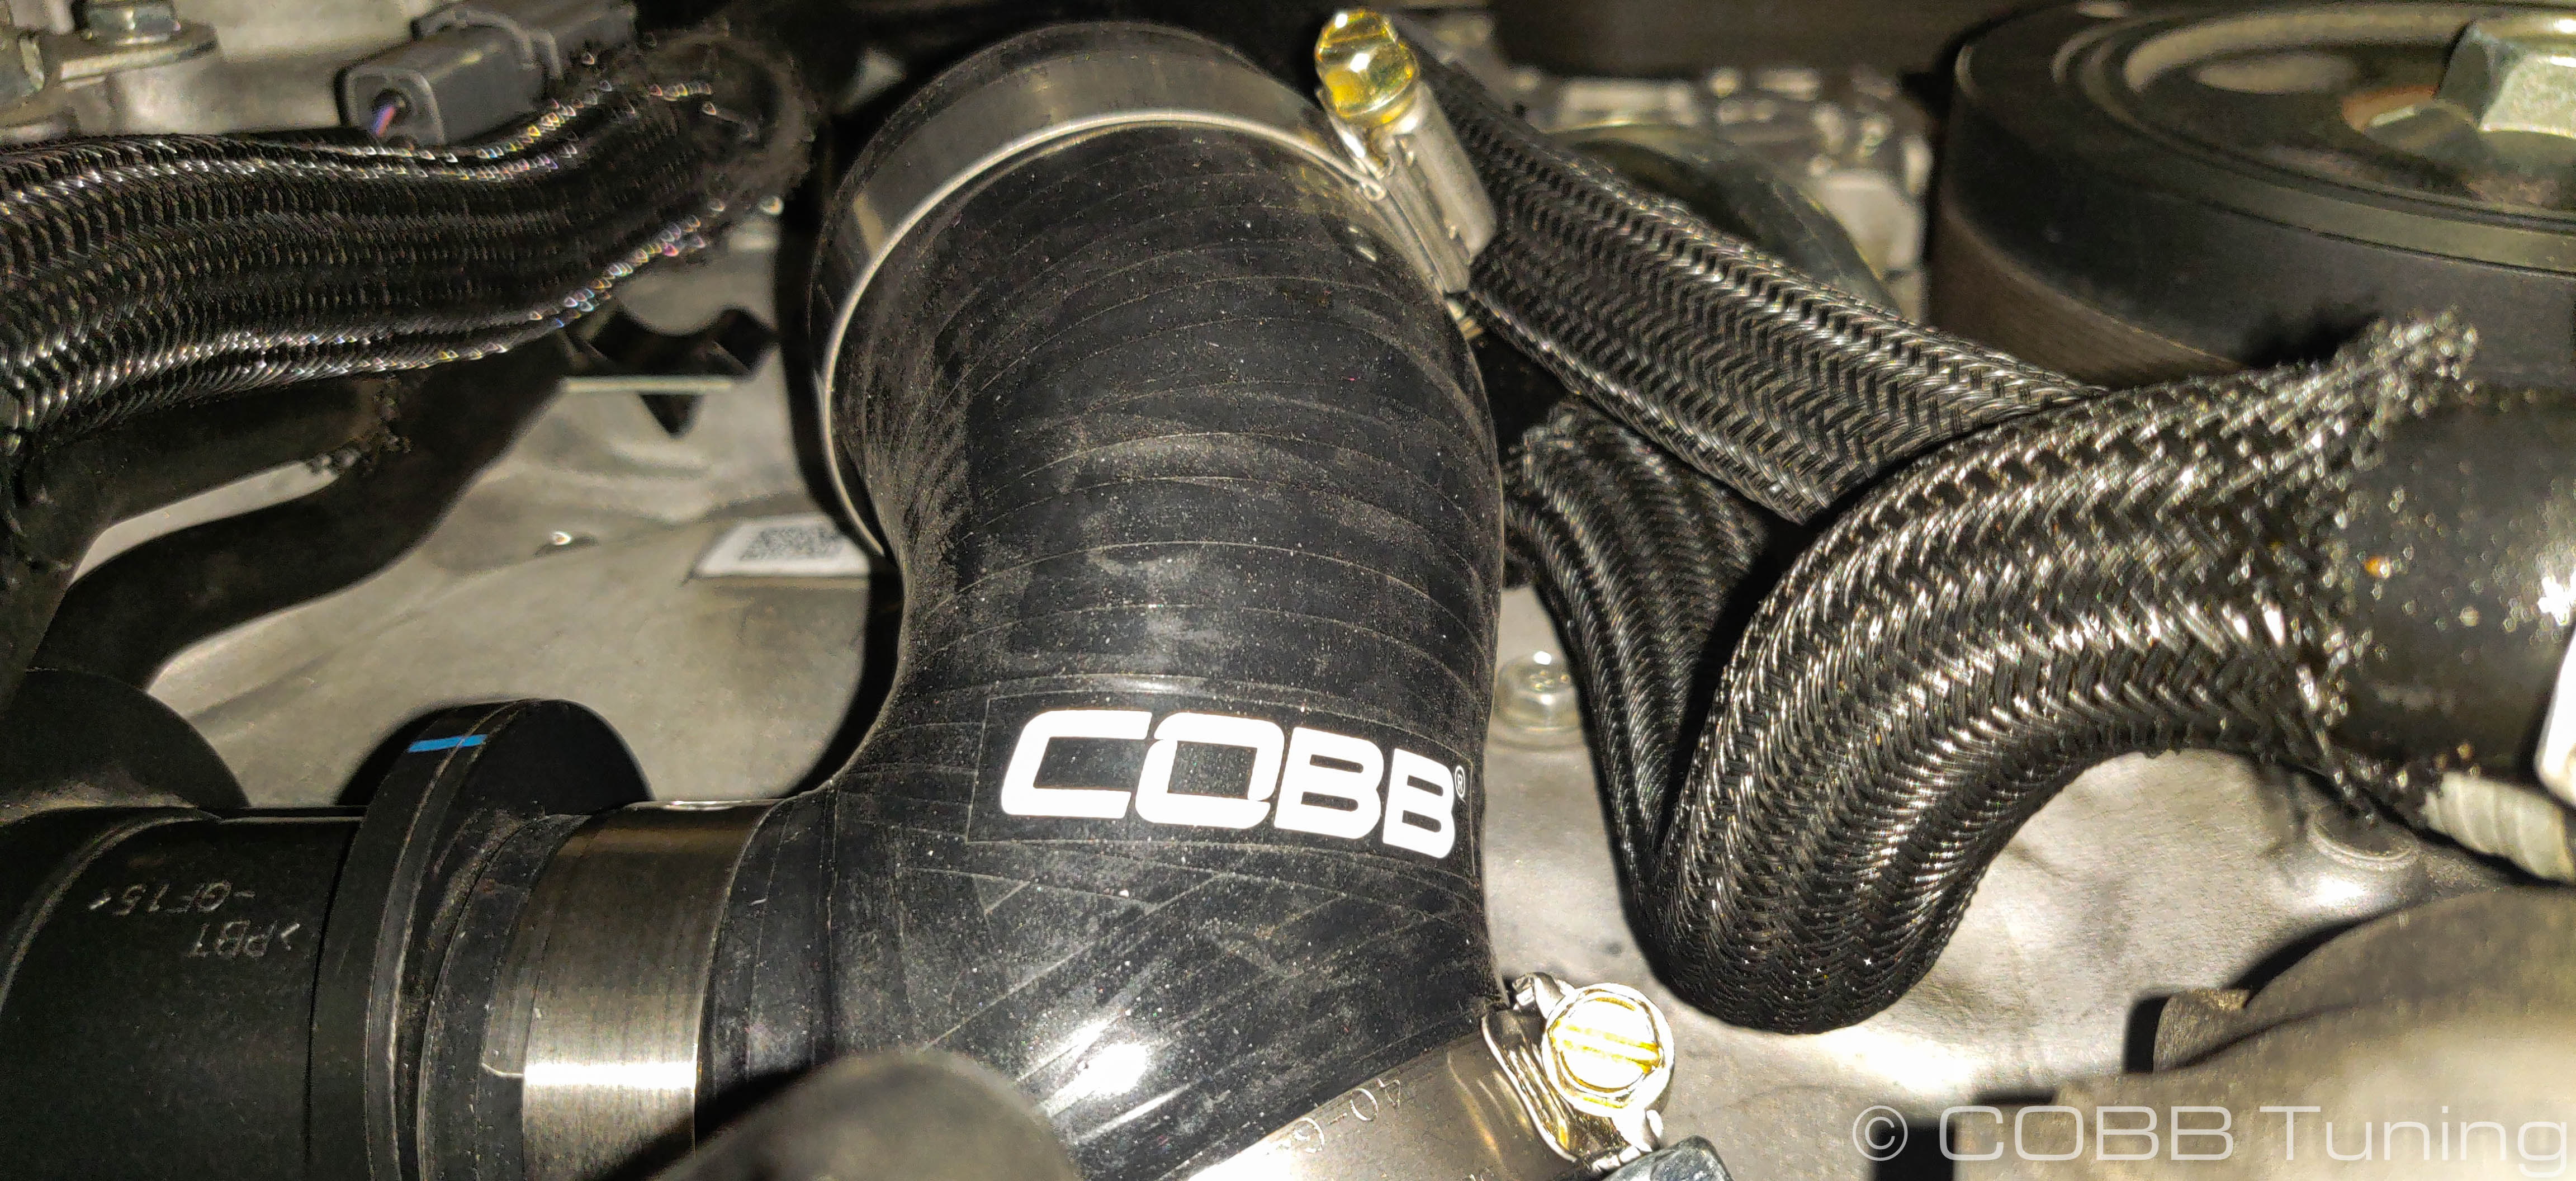
- After putting the remaining #32 clamp over the turbo side coupler and a #44 clamp on the top mount coupler, gently fit the COBB Charge Pipe into place. Starting with the intercooler side and then pushing it down onto the turbo side. Once it's loosely in both couplers, work the support bracket over the stud on the intake manifold before tightening down the hose clamps.
- Reinstall the fan (make sure to plug it in) and intake snorkle.
- Start the car up and make sure you don't get any codes for leaky couplers etc.
- You're all done! Go out and enjoy!
CARB Sticker Application
(Where Applicable)
- Apply the supplied CARB sticker in a clear, easy to find location. Typically underhood, or on the radiator core support.