
7F2100, 7F3100 - F150, F150 Ford Raptor SF Intake
Ford Raptor 2017 - 2020
Ford F150 3.5 2017 - 2020
7F1100 - F150 2.7l Intake
Ford F150 2.7l 2018 - 2020
Congratulations on your purchase of the COBB Tuning Ford Raptor SF Intake! The following instructions will assist you through the installation process. Please read them BEFORE beginning the install to familiarize yourself with the steps and tools needed. If you feel you cannot properly perform this installation, we HIGHLY recommend you take the vehicle to a qualified and experienced automotive technician.
IMPORTANT! Installing this kit will require custom tuning or utilizing an appropriate Stage Power Package map if you have a matching mechanical configuration. Please consult with COBB or an authorized ProTuner in your area if you have any questions!
Table of Contents
| Table of Contents |
|---|
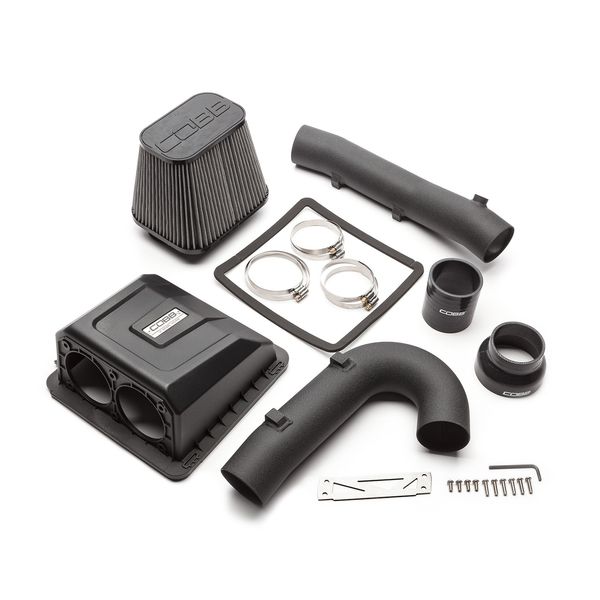
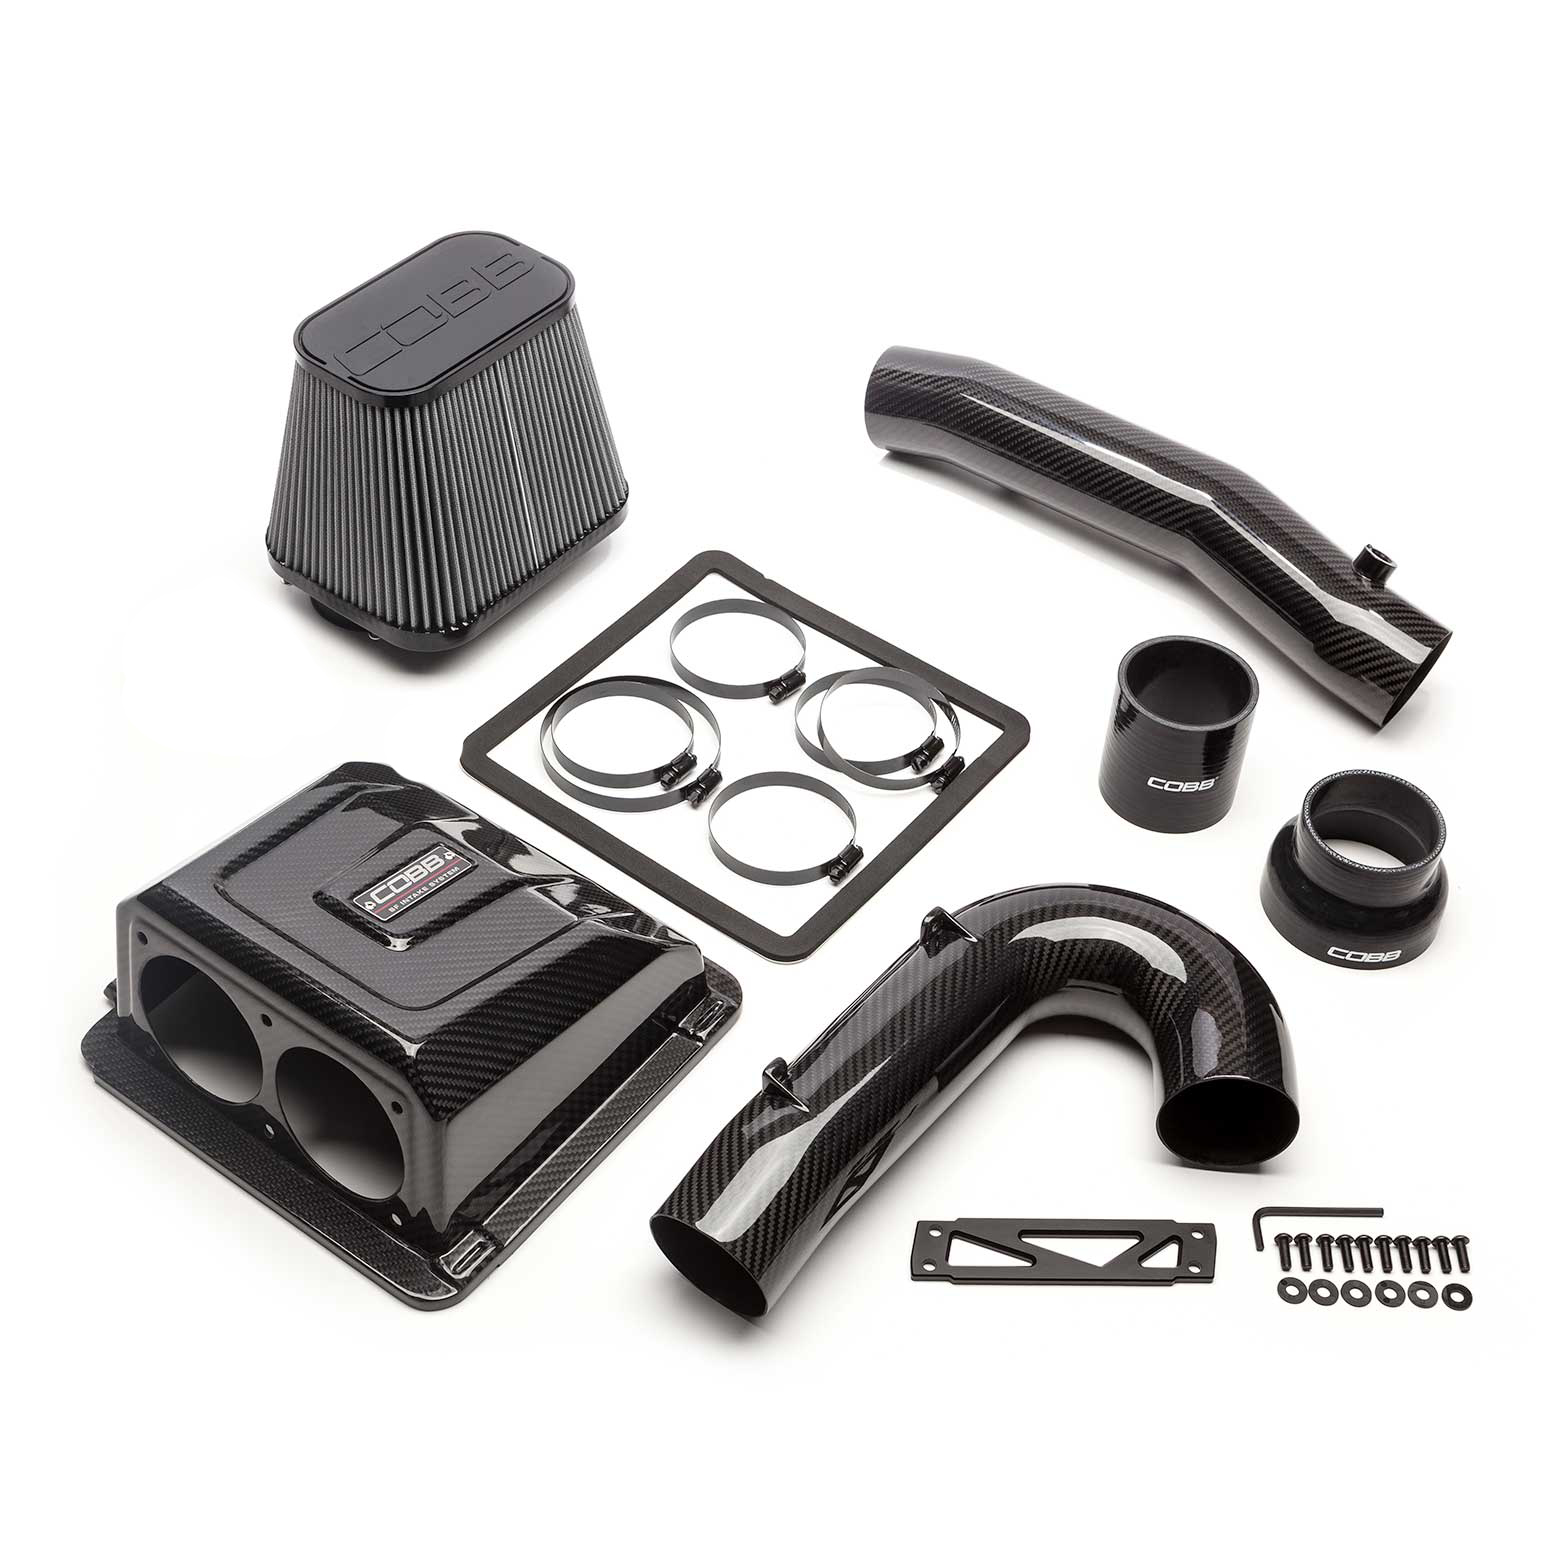
Parts List
- COBB AirBox Lid
- Air box gasket
- Air Filter Assembly
- Passenger Intake Tube
- Driver Intake Tube
- 3" Coupler
- 4" - 3" Reducer Coupler
- Intake Tube Bracket
- M4 Hex Key
- #64 Hose Clamp
- 3 x #48 Hose Clamp
- 4 qty. M6 x 12mm Button head cap screw
Tools Needed
Hand Tools
| Insert excerpt | ||||||
|---|---|---|---|---|---|---|
|
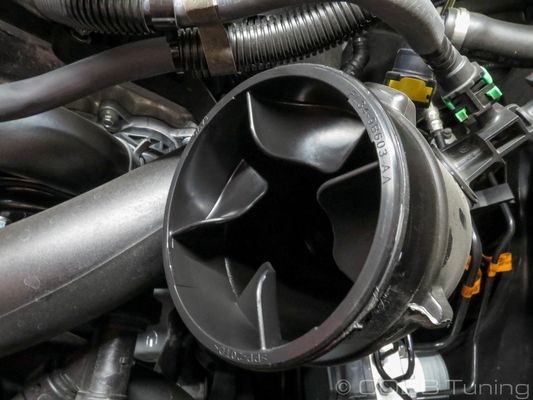
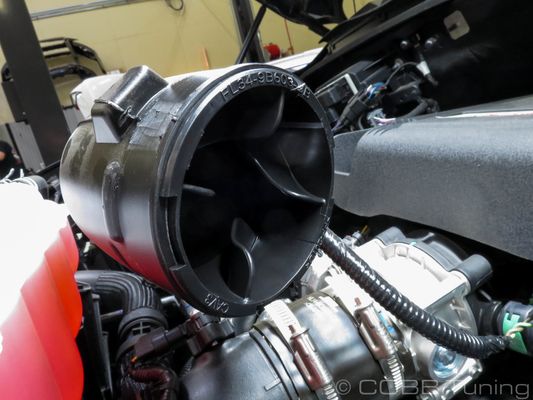
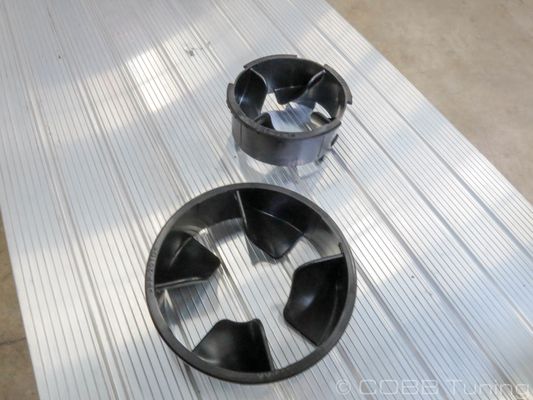
Optional Tornaderz Flux Swirl Generator Removal
| Info |
|---|
At this time if you decide to you can easily remove the swirl generators found in the two intake tubes. The large one seems to pull out easily by hand while the smaller one may require a screwdriver to pull free. While we cannot guarantee this will have no impact on your vehicle, we have found it only to contribute to a reduction in intake noise. |
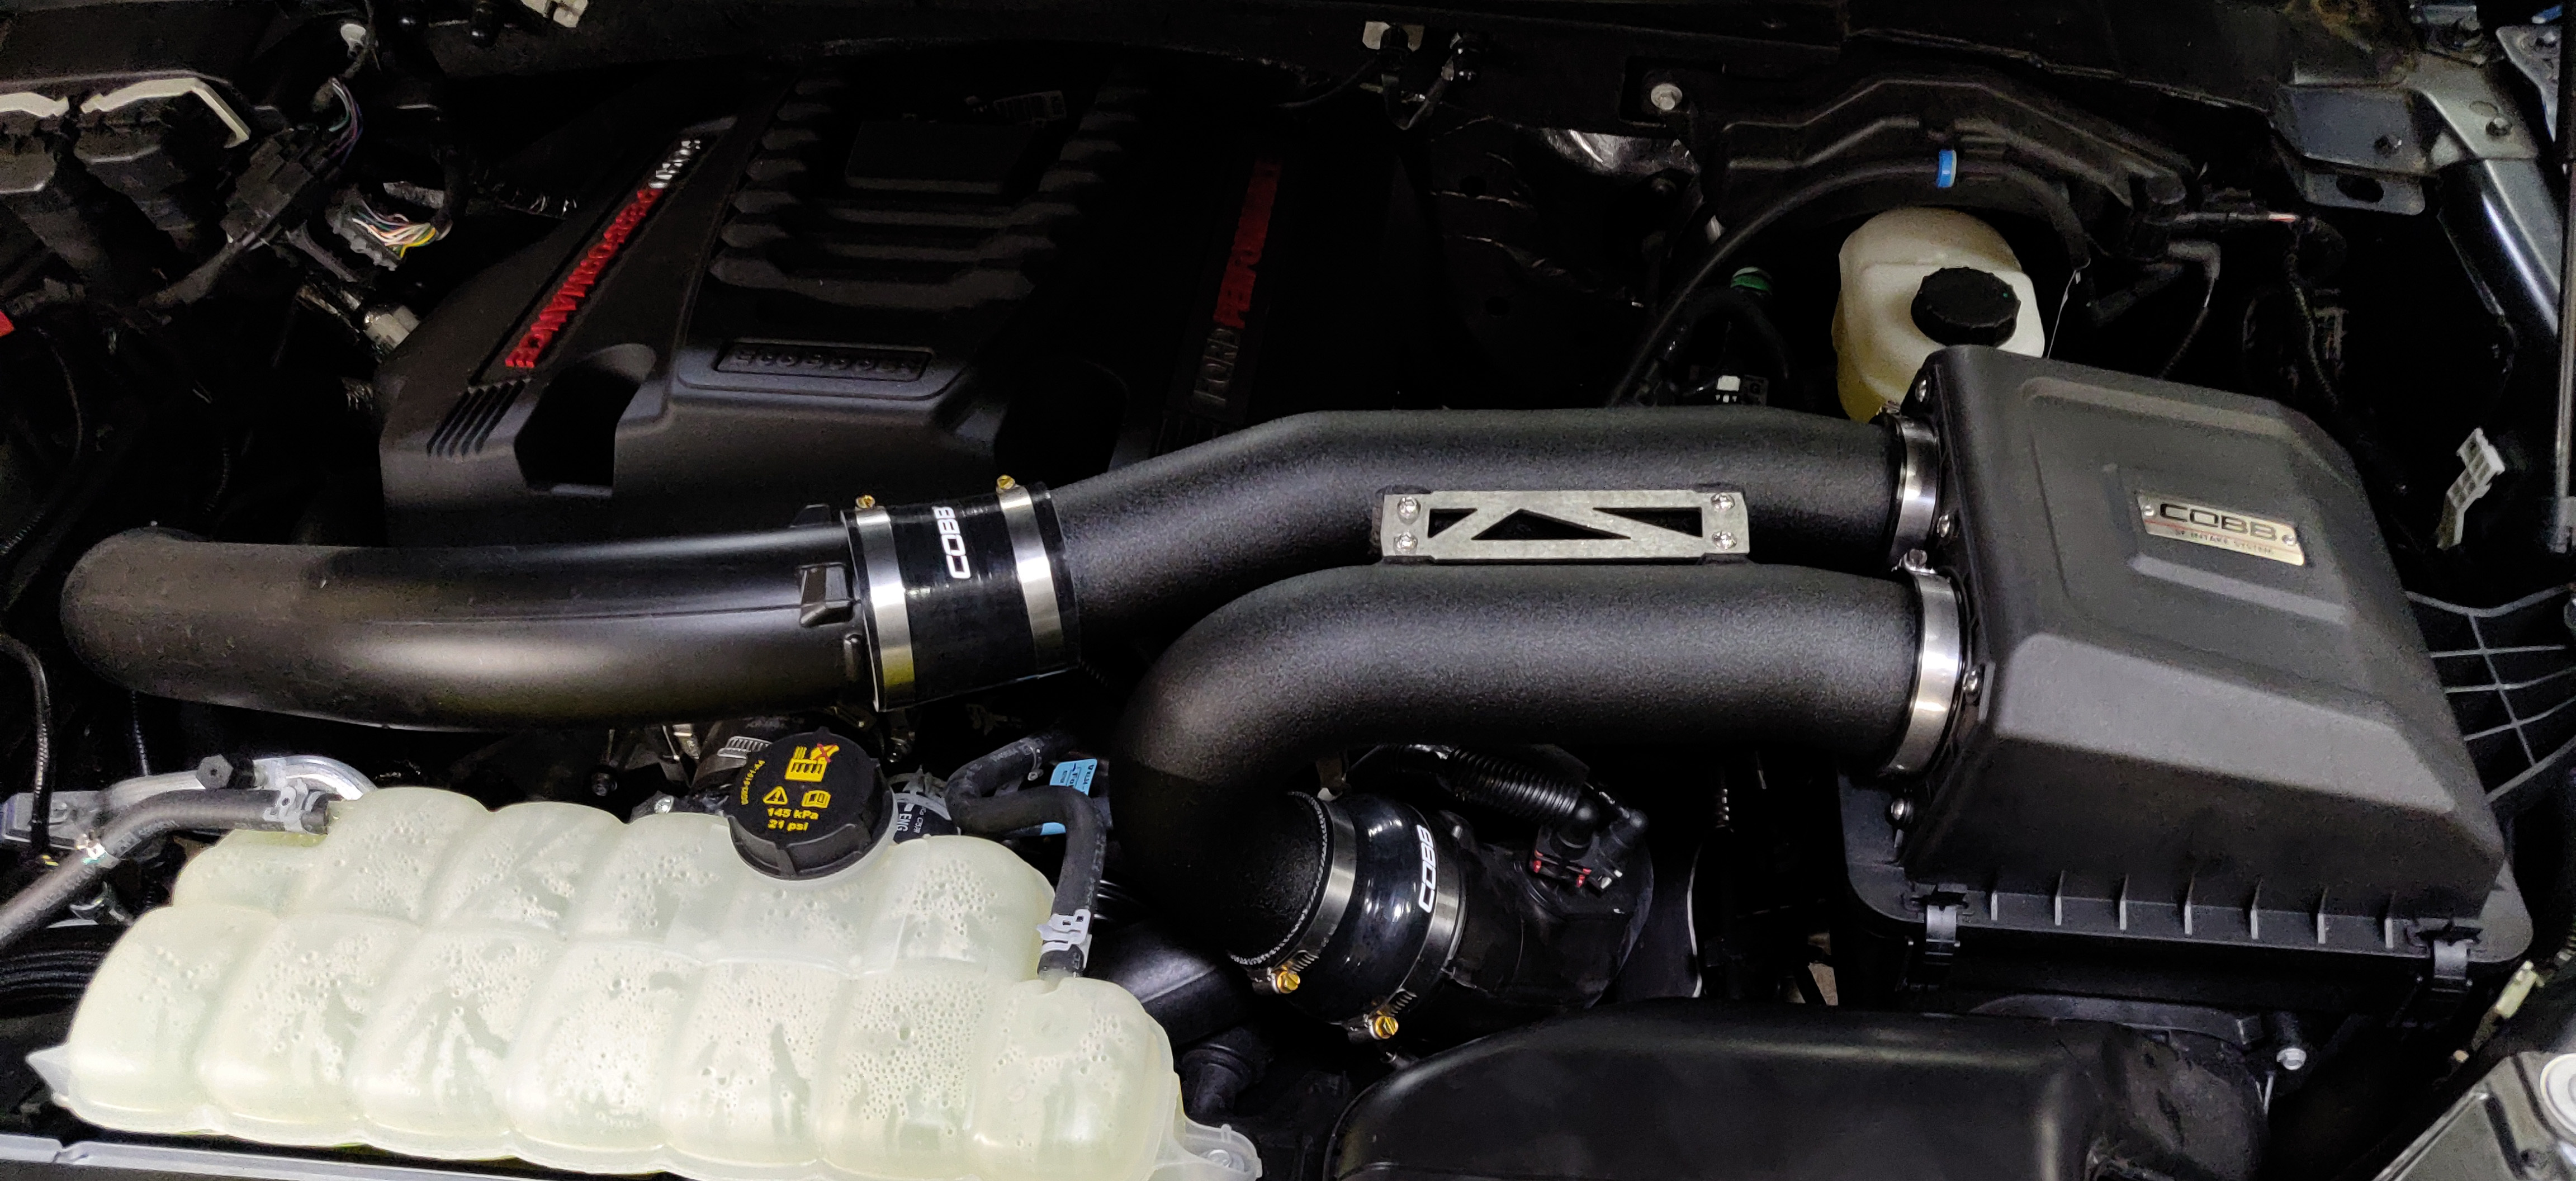
COBB Intake Installation
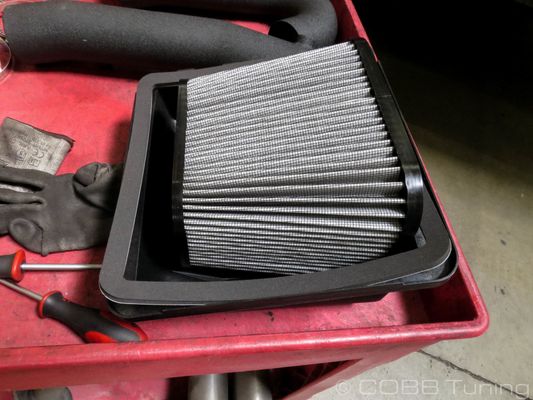
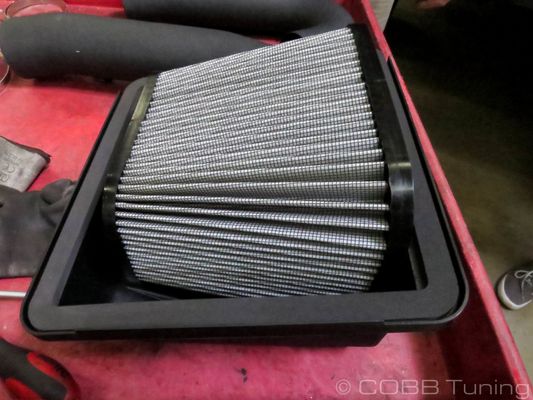
- Insert the filter into the airbox lid making sure the taller side of the filter is away from the lid (it should only fit easily in one direction.)
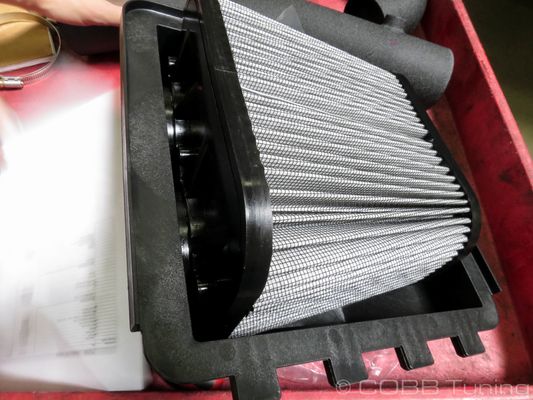
- Screw the filter in place using the provided allen head bolts. When tightening, thread the bolt in until the filter is up against the lid and go an additional half turn (180 degrees).
- Position the foam seal on the airbox, it should fit evenly on all four sides so you may have to change the orientation to make sure everything is lined up properly.
- Once you've gotten to the proper alignment with the seal, go ahead and unpeel the back and stick it down.
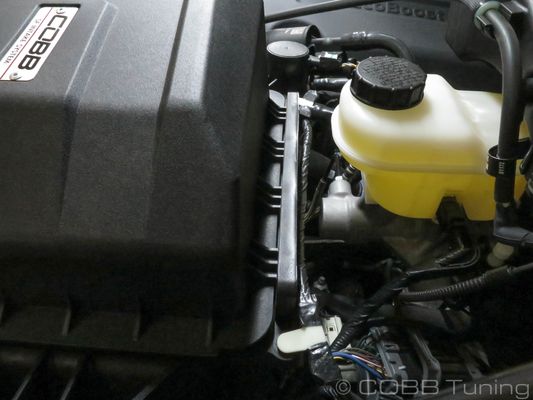
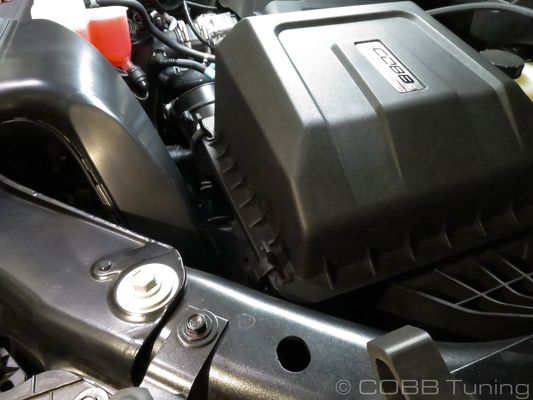
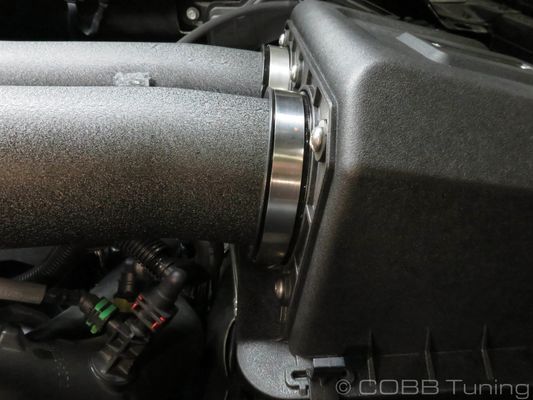
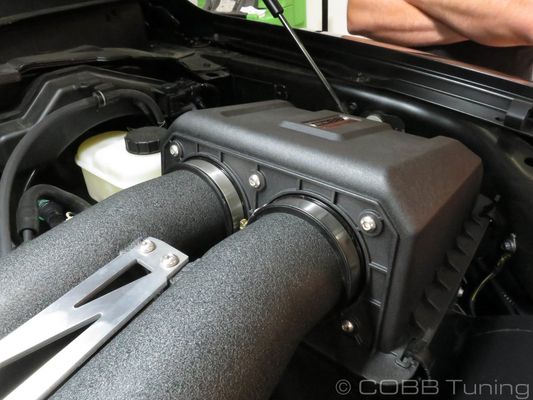
- Now you can go ahead and install the airbox like the factory one by putting the tabs into the slots, then pulling up the clips to close the lid.
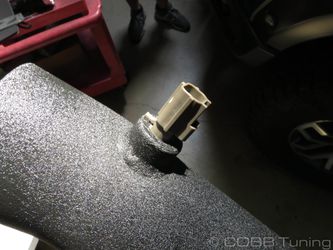
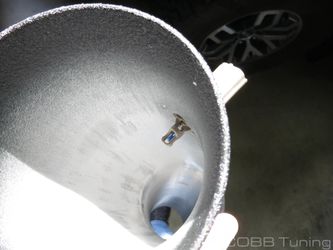
- Carefully lubricate the o-ring on the intake air temperature sensor with a small amount of silicone lubricant, making sure not to get any on the sensor component.
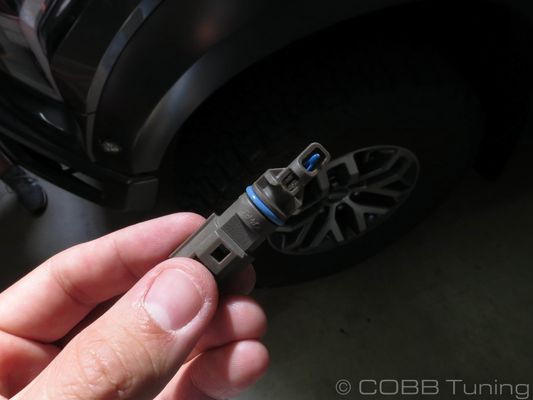
- Install the sensor onto the intake tube, in order to do so you'll need to push in and turn clockwise until it seats firmly with the release tab resting on the top of the tube.
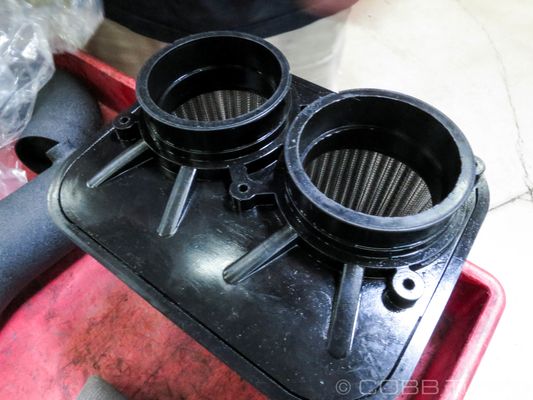
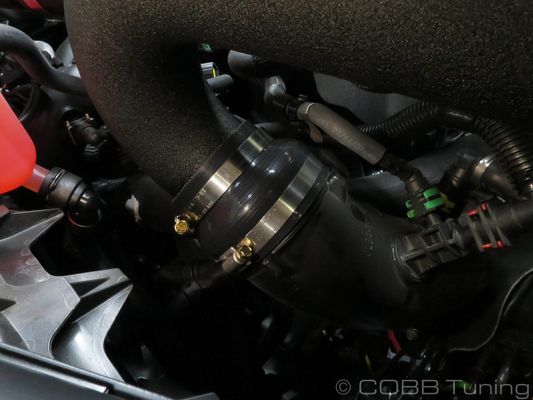
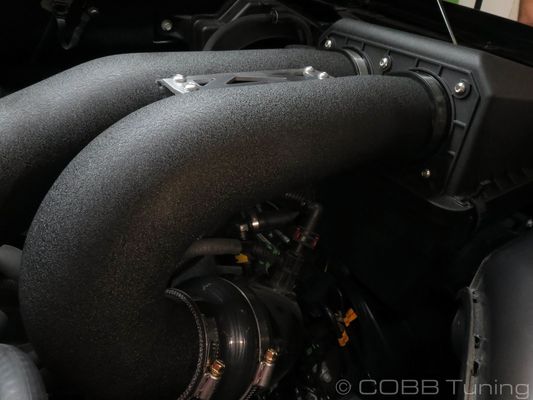
- Now pull out the two silicone couplers provided with the kit. You'll want to position the straight coupler on the smaller pipe going to the passenger's side (USDM) and the large reducer on the driver's side (USDM)
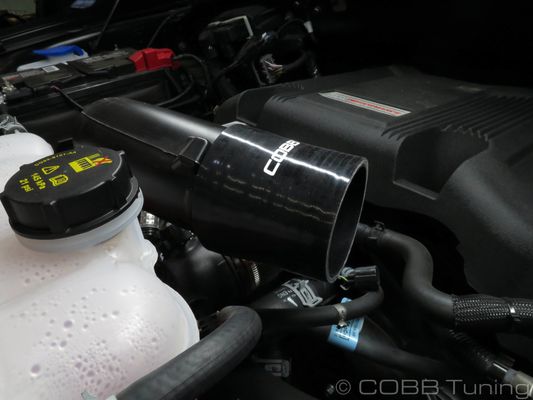
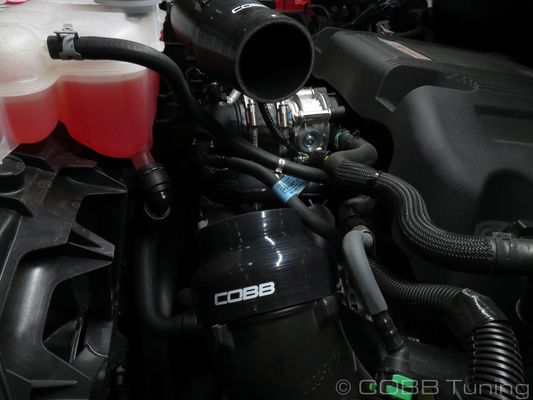
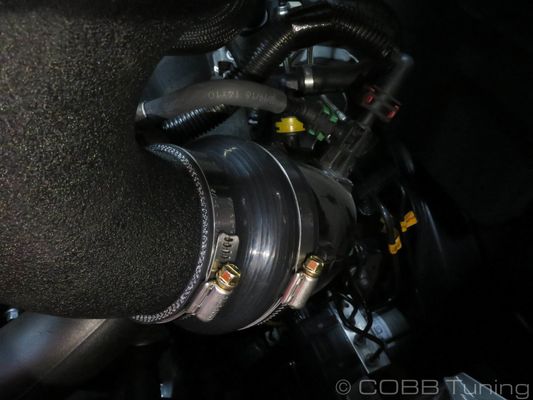
- Position one of the 5 smaller hose clamps over the coupler going to the passenger's side and tighten it down enough that it won't fall off, then position the larger coupler on the large reducer going to the driver's side turbo
Place two of the remaining small hose clamps on the points where the filter sticks out of the airbox lid.
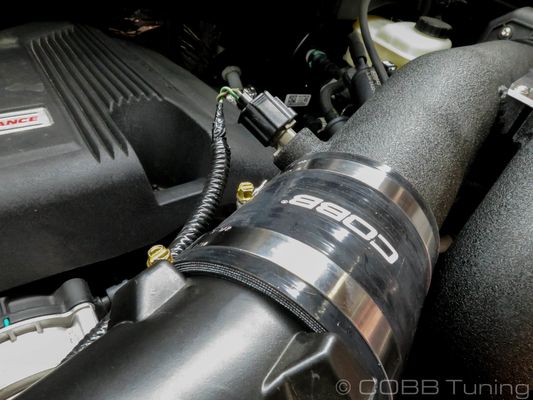
Note If installing the Carbon Intake you'll want to swap out the pre-installed silver clamps for the provided Black ones.
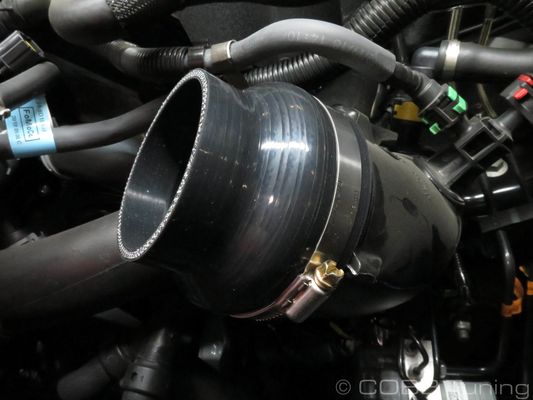
- Go ahead and slide one of the remaining hose clamps over the passenger's side pipe and push it in to place on the coupler and the further back output from the filter.

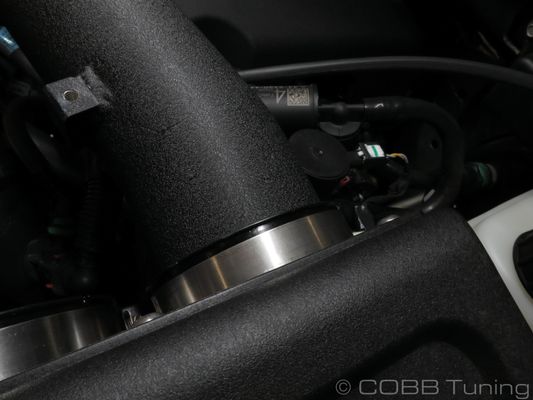
- Now do the same with the curved pipe going to the driver's side turbo and the forward most filter output.
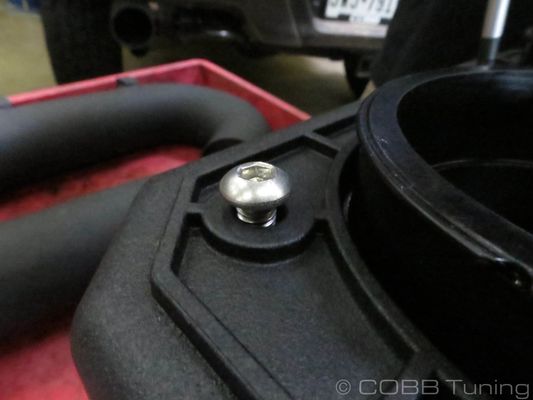
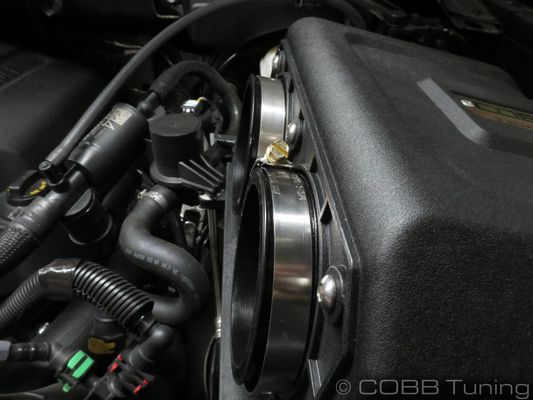
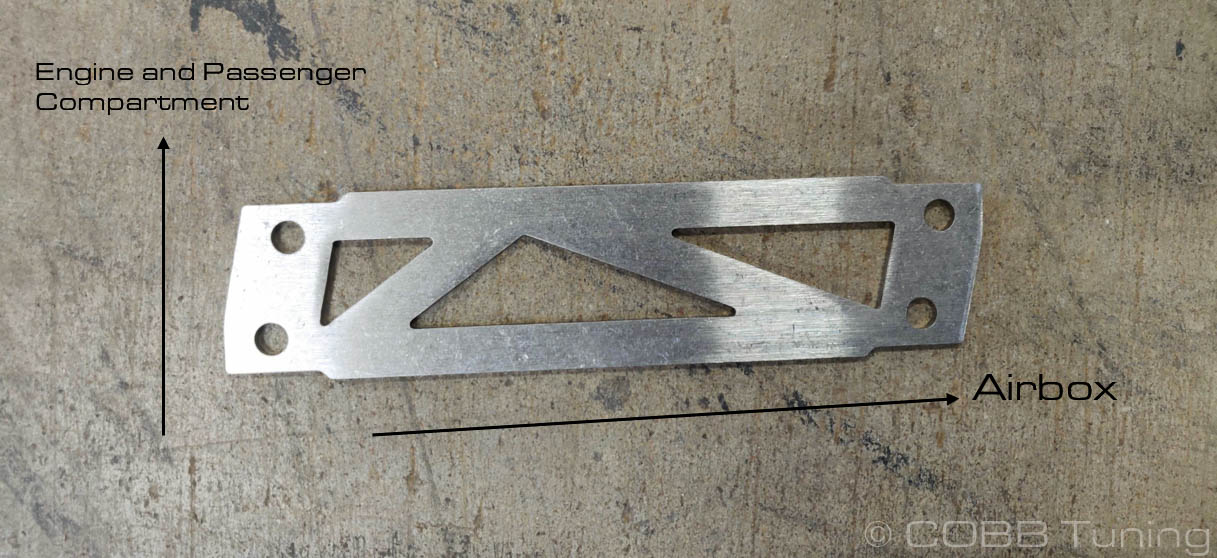
- Take the bracket and move around the pipes until the holes line up and screw in the provided bolts. Make sure the center triangle cutout has the long end pointing towards the airbox.
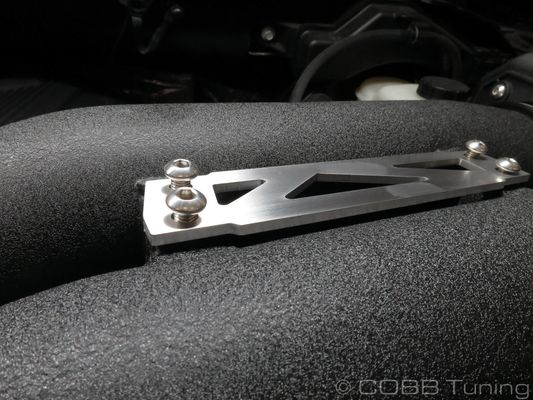
- With the bolts installed you can go ahead and tighten down the hose clamps.
- Reinstall the connector going to the intake air temperature sensor.
- Flash an appropriate map to the car
- Go out and enjoy!
Links
MAPMap Notes for Ford Trucks
Helps to figure out which map you should be on given the parts installed to your car
Customer Support
COBB Tuning Customer Support Center
Phone support available 9am to 6pm Monday-Thursday. 9am to 4pm Friday (CST)
866.922.3059