
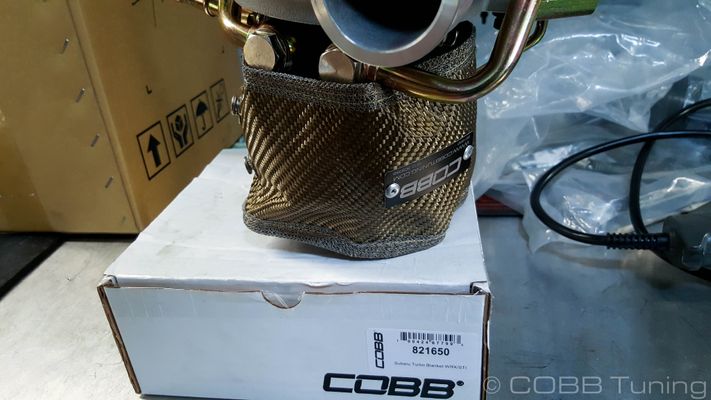
821650 821655 - Subaru Turbo Blanket (EJ Engines)
Vehicle Coverage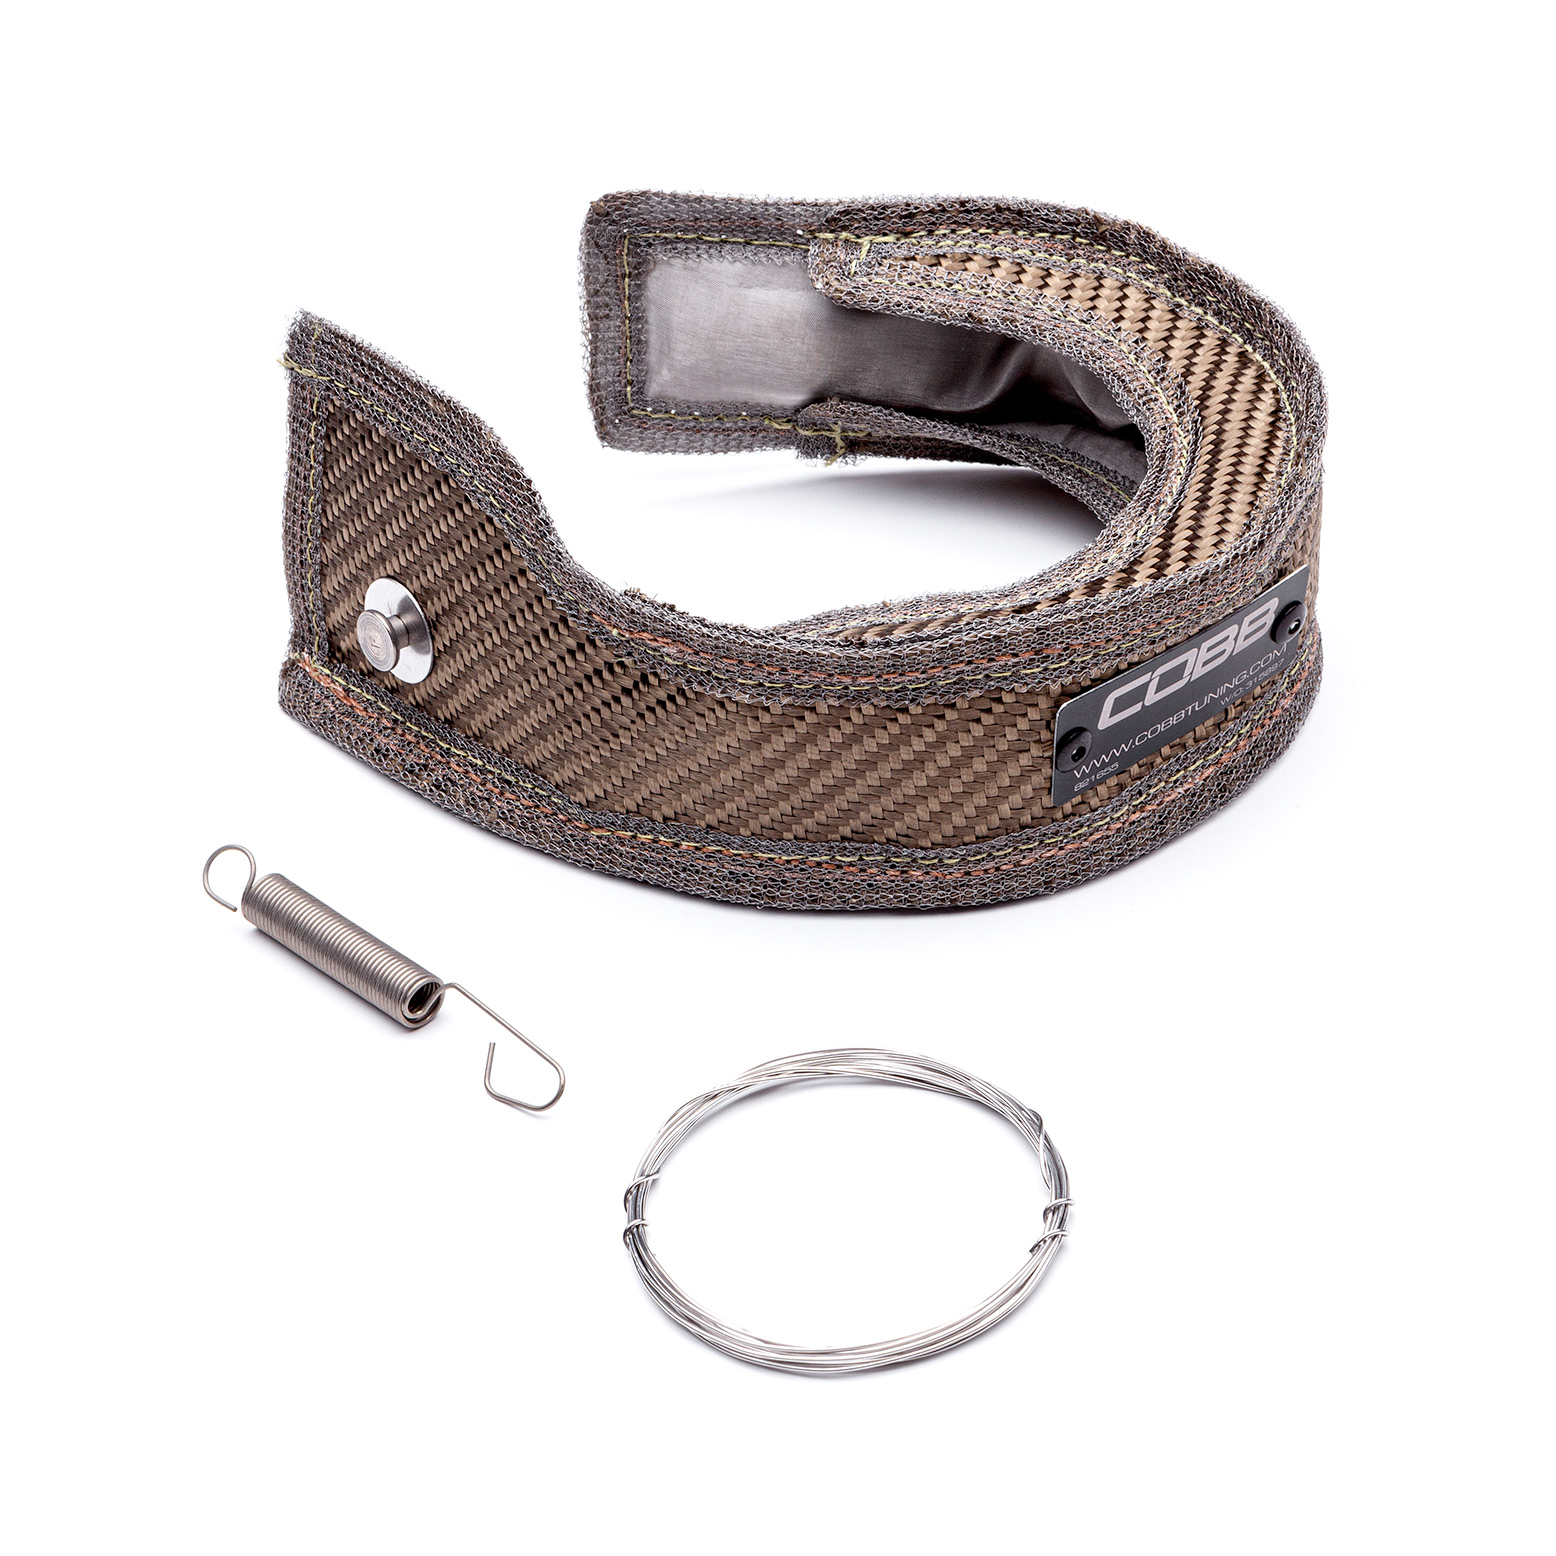

Congratulations on your purchase of the COBB Tuning Turbo Blanket! The following instructions will assist you through the installation process. Please read them BEFORE beginning the install to familiarize yourself with the steps and tools needed. If you feel you cannot properly perform this installation, we HIGHLY recommend you take the vehicle to a qualified and experienced automotive technician.
| Warning |
|---|
While not flammable on their own, if any sort of flammable chemical gets into the fiber of the turbo blanket, it may be possible for a fire to occur. It is recommended to replace the turbo blanket if ANY flammable chemicals, liquids, or materials get on the blanket. |
Table of Contents
| Table of Contents |
|---|
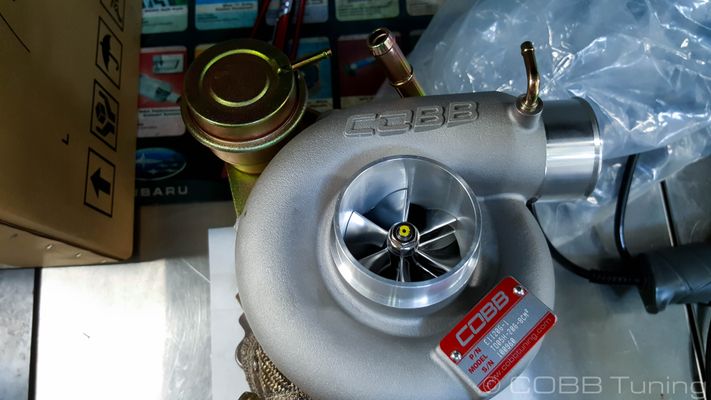
Parts List
- Turbo Blanket
- Safety Wire
- (2) SpringsSpring
Tools Needed
Sockets
3/8"
Hand Tools
Stock Component Removal
- Remove your intercooler
| Insert excerpt | ||||||
|---|---|---|---|---|---|---|
|
Turbo Blanket Installation
| Note |
|---|
While we show what we feel is the simplest and most secure way of wrapping the wire and using springs to secure the turbo blanket there are many different possibilities and options that will work. Just make sure you aren't interfering with the wastegate or any other moving parts. |
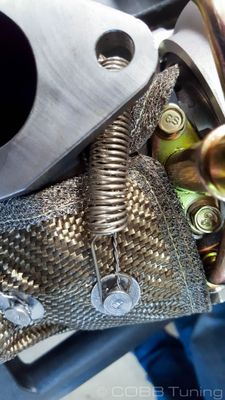
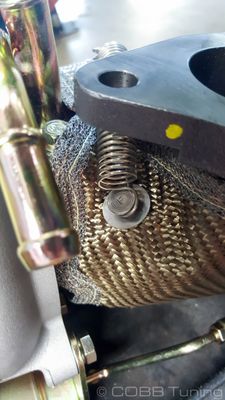
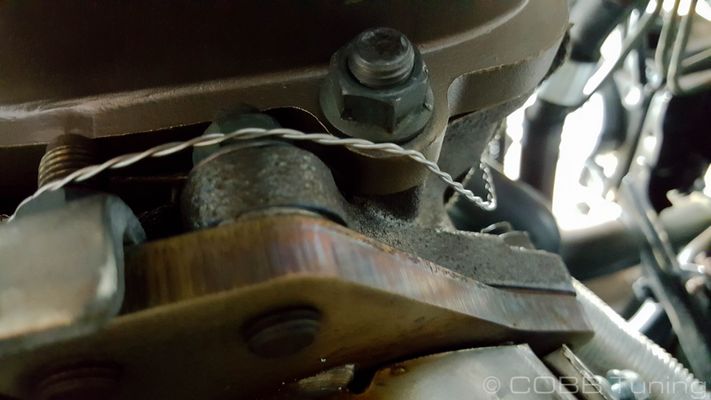
- The cut-out shown at the top of the blanket should match up with the wastegate arm area of the turbo. Go ahead and attach one end of the wire to the rivet shown to be on the upper right side. It should be tight enough not to fall off, but over-tightening may cause the wire to break.
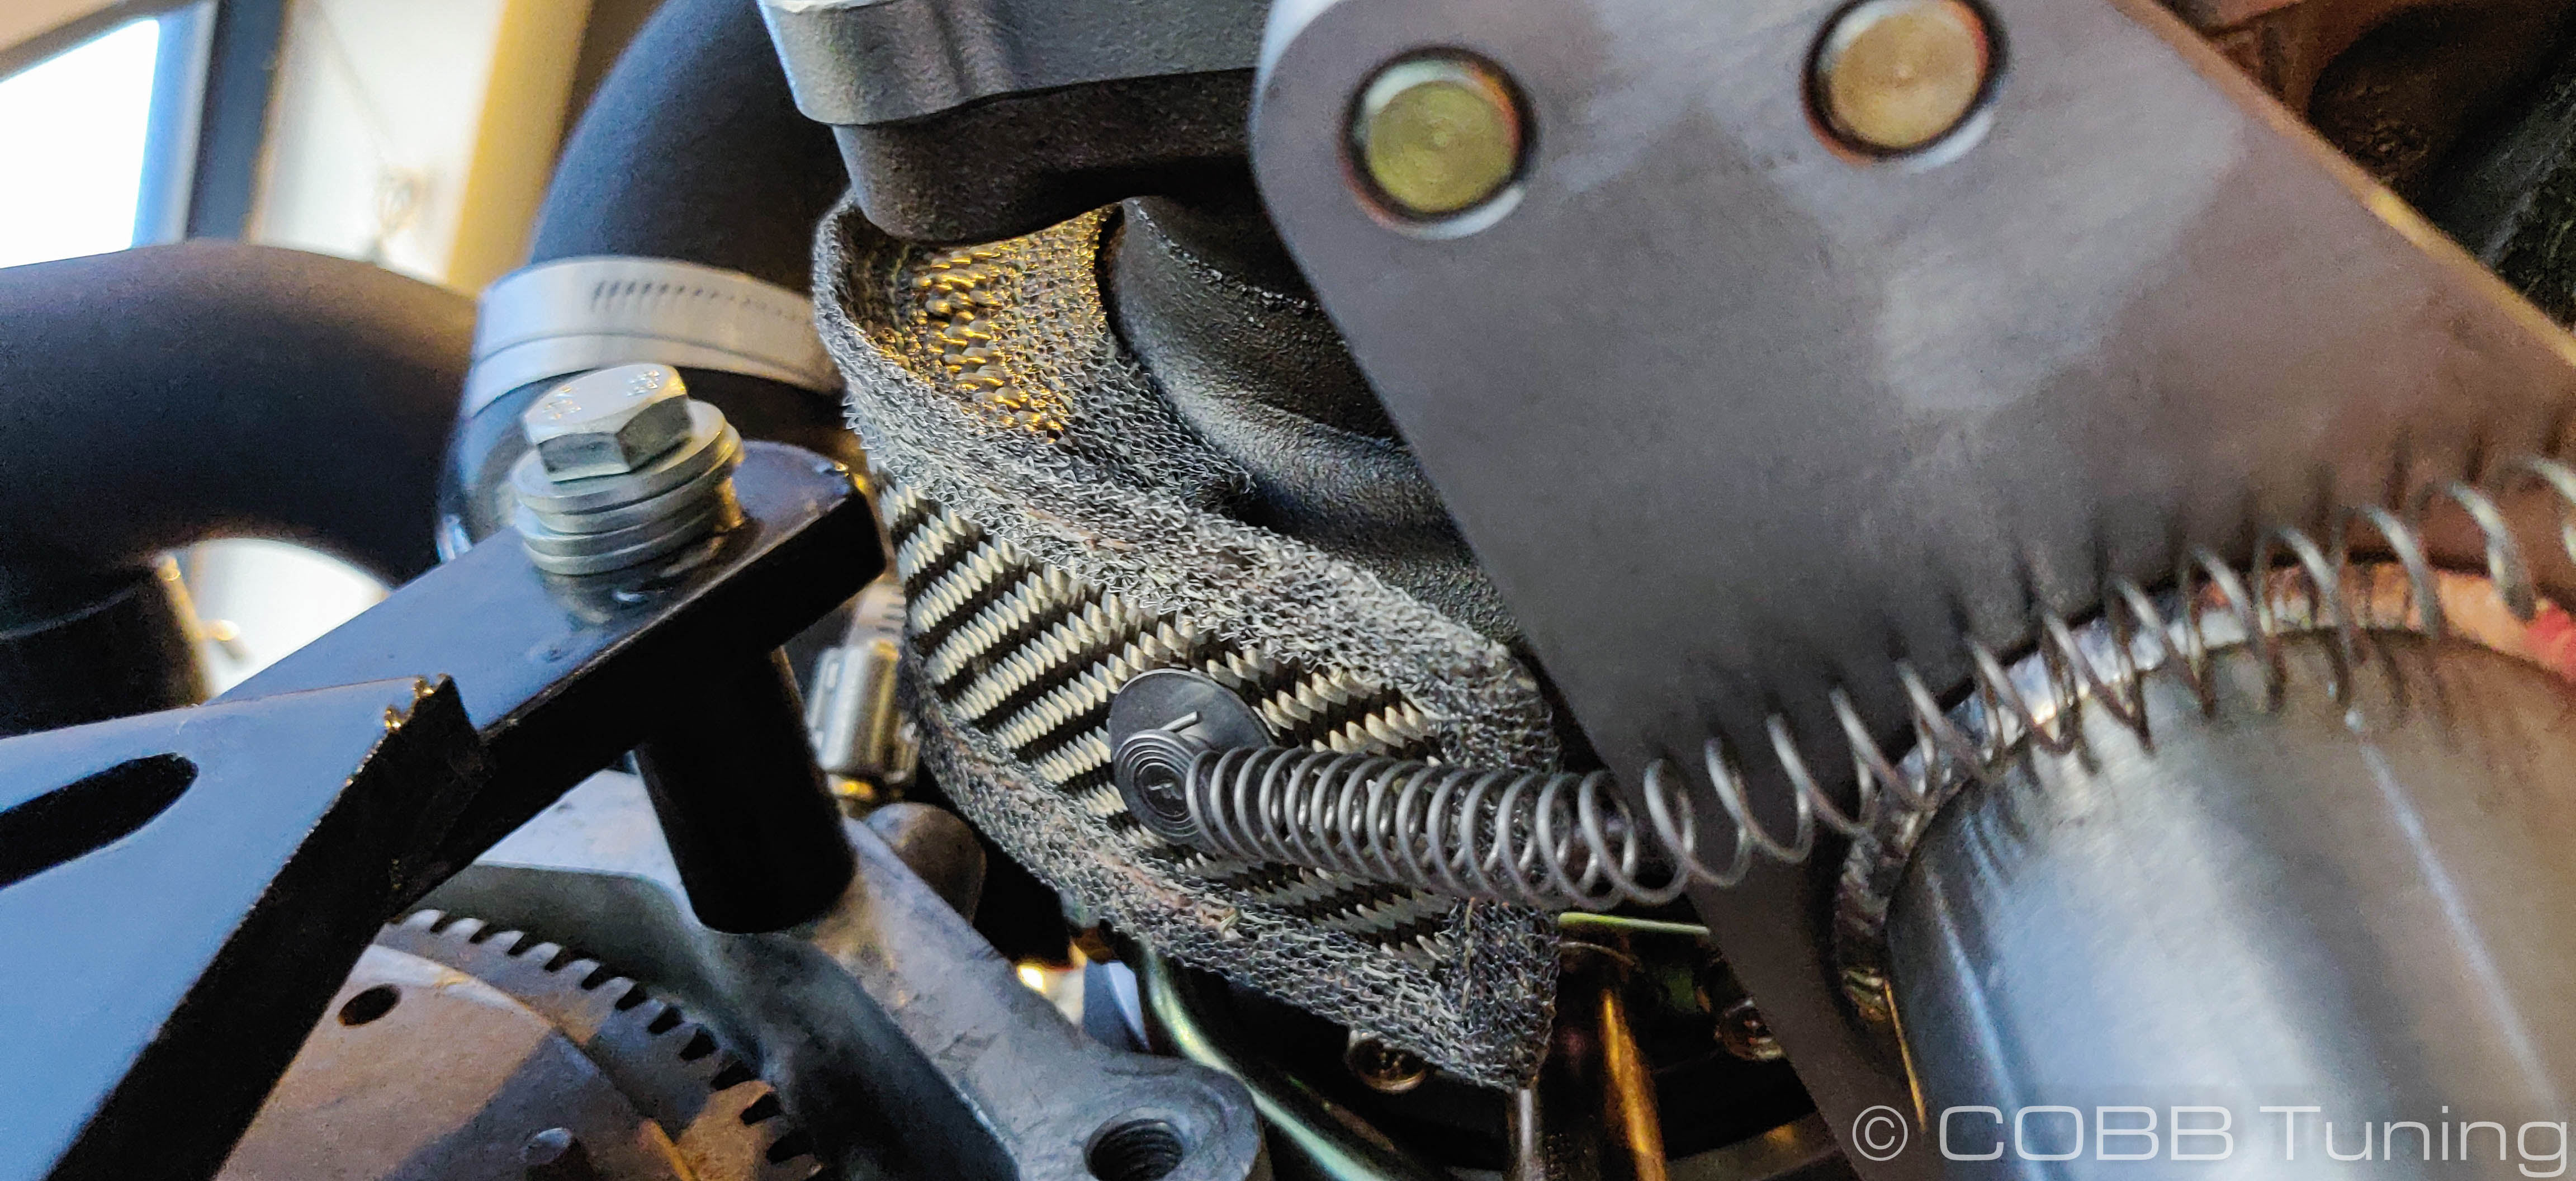
- Start working the blanket around the exhaust housing of the turbocharger starting by working it under the wastegate arm.
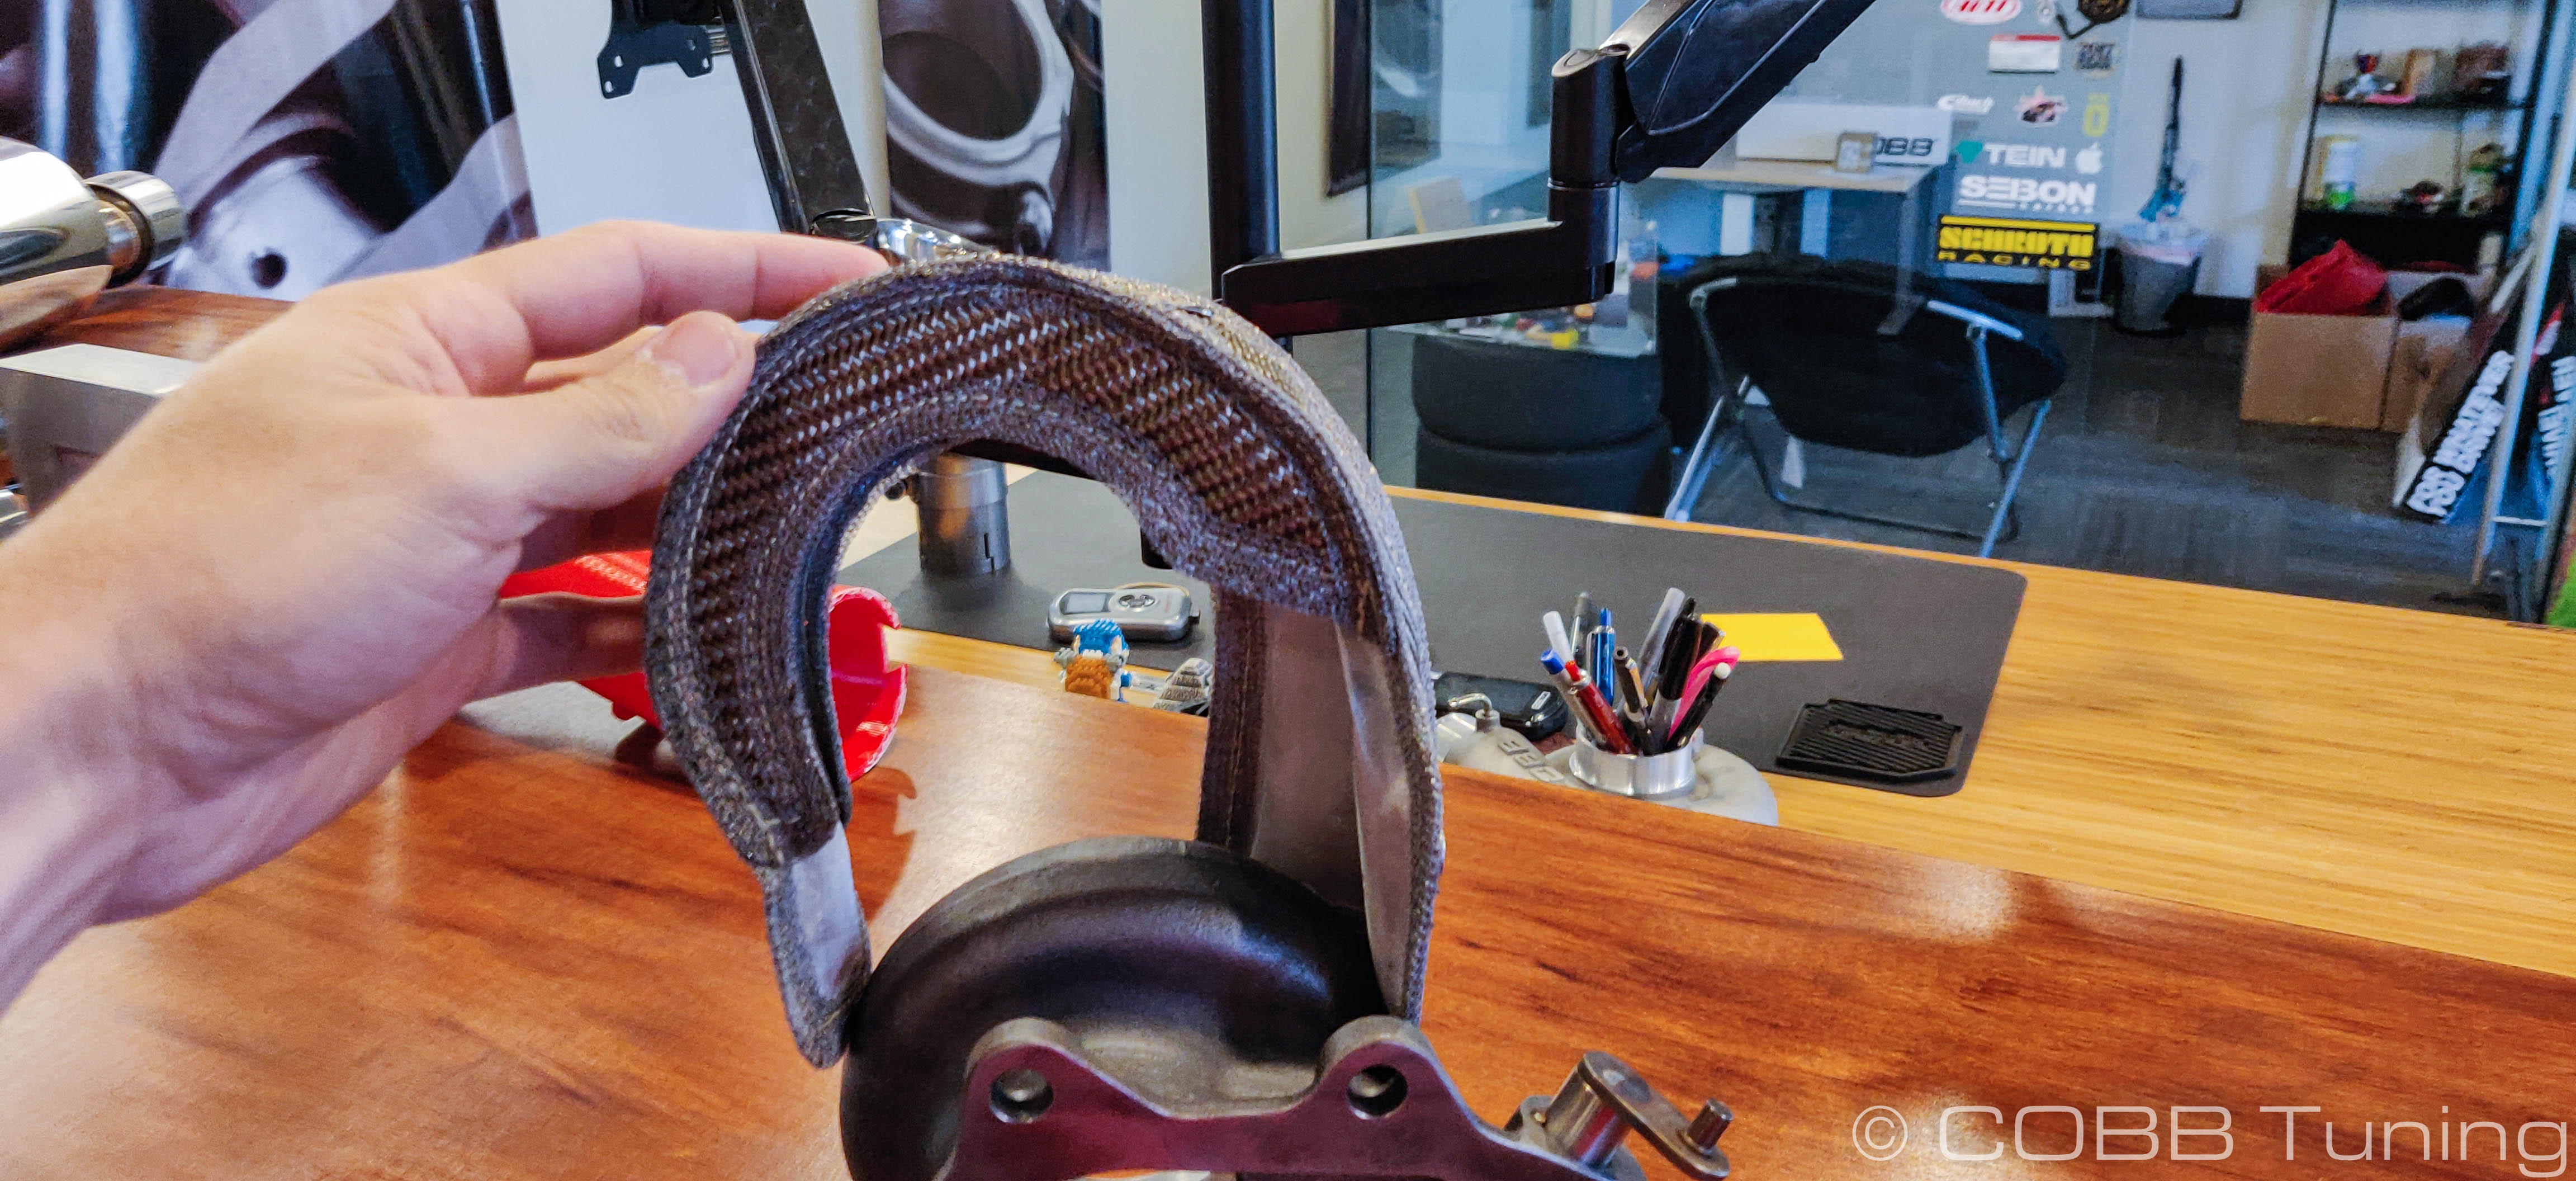
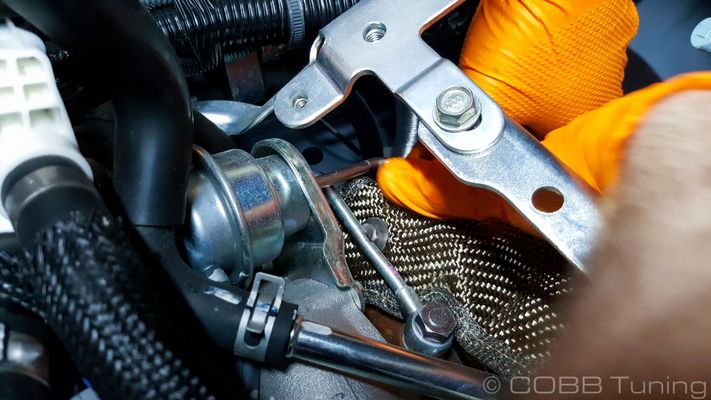
- Now tuck the other side down around the turbo and under the bracket.

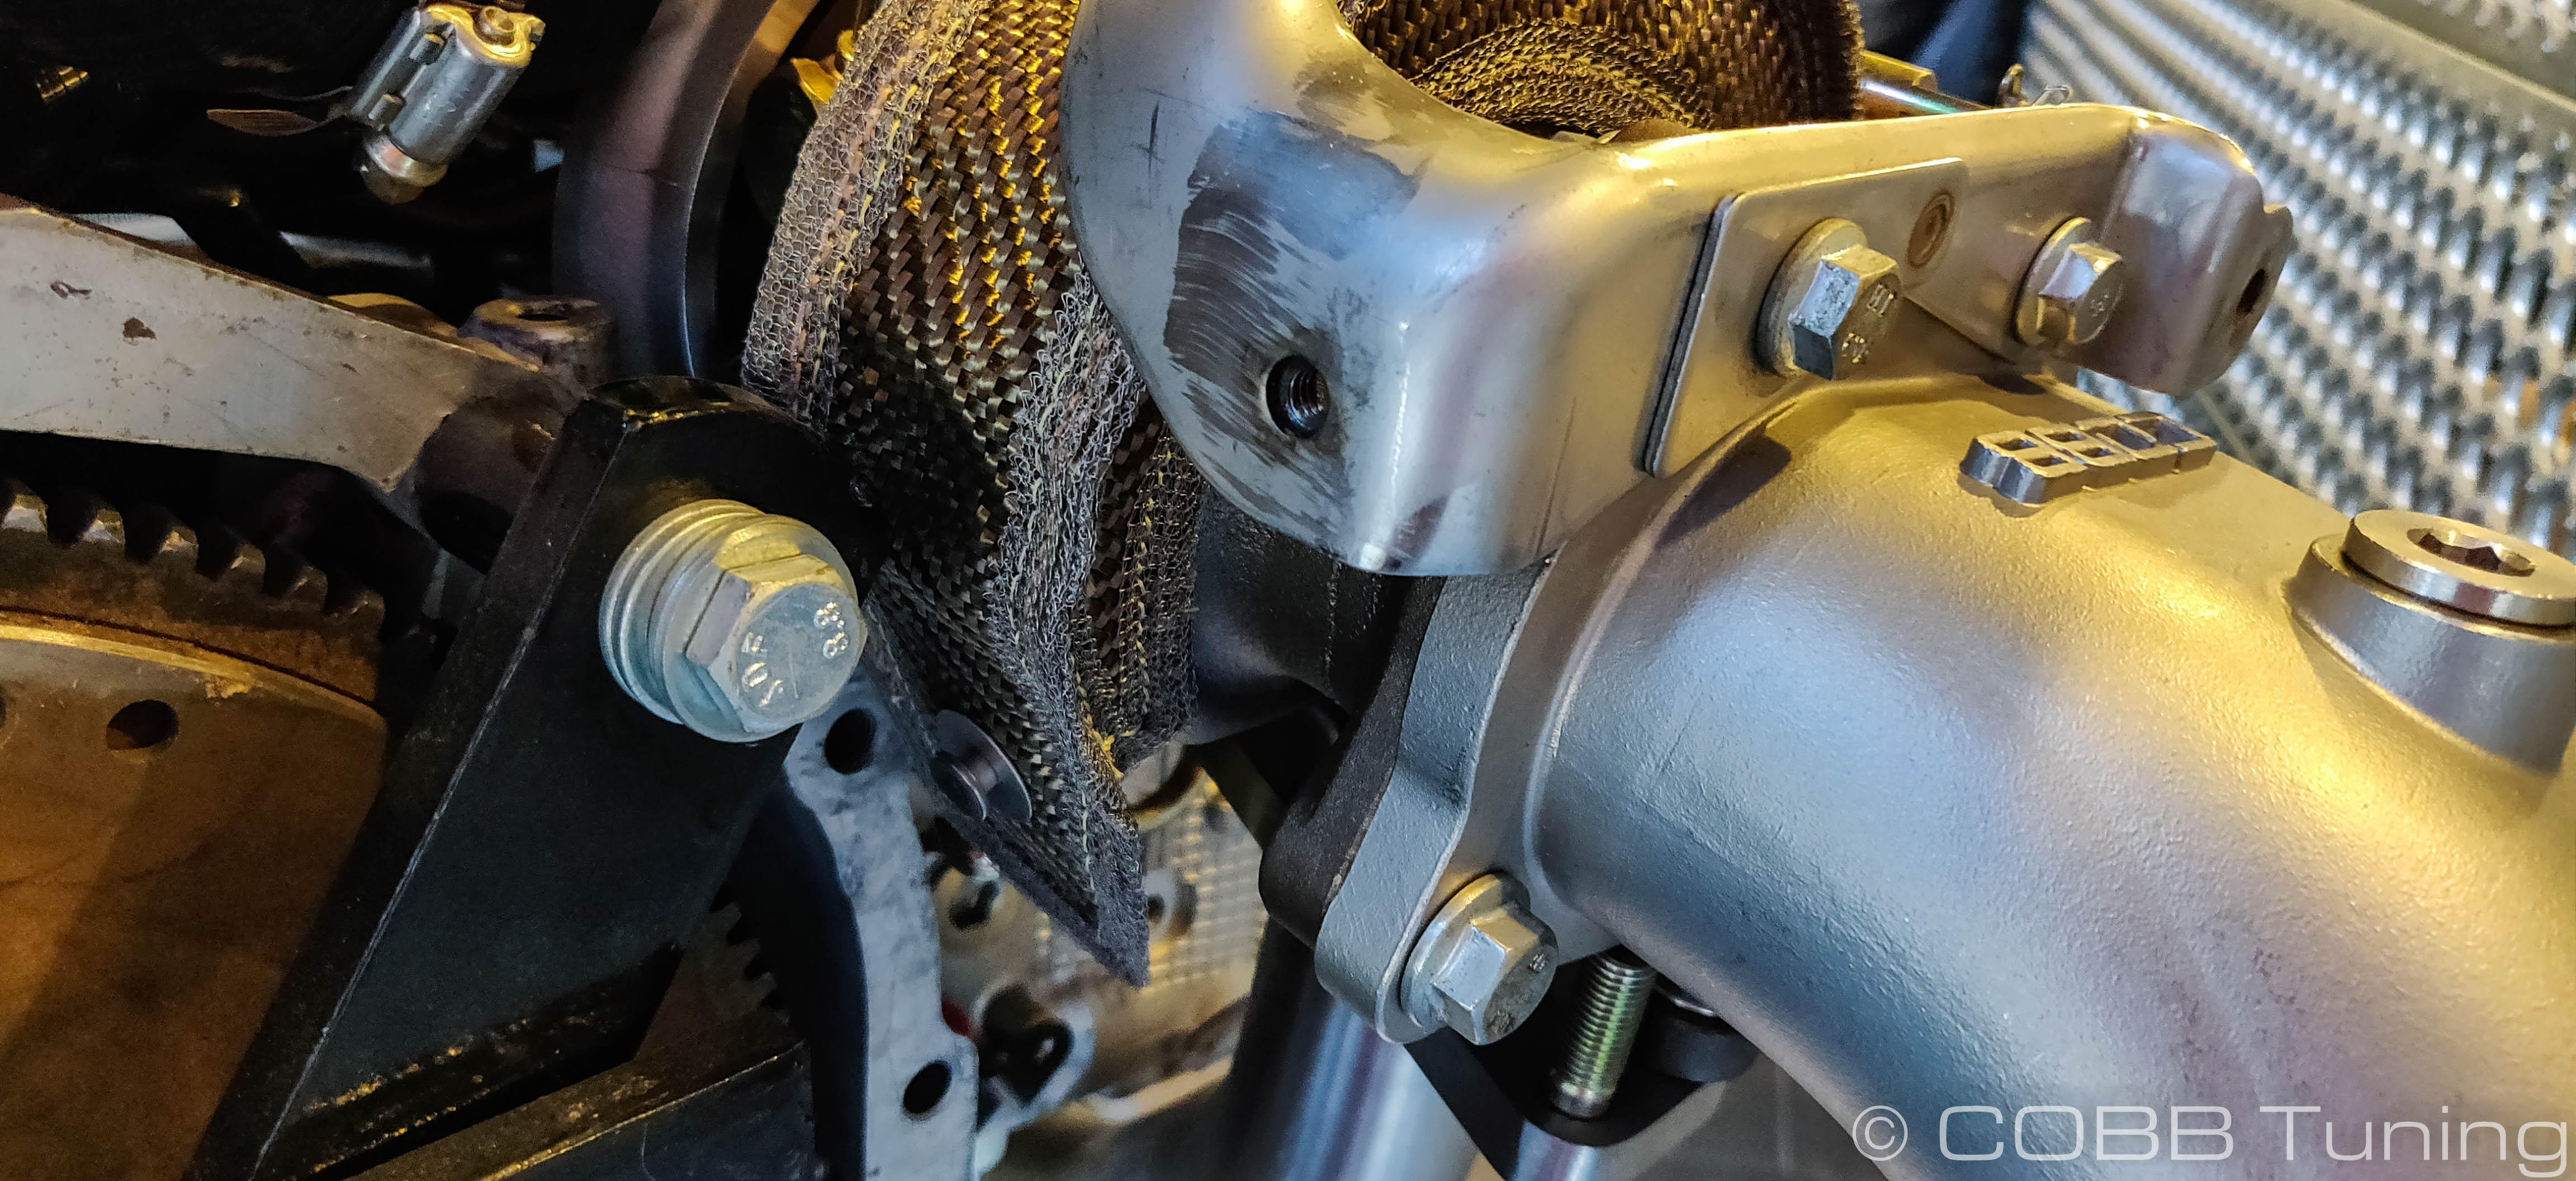


Hook
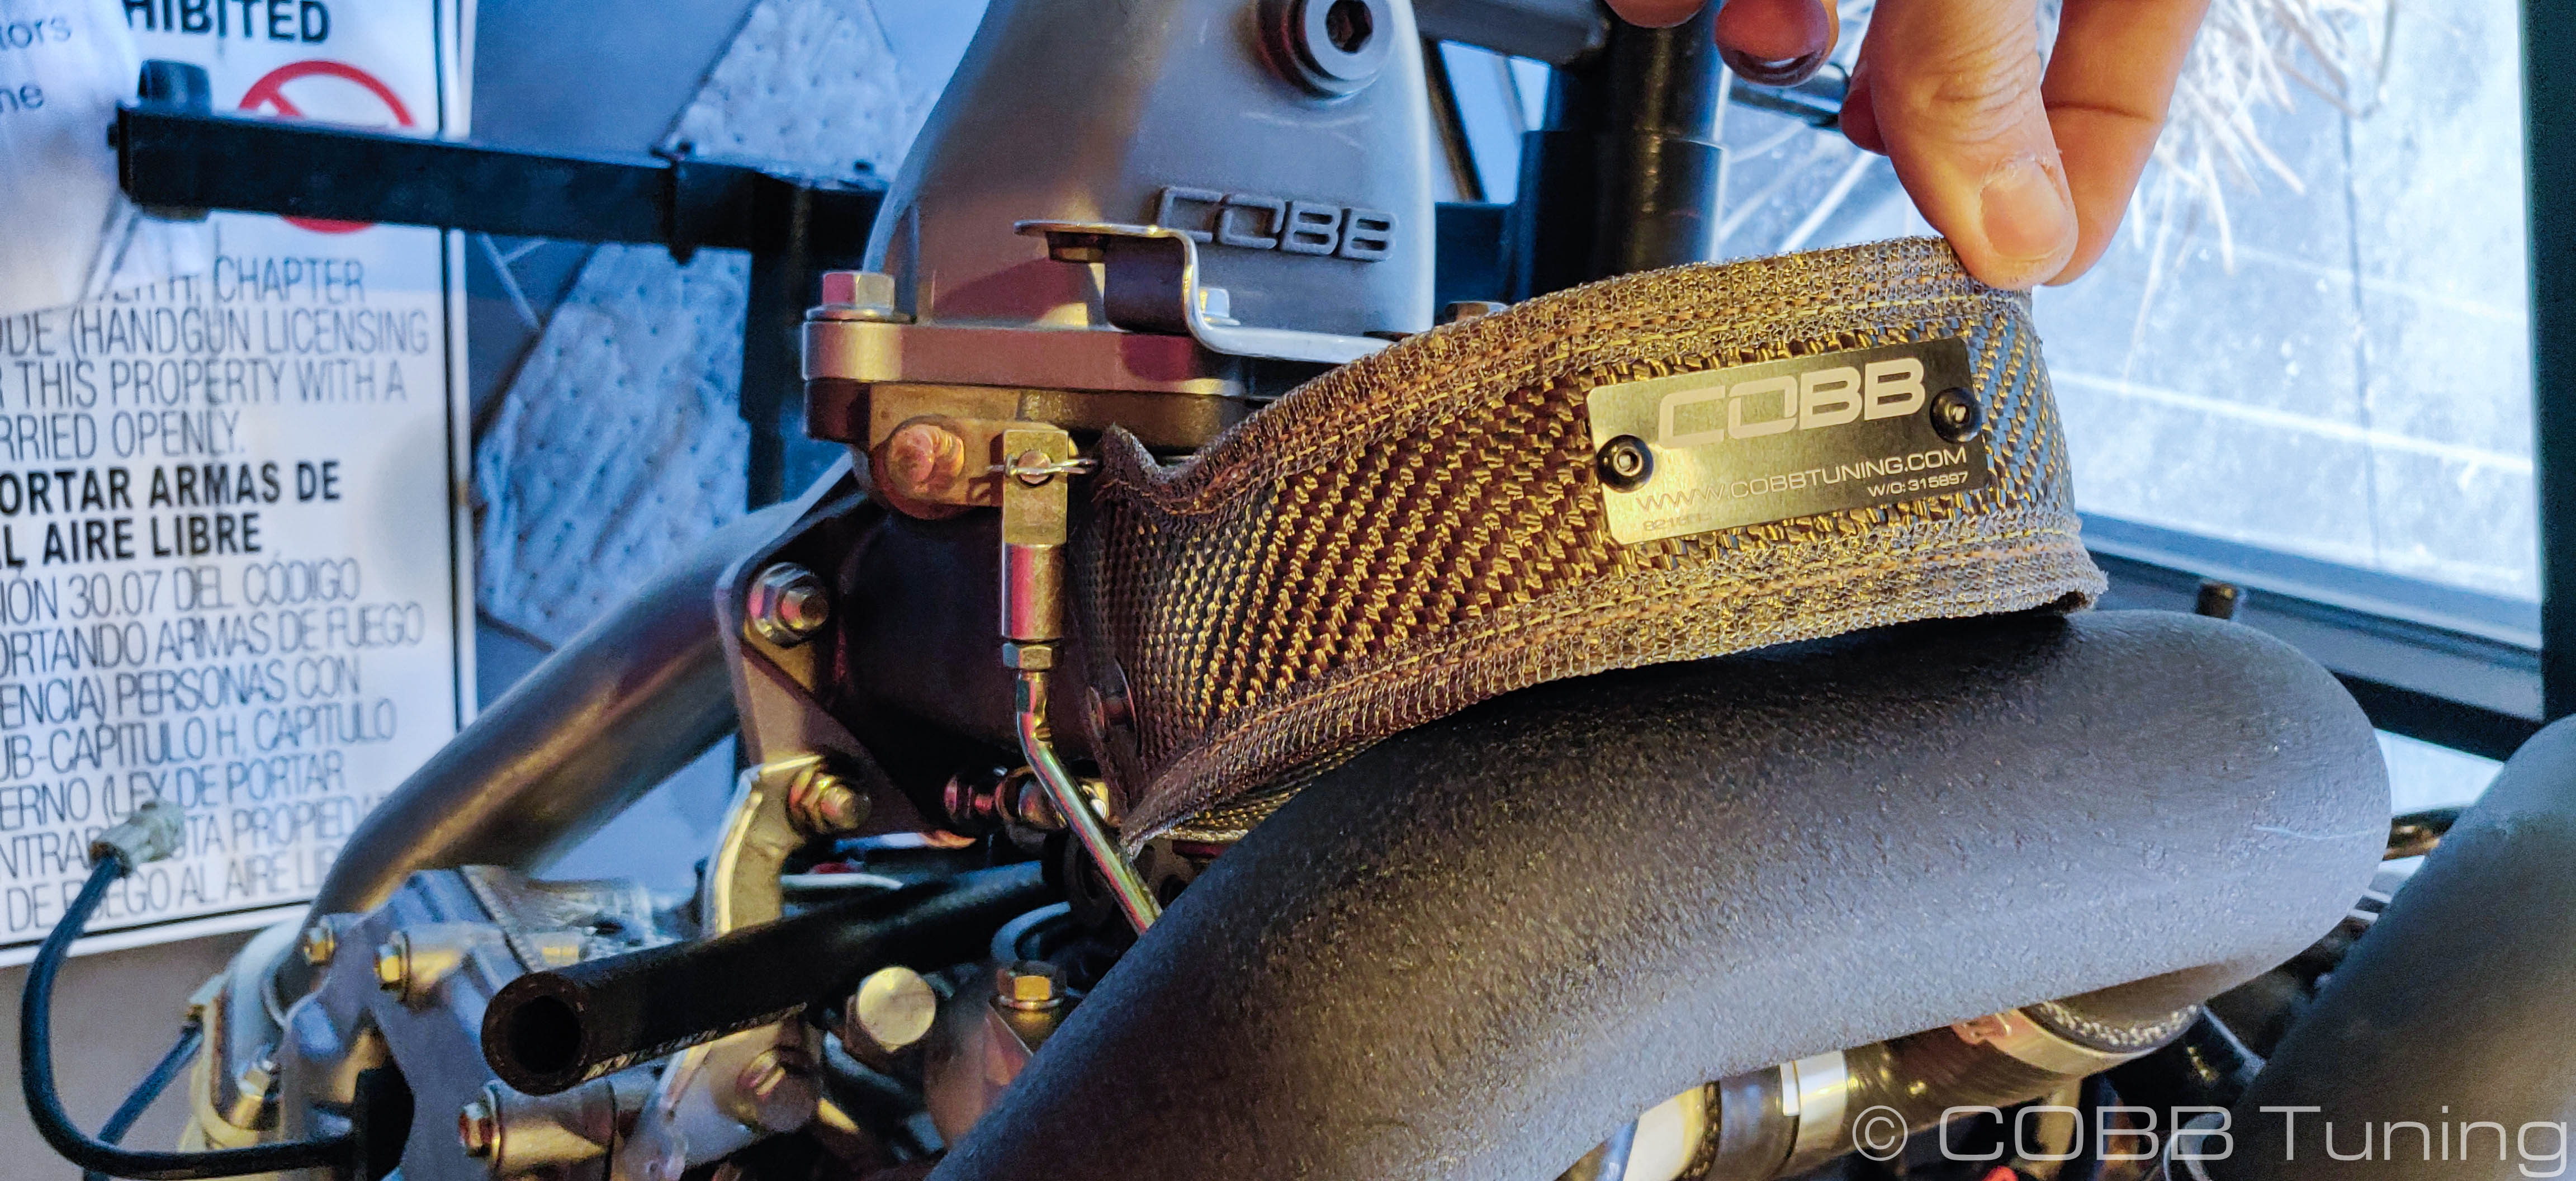
- Using pliers, hook the spring onto one side of the front rivet, then work it around over to the other side under the up-pipe flange before latching it over the other side.
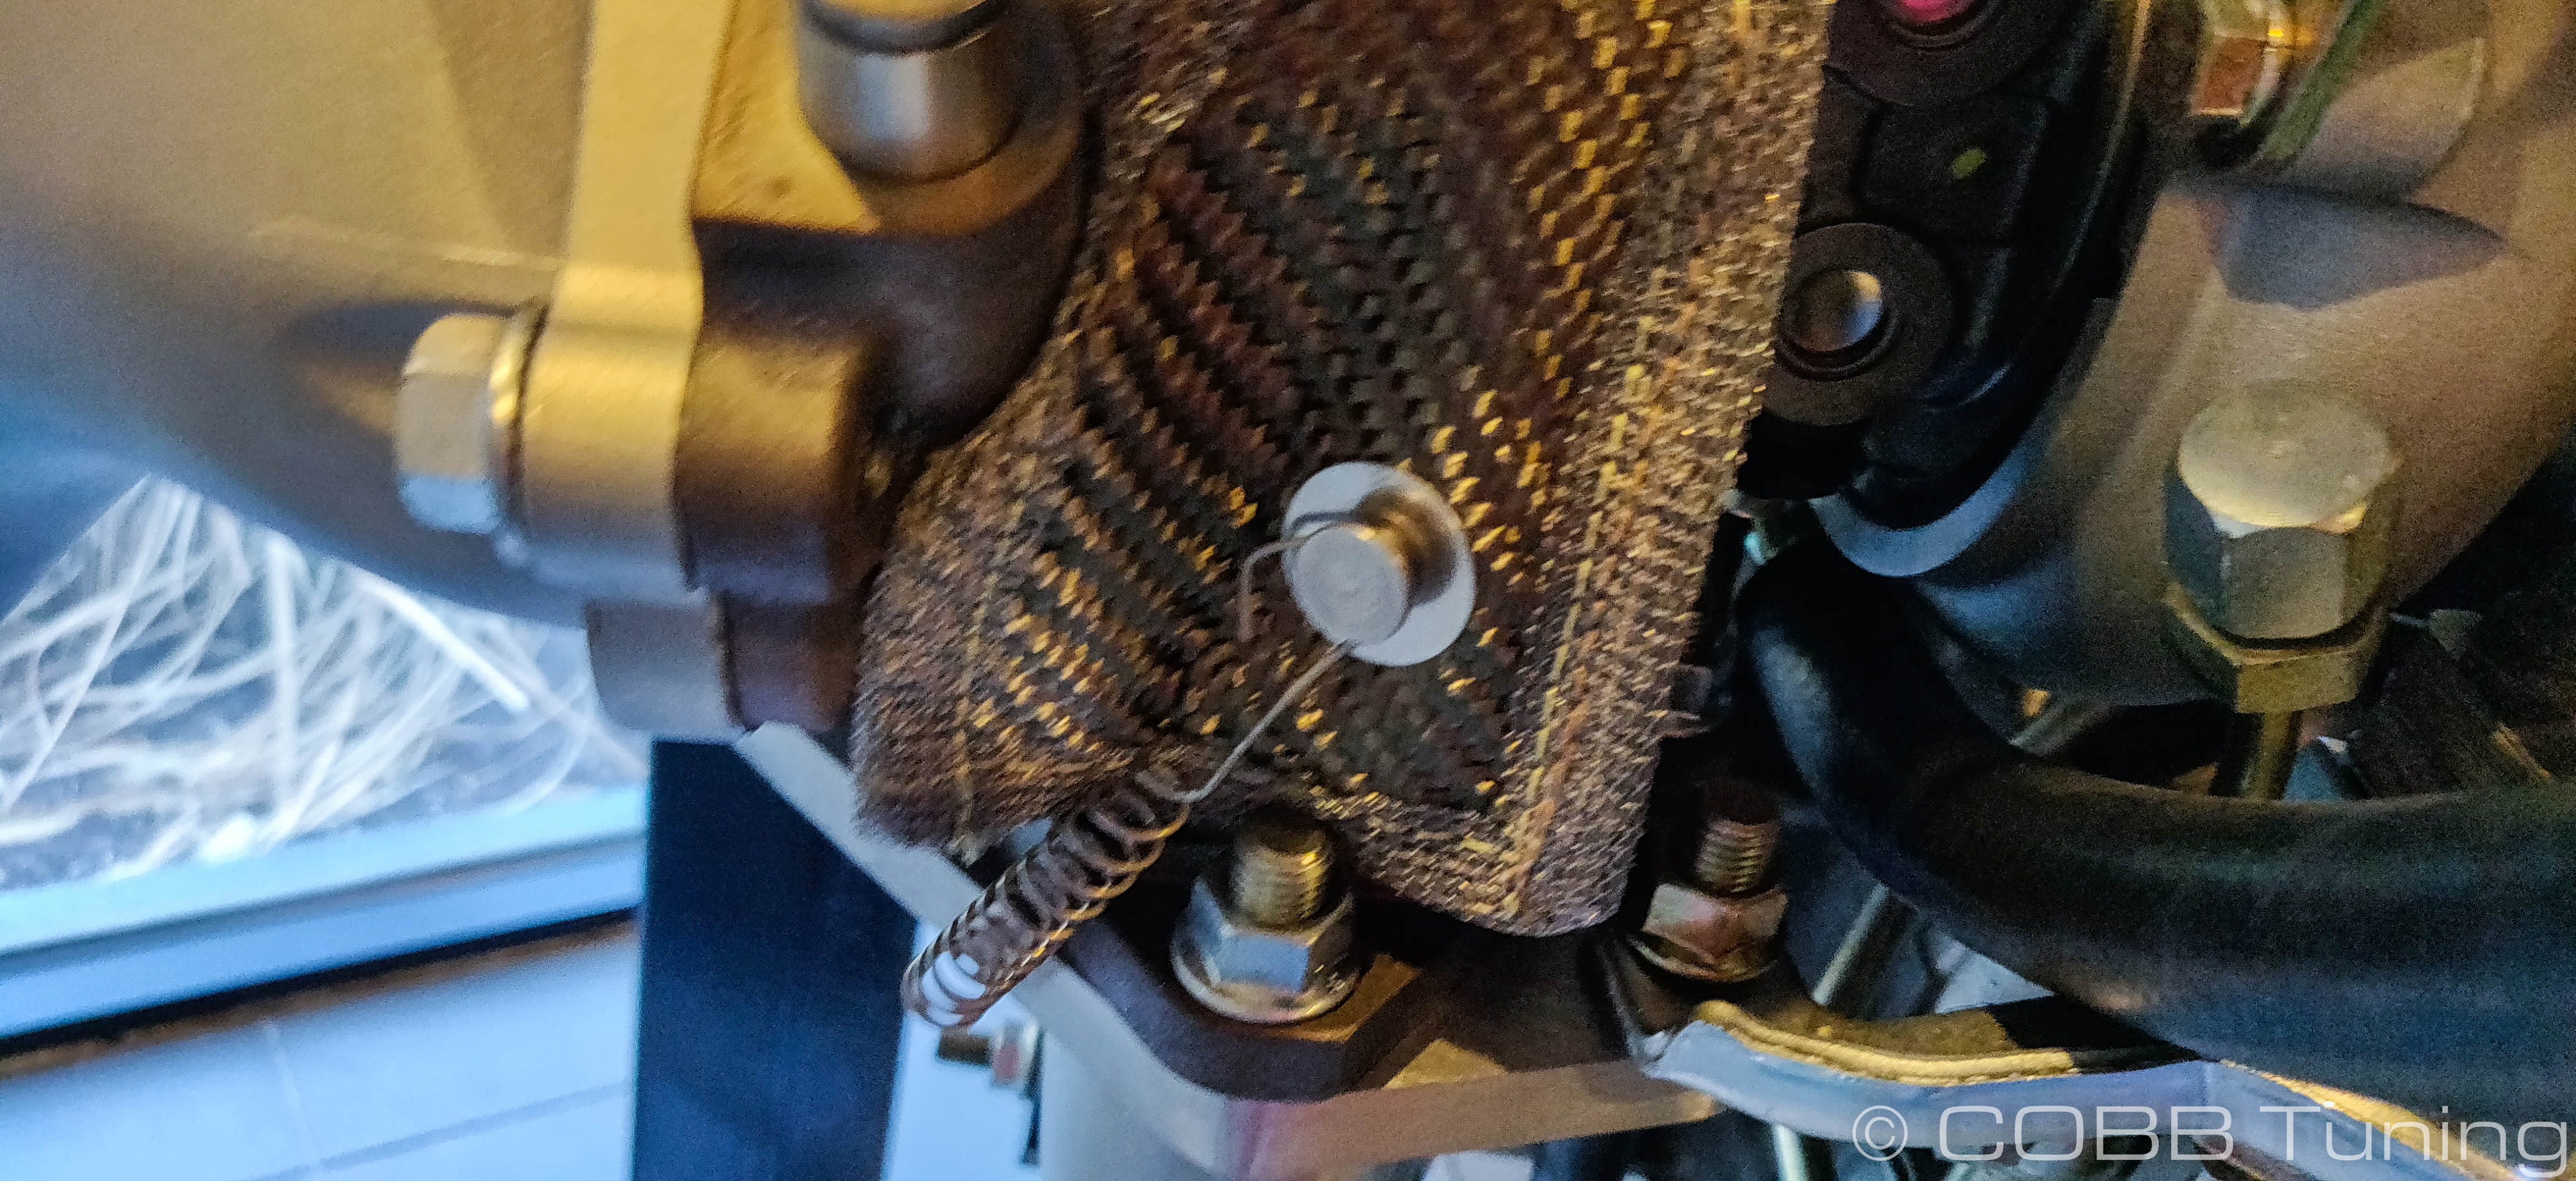
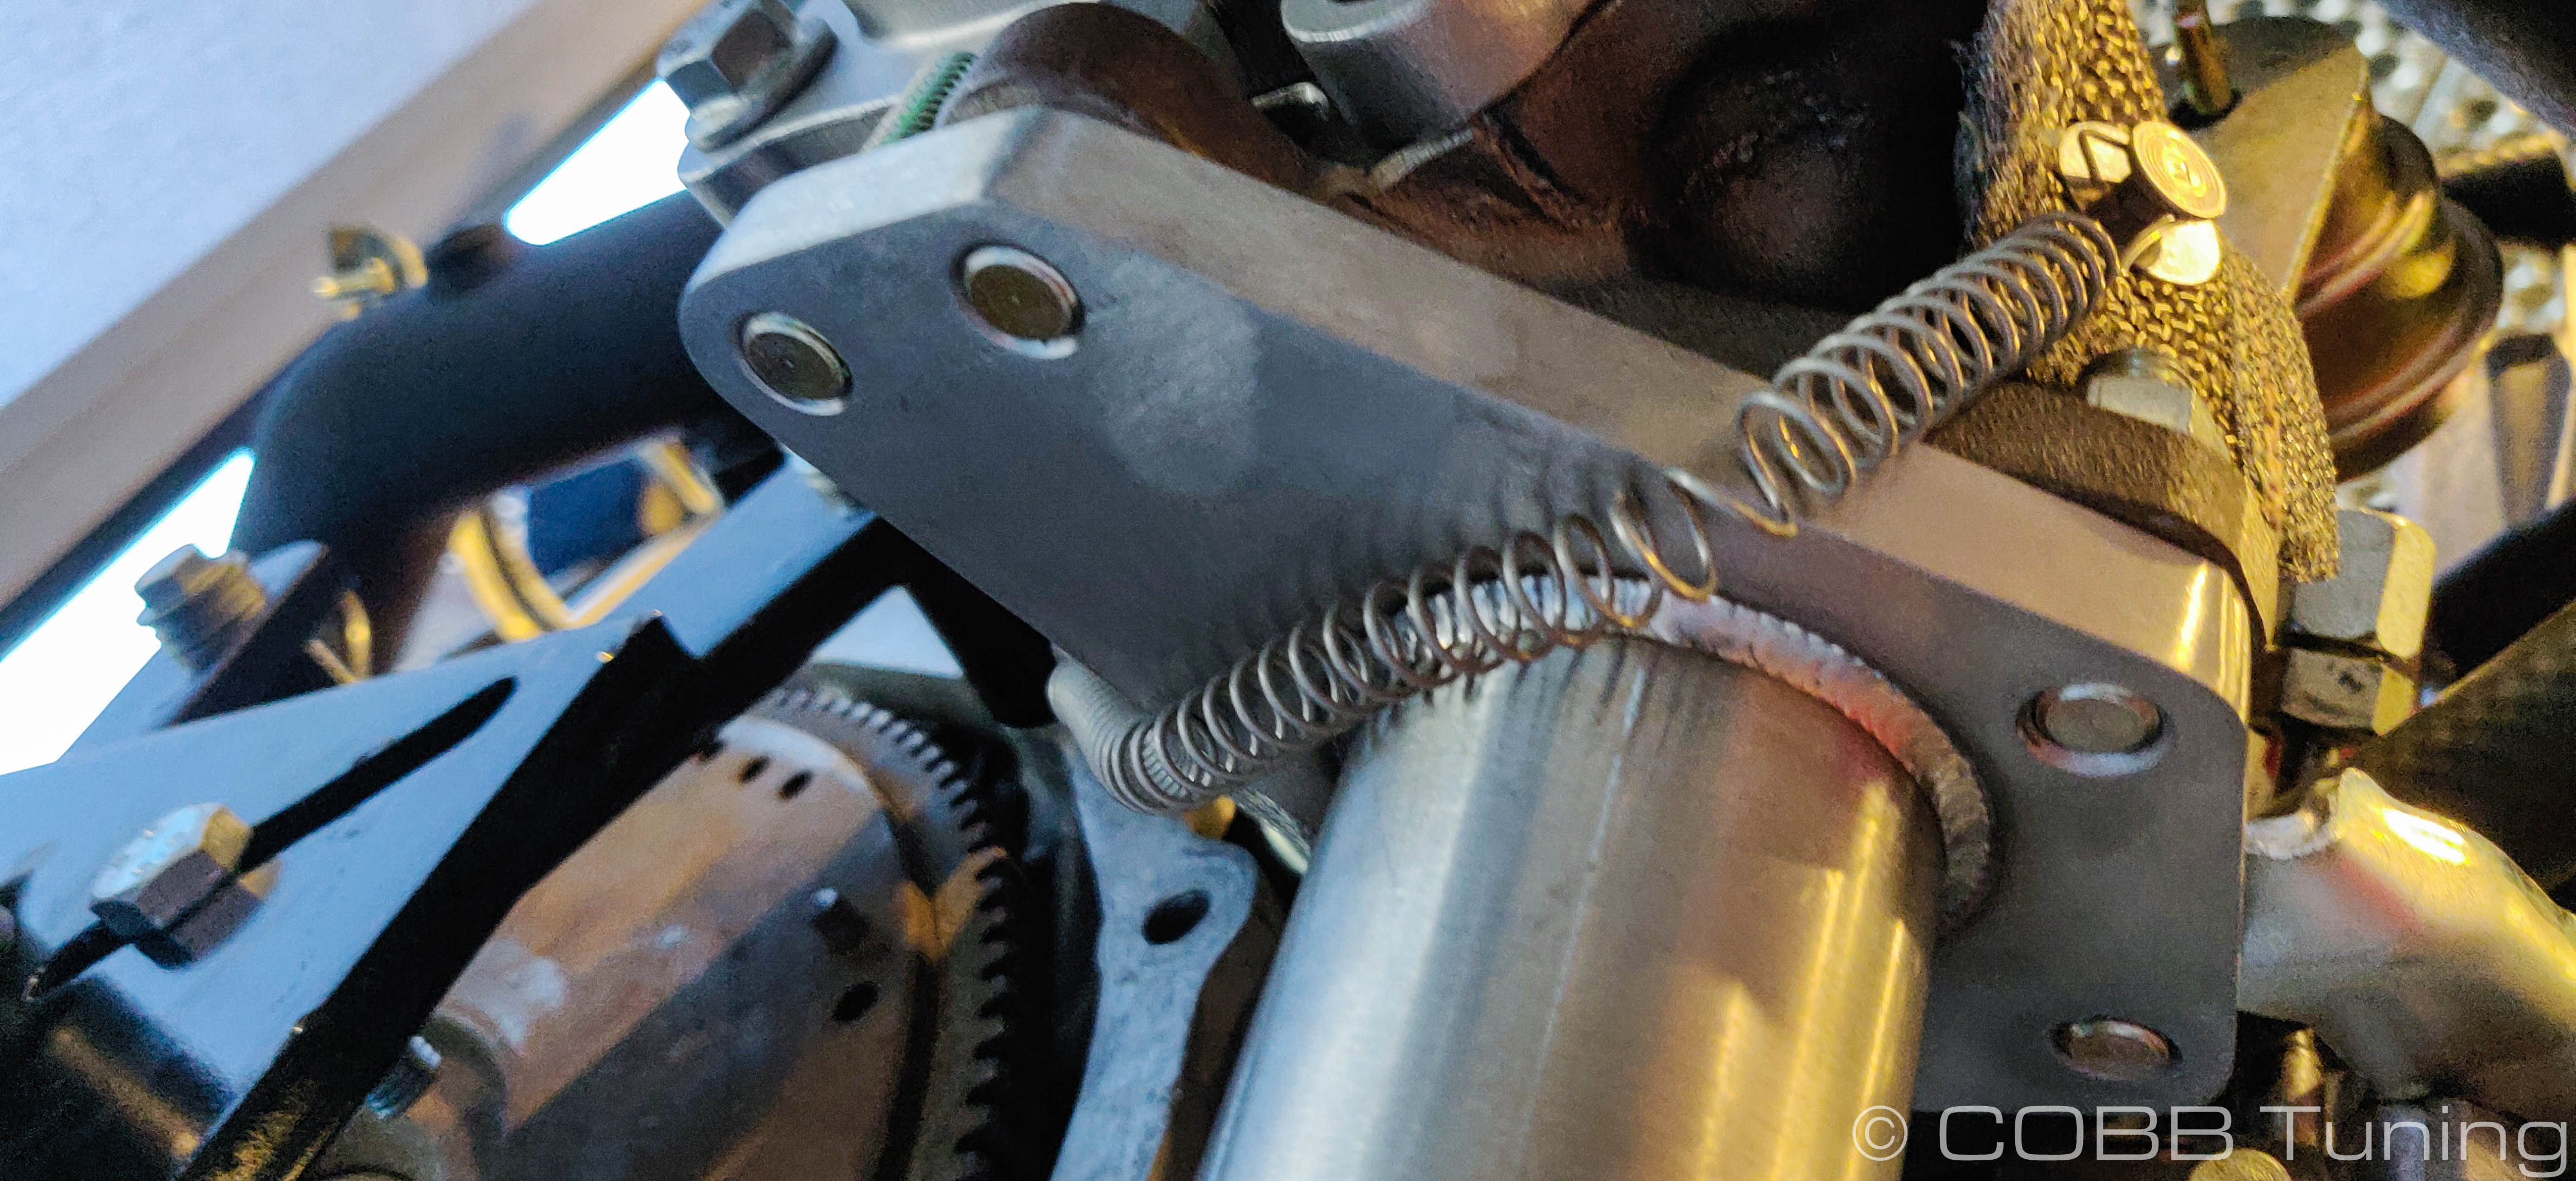
- If using safety wire pliers, twist the wire on the rear rivet to an appropriate length.to reach the other side. If you're using normal hand tools do your best to get the wire secured tightly to the initial rivet.
- Attach it tightly to the otherside either routing the wire underneath the downpipe . It's also possible to route it or underneath the up-pipe if you so desire. (not between the flanges to block the gasket though). If you aren't using safety wire pliers it's also a simple method to simply criss-cross between the different rivets before securing the wire in place.

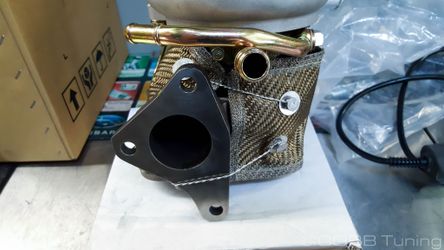
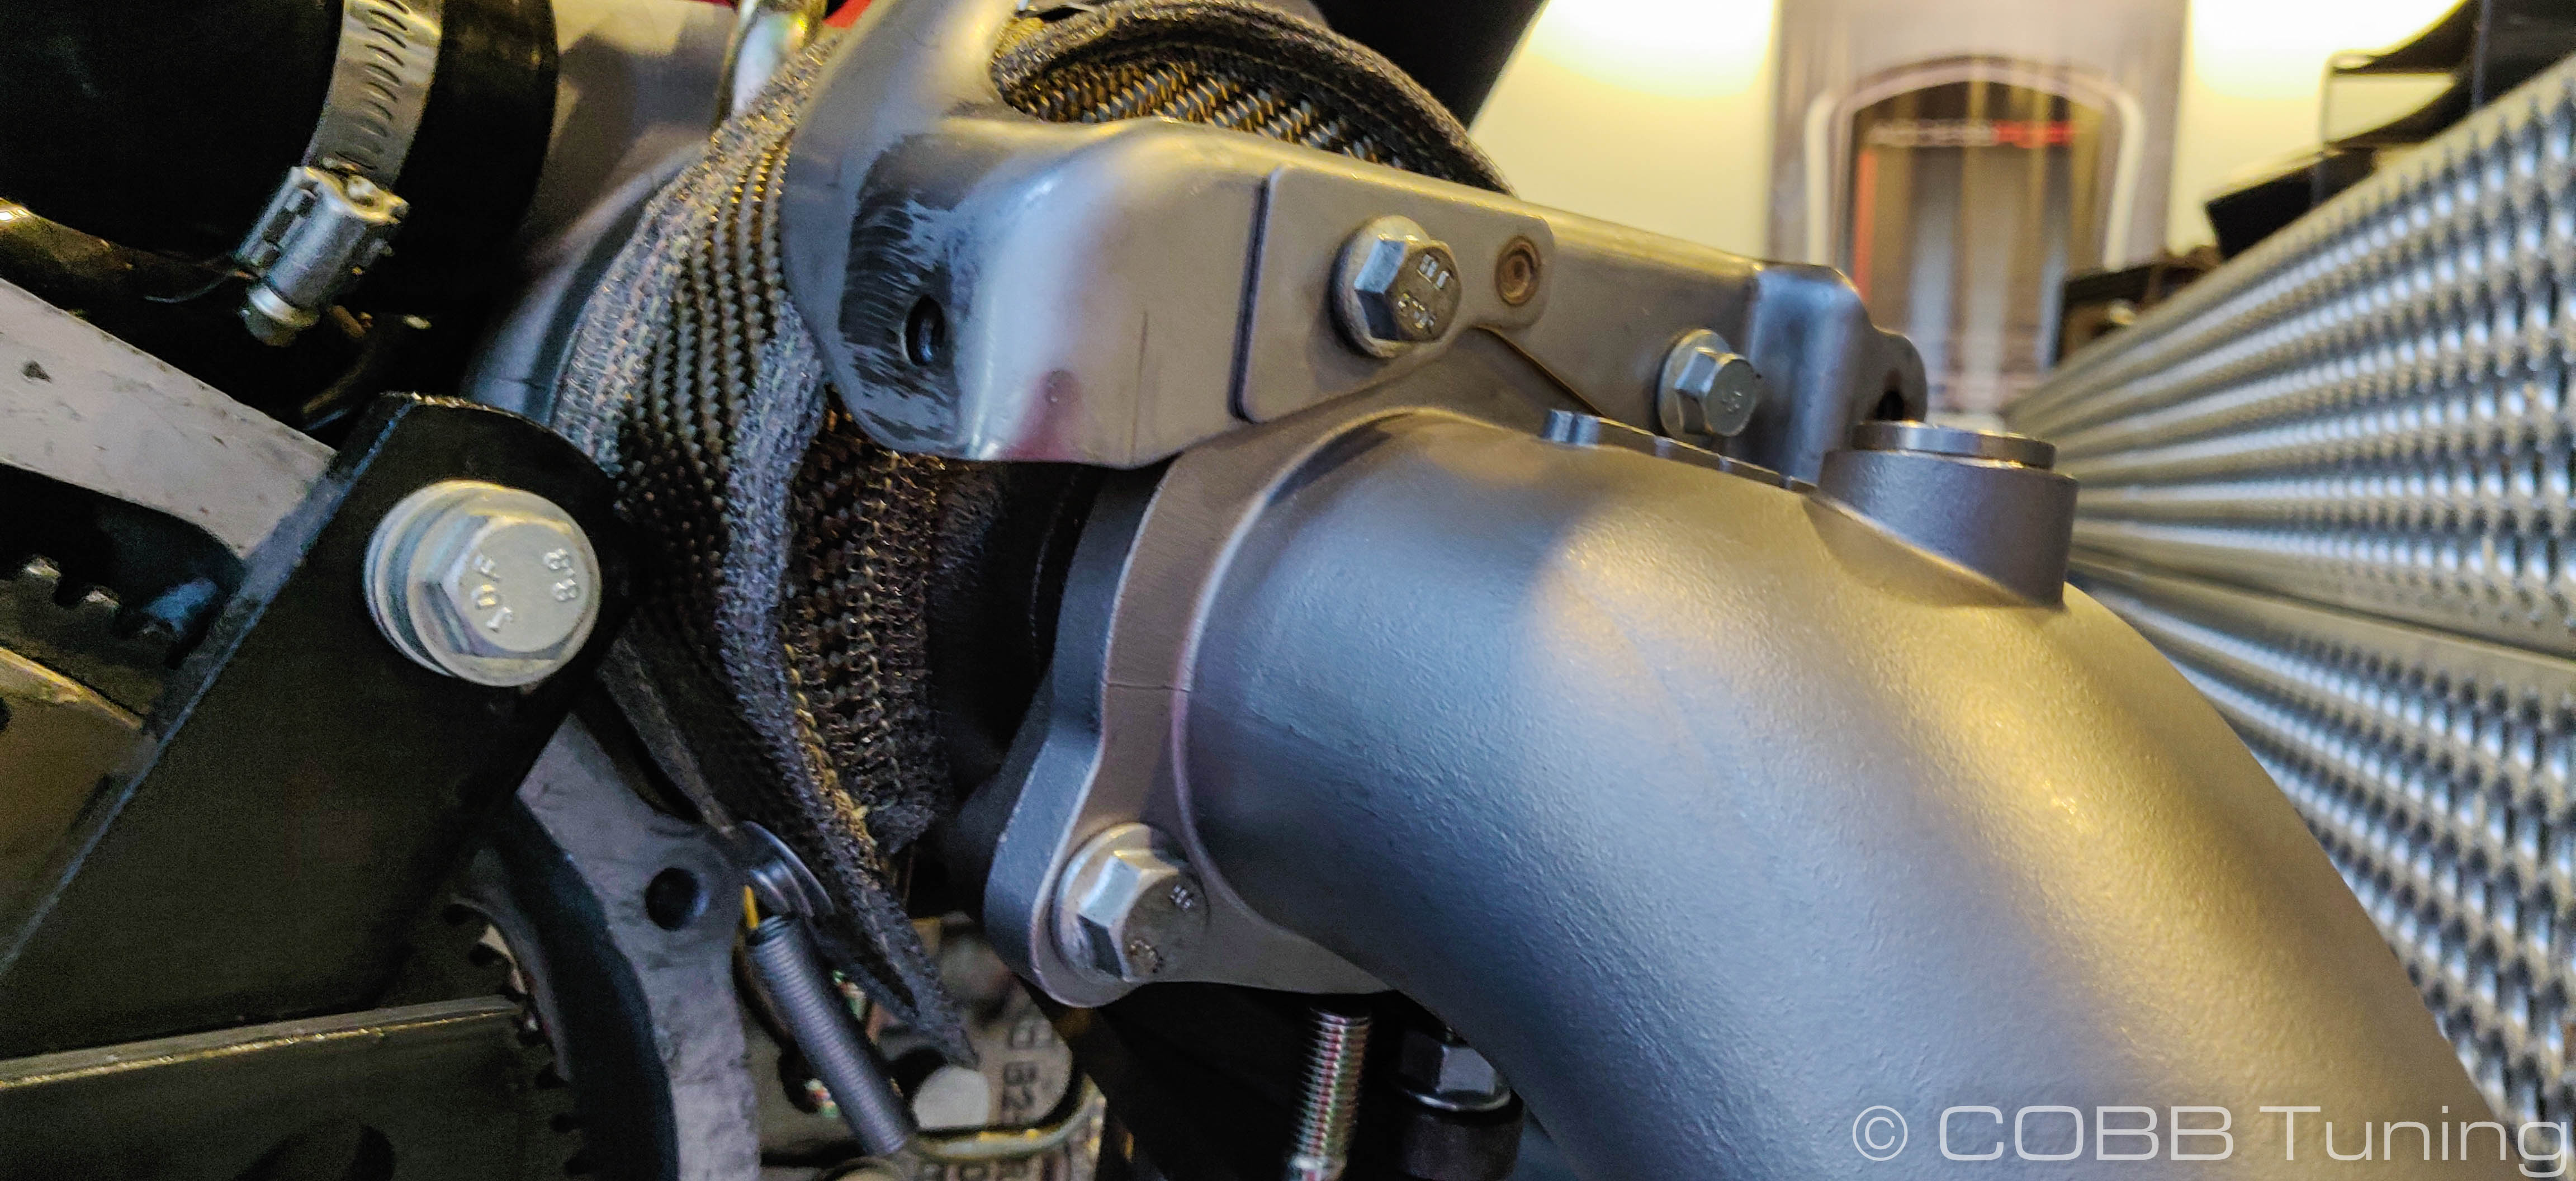
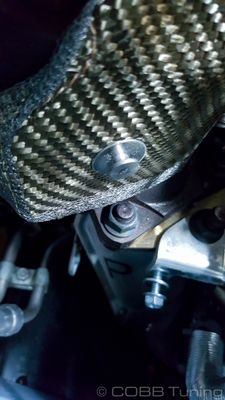
- Now that you're done you can put the heat shield back on if you so desire.


- You're all done! Go out and enjoy!
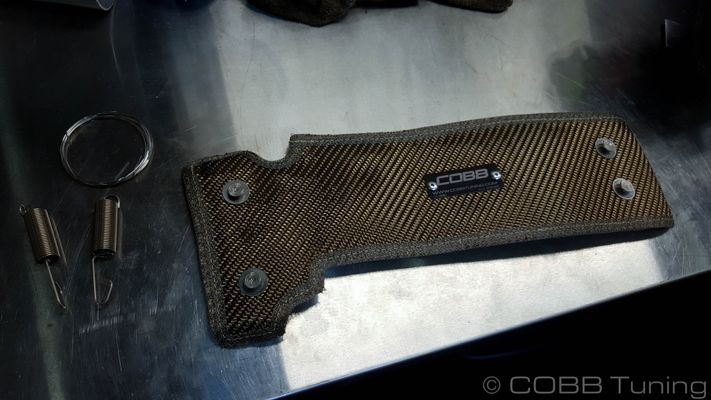
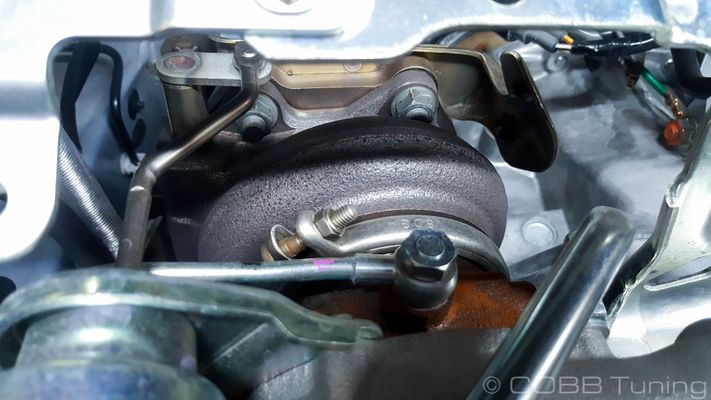
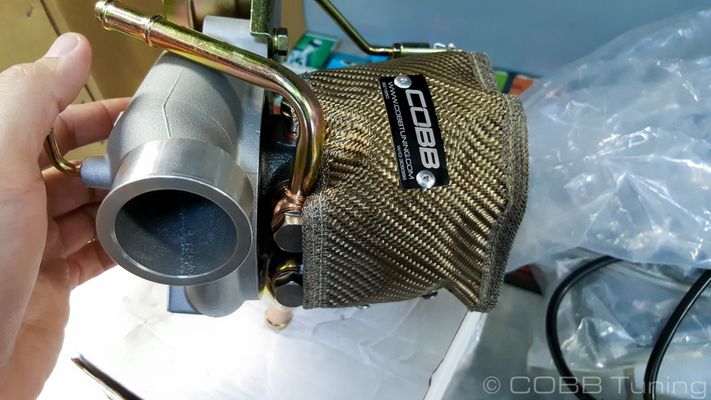
Additional pictures of it just on the exhaust housing:![]()
![]()
![]()
![]()
![]()
![]()
Important Notes
While not flammable on their own, if any sort of flammable chemical gets into the fiber of the turbo blanket, it may be possible for a fire to occur. It is recommended to replace the turbo blanket if ANY flammable chemicals, liquids, or materials get on the blanket.
Links
| Insert excerpt | ||||||
|---|---|---|---|---|---|---|
|