
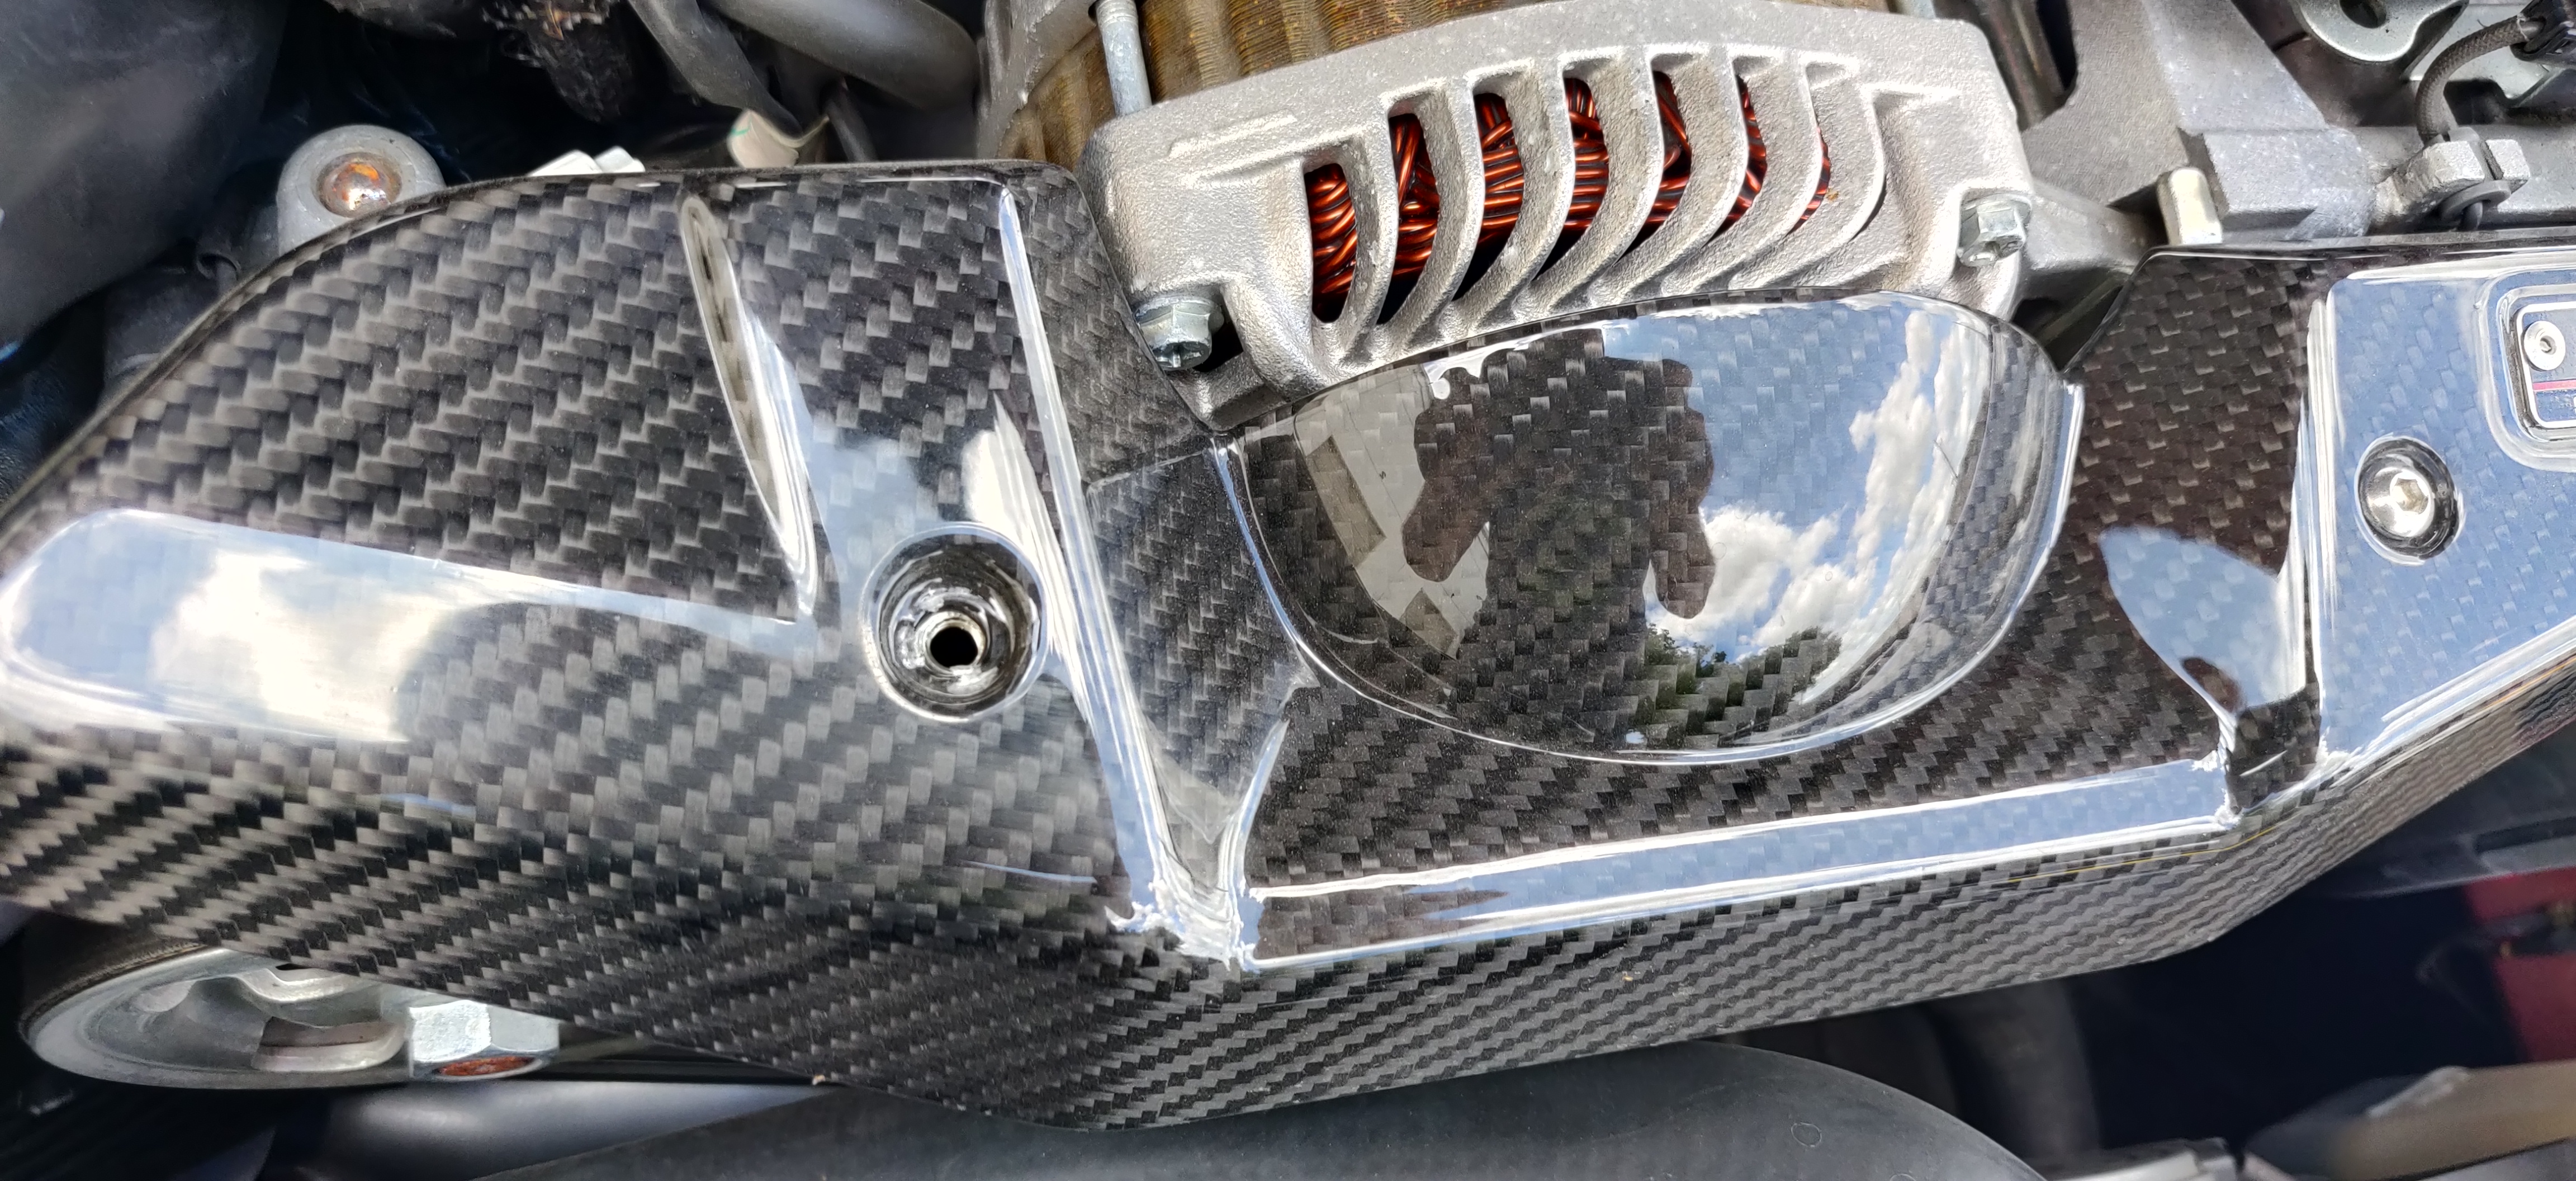
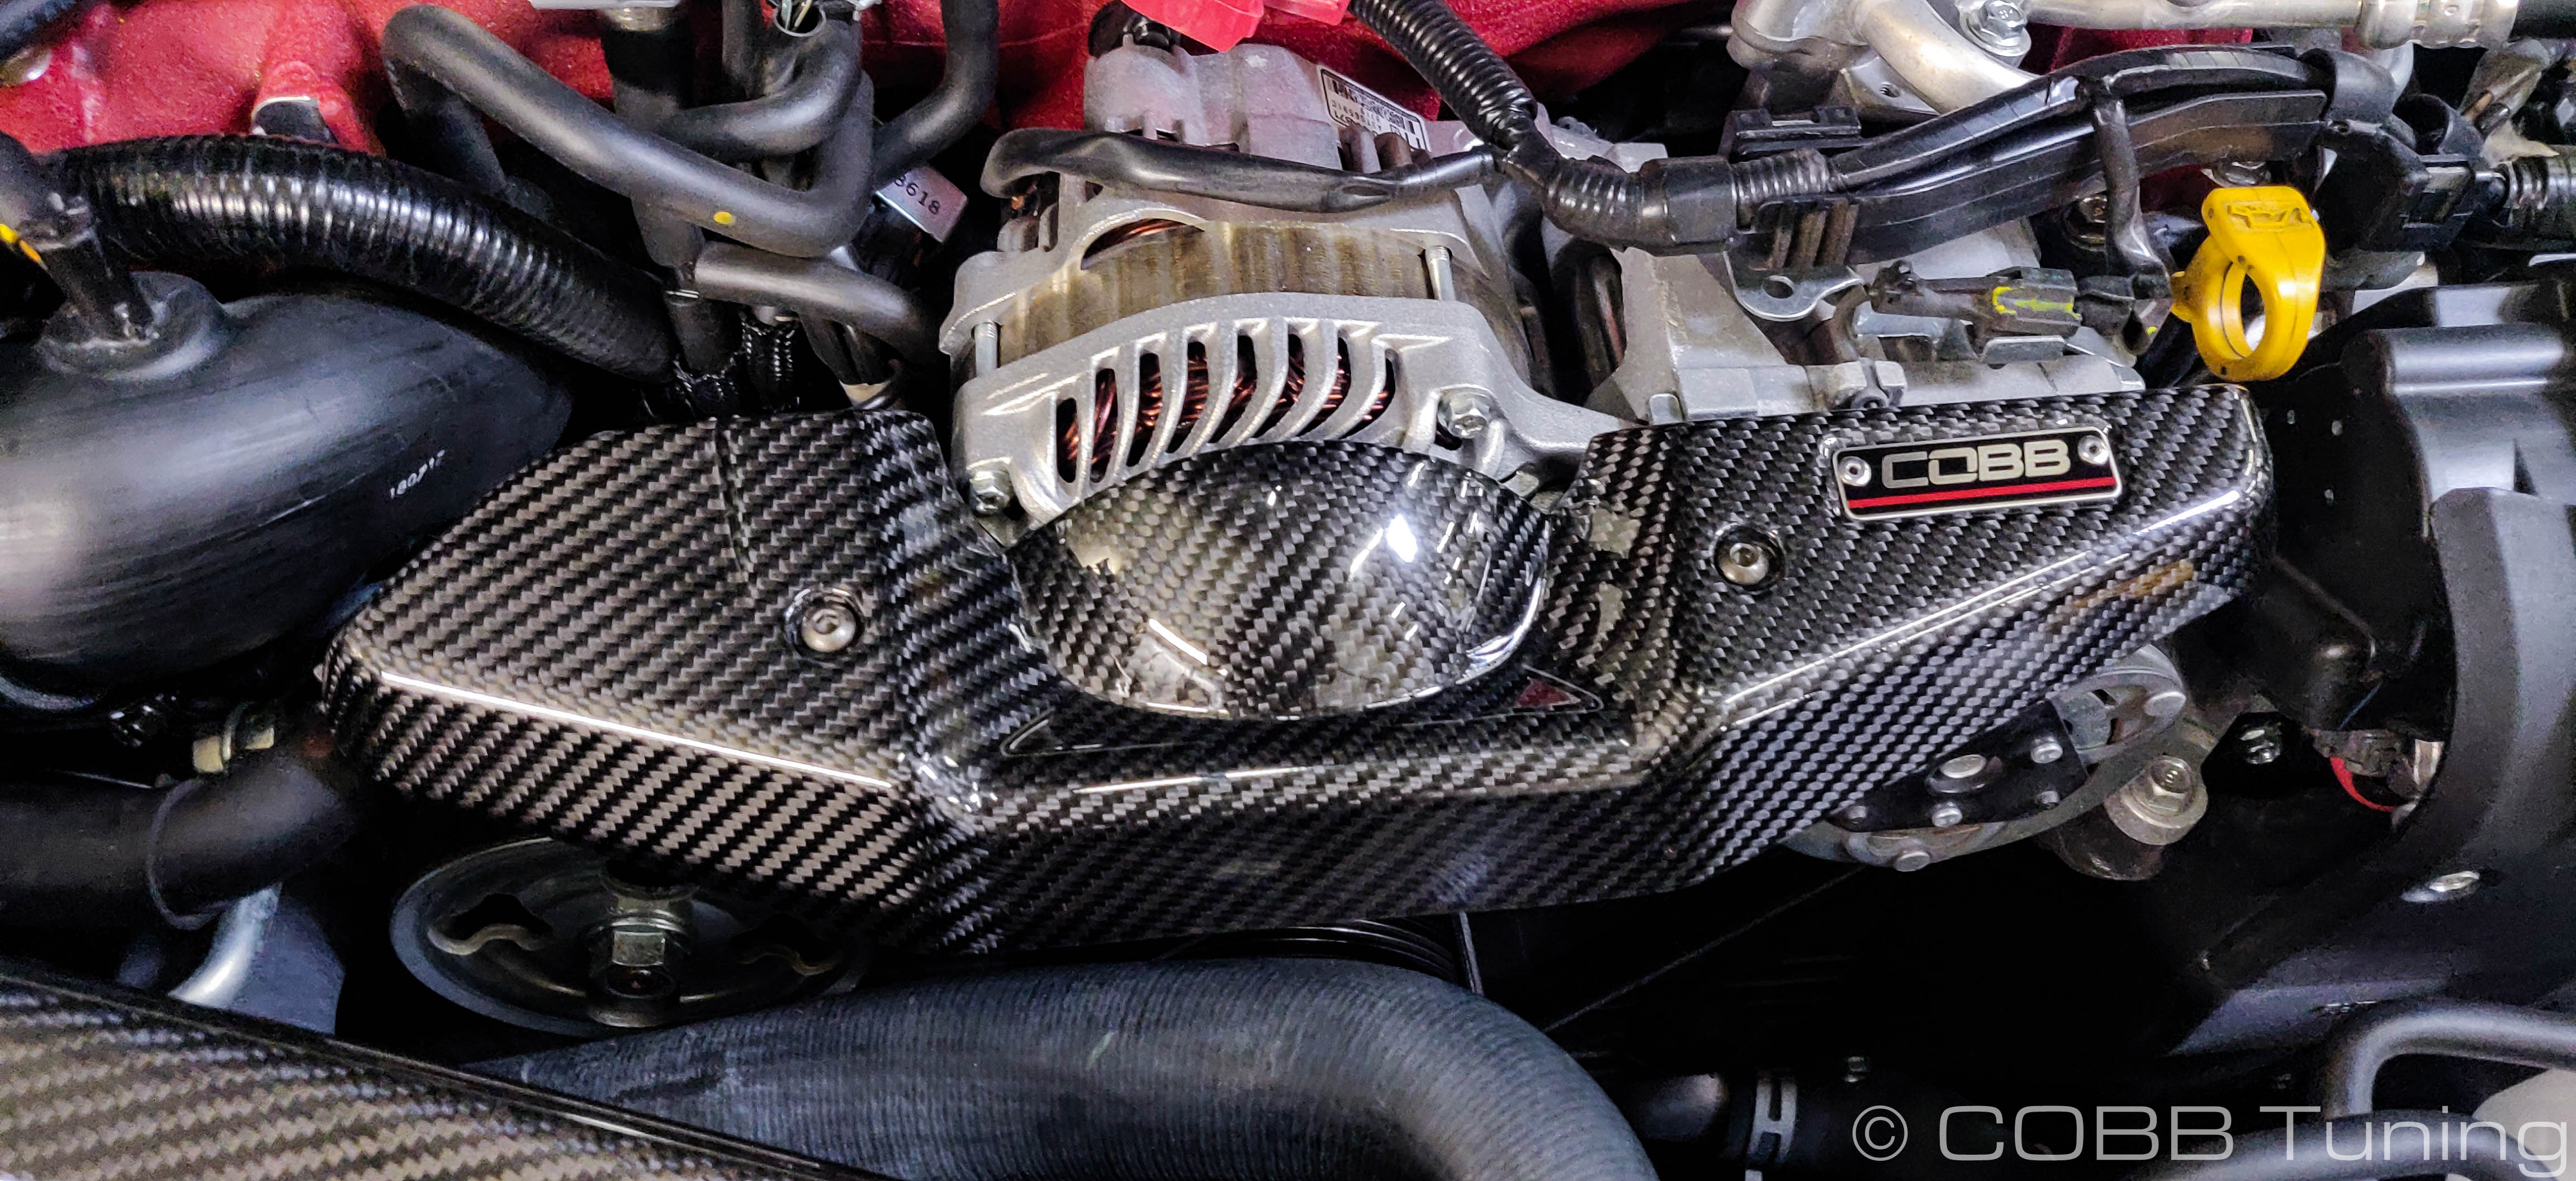
422600 – STI Redline Carbon Alternator Cover
Subaru WRX STI 2008 - 2020
[placeholder]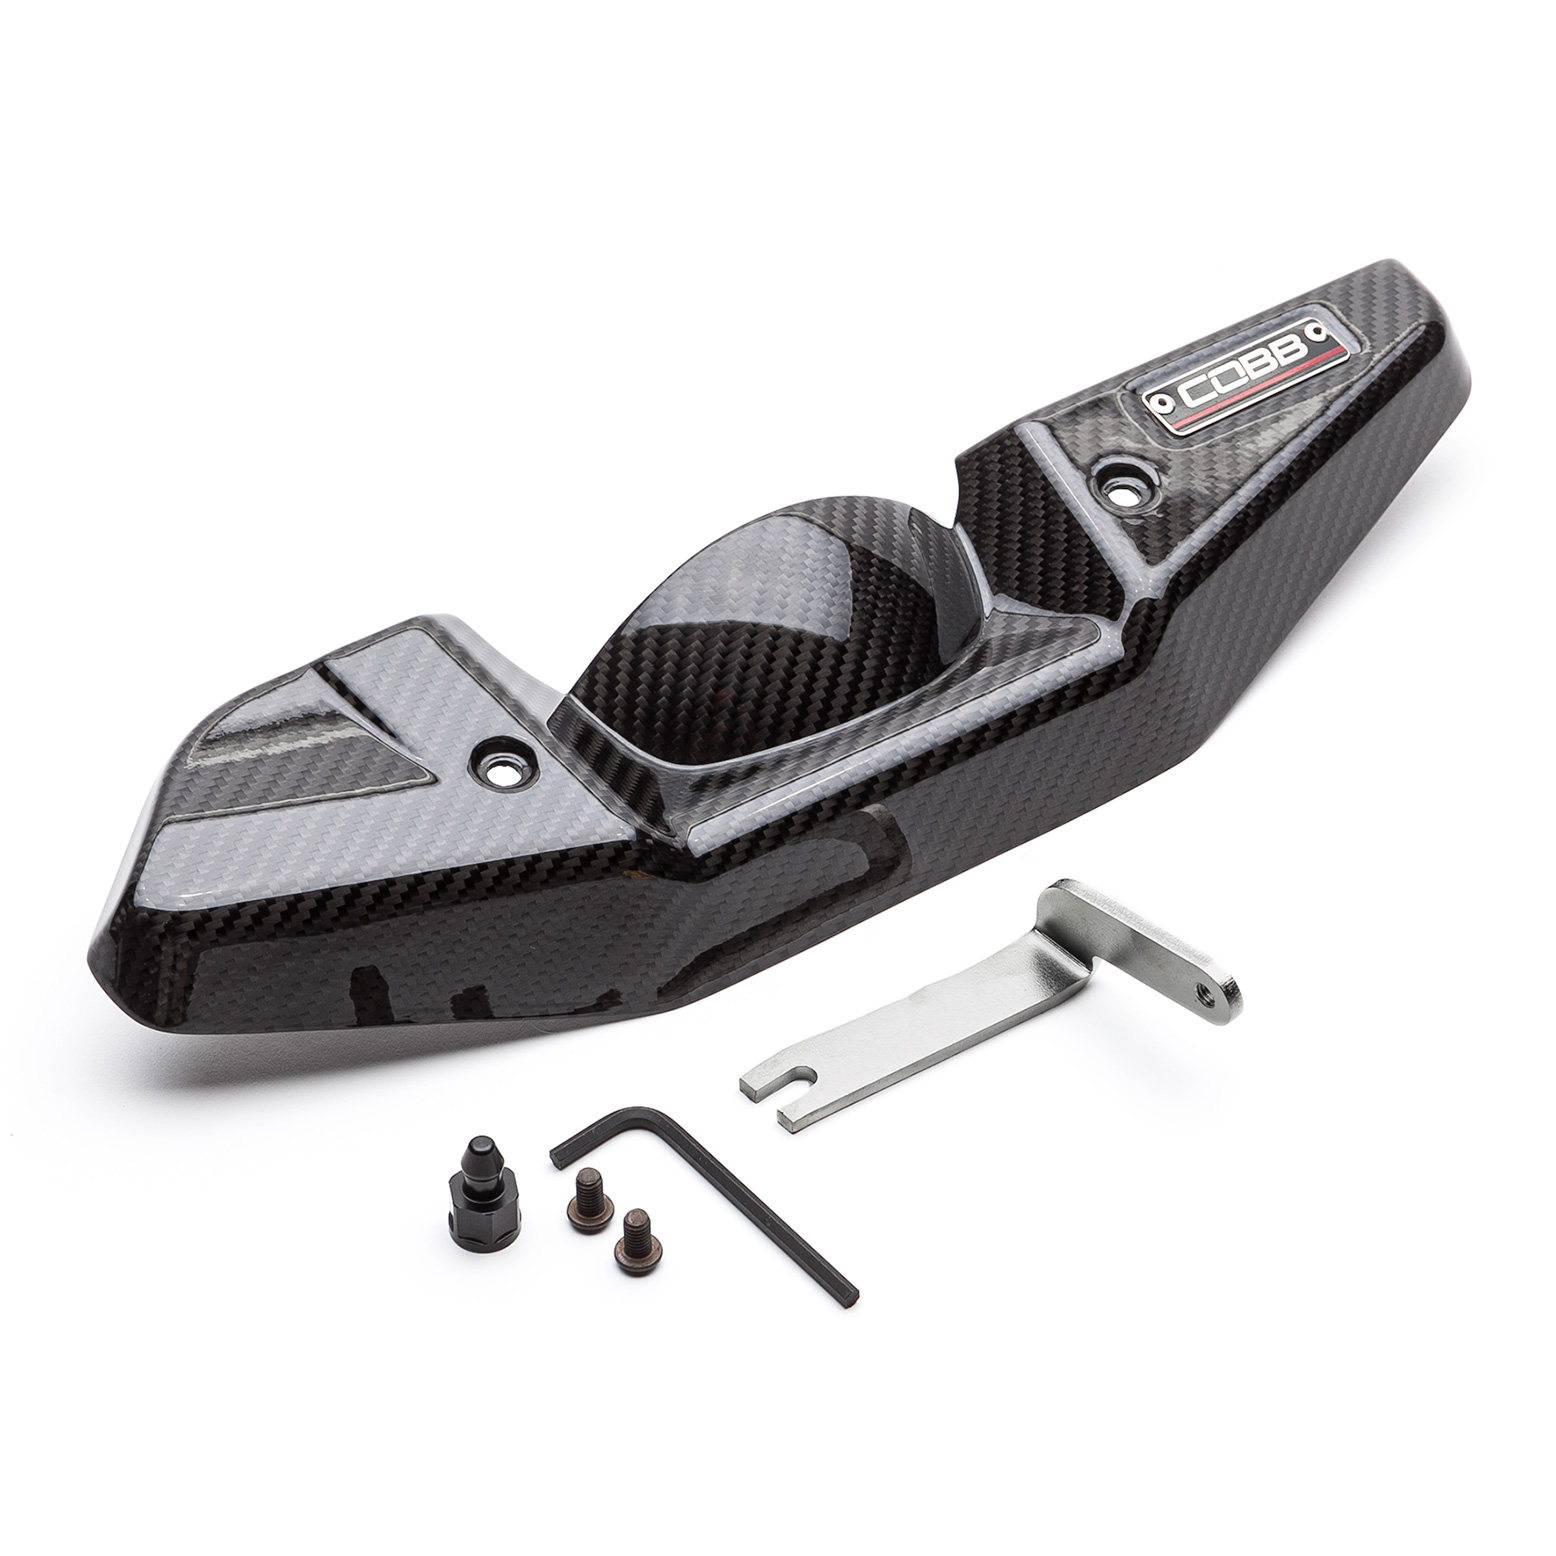
Congratulations on your purchase of the COBB Tuning STI Carbon Alternator Cover! The following instructions will assist you through the installation process. Please read them BEFORE beginning the install to familiarize yourself with the steps and tools needed. If you feel you cannot properly perform this installation, we HIGHLY recommend you take the vehicle to a qualified and experienced automotive technician.
Table of Contents
| Table of Contents |
|---|
Parts List
- Carbon Alternator Cover
- M4 Hex Key
- Alternator Cover Mounting Bracket
- (2) M6x10mm SS Black Oxide Button Head Bolts
- Bushing Pin
Tools Needed
Sockets
3/8"
Stock
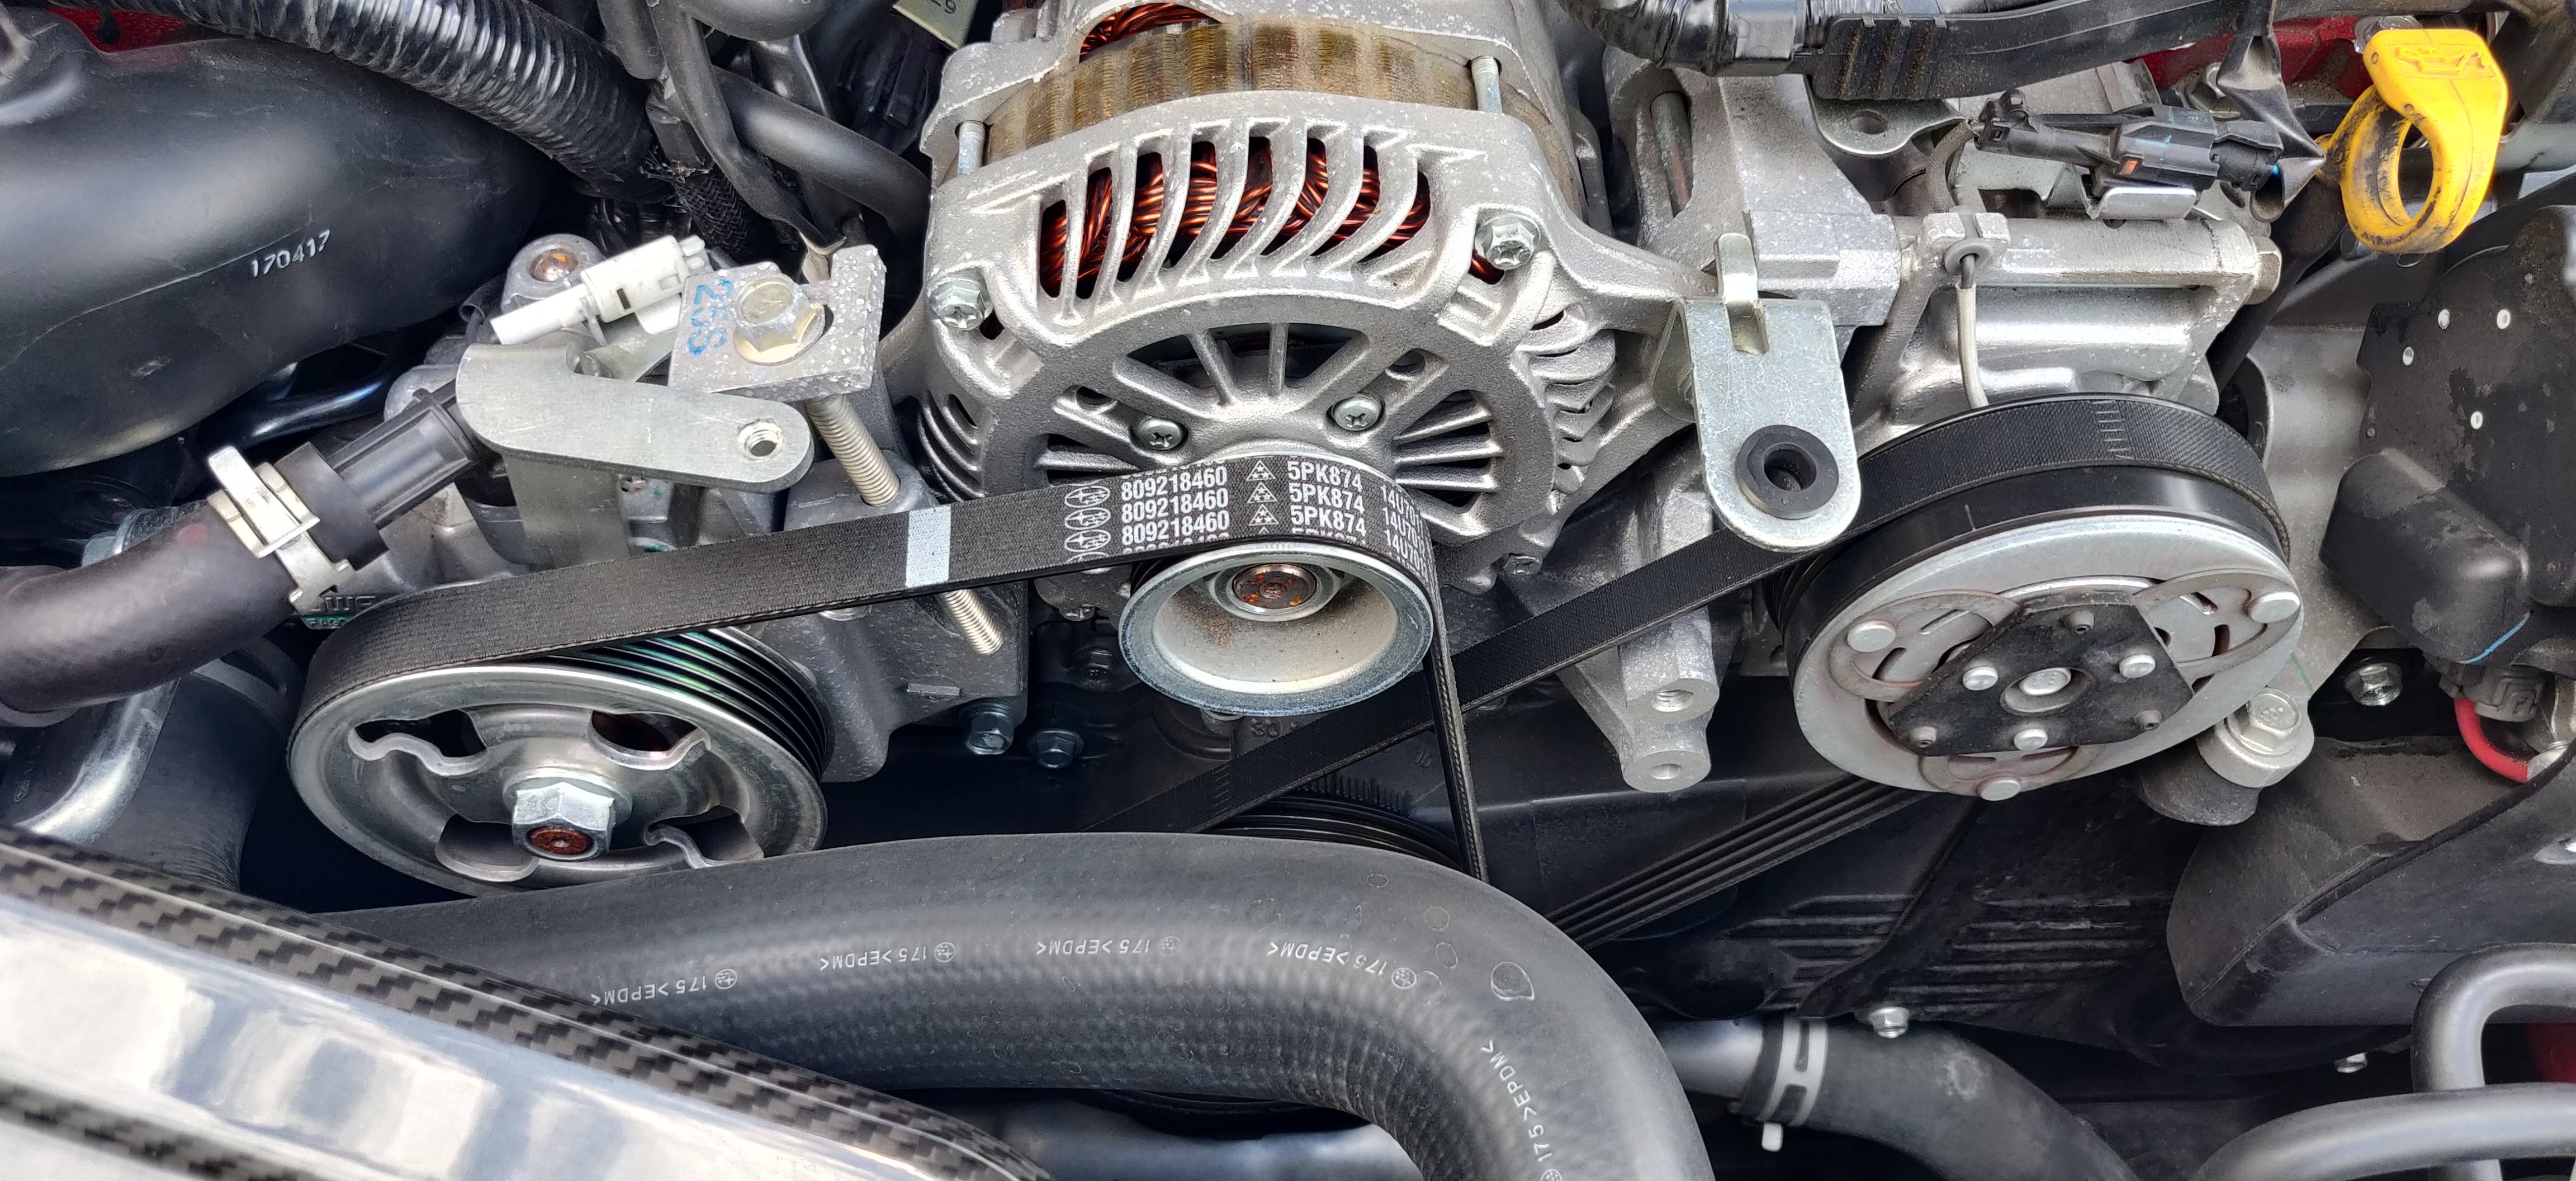
ShroudCover Removal
- Remove the single 10mm bolt holding the shroud cover onto the bracket
- Reaching underneath, gently squeeze the tabs on the plastic pin on the right hand side holding it into the bracket. It should now lift free.
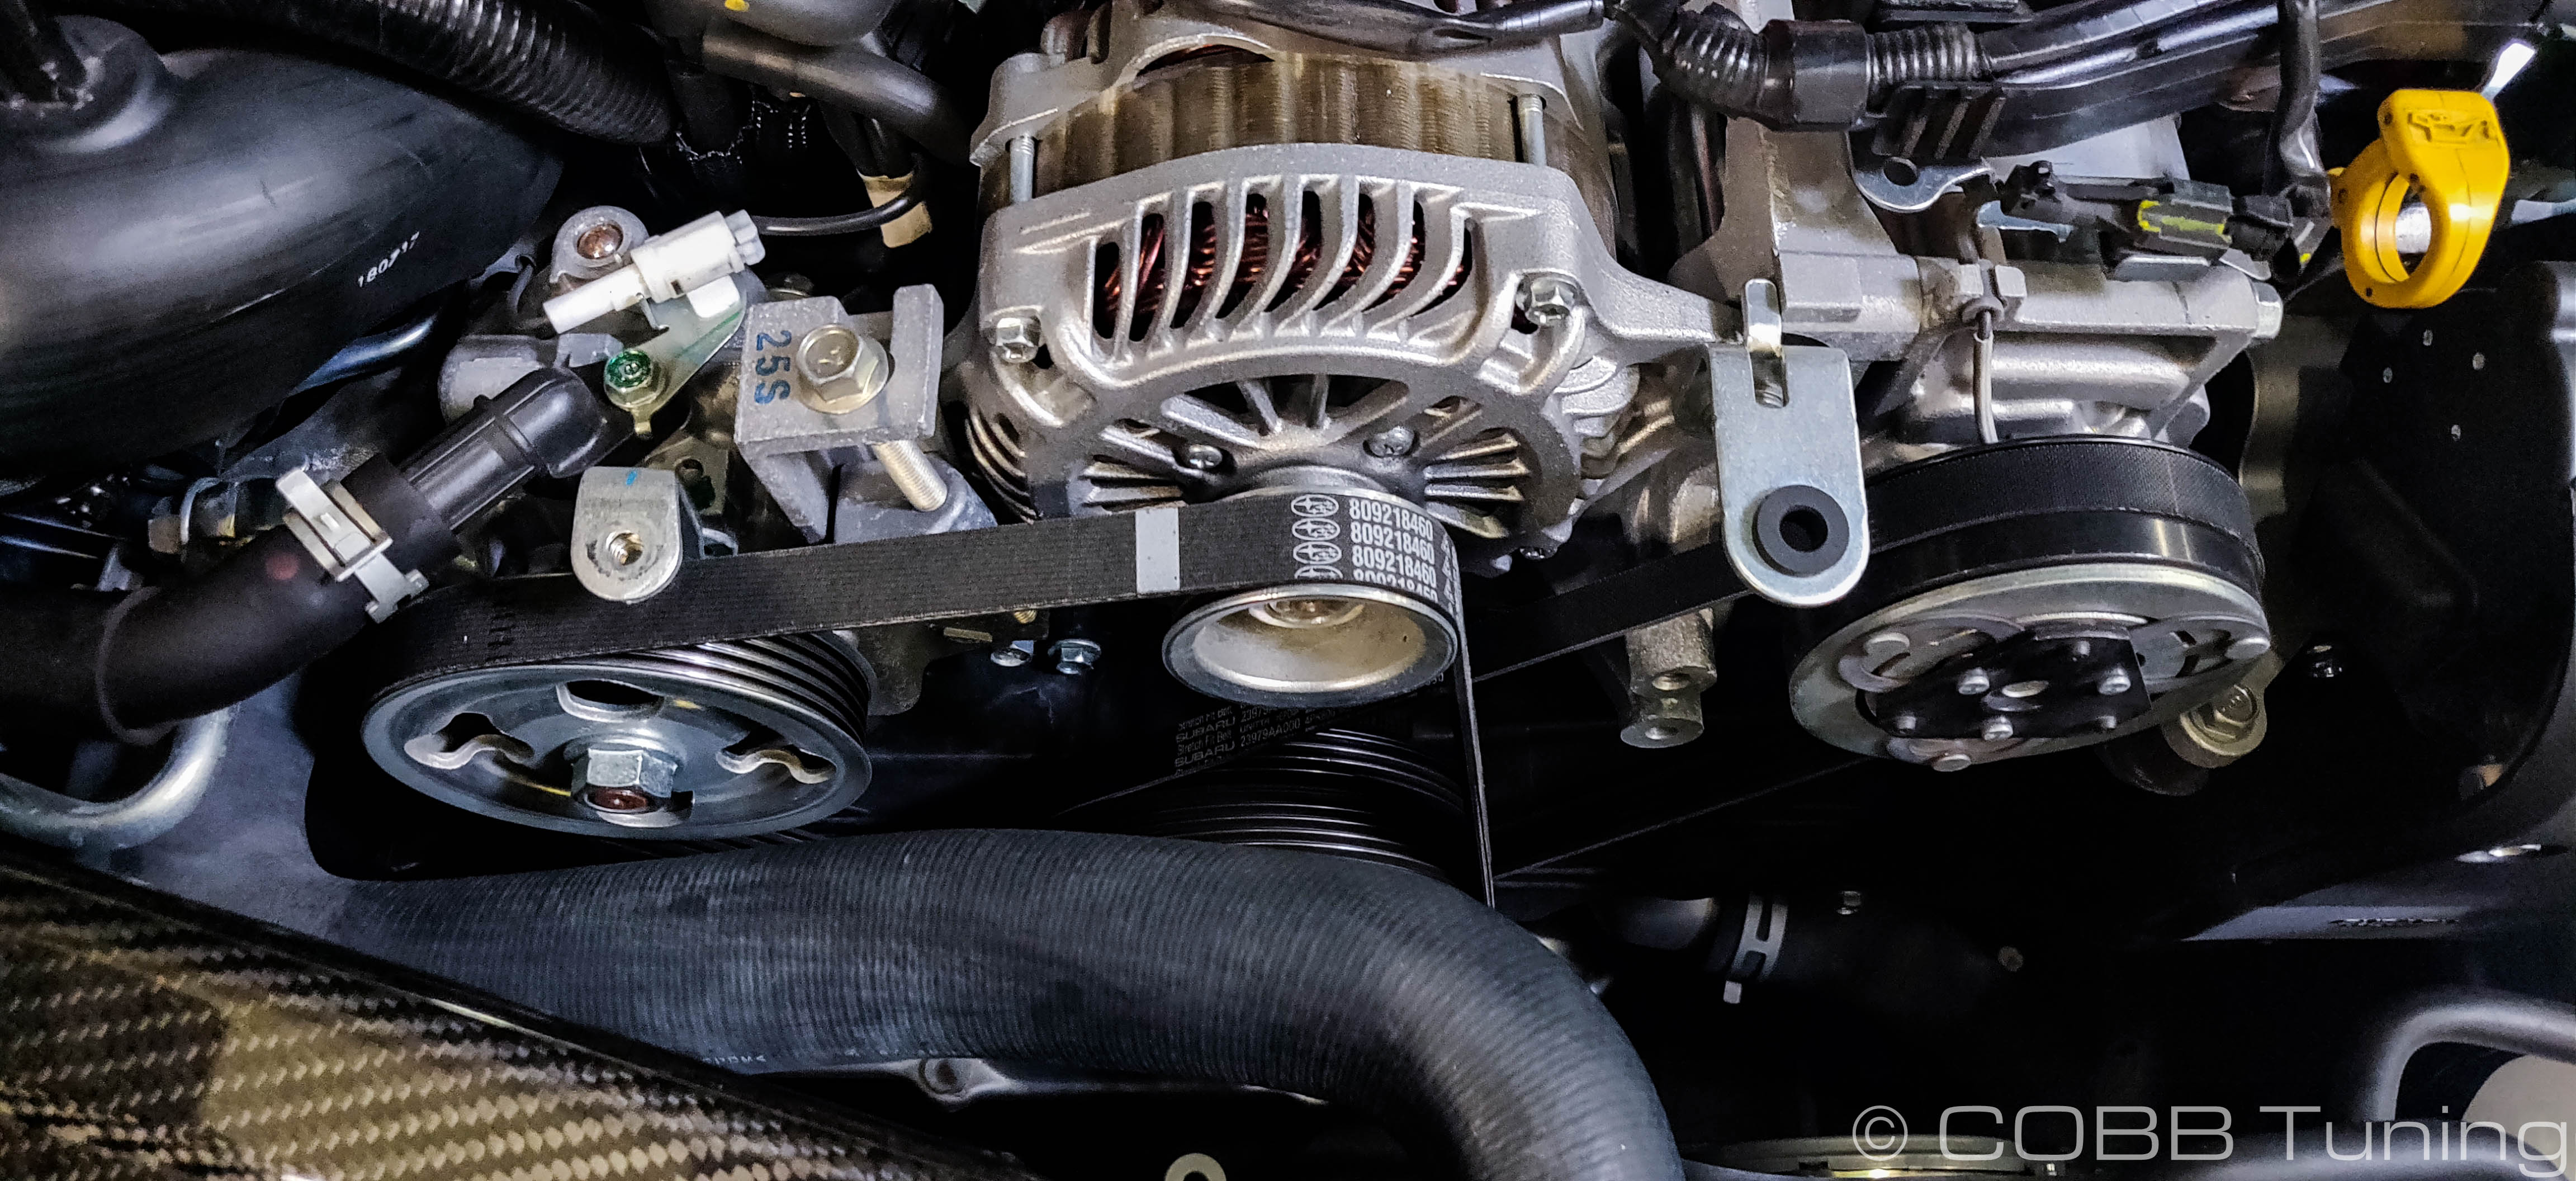
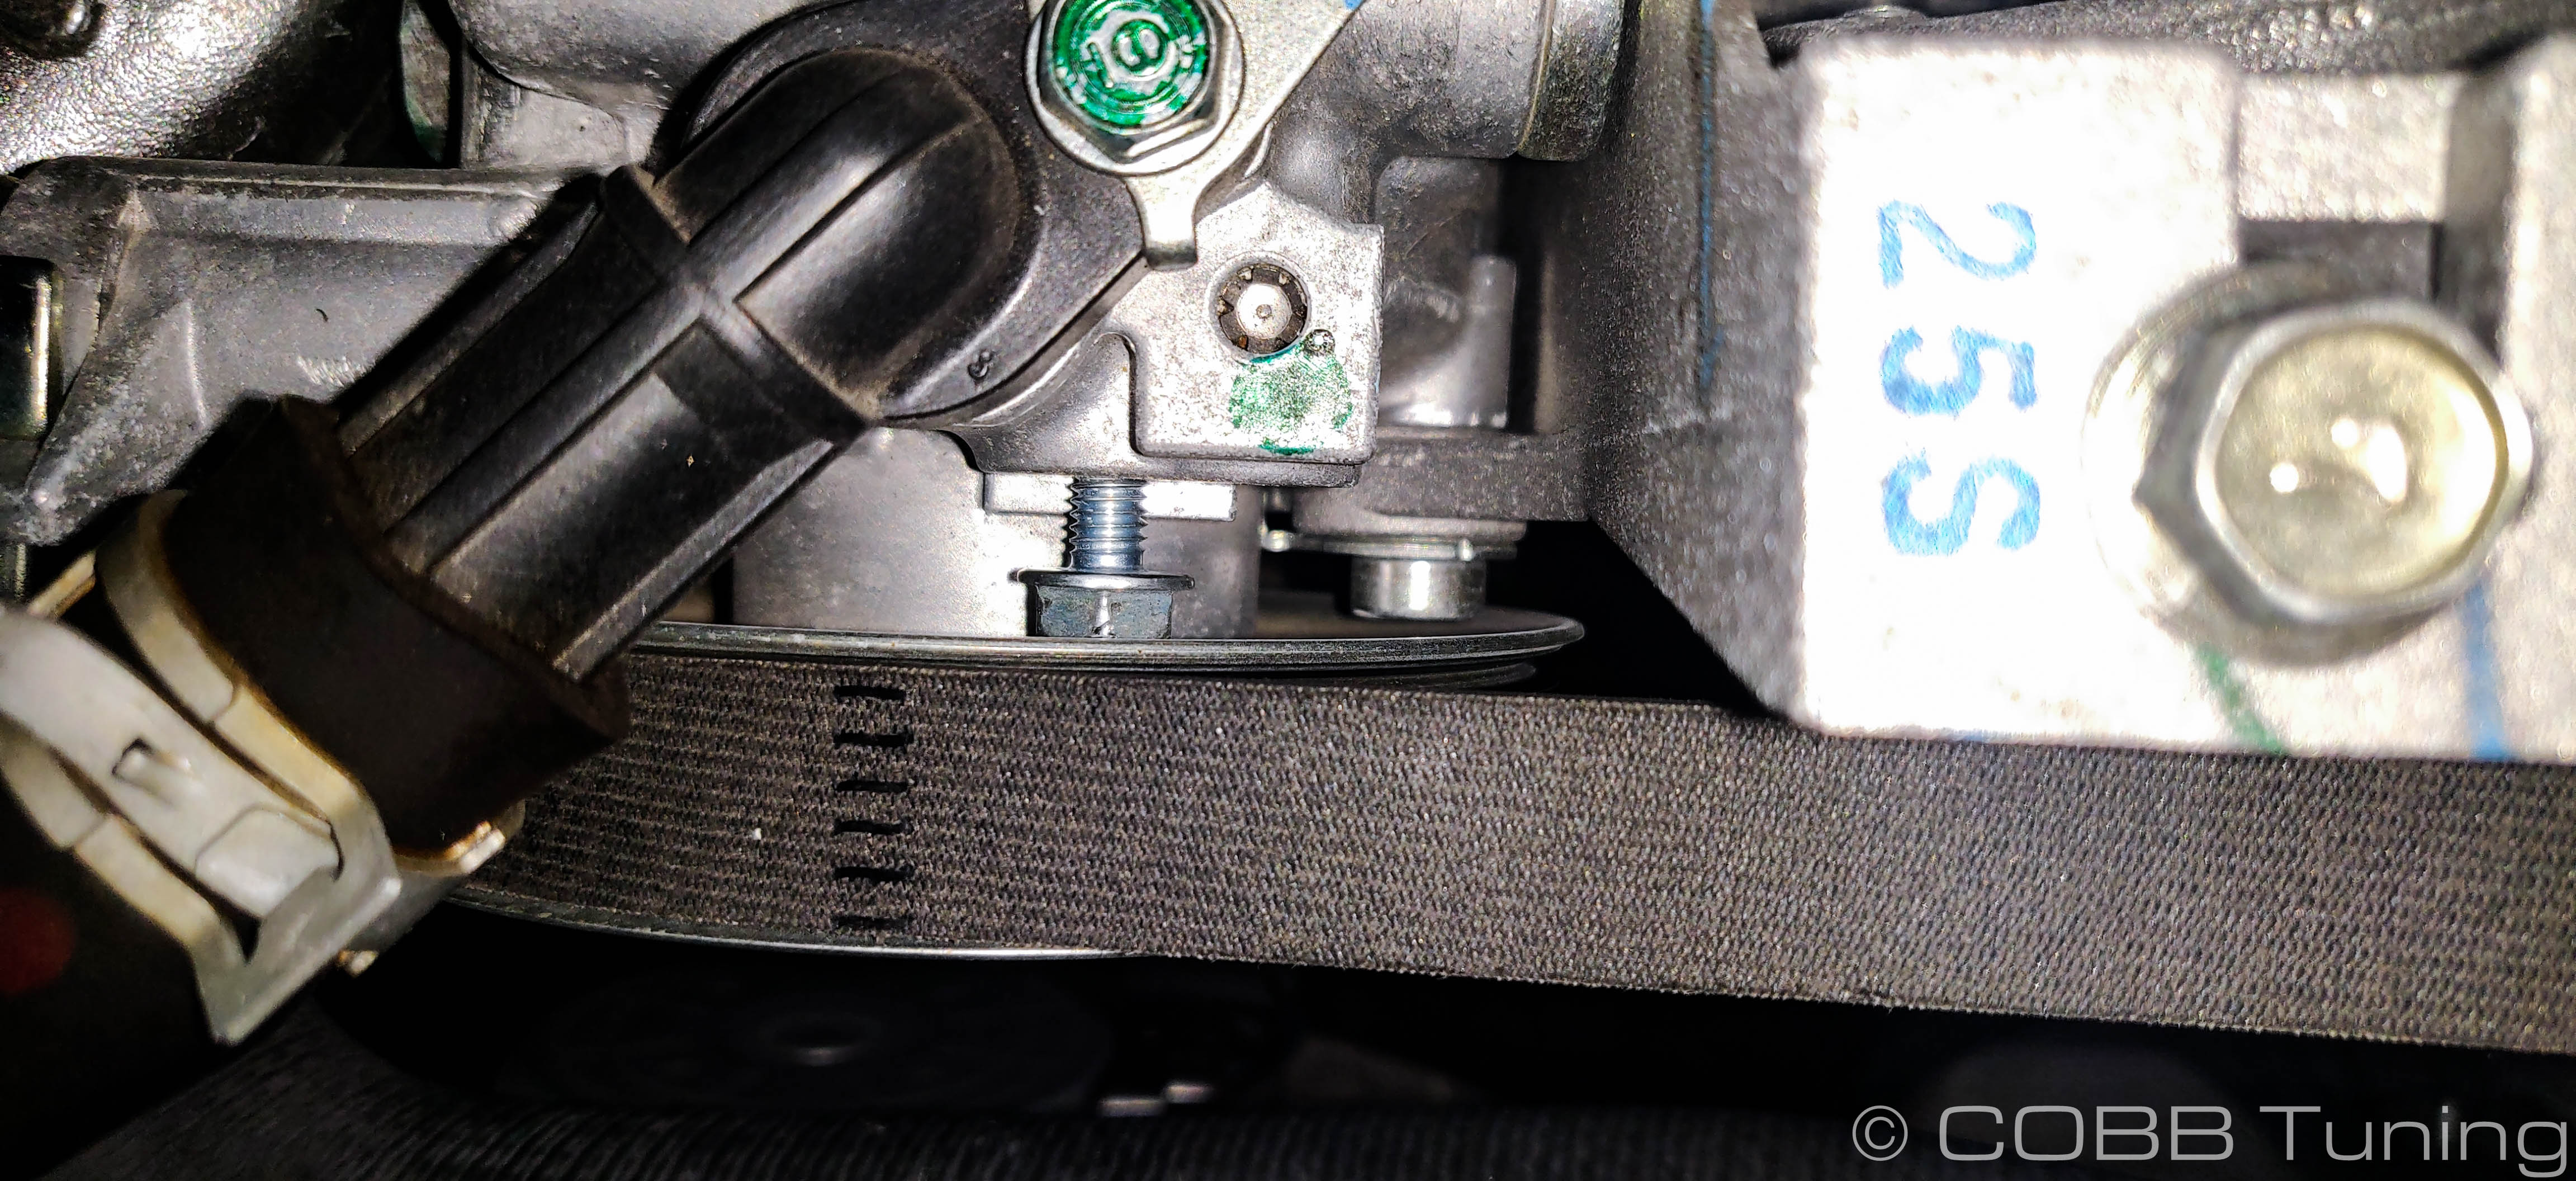
- Looking through the power steering pump pulley you should see a single 10mm bolt holding the factory shroud mount cover bracket in place. You may need to turn the pulley using a 19mm wrench (slowly and carefully)
- With the hole lined up slowly remove the bolt and bracket. Having a magnet right next to it will be helpful to avoid the bolt flinging itself into the depths of the engine bay.
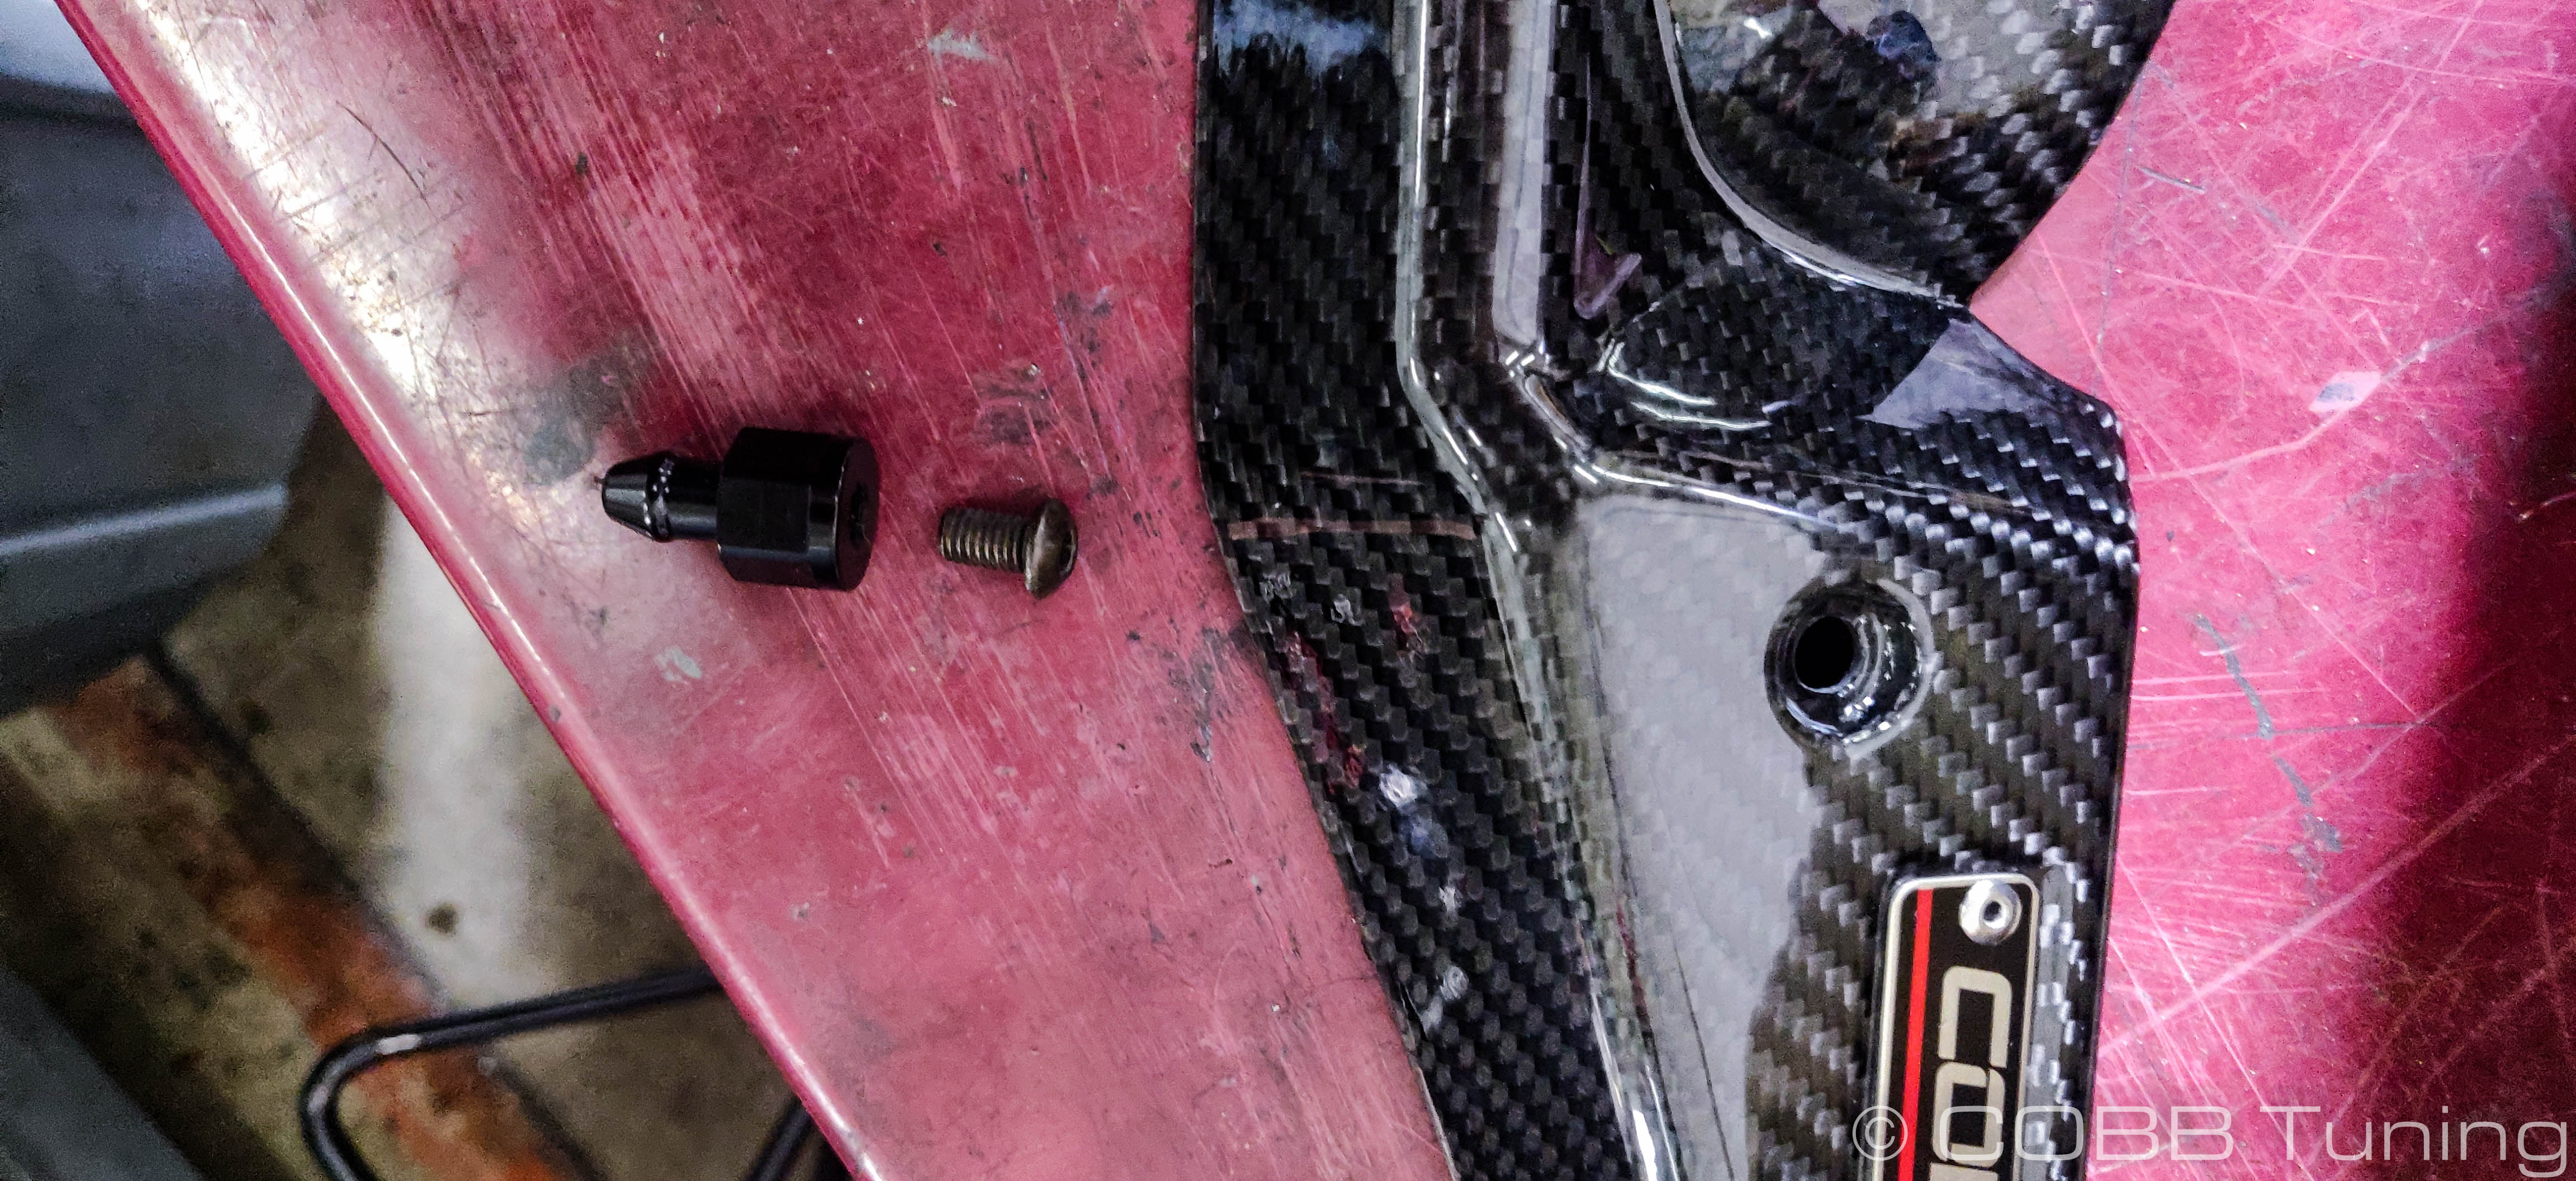
- Once it's removed, take off the bracket the screw the bolt back in part way.
- The new bracket should slip in behind the head of the bolt. You'll want the bracket on top to have the threaded portion facing towards the alternator.
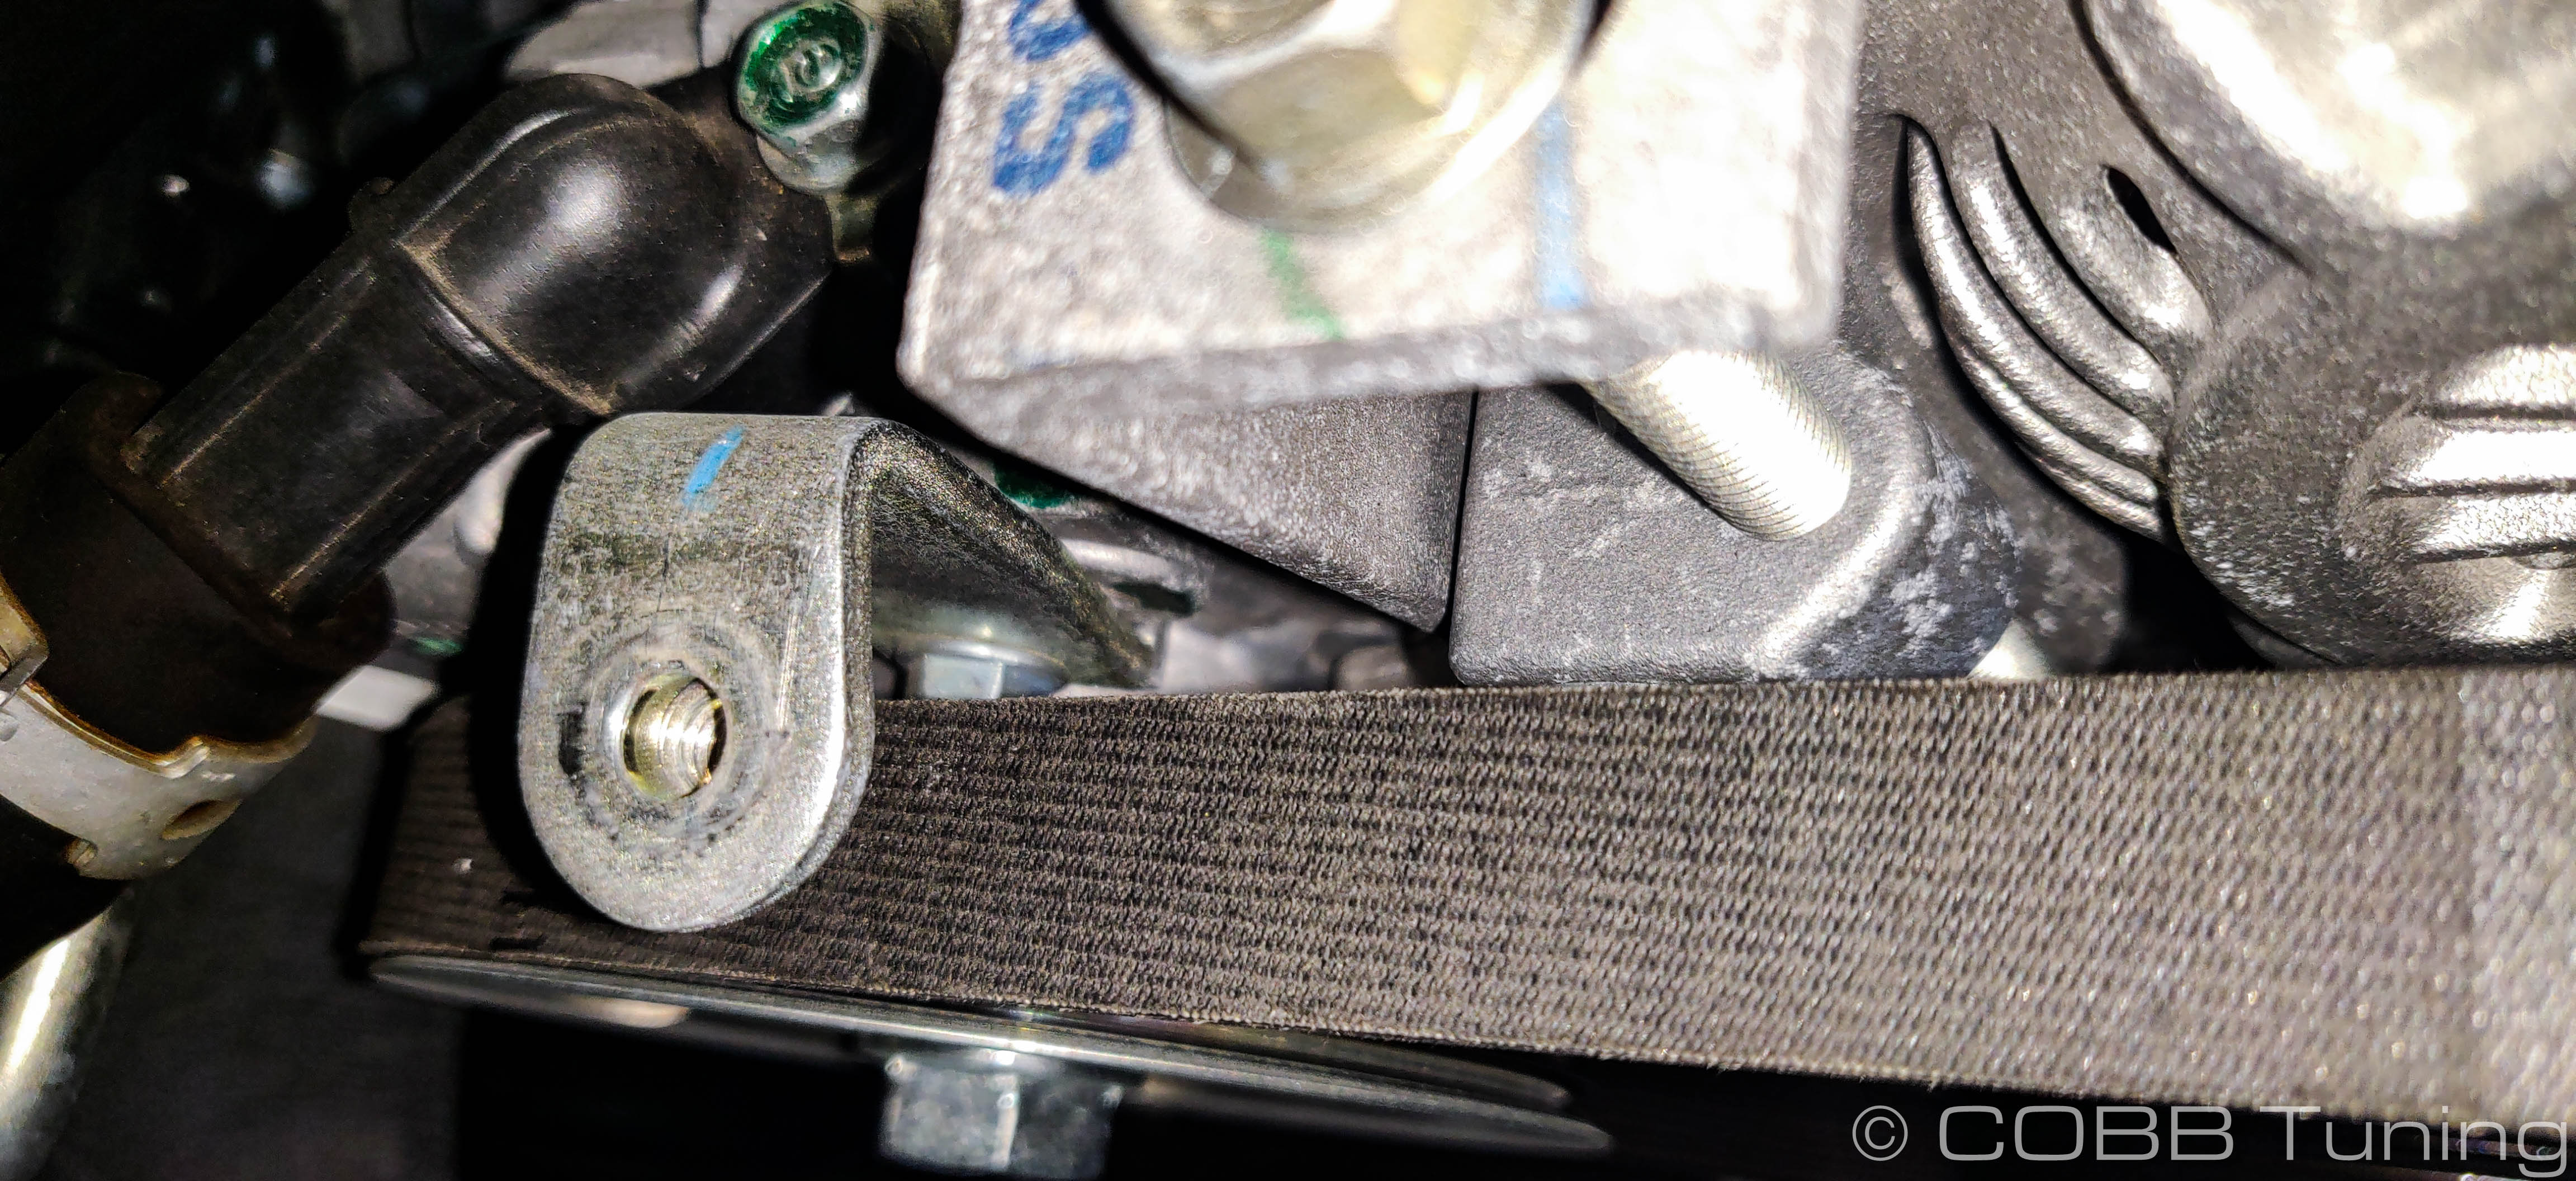
- Using a 4mm socket, install the short bolt on the right hand side of the shroud cover (closest to the emblem) and screw it into the supplied pin. Tighten it down with a 14mm socket.
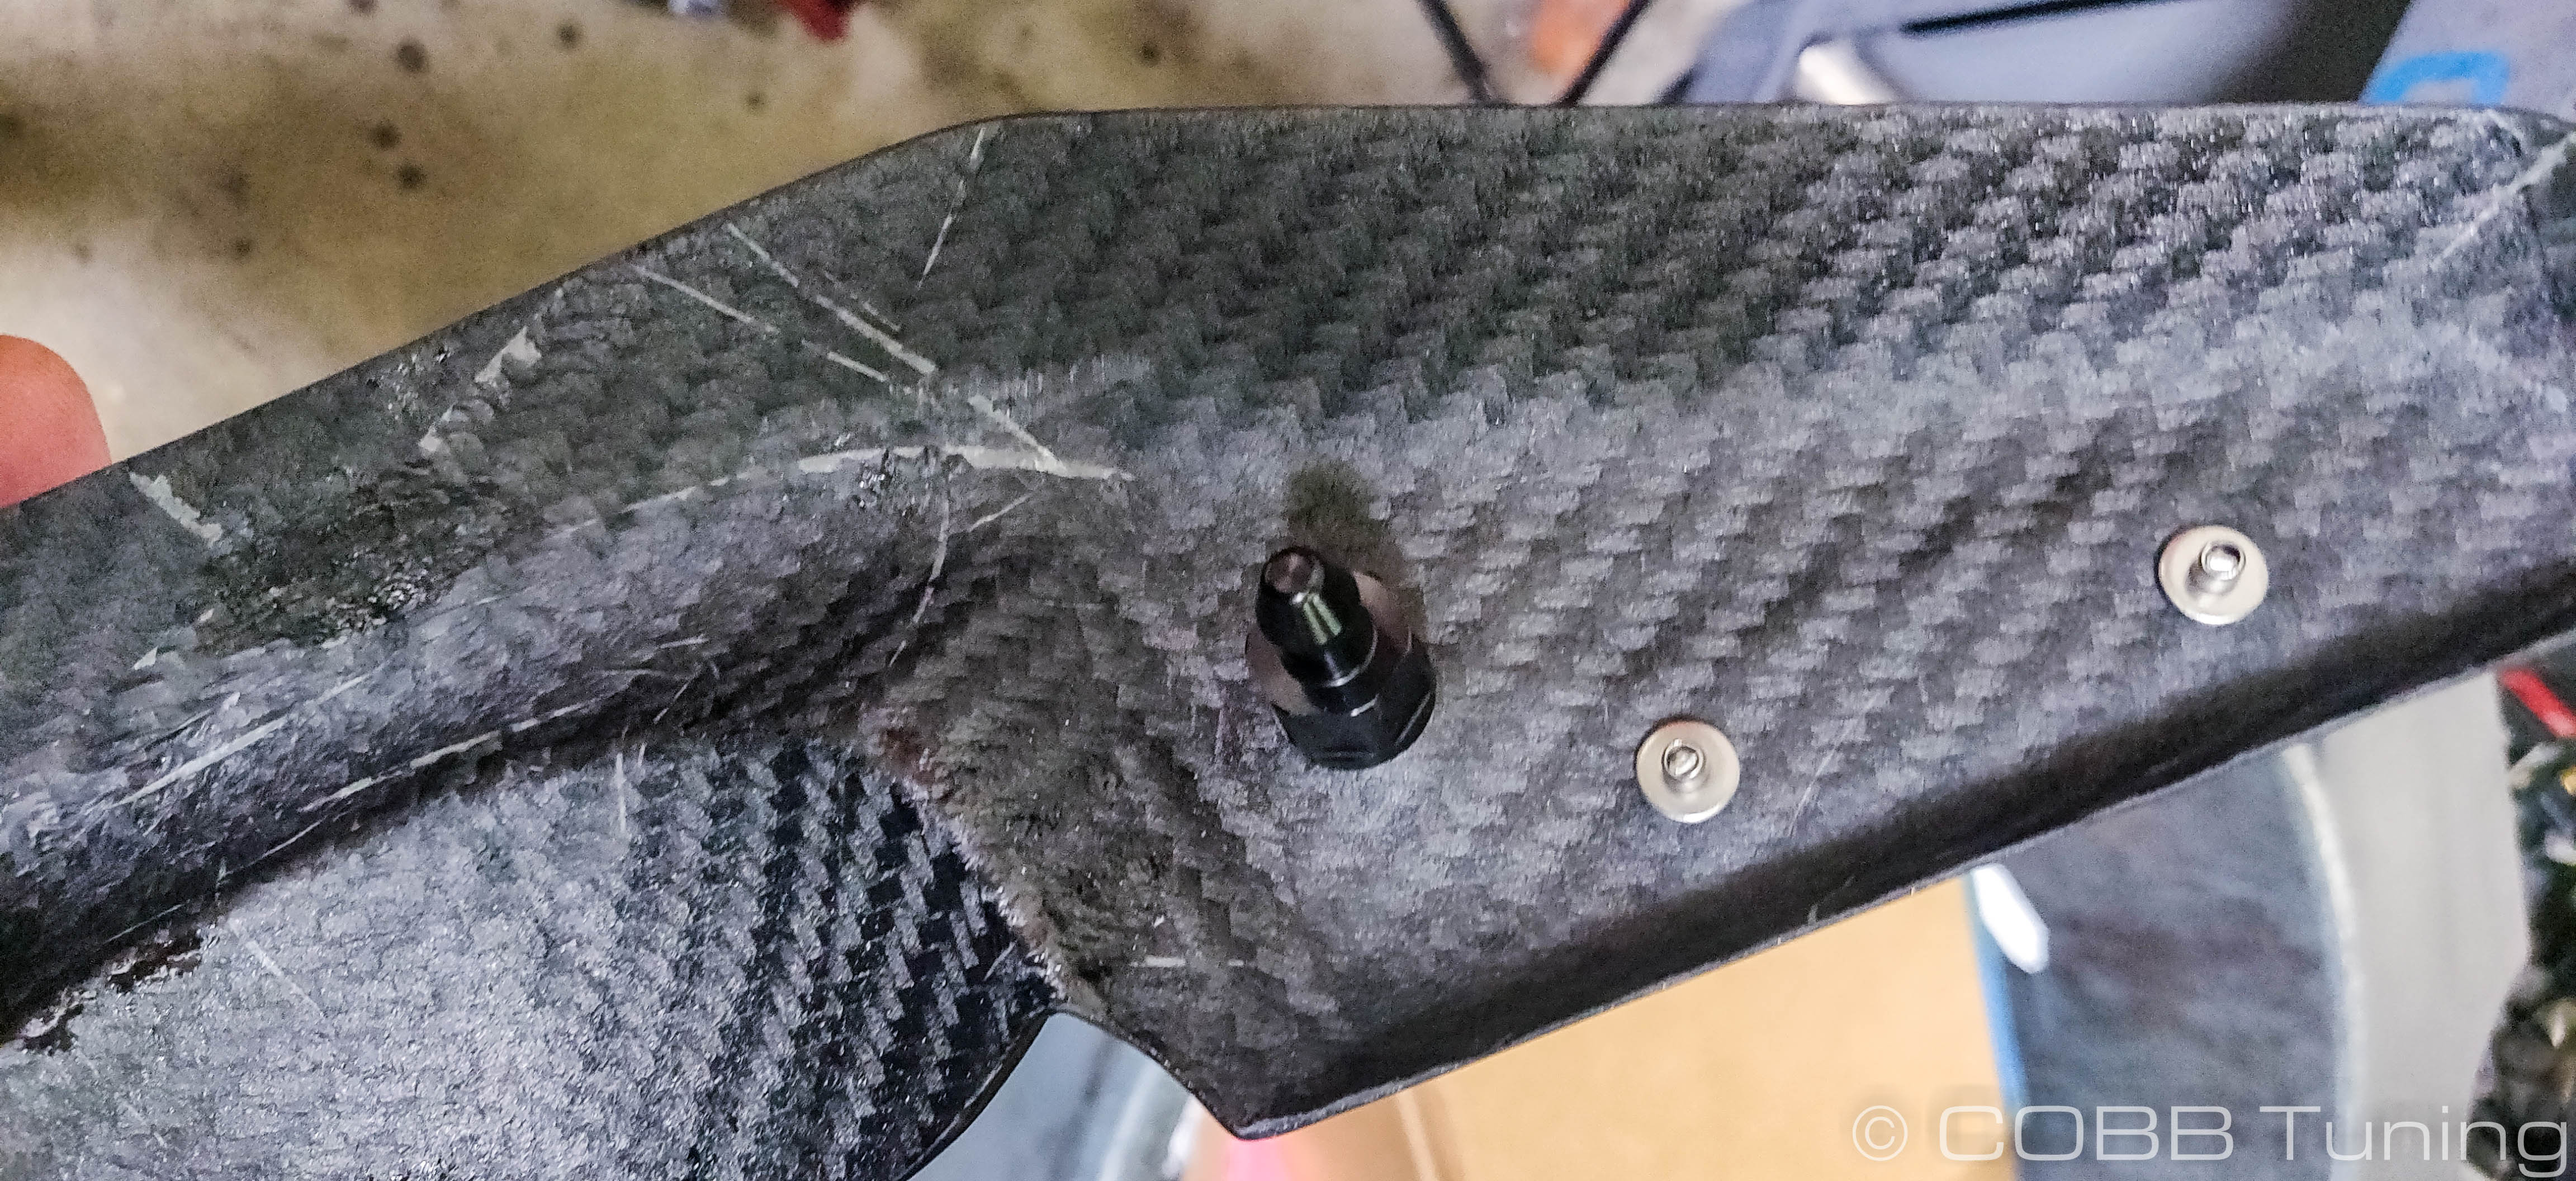
- Pop the pin on the shroud cover into the location with the grommet. You can now move around the bracket on the other side to match up with the hole on the shroudcover. Using the remaining supplied bolt and allen wrench, screw it into the bracket.
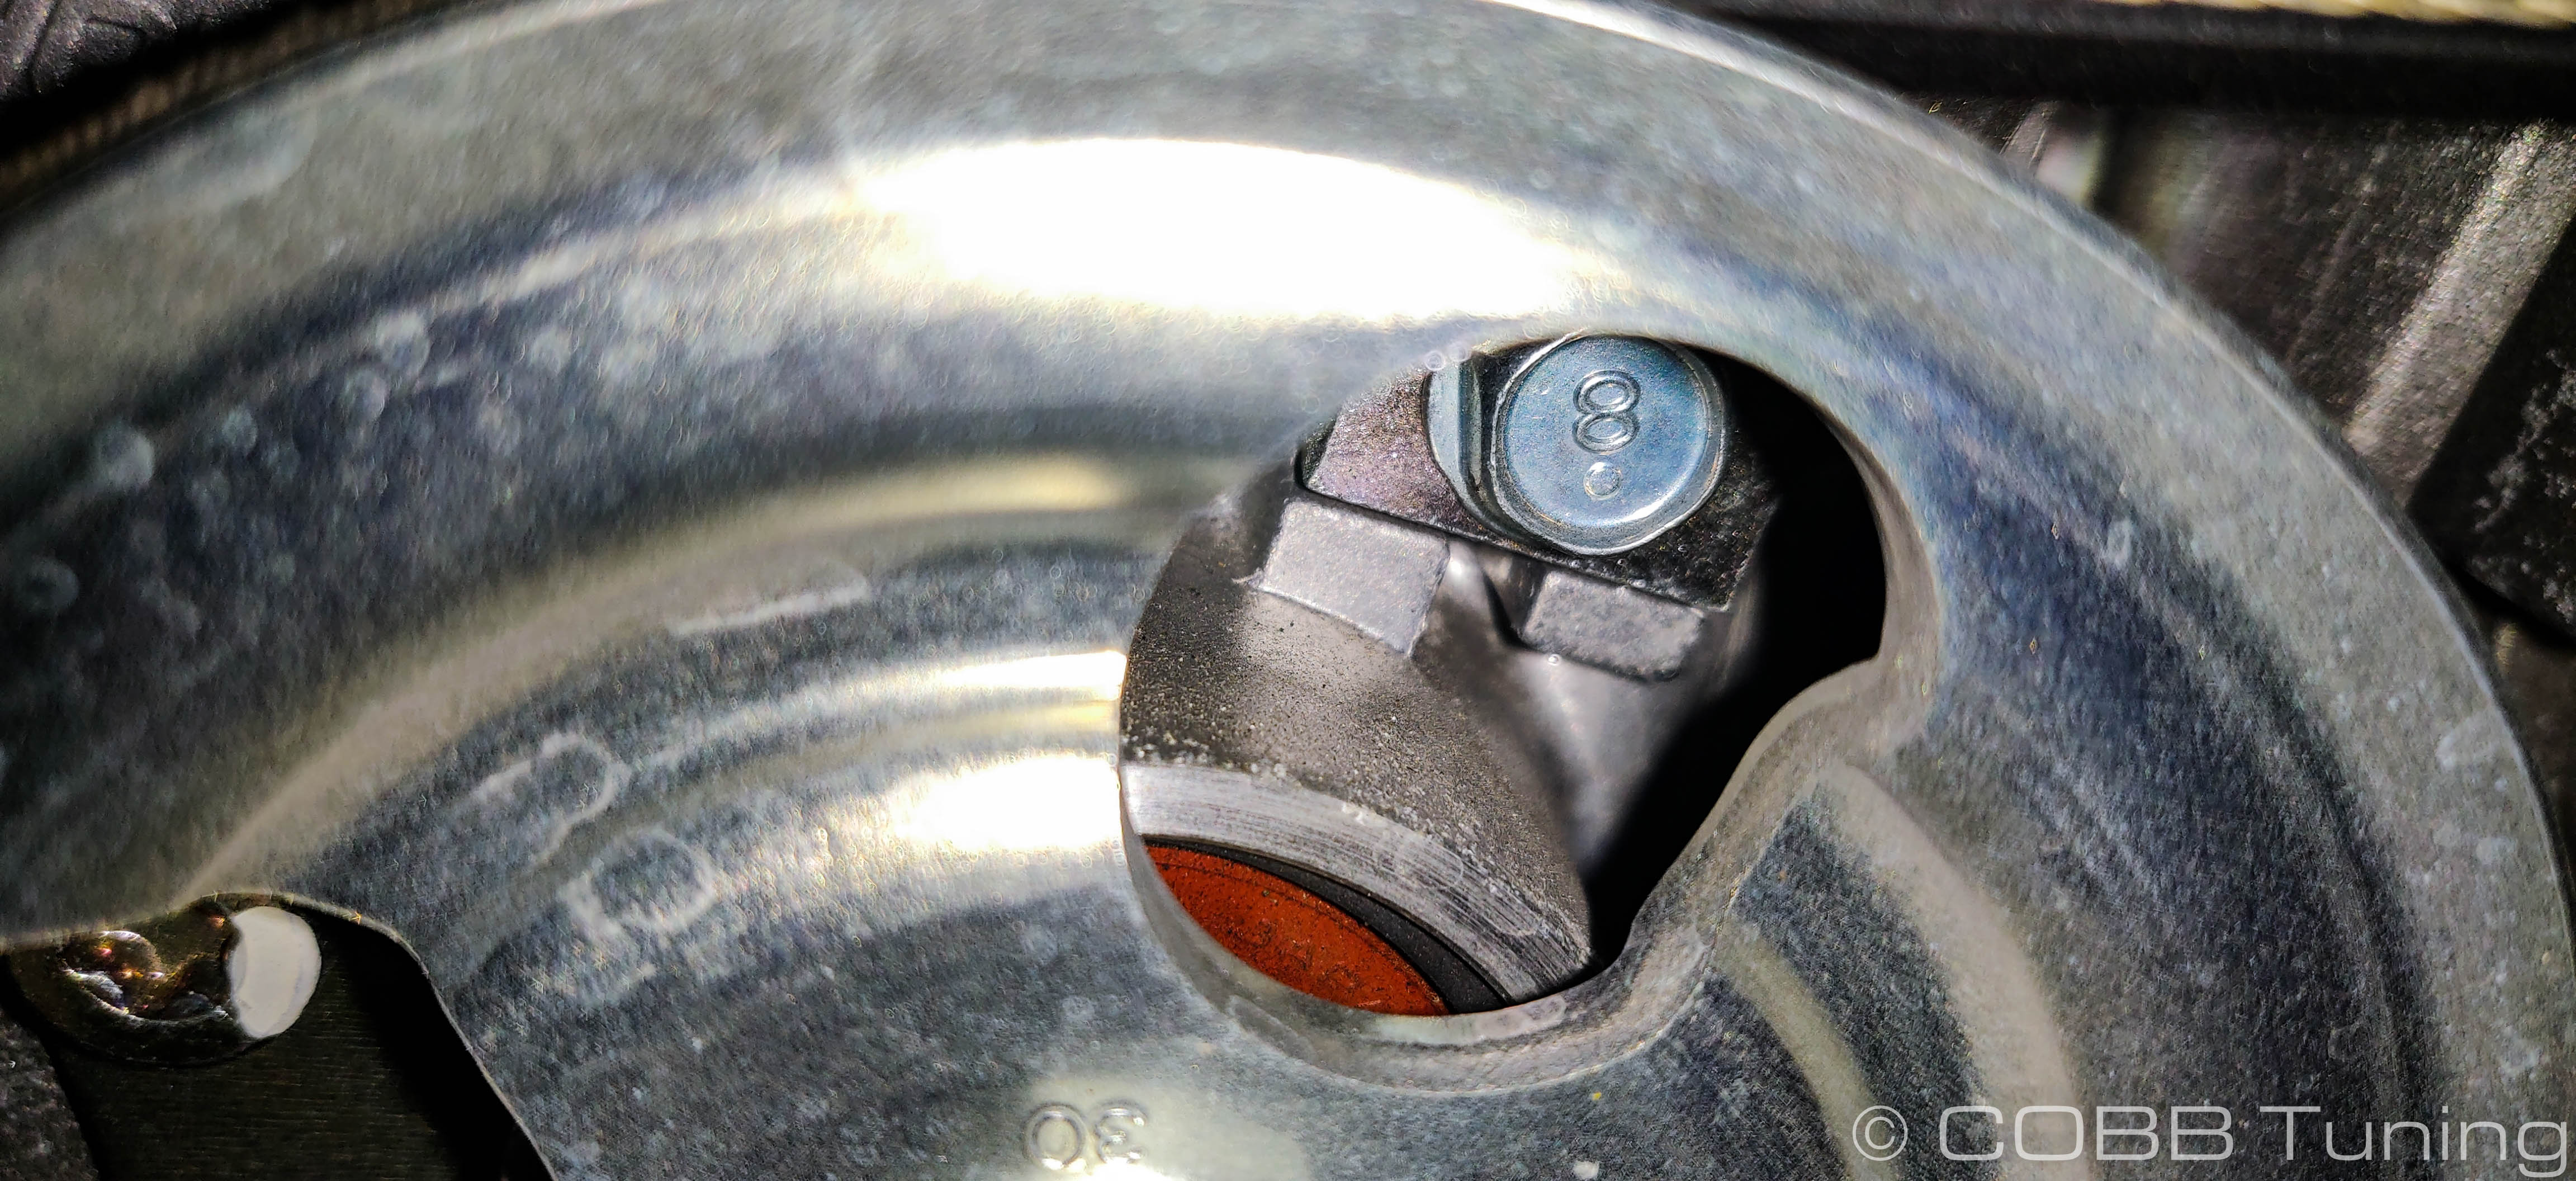
- Once it's screwed in you can tighten down the bracket bolt behind the powersteering pump pulley.
- Now you can tighten down the bolt going to the upper bracket through the shroudcover.
- You're all done! Go out and enjoy!
| Insert excerpt | ||||||
|---|---|---|---|---|---|---|
|