
Part Number – Part Name
Subaru WRX 2015 - 2020
[placeholder]
Congratulations on your purchase of the COBB Tuning VA WRX Top Mount Intercooler! The following instructions will assist you through the installation process. Please read them BEFORE beginning the install to familiarize yourself with the steps and tools needed. If you feel you cannot properly perform this installation, we HIGHLY recommend you take the vehicle to a qualified and experienced automotive technician.
Table of Contents
| Table of Contents |
|---|
Parts List
- COBB TMIC Core Assembly
- COBB Thrust Tunnel Back Assembly
- COBB Thrust Tunnel Side Panels
- DIT WRX Bracket Mount
- DIT WRX Power Steering Computer Relocation Bracket
- Silicone TMIC Coupler
- 2.75" - 2.5" Coupler
- (2) Prothane Bushings
- (1) Bushing Insert Pin
- 3' Rubber Flap Seal
- 842400-HW Hardware Kit
- M12 x 1.75mm nylon lock not
- M12 x 70mm Hex Head Bolt
- (15) M6x10 SS Black Oxide Button Head Bolt
- (2) Flanged Hex Nut 6mm
- (2) #44 Hose Clamps
Tools Needed
Sockets
3/8"
Hand Tools
Wrenches
Section 1
Section 2
Section 3
Section 4
Section 5
Links
MAP Notes
Helps to figure out which map you should be on given the parts installed to your car
Links for related partsStock Intercooler Removal
Insert excerpt VA WRX TMIC Removal VA WRX TMIC Removal nopanel true
Cooling Shround Installation
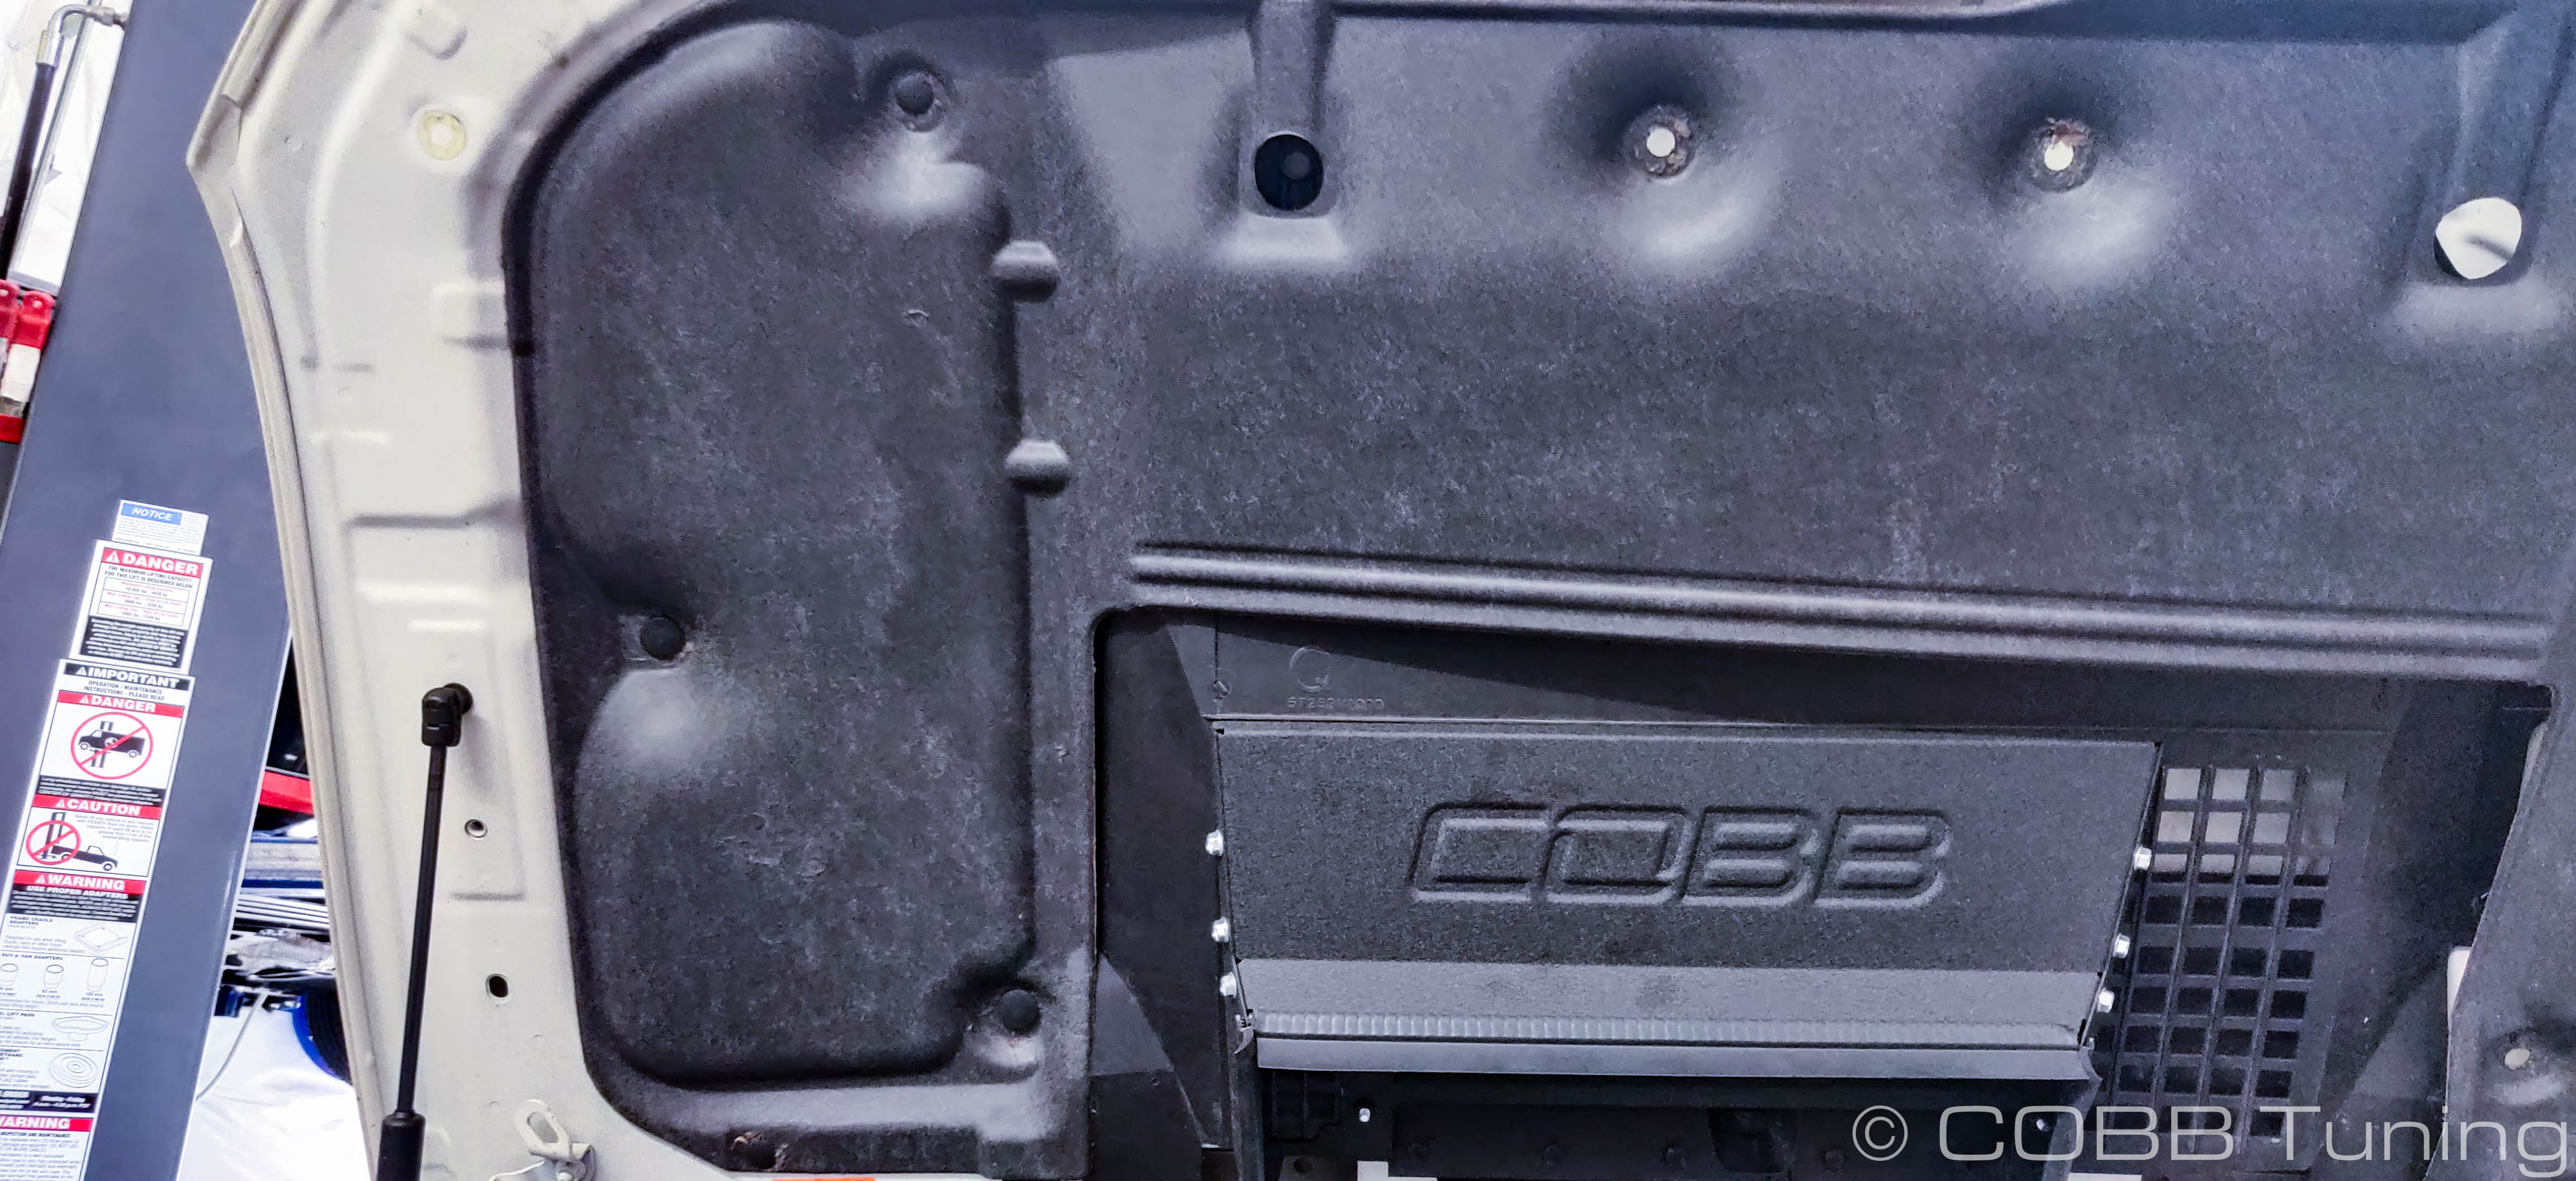
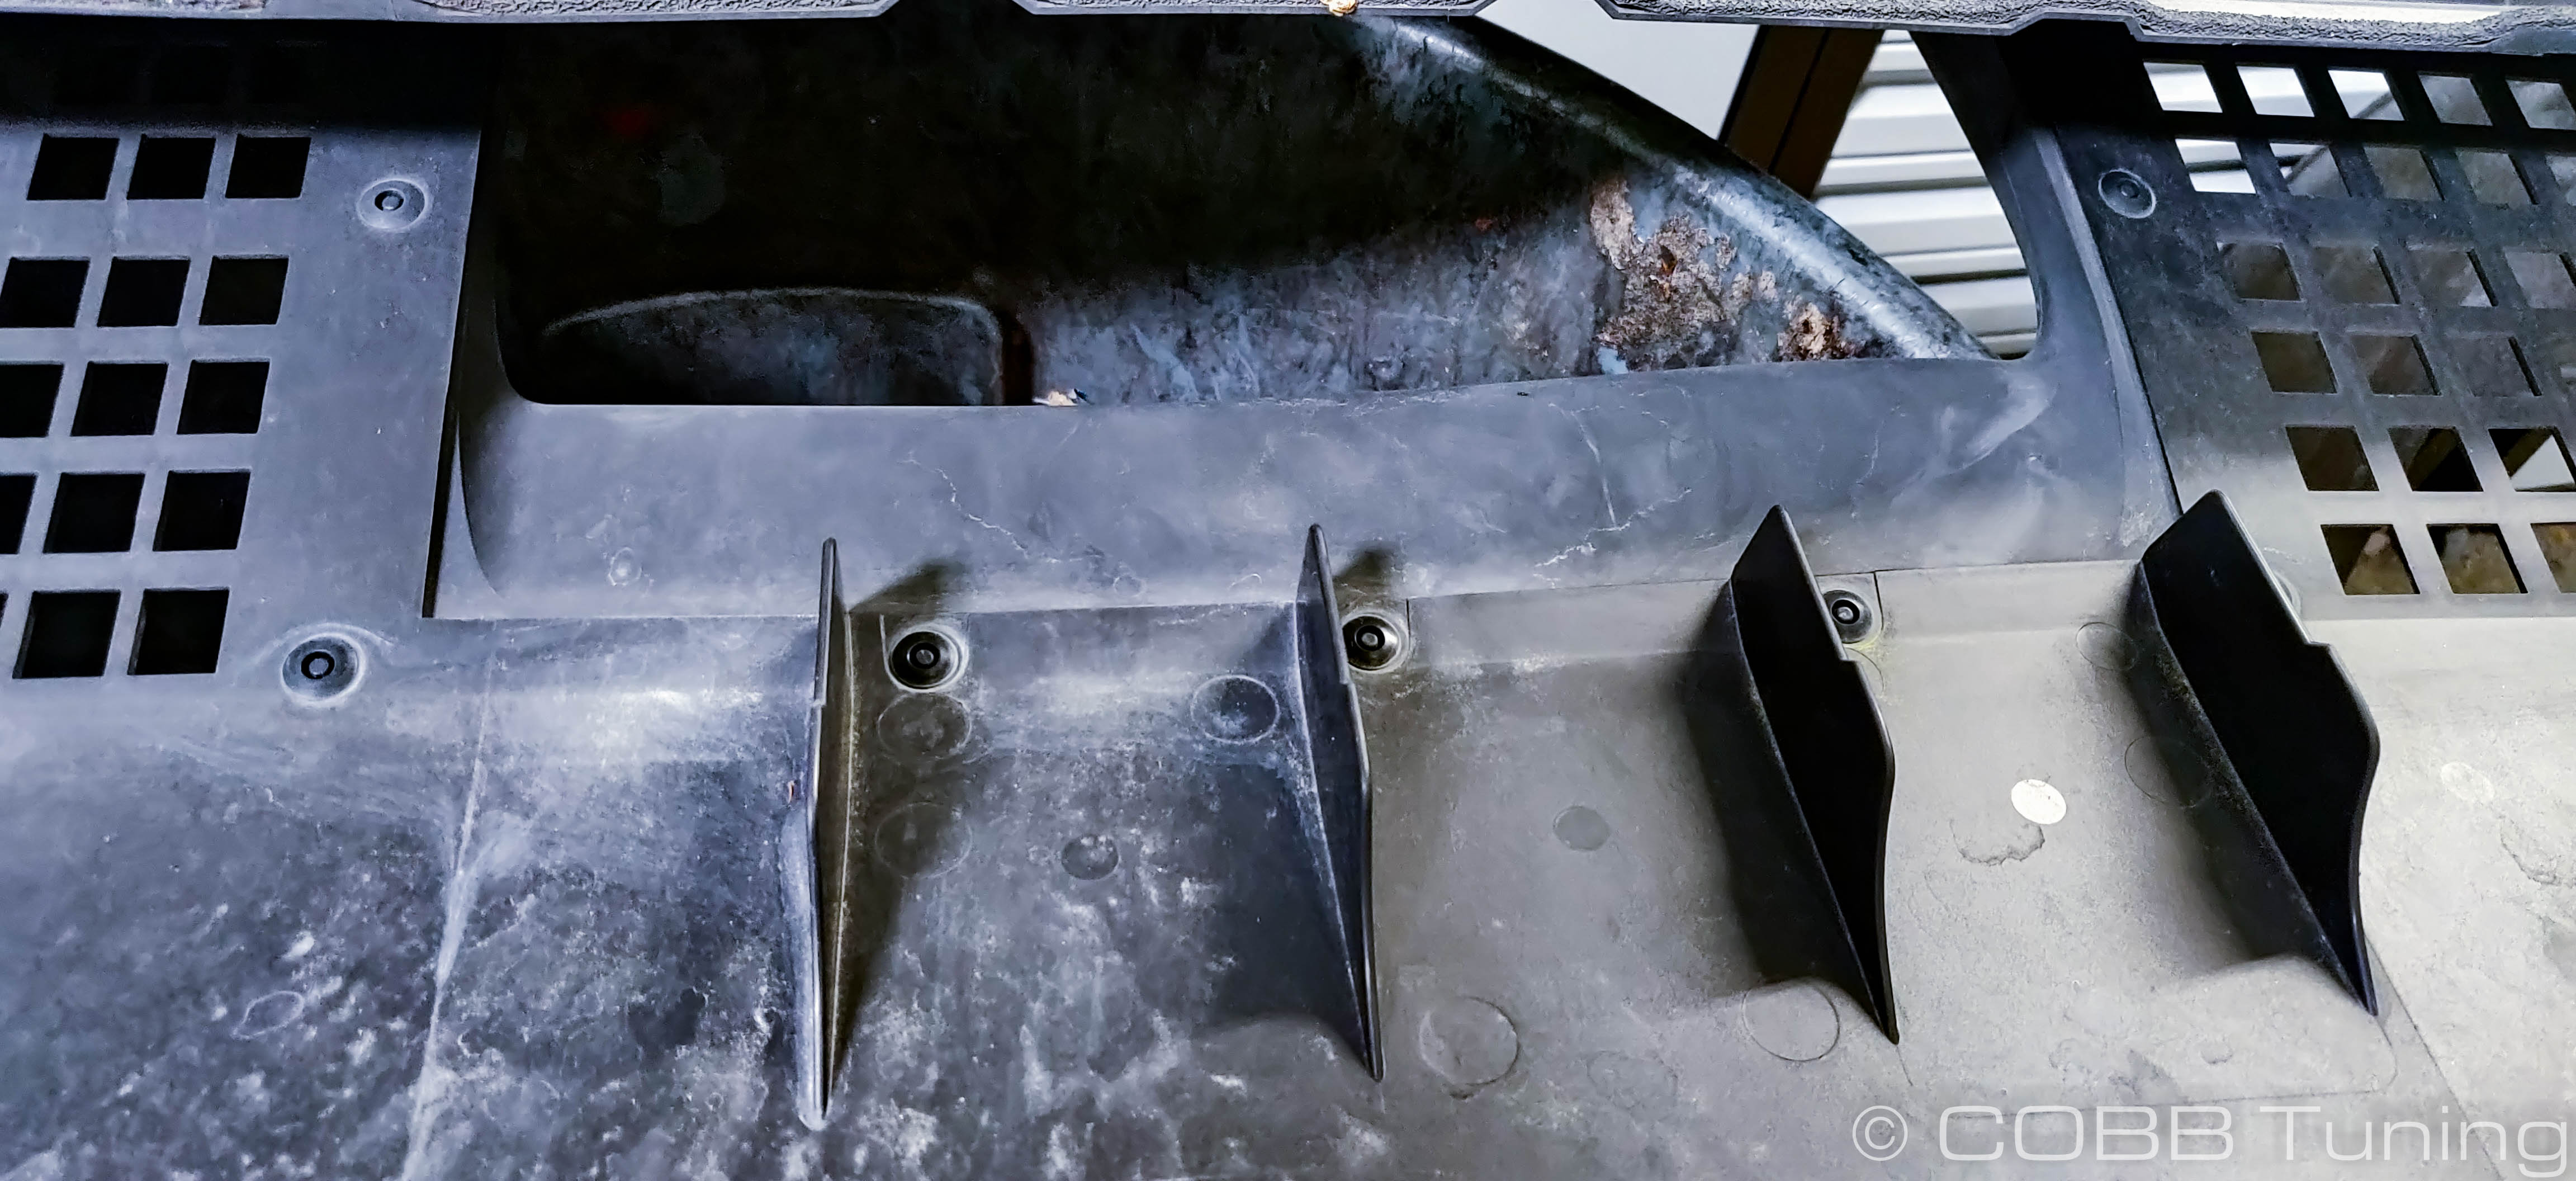
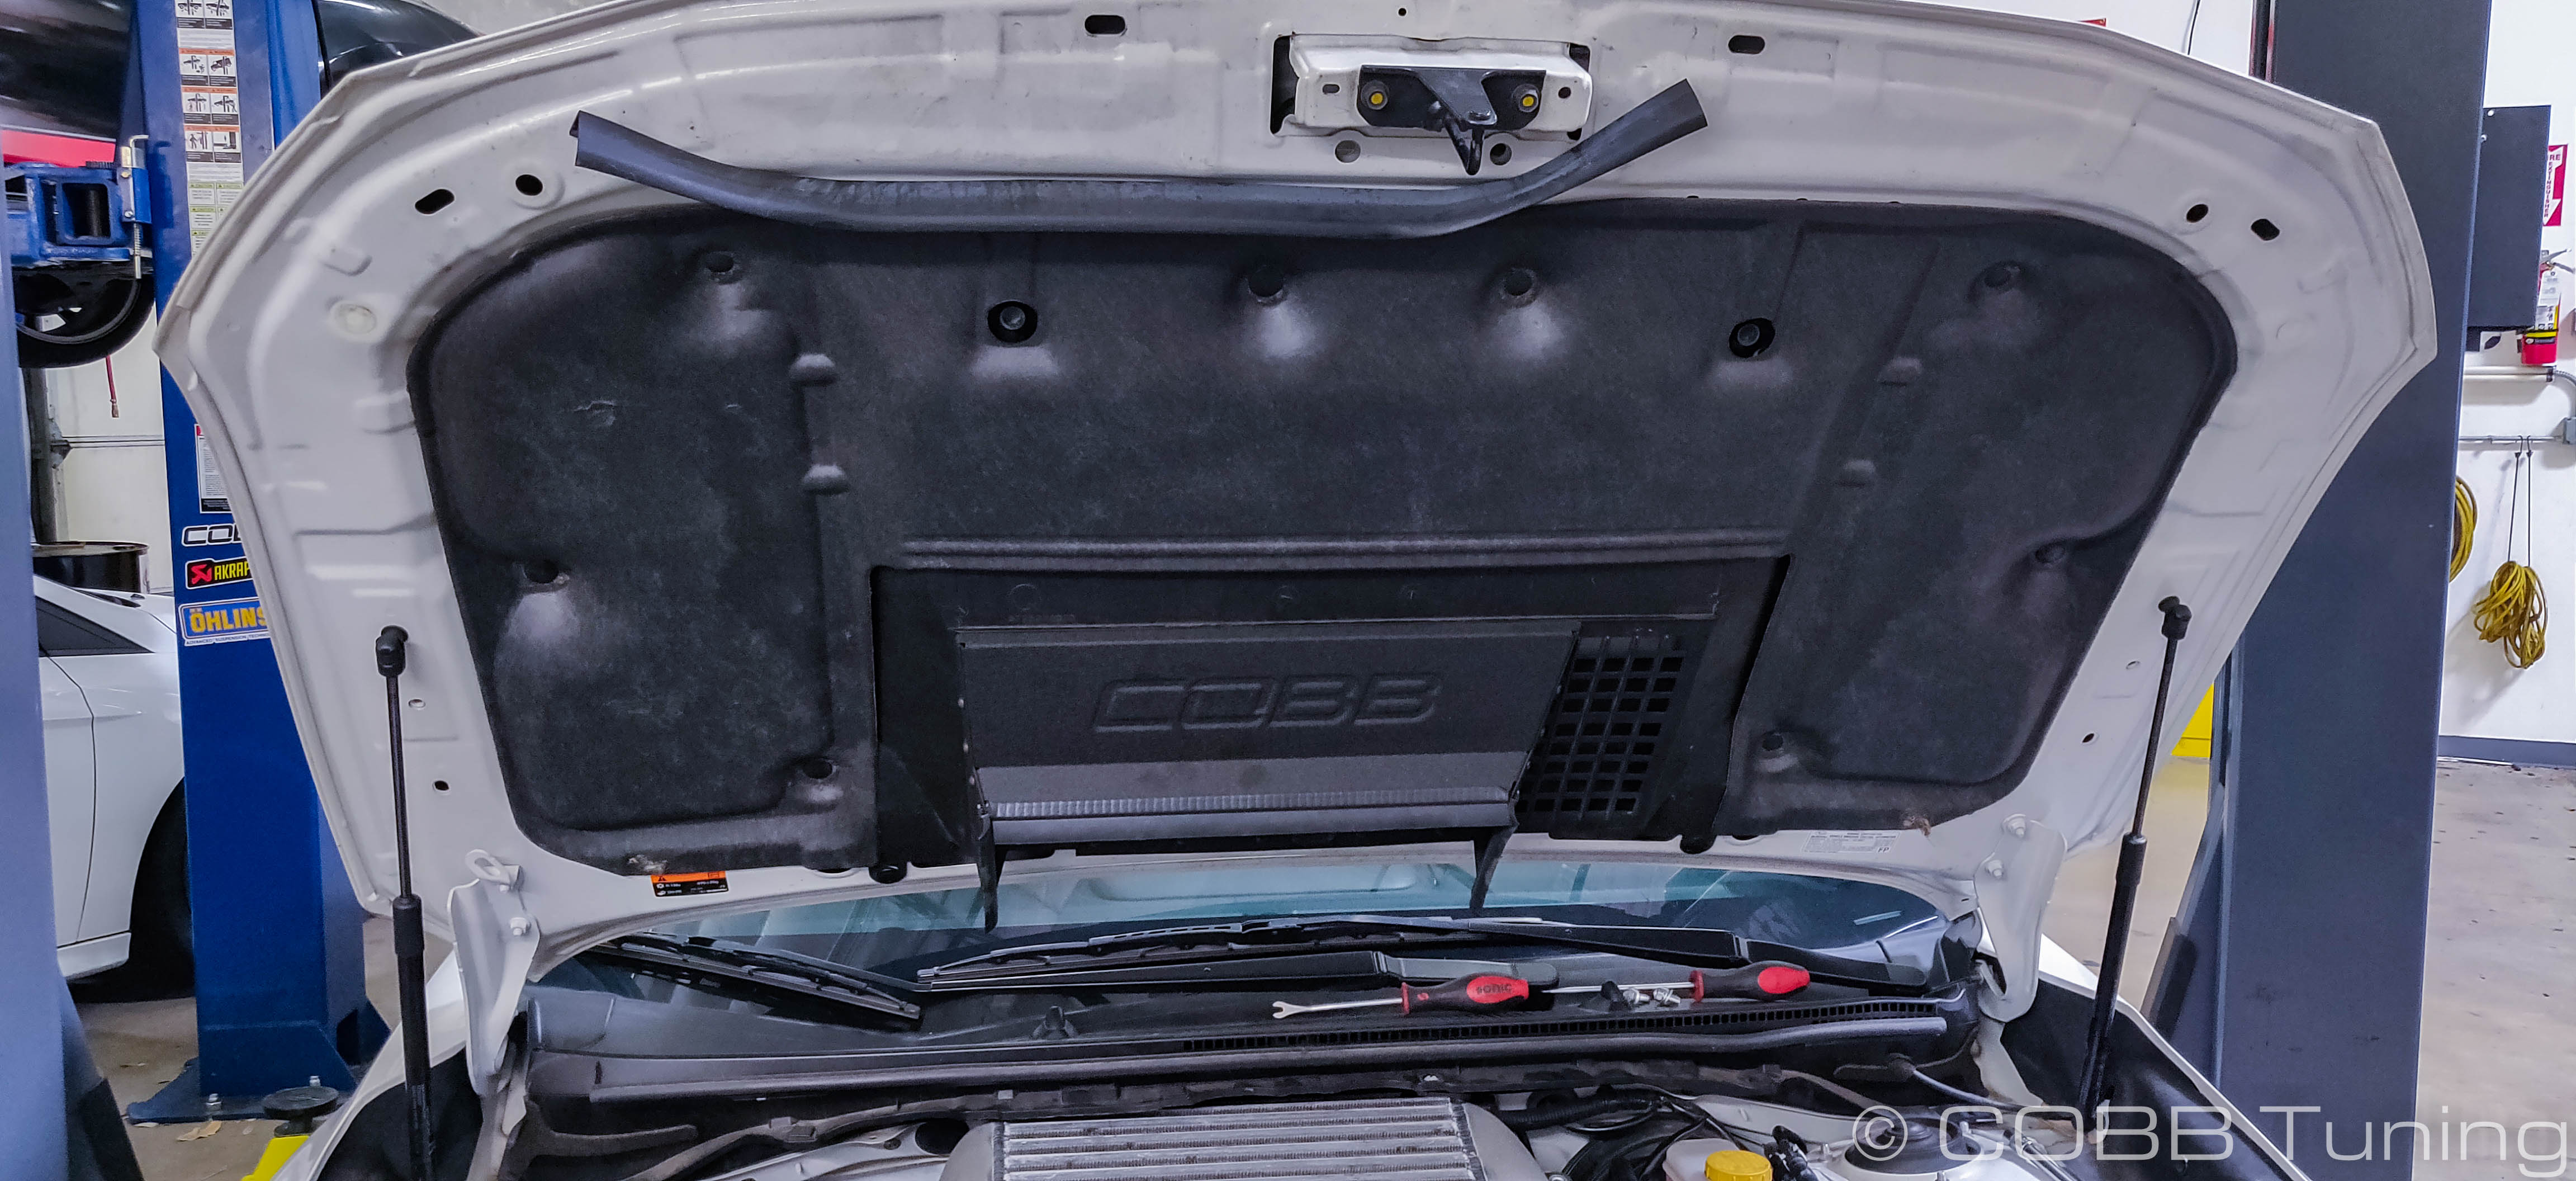
- To get to the plastic panels that direct airflow coming in from the hood scoop, we'll first need to remove the underhood insulation. Using a trim tool pull out the clips holding the insulation in place and set the clips and insulation somewhere safe.
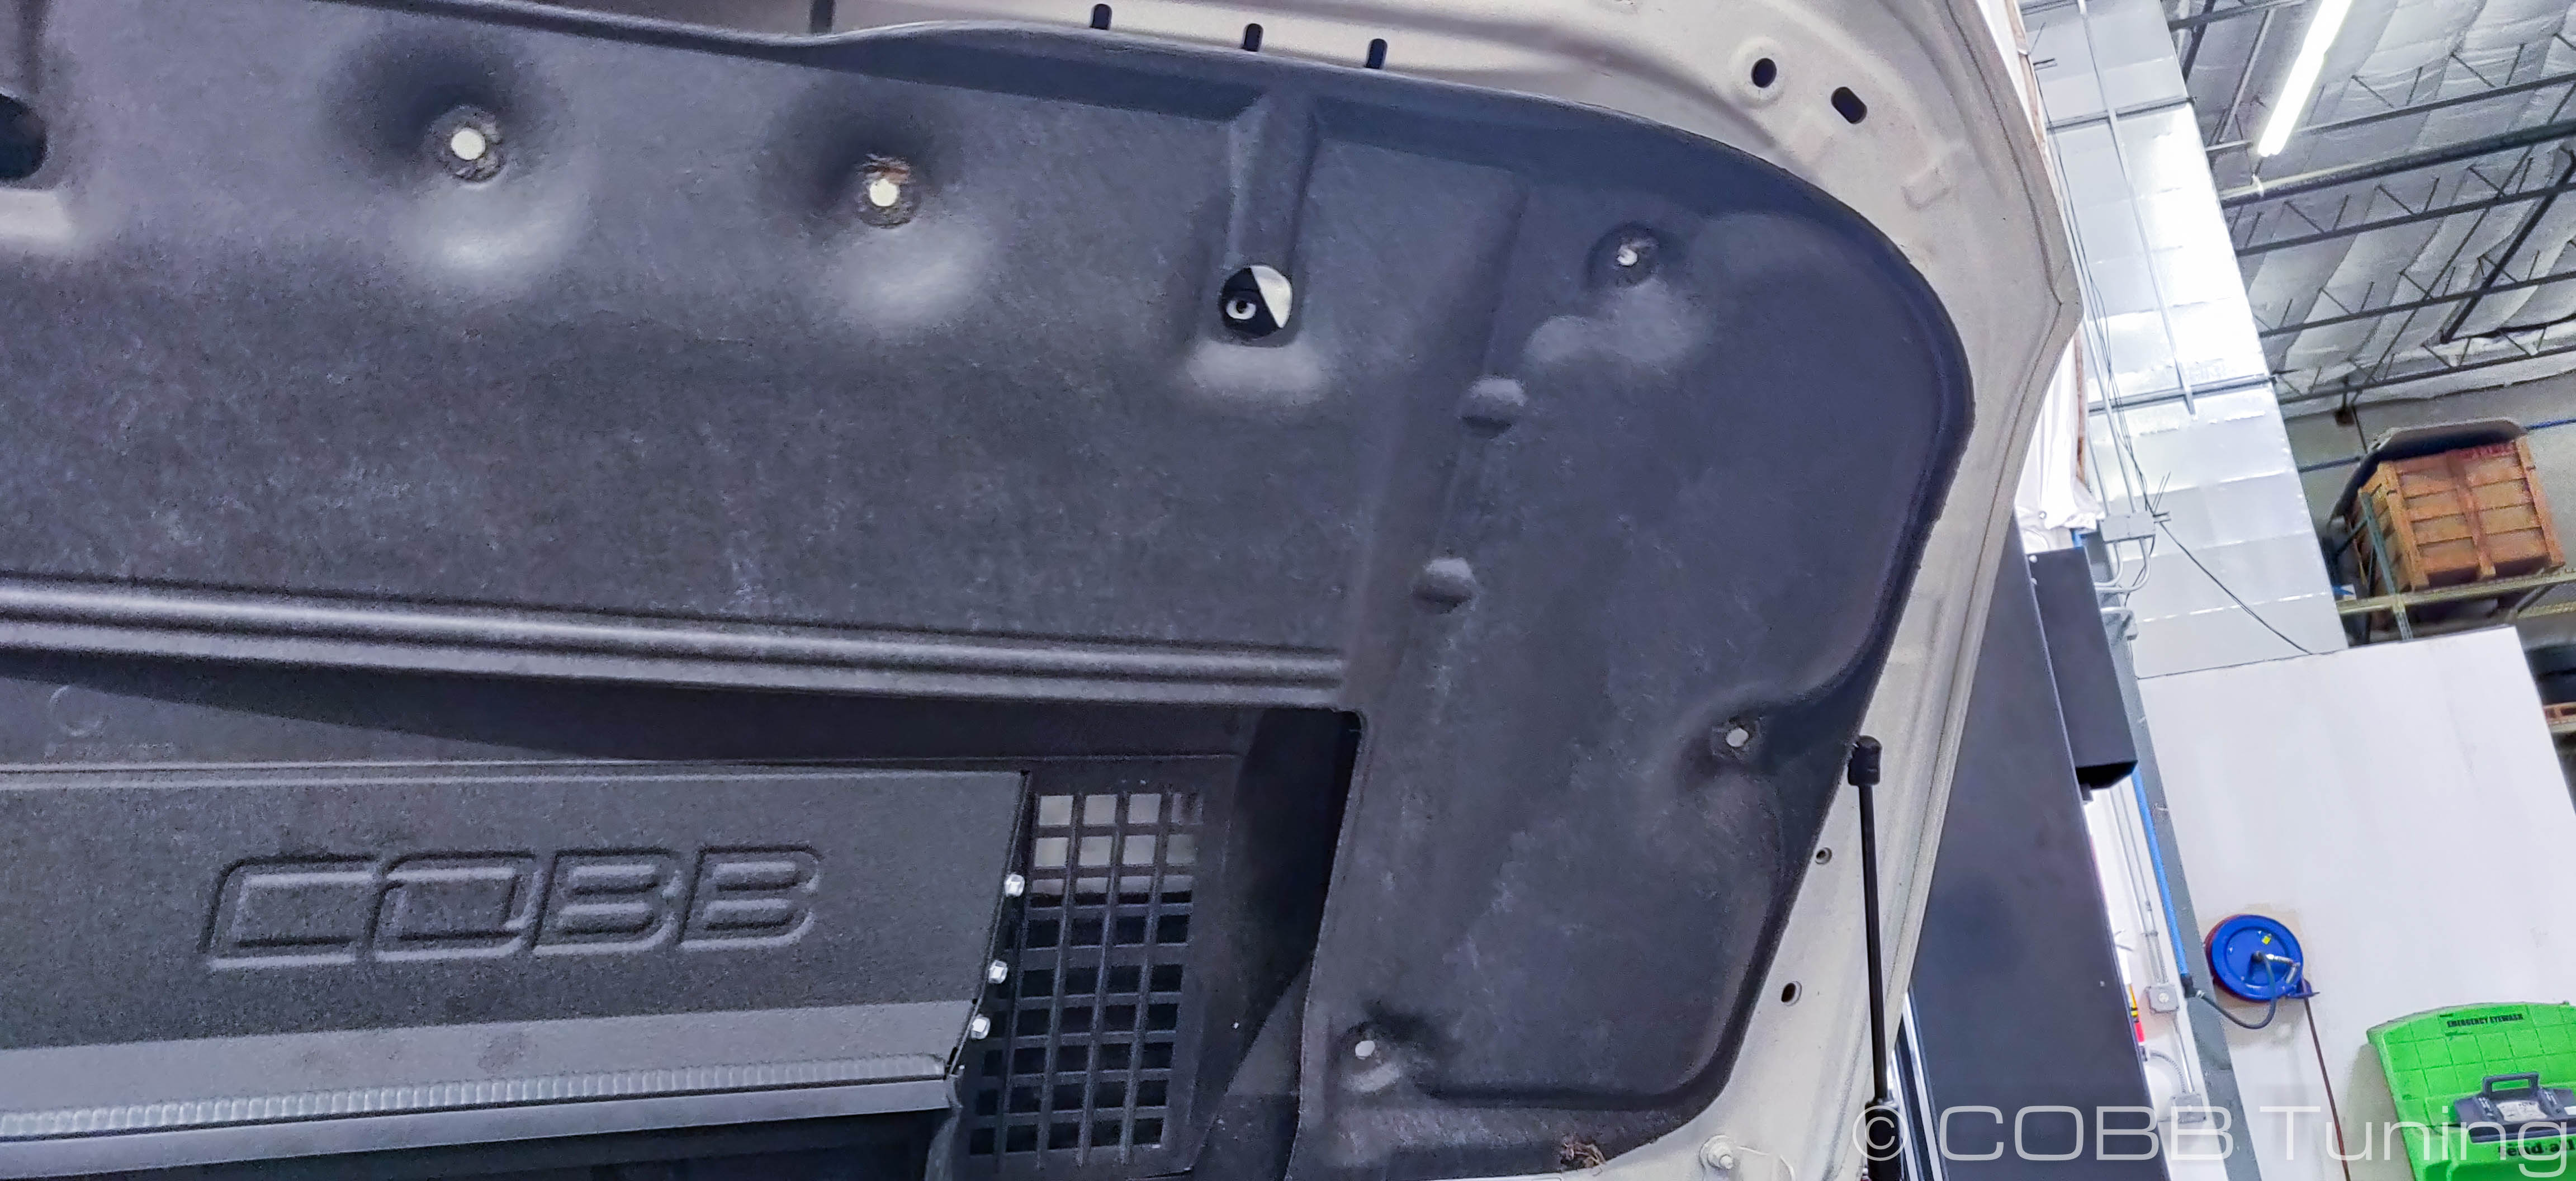
- Next up remove the clips holding the plastic ducting to the underside of the hood. These clips come out a bit more easily than the ones holding the insulation in, you'll just need to gently pry upwards on the center section of the clip until it stops, then gently pry out the lower portion of the clip. There are two legs that sit inside of the hood on the rear of the ducting, so if you leave the forwardmost clips for last, it should support itself in place most of the time.
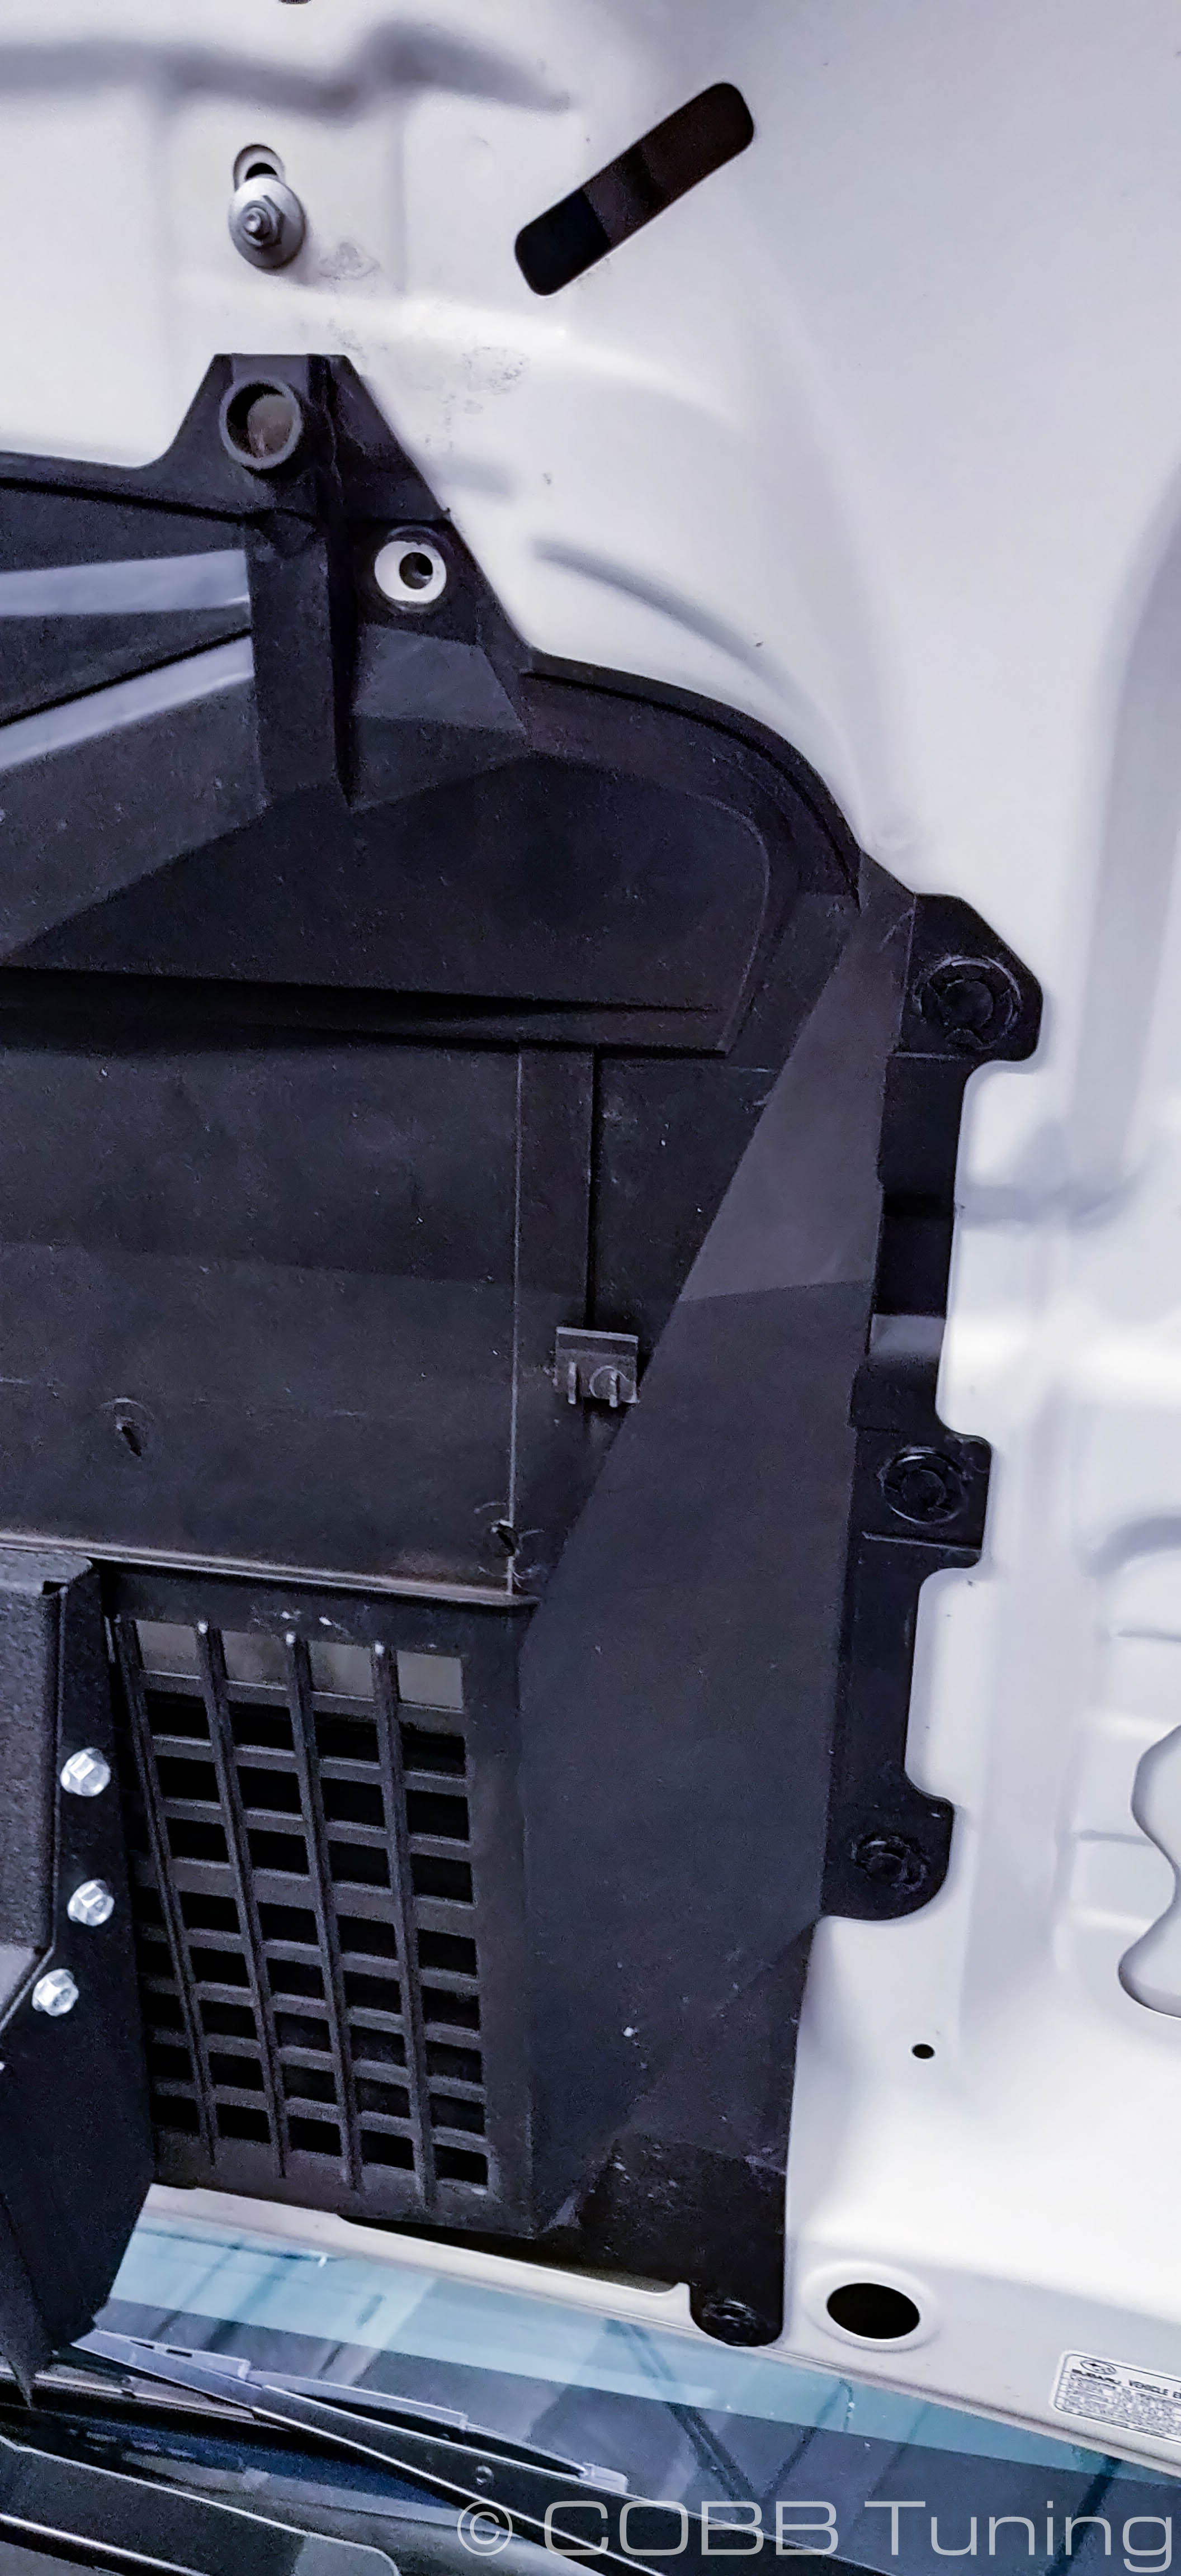
- The next goal is to remove the soft plastic portion of the ducting. To do so you'll use a small drill bit to remove the sensor portion of the plastic rivet so that the top and bottom pieces come free from eachother. While a bit around 1/8" works the best, make sure to use something smaller than 4mm to avoid making the hole any larger.
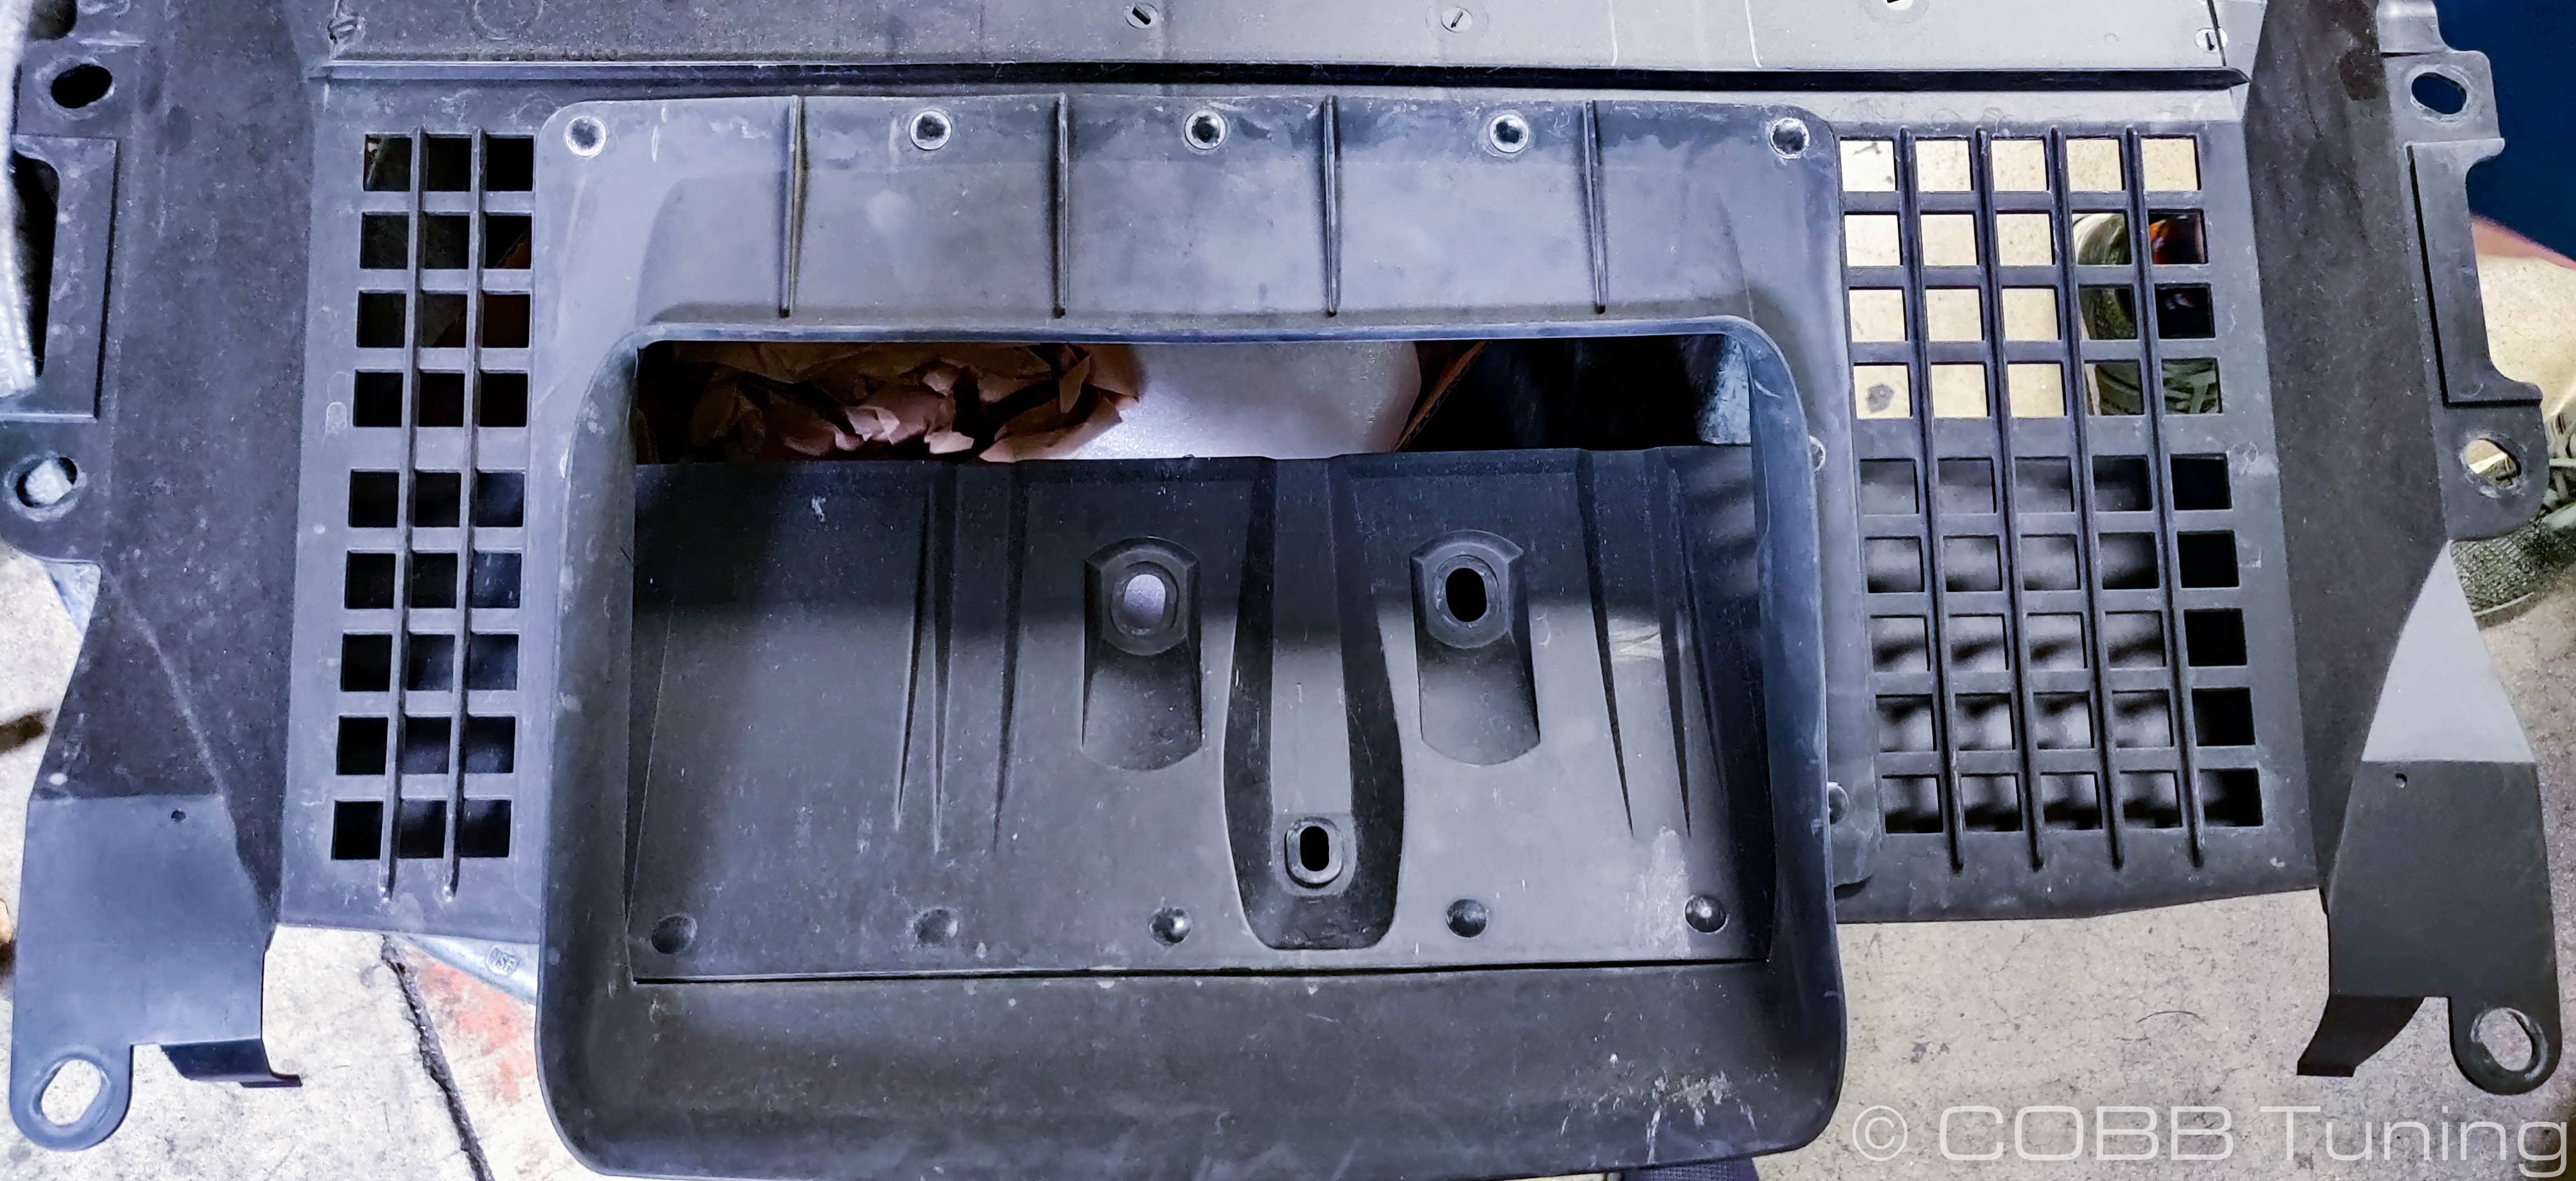
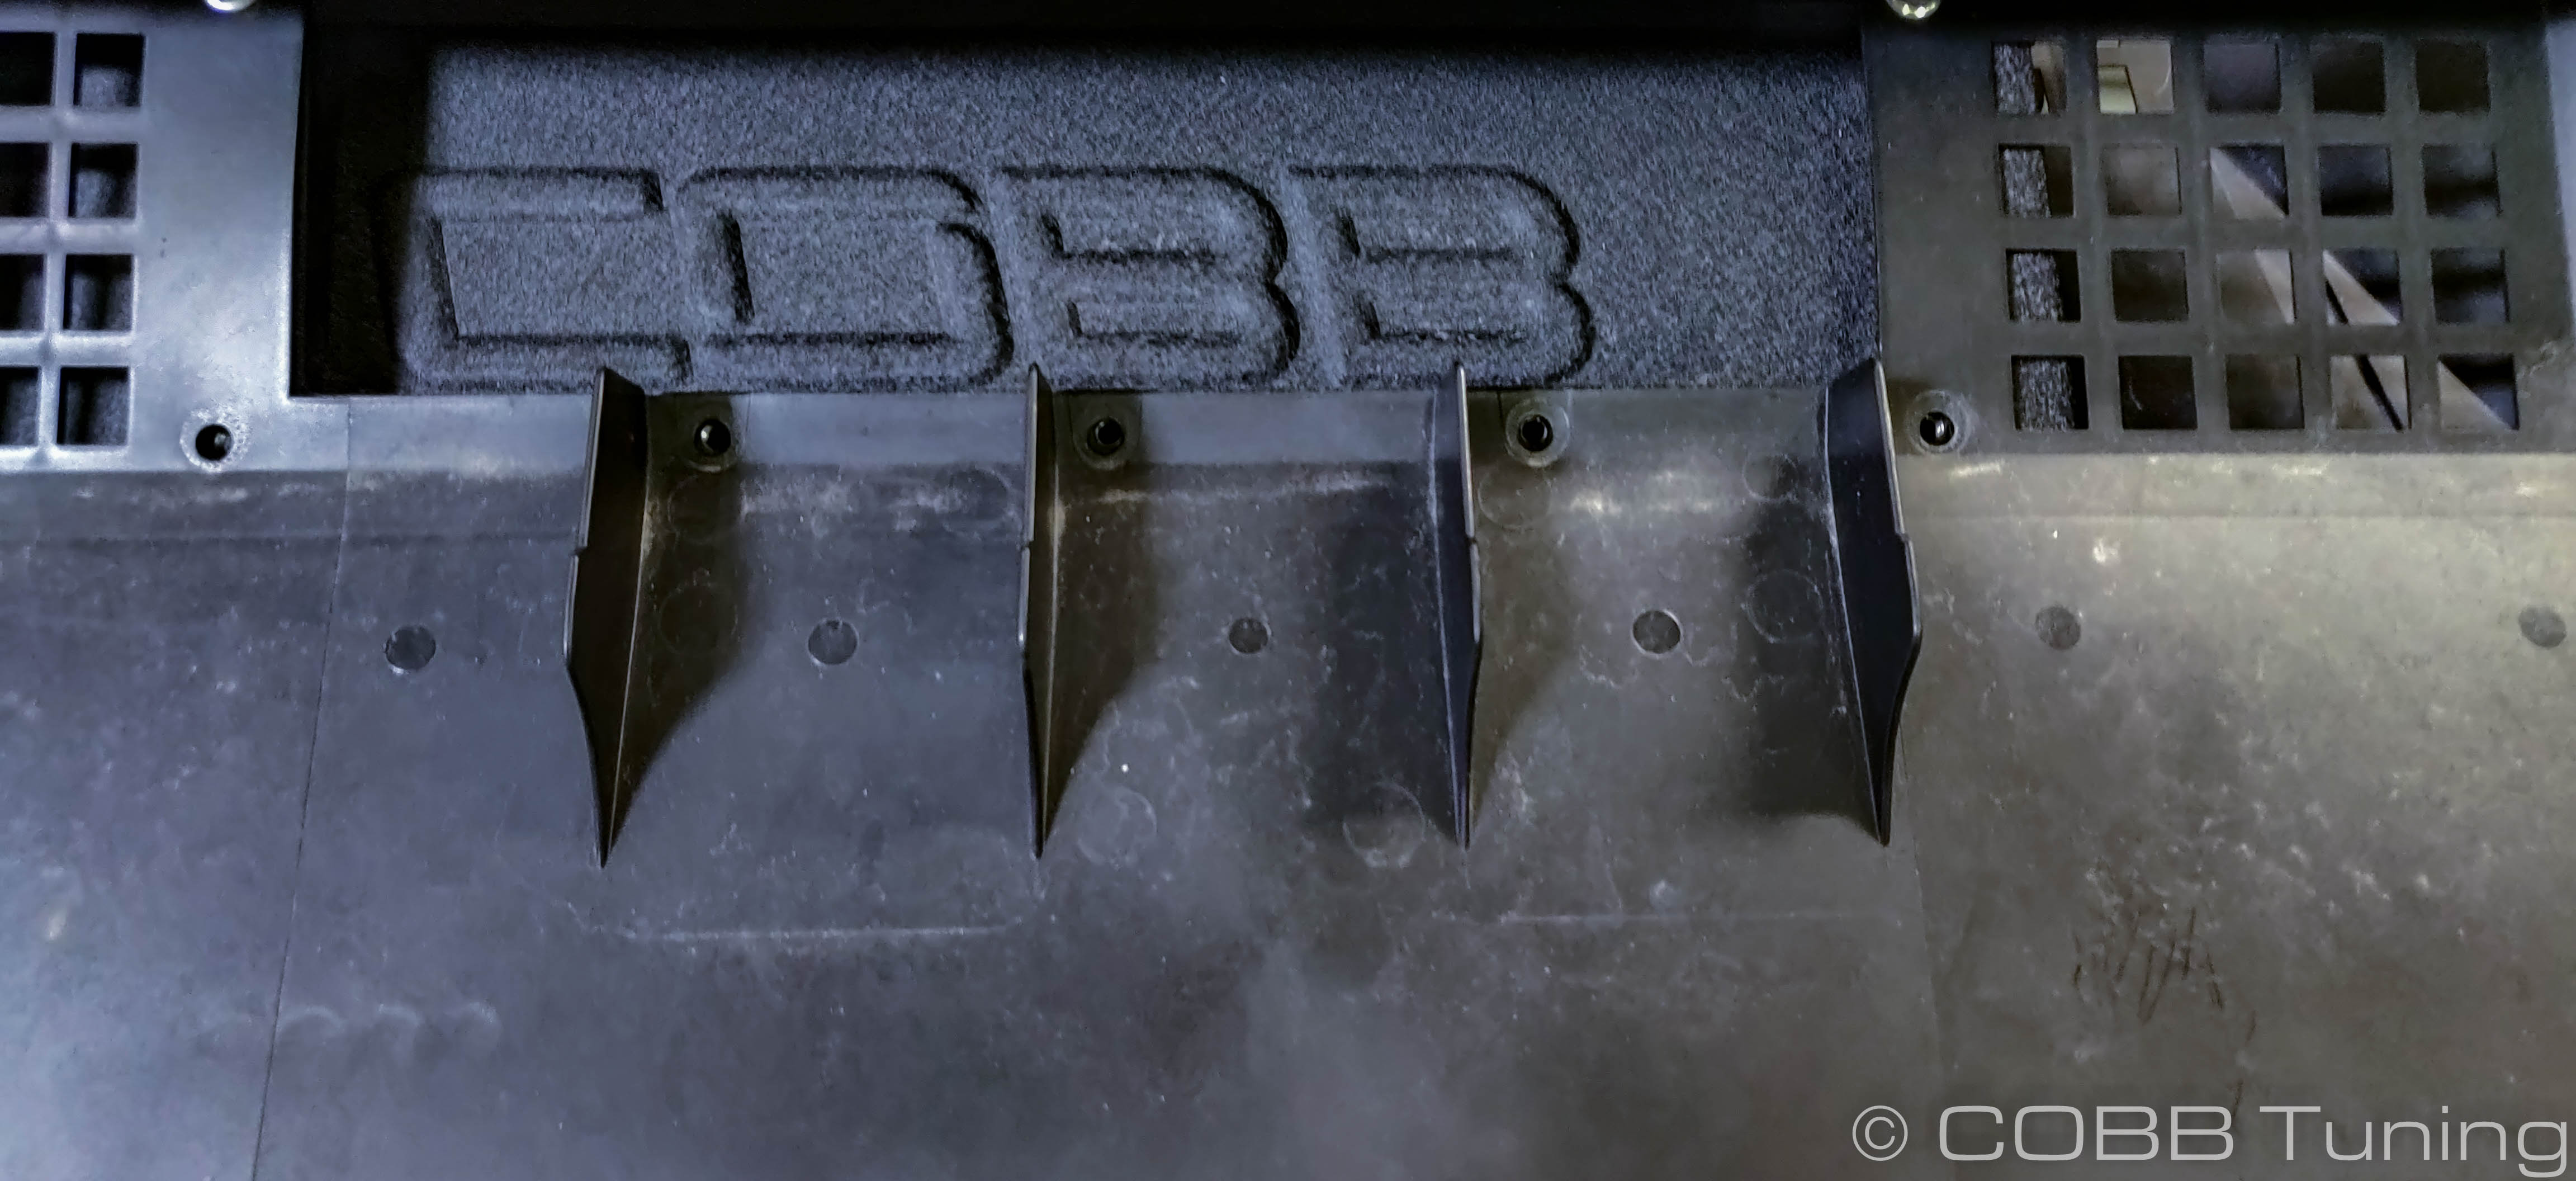
- With the plastic ducting separated we can assemble the panel that will replace it. Set out the base panel that has the sides on it and slide the panel with the COBB logo into it on the inside of the sides. It should only fit one way.
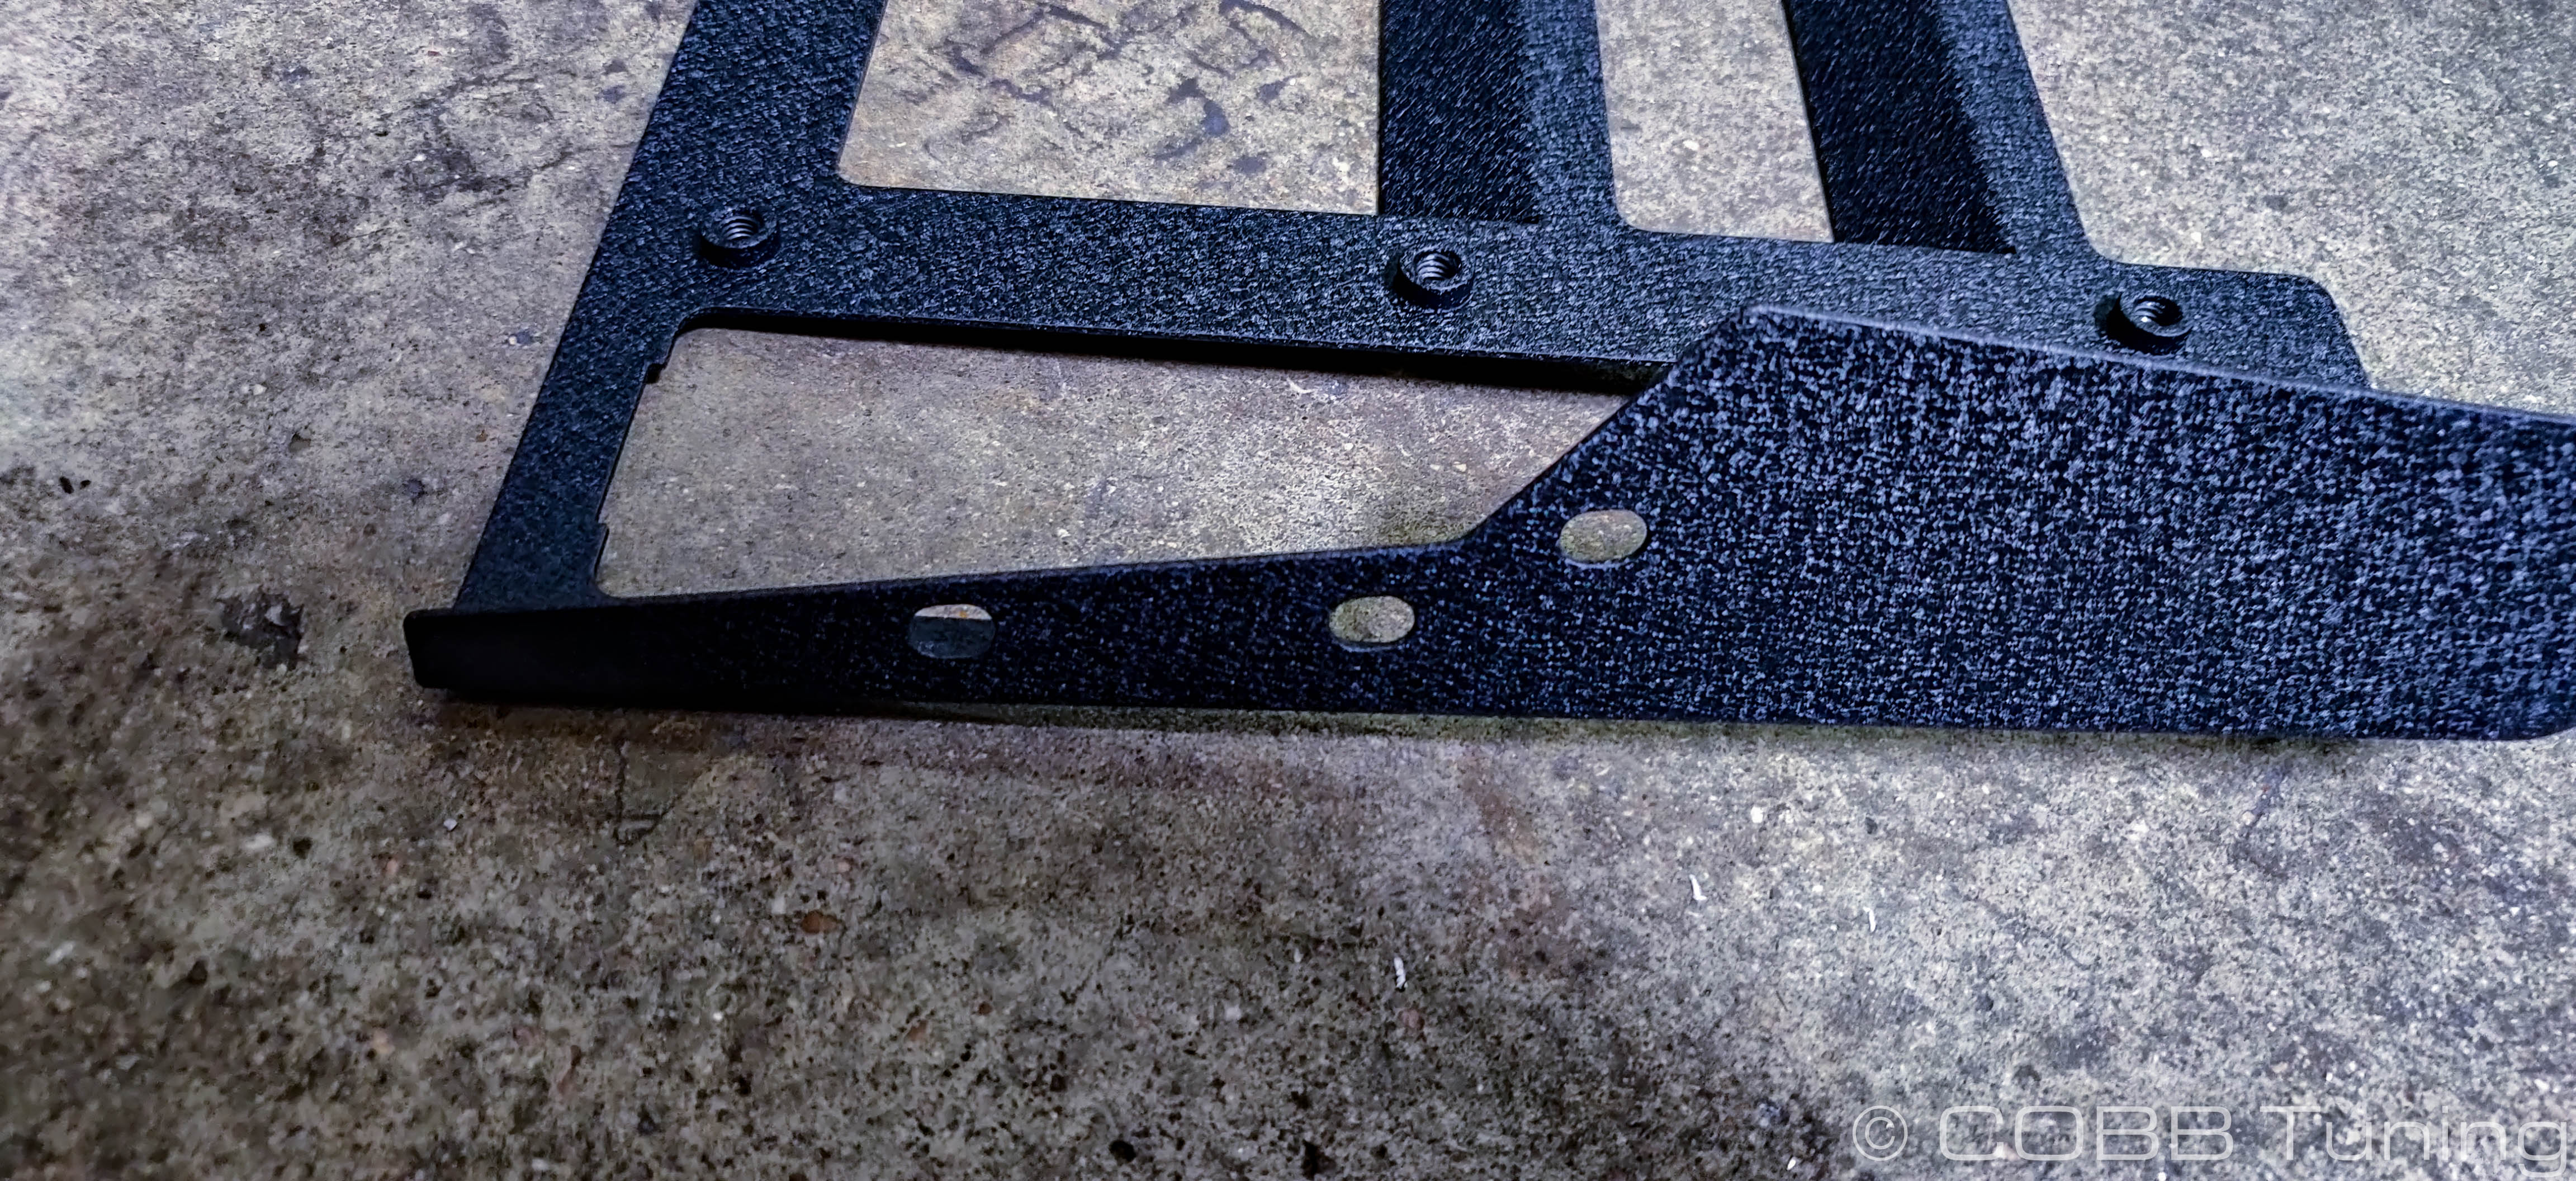
- Use three of your m6 button headed cap screws along with a 4mm allen key to attach each side. It usually works best to get them all started by hand before you tighten them down.
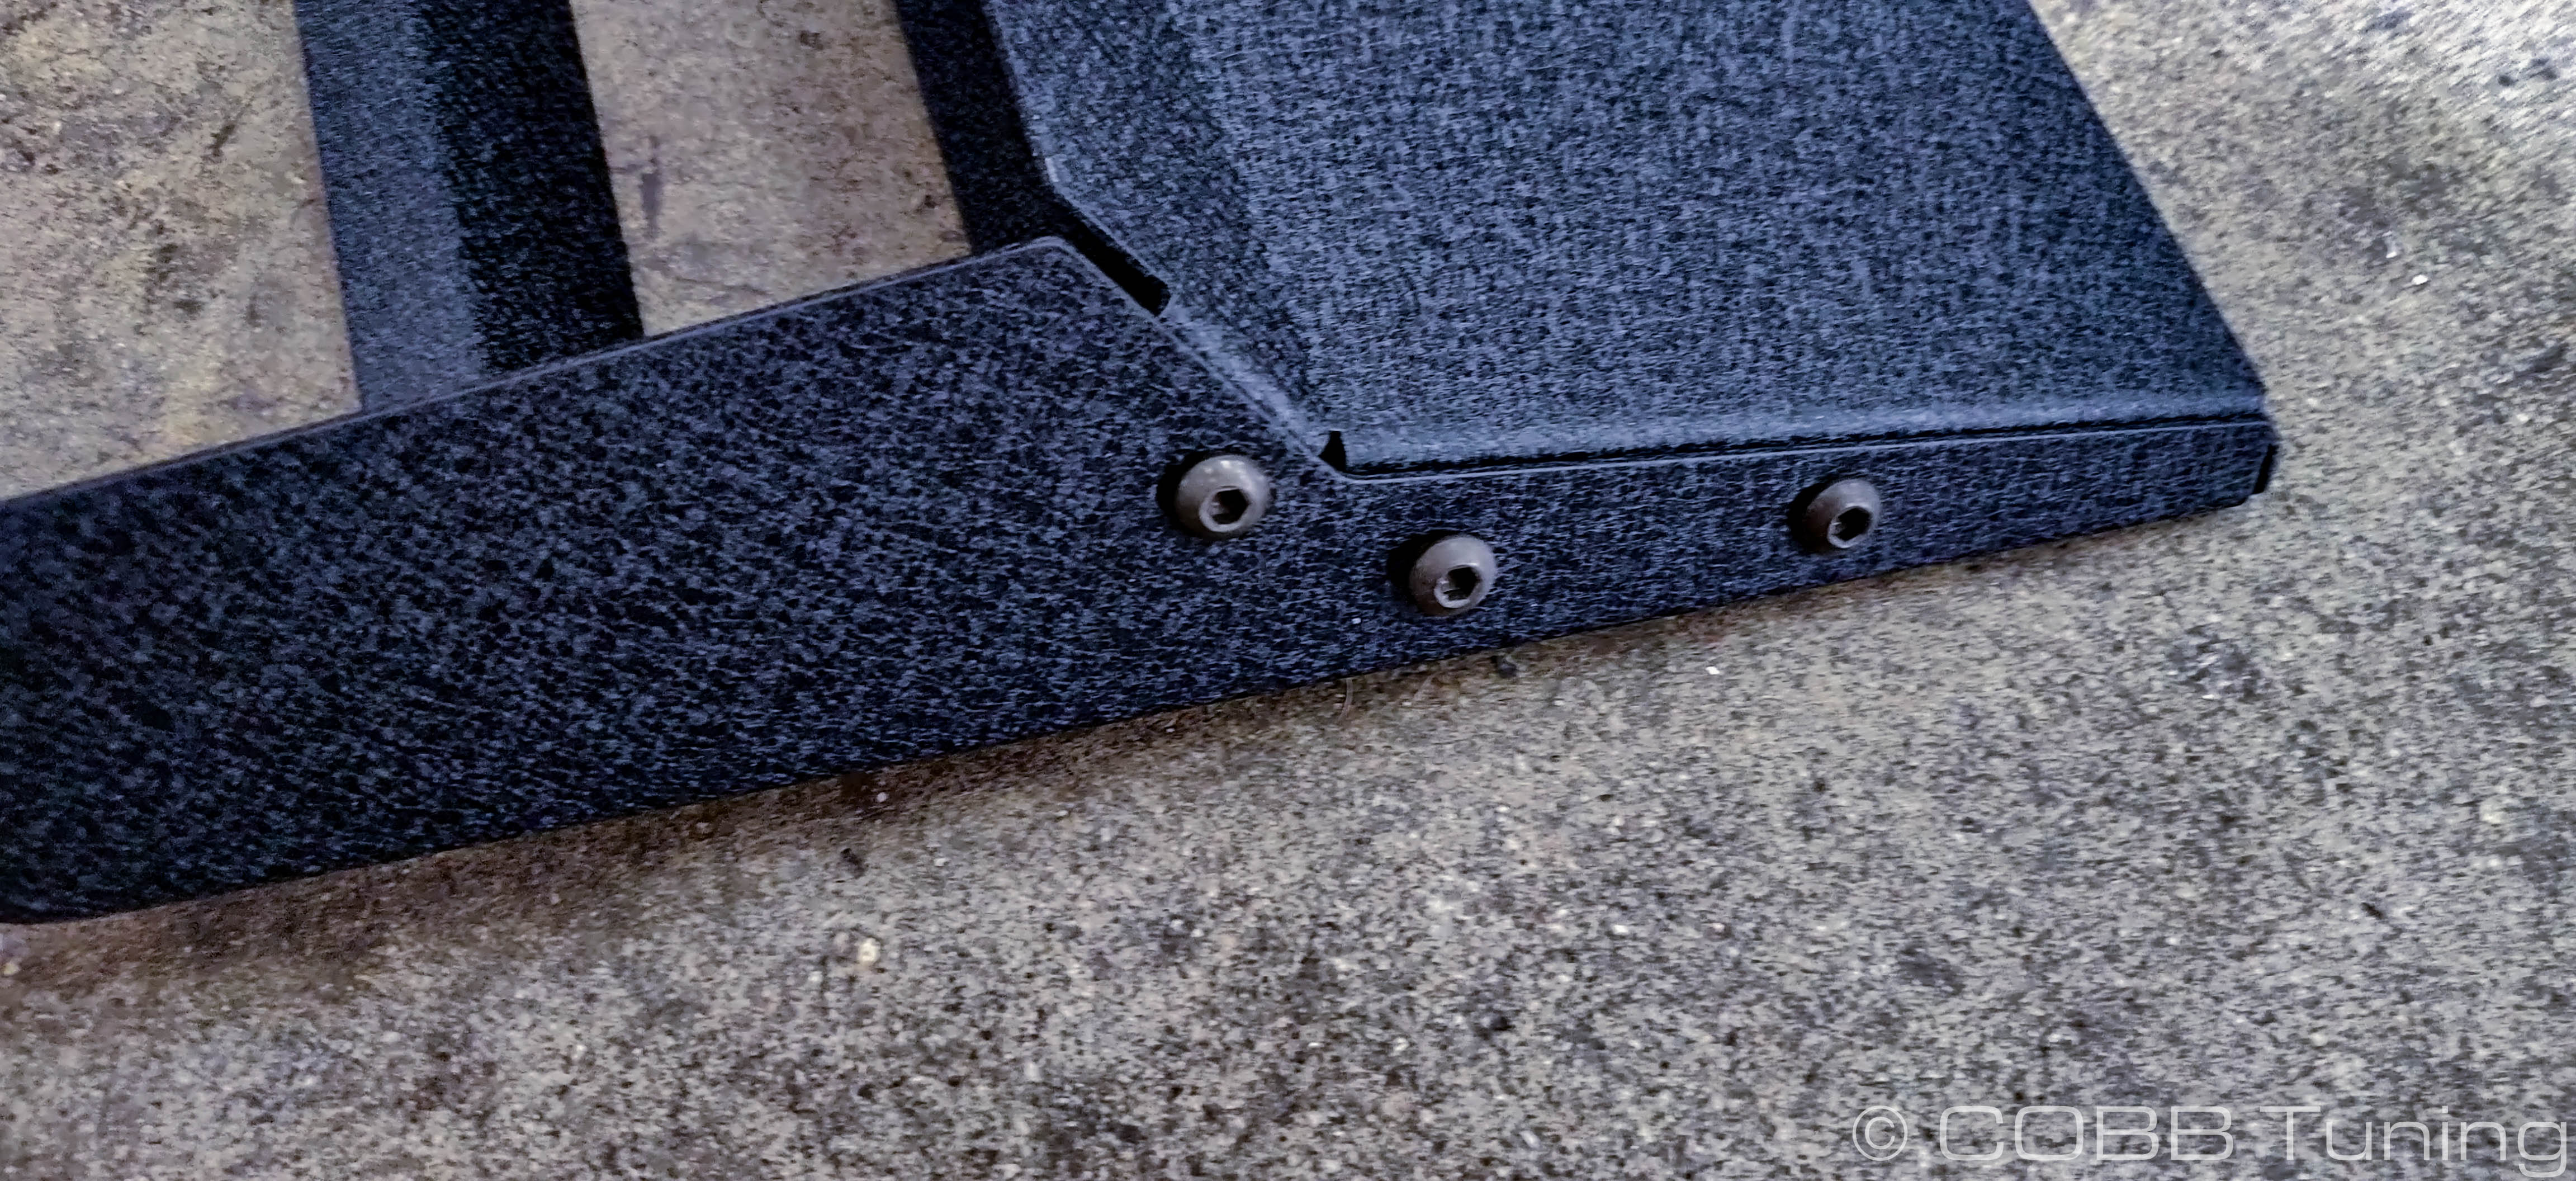
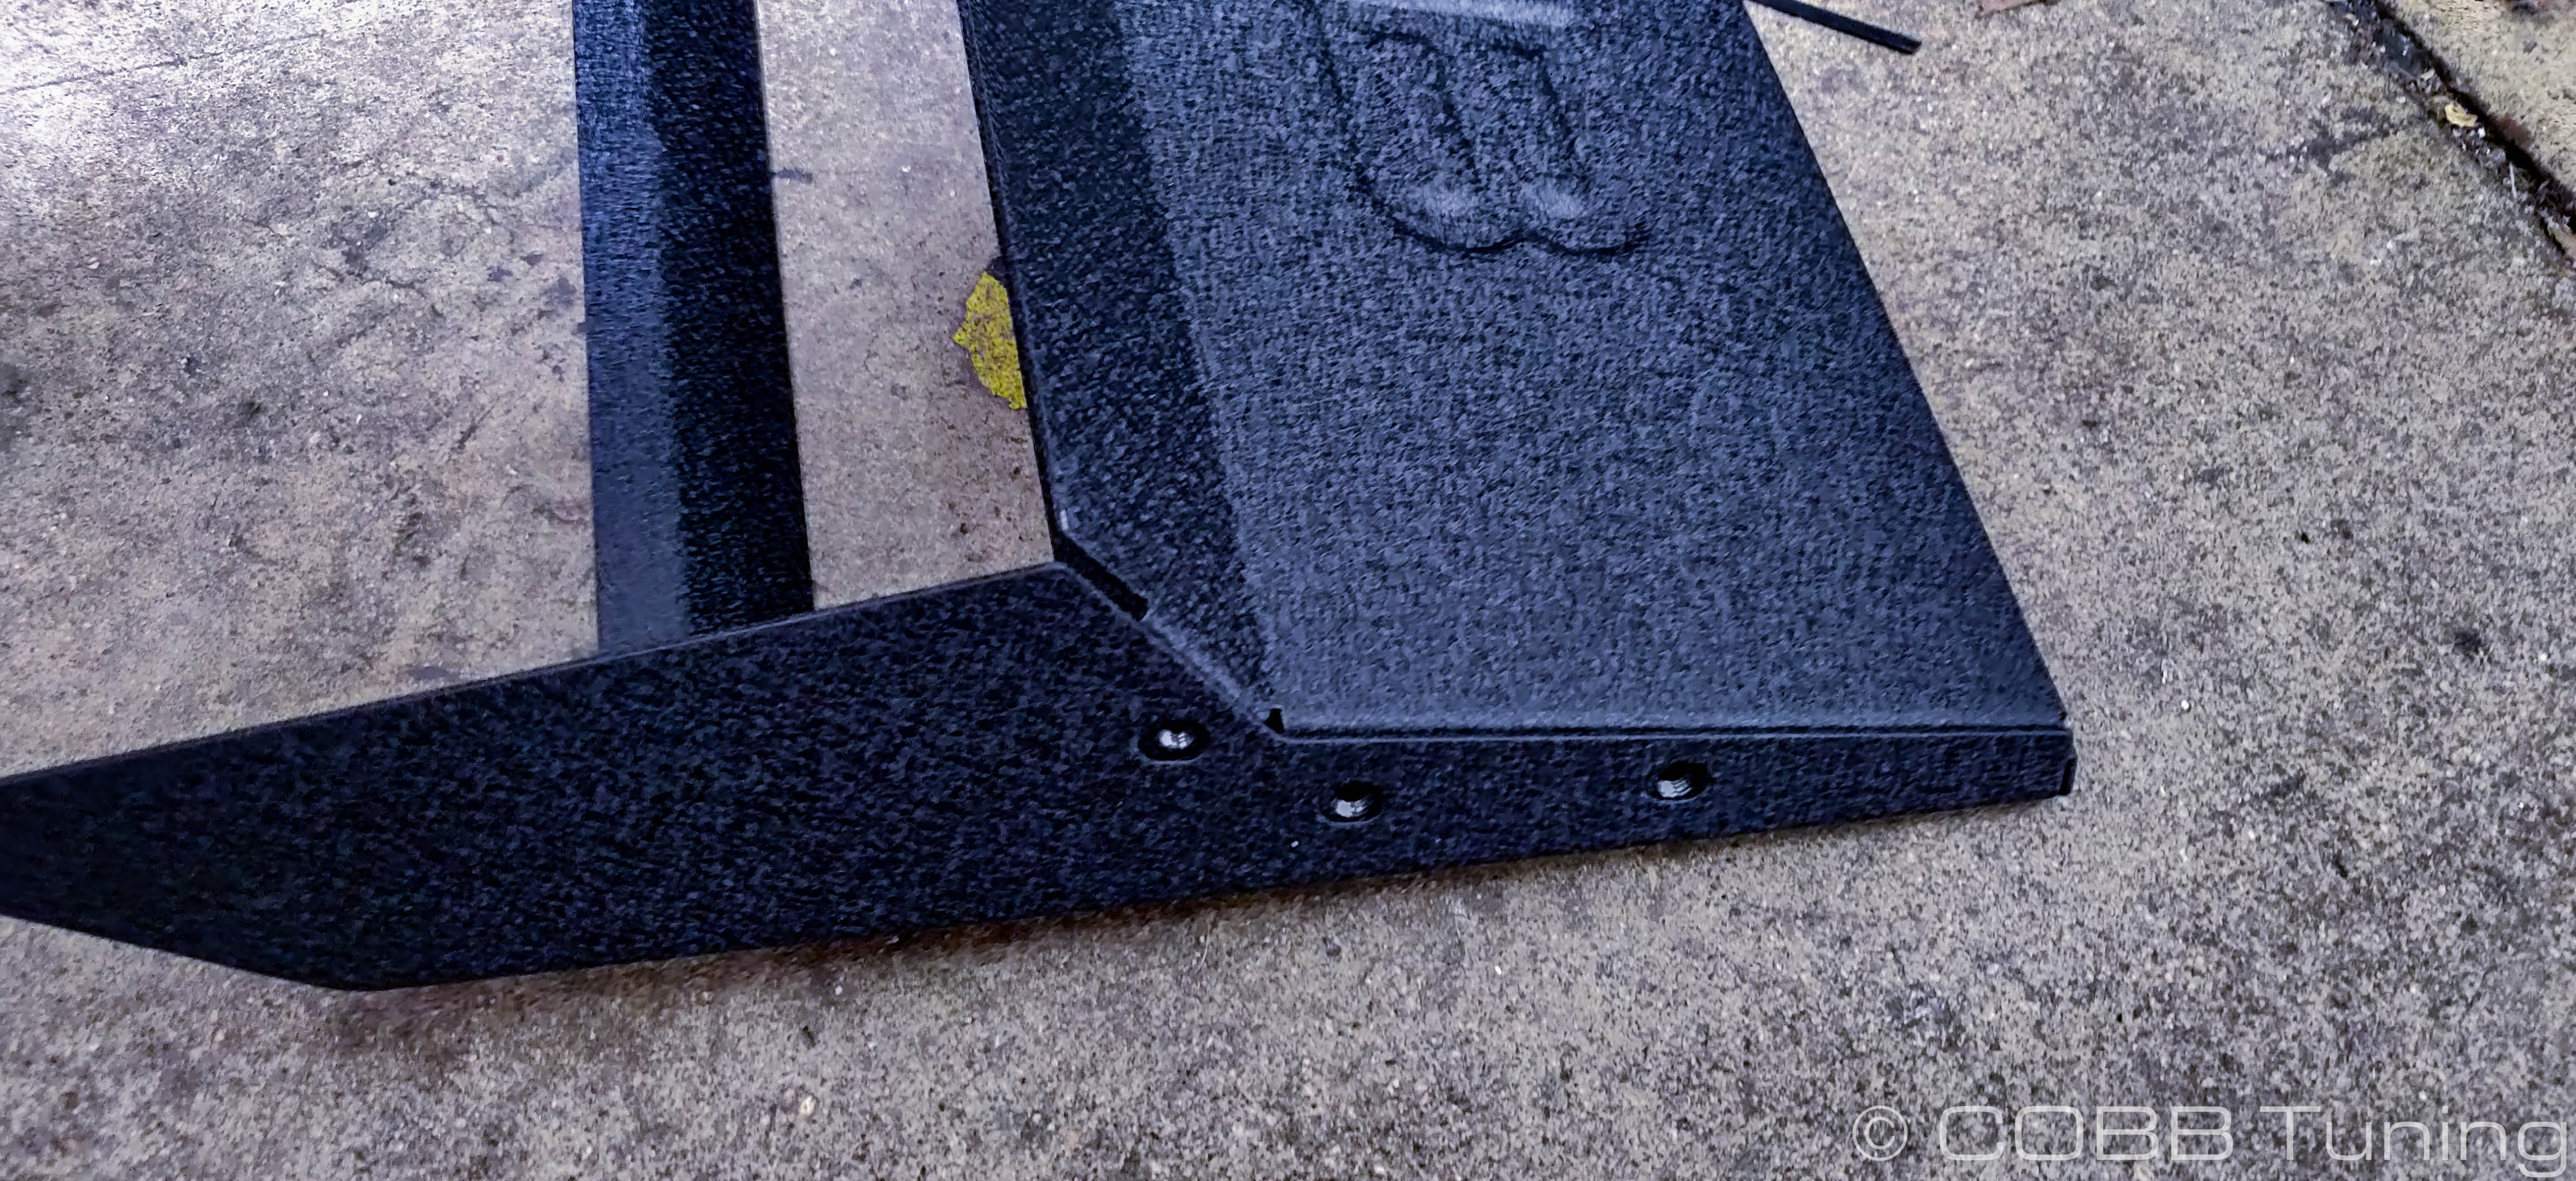
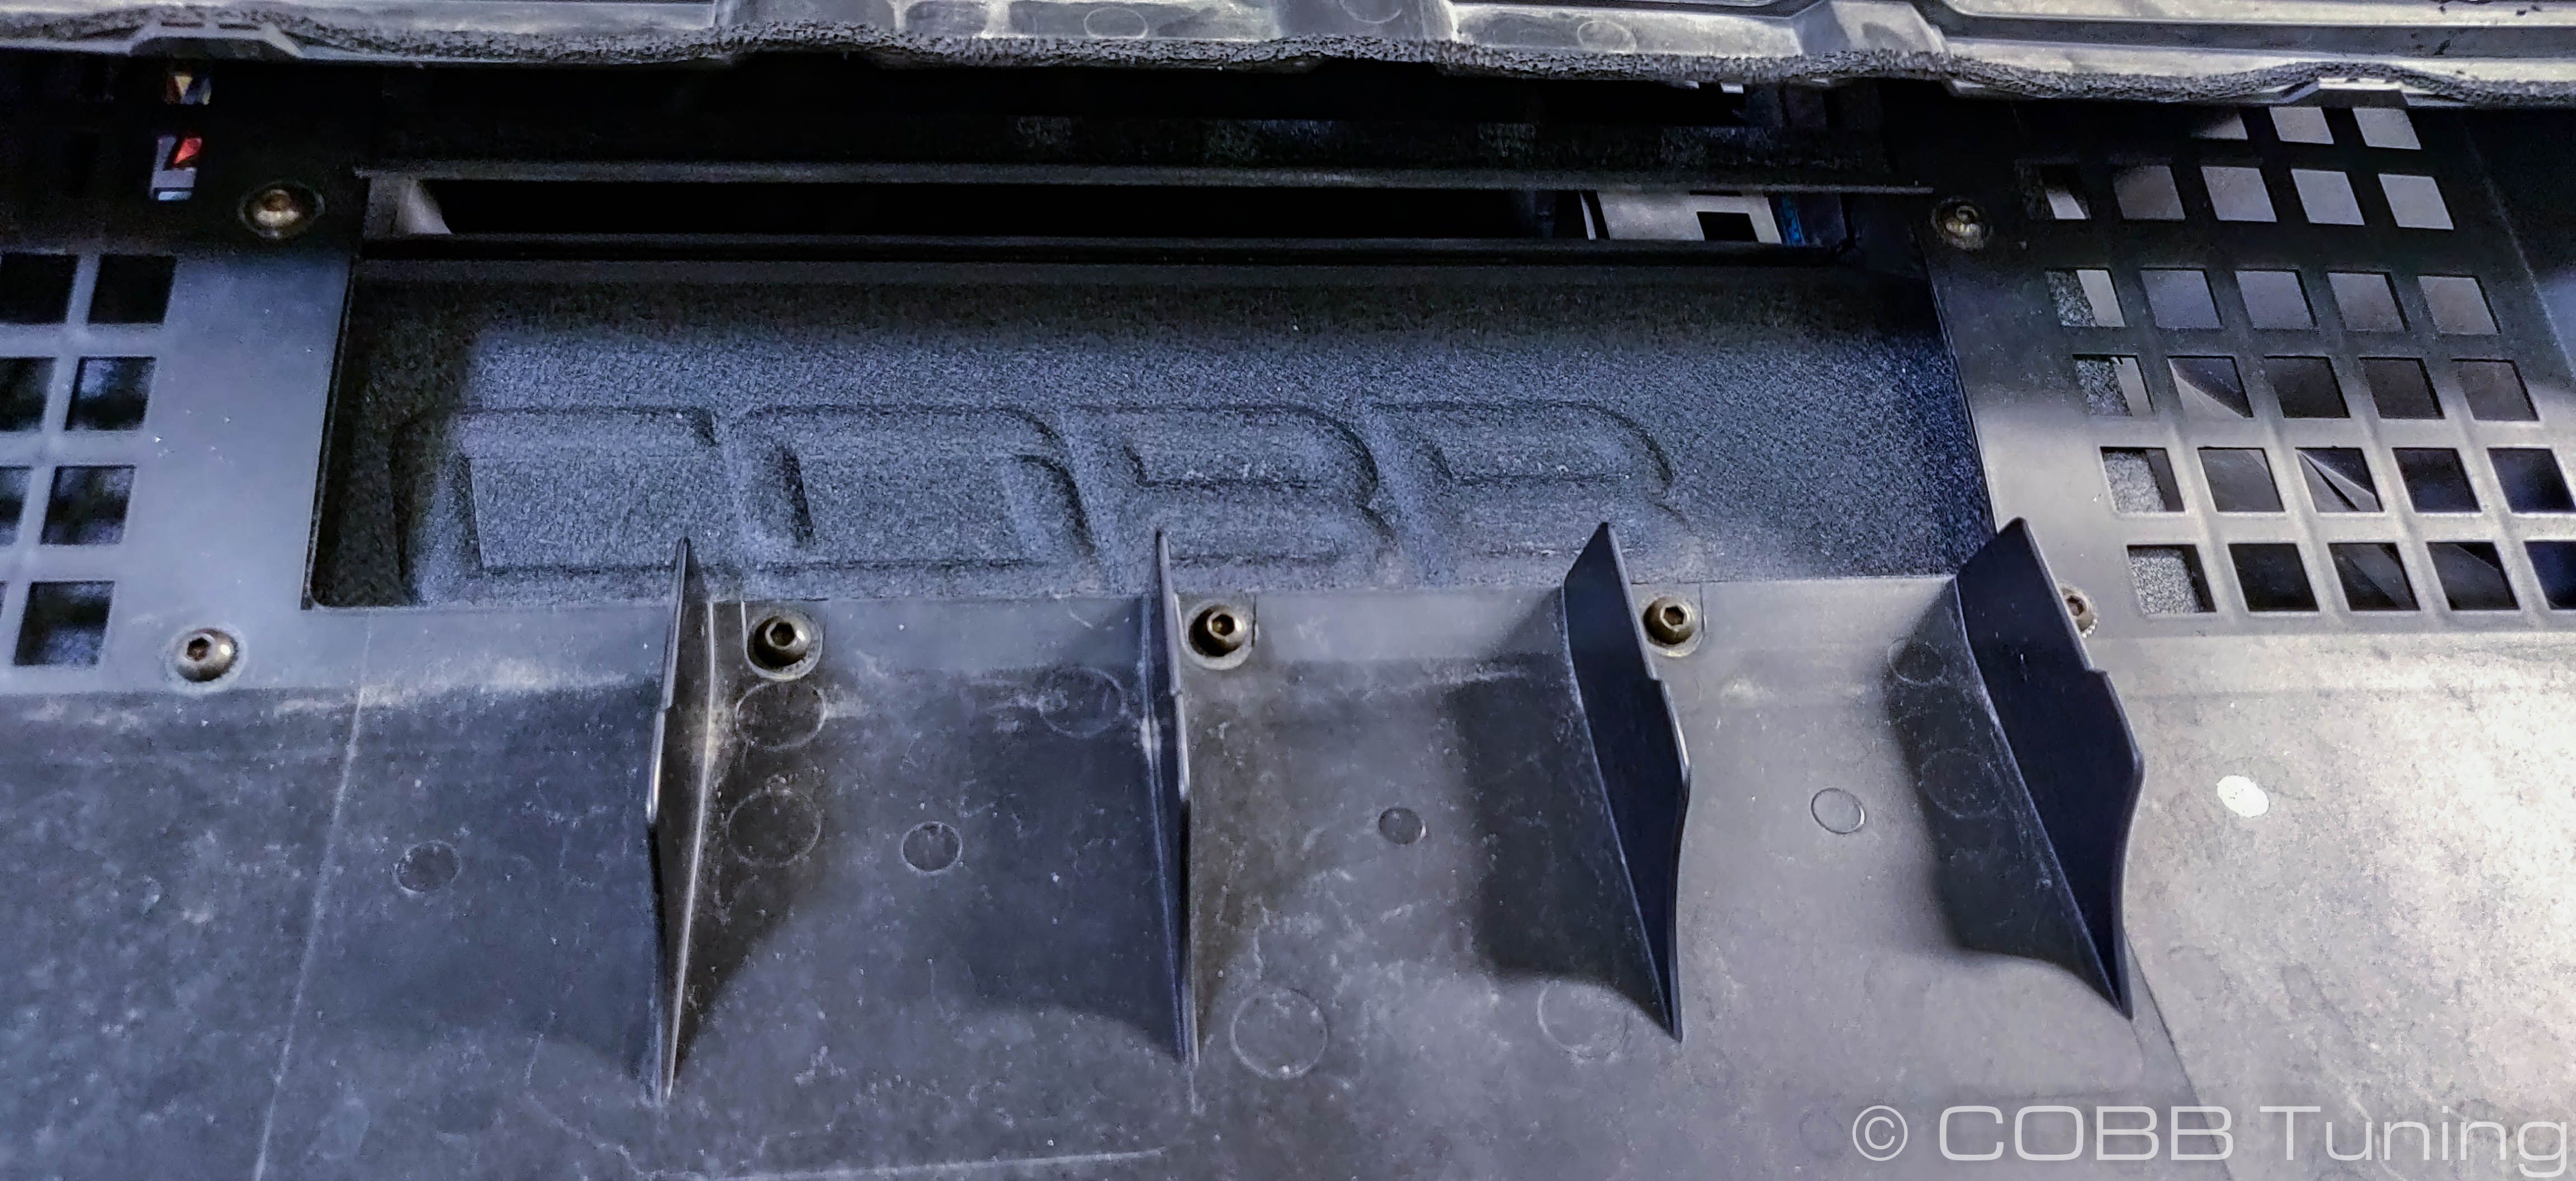
- Line up the panel onto the larger portion of the plastic ducting panel. The holes in the new duct should match up with the holes we removed rivets from previously.
- Loosely install the remaining m6 cap screws into the different holes going through the ducting into the new cobb shroud. Once they're all started you can go ahead and tighten them all down with a 4mm allen wrench.
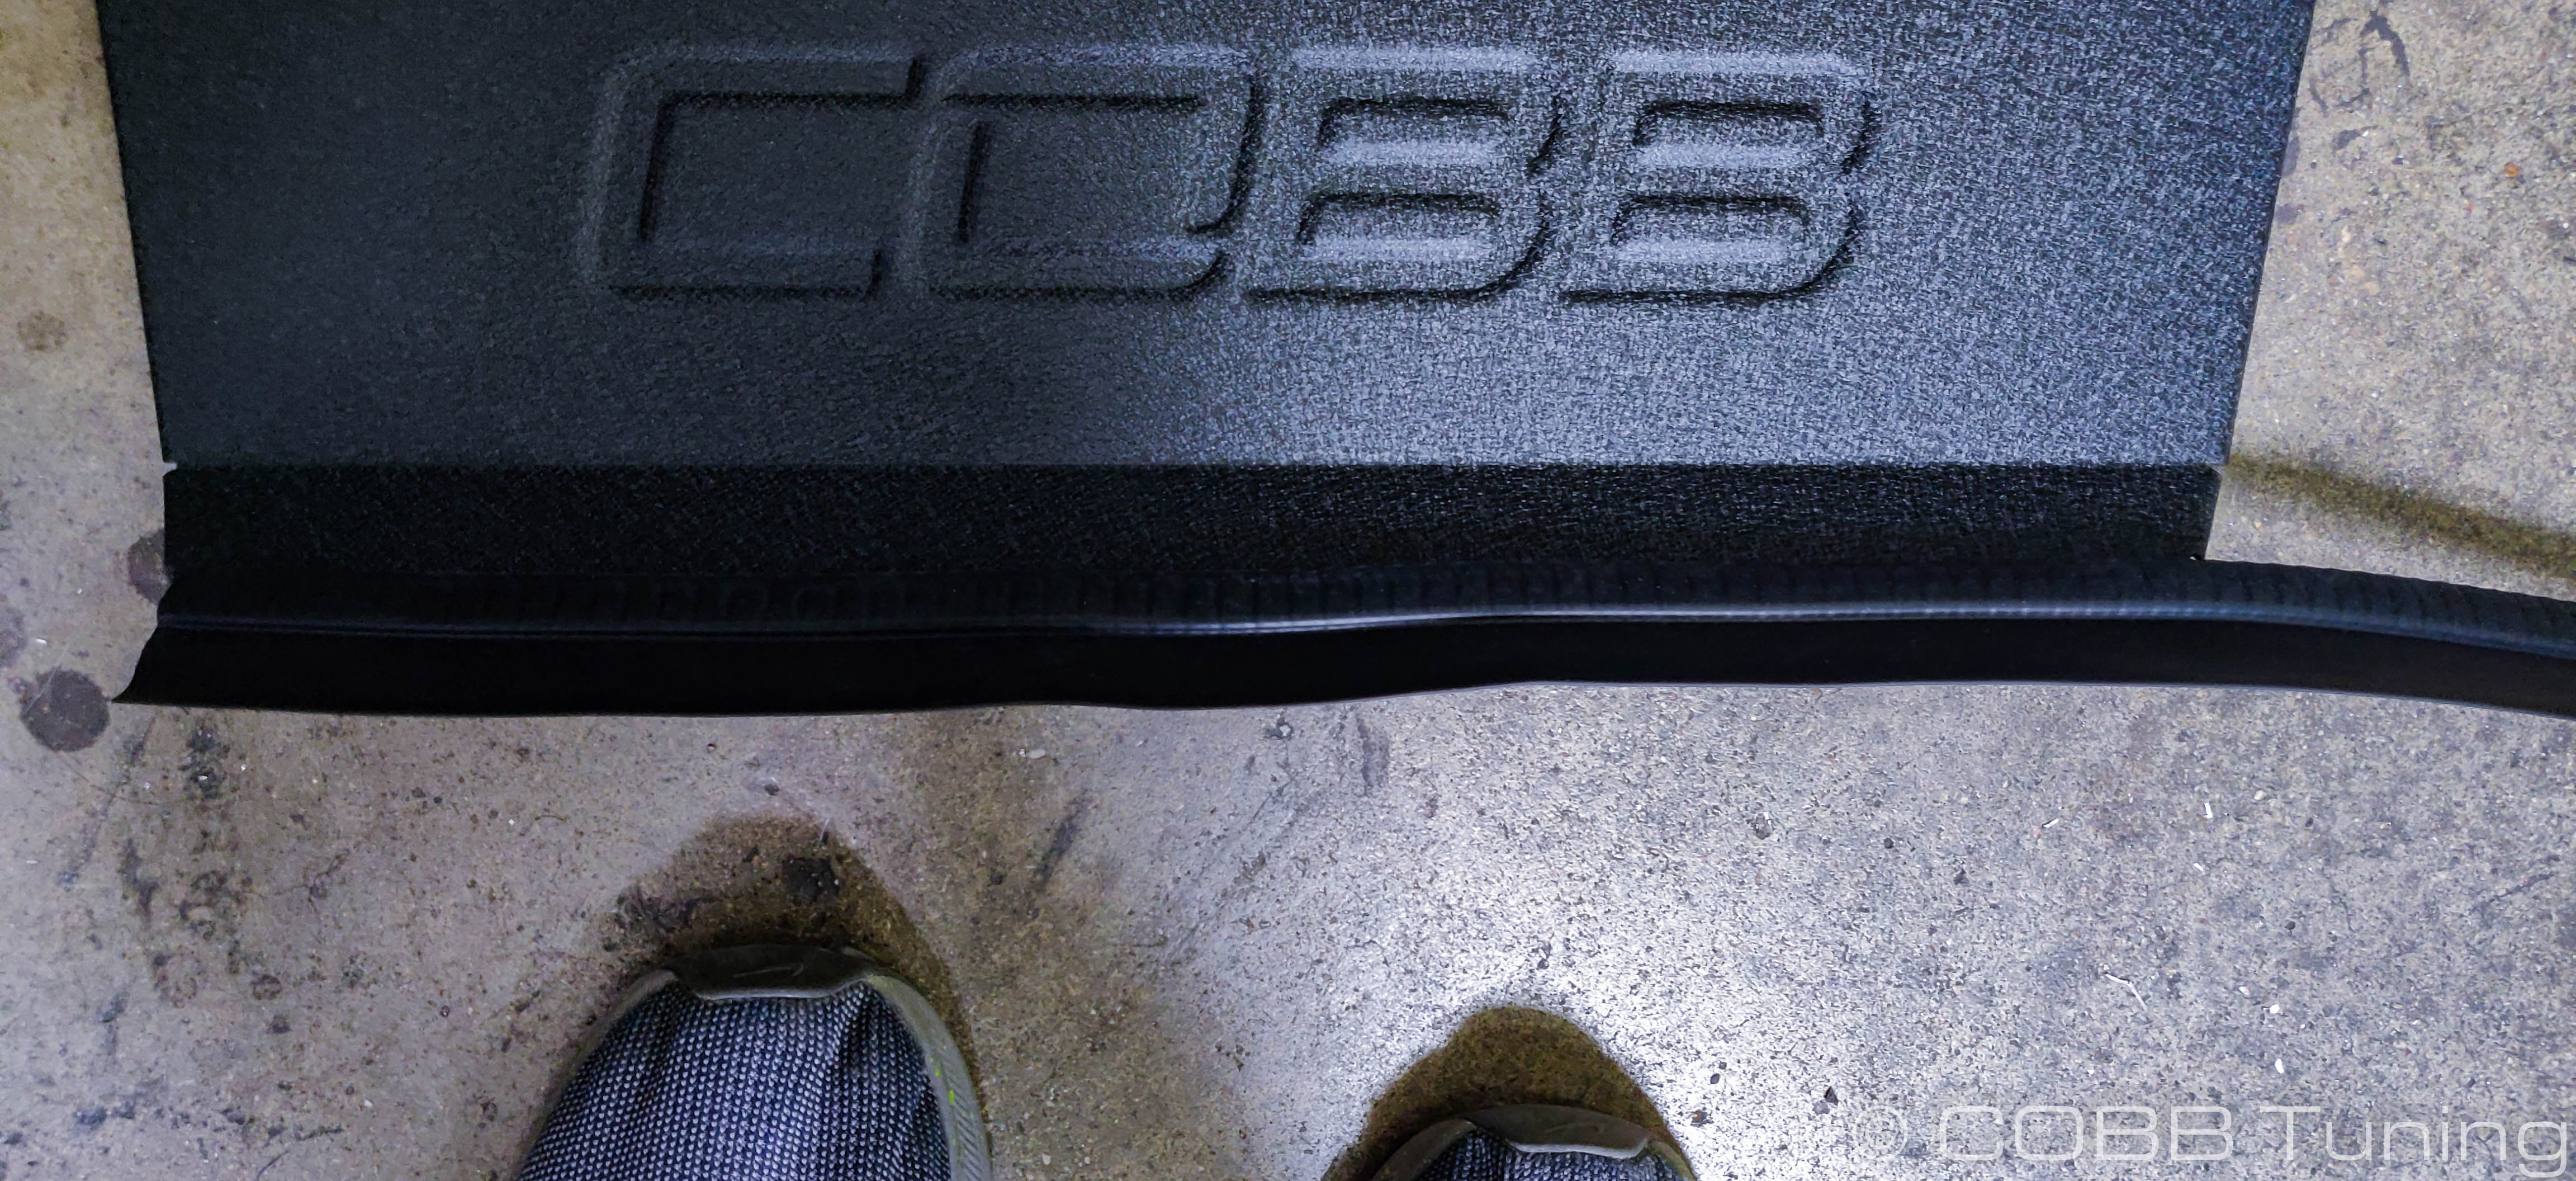
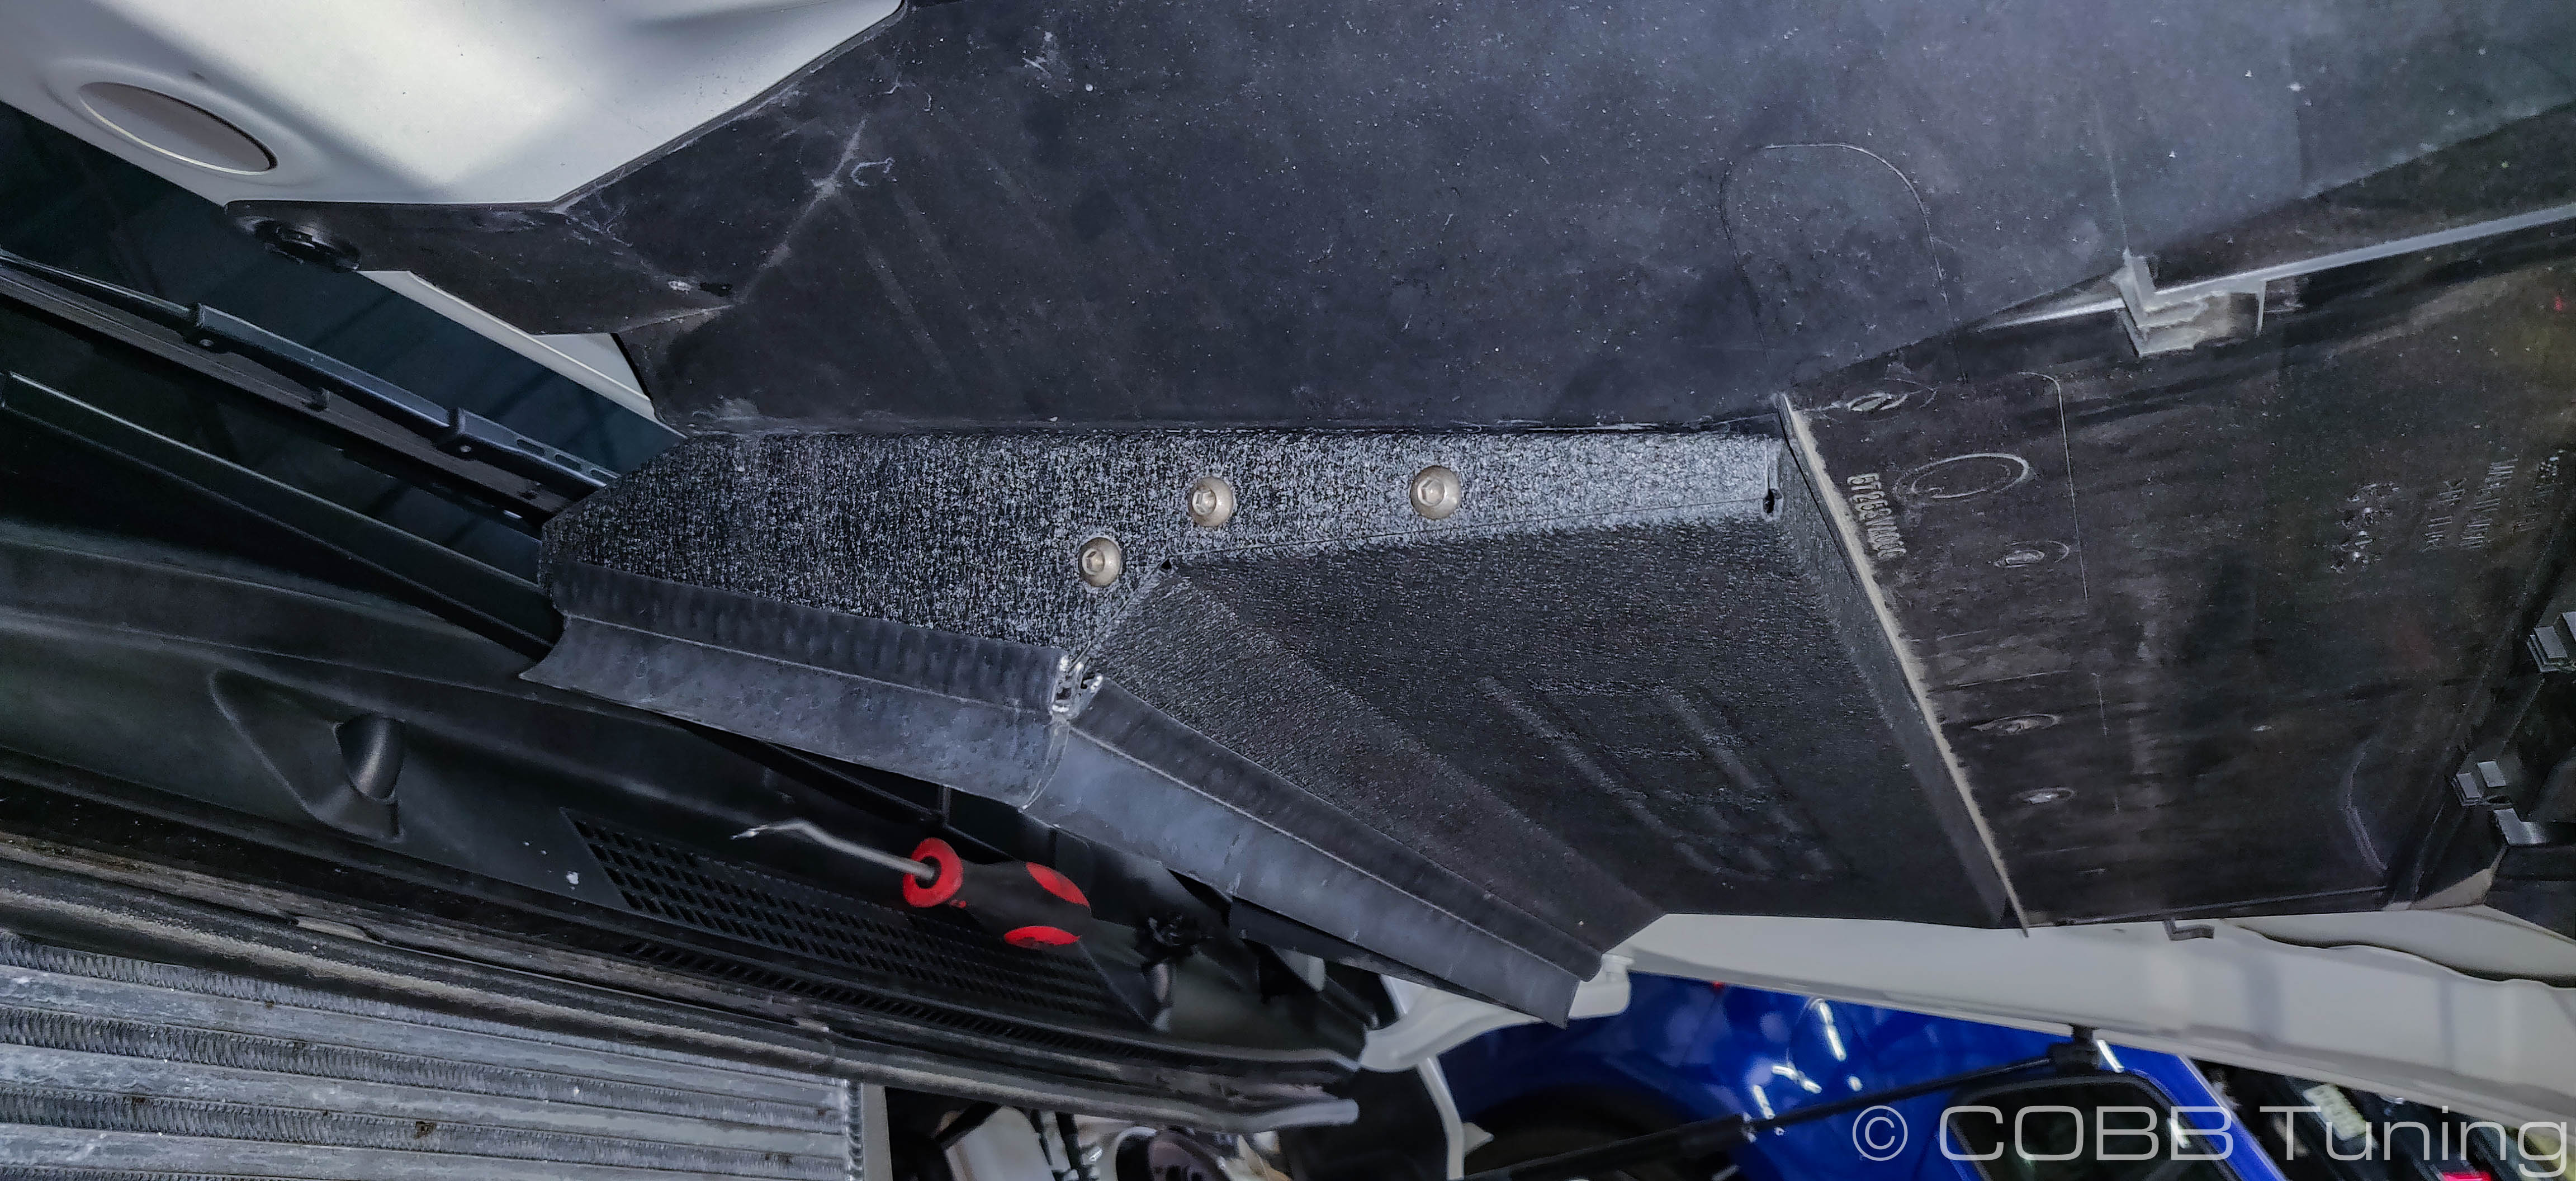
- Take the provided trim lock and measure and cut out pieces to fit on each face of the duct. This should provide a better seal against the intercooler.
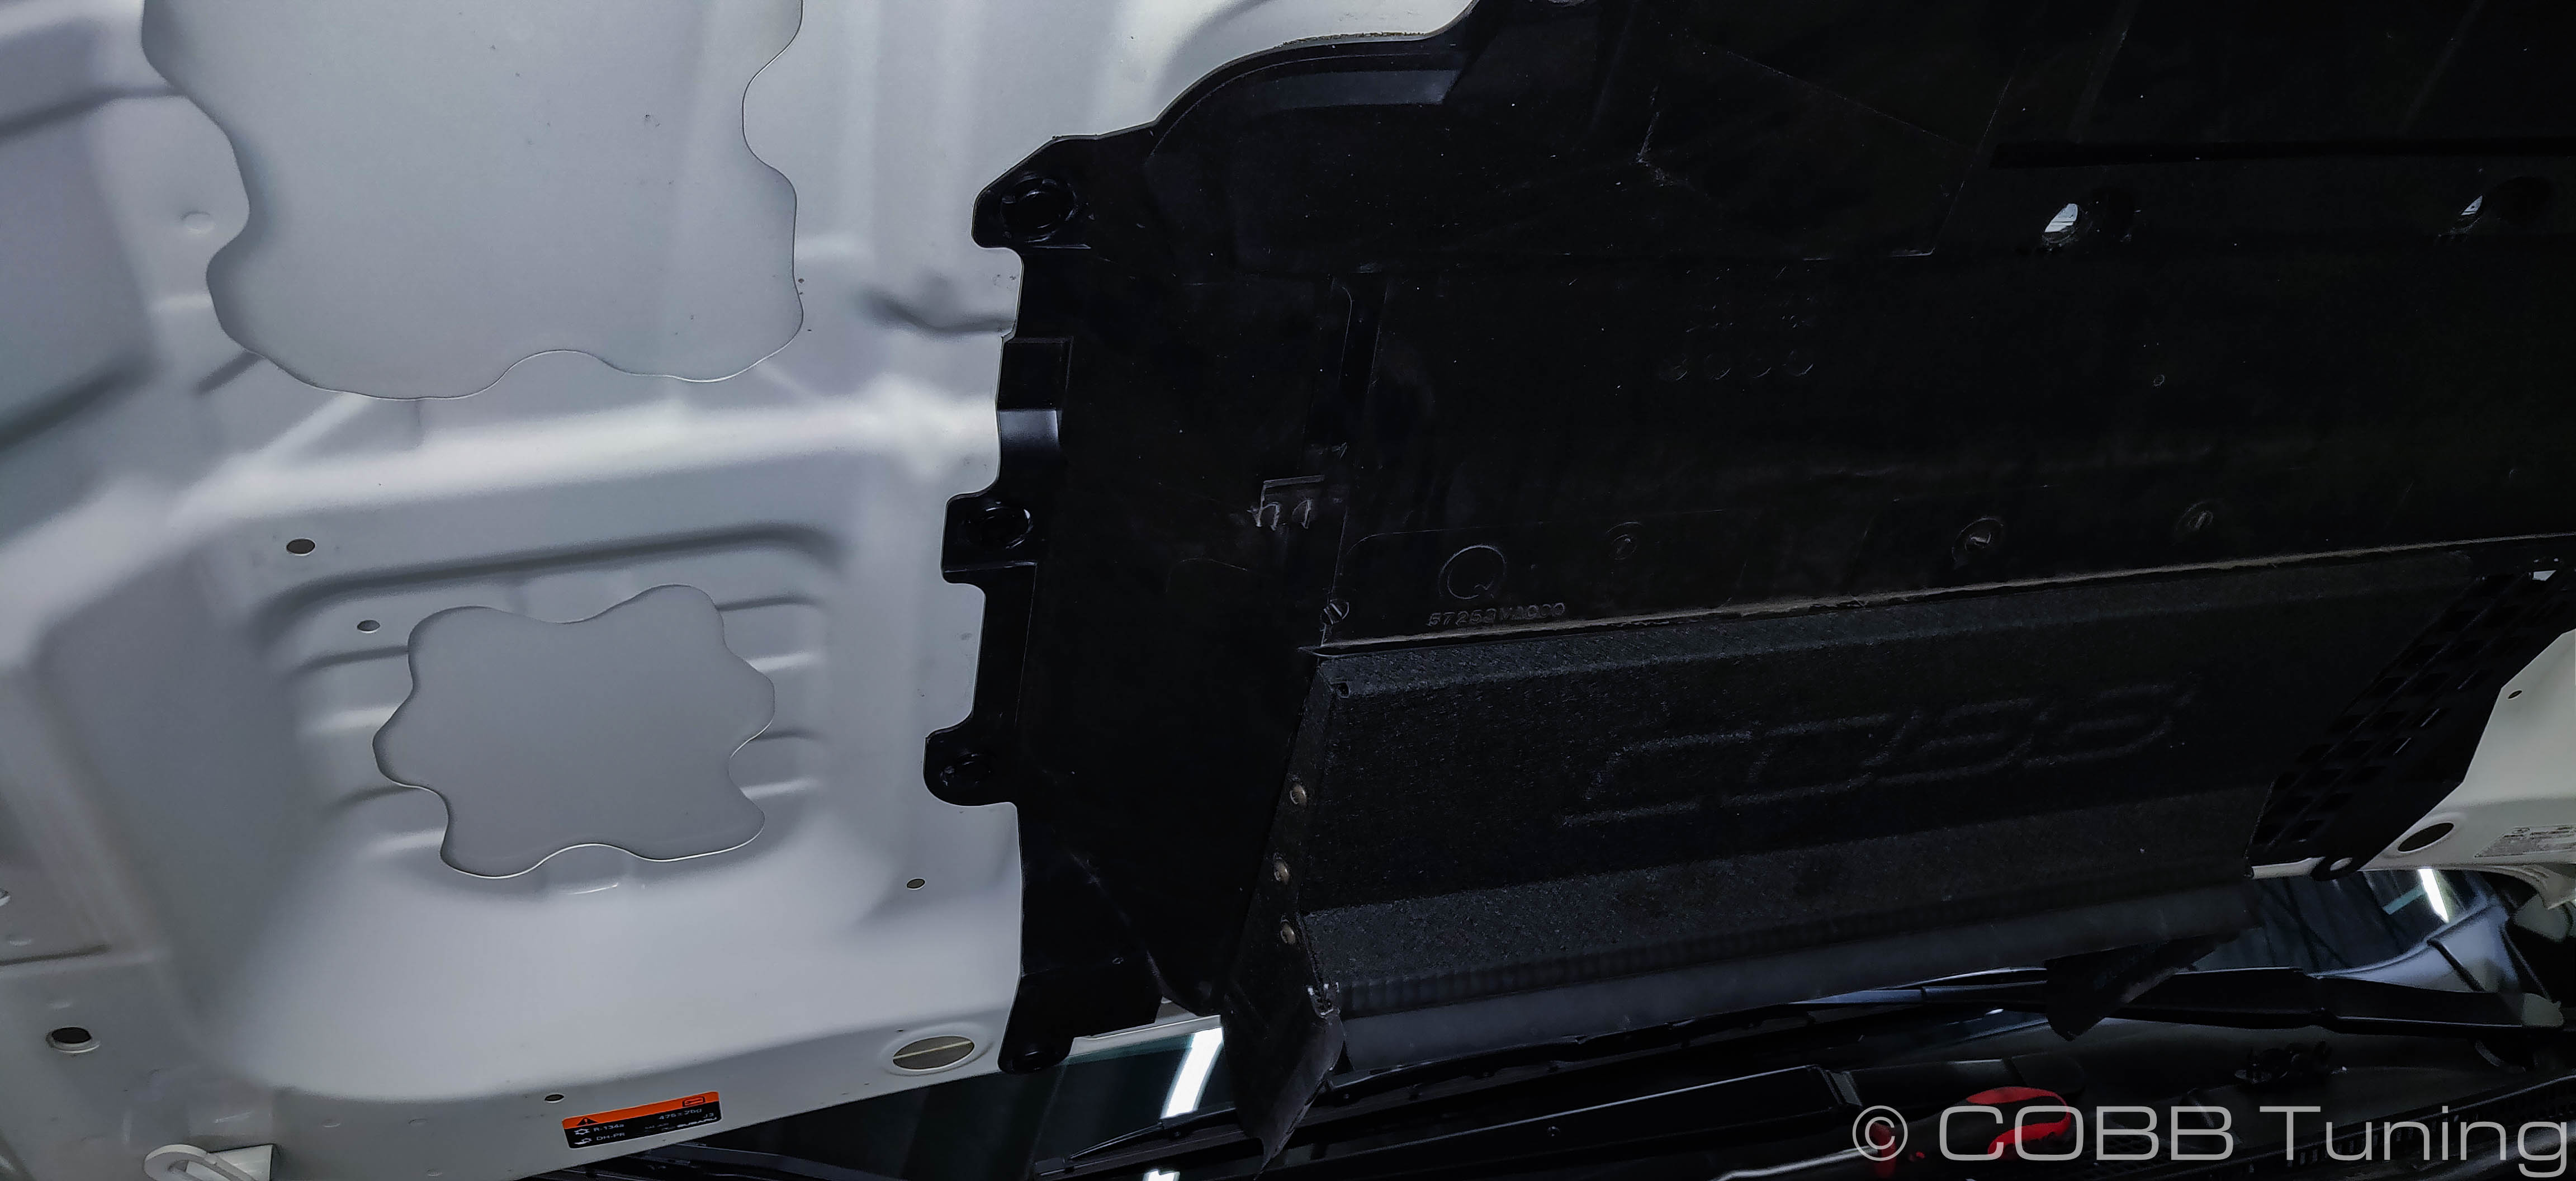
- You can now re-install the shroud and underhood insulation using the factory trim clips.
TMIC Installation
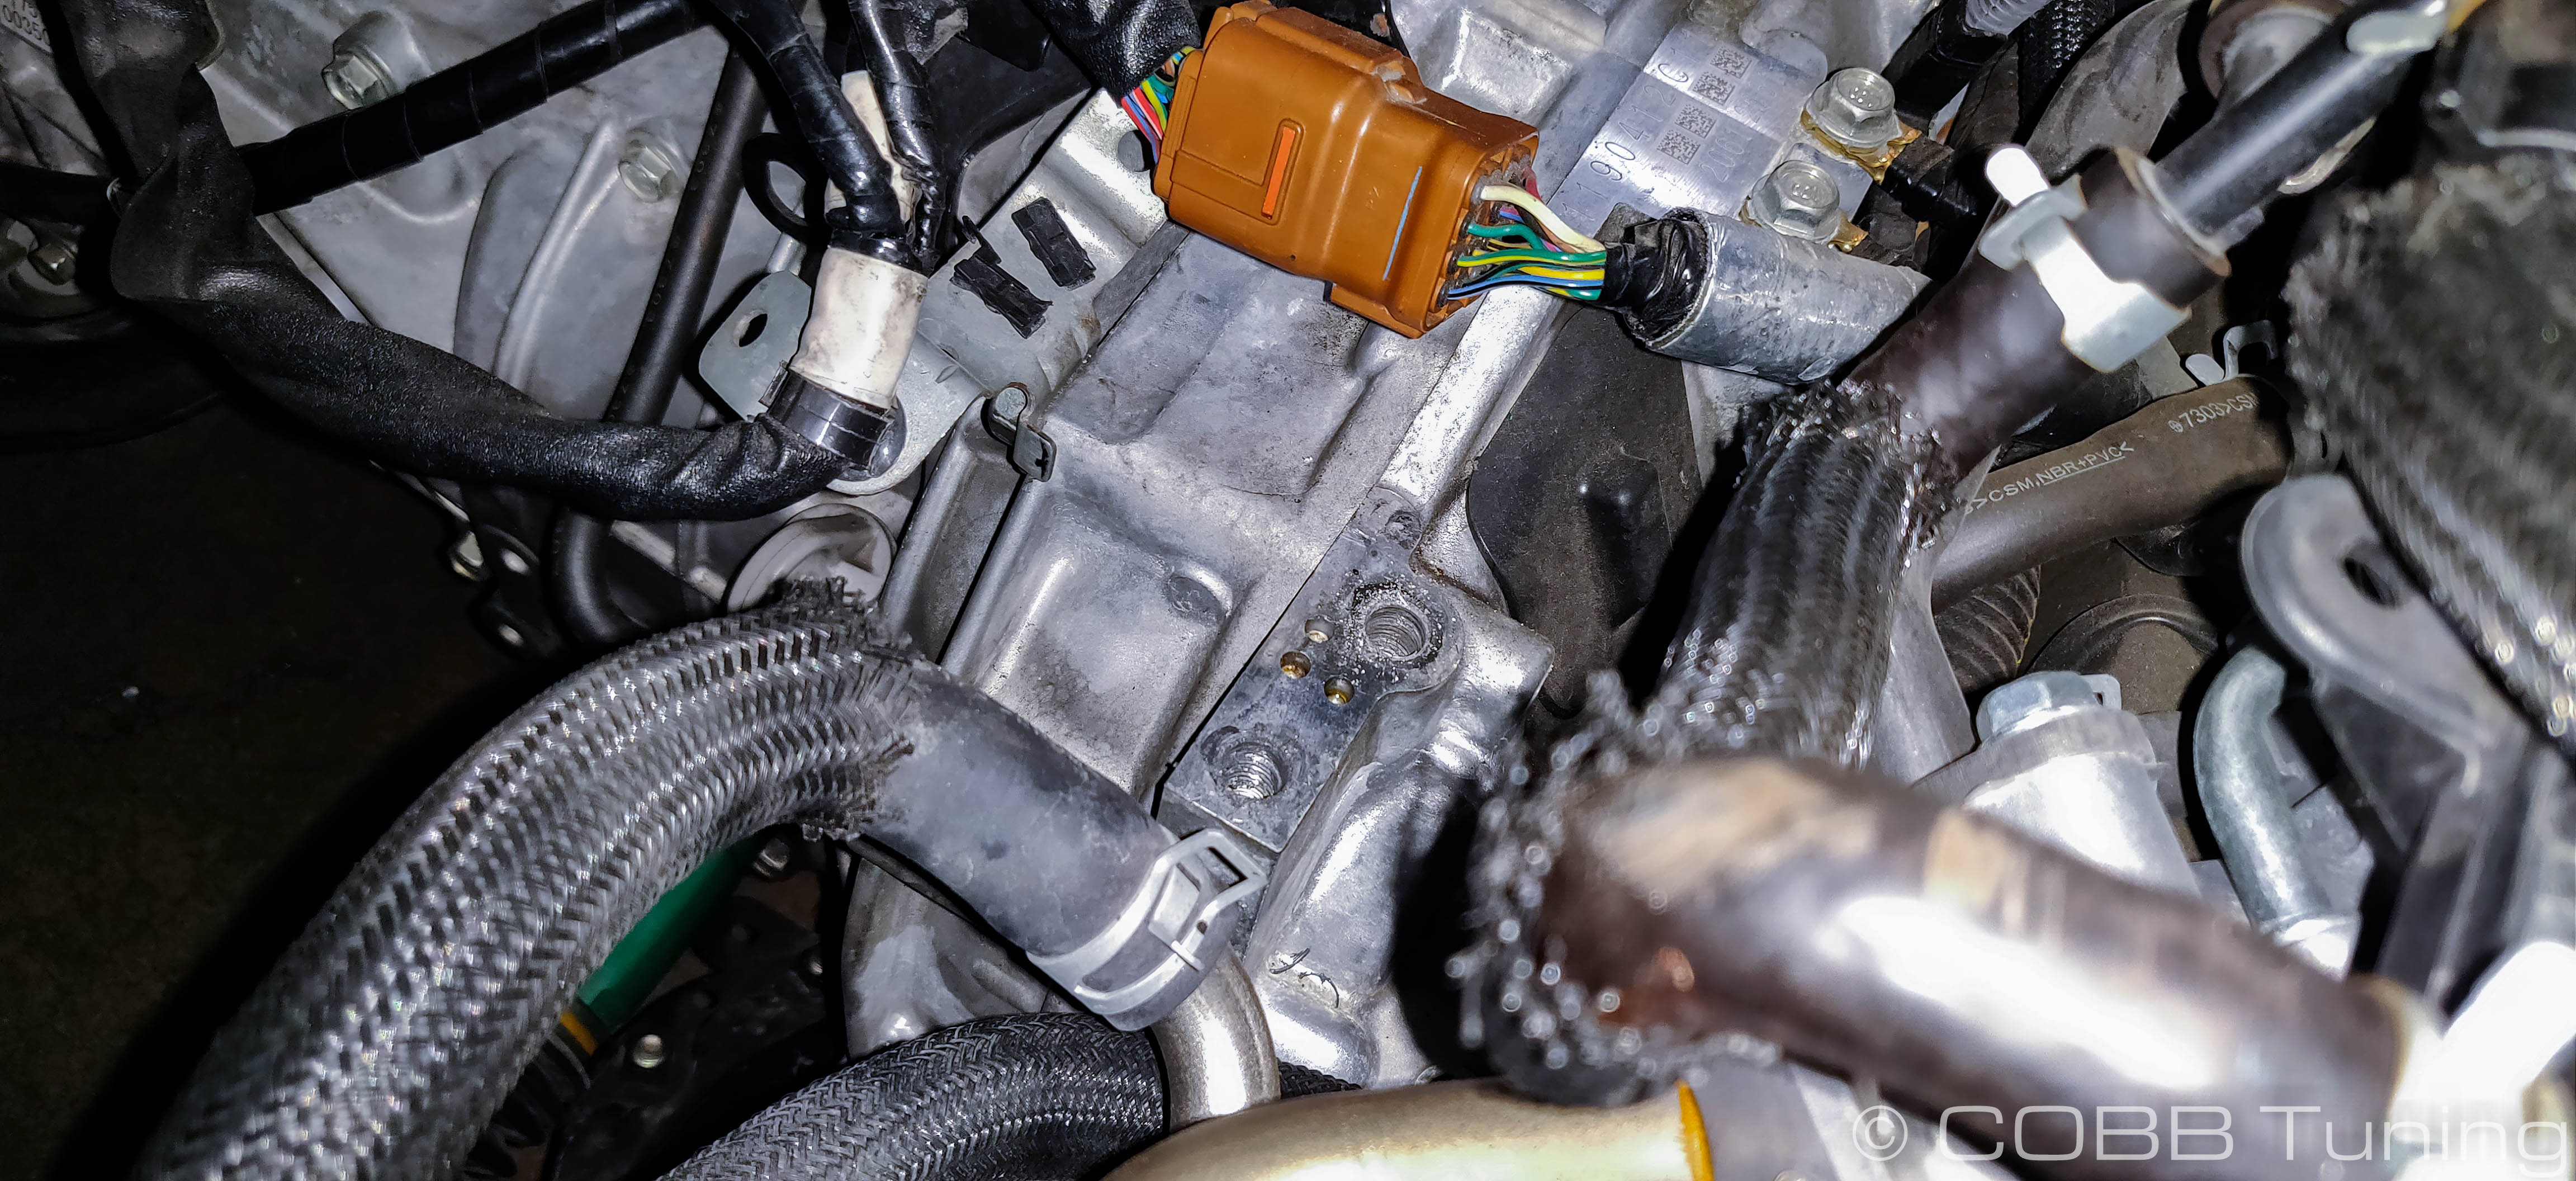
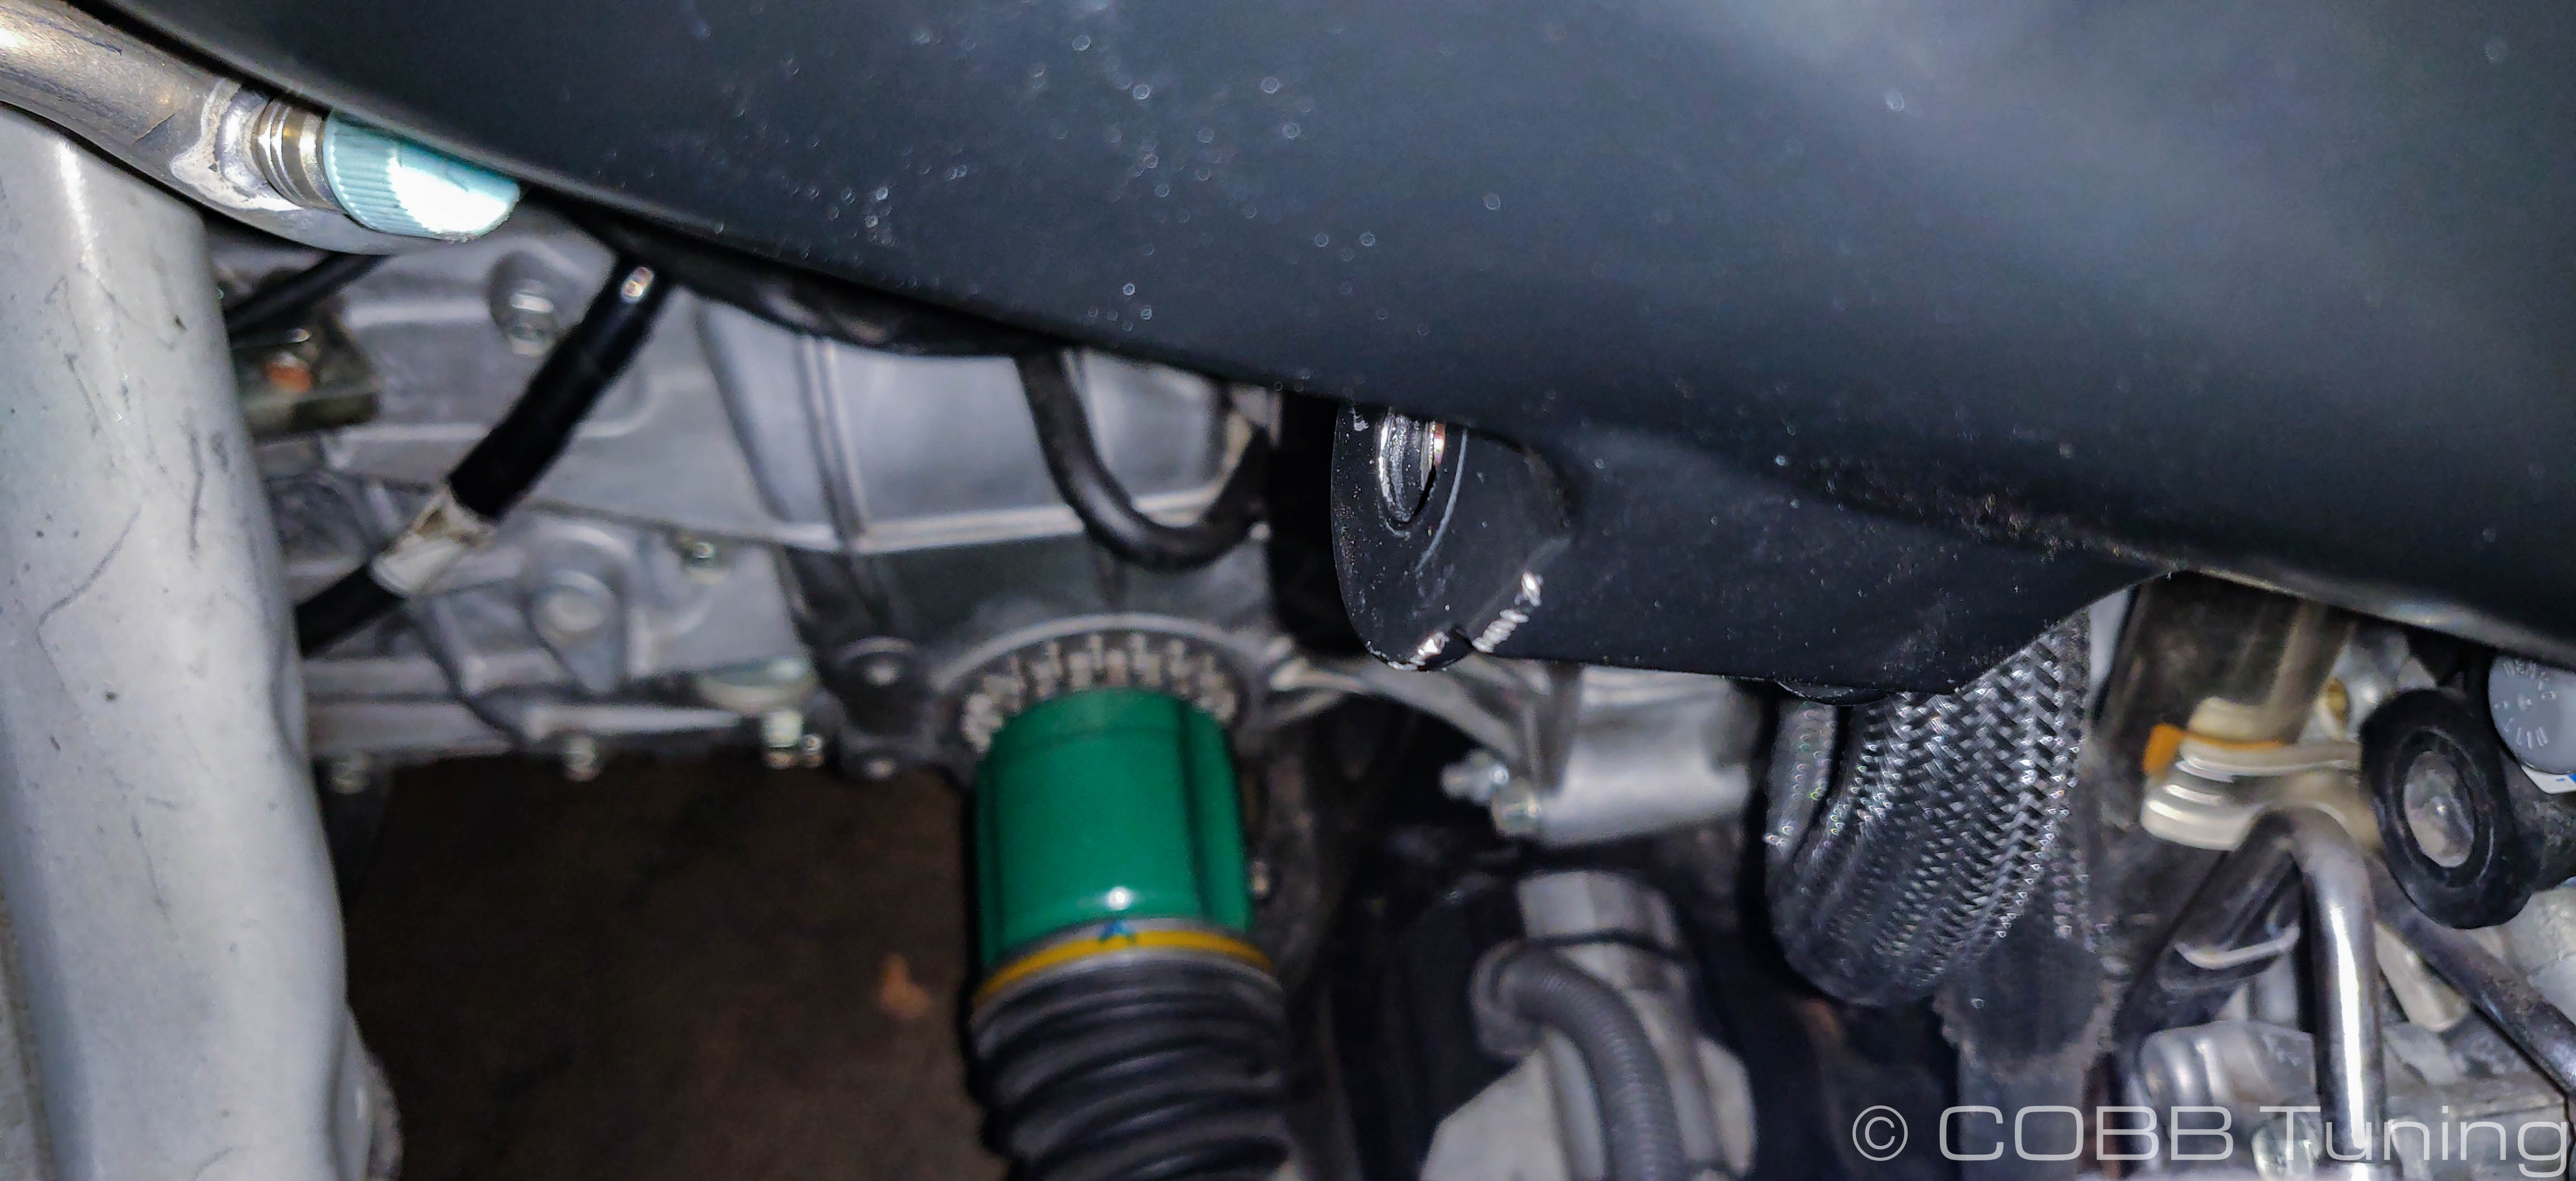
- Remove the two 14mm bolts holding the passenger's side bracket for the stock intercooler in place. These should be just in front of where the engine block connects to the transmission.
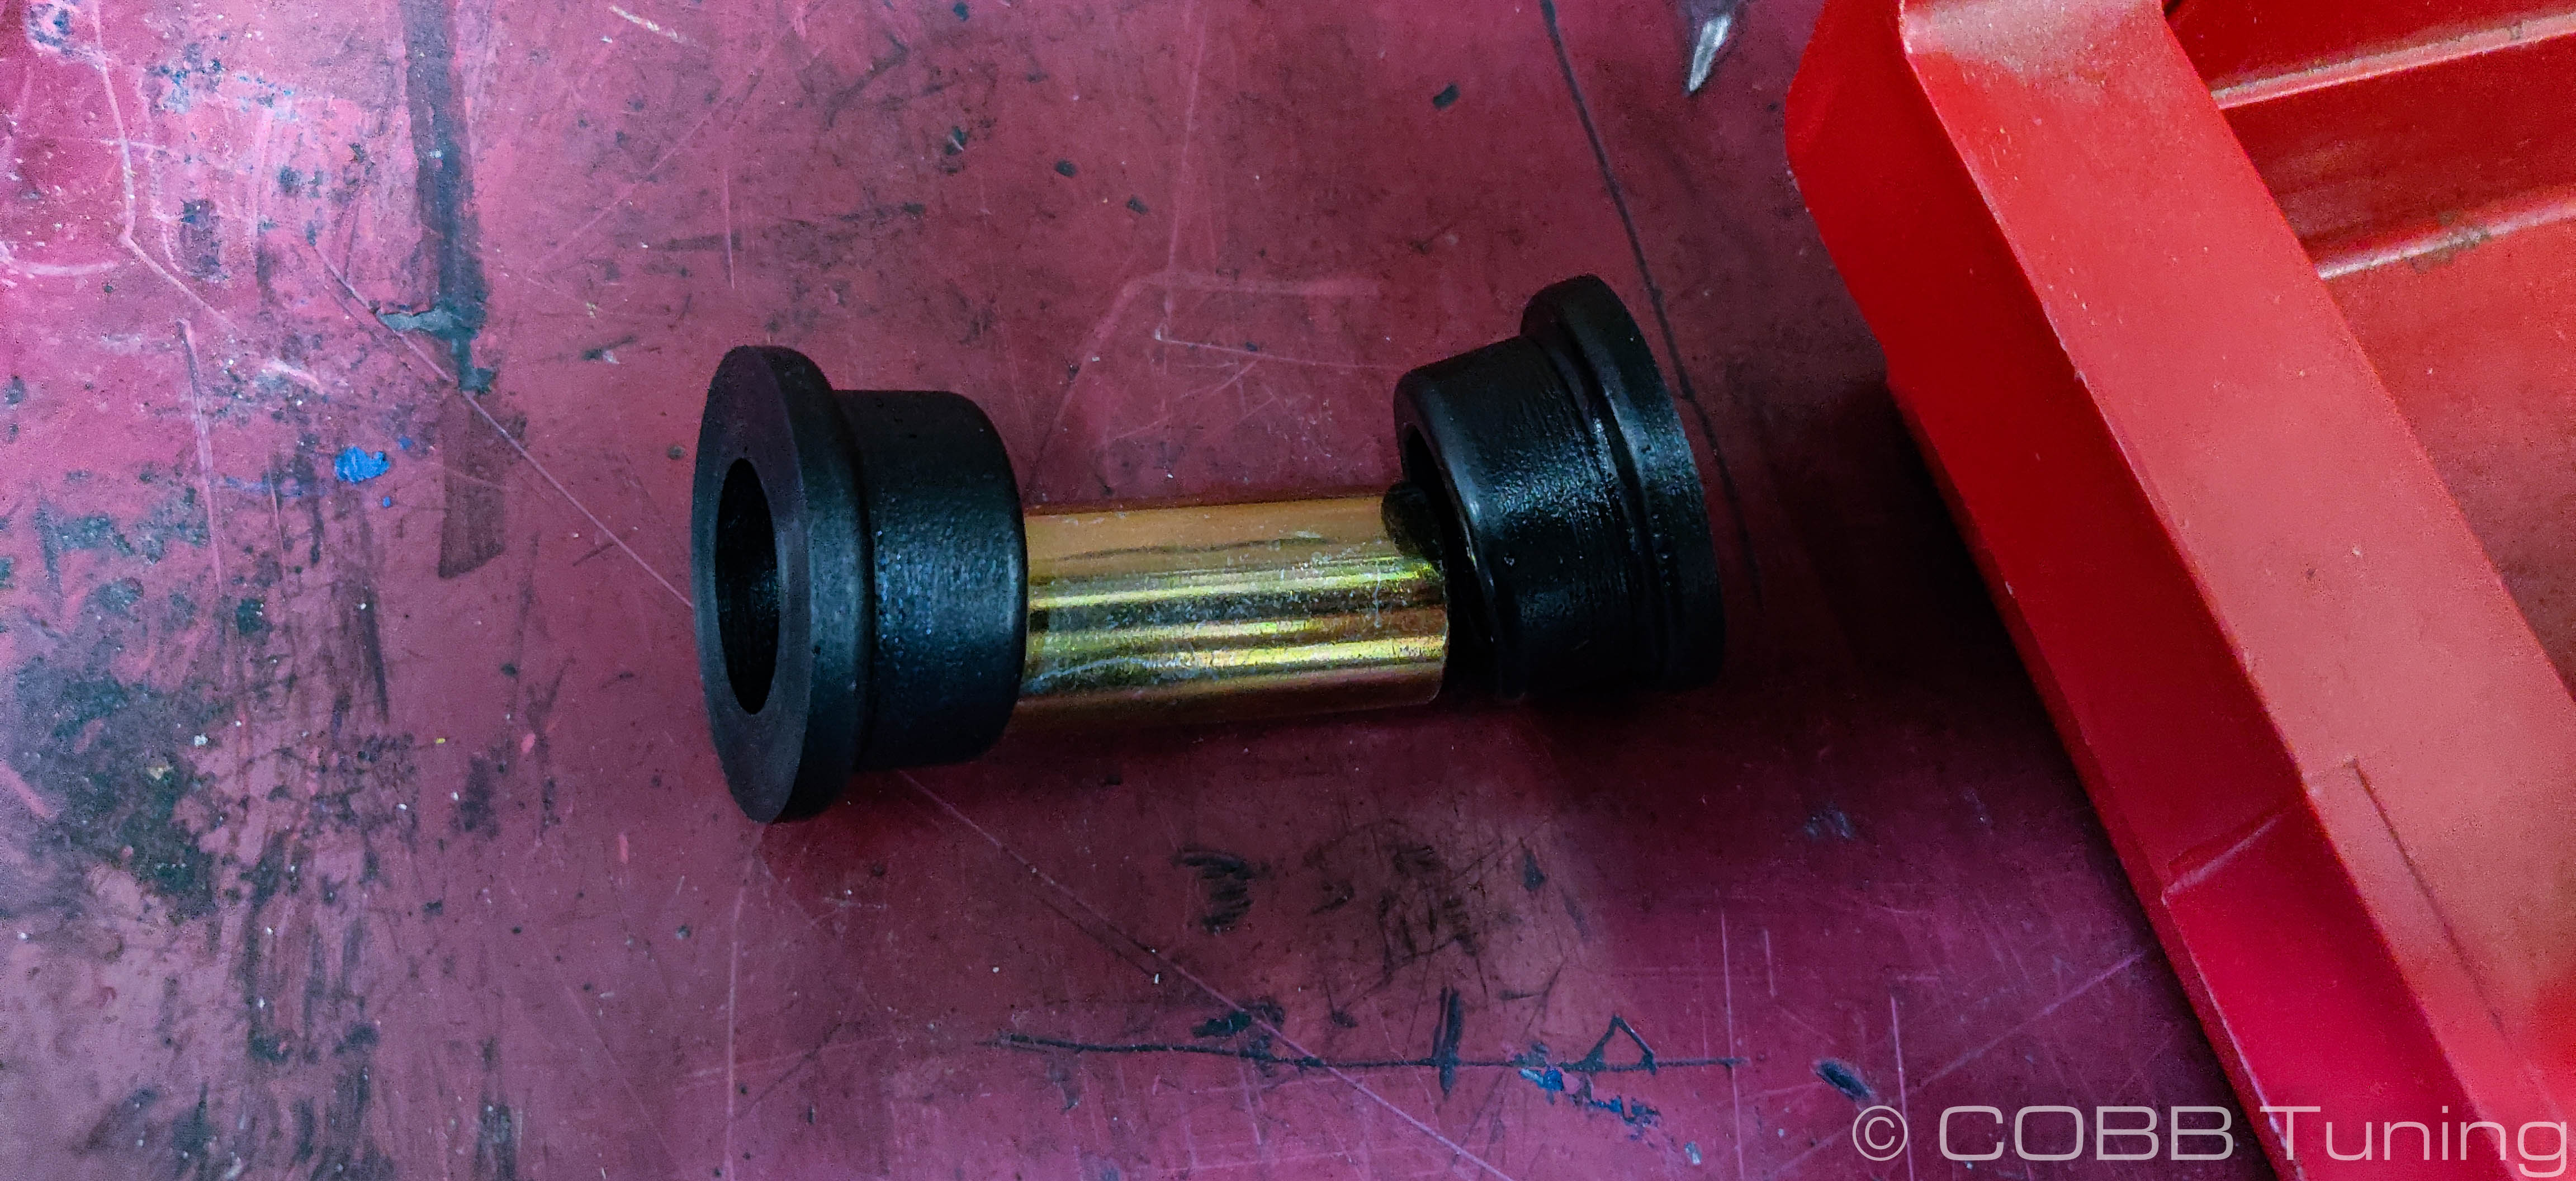
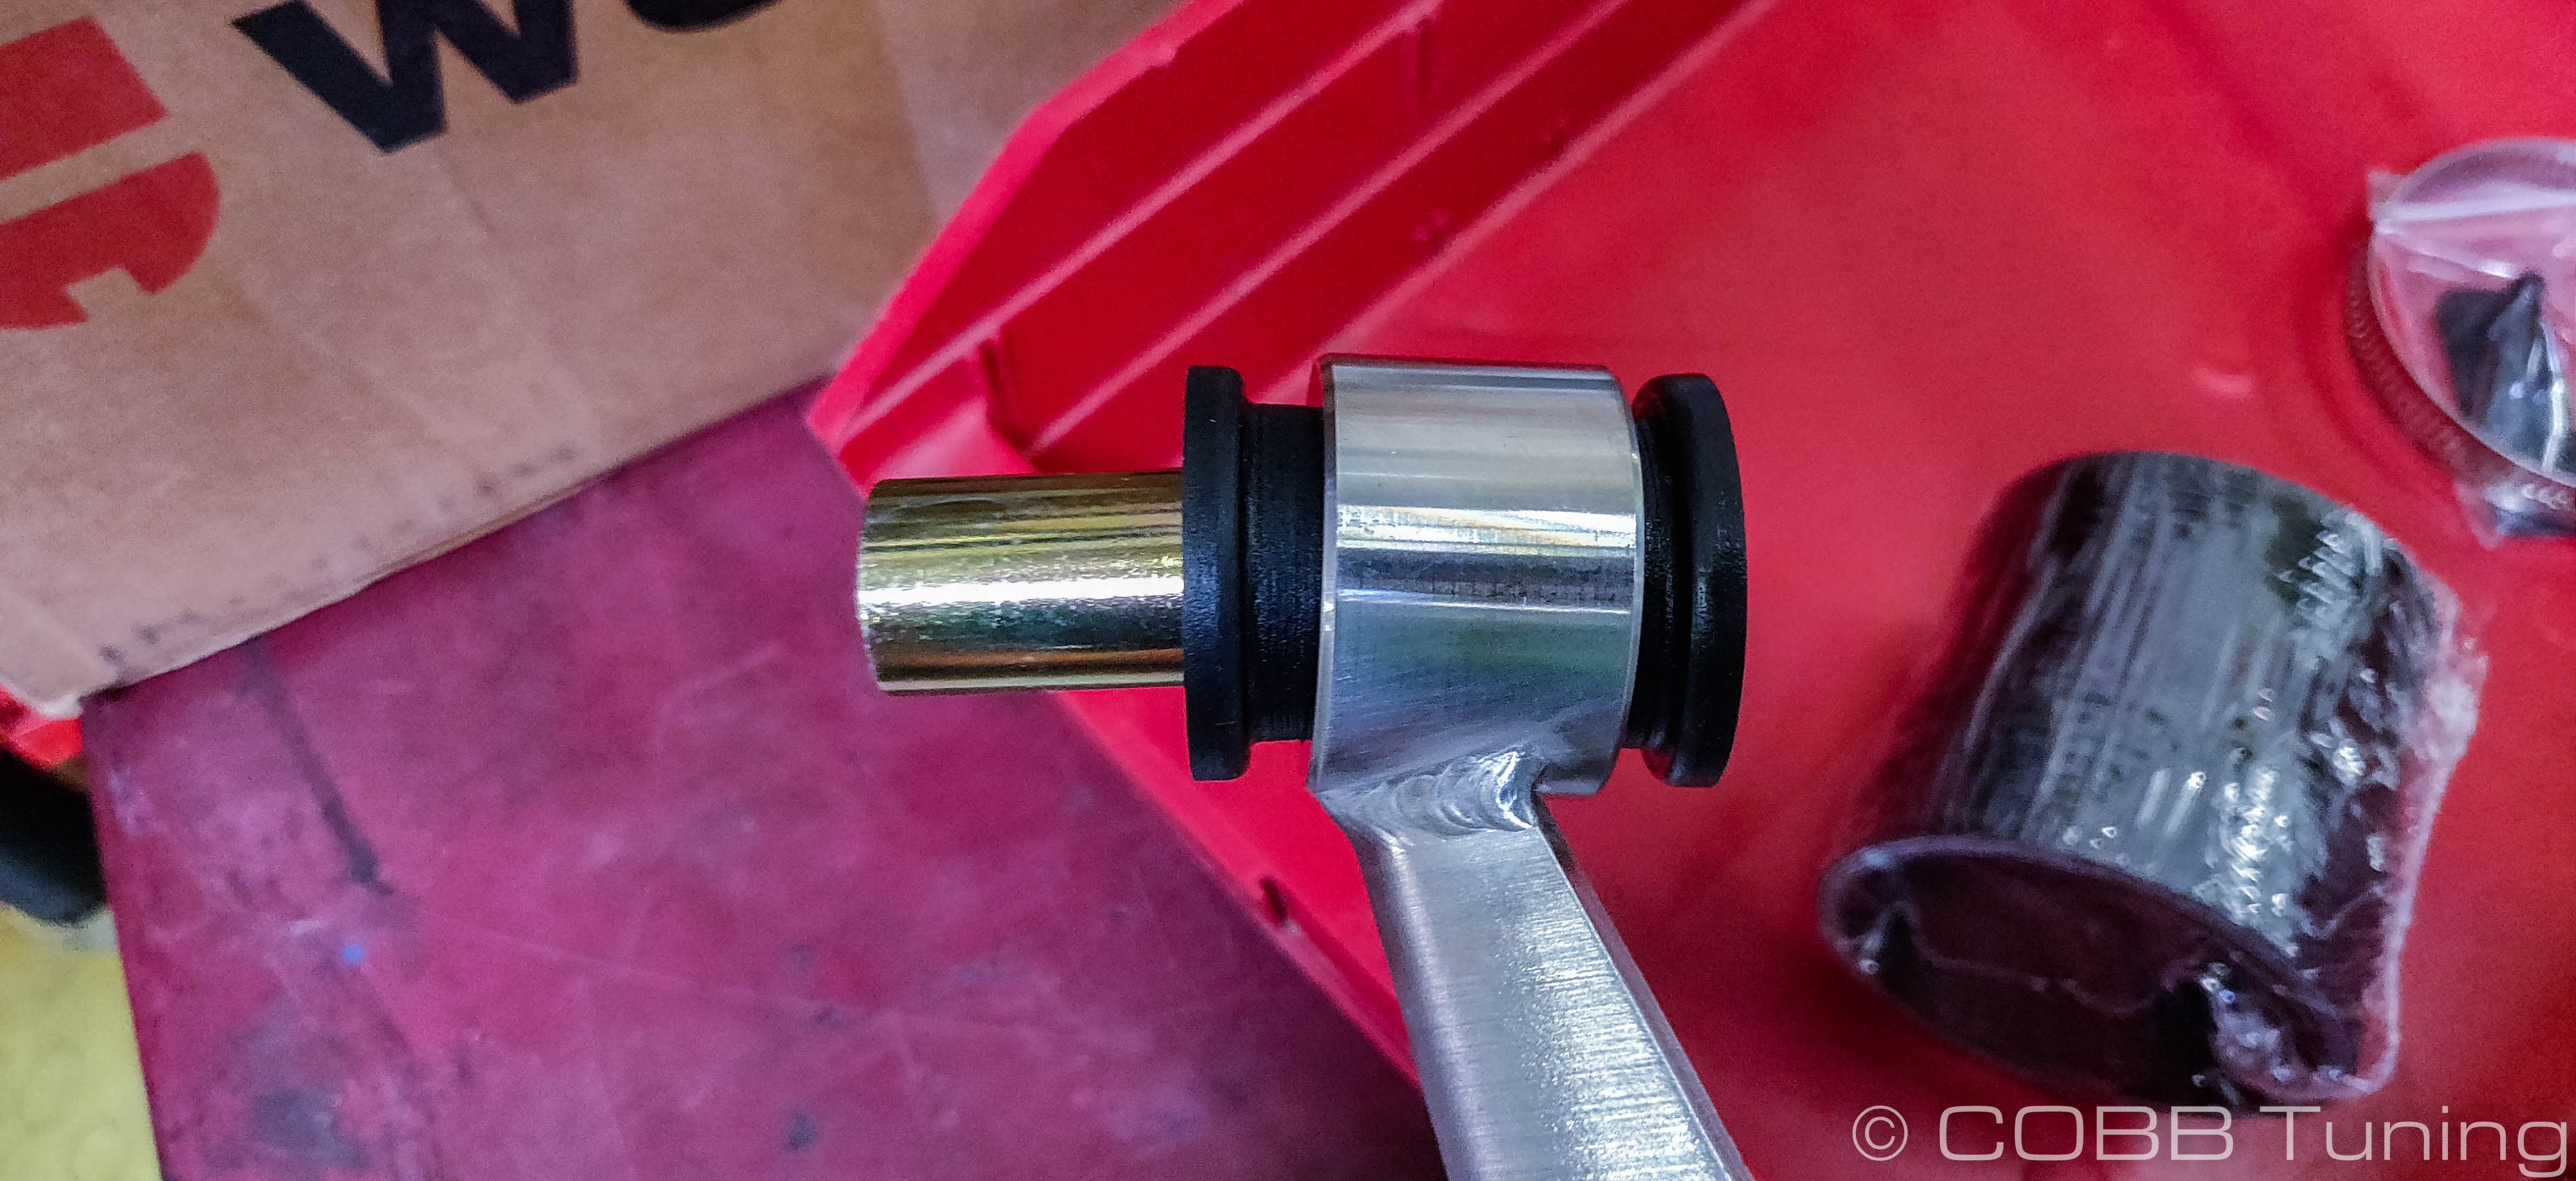
- Install the two provided bushings into the new support bracket. The skinnier portion of the bushings will go in towards the center of the bracket and the pin should sit between the two. If you can get the bushings started, using a vice can help get the bushings in the rest of the way before installing the pin.
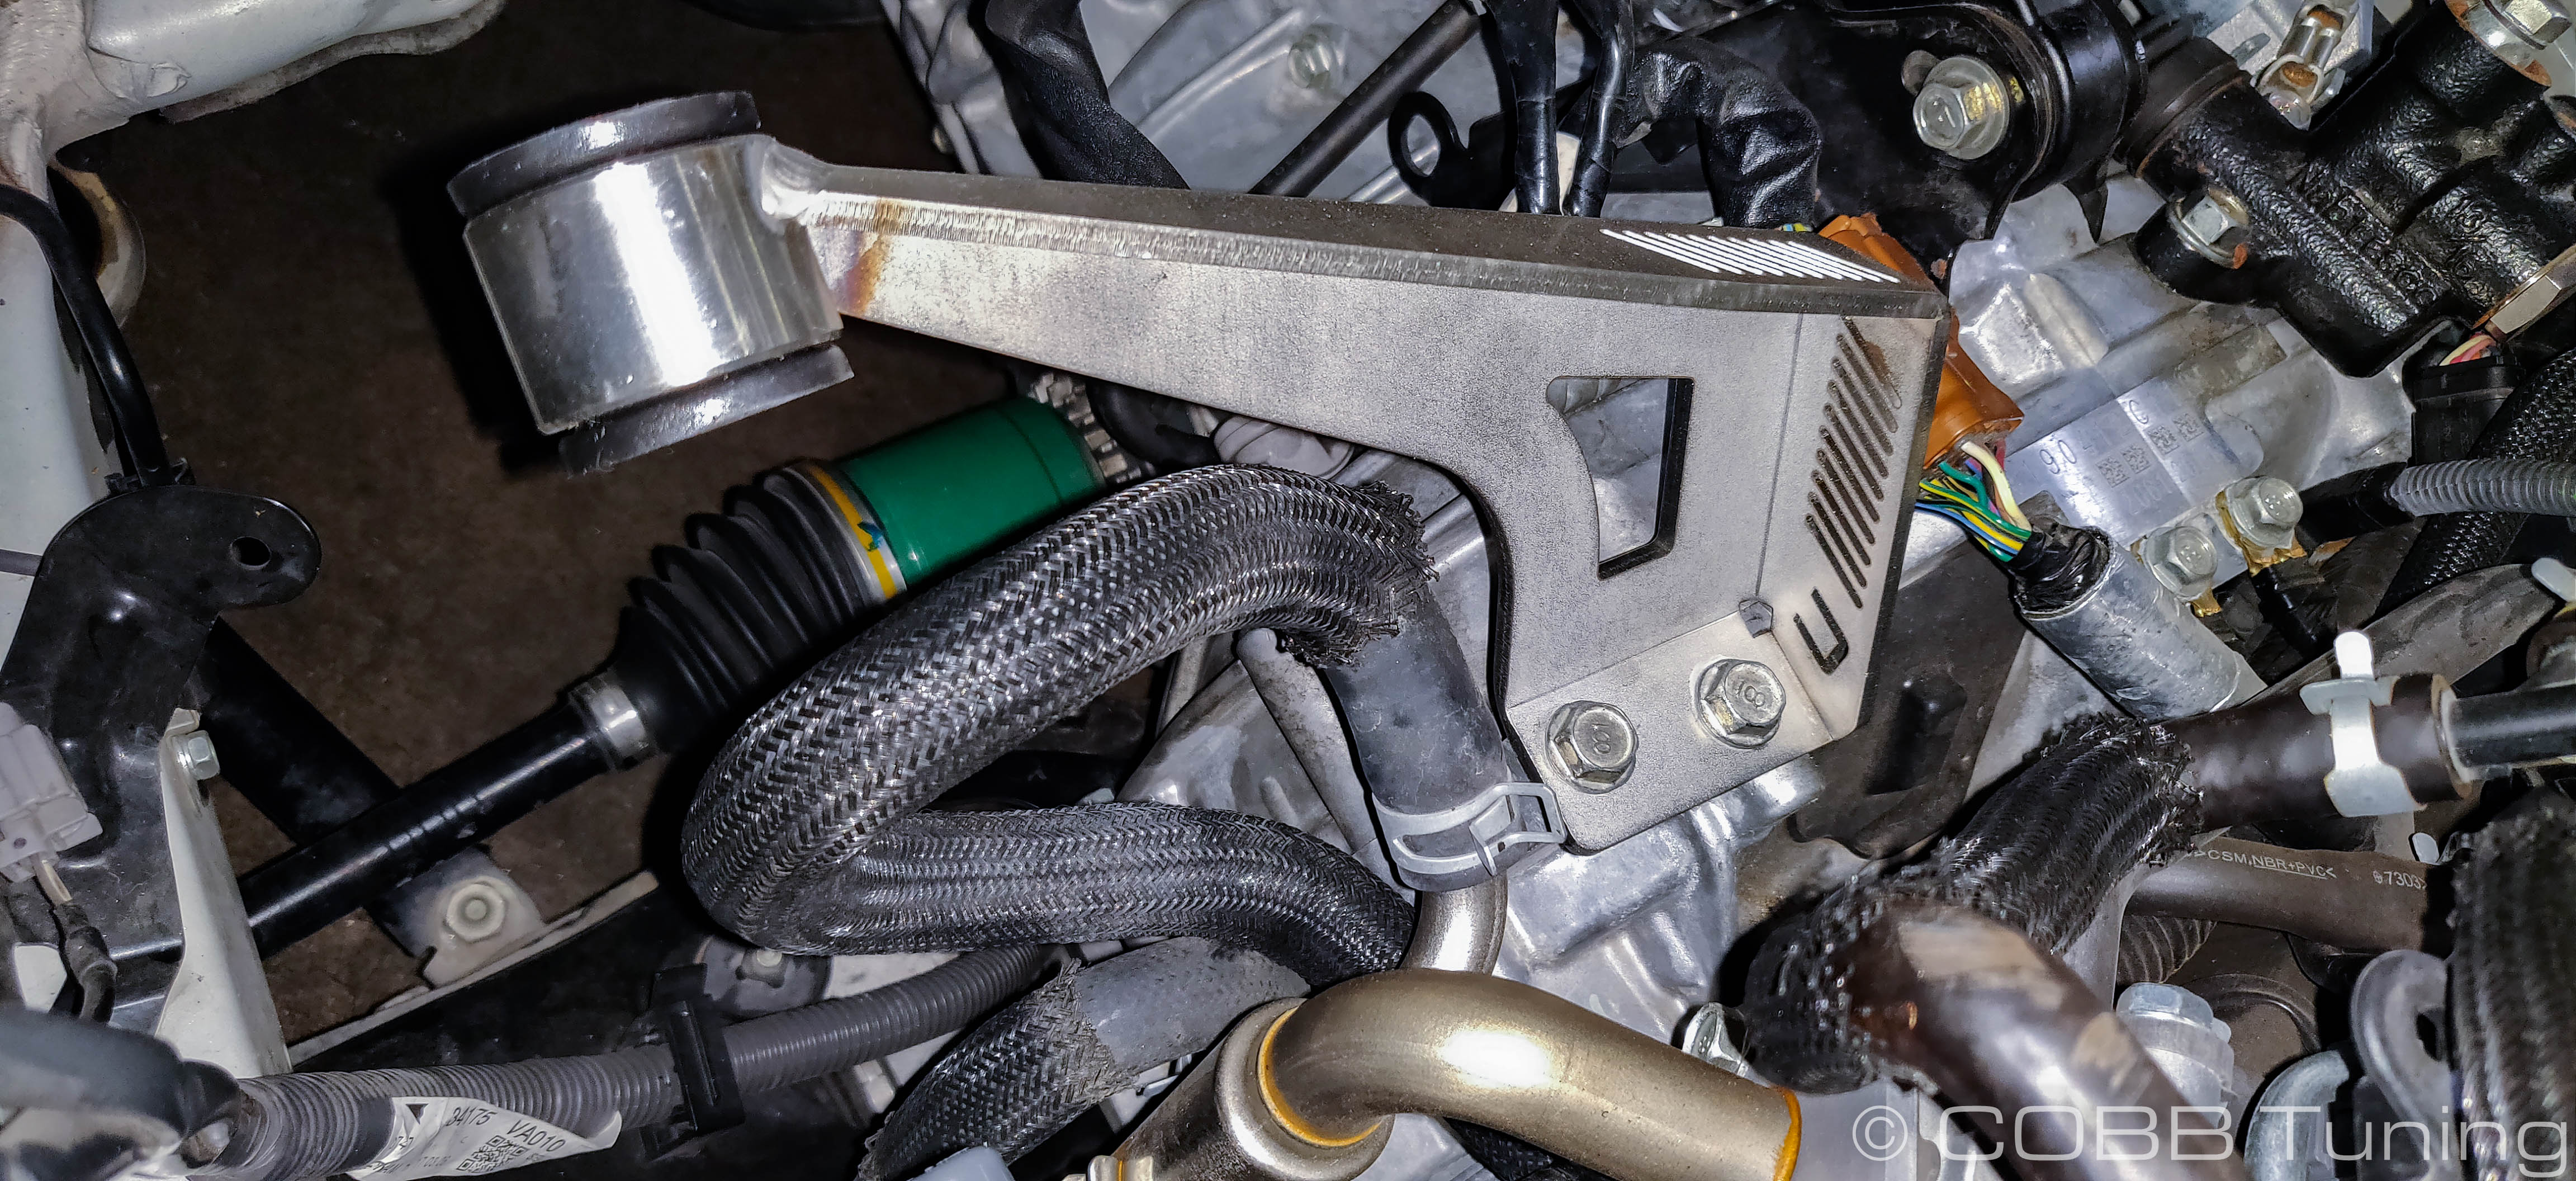
- This bracket can now get installed onto the same two holes you previously removed the factory bracket from using the stock bolts.
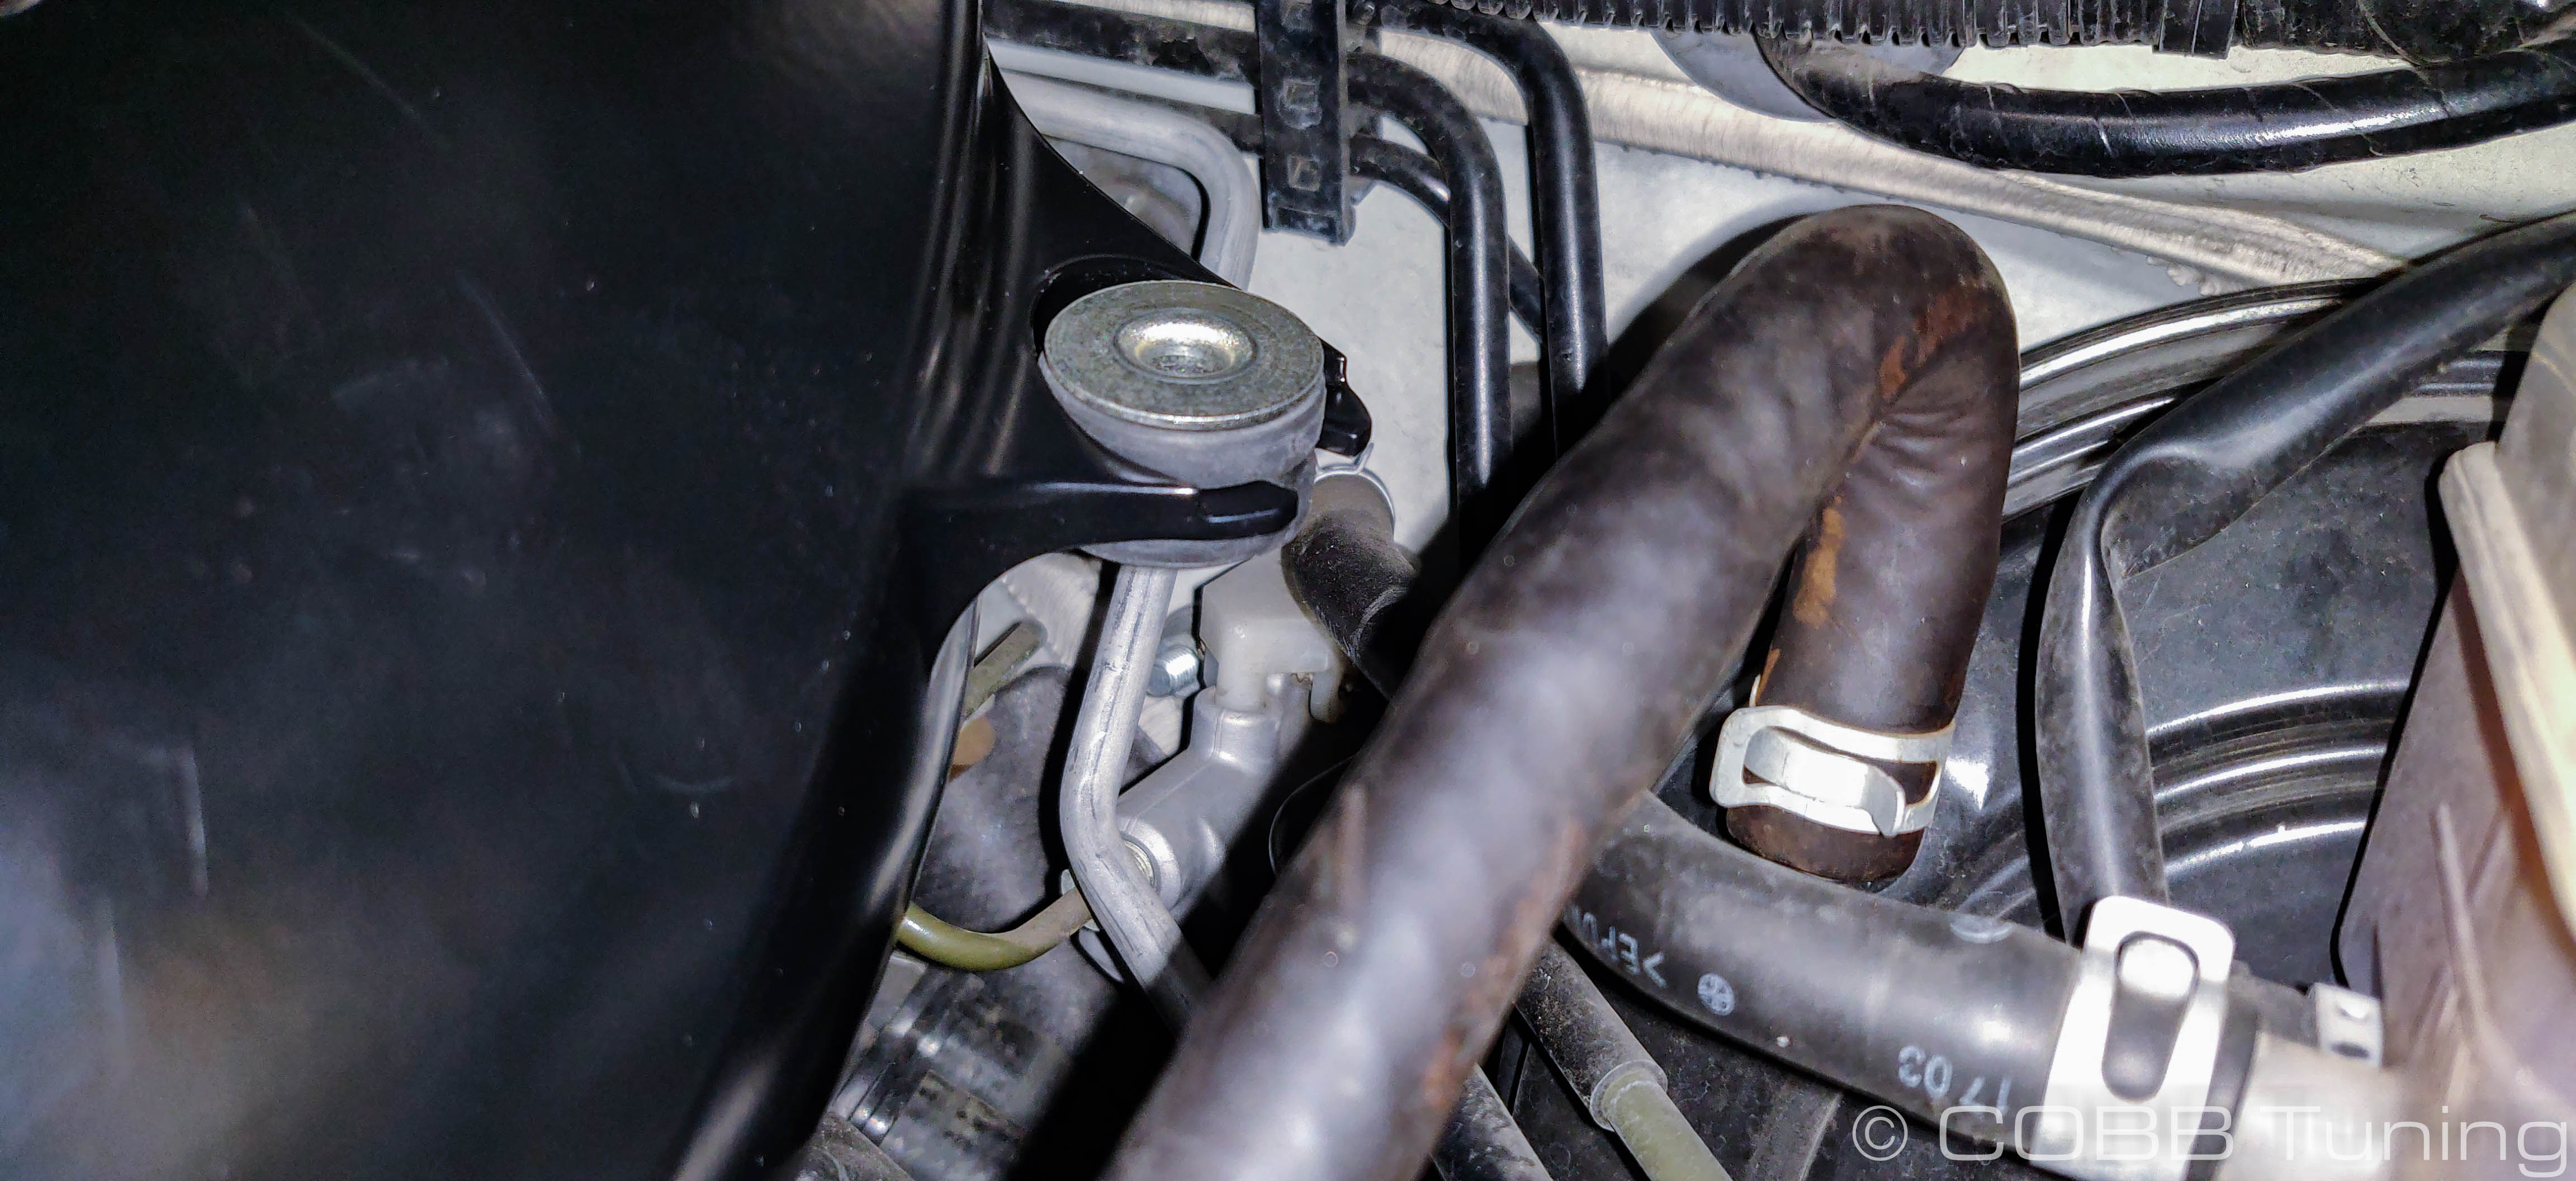
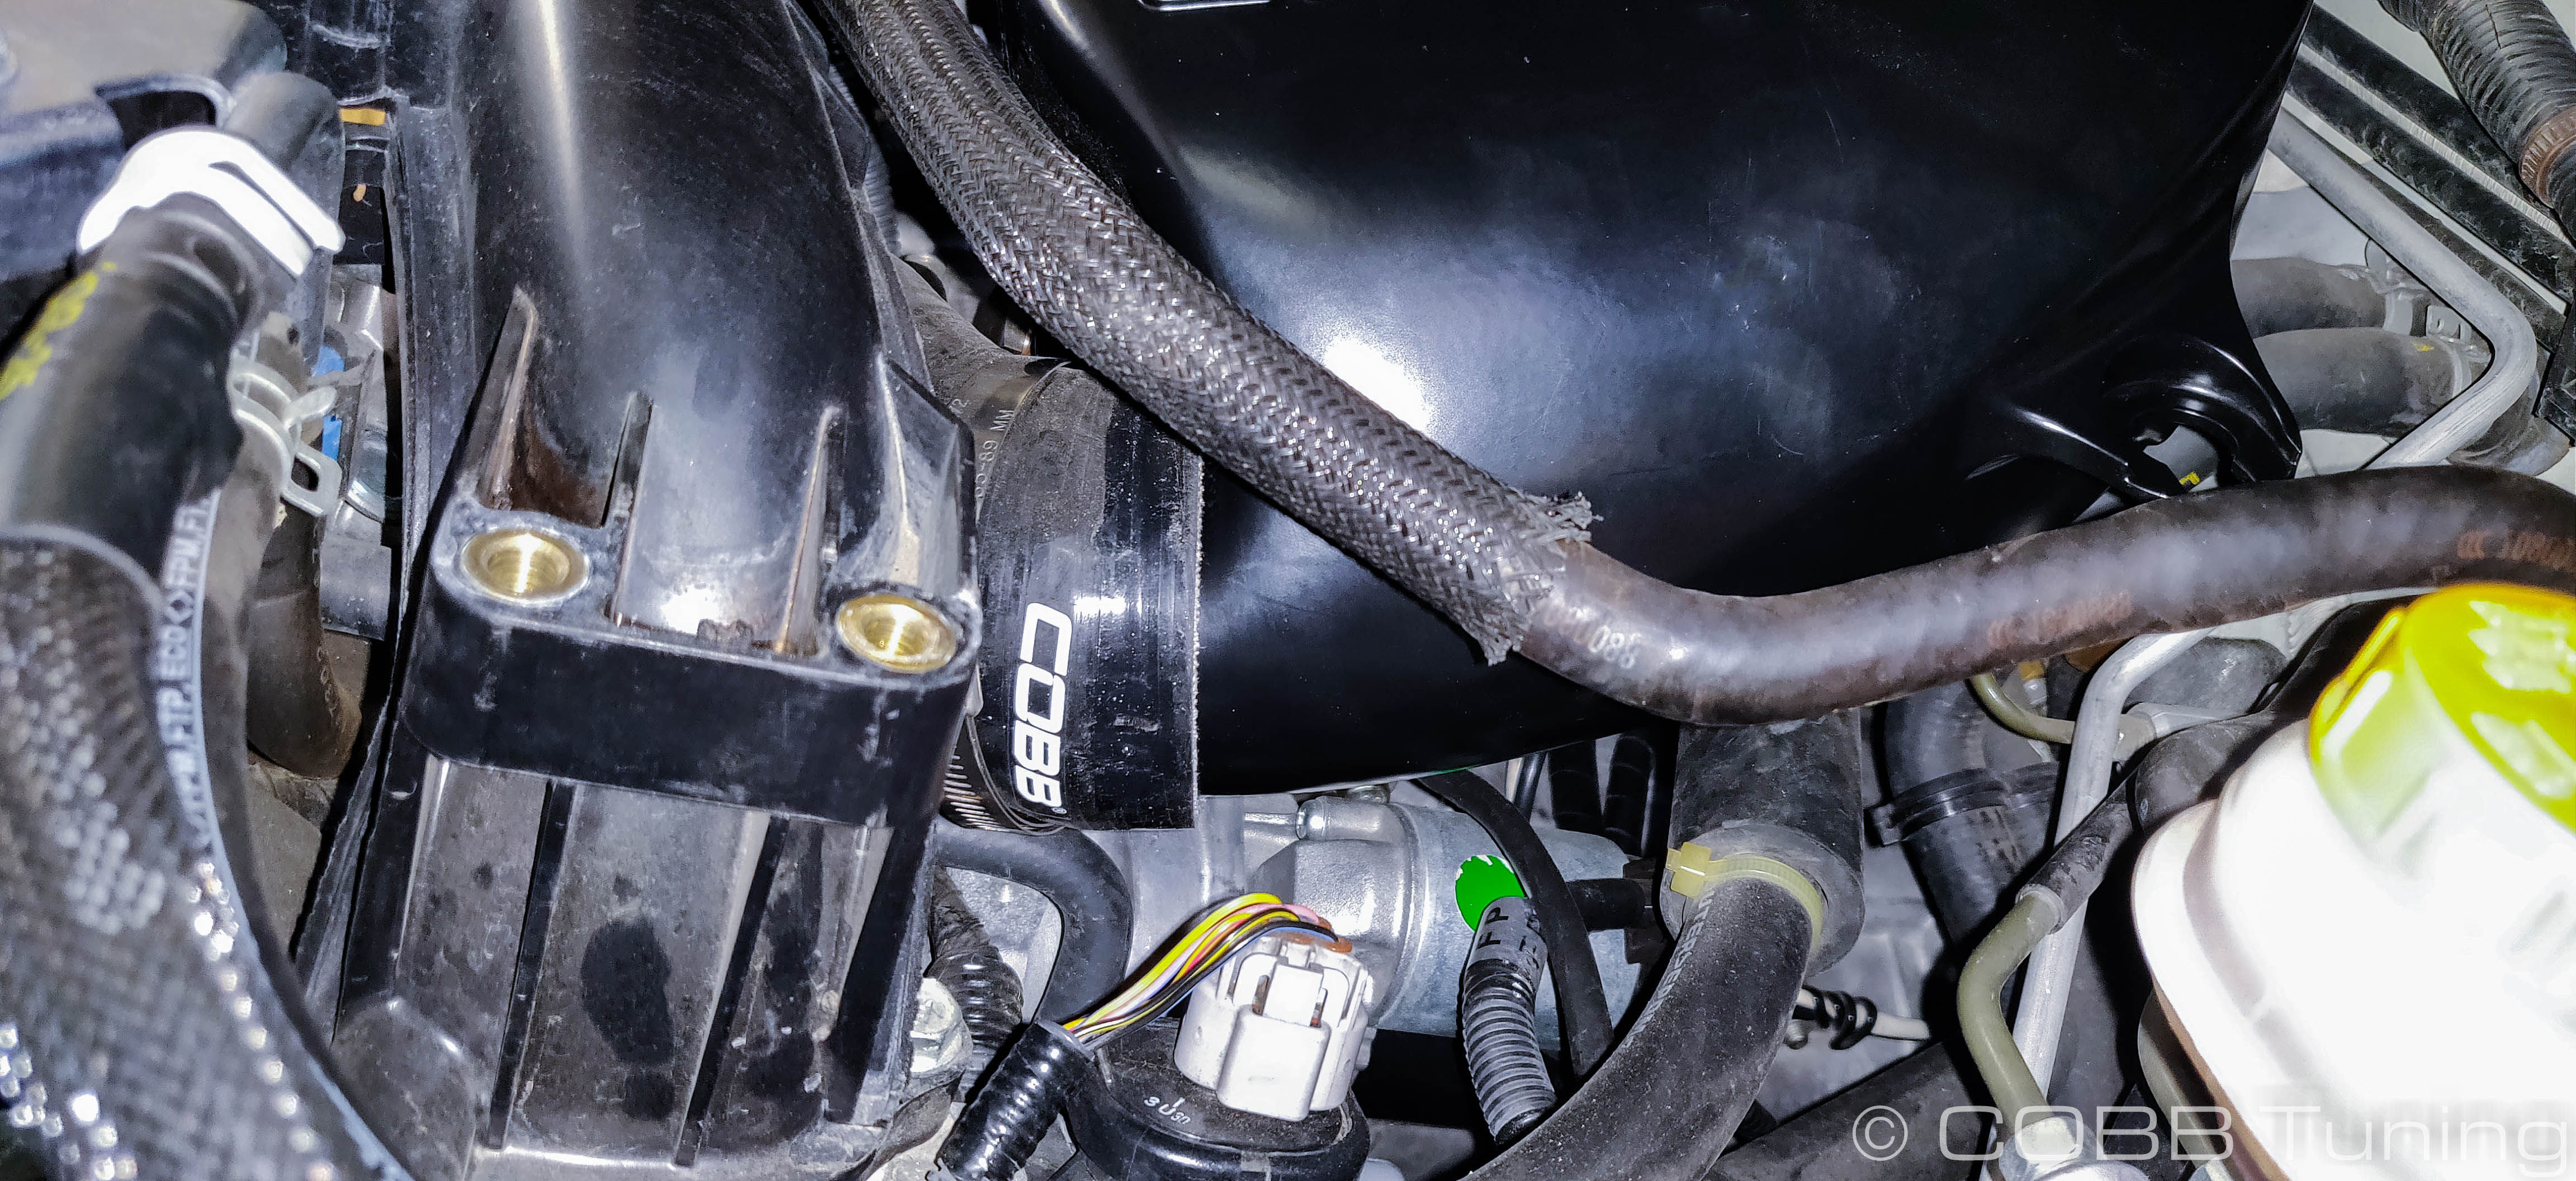
- Using your screwdriver remove the factory throttle body coupler underneath the drivers side of the intake manifold. Replace it using the provided hose clamp and the new coupler. The oddly shaped bump of the coupler should face down.

- Slip another hose clamp over that coupler so that it will be in place when we put the new intercooler in.
- On one side of the stock intercooler, remove the grommet and metal insert That can then be installed on the driver's side of the COBB intercooler. Make sure the flat portion of the insert faces up.
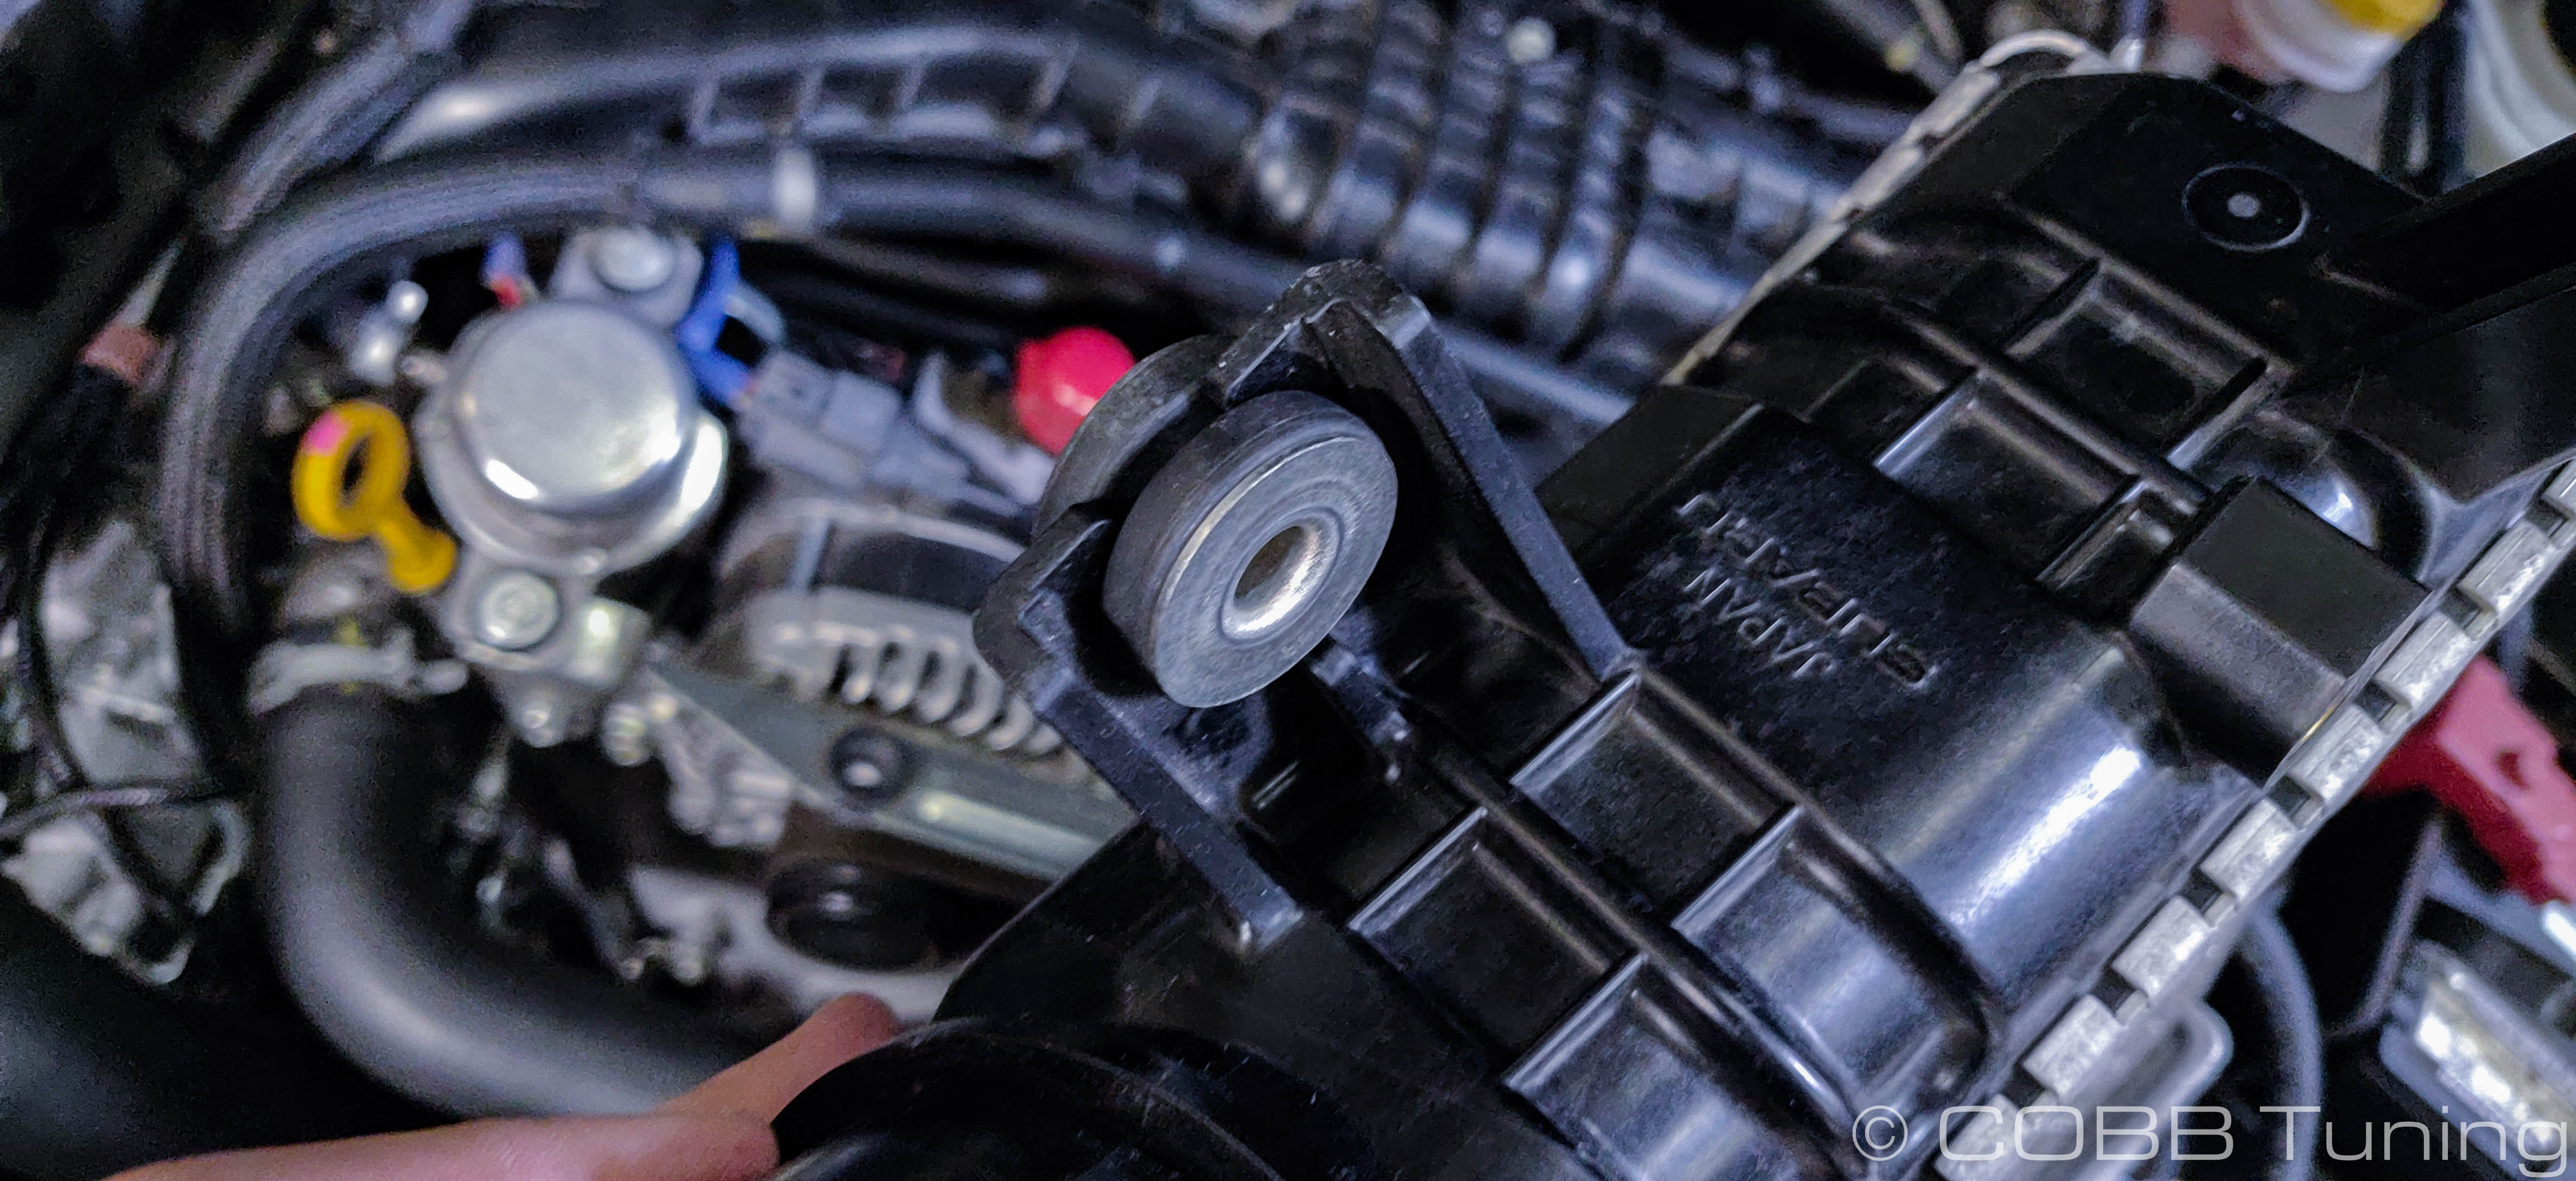
- The intercooler can now get installed. Carefully tip it in to place in the throttle coupler first, then down onto the bushings of the newly installed bracket.
- Take the large provided bolt and nut and gently wiggle the intercooler up and down to feed the bolt through the bracket and bushing, then attach the nut on the other end. It can be tightened down using a combination of a 17mm and 18mm socket/wrench.

- Go ahead and tighten down the hose clamps on the throttle body coupler, then re-install the driver's side factory intercooler bracket.

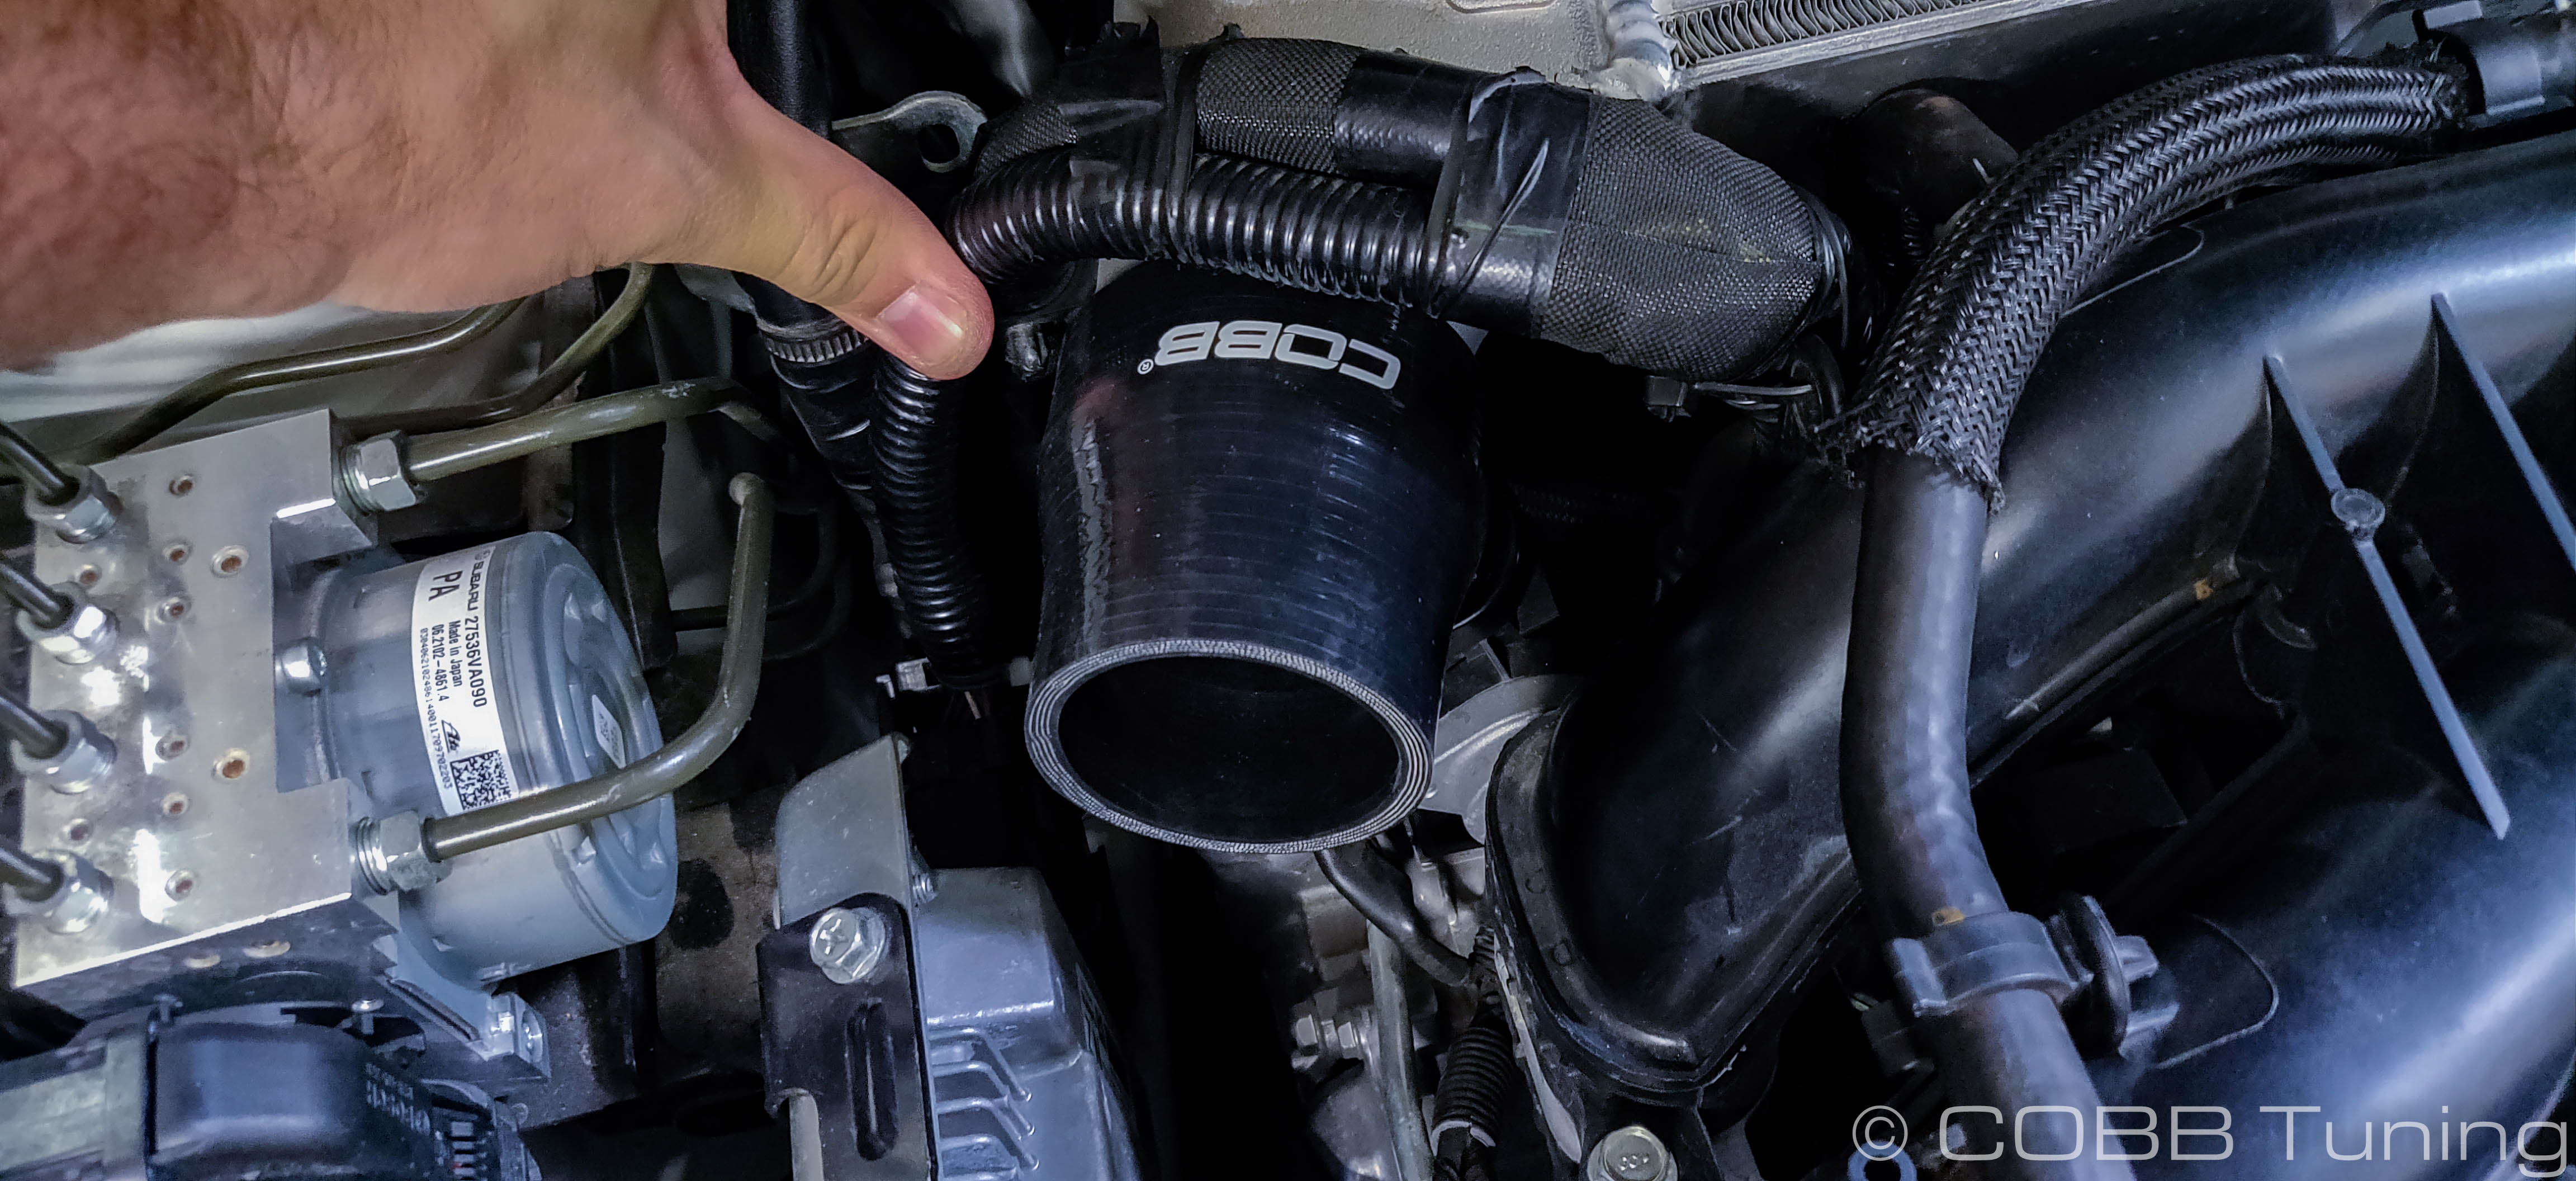
- Using the provided 2.5" - 2.75" coupler, install it on the other end of the top mount intercooler. The intercooler side will get the #44 hose clamp from the charge pipe kit which can be tightened down at this time. Loosely set the #32 clamp from the charge pipe kit over the coupler in preparation for the charge pipe.
Charge Pipe Installation
- At this point follow the instructions on how to install our charge pipe.
742110 - VA WRX Charge Pipe - You're all done! Go out and enjoy
CARB Sticker Application
- Apply the supplied CARB sticker in a clear, easy to find location. Typically underhood, or on the radiator core support.
Links
| Insert excerpt | ||||||
|---|---|---|---|---|---|---|
|